I was recently invited down to South Carolina for a shoot at the BMW Performance Center, and this is the first in a series of posts that involve techniques used during the shoot, including shooting the night sky.
When it comes to WOW factor in automotive photography, nothing gets quite the same reaction as light painting. I’ve covered it in great detail before, and I knew I’d have the Performance Center track to myself at night, so naturally I wanted to shoot some images that involved the technique.
But the Performance Center is a special place – I can’t just close the track on a whim after all. So I wanted to do more than the usual light paint. Given that we’d be in rural South Carolina at night, I thought bringing out the stars for some shots would add extra dazzle. How do we do that?
There are a ton of guides out there on how to produce night images of starts and the Milky Way Galaxy – this is not that guide. I wouldn’t have the time, or specialized gear to produce an image like that. But we can still achieve a lot with a smaller budget and/or shorter time frame. Let’s get to it.
Step 1: Science
Before you even pick up your camera, we’ll do a brief SCIENCE! lesson. Keep these in mind for your night shoot:
- The Earth moves.
- Light pollution can be a big factor.
- The Earth moves (so important).
The Earth moving is a big deal because that means you can’t keep your shutter open very long before you start to see the stars streak and look like little blobs instead of pretty dots. Depending on your lens, an exposure longer than 10 seconds will usually start to give you that blur. You can get something like a NOCT Nikon lens, but even then, to get the kind of stars you might have in mind, you’ll need a star tracker, which sits on your tripod and moves with the rotation of the earth.
The other factor depends on where you’re shooting. Going to Yellowstone National Park, far away from civilization, will give you a clear night sky. I live 40 miles from New York City, and the entire tri-state area isn’t really the best place to try this. Using a light pollution map will help you plan a shoot.
Step 2: Practice and save
Now that we know what we can’t do, we can focus on what we can do. What you’ll need:
- A tripod
- A lens with the widest aperture available to you
- A remote release
- A nice clear night
Wait until it’s completely dark – even after sunset, the sky can still be light enough to cloud the stars. Pick your spot, mount your tripod, and aim your camera straight up at the night sky. You can do this right in your backyard. It’s possible you won’t see much, so try to pick the brightest star in your frame to focus on. This takes some patience – there isn’t much for the camera to work off of. Camera settings for this shot:
- Aperture: 1.8
- Exposure: 10 seconds
- ISO: 400
Feel free to crank up the ISO here, the noise will help pick up faint stars. I’m using a Nikon 50mm prime lens set on it’s lowest aperture. The result:


A remote release is key here, because any camera shake at all will really be noticeable.
Now, why am I sending you out in the dead of night to do this? Because this will actually be used in our car shot – setting this image to screen mode in Photoshop will result in just the stars coming through, but we’ll get to that later. Right now, think of this as good practice, and a shot you can use multiple times for different effects down the road.
Step 3: Shooting with a car
Although you’ll need that star image, we’ll also need to do the same technique for the shot itself on location. Take your sky exposures first, BEFORE lighting the car. This will ensure that you get the sky you want and won’t have to move the camera at all (even a fraction will throw the image off). No sense in getting the car perfect and then finding out you cant focus on the sky.
Also take note that you will be changing the focus of your image – the camera is focusing on infinity, and your car will be somewhat soft in focus. That’s ok, when ready, just move the focus point down to the car itself and refocus the camera on that point.
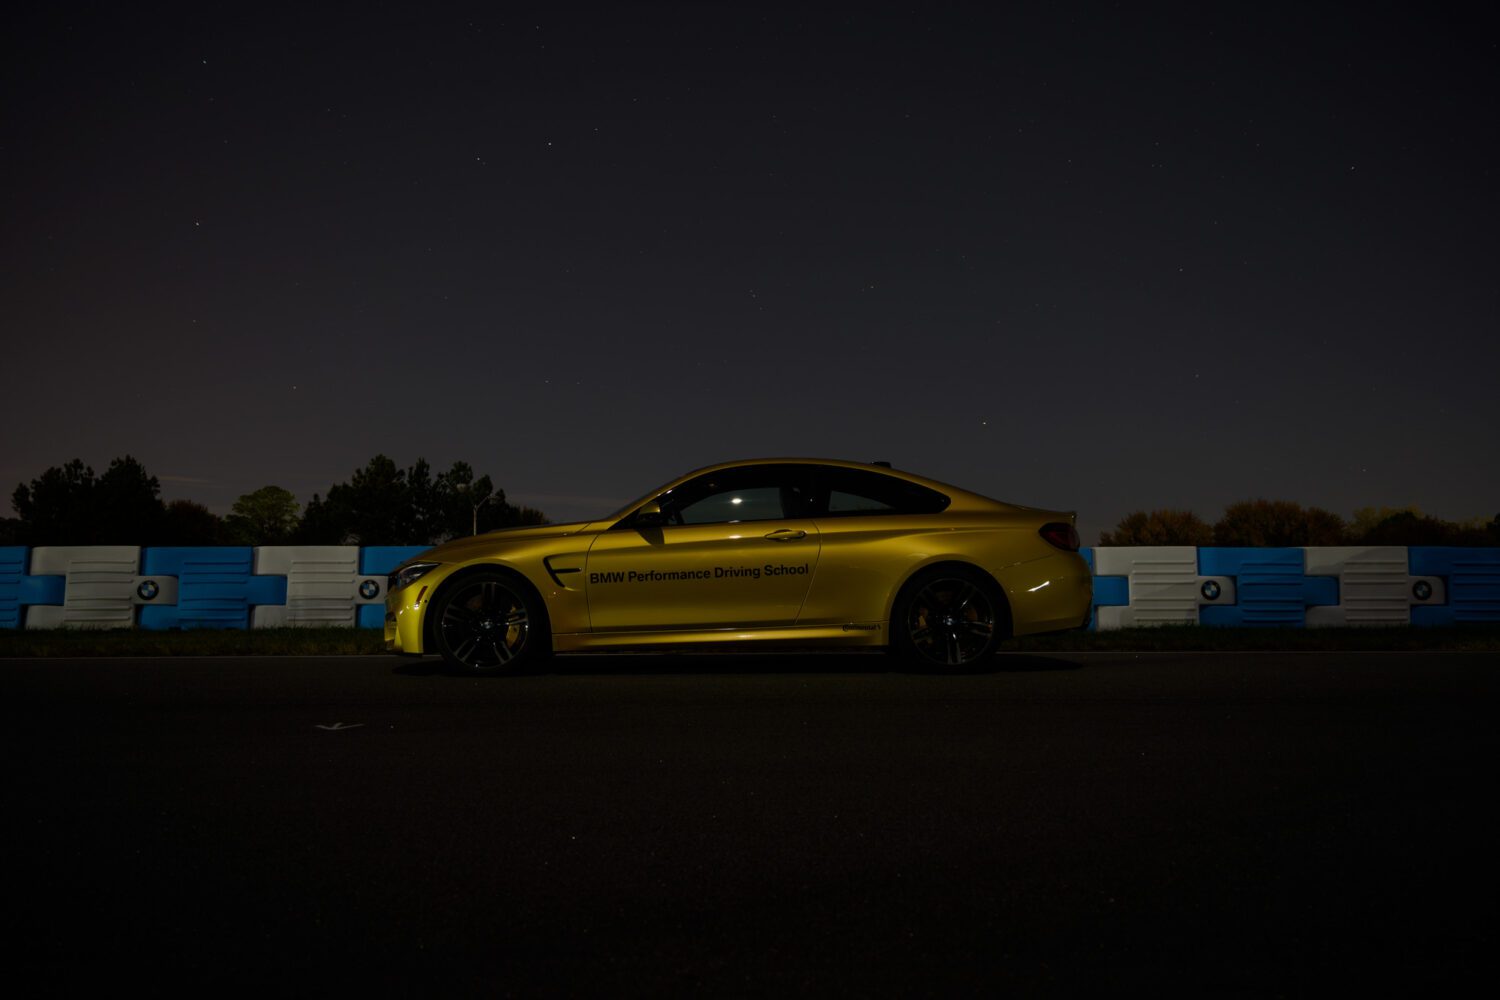

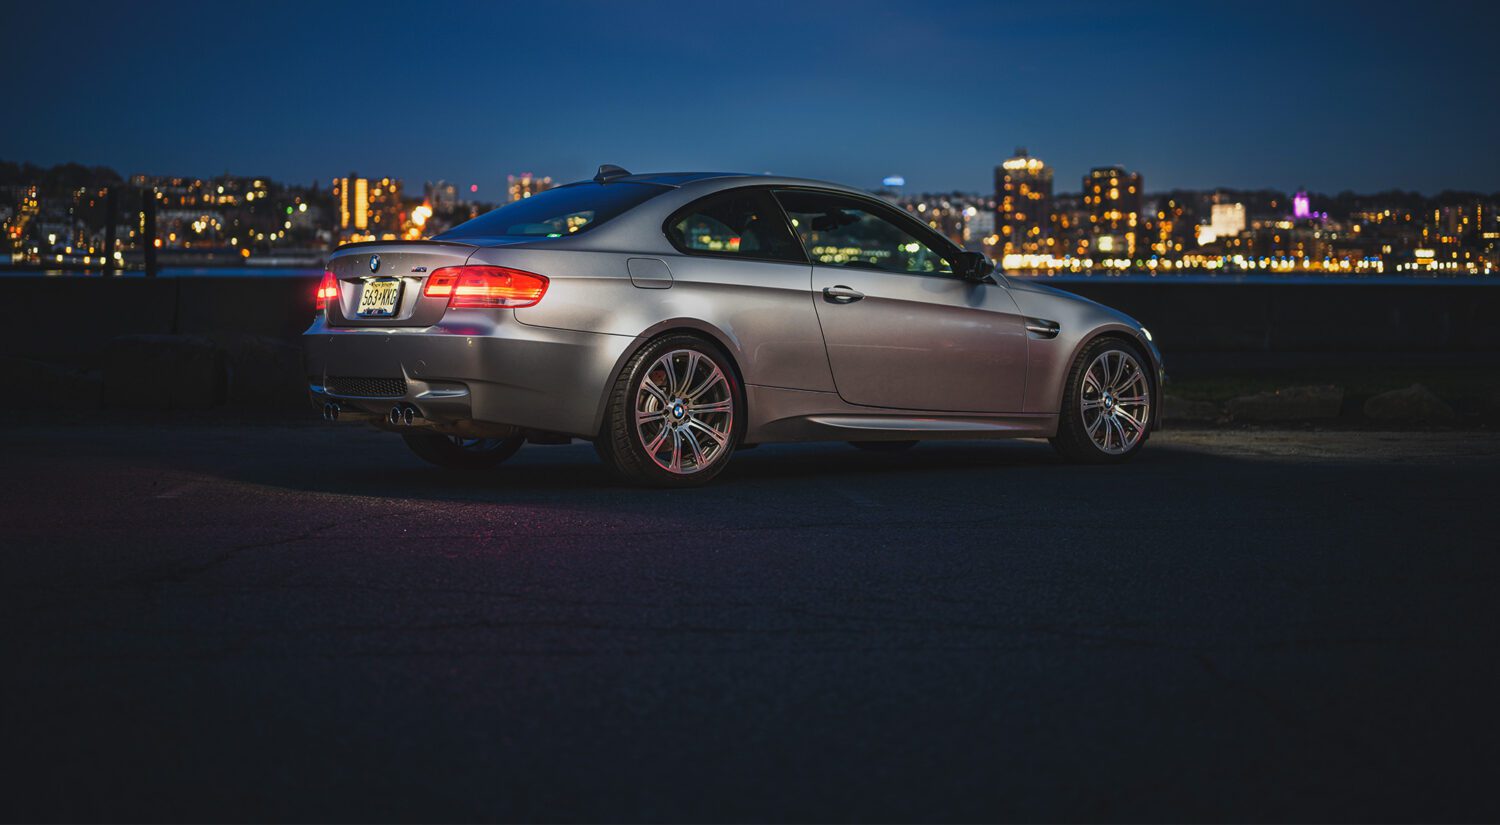
Notice you can’t see many stars here – the Performance Center is located next to Greenville and the BMW plant itself, so there was a light pollution problem after all. Keep that in mind when planning your shoot, since you can never tell what the conditions will be until you actually get there. But, we can fix.
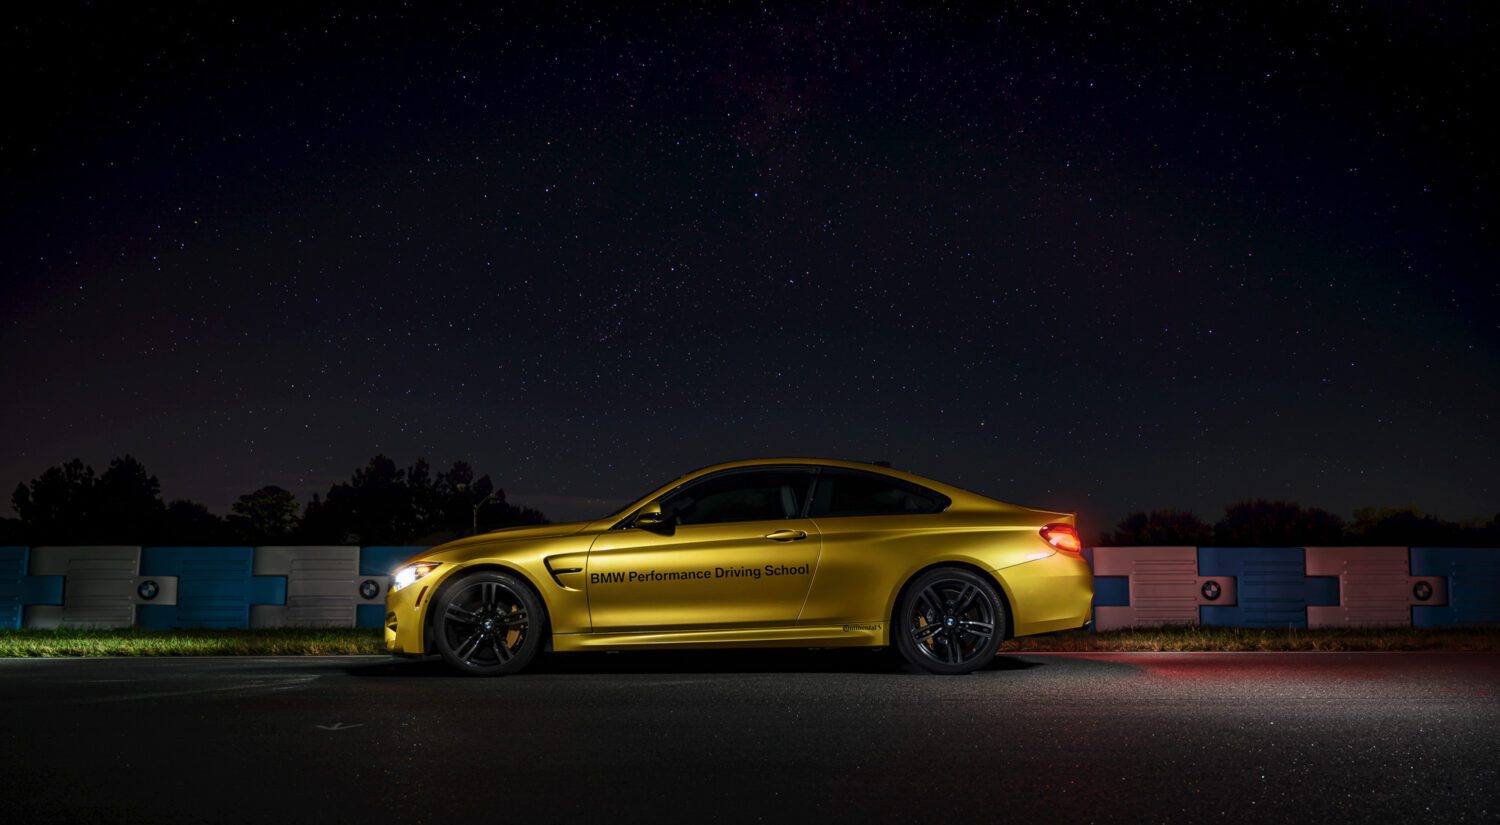
Next week, I’ll go into detail about lighting the car, combining everything in post, and bringing back our original stars image!
Feel free to email me at mike@machineswithsouls.com with any questions.
Follow along on Instagram @machineswithsouls
Legal
Due to factors beyond the control of Machines With Souls LLC and Mike D’Ambrosio, I cannot guarantee against improper use or unauthorized modifications of this information. Machines With Souls LLC and Mike D’Ambrosio assumes no liability for property damage or injury incurred as a result of any of the information contained in this post. Use this information at your own risk. Machines With Souls LLC and Mike D’Ambrosio recommends safe practices when working on vehicles and or with tools seen or implied in this post. Due to factors beyond the control of Machines With Souls LLC and Mike D’Ambrosio, no information contained in this post shall create any expressed or implied warranty or guarantee of any particular result. Any injury, damage, or loss that may result from improper use of these tools, equipment, or from the information contained in this post is the sole responsibility of the user and not Machines With Souls LLC or Mike D’Ambrosio.


2 thoughts on “Cars and stars: How to shoot the night sky, Part 1”
Comments are closed.