Headlights. They come in all shapes, sizes, and colors. How do you keep them from being over exposed? Are LEDs different from regular bulbs? Here are my top 5 tips for shooting headlights.
Tip 1: Don’t shoot directly into the light
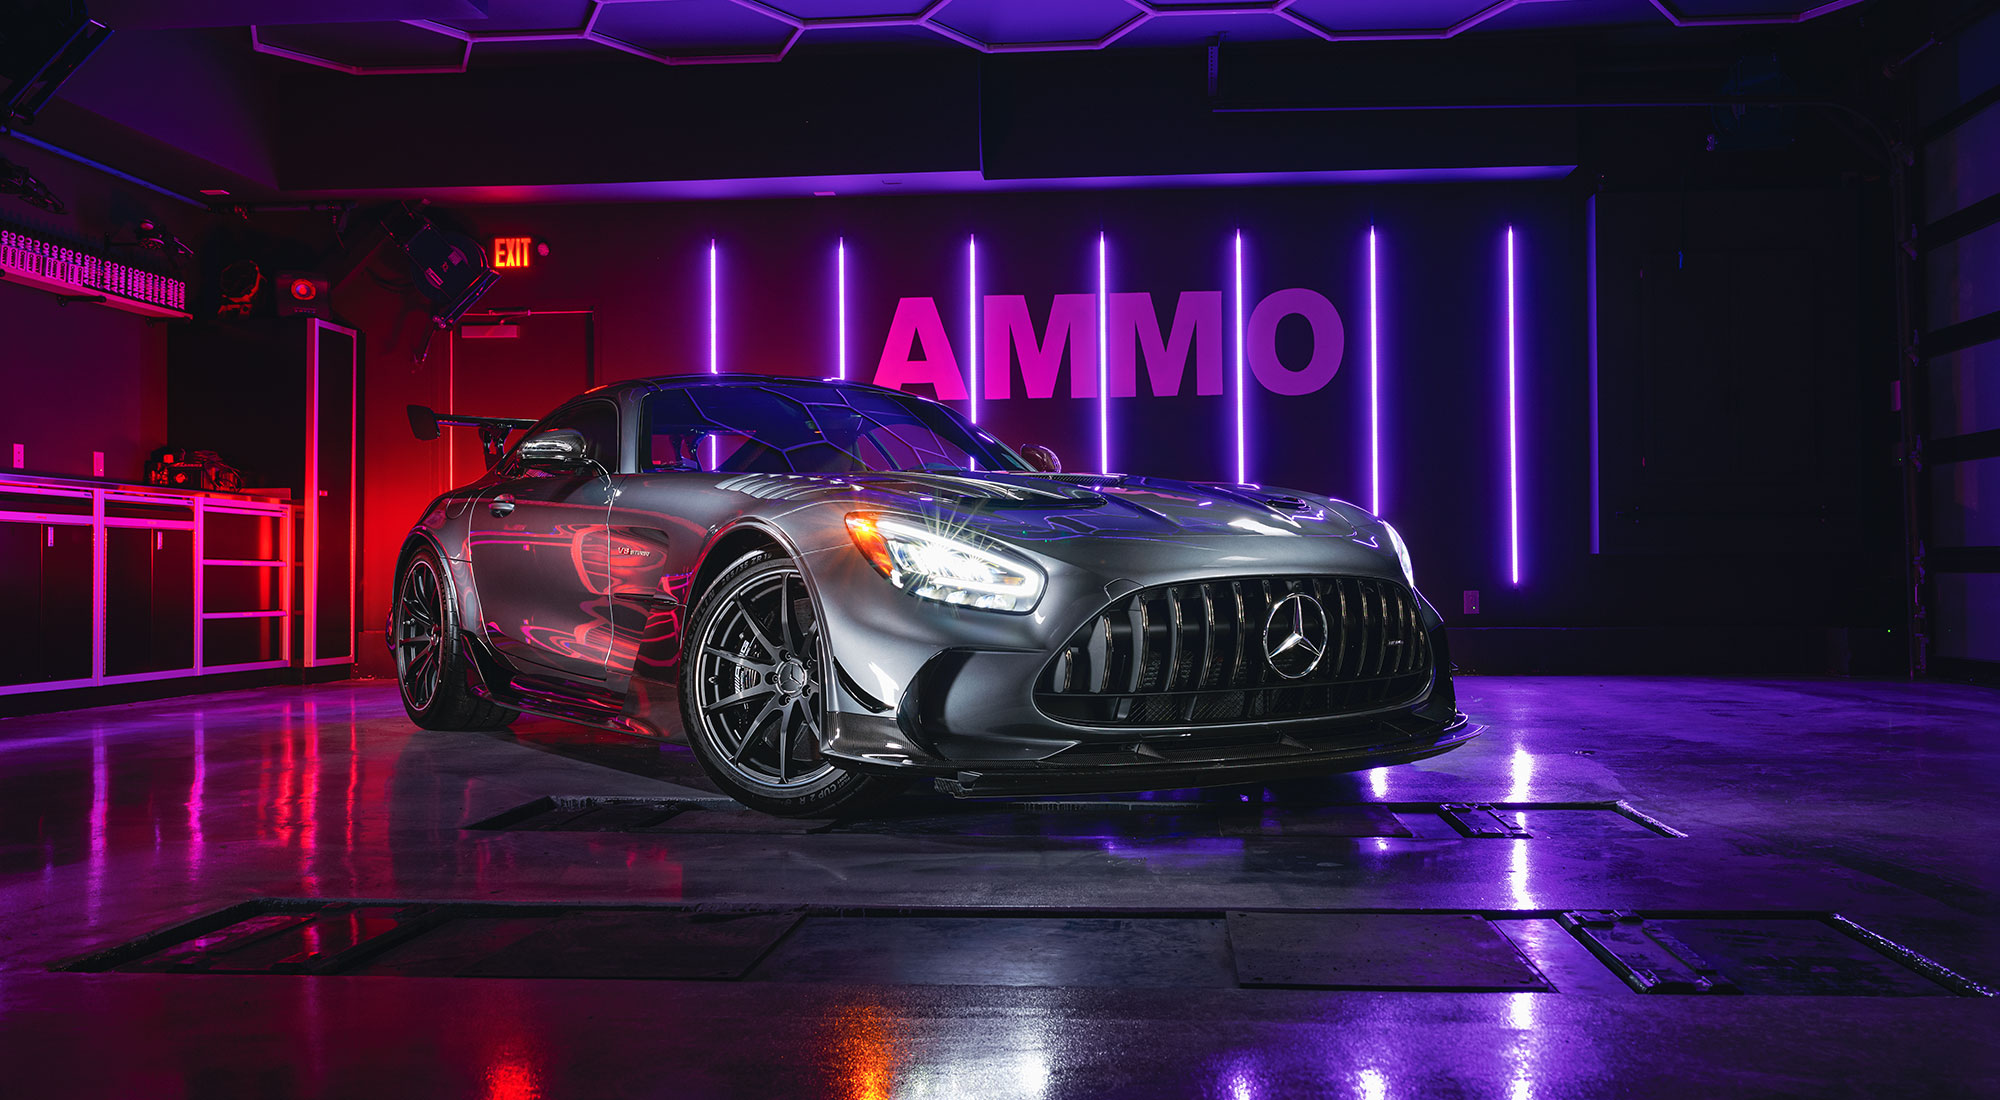
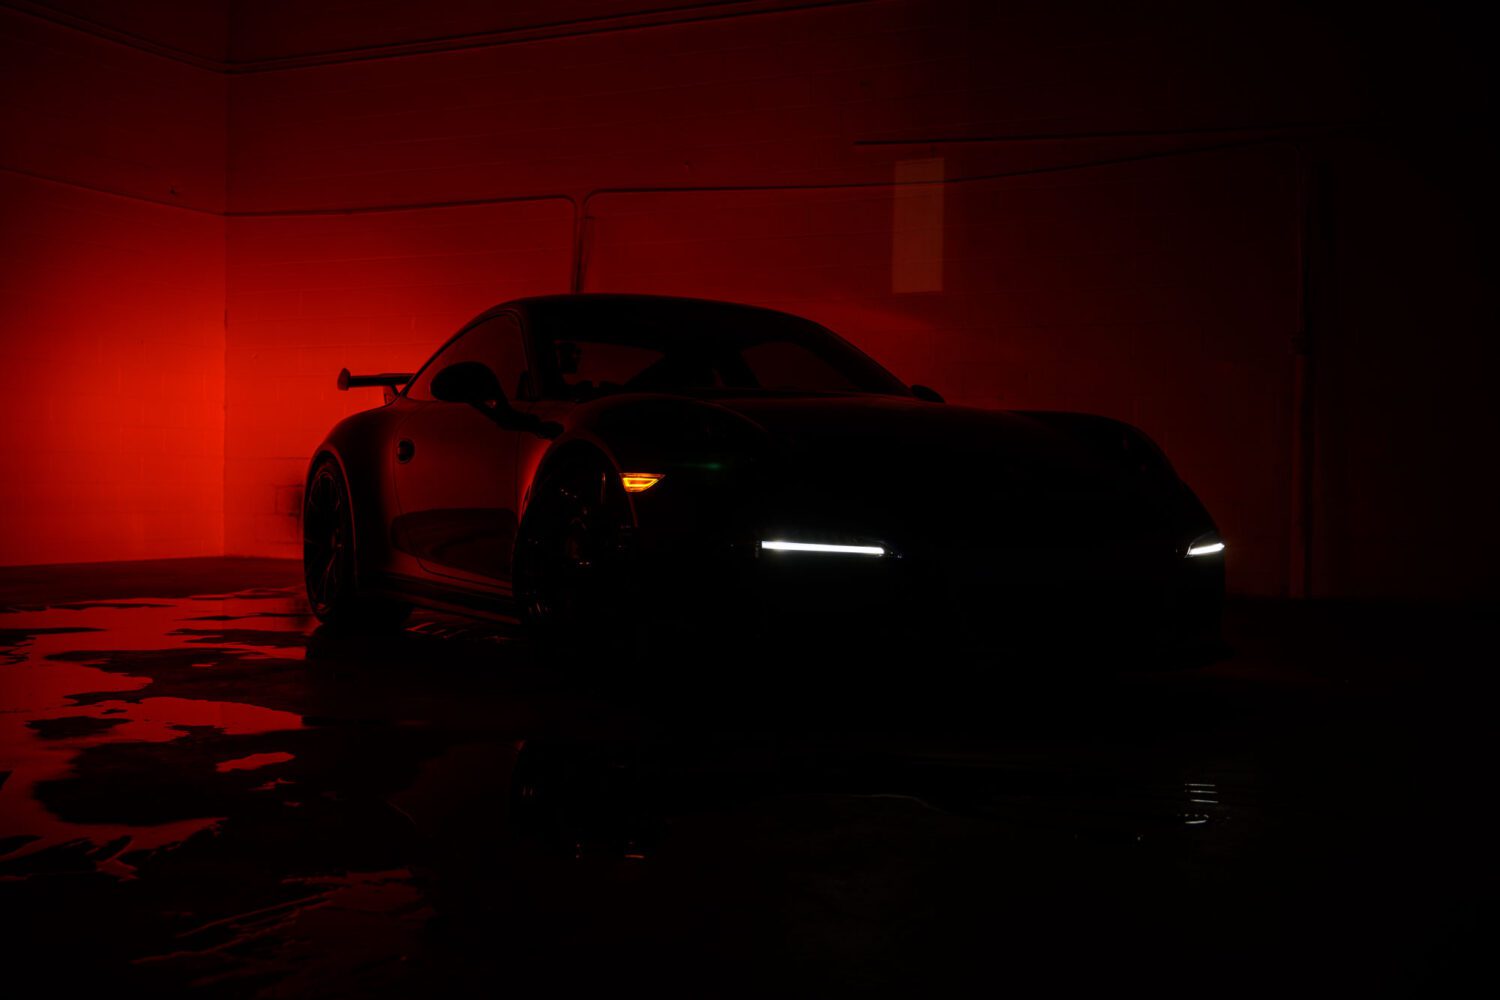
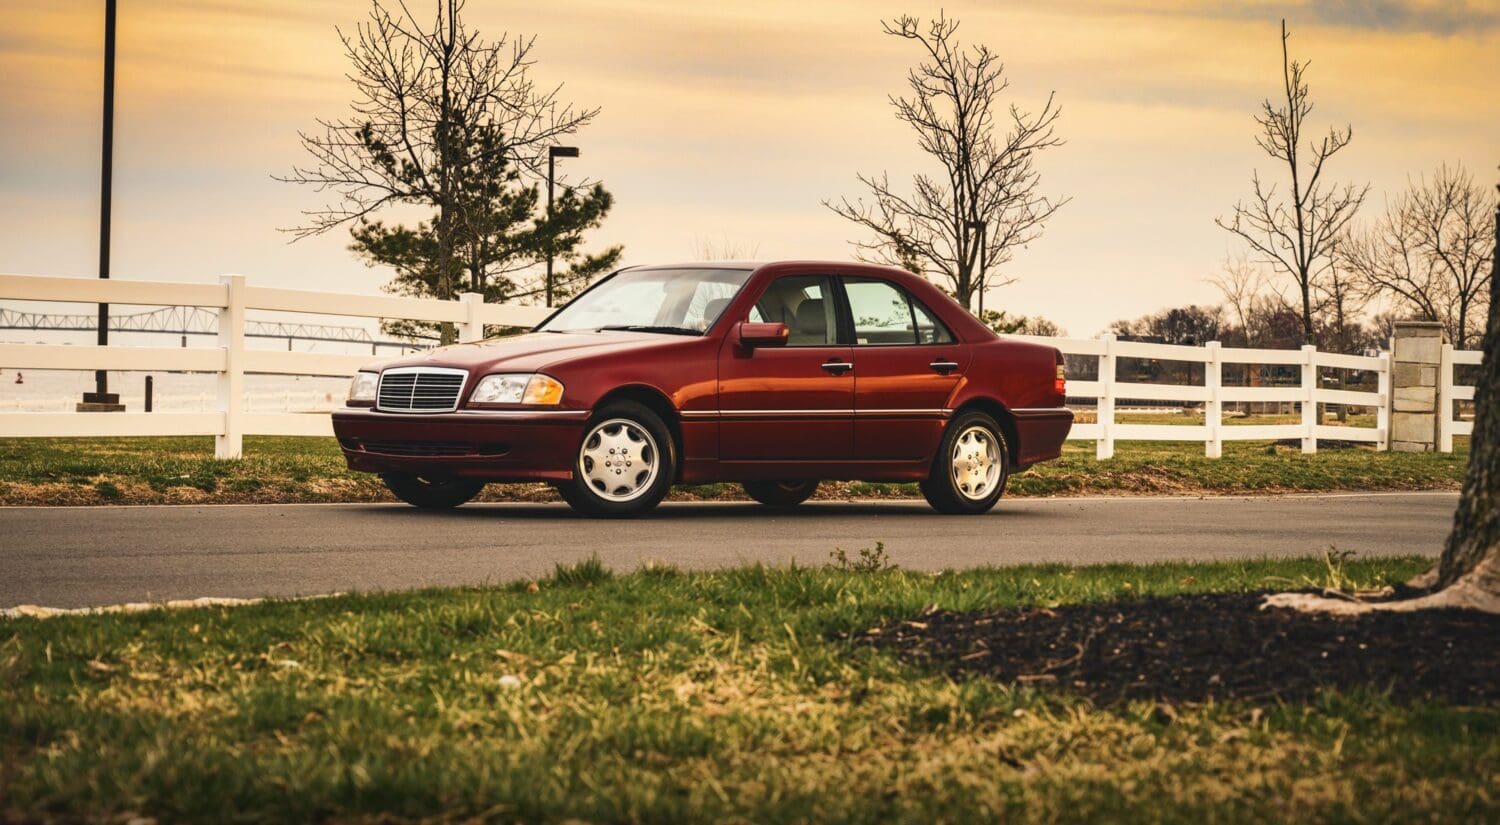
If you ever wonder if your camera will be able to capture an image, or if it’s too bright, trust your eyes. If you look at an object and squint, chances are your camera will have a hard time as well. Headlights aim downward, so watch out when composing your shot if you’re pointing up at the car – even a high aperture won’t really protect you from the light overwhelming the image if you’re aimed right at it.
Tip 2: Use multiple exposures
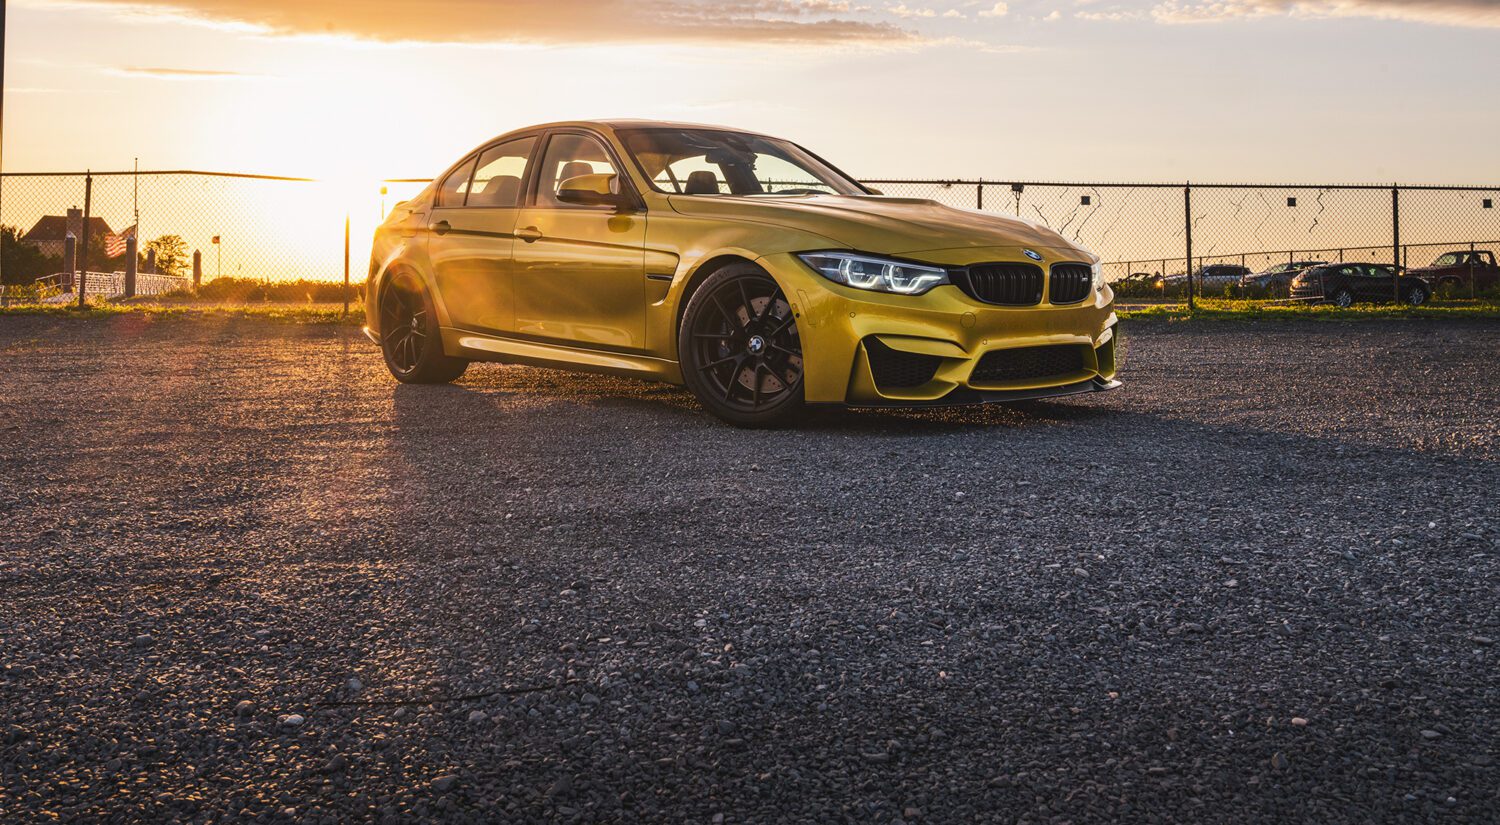
Shooting a headlight is sort of the reverse of light painting – you want to capture all the shadows and details of the area around the headlight, so shoot a few exposures at a lower speed and/or higher aperture, and shoot a few with the headlights off. You can combine these shots into one seamless look in post production.

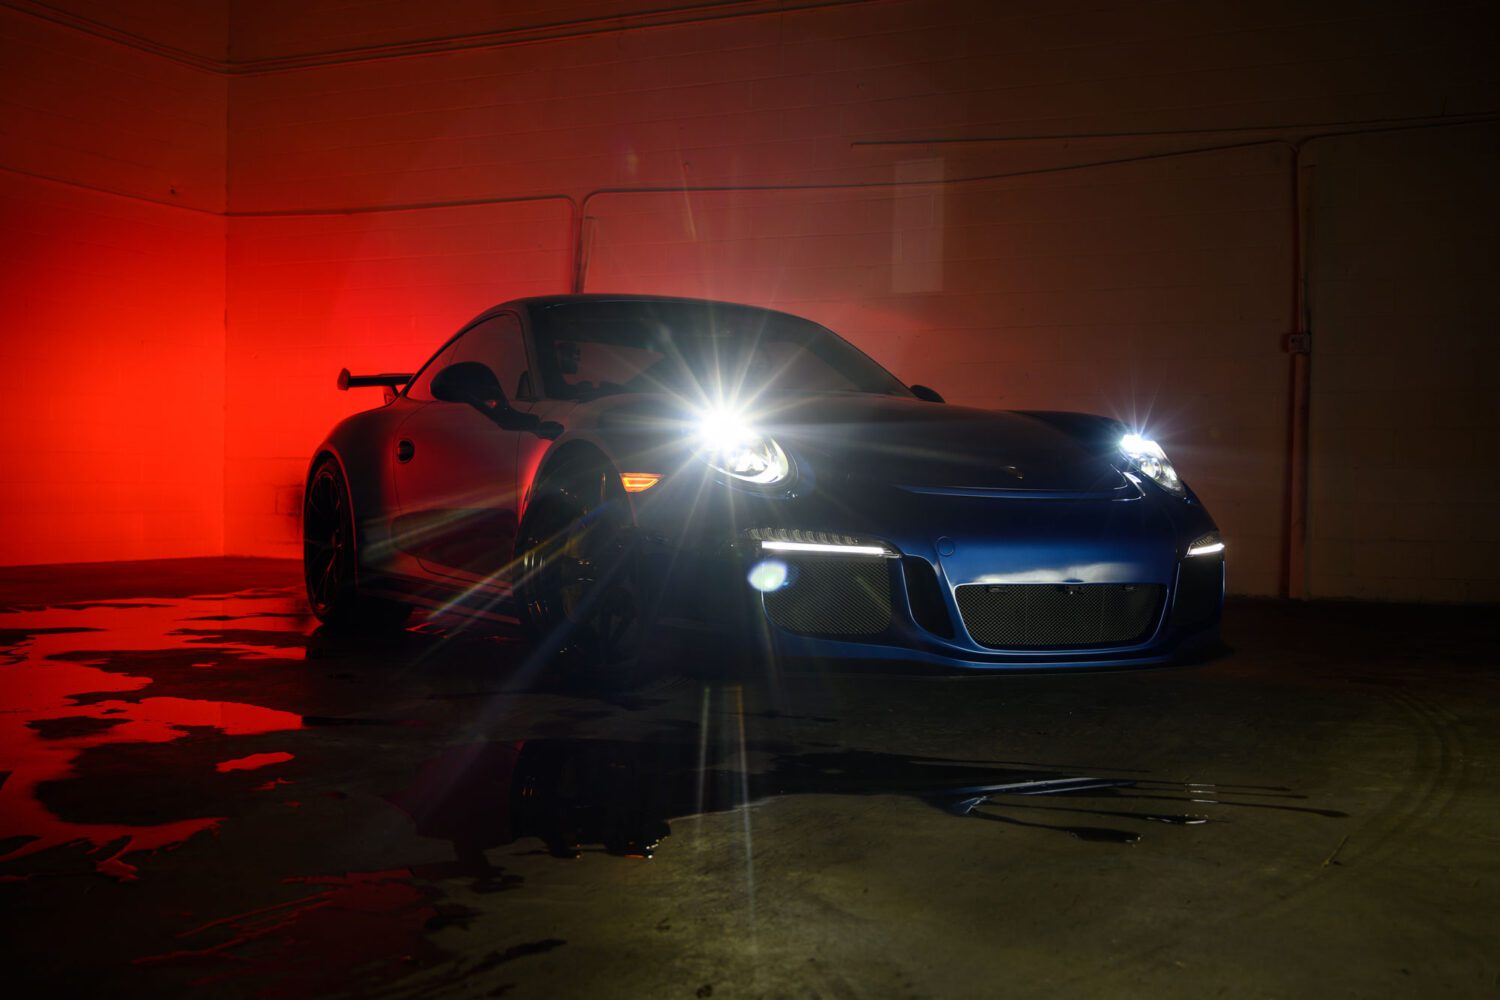
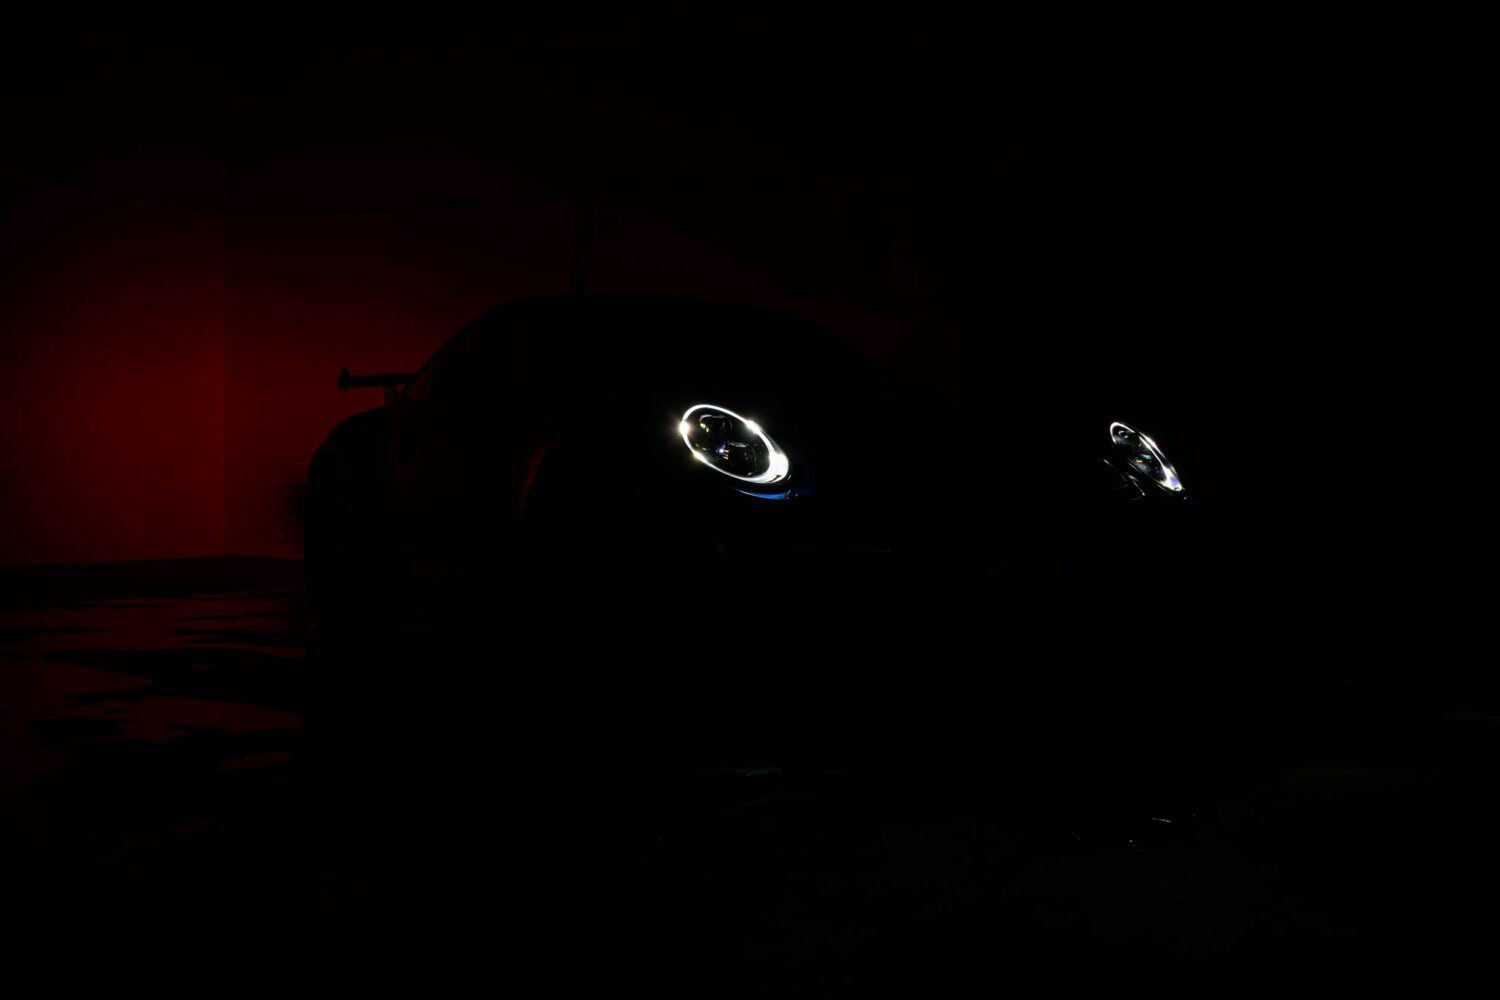
Tip 3: Get the small lights too
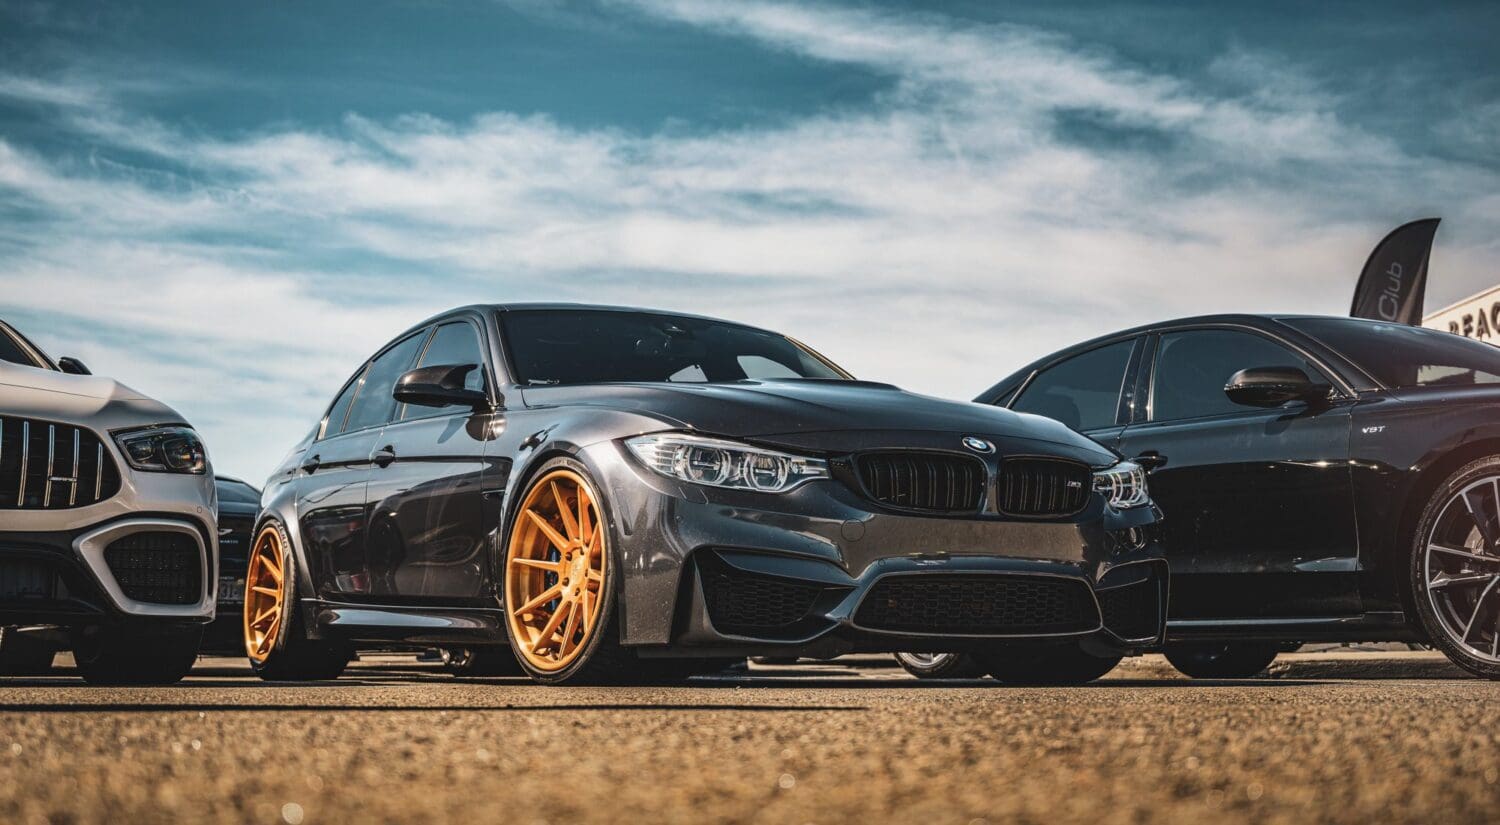
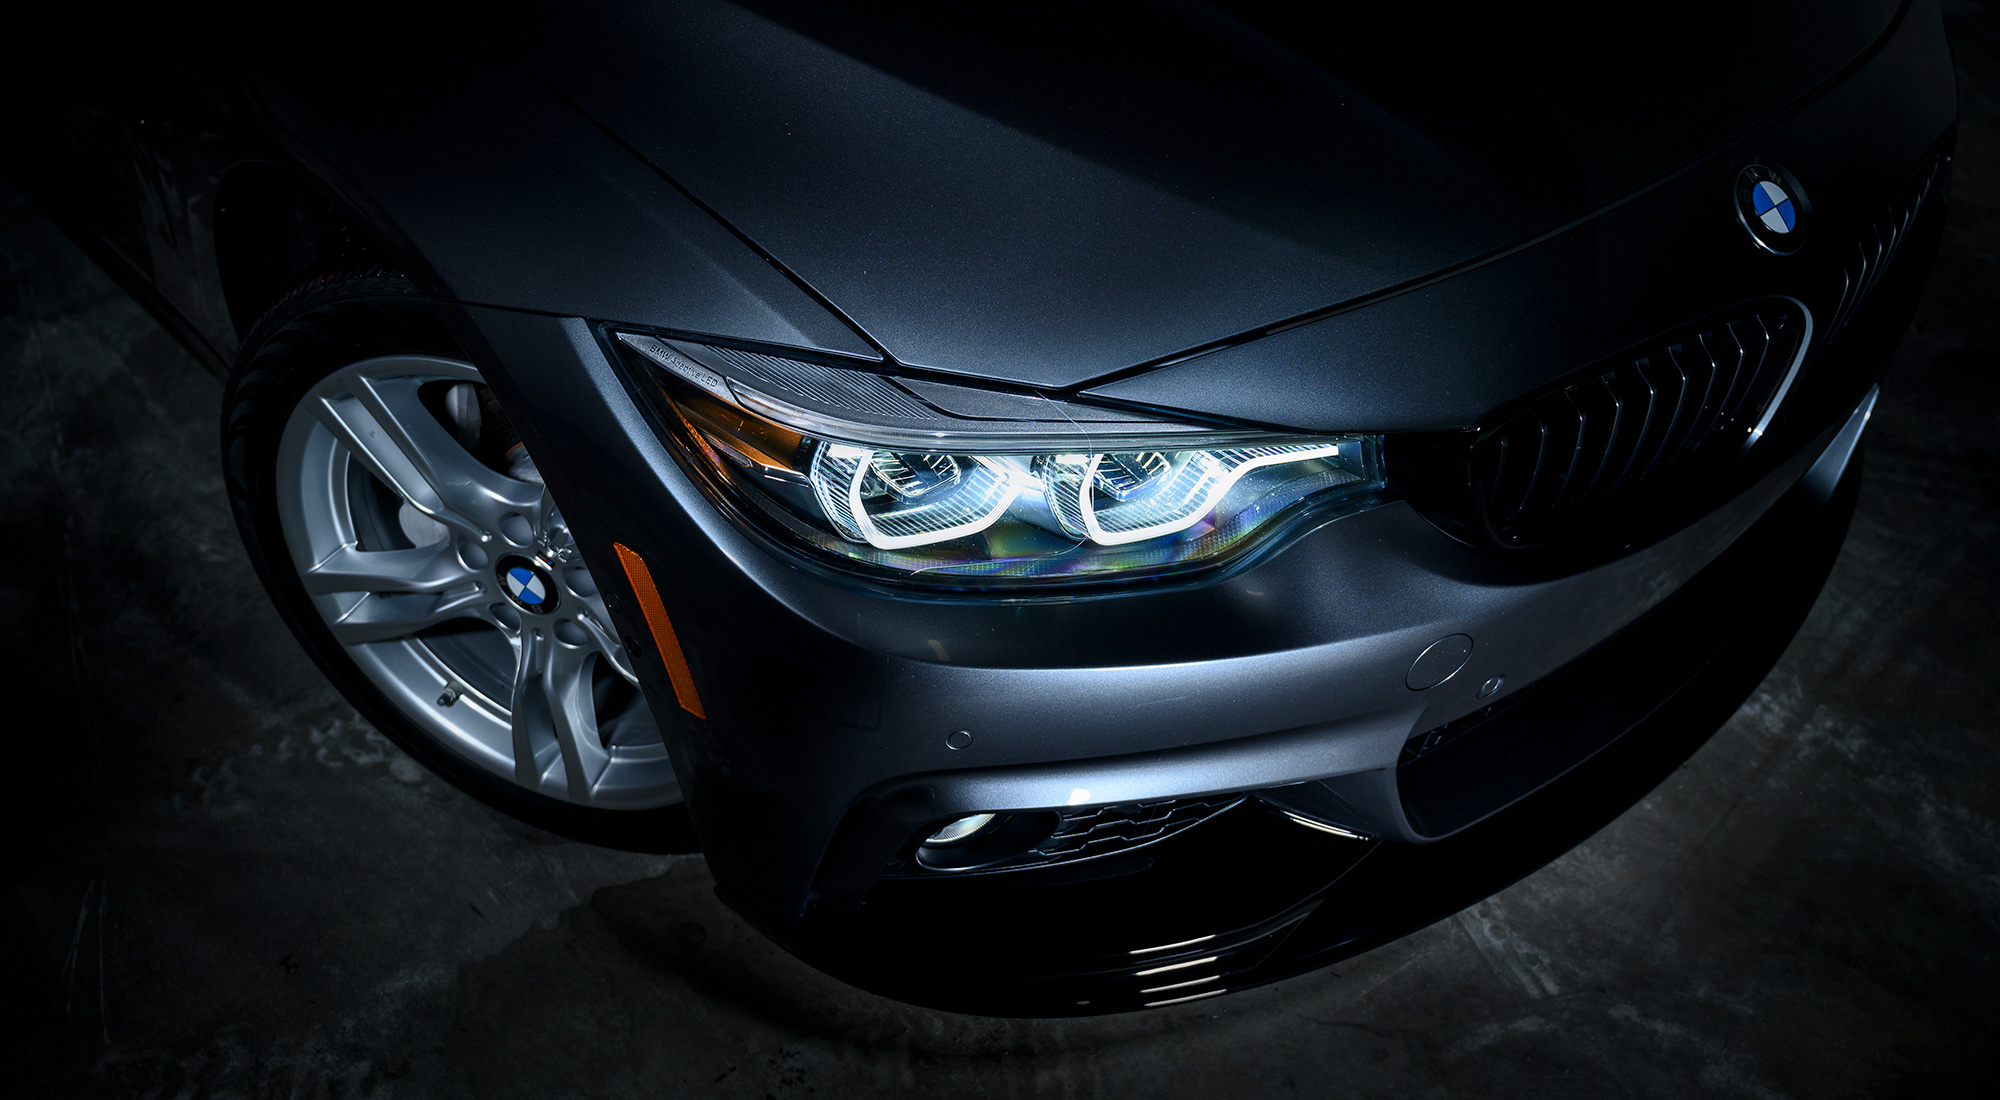
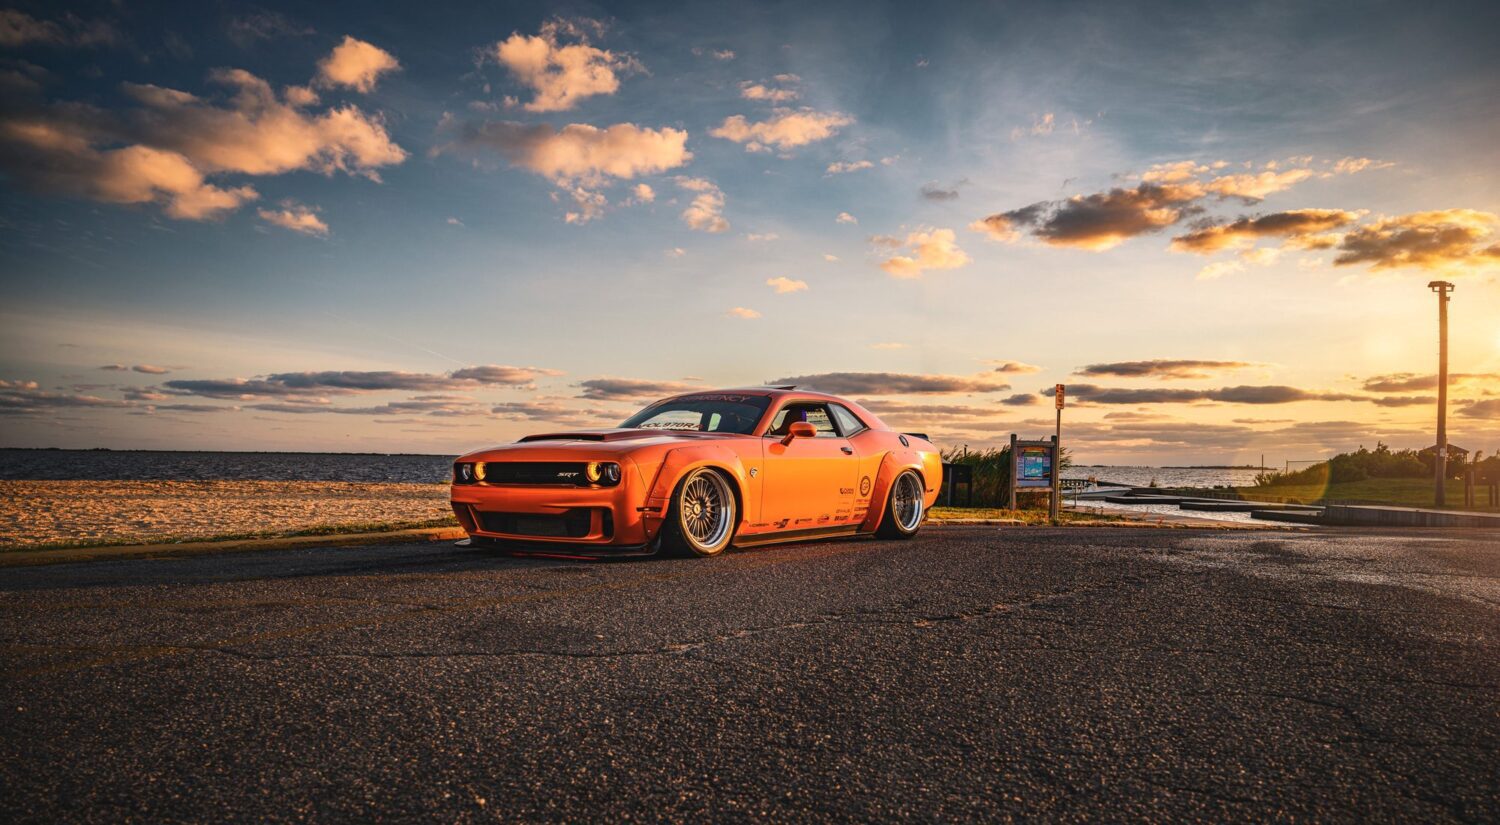
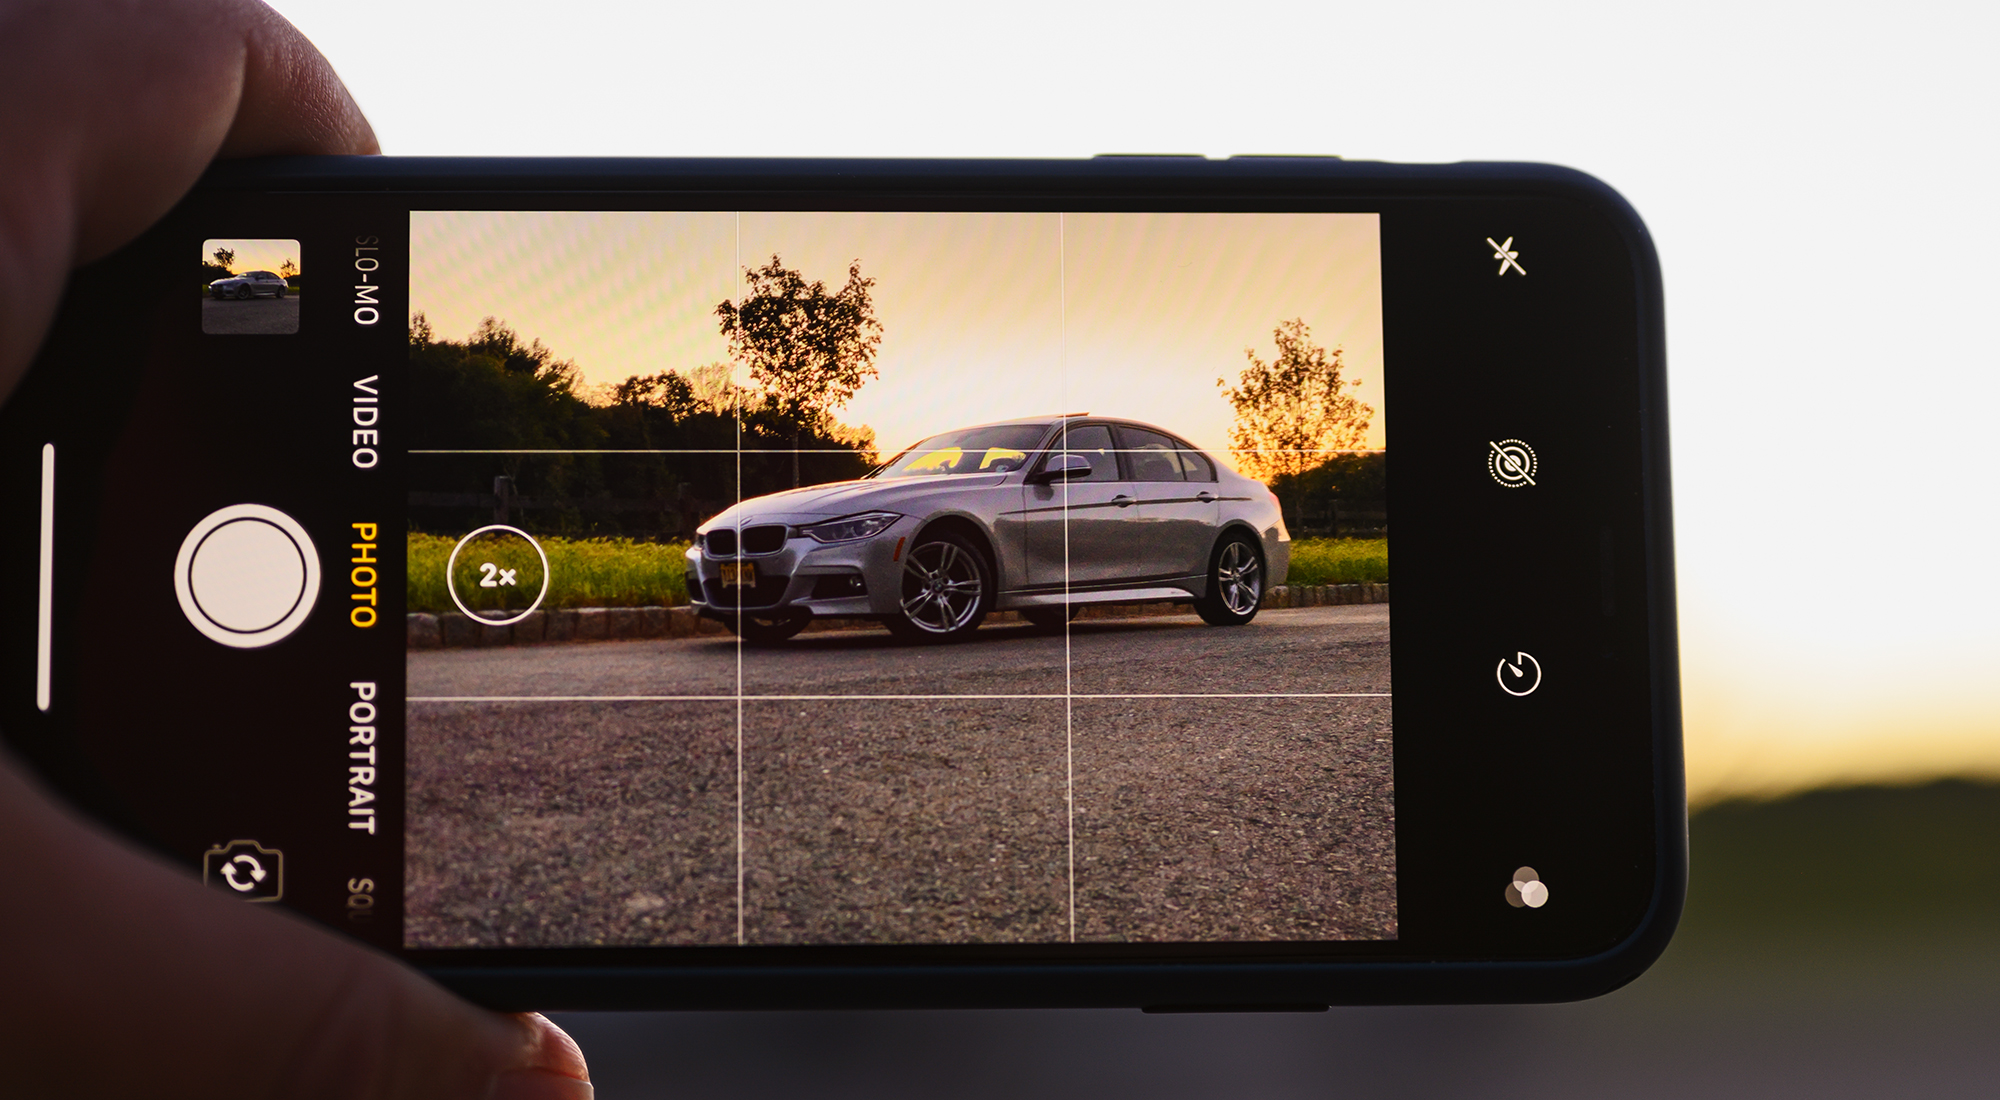
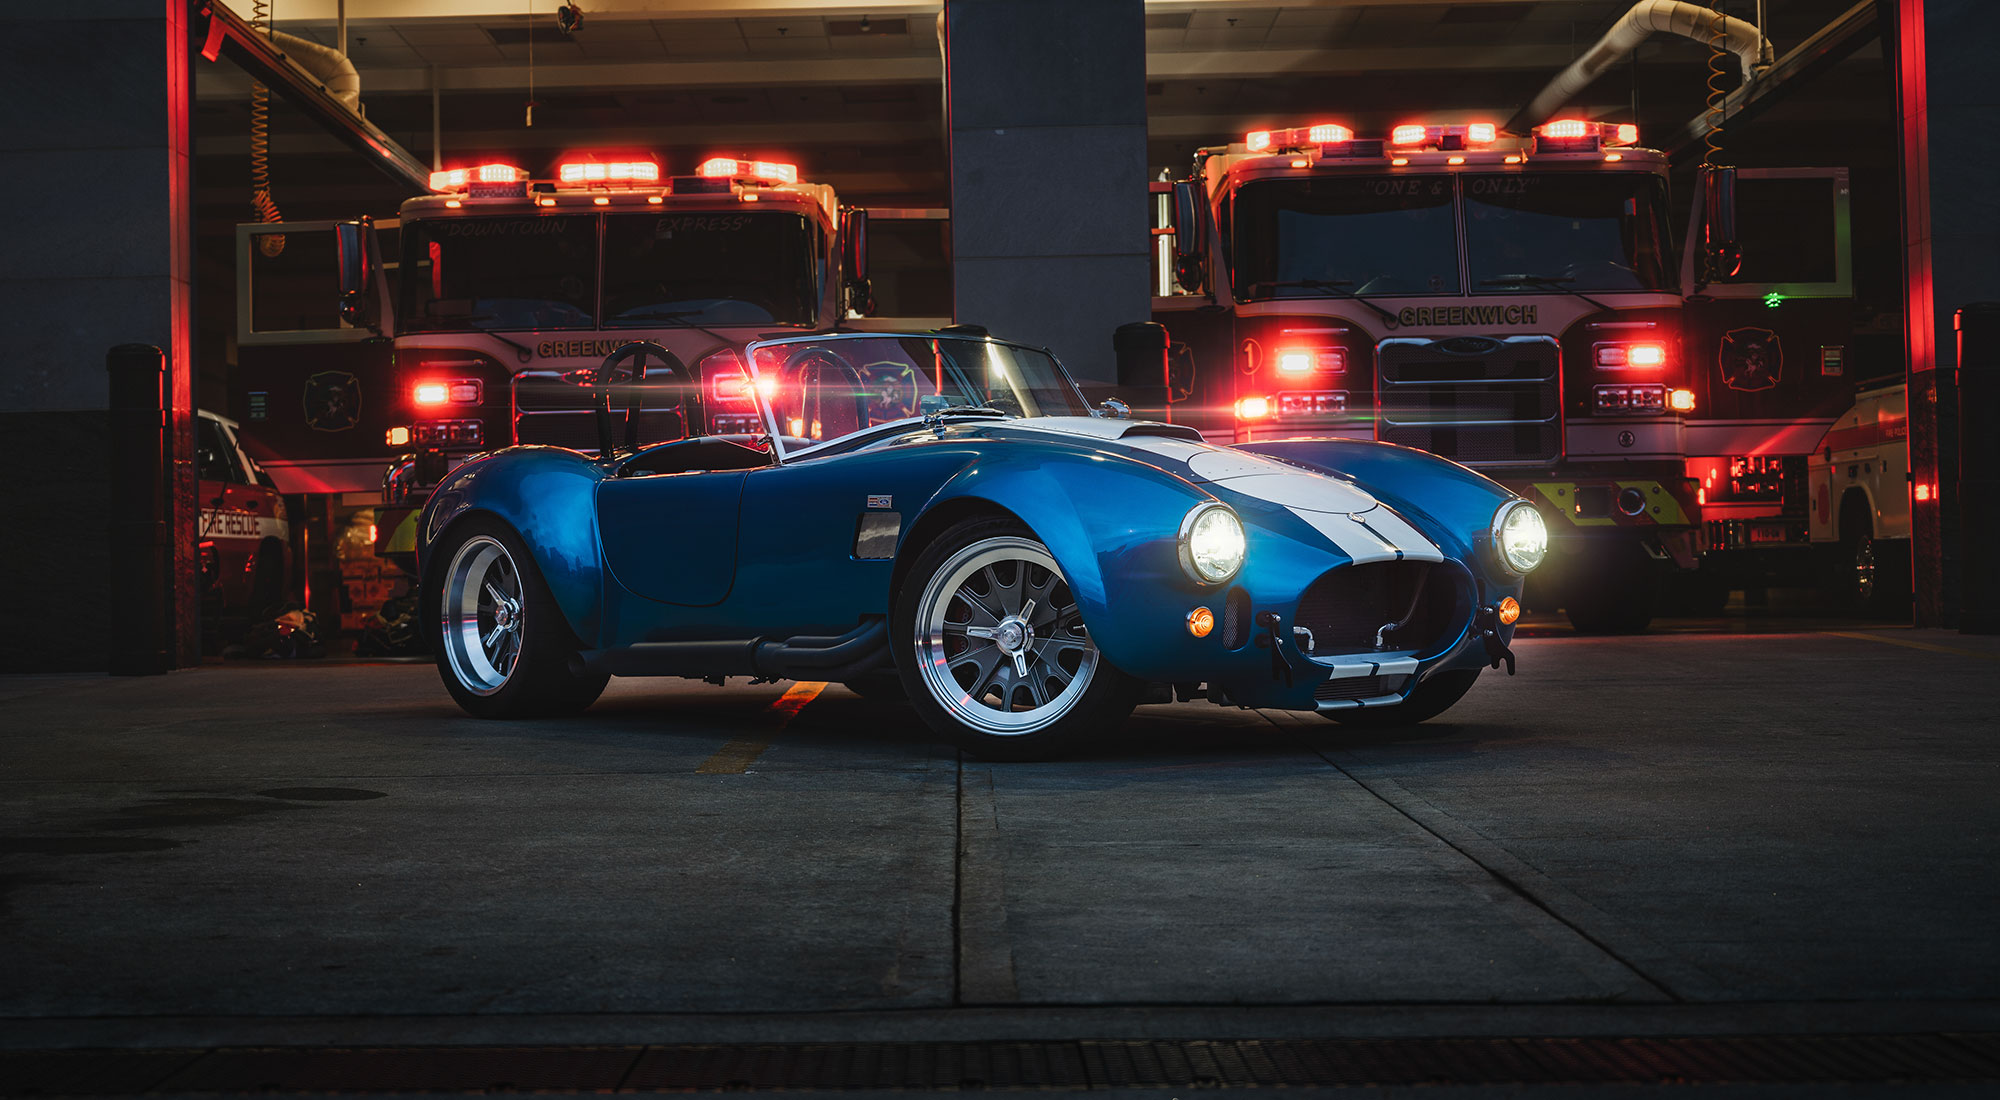
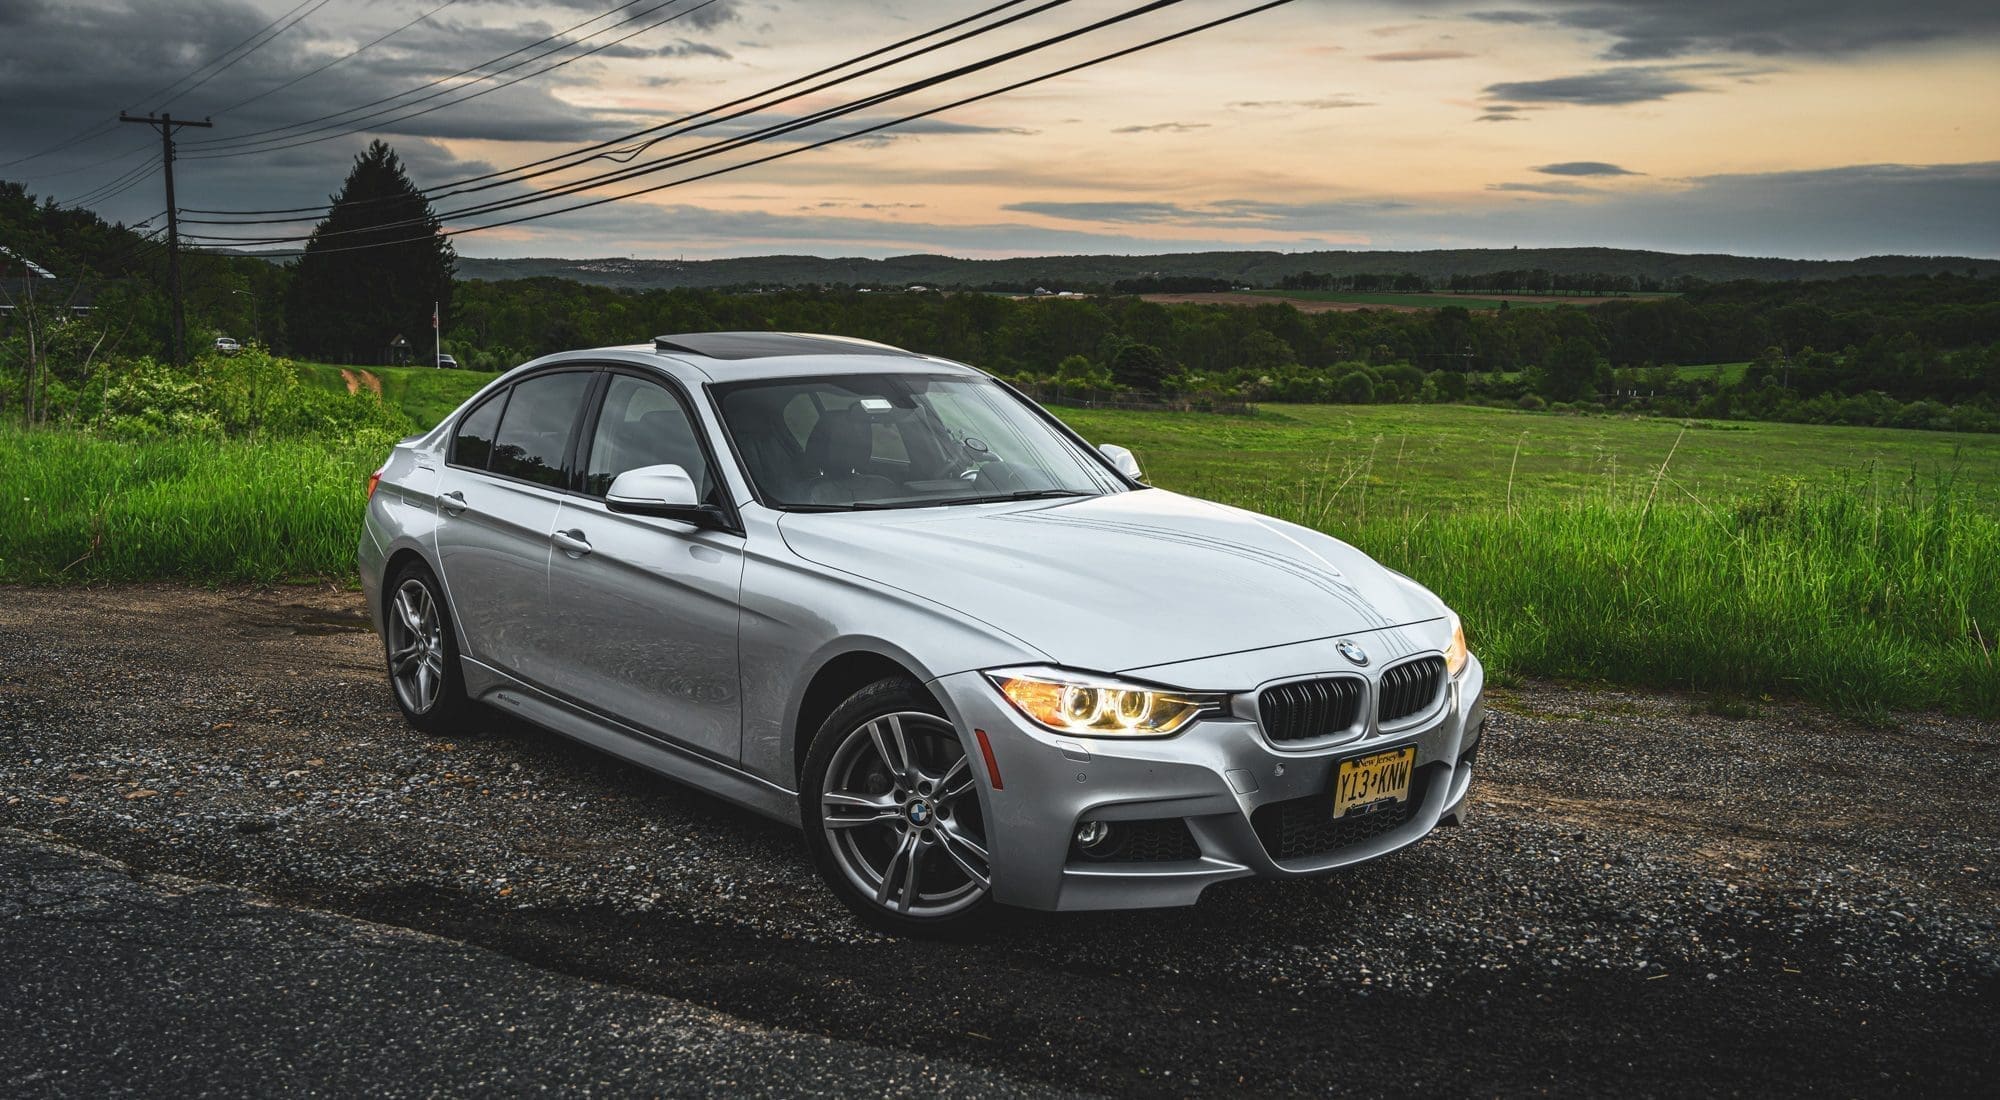
Fog lights, parking lights, daytime lights – automotive body lighting has such variation for each model, so make sure to familiarize yourself with what you’re shooting. BMWs usually have “angel eyes”, but now Porsche has its own unique daytime light design. A Dodge Challenger’s iconic orange circular parking lamps are details you don’t want to miss. If you can’t turn all the lights on at once, then shoot an exposure for each and combine in post. Even if it isn’t 100% realistic, your final shot will look much more dramatic with all the lights on.
Tip 4: Use special effects and lens filters
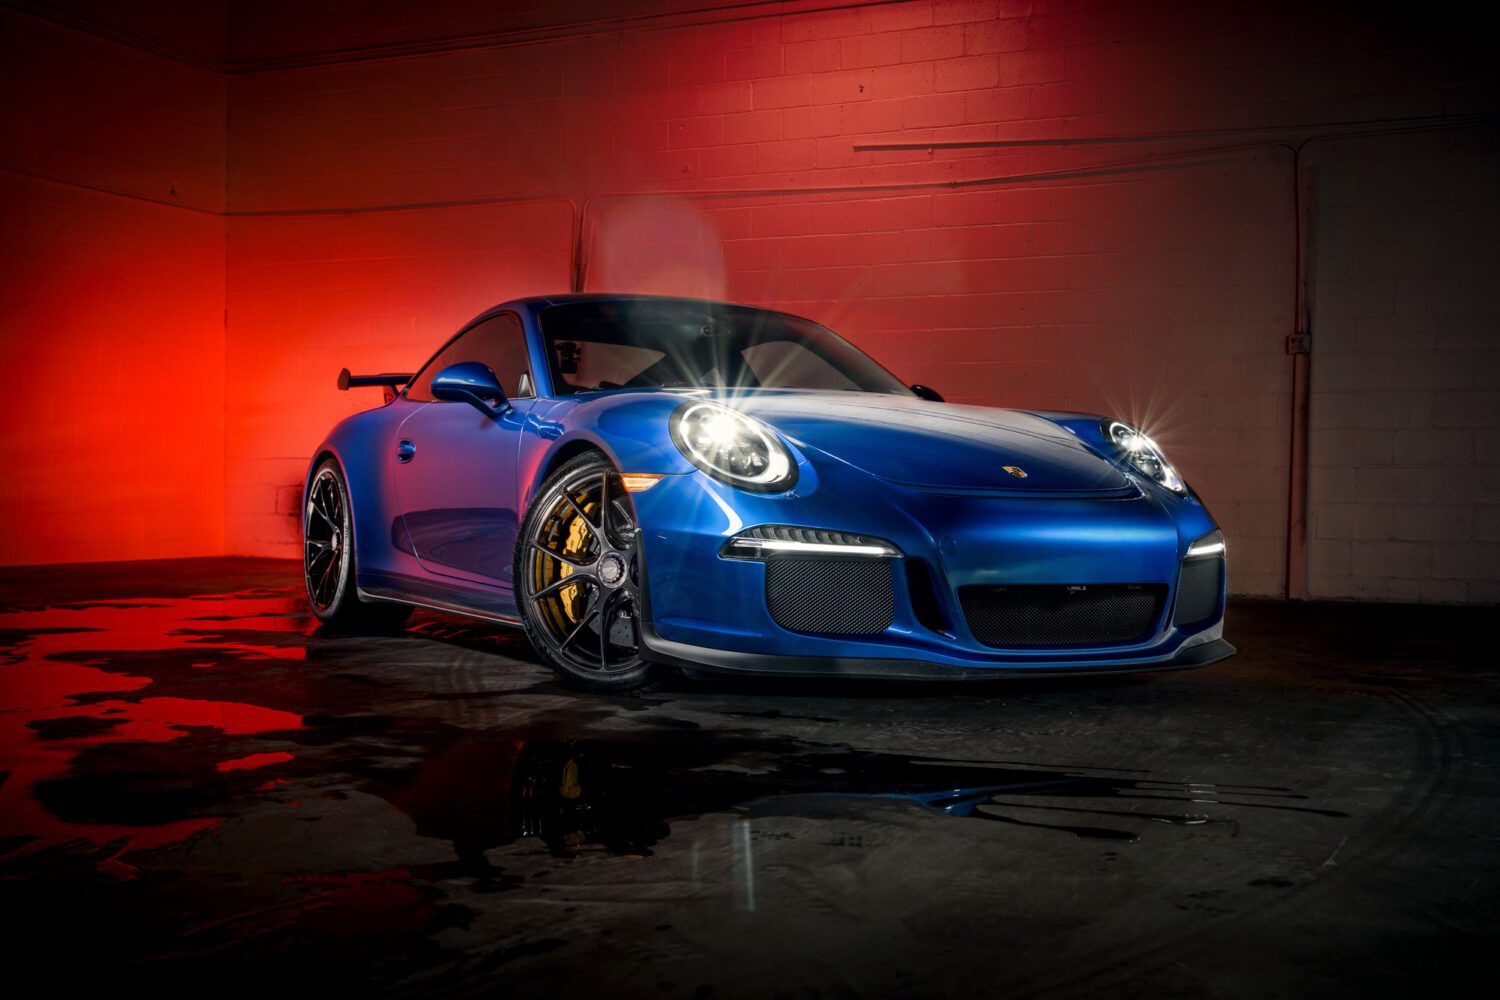
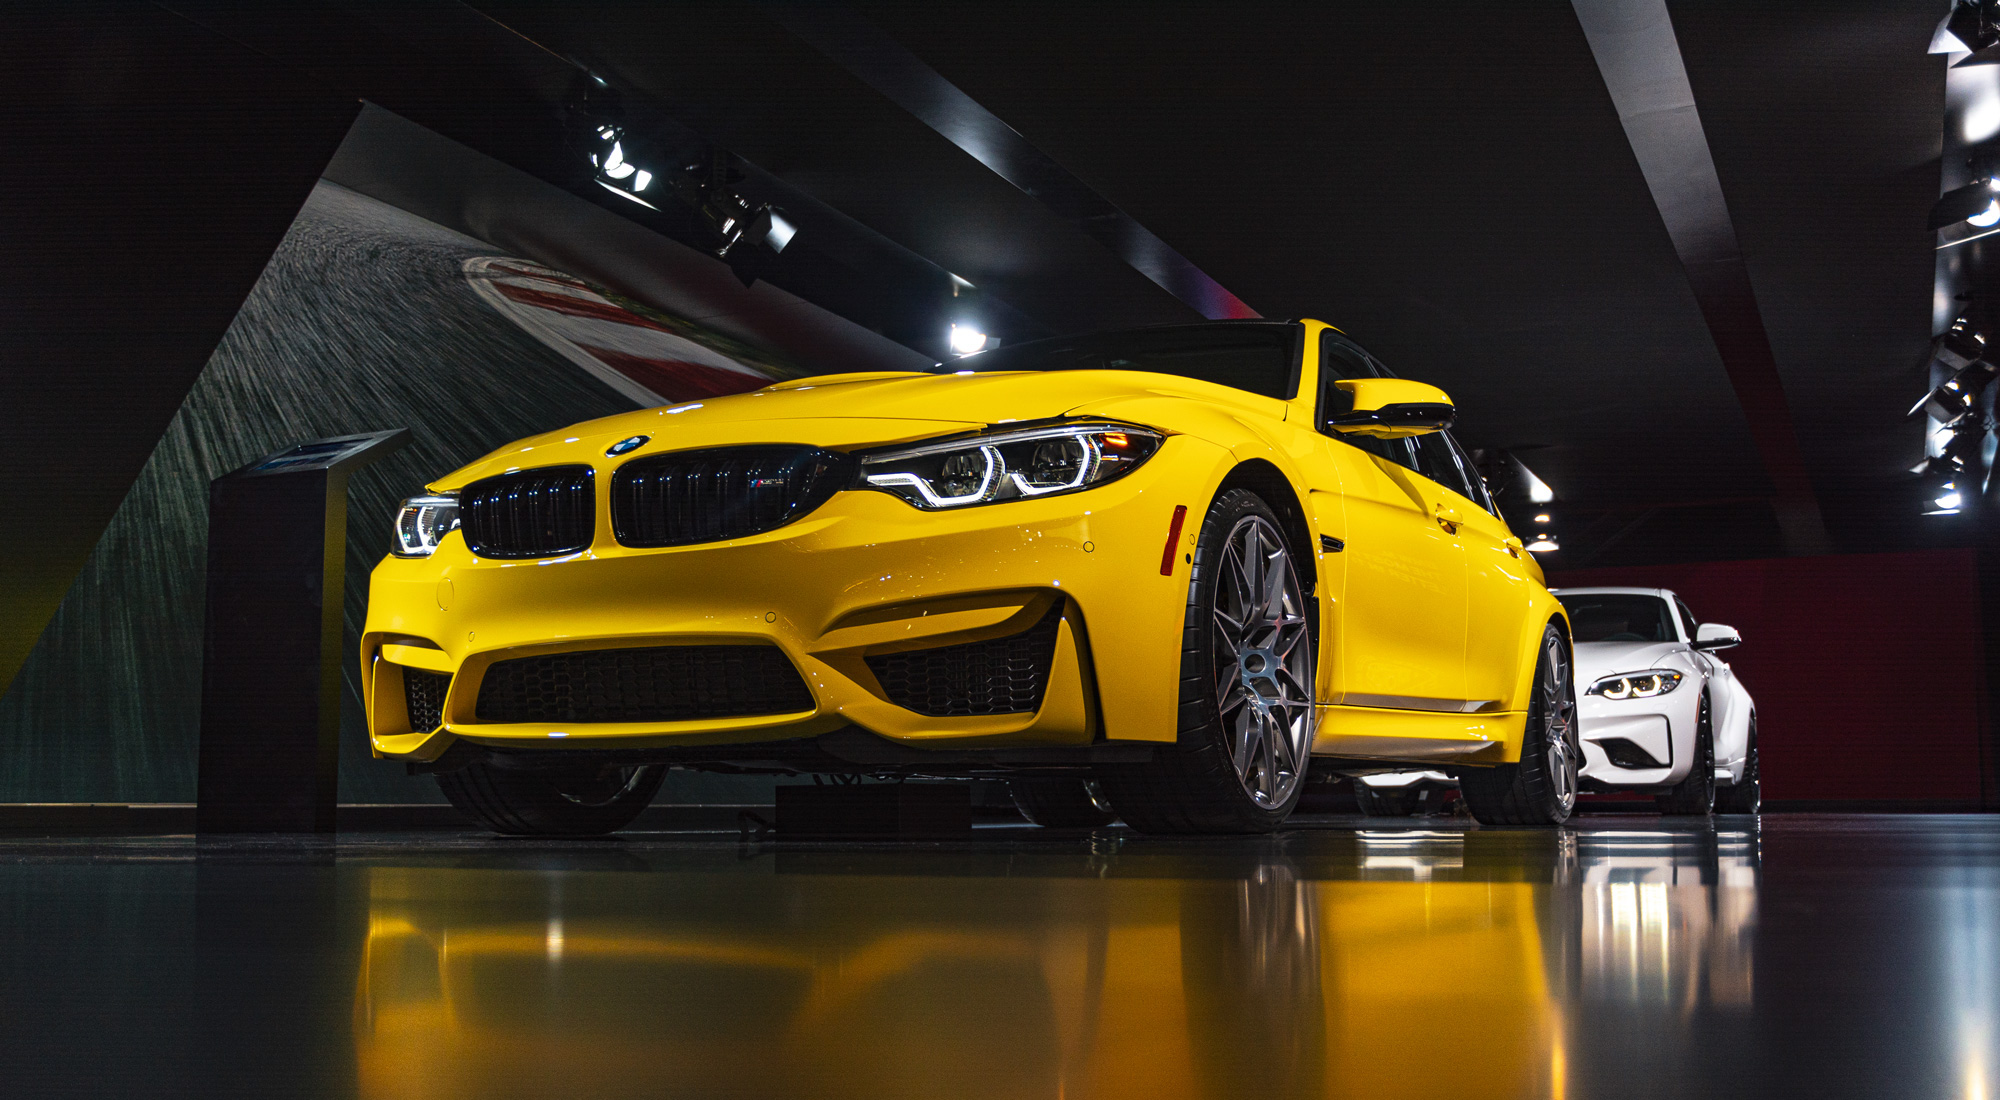
You can use photography haze to bring out the triangle-like pattern the headlights put out for a nice effect. Use a neutral density filter to help hold your exposure open longer to bring out details. You can also use a multi-point filter on your lens to create a star burst. However, make sure to shoot an exposure without this particular lens as well, since this effect is obvious and permanent. You may decide you don’t like it in the final image.
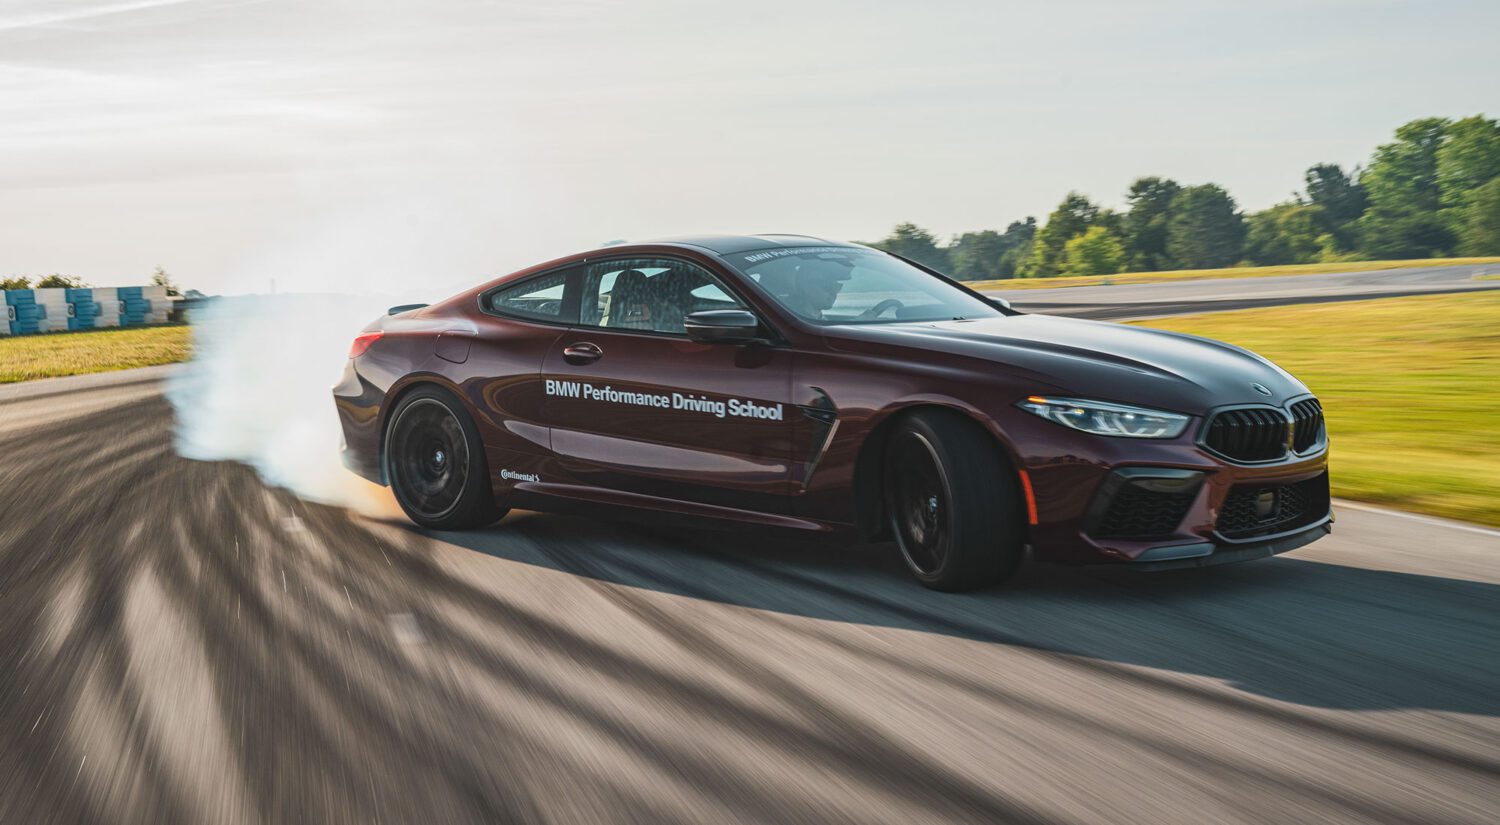
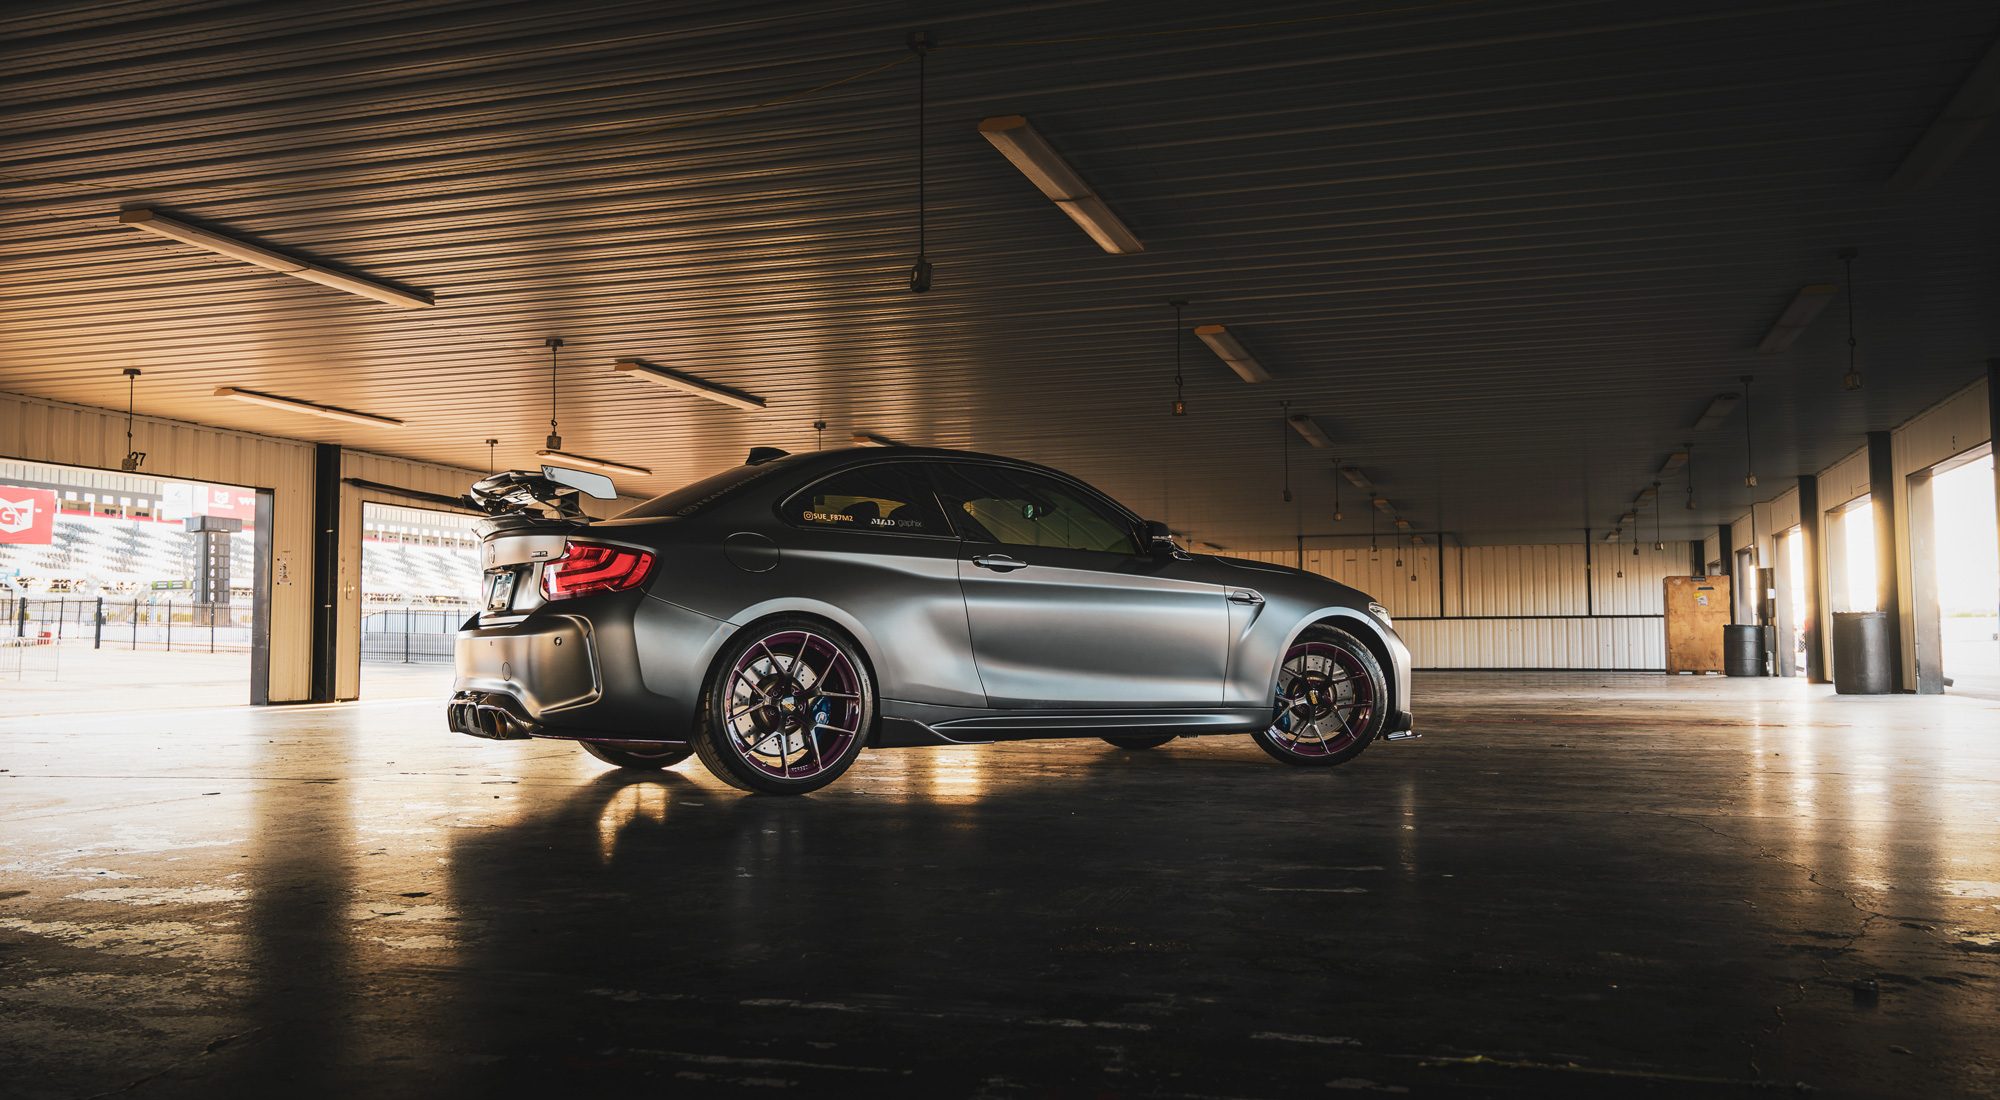
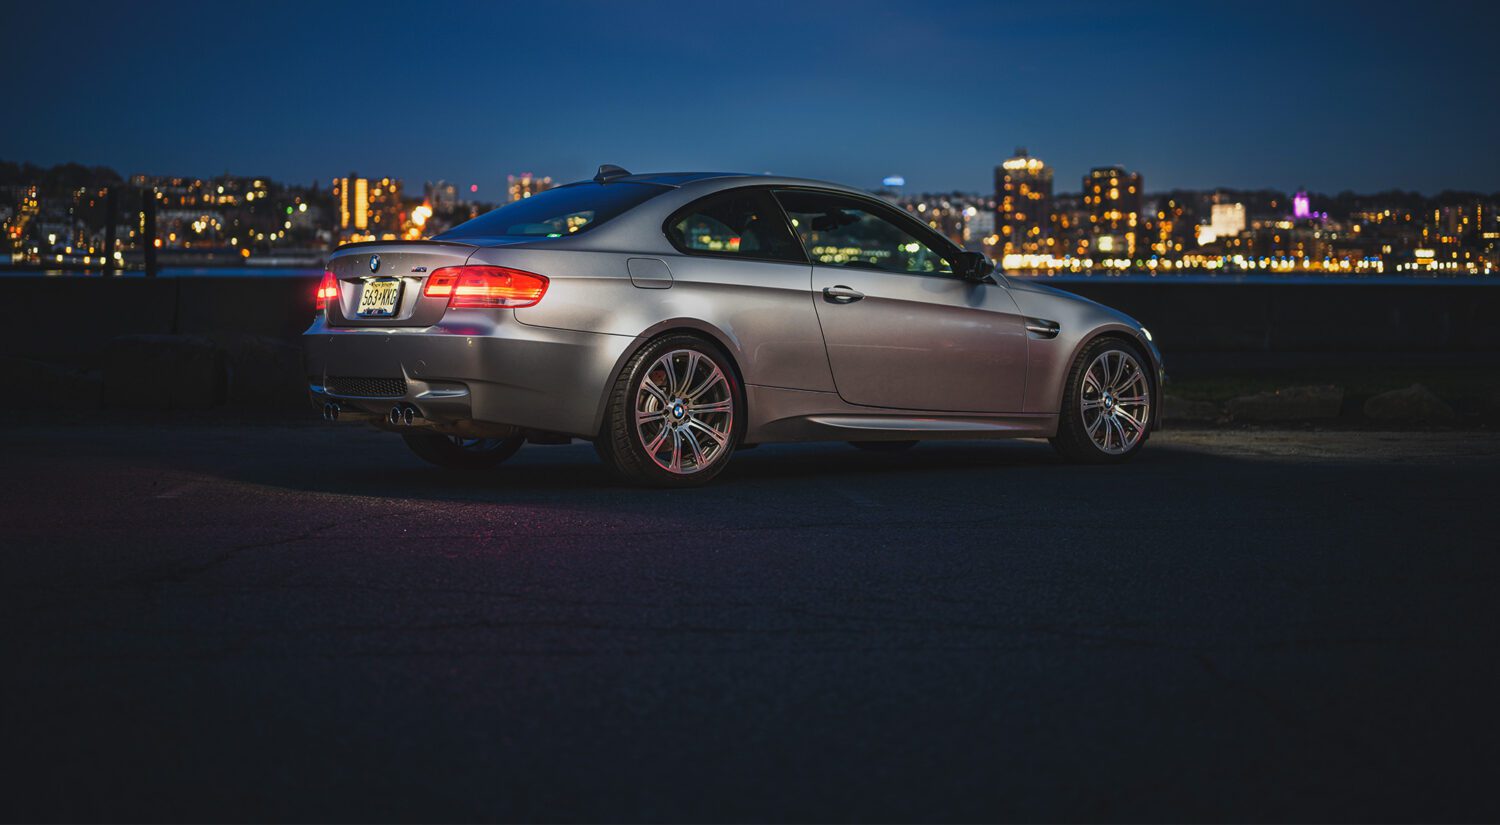
Tip 5: Hit the brakes
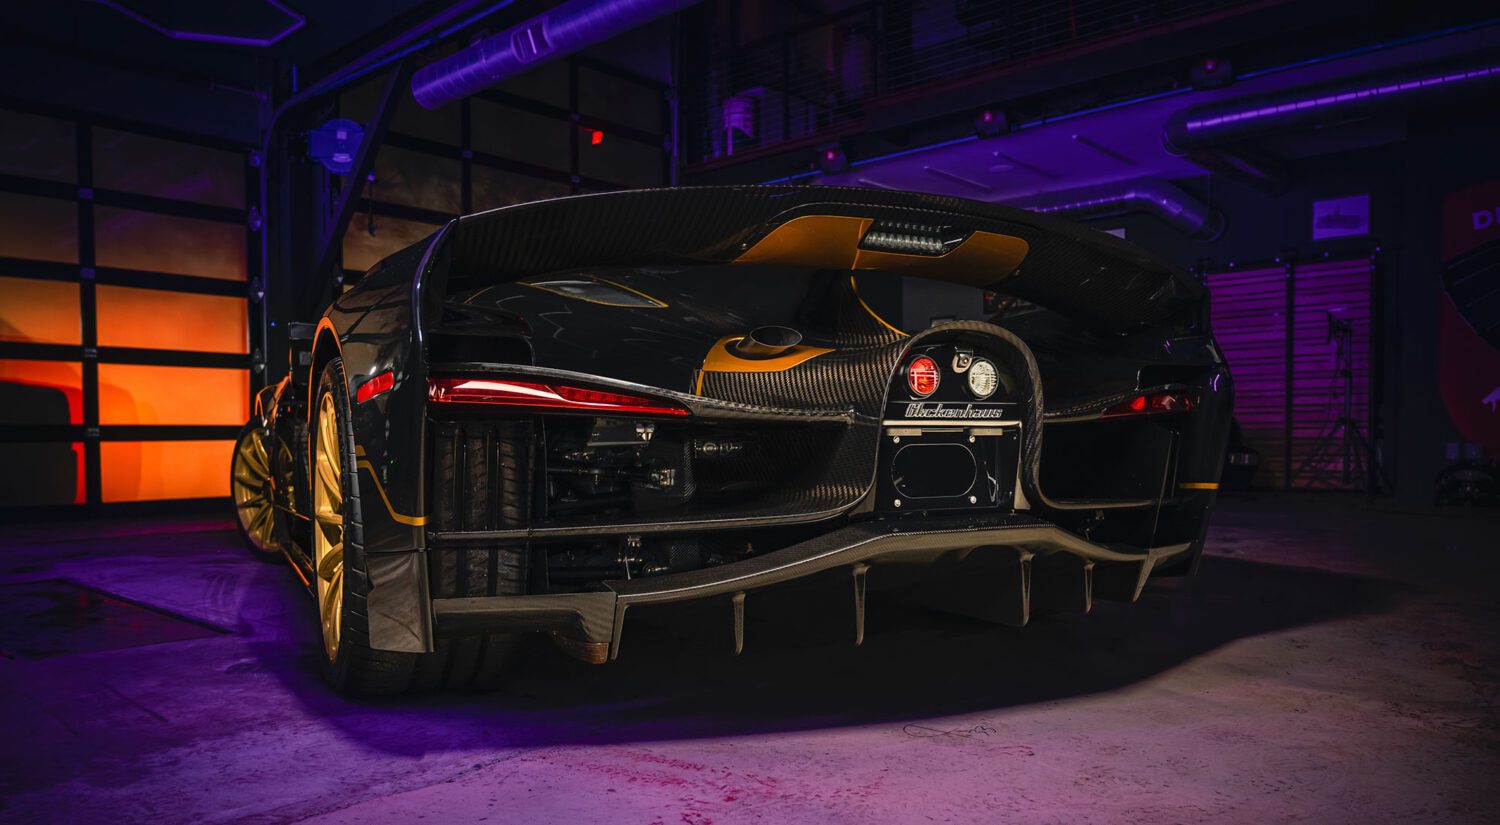
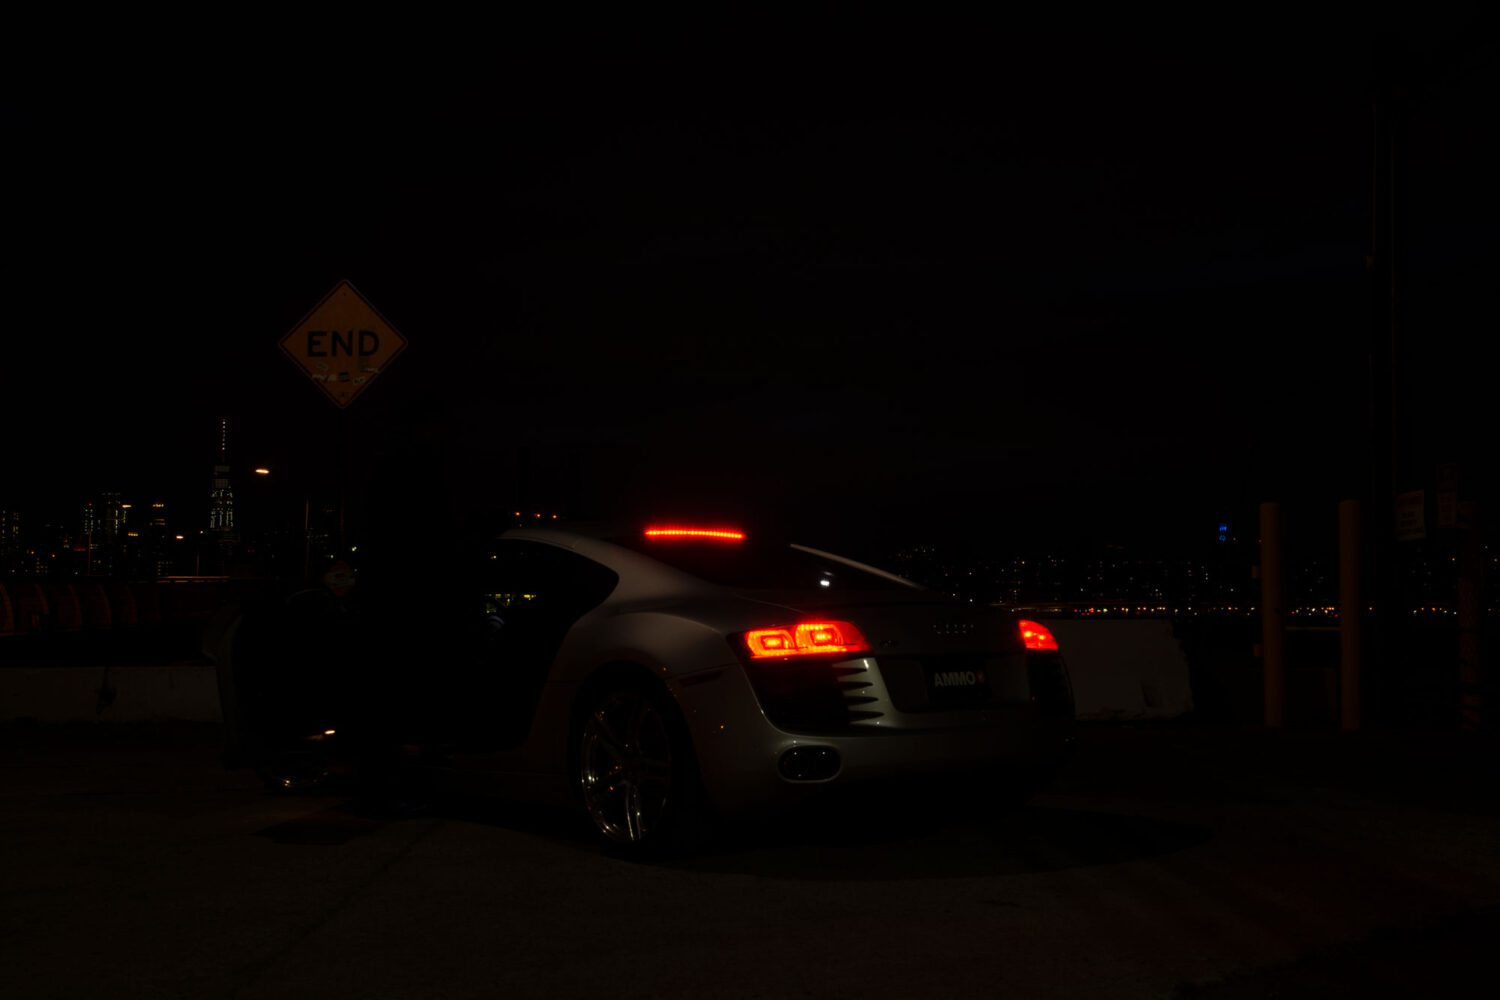
Even if shooting the front of the car, step on the brakes for an exposure and light up the rear end. The red looks great reflecting on a wall or even the floor.
Bonus: How to get a star burst
Getting a star burst in your image is easy – just move up your aperture to somewhere in the f/16 range. The smaller the aperture, the tighter the star burst. It’s rare you’d ever shoot this high normally, so if you’re looking for that burst effect, keep it in mind during your shoot.
Feel free to email me at mike@machineswithsouls.com with any questions.
Follow along on Instagram @machineswithsouls
2 thoughts on “Top 5 tips for shooting headlights”
Comments are closed.