Automotive sunsets: Everyone loves ’em. But when is the best time to shoot them? Before the sun has gone down, or after? Do I need multiple exposures? I’ll show you everything you need, including how to edit them, for the most dramatic shots possible.
Pick a good spot
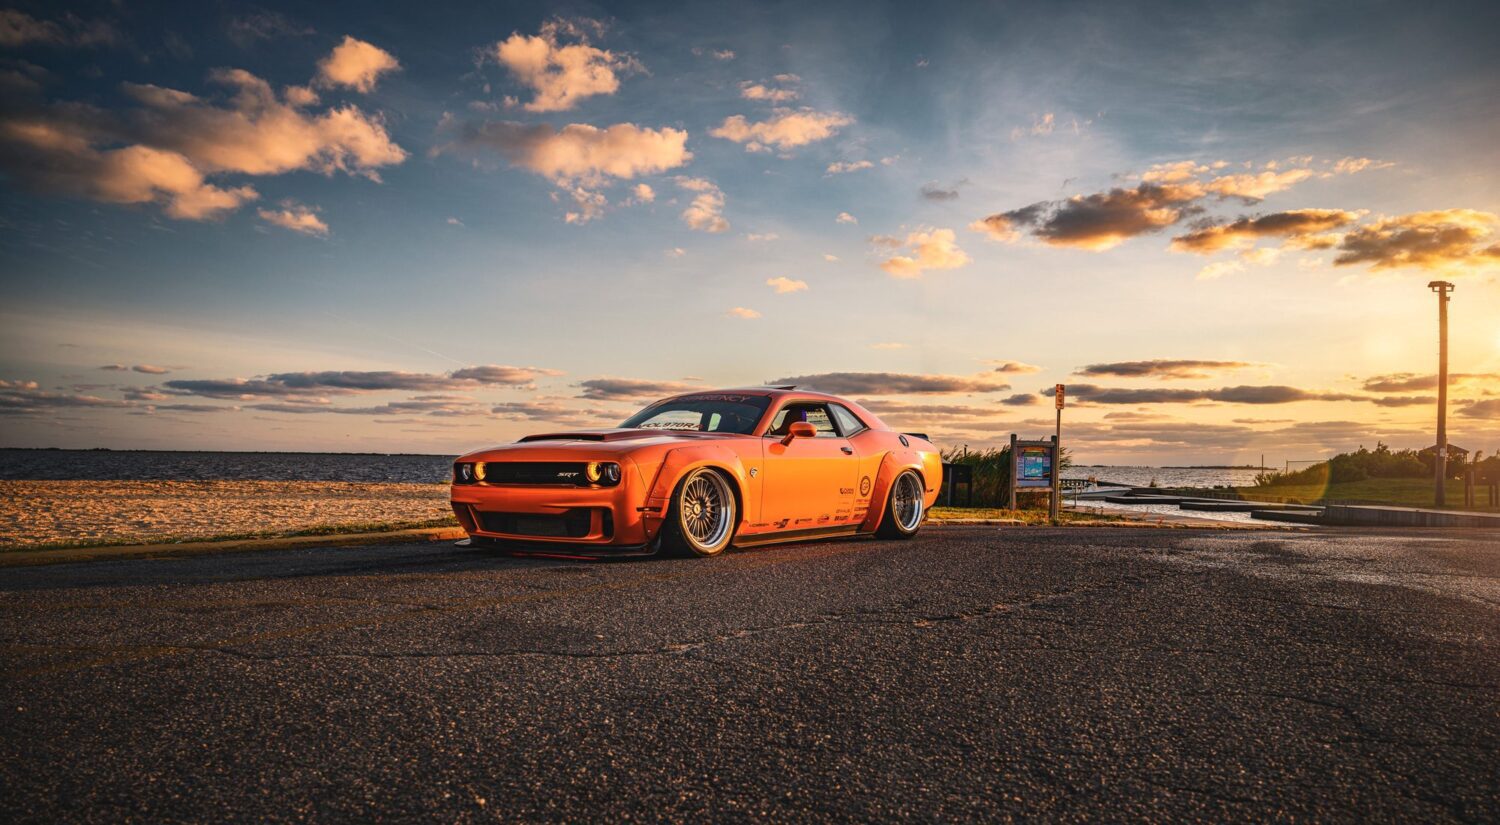
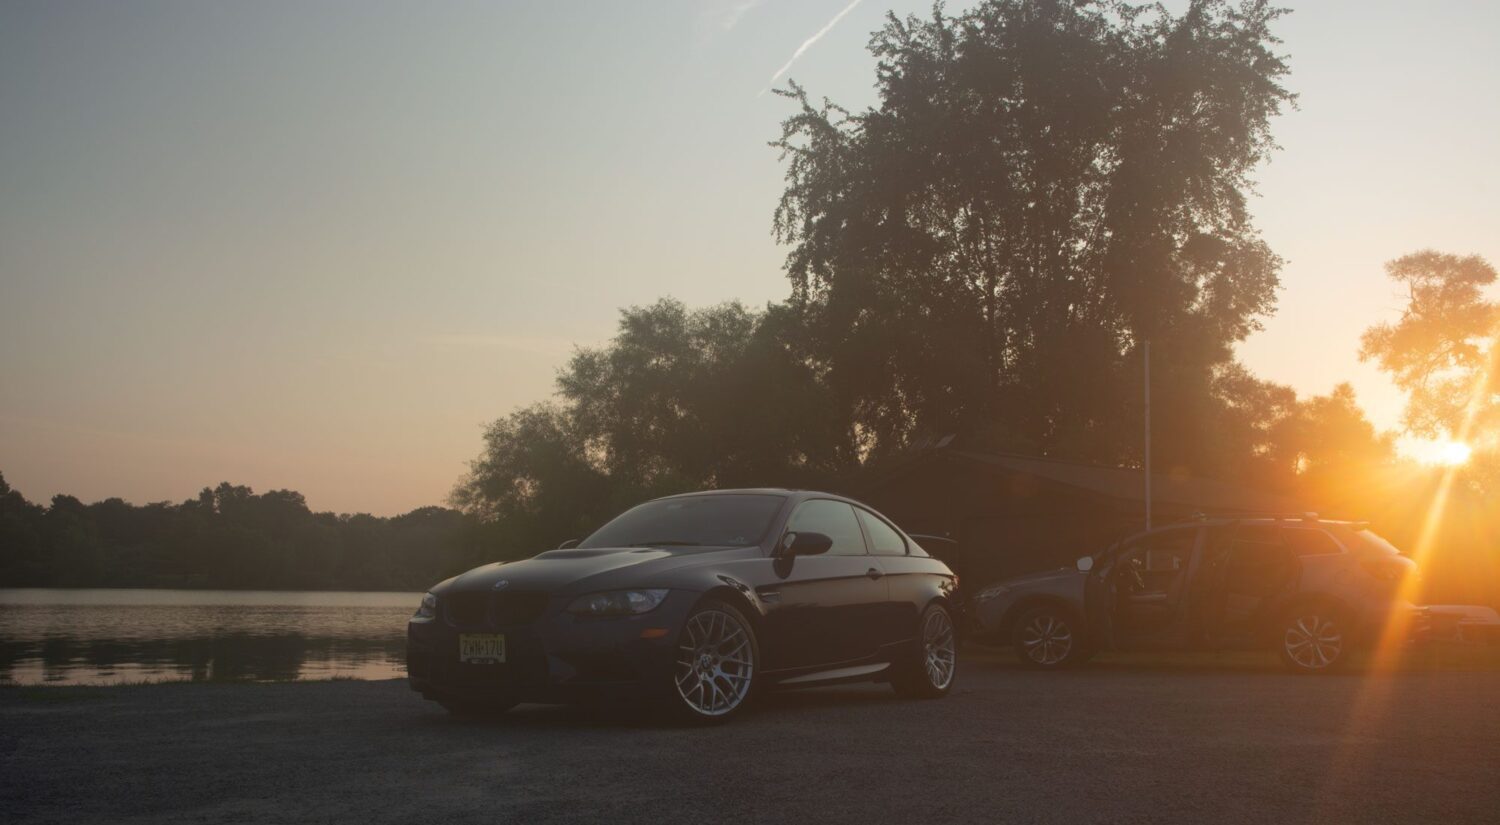
Yes, duh, as always, the first step is picking a good spot. But consider the following: Do you want to see the actual sun setting over the horizon, or just catch the beautiful sky that results from it? It can sometimes be a challenge to find a spot with a clear horizon view. Also consider if you want the camera facing the sun, or away from it. Facing towards it will give you a dramatic flair, but at the cost of losing some sky color and shadow.

The best time
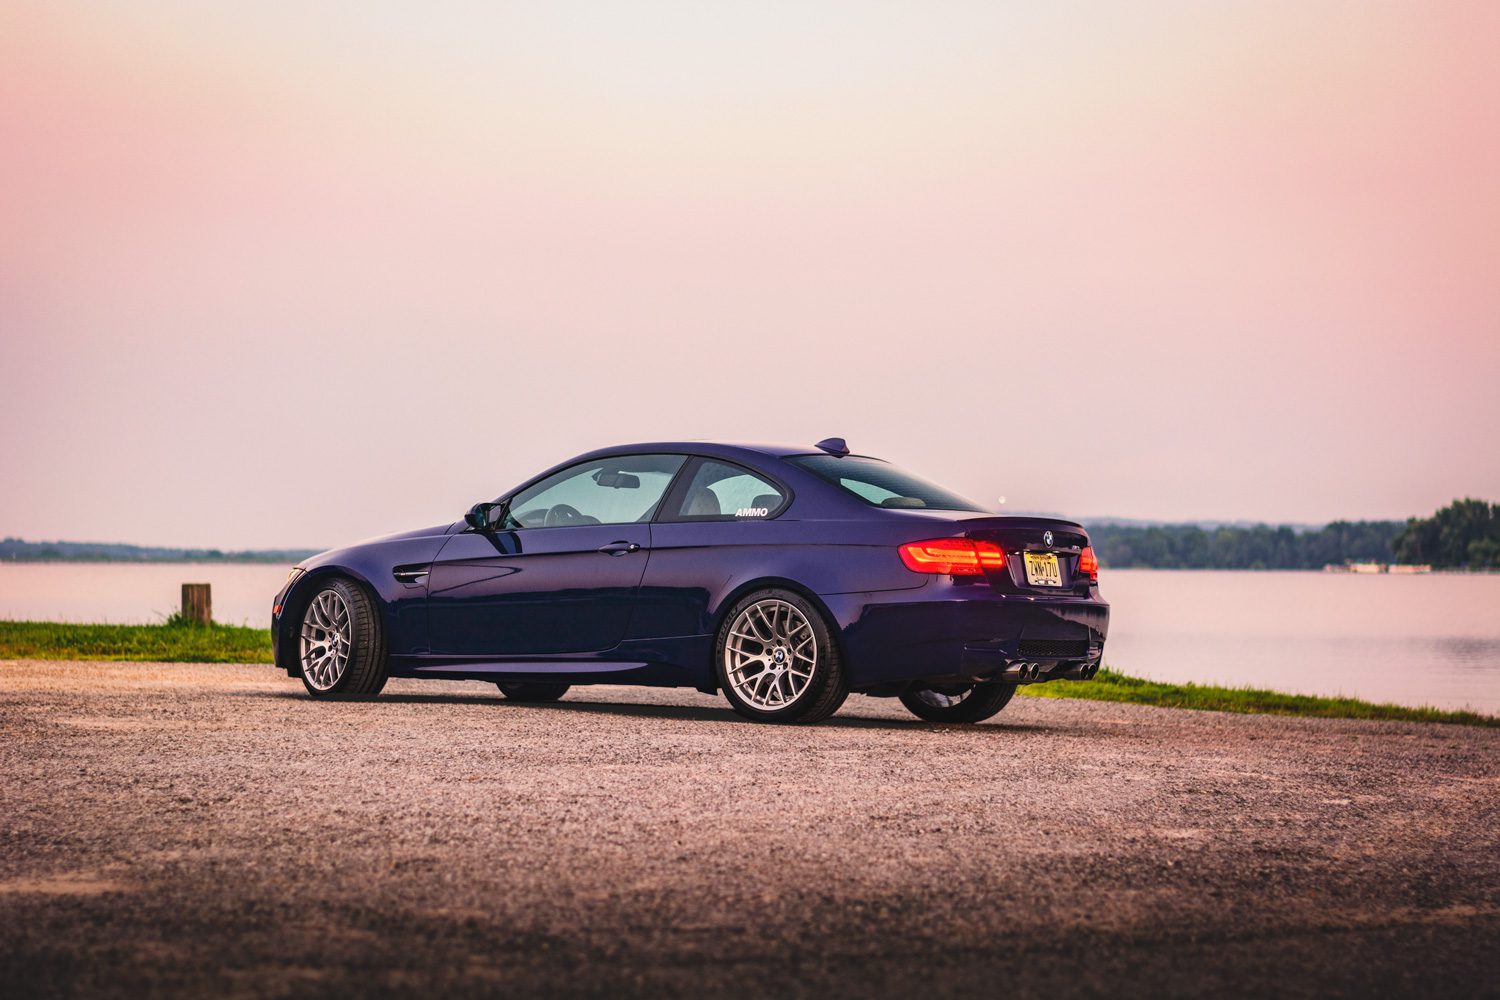
Sunrise / sunset is the best time to shoot a car, giving the scene nice, even light. But there are still “sections” of time that work best for images. Let’s take a typical summer evening. If you start shooting at 6:30, you have about an hour of good, usable light to work with. I find it best to wait until the sun has almost set, about 7:10, and keep the exposure longer, which helps bring out details in shadows and sky. Since you’ll want to try different angles, walk around your location and shoot a few empty frames, just to see how the light and sky look – then move the car to your desired spot and and begin working. Remember that even in the summer, the light will change very fast; you’ll never get the same shot twice if you move the car, so make sure you save your best spot for the best light.

Shoot lots
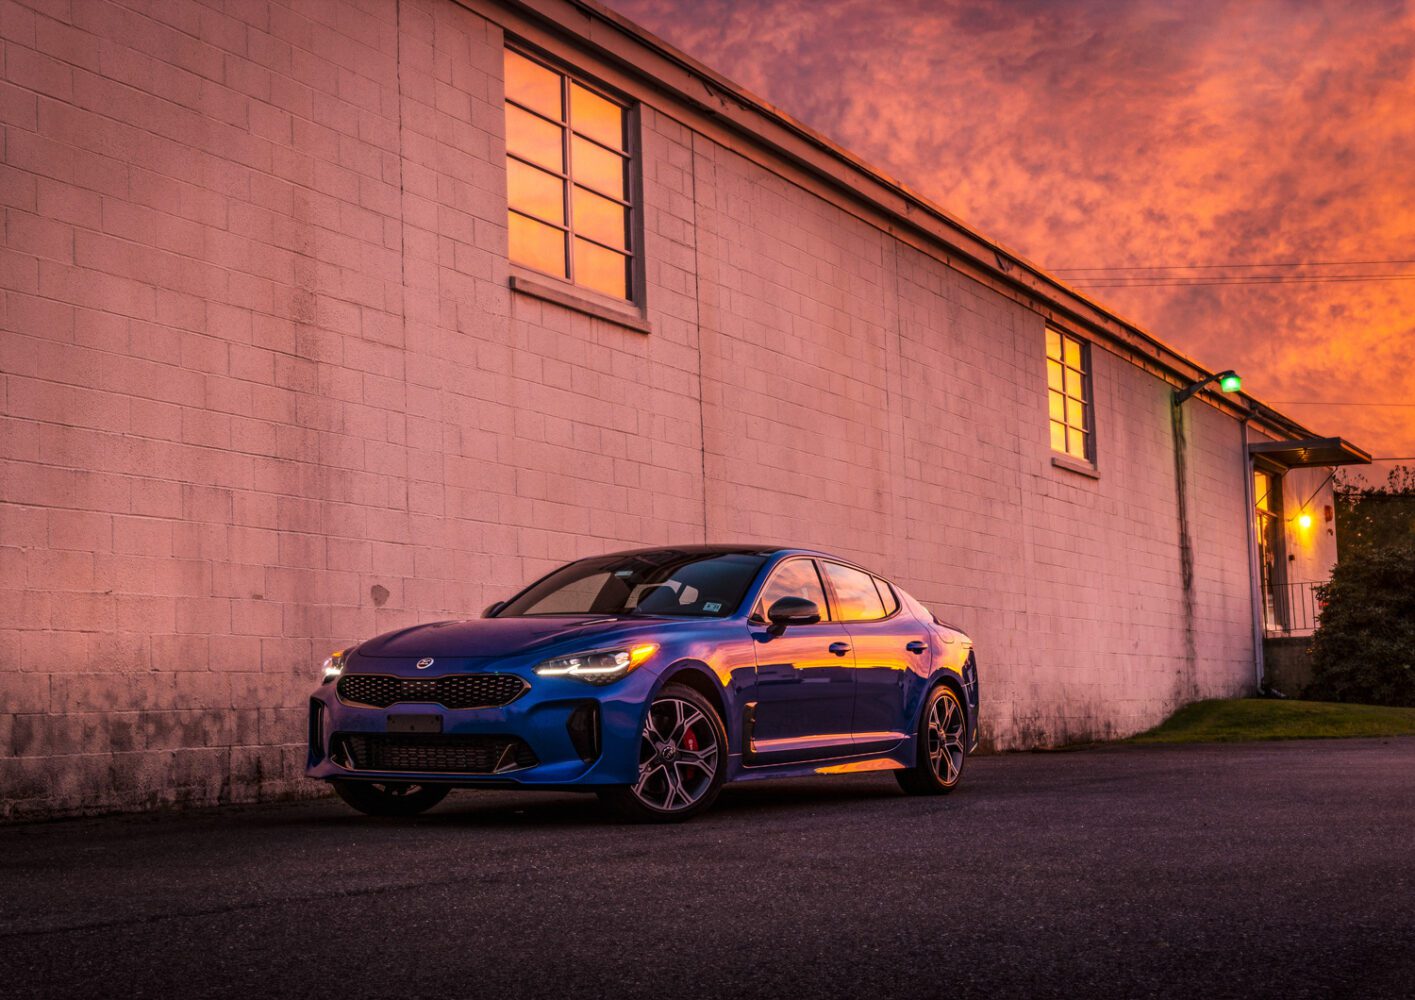
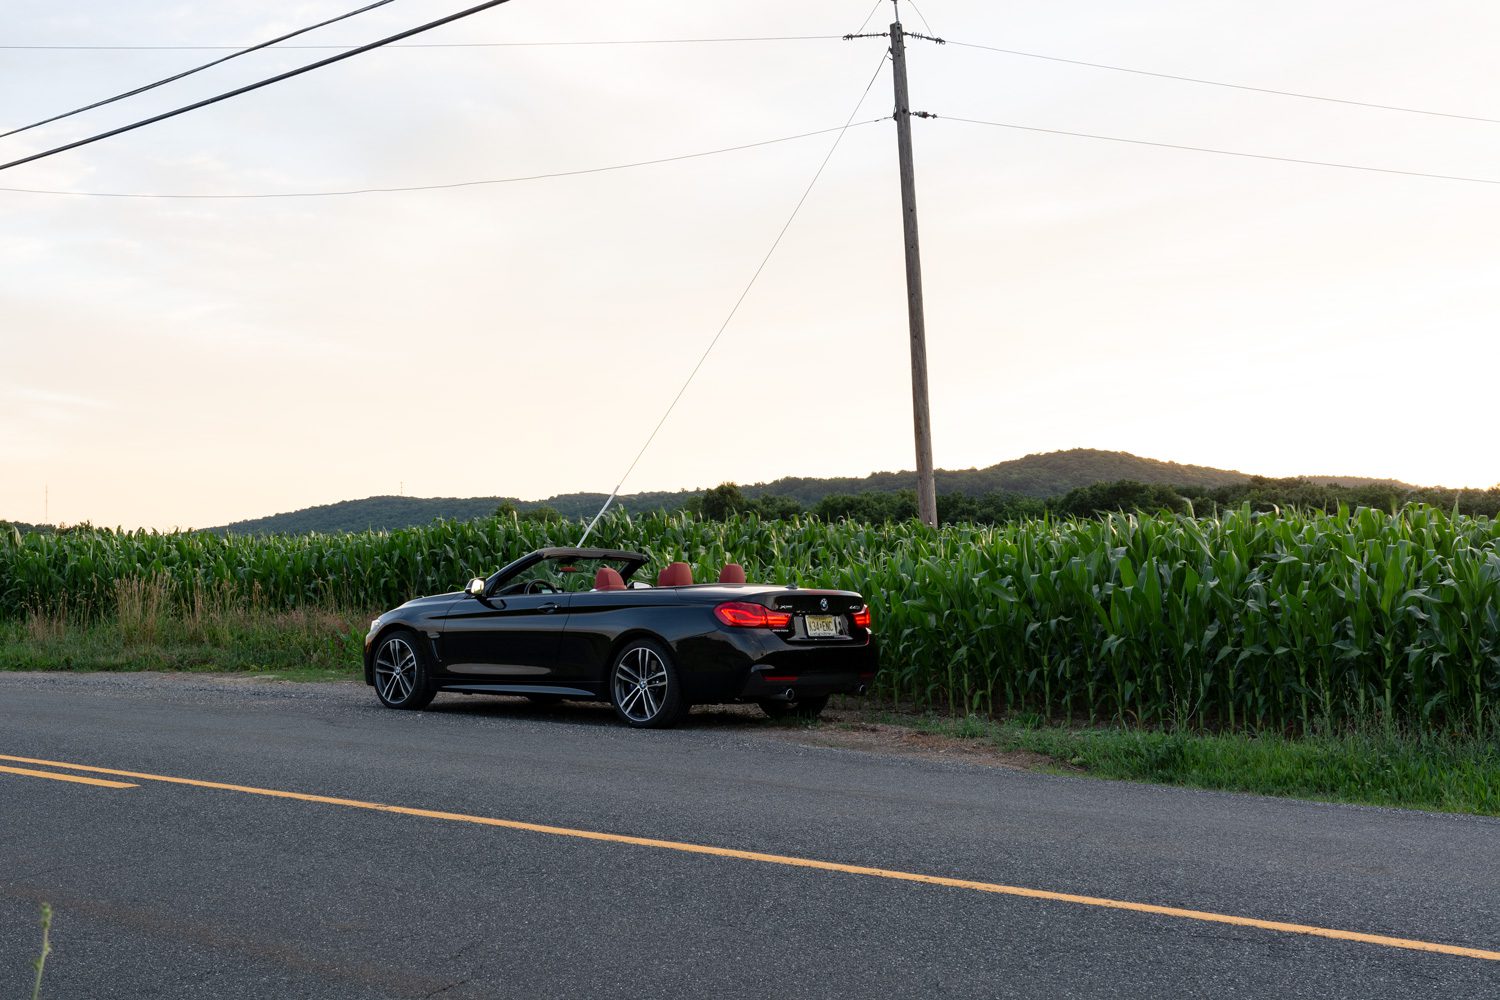
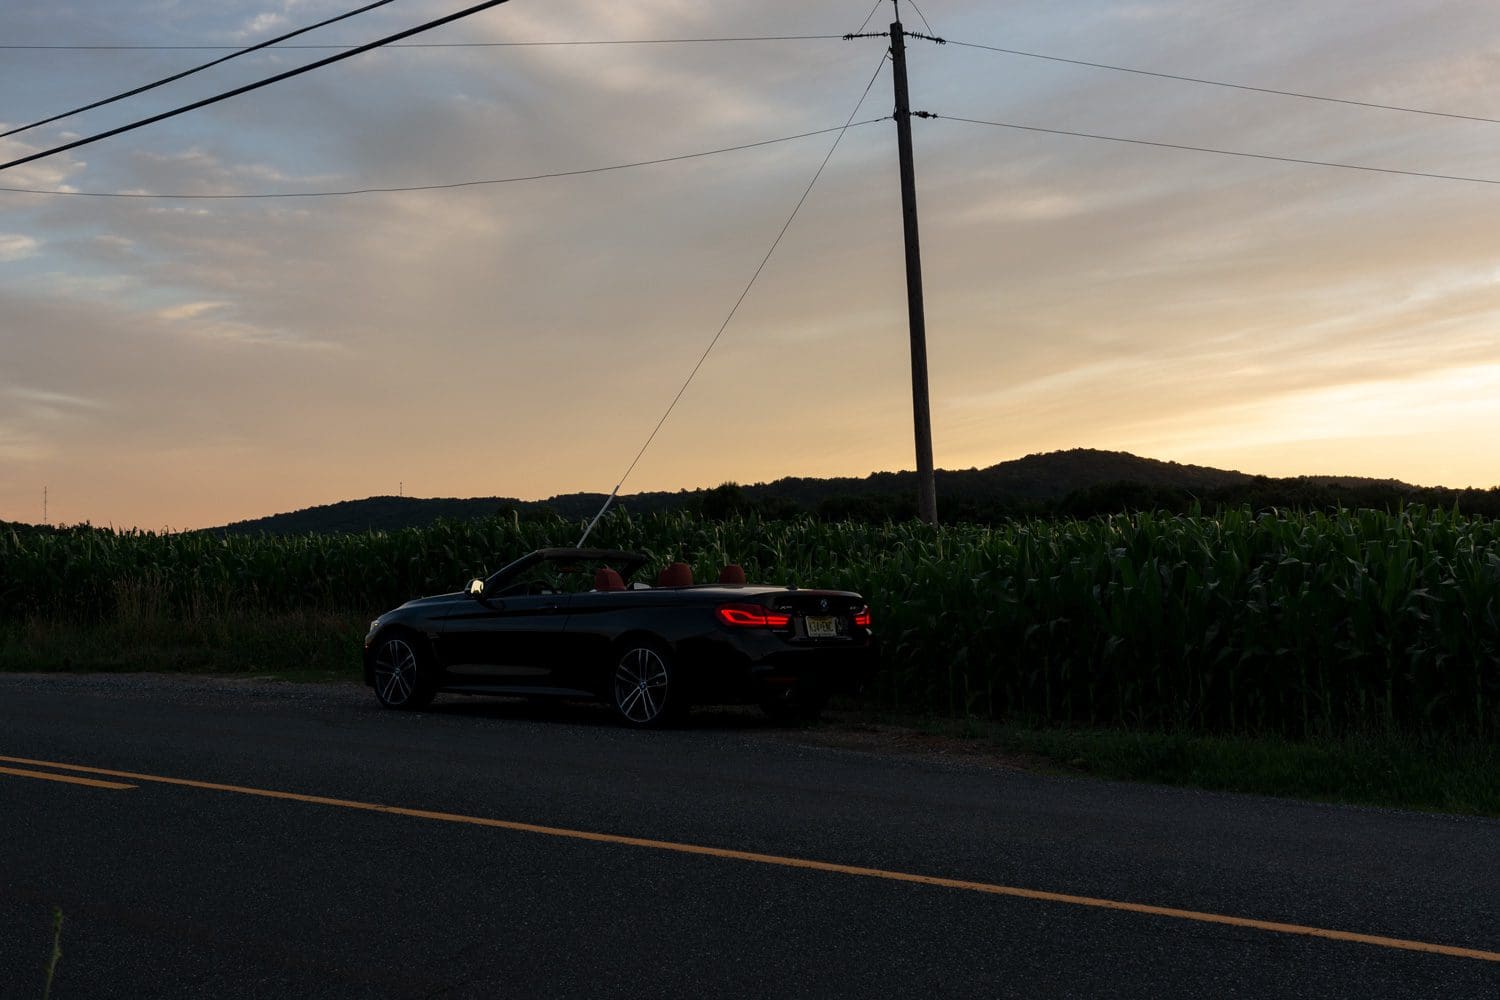
A camera, no matter how fancy, cannot see everything at once, and sunset produces a high contrast scene, meaning there is a lot of difference between the brightest and darkest points of an image. To overcome this and create an evenly lit image, you must take multiple exposures and combine them. Usually 2-3 is enough. Shoot one where you focus on the car itself, raise the exposure for lighter shadows and more detail. Shoot a second on a shorter exposure to help bring out the clouds and sun in the sky – you don’t want this to appear blown out because we’ll add the sky to the original exposure shot for the car. If you have the sun directly in your image, shoot a third image with a short exposure so both the sun and surrounding area do not appear blown out.
If you’re looking for a sharp starburst in your sunset, then set your aperture up higher – around F/16. The higher the F stop, the more defined the star burst will become.

After the sun has gone down.
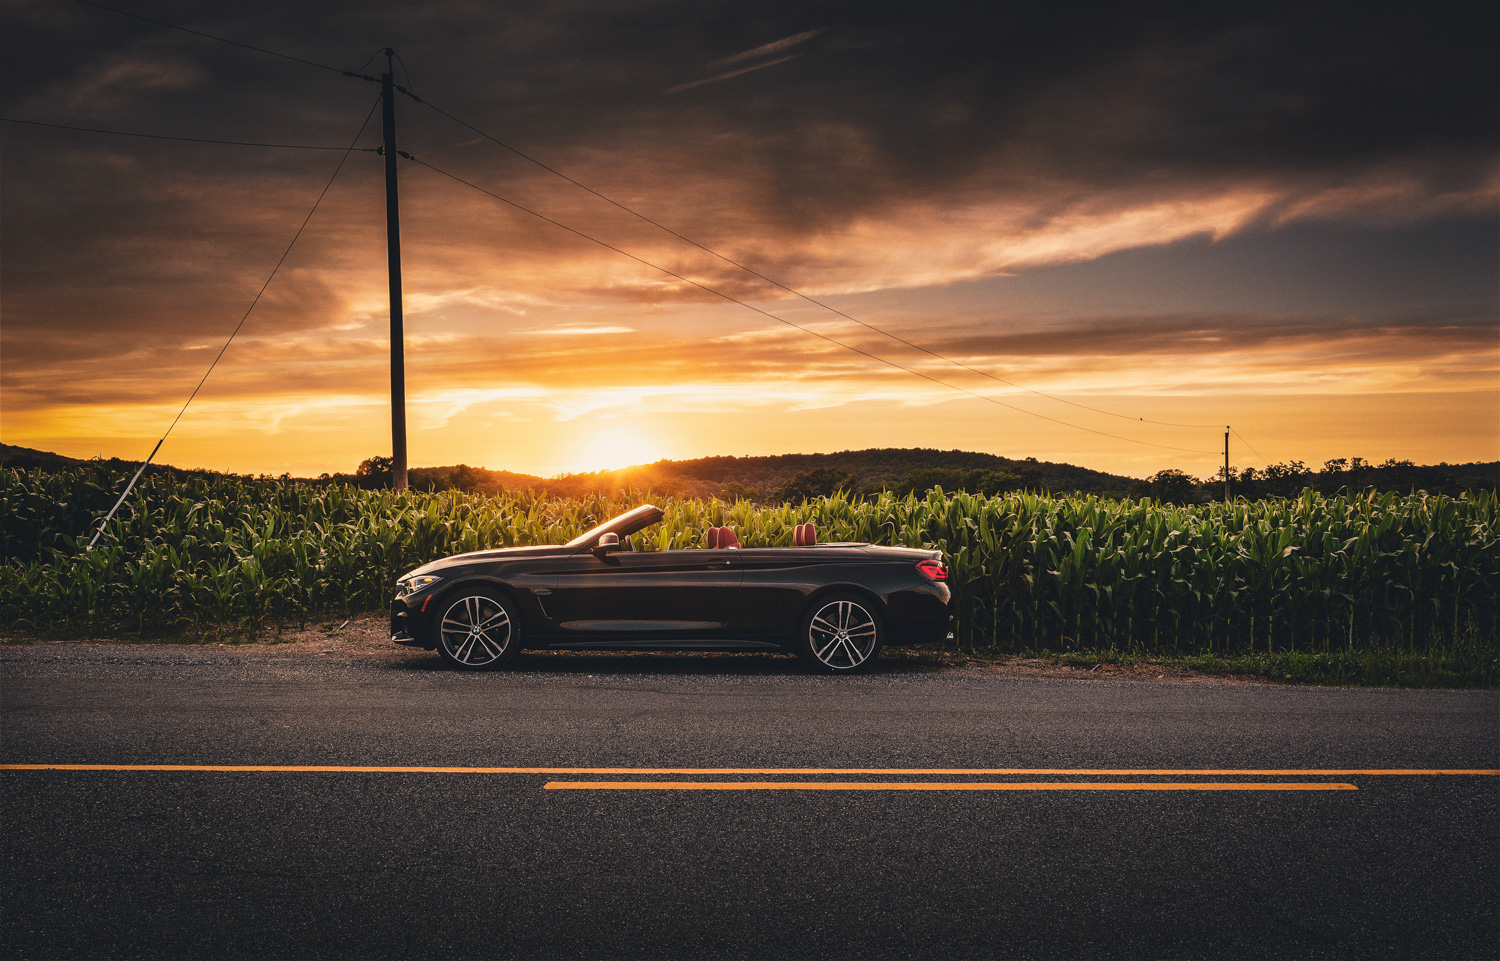
Just because the sun left does not mean you’re out of good light. The first few minutes after a sunset can create a brilliant sky, so pick a spot and fire away. Keep your exposure up higher, and shoot at least 2 frames for the car and sky. I also bring along my ice light, in case there are some spots that need an additional hit of light to bring details out of.
A general rule of color: if you want an orange sky, shoot before the sun goes down. For purple tones, shoot right after as it gets darker.

Lens flair
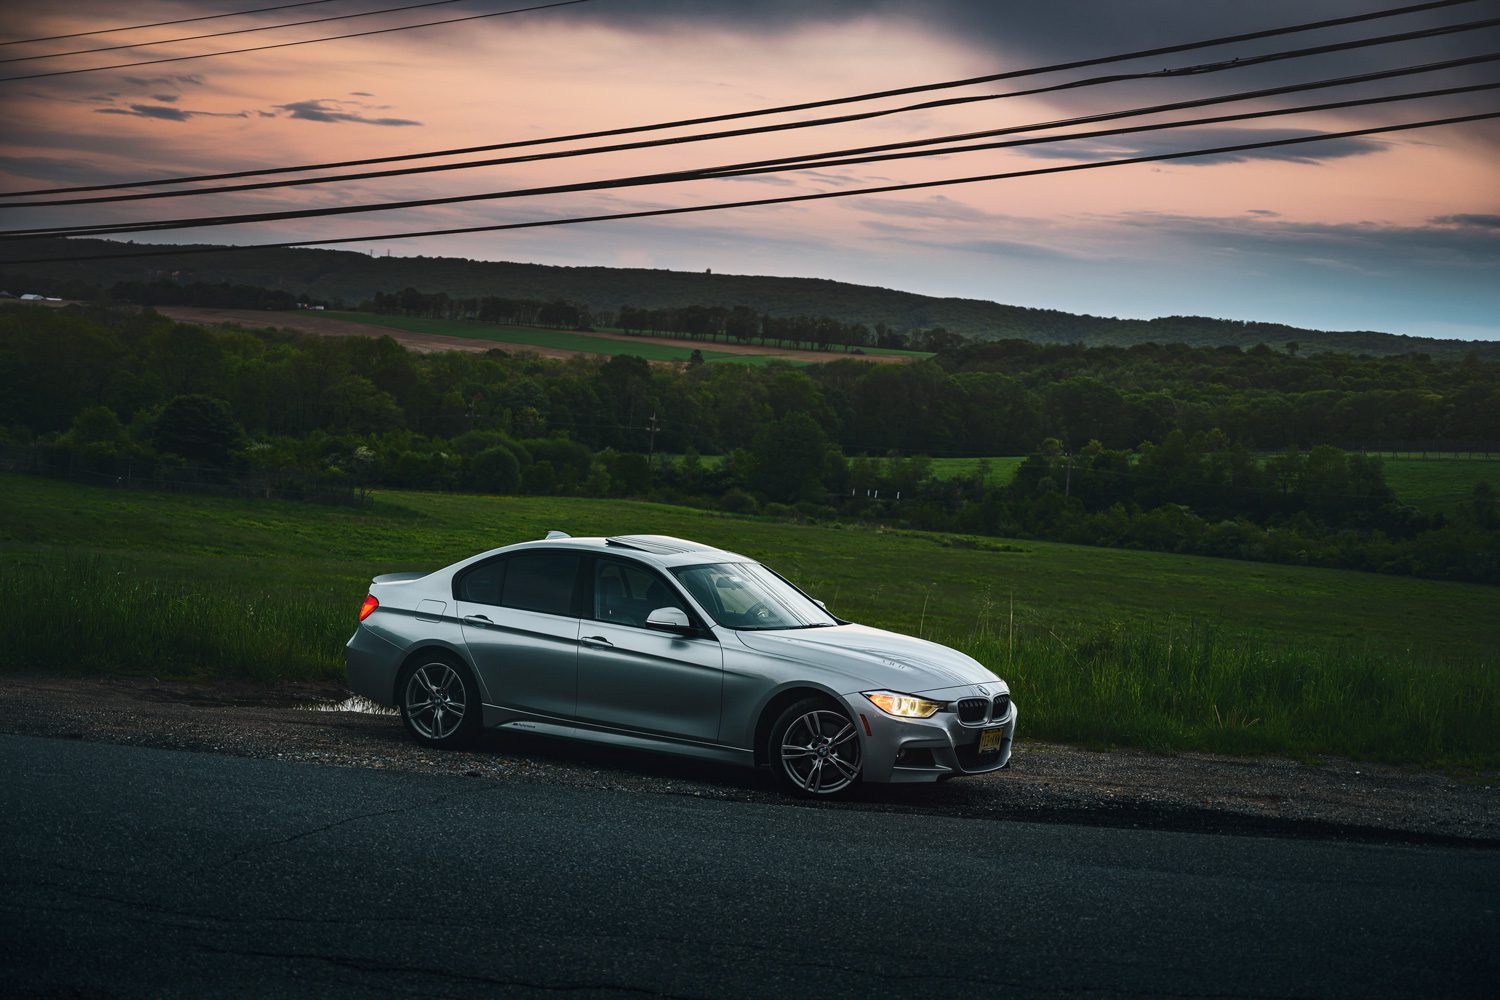
Sunrise/Sunset is the perfect time to add a little something extra in the order of a lens flair in post production. The best place to add it would be the brightest part of your sky in the image. Make sure to match the light source of the sun itself, otherwise you’ll have natural light coming in one direction, and the lens flair in the other, and it won’t look real.
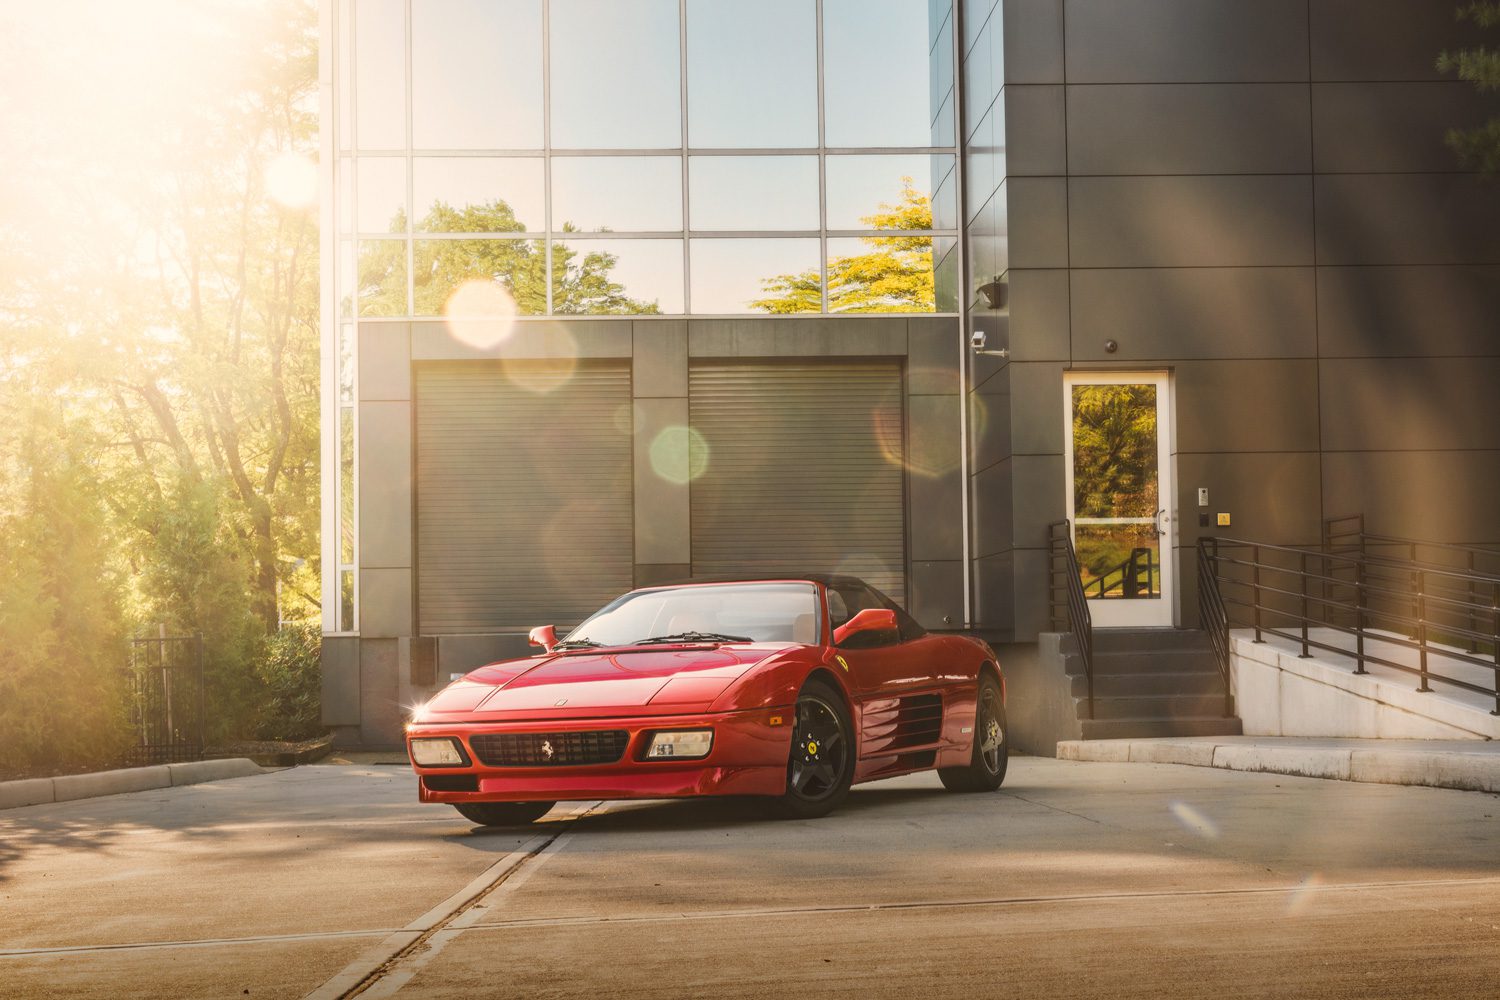
You can also add some natural flair by shooting into the sun. Just don’t go overboard, and make sure to get a few without the flair, in case the client finds it distracting.

Example time
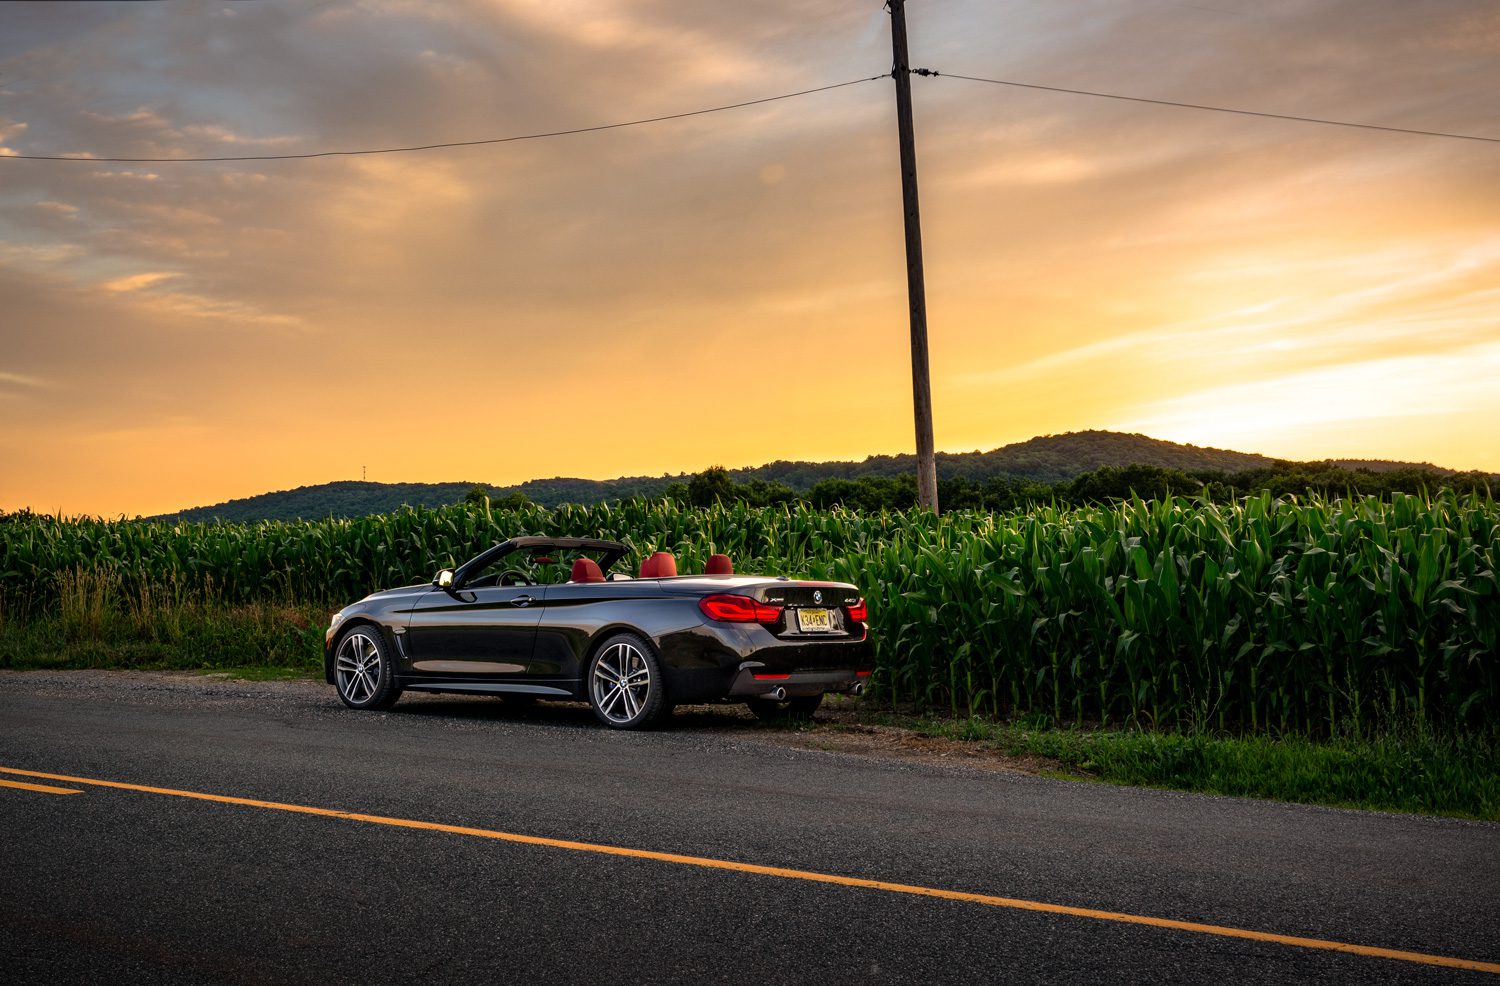
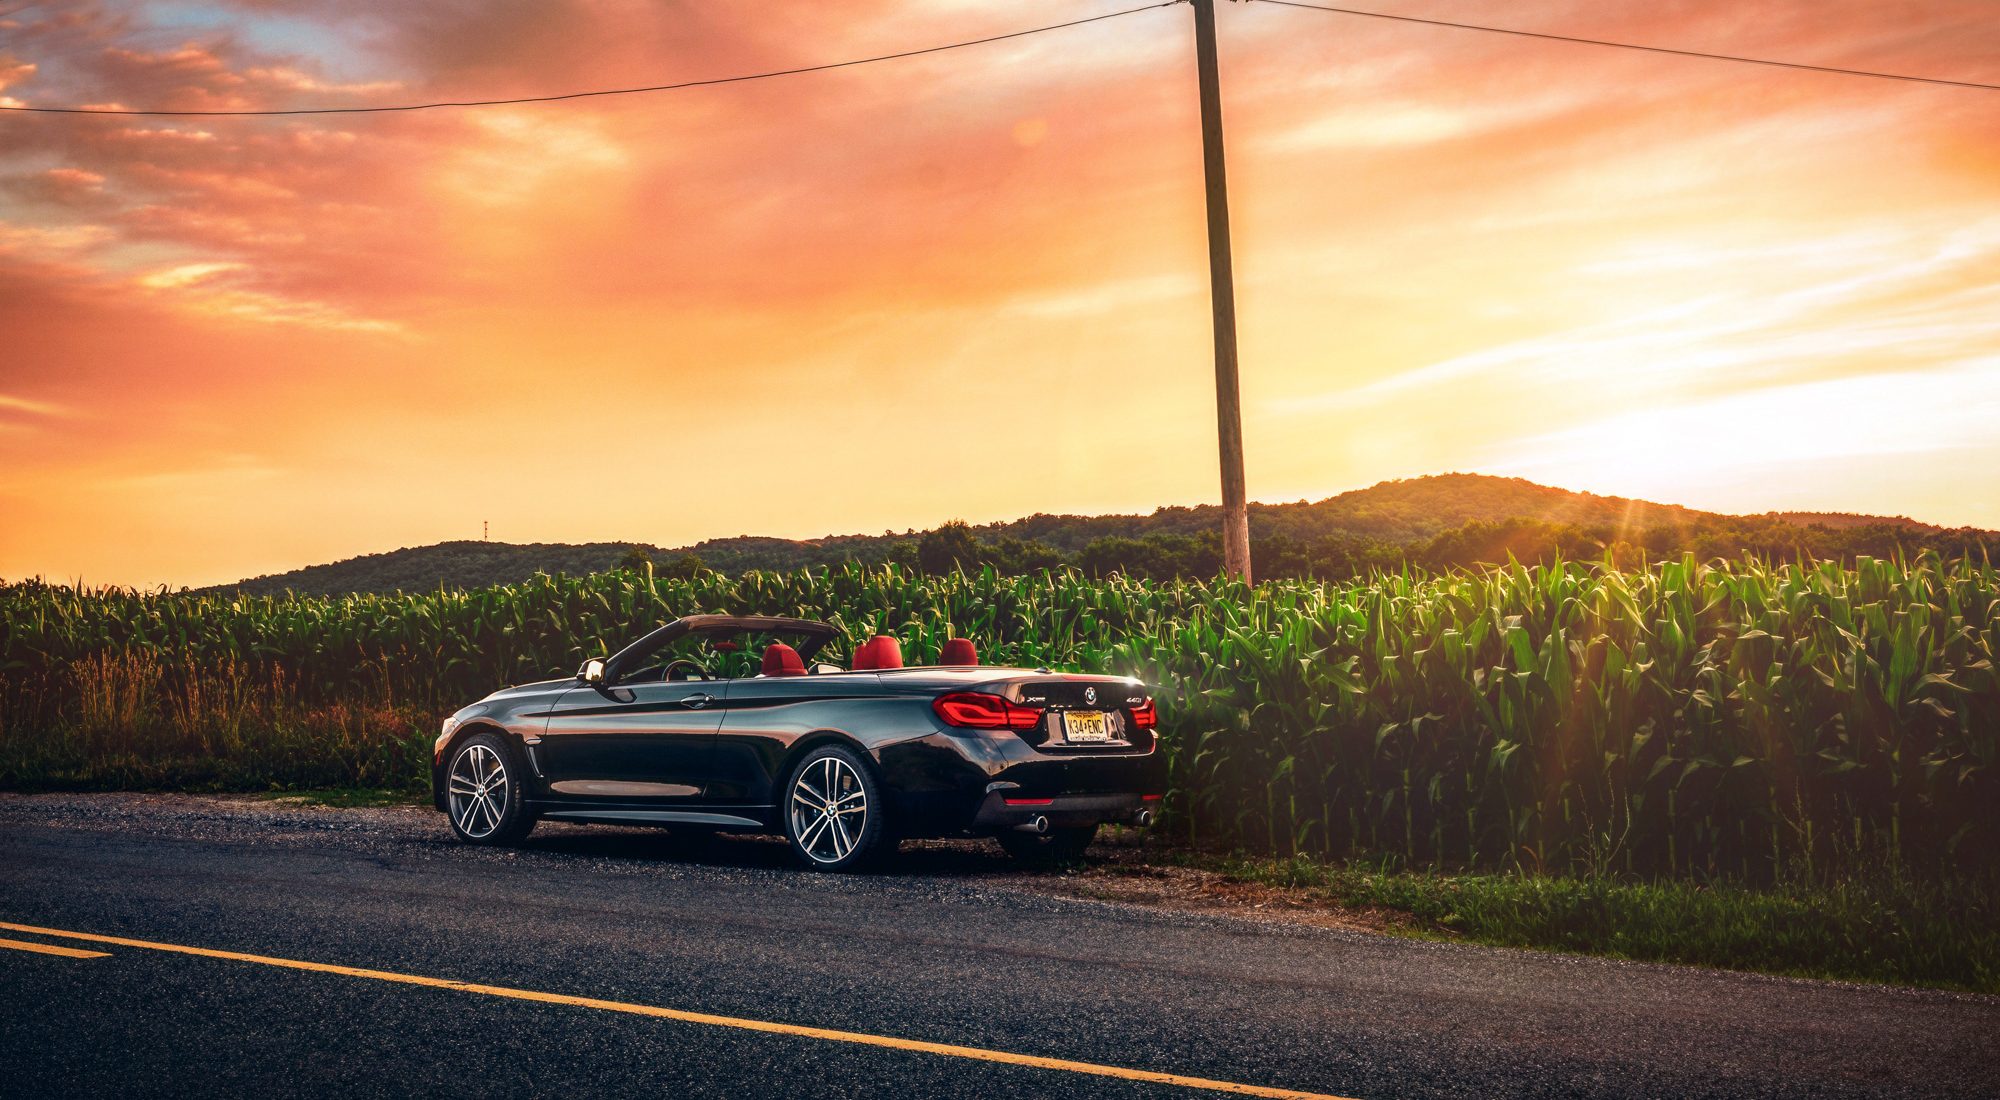
I’ll now walk you through the shot at the top of this article of a BMW 440i Convertible, shot for BMW of Roxbury.
1. The set up
Location: 270 Watters Road, Port Murray, NJ.
Camera: Nikon D5200.
Lens: Nikon 16-80 mm lens
- Focal length: 38mm
- Aperture: F/11
- Color balance: Shade setting
- Exposure times: 1/6, 1/80
- Mounted on tripod with remote shutter
- ISO: 100
Time: 8:20 p.m.
2. The shots


3. Combine in post
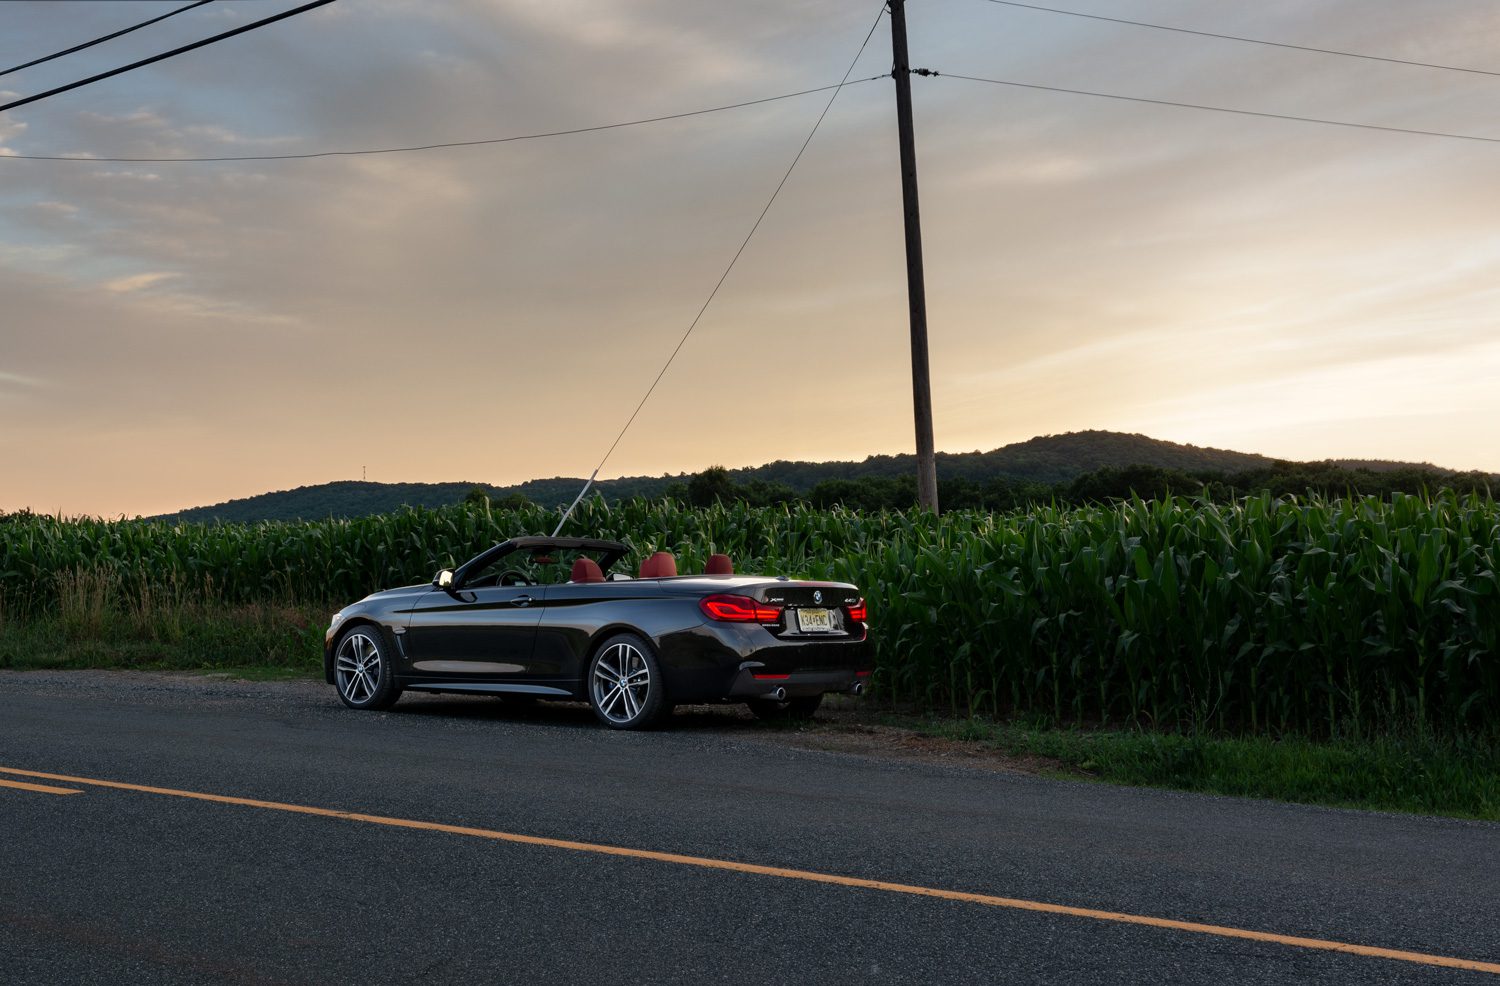
As always, you’ll can to combine the images into a single shot in photoshop. Bring both images into photoshop, and put a mask on the darker of the 2 images, then, paint in the sky and in this case, some road in the foreground.

4. Edit
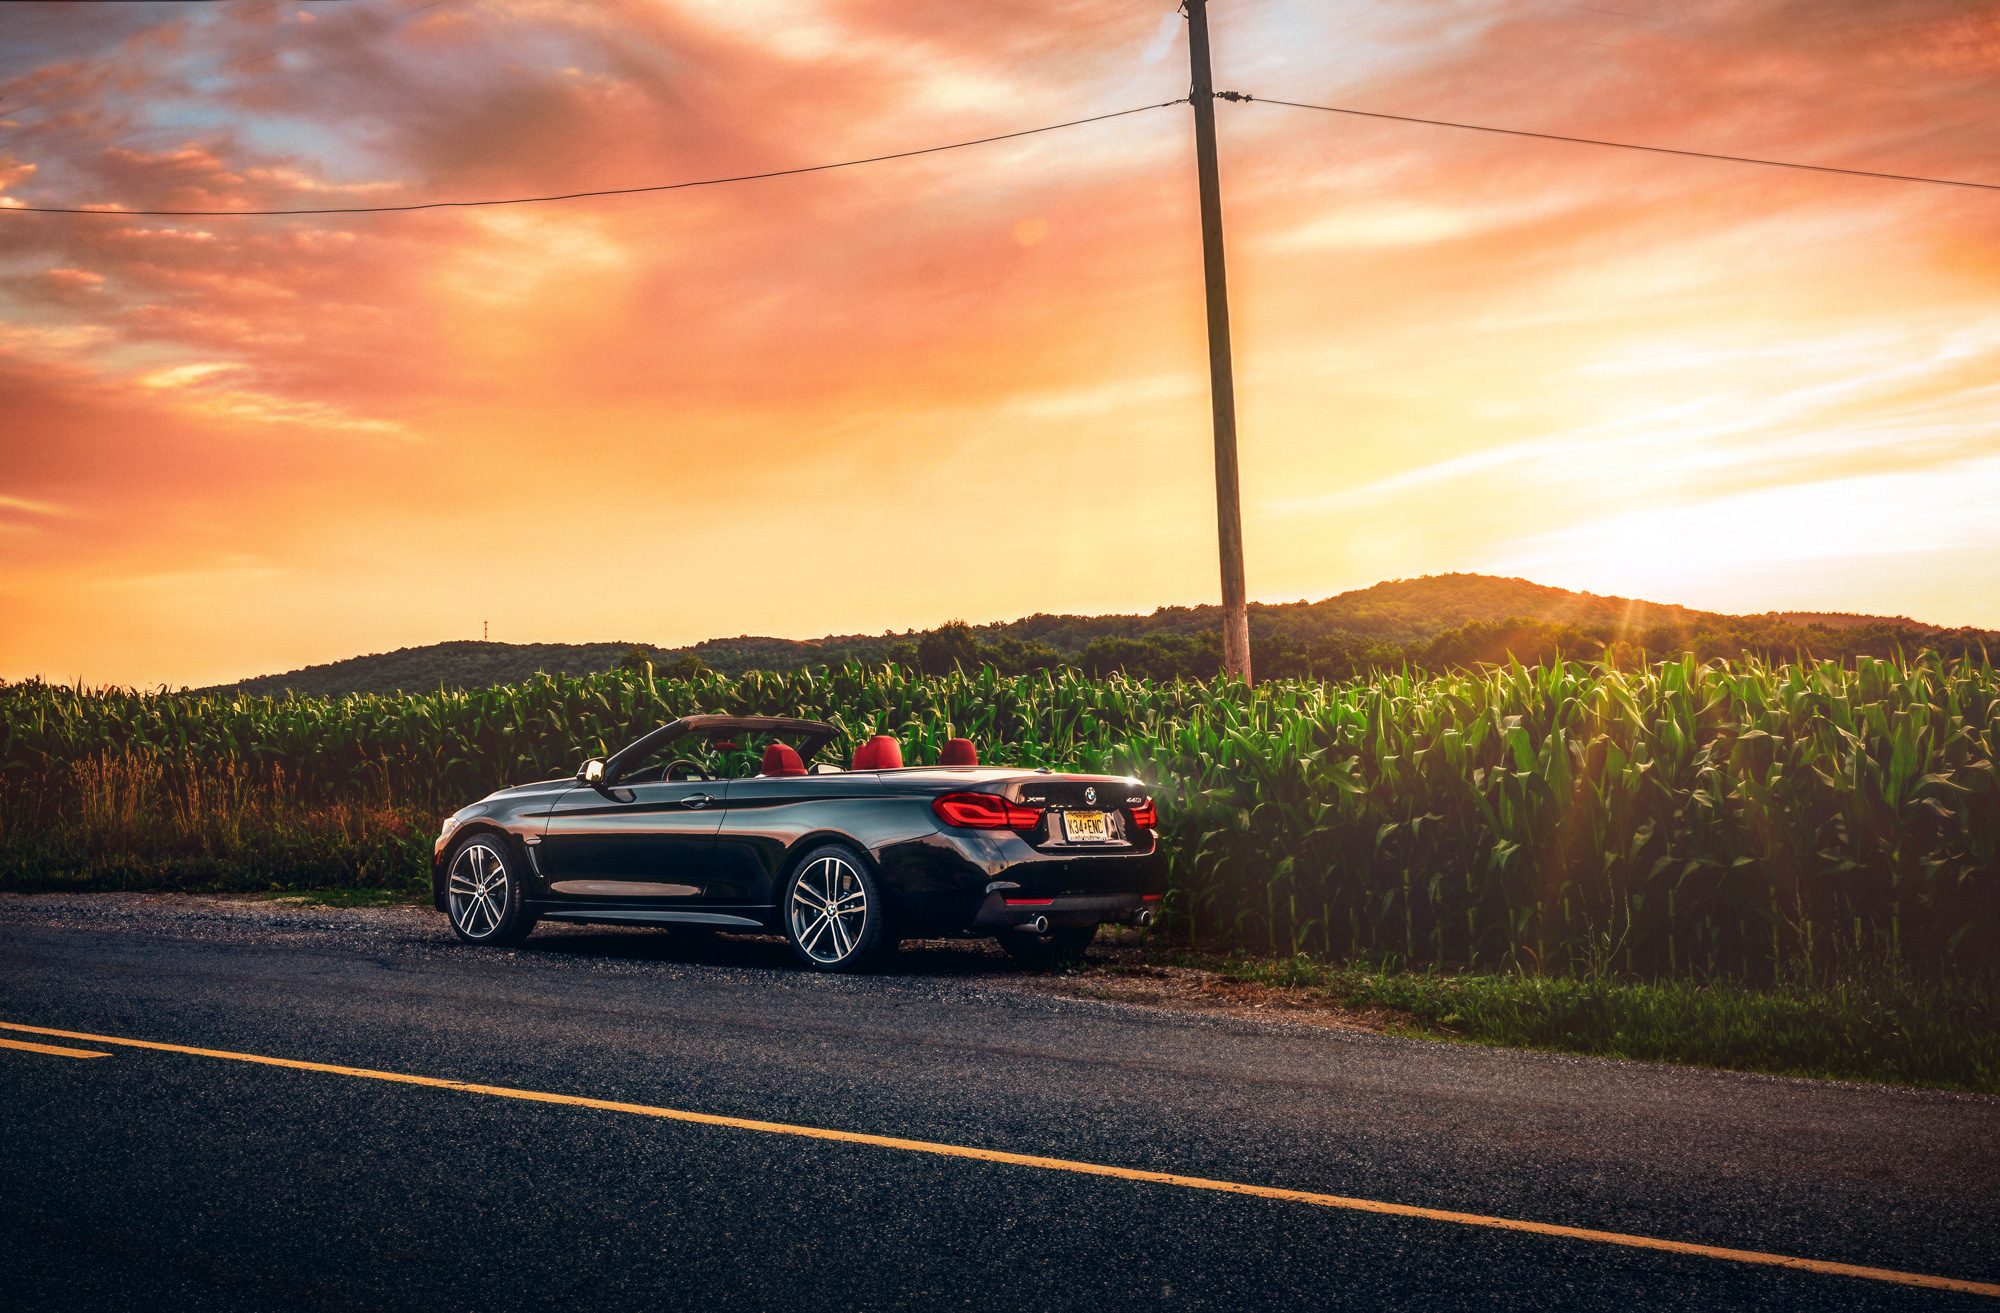
From here, you can take the image anywhere you’d like. For this one in particular, I flattened the image and then went back into Camera Raw to boost saturation, specific colors, contrast, and clarity.

5. Let’s add flair.
Hopefully you were surprised when you noticed that the original image has no lens flair. Thanks to the hot spot in the right of the image, it makes a perfect spot to house a flair. I’m using the Shinobi flair called “Fireborn” here, then adding a LUT filter called 3D Stripe to boost the colors.
Finally, I’ll flatten all the layers and add a new Camera Raw filter, then add 2 LUT filters called “Cross Process” to help darken the foreground on the road, and “Lighten” to add a little fog for a flat look, painting in the sections that I want. The result is a sunset shot that makes you want to go for a ride with the top down.

Feel free to email me at mike@machineswithsouls.com with any questions.
Follow along on Instagram @machineswithsouls
Due to factors beyond the control of Machines With Souls LLC and Mike D’Ambrosio, I cannot guarantee against improper use or unauthorized modifications of this information. Machines With Souls LLC and Mike D’Ambrosio assumes no liability for property damage or injury incurred as a result of any of the information contained in this post. Use this information at your own risk. Machines With Souls LLC and Mike D’Ambrosio recommends safe practices when working on vehicles and or with tools seen or implied in this post. Due to factors beyond the control of Machines With Souls LLC and Mike D’Ambrosio, no information contained in this post shall create any expressed or implied warranty or guarantee of any particular result. Any injury, damage, or loss that may result from improper use of these tools, equipment, or from the information contained in this post is the sole responsibility of the user and not Machines With Souls LLC or Mike D’Ambrosio.


3 thoughts on “Getting automotive sunsets right”
Comments are closed.