Surprise! I’ve messed up on photo shoots. From shaky camera work to not thinking about environment, I’ve ruined plenty. Below are some tips to avoid a photo shoot mistake, so you don’t have to learn the hard way.
Photo shoot mistake 1: Temperature
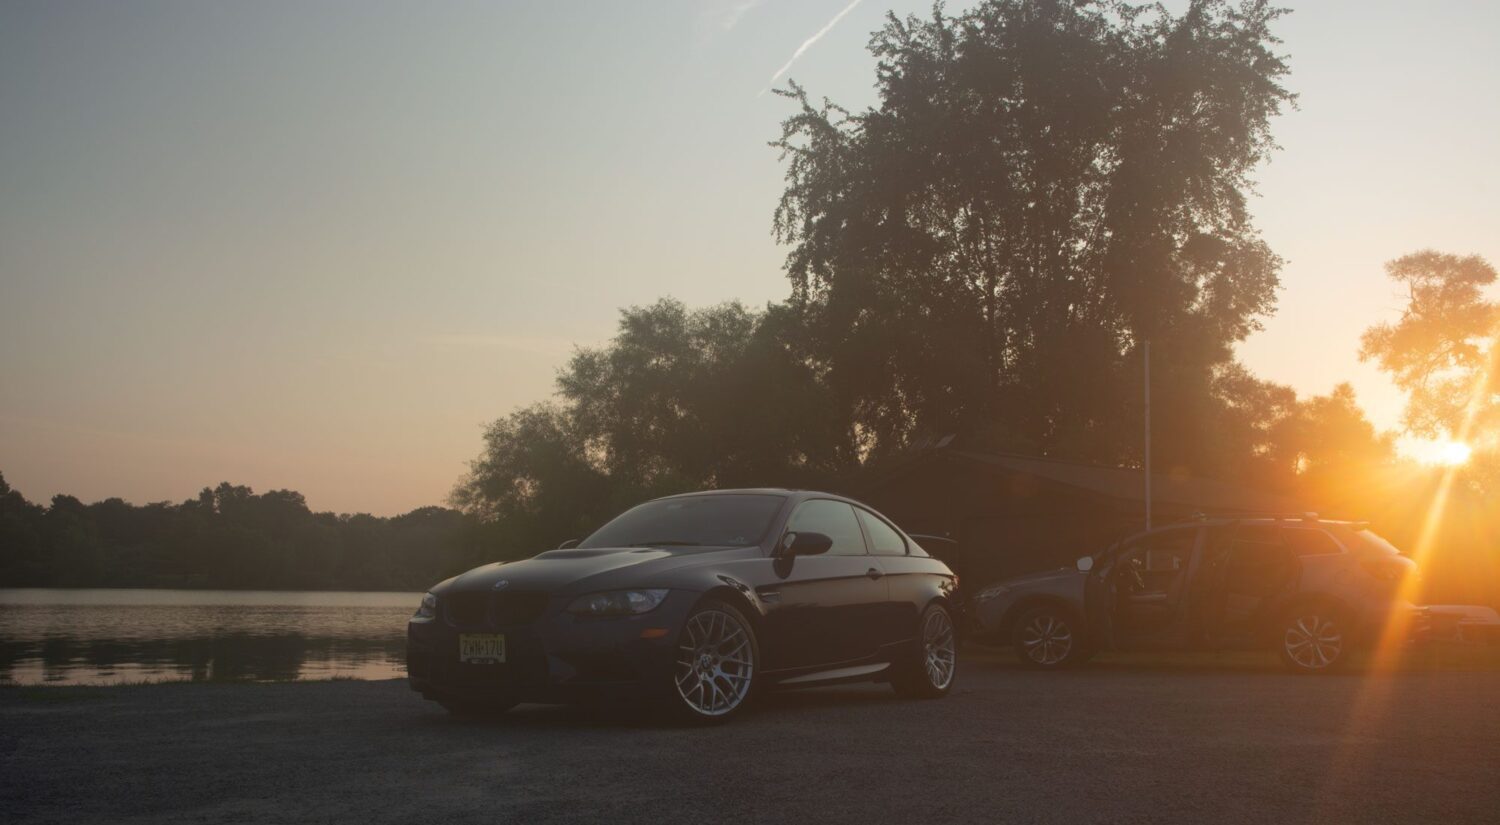
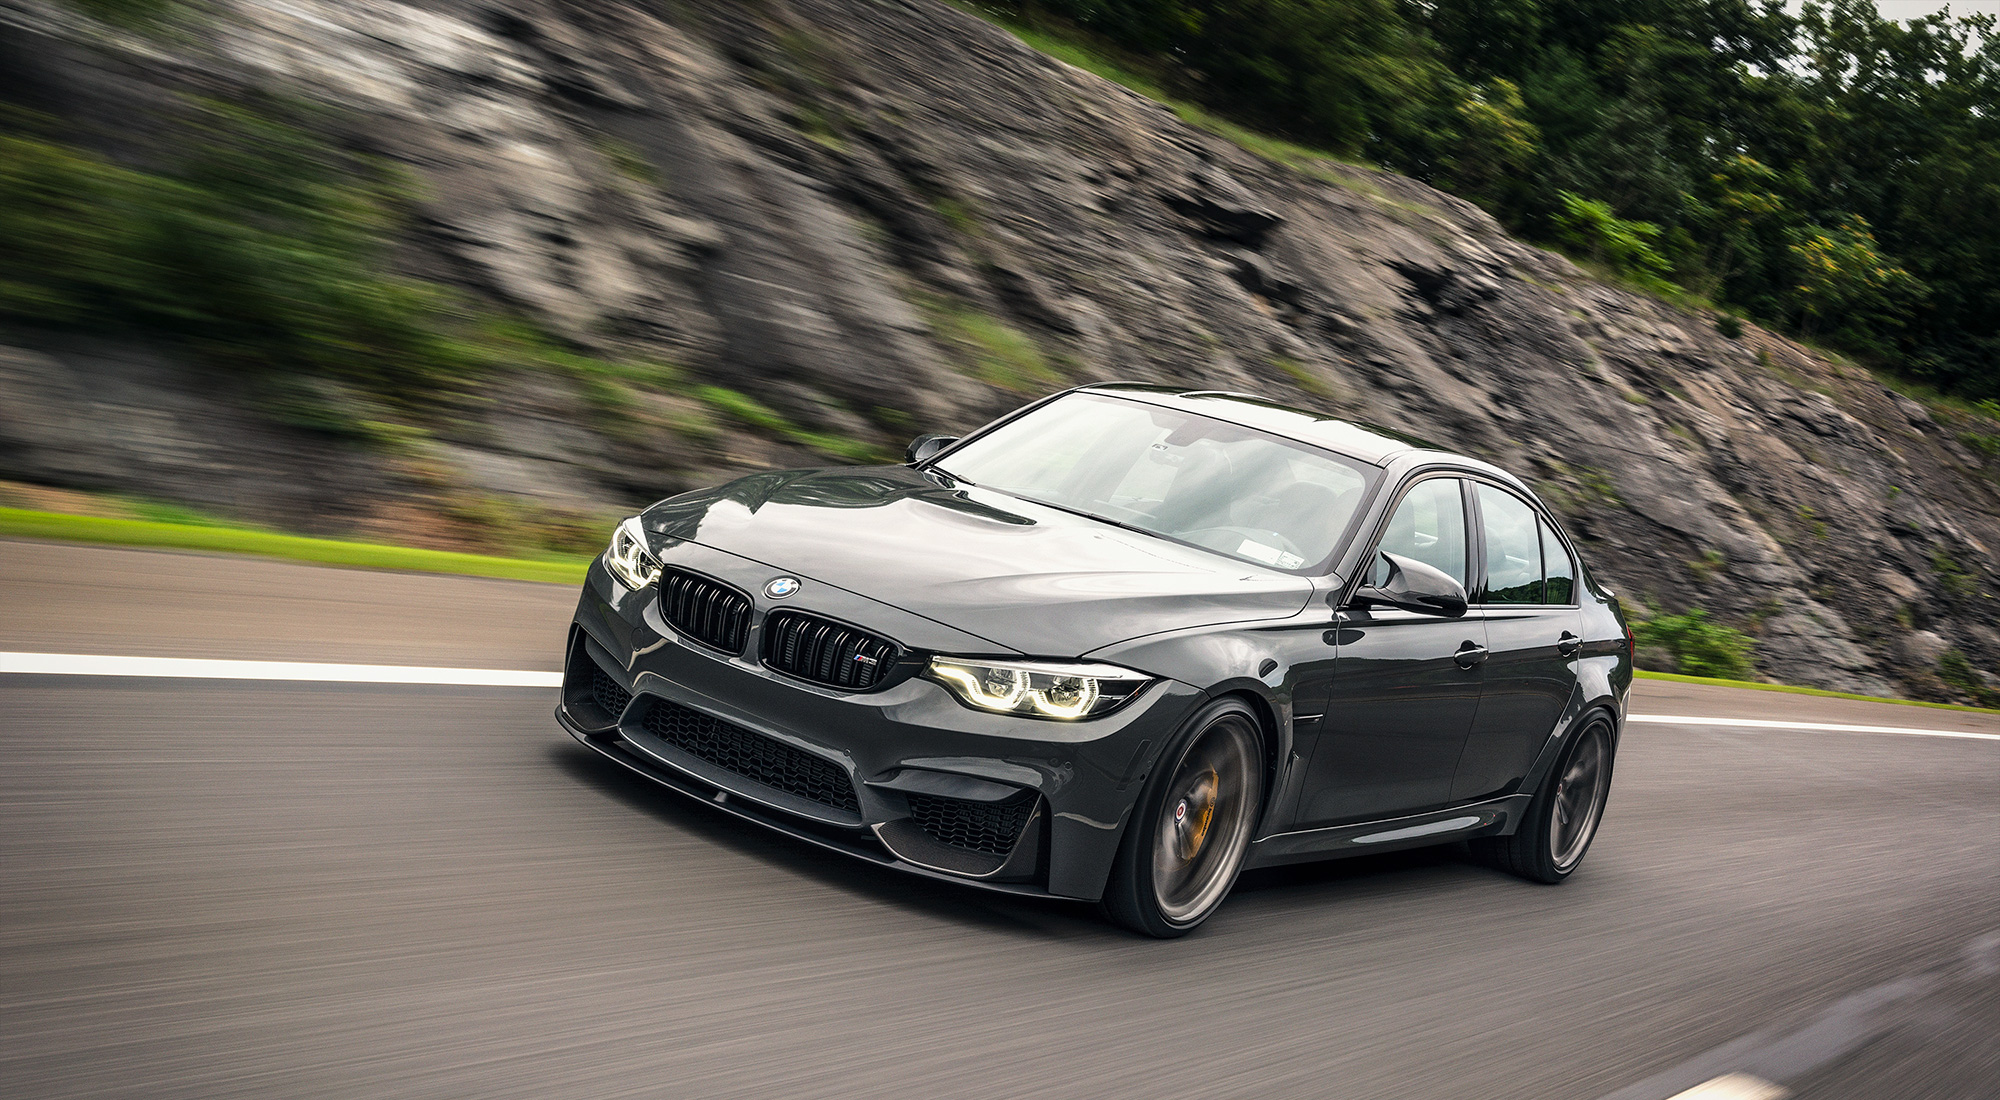
Have you ever shot on a hot, humid summer day? Then on the way to the shoot, you’ve most likely cranked up the A/C in the car, like I did on the way to the park where I planned on shooting my own M3.
When I arrived, I took out my gear and assembled my camera, only to find that my lens has fogged up. No worries, a quick wipe will fix…except it didn’t. Neither did compressed air, or warming it up with a towel. In the end, I had to wait about 20 minutes for the temperature of the lens to equalize with the outside and keep the lens clear. Since a lens in closed to the outside environment and filled with glass, it takes time for it to adjust to temperature if you suddenly move from one extreme to the other.
The result? I missed the best part of sunset, and will forever rue the day I forgot science.
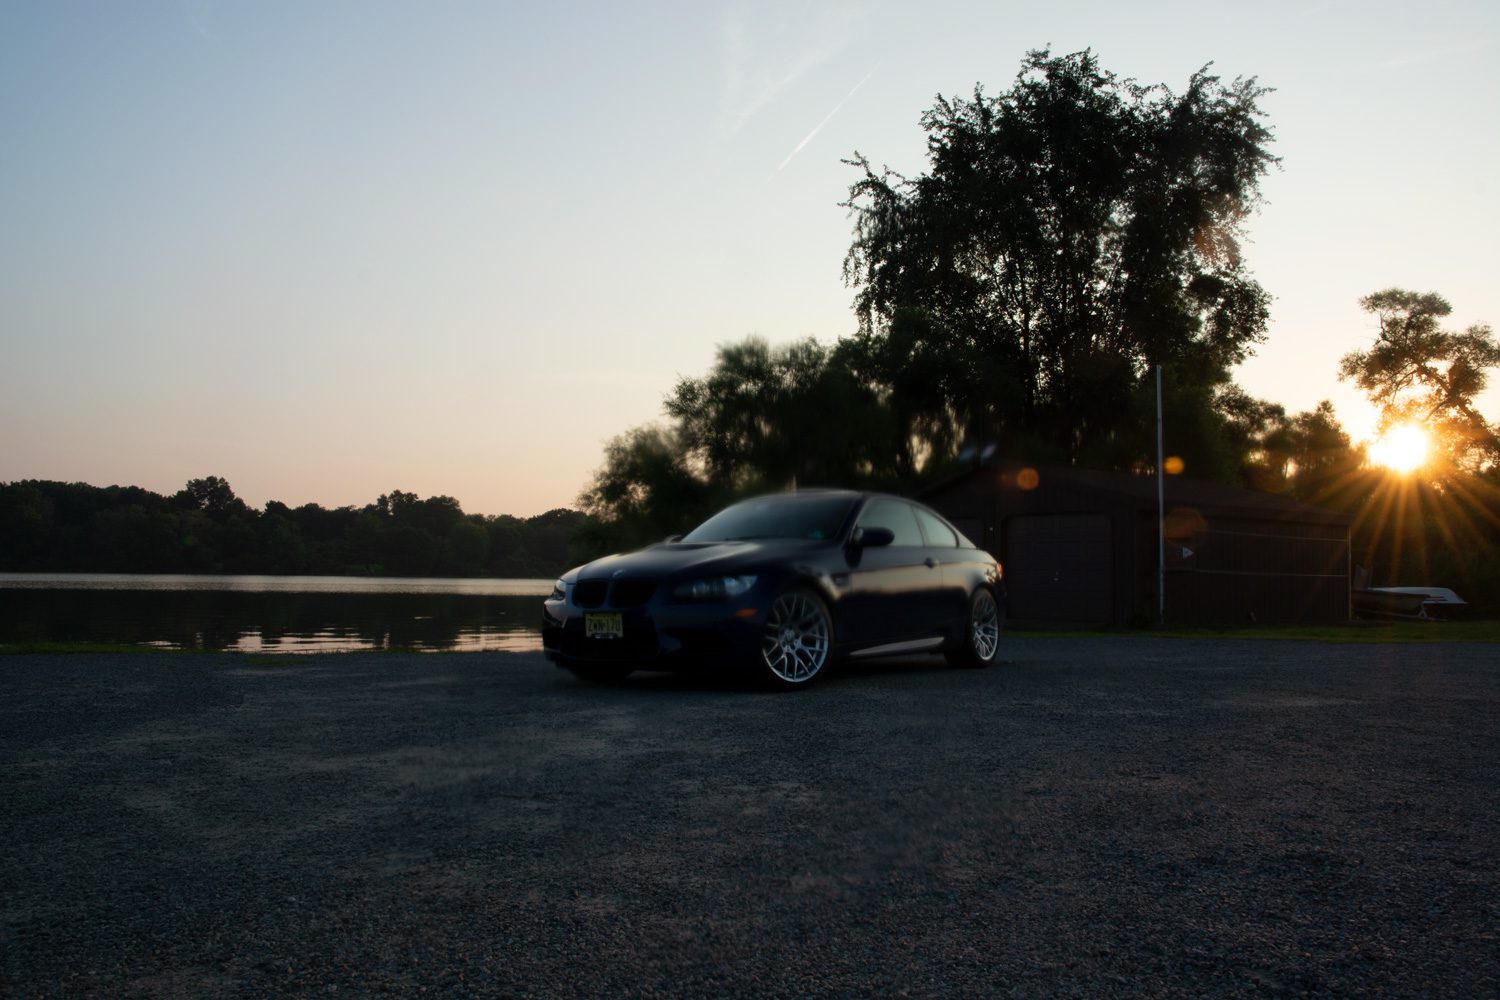

Photo shoot mistake 2: shaking
I’ve covered how to do a panning shot before, but it pays to show some ruined shots that COULD have been epic, if only I’d been prepared. Keep the exposure short, get low and give yourself a good base to stabilize, and shoot in bursts. It’s cool, no pressure here, since you can’t do it again most likely. Sorry, Yaz Marina M3.
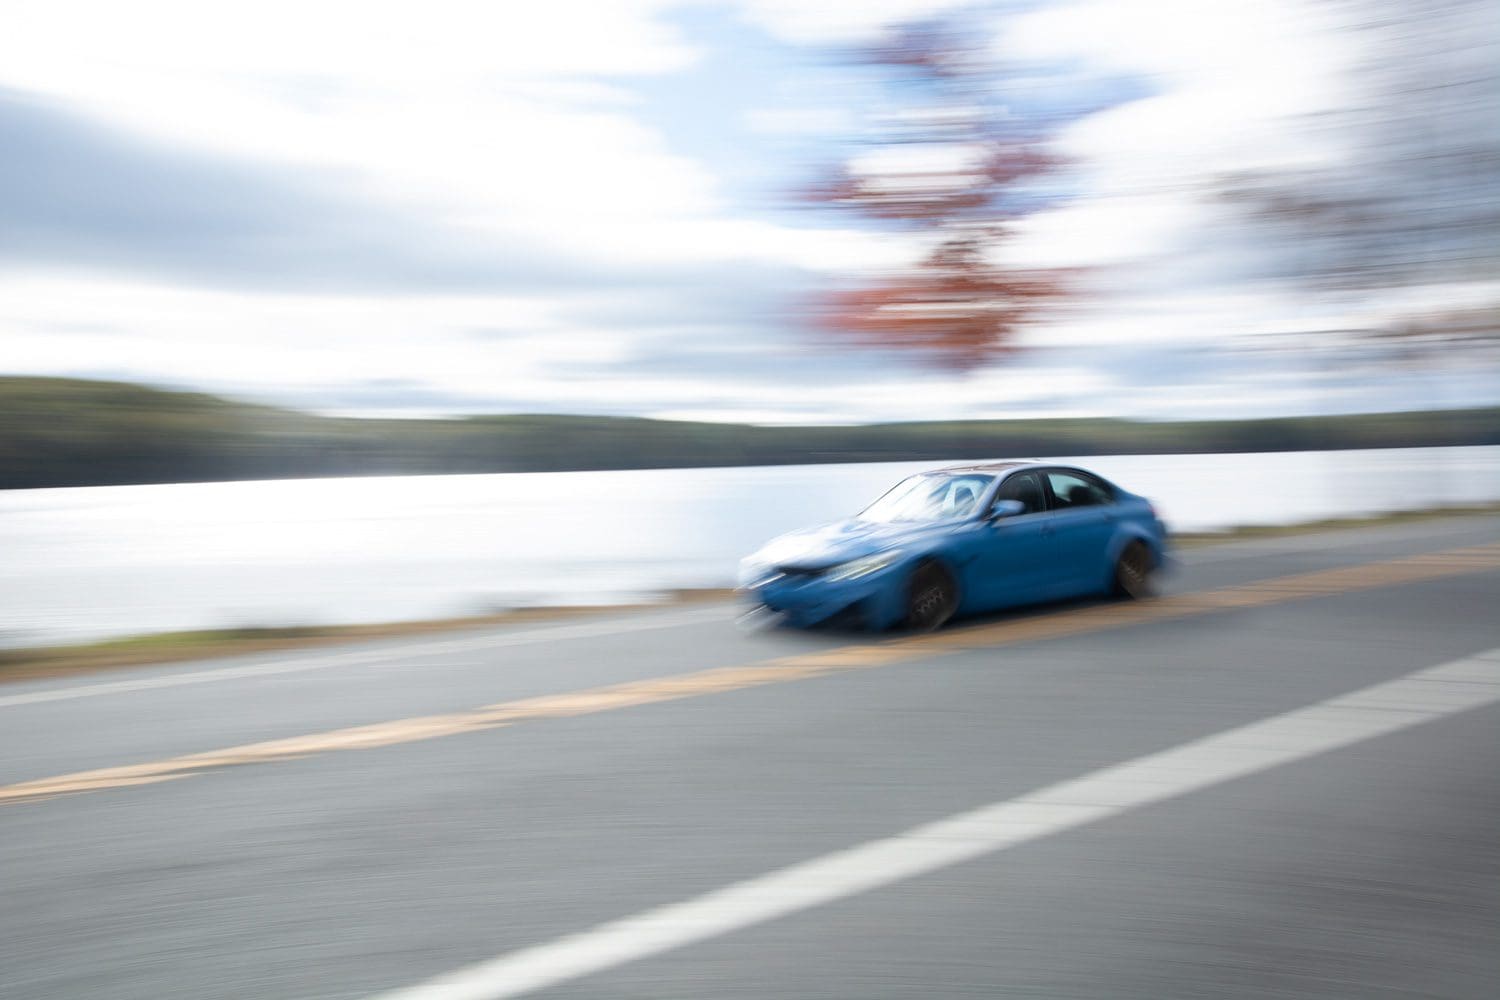

Photo shoot mistake 3: reflections
A polarizer for your lens is probably the most important thing you can get for shooting a car, and I keep it on 99% of the time. But even when it’s on, you could be looking at the wrong part of the car, and missing some bad reflections. Make sure to look at the environment around you too. If someone is reflecting in the car, just wait until they move (or ask nicely). This shot of a Ford GT would have been really nice, if the person standing there in a red shirt hadn’t been. Oops. Of course, you can retouch it, but it’s always best to look for these things in camera, as oppose to after.


Photo shoot mistake: color balance
I love shooting cars, and there is nothing like first getting to the scene and setting up, thinking about the awesome work you’re about to do. But sometimes I rush in the moment, and forget to take a step back and review my camera settings (which were most likely left on settings used for the last shoot, and thus, all wrong.) The most egregious of these is using the wrong color balance setting.
You CAN fix this in post, but why add extra work? Simply get it right in your setting, and the photos will look that much better afterward. I’ll review color balancing is a future post for more details on it.

Mistake 5: bad luck
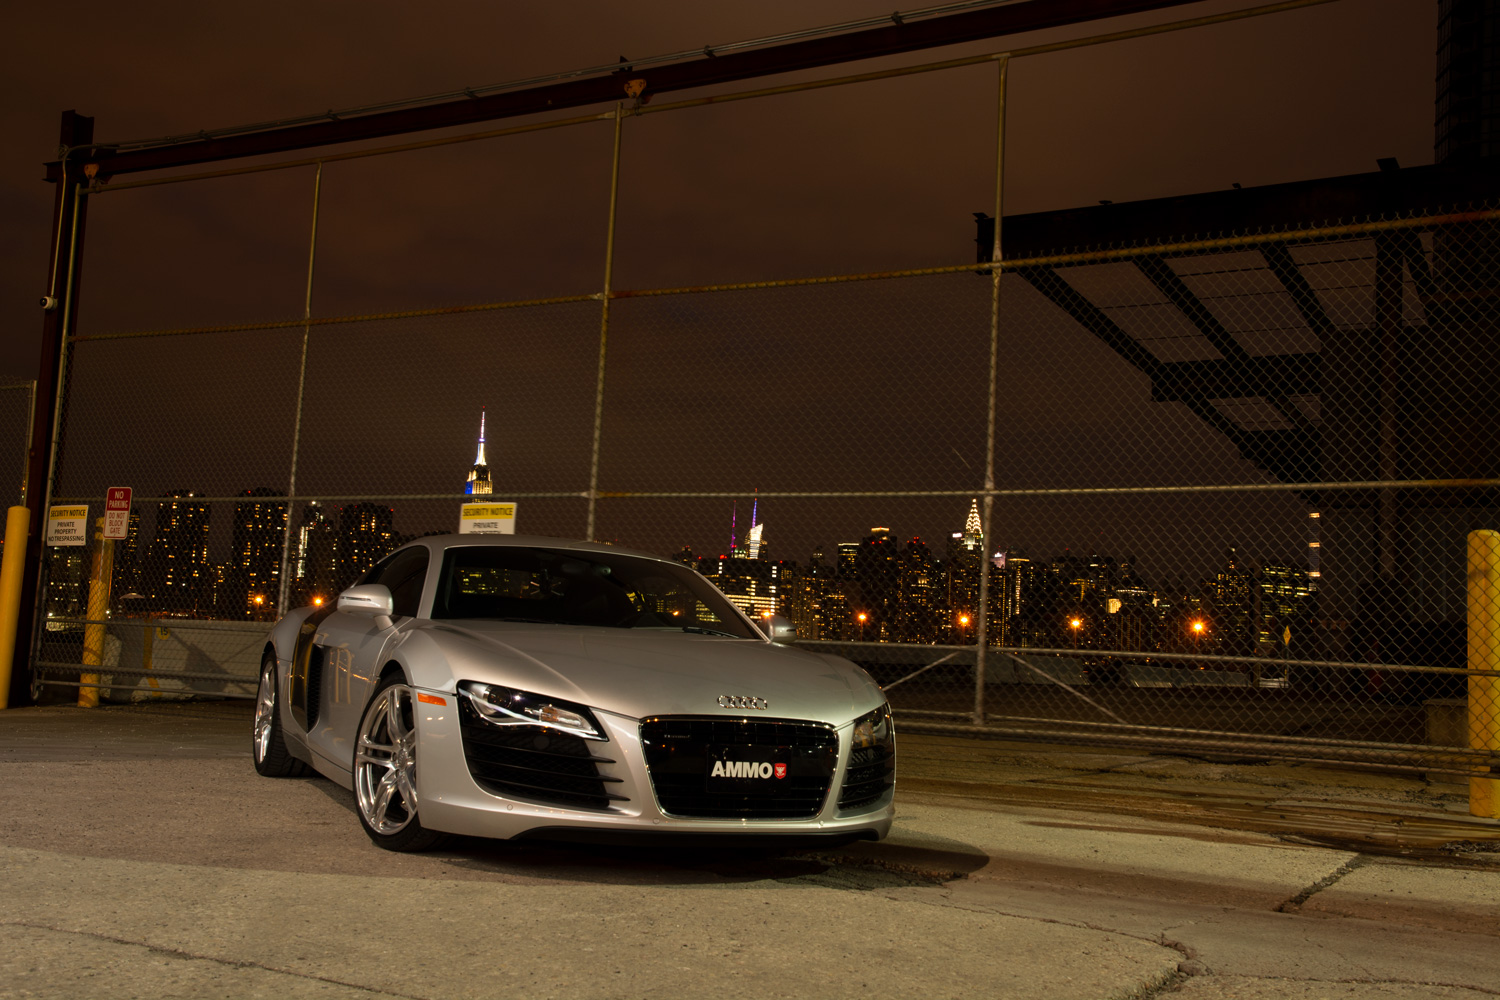
This is out of our control, but sometimes you show up and things just don’t work out. Going back to that M3 sunset shot with the fogged over lens, if I HAD been able to shoot it, look who ruined the party? Hi Subaru Outback.
Remember that we usually shoot in public spaces, and even though it should be obvious what is happening, some people just don’t realize, so simply ask someone to move out of frame if you can. This woman, however, elected to stay put, and with the sunset nearly over, I moved on.

Mistake 6: light painting
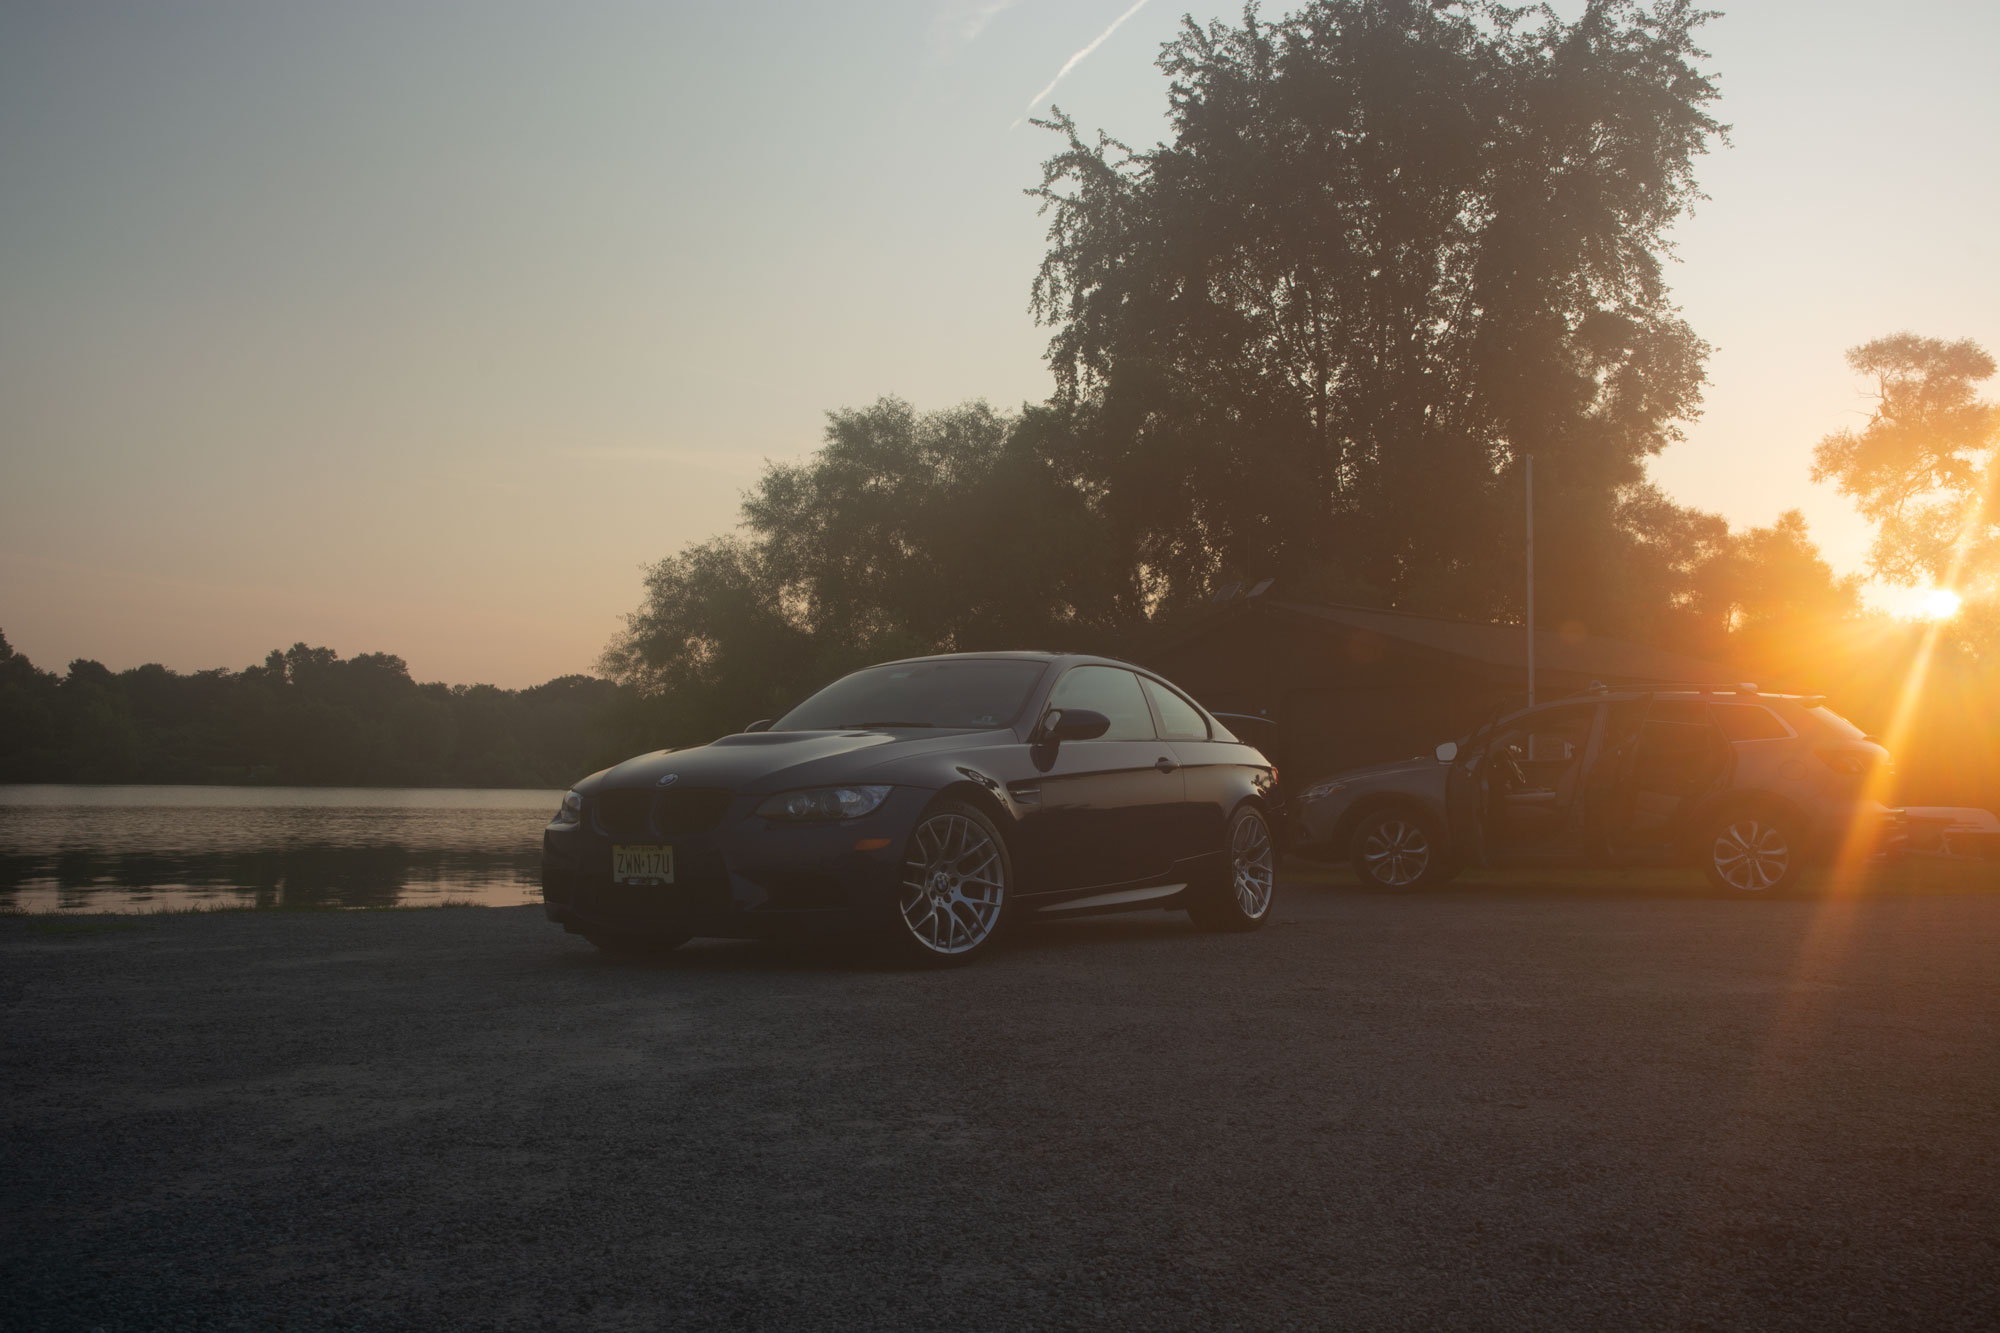
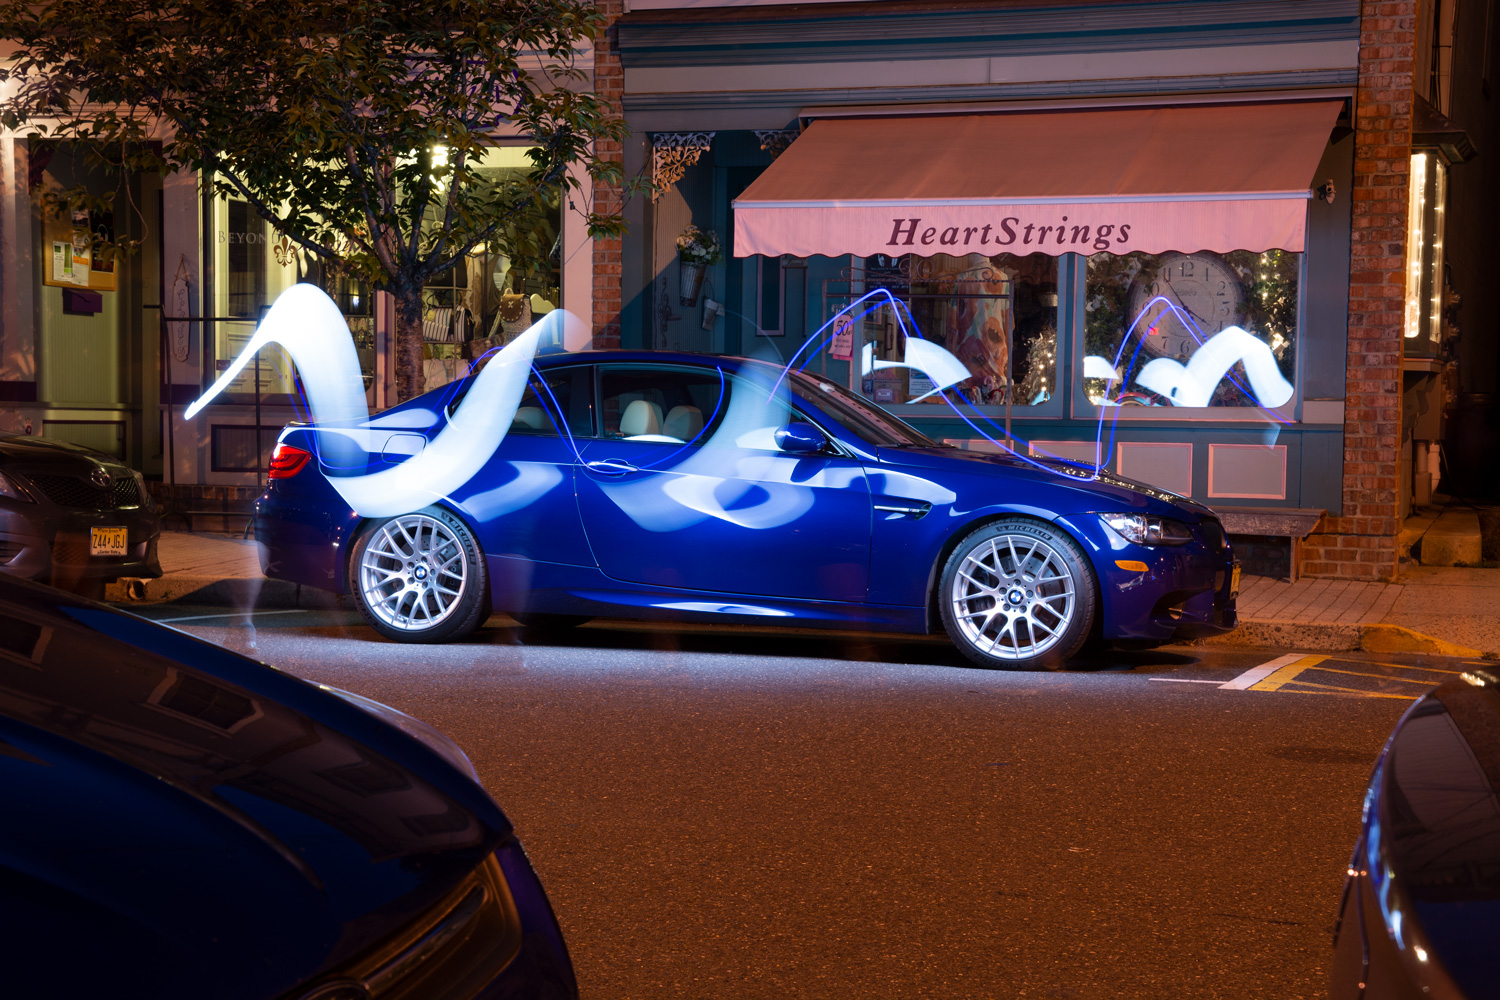
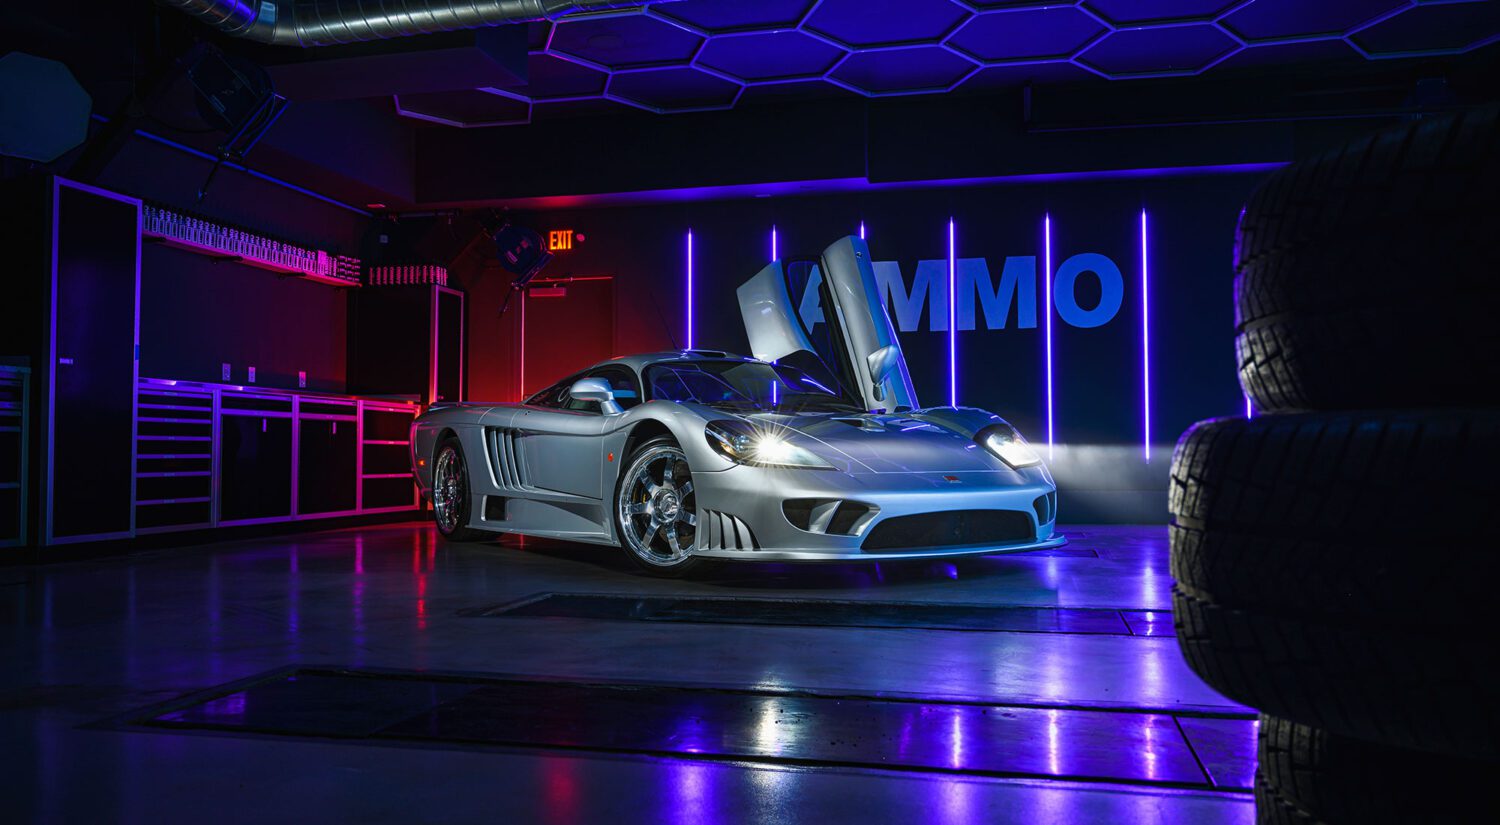
This will admittedly take a lot of practice, and I will go over step by step how to do this like in the AMMO video, but for now, just be aware that moving the light bar in FRONT of the car is usually not good. Light the car from father away and hold the exposure open longer to capture more light. Otherwise, it’s very difficult to retouch out. The shot below is good for a wheel light section, but everything is just useless.
If you’re lighting a specific section, you can stand in front of the car as long as you’re not covering what you want to shoot.

Mistake 7: Out of focus
I always like to check my work on a larger screen in case something is out of focus. And I always take multiple shots to ensure that at least one is good. But it’s important to check your previews sometimes to make sure everything is ok. If you shoot 6 shots and never look, and use the same setting for each, then you’ll end up with 6 bad shots.
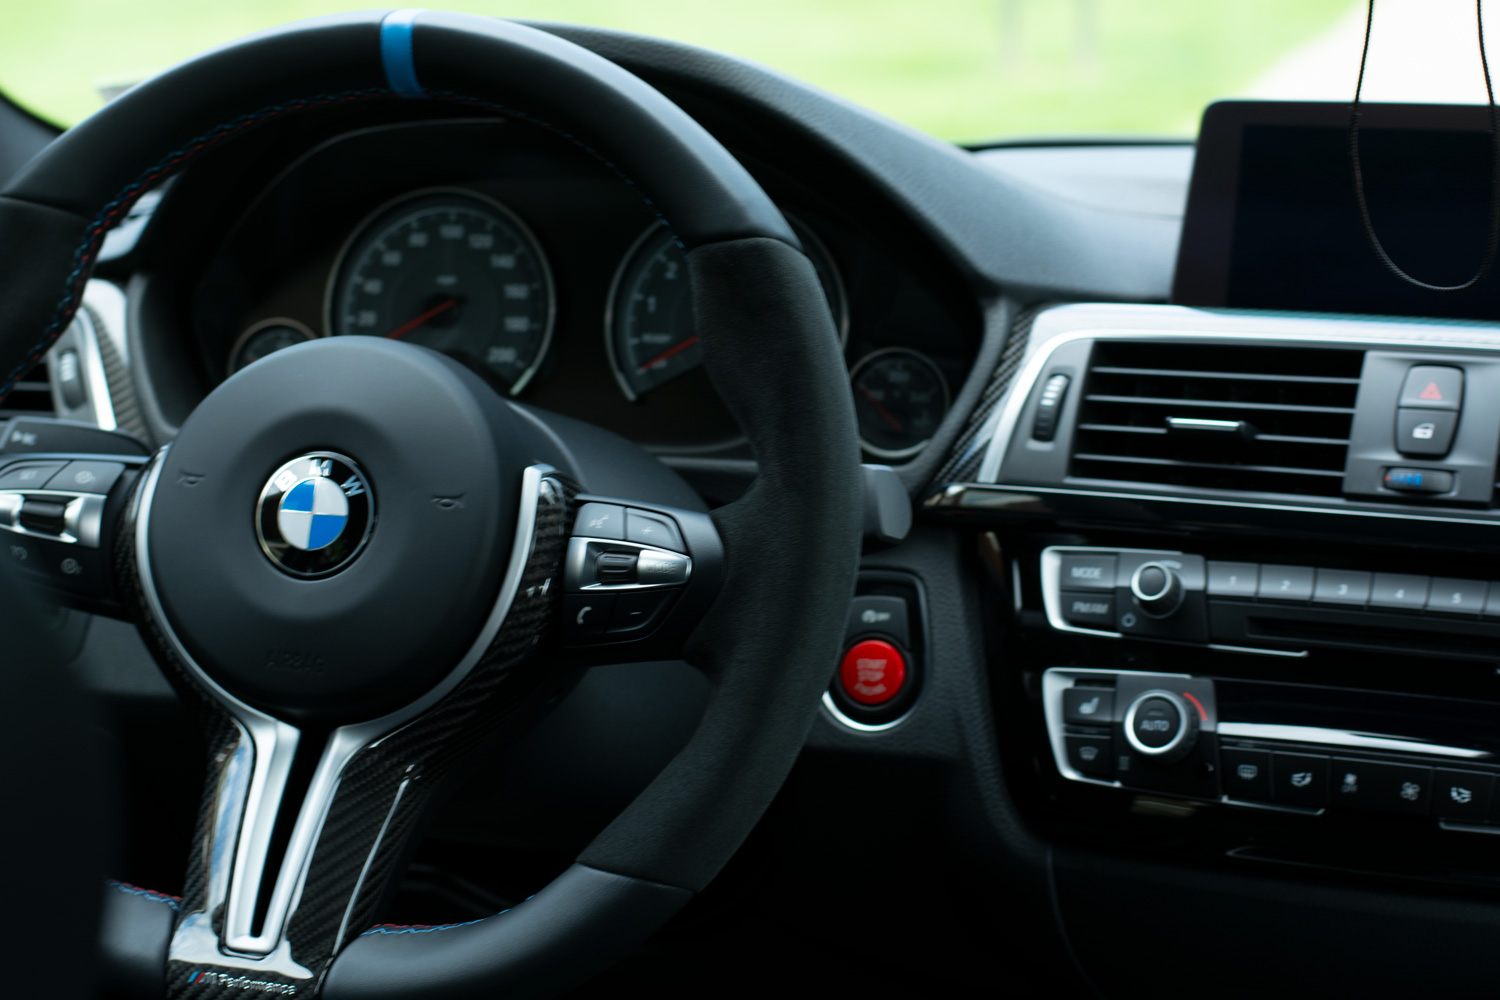
A good example is this F80 wheel. I took 7 shots, and all were blurry. Only with much retouching was the end result usable. If your shot is soft and you’re having a hard time focusing, aim your camera at something else, focus, then come back to your object and focus again. Also make sure you have enough light so the camera can pick up on what you want it to.

Commissions may be received for product links on this site, so help out if you can. I only write about products I use and believe in.
I use Nikon camera bodies and lenses, a Westcott Ice Light 2, Manfrotto tripod, B + W filters and an iMac Pro to make the art you see here.
Now, if you read this and went “Duh Mike, I knew all that”, then great! But hopefully I’ve helped some poor soul pay attention to these things before the shot was missed.
Feel free to email me at mike@machineswithsouls.com with any questions.
Follow along on Instagram @machineswithsouls


3 thoughts on “Photography tips that I’ve learned…the hard way”
Comments are closed.