


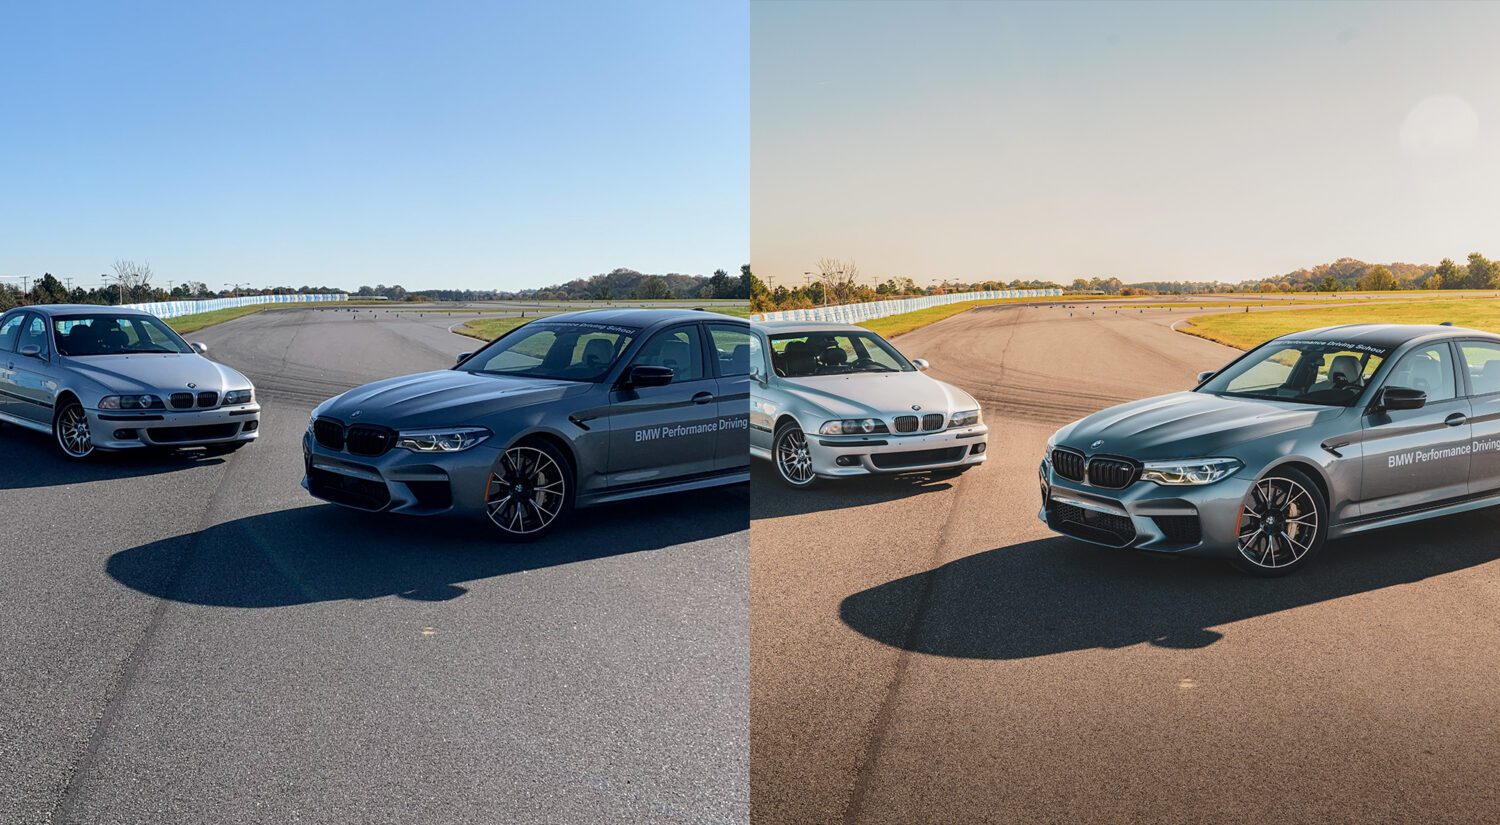
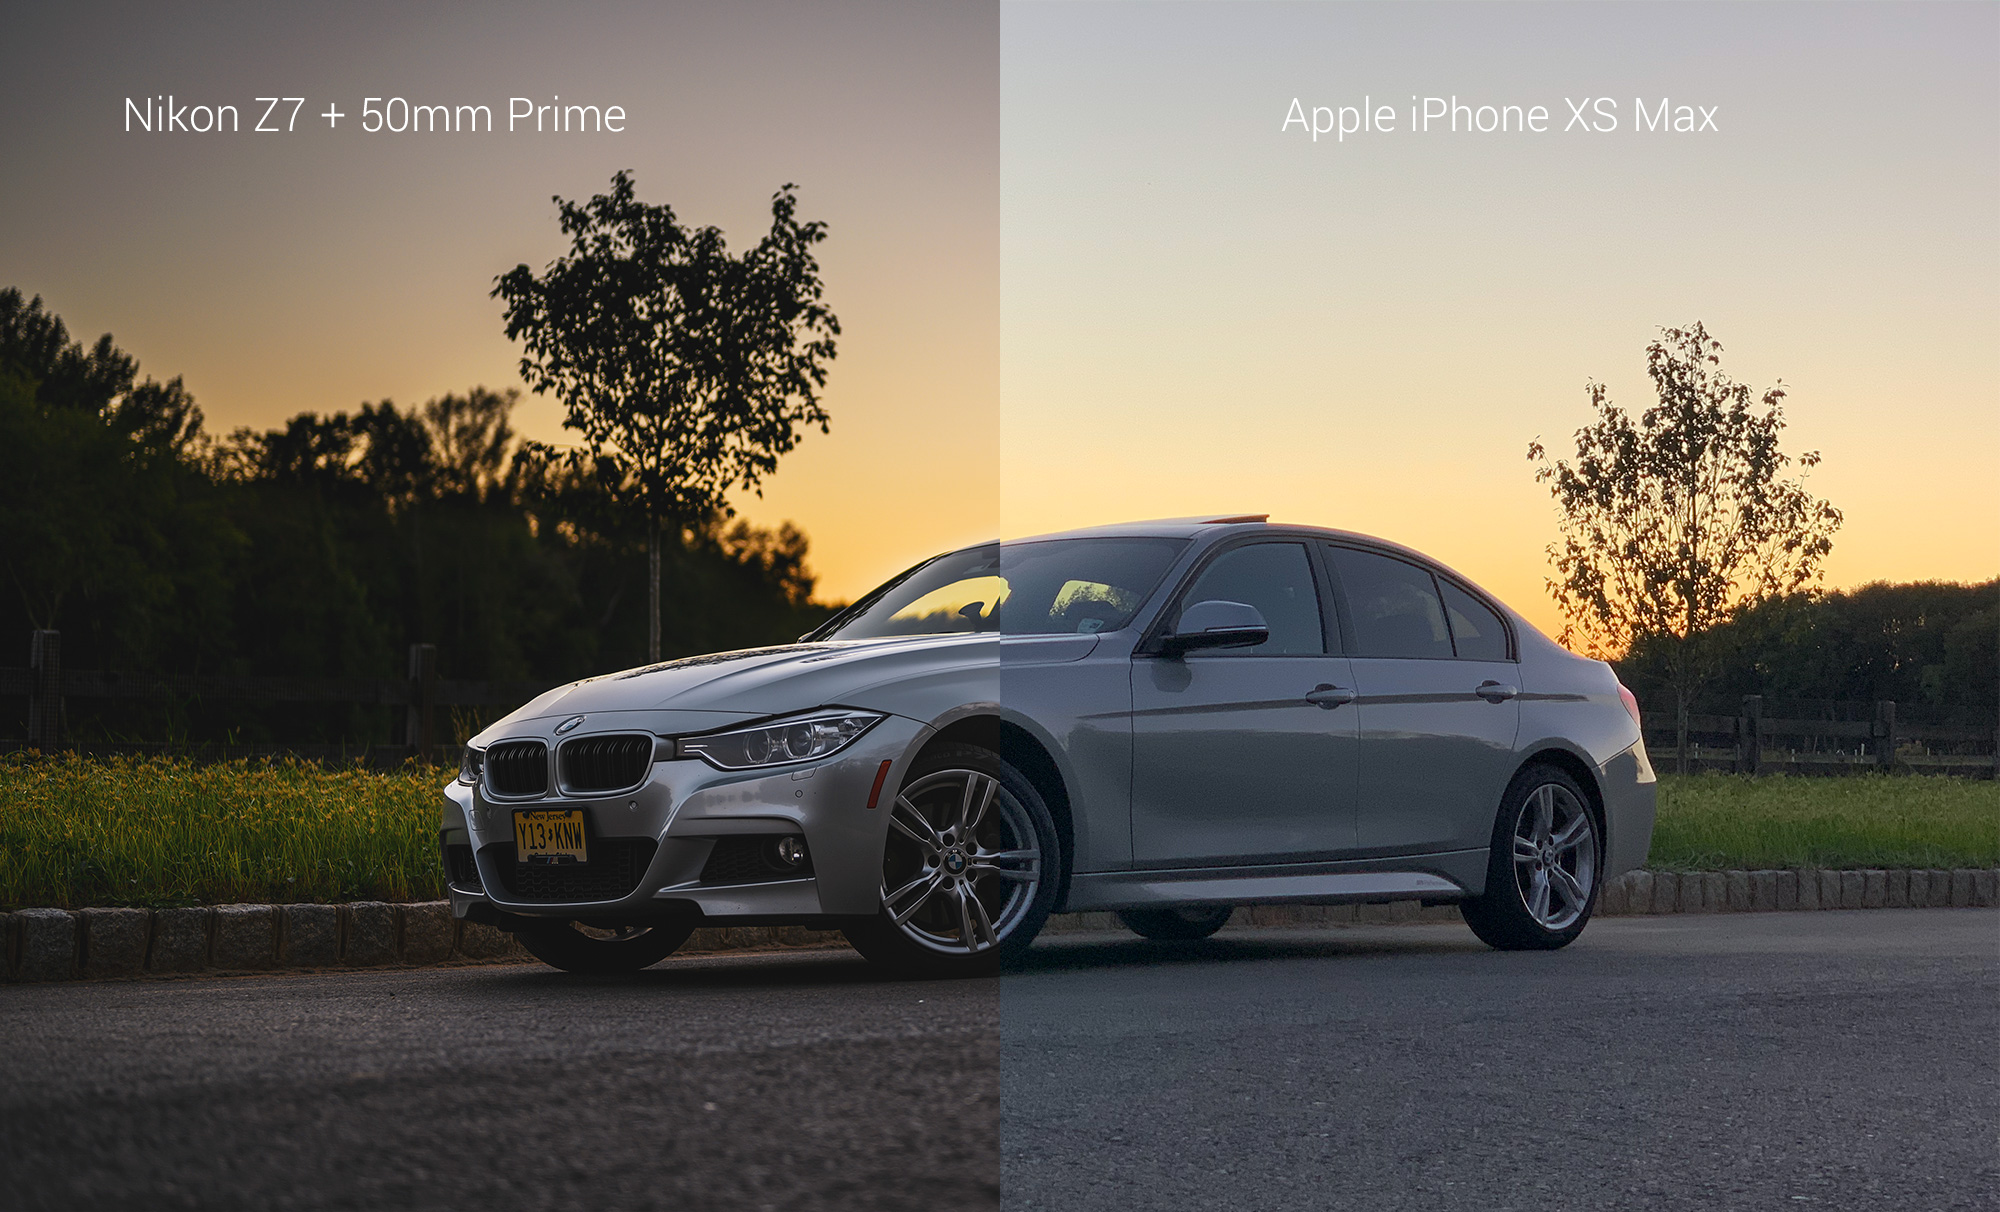
If you’re really serious about giving this hobby / profession a shot (har har dad joke), you really need a camera with a lens. Even a basic one will take better images than your iPhone.
But, if you want to start out spending little to no money at all, then your phone’s camera can allow you to dip your toe in the water. For this feature, I’ll be referring to my iPhone XS Max, but the rules apply to any phone make and model (though some are more advanced than others).
1 – Use a tripod
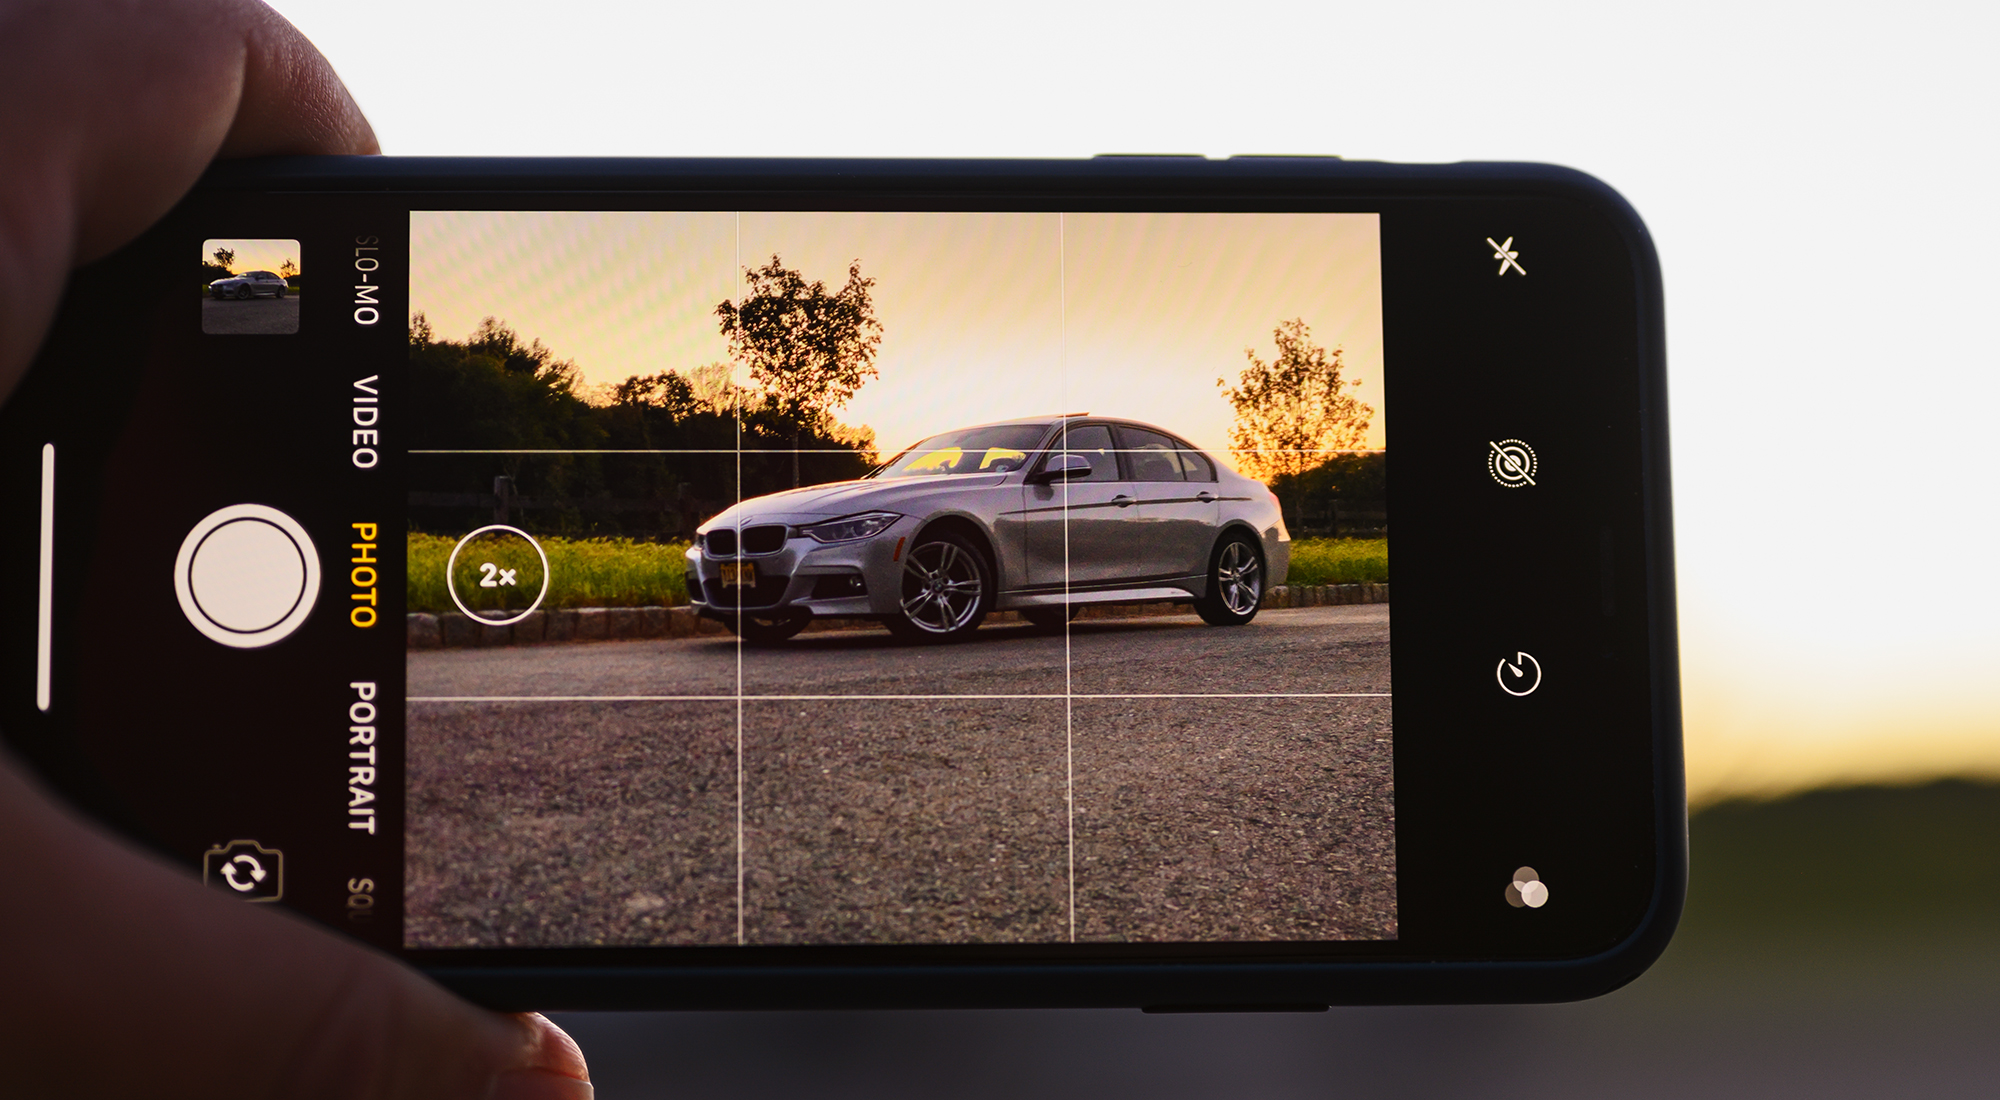
Well, you’ll have to spend a LITTLE here. Just like when using a DSLR, you’ll need a tripod to steady the phone to get an image as sharp as possible. Here’s a good one, as I always use Manfrotto, but it can be any brand. You’ll also want to shoot in landscape mode here, not portrait.
2 – Check your screen and shoot RAW
One thing that is up to professional par is the screen on your phone, and it makes everything look great. But for this, make sure you turn off any modifications like “Night Shift”, which gives the screen a warm hue. Also turn off “True Tone” if you have that feature, as this alters the colors of your screen based on surroundings. To make an image, you want to reproduce color as accurately as possible.
The second item is shooting your images in RAW, just like on a DSLR, and for that you need a third party app. Something like VSCO will allow you to select ISO, white balance and other advanced controls. This is a great way to introduce yourself to DSLR controls without actually using one.
3- HDR and tap to focus
HDR, or “High Dynamic Range” is now a feature that’s built in to an iPhone. But if you have an older one, make sure this is enabled by tapping the top of your screen where it says “HDR”. In theory, this evens out the exposure, so the shadows become brighter, and the highlights become darker.
But you can help too. Tapping the different areas of your screen will tell the camera to adjust the image based on that section. So tapping the sky will decrease the overall brightness of the image, but prevent the sky from being over exposed. Tapping the shadows will brighten those up more. Try a few different areas and fire away, because you can always combine them into one final image. It will also allow you to adjust the exposure on the phone itself.
If you have a remote, like an Apple Watch, it’s best to use that and try not to touch the phone as much as possible, to prevent it from moving.
Also, don’t use the ZOOM feature, which is just an artificial trick these camera use to blow up your image. If you need to, just move closer to the car.
4- Learn the basics
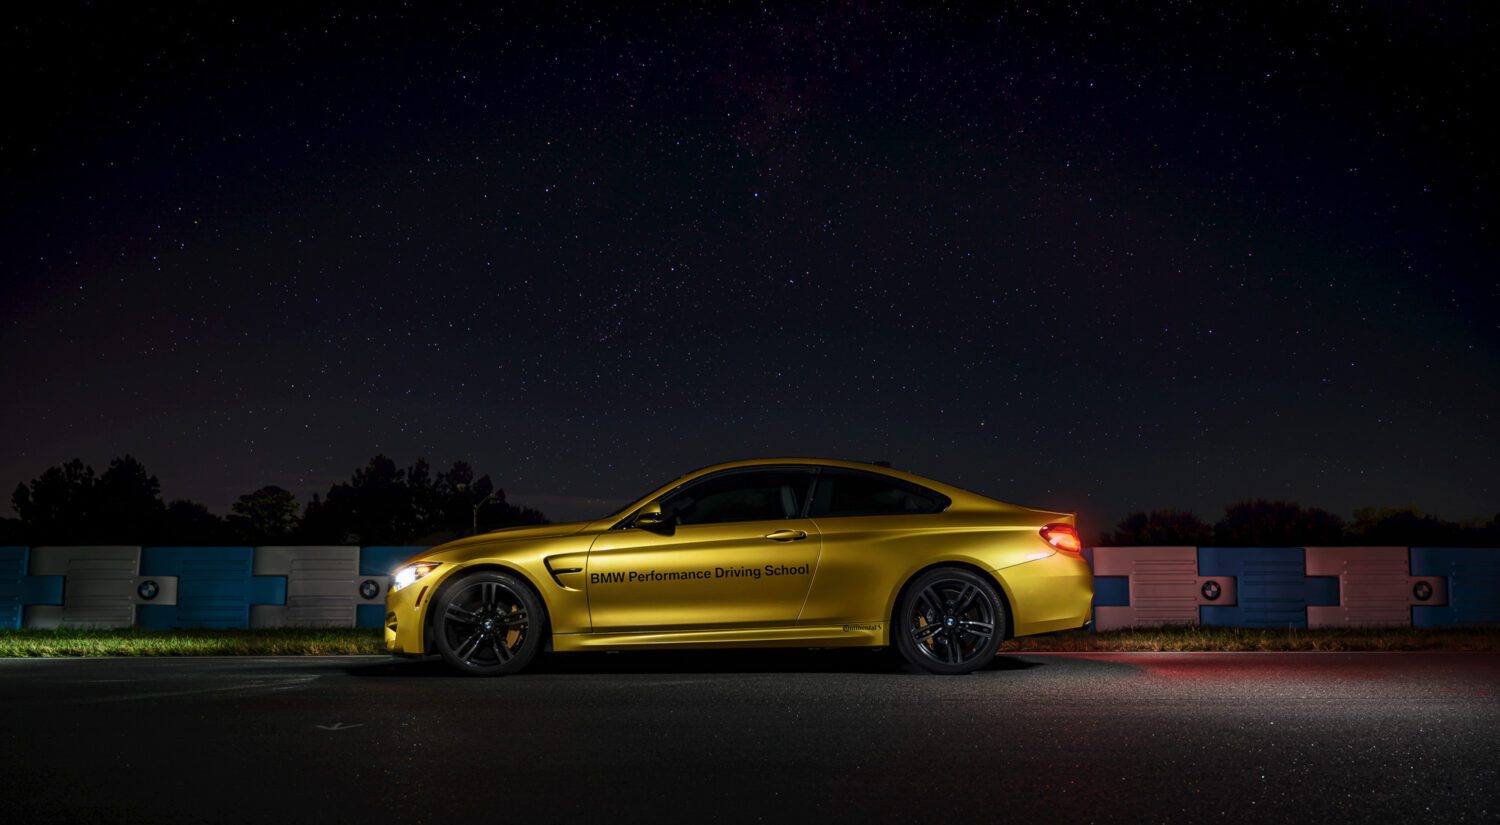
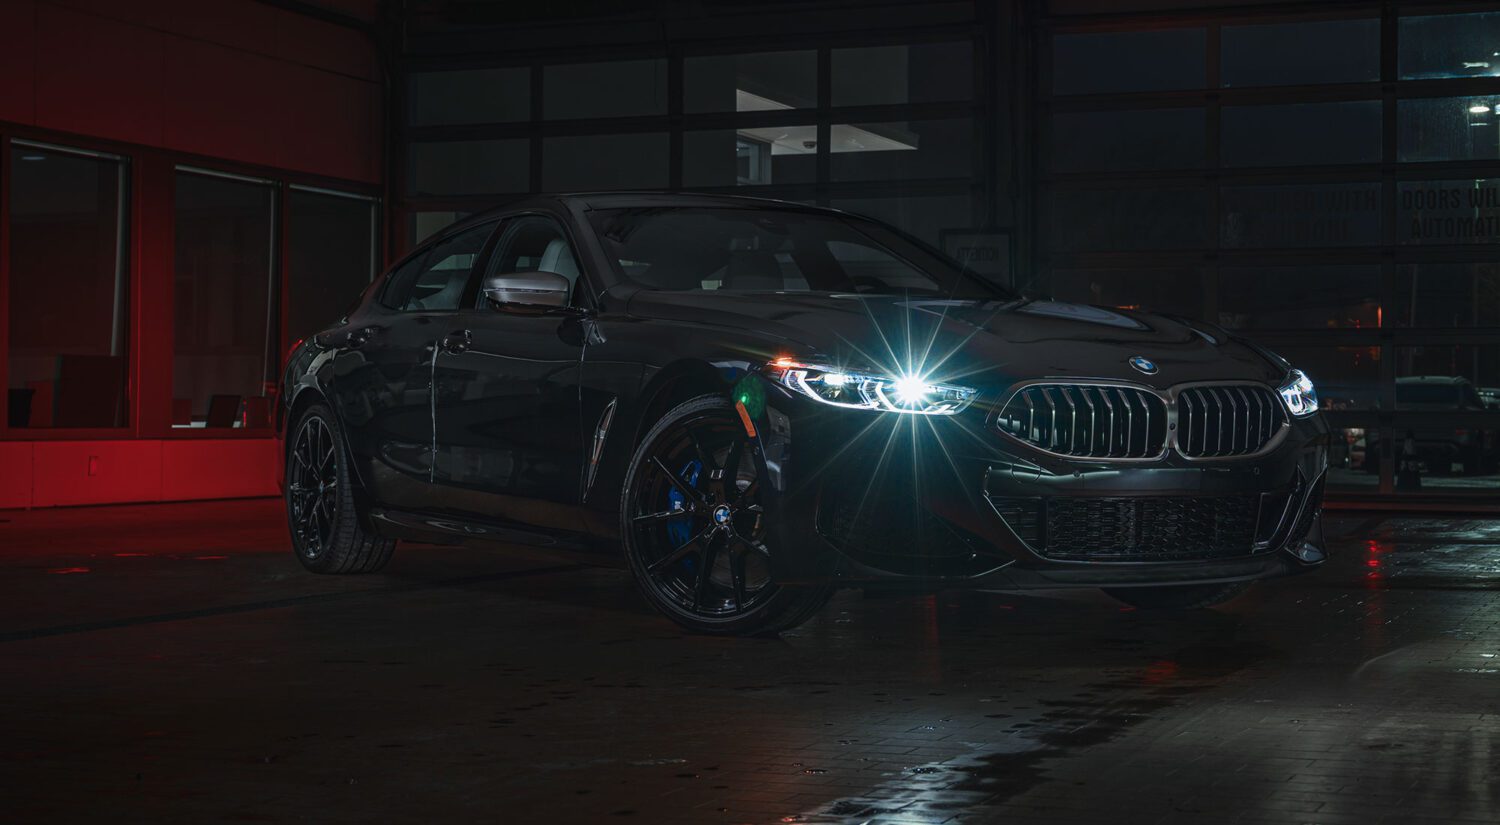
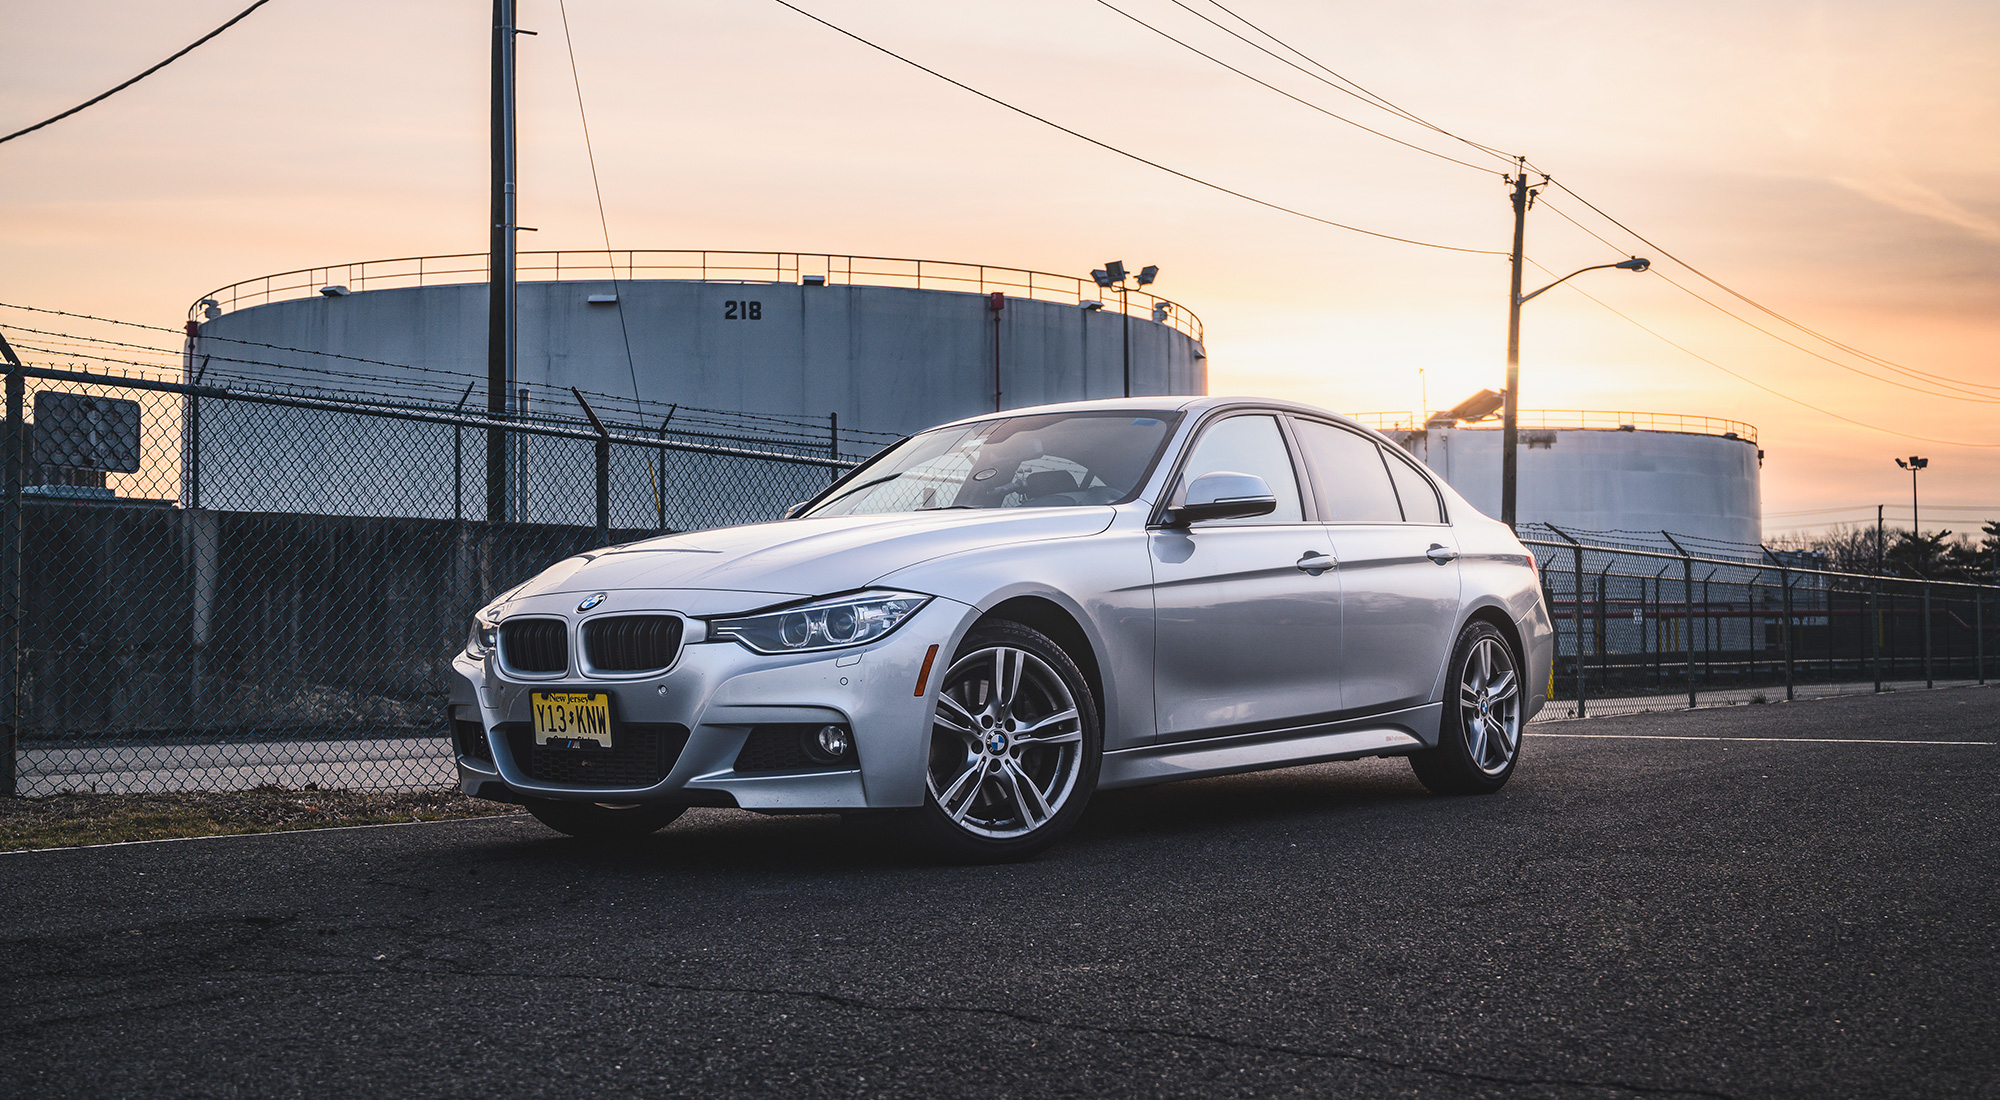
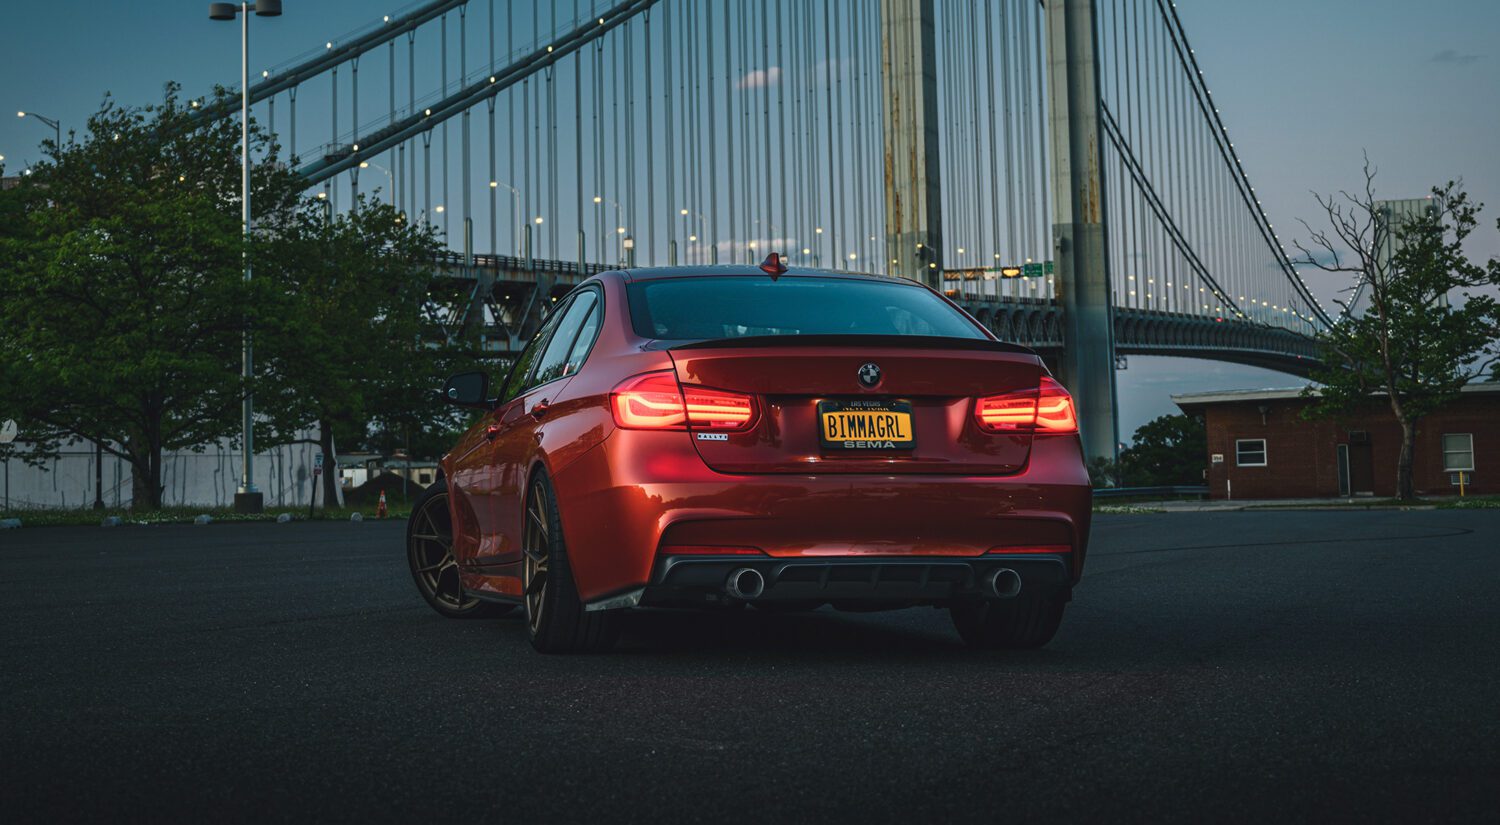
This blog is a great resource, but no matter what camera you use, you need to learn the basics of composition. Remember to stay low, shoot at golden hour and have good angles. Apple also has a nice reference here.
5- Edit on your phone
In the spirit of keeping this as basic as possible, let’s forget about editing on a desktop. Instead, try downloading Photoshop Express (you’ll need to make an account). This gives you more control than the standard edition options on your iPhone, and allows you to experiment.
Grab your phone, find a spot you like, and get shooting!
Feel free to email me at mike@machineswithsouls.com with any questions.
Follow along on Instagram @machineswithsouls


3 thoughts on “Five tips for pro automotive photos with your iPhone”
Comments are closed.