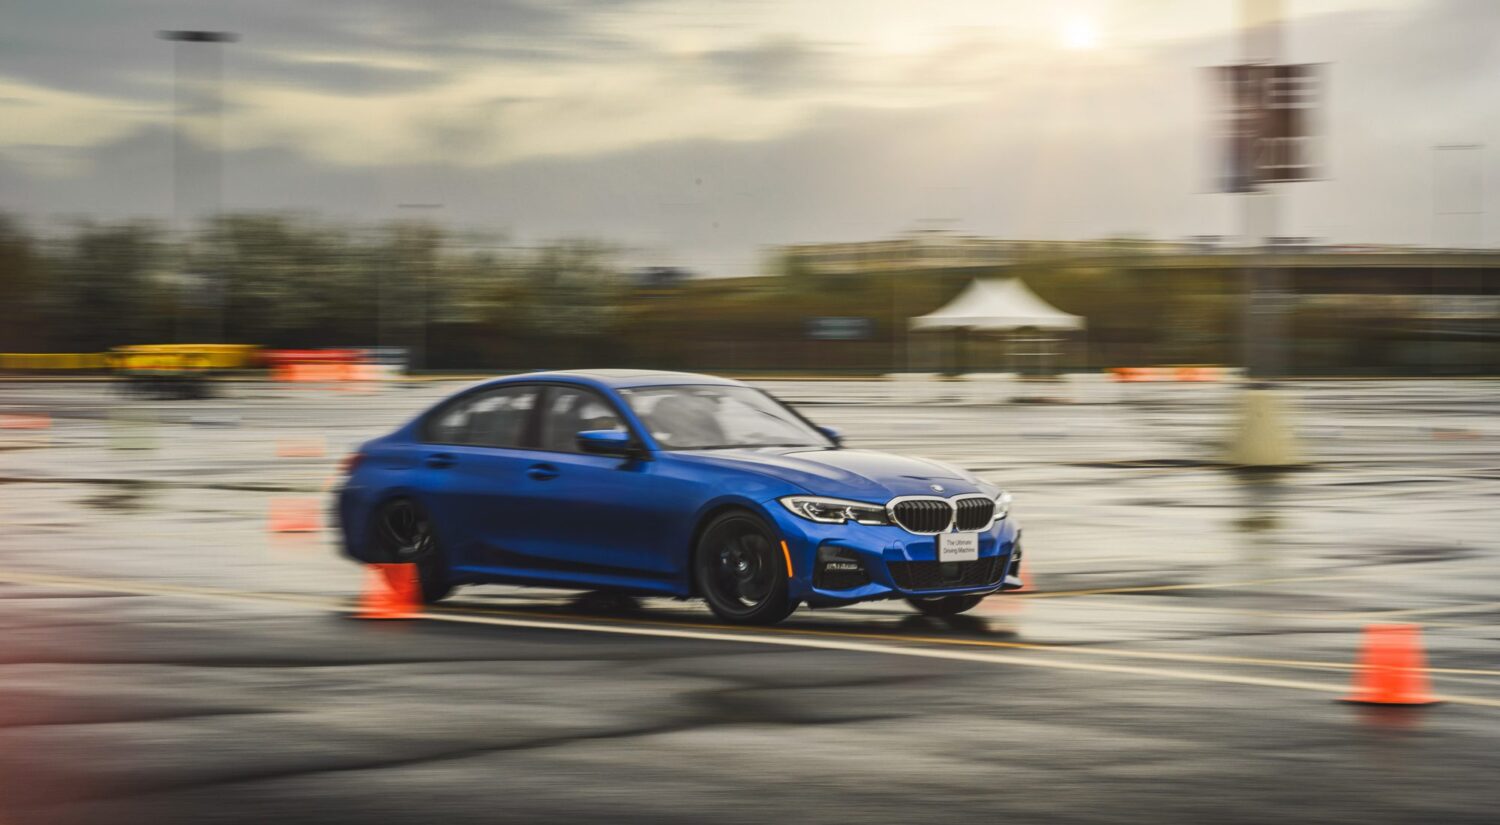
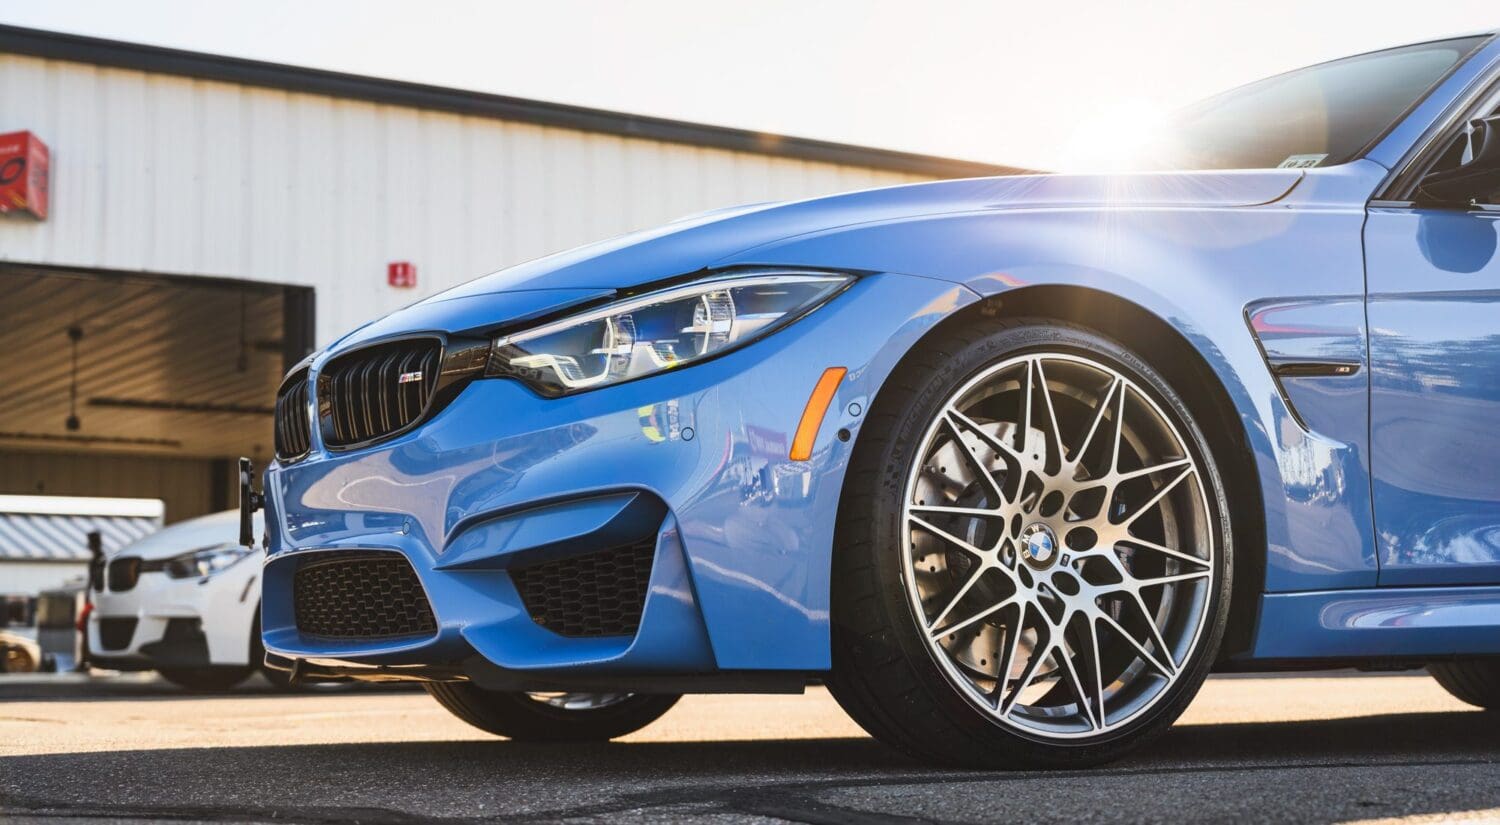

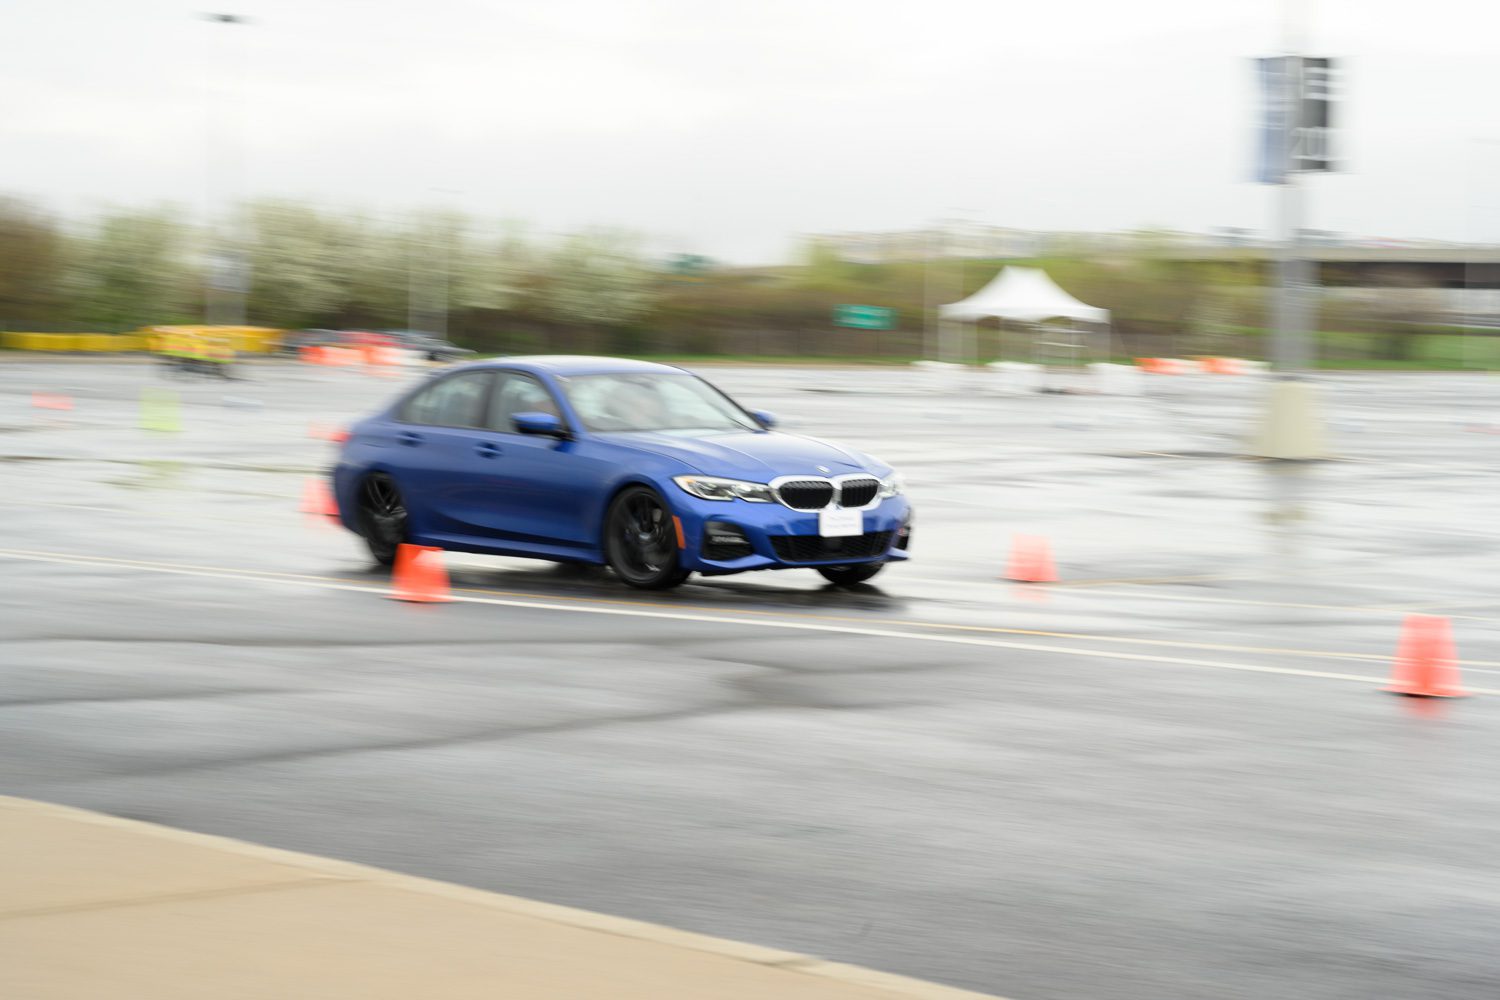
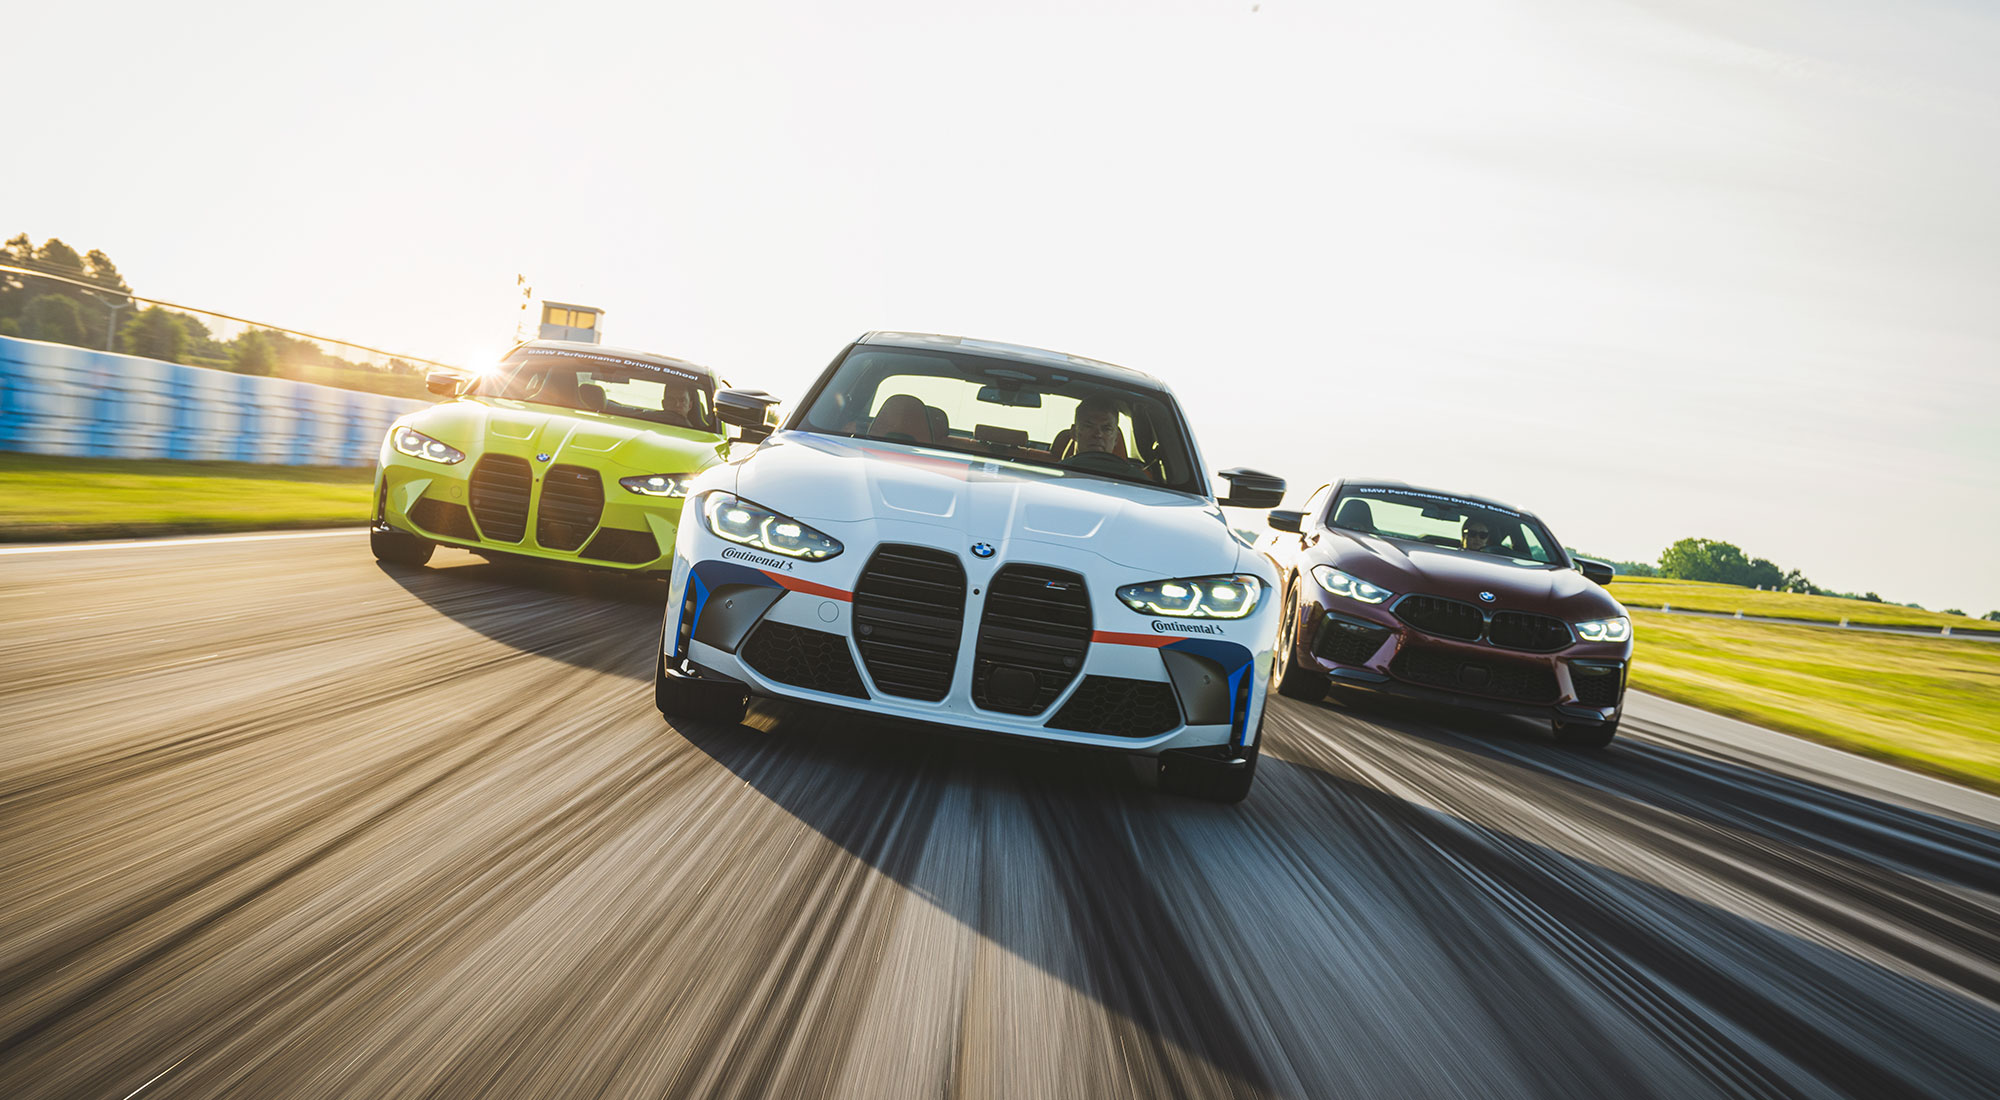
Unlike rolling shots, panning shots have you stationary on the side as the car drives by, panning the camera to follow the car. It creates a nice effect for speed. Here, I’ll show you how to do it while at BMW’s Ultimate Driving Experience event in New Jersey.
I’ll start with the camera settings, because they are particularly relevant here.
Camera settings:
- F/Stop: F/18
- ISO: 50
- Exposure: 1/20 s
- Focal length: 70mm
- No polarizer
- Make sure your lens stabilization is on
- Set to burst mode
Notice the higher F/stop, which was needed to help blur the car without letting in to much light (it was full of glare that day). You also want a reduced shutter speed to help prevent the camera from shaking. Remember, the car should be blurry horizontally, but not vertically. This will take some practice. Even I never get it right on the first try…
You “can” shoot with a polarizer here, but I elected not to because the sky had been very dark moments before. A neutral density filter will also help reduce the amount of light coming into the lens if desired. We want a bit longer exposure to help blur the car more and give a sense of speed.
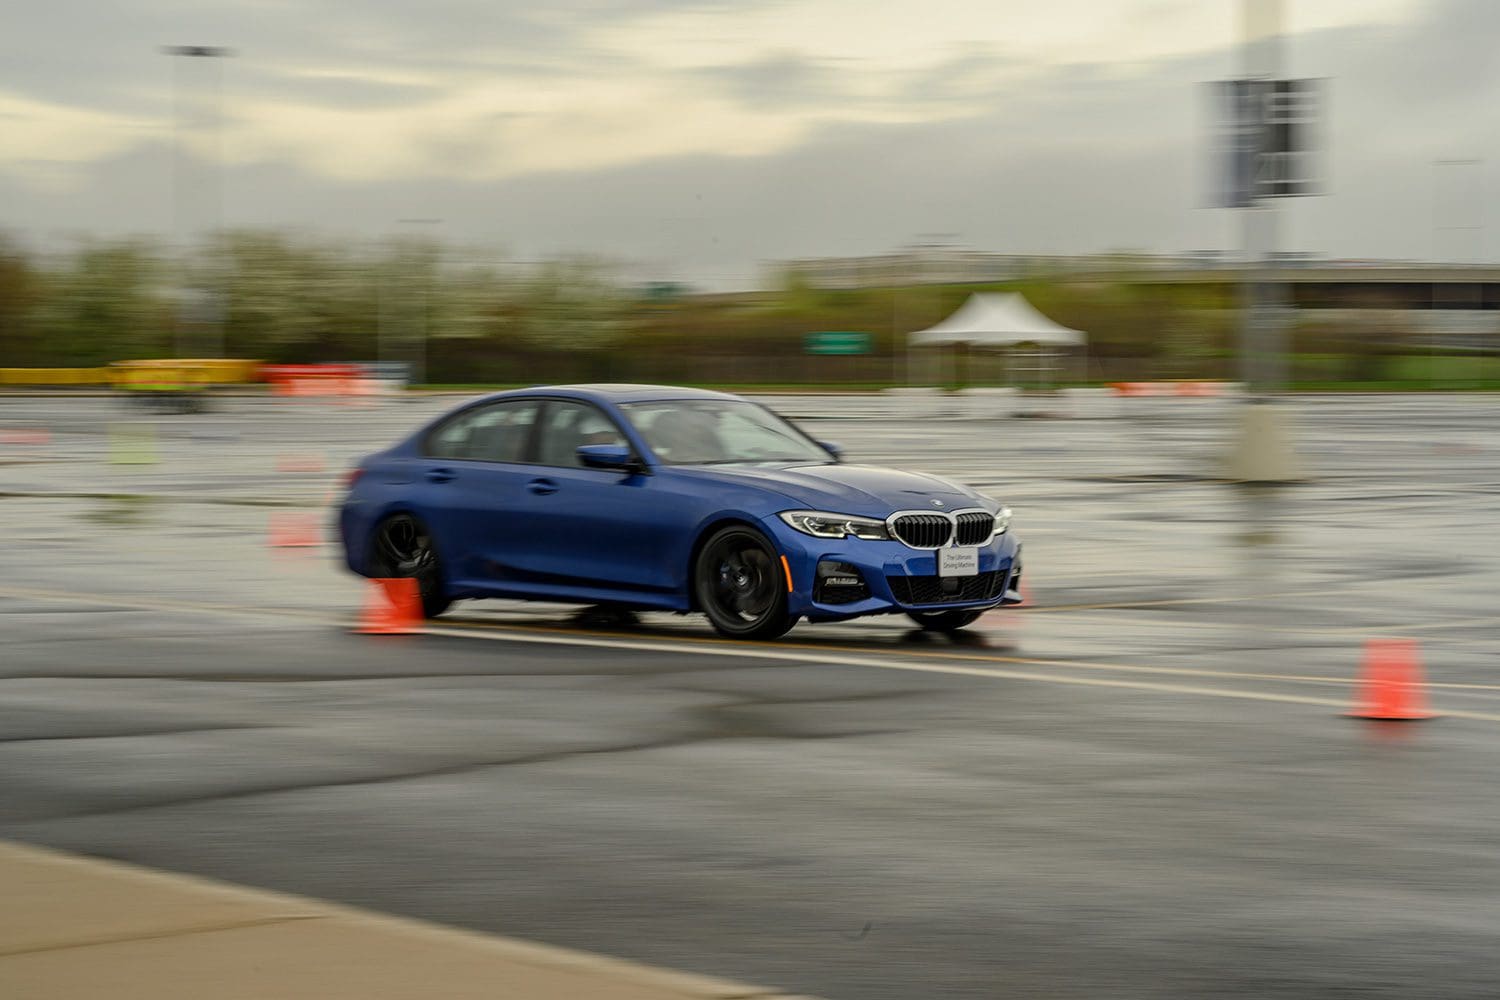
Speed kills
I wish I had bee able to get closer, but that was as close as I was allowed to get. The car does not need to be going blazing fast, but this was shot at about 40 mph, and I’d say that’s the low end of the limit for a real sense of speed. The faster the car is traveling, the more blurred things in the background will become.
Finally a note on camera settings and focal point. I usually choose the front of the car to focus on, and blur out the back, but it can also be nice to focus on a wheel, or if the car is going out of frame, focusing on the back. Just make sure one part of the car is sharp. Select “burst mode” when doing this, and once the car is in frame, hold down the shutter release and keep shooting, so you’ll get multiple takes in one pass. Finally, to help the camera focus continuously, I select Continuous/AF-C” (Nikon) or “AI Servo” (Canon). This will allow the camera to readjust even as you hold down the release trigger.
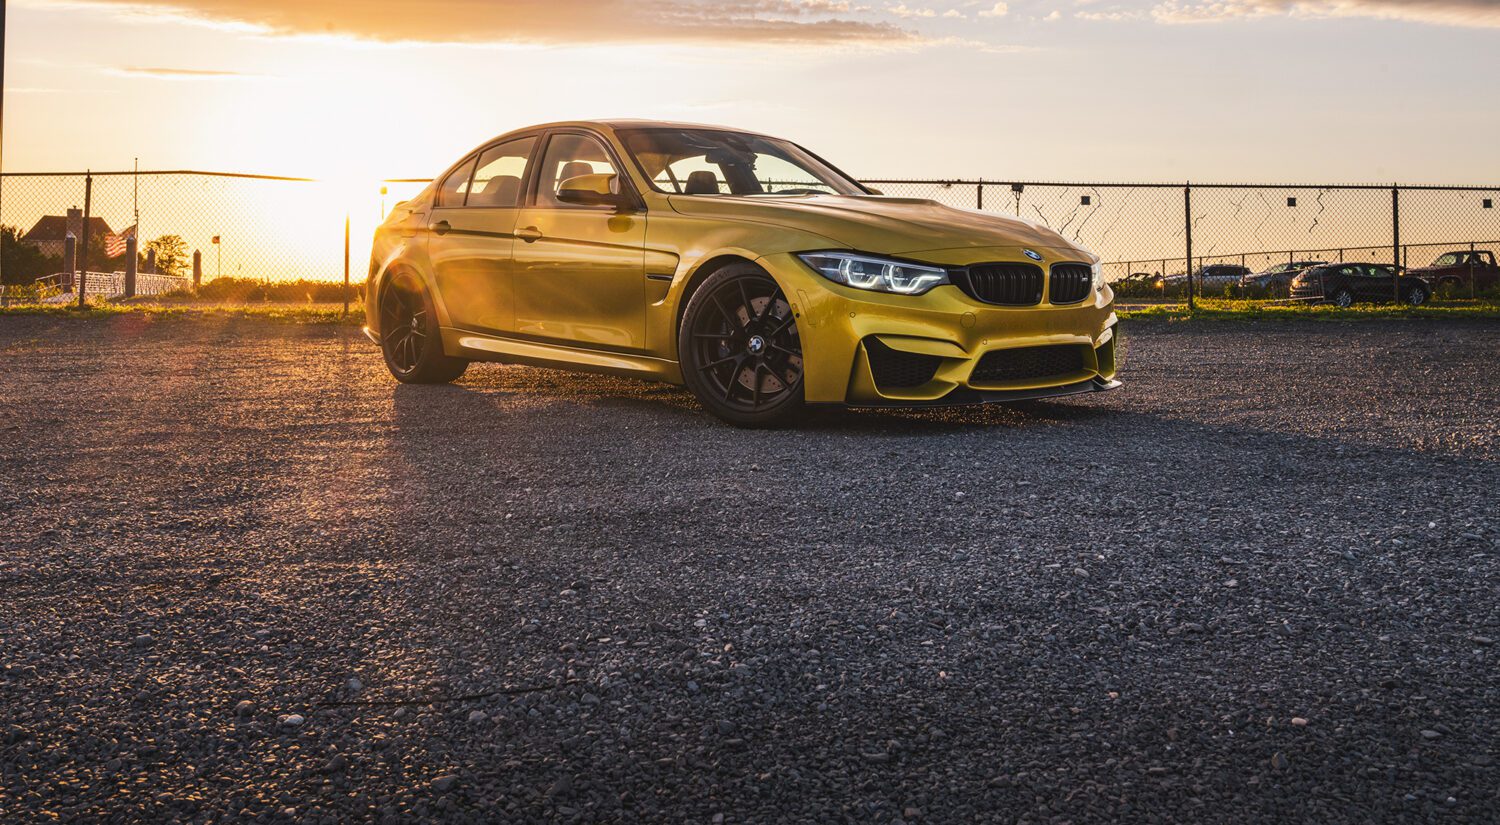
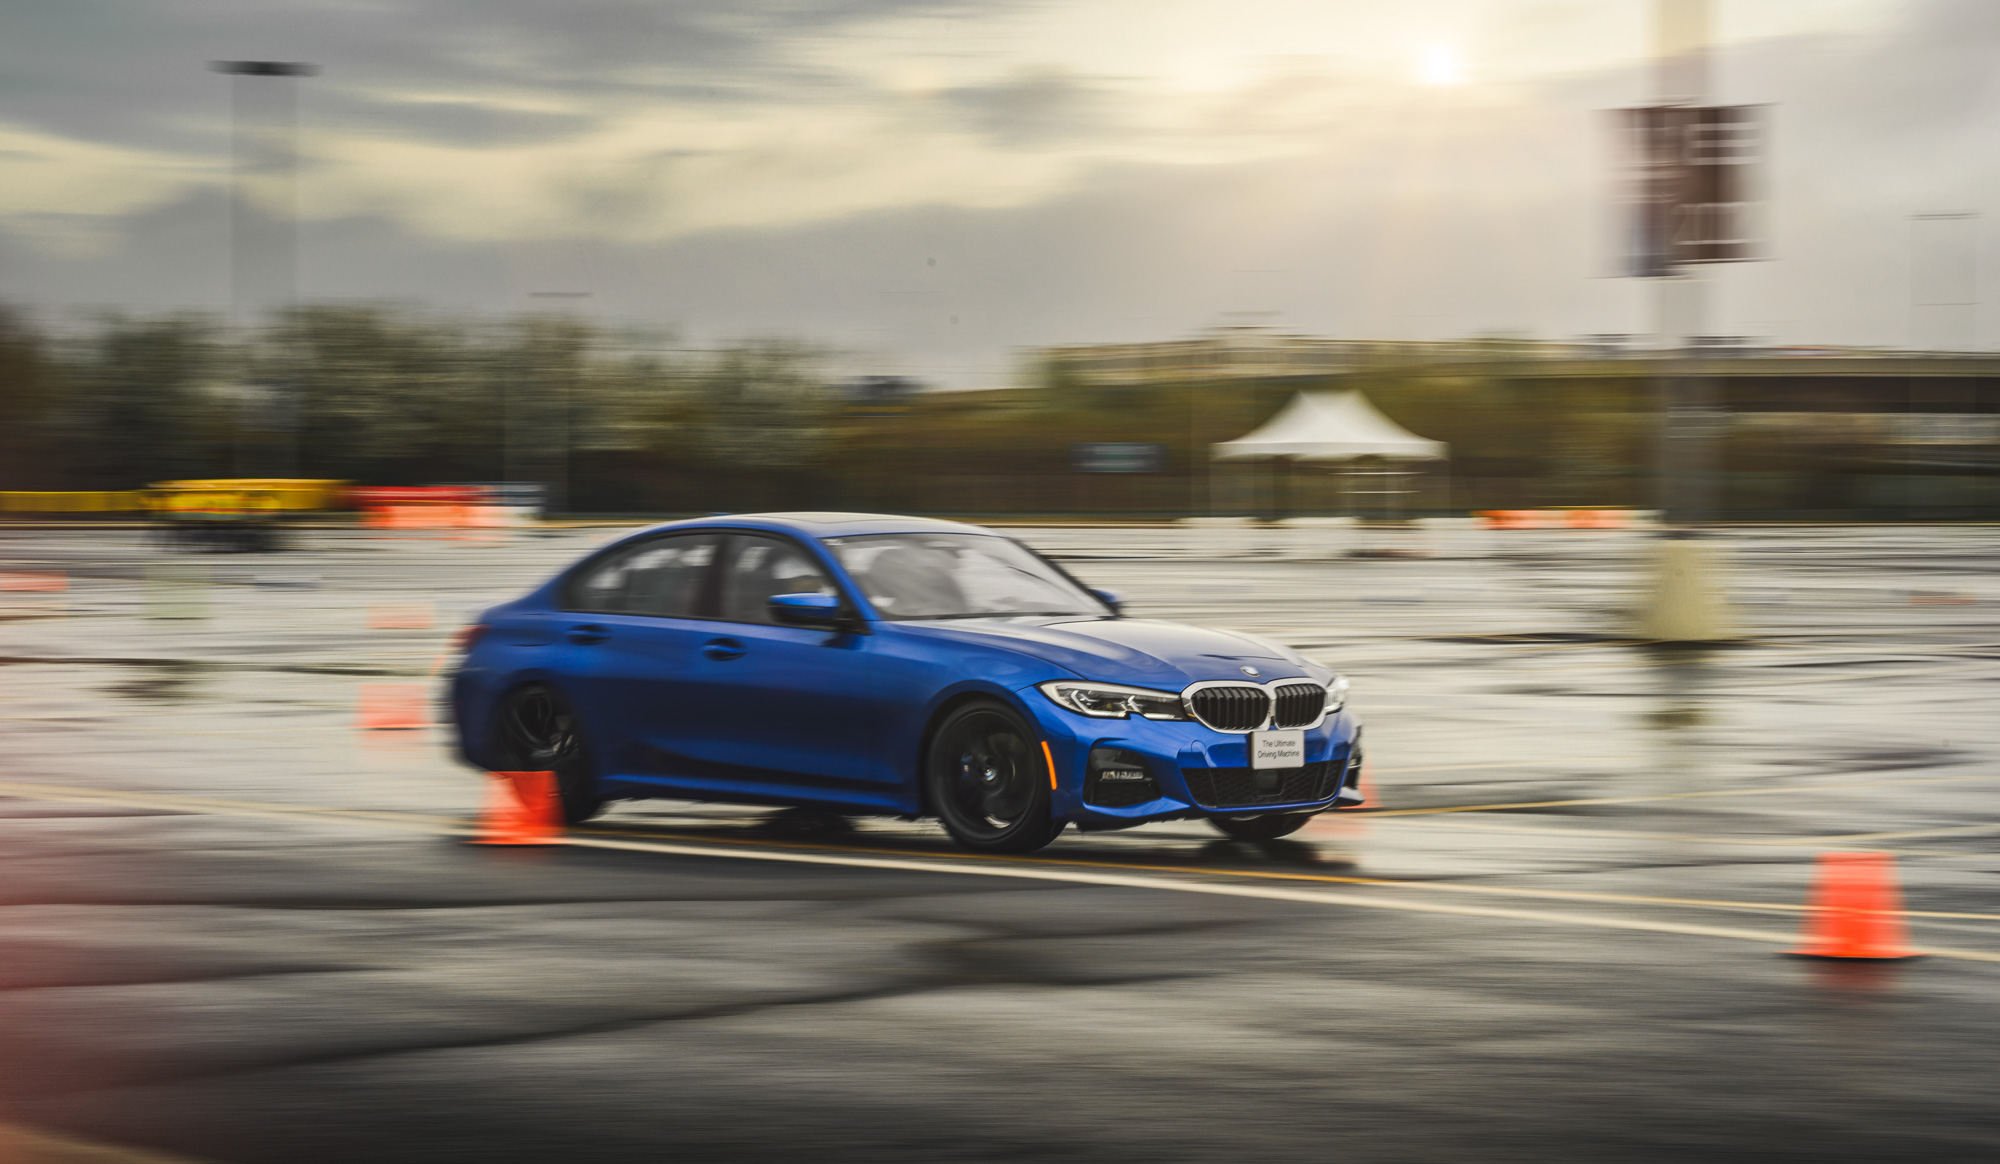
Post Production
The photo looks pretty washed out, so the first thing we’ll do in Camera Raw is adjust the basic contrast and fills:
- Saturation: +2
- Clarity: +30
- Dehaze: +15
- Blacks: +26
- Whites: -58
- Shadows: +50
- Highlights: -66
- Contrast: -20
- Exposure: +0.33
Open that as a smart object. the right click and duplicate the layer as a copy, and open it up in Camera Raw. We’re going to adjust the sky.
- Exposure: -60
- Dehaze: +60
Add a layer mask to this layer, and paint in the portions of the sky as needed.
After that, it’s simply a matter of taste, as I went in and added LUT filters and a lens flair for more drama. Have fun and enjoy!
Feel free to email me at mike@machineswithsouls.com with any questions.
Follow along on Instagram @machineswithsouls
3 thoughts on “How to get the perfect panning shot”
Comments are closed.