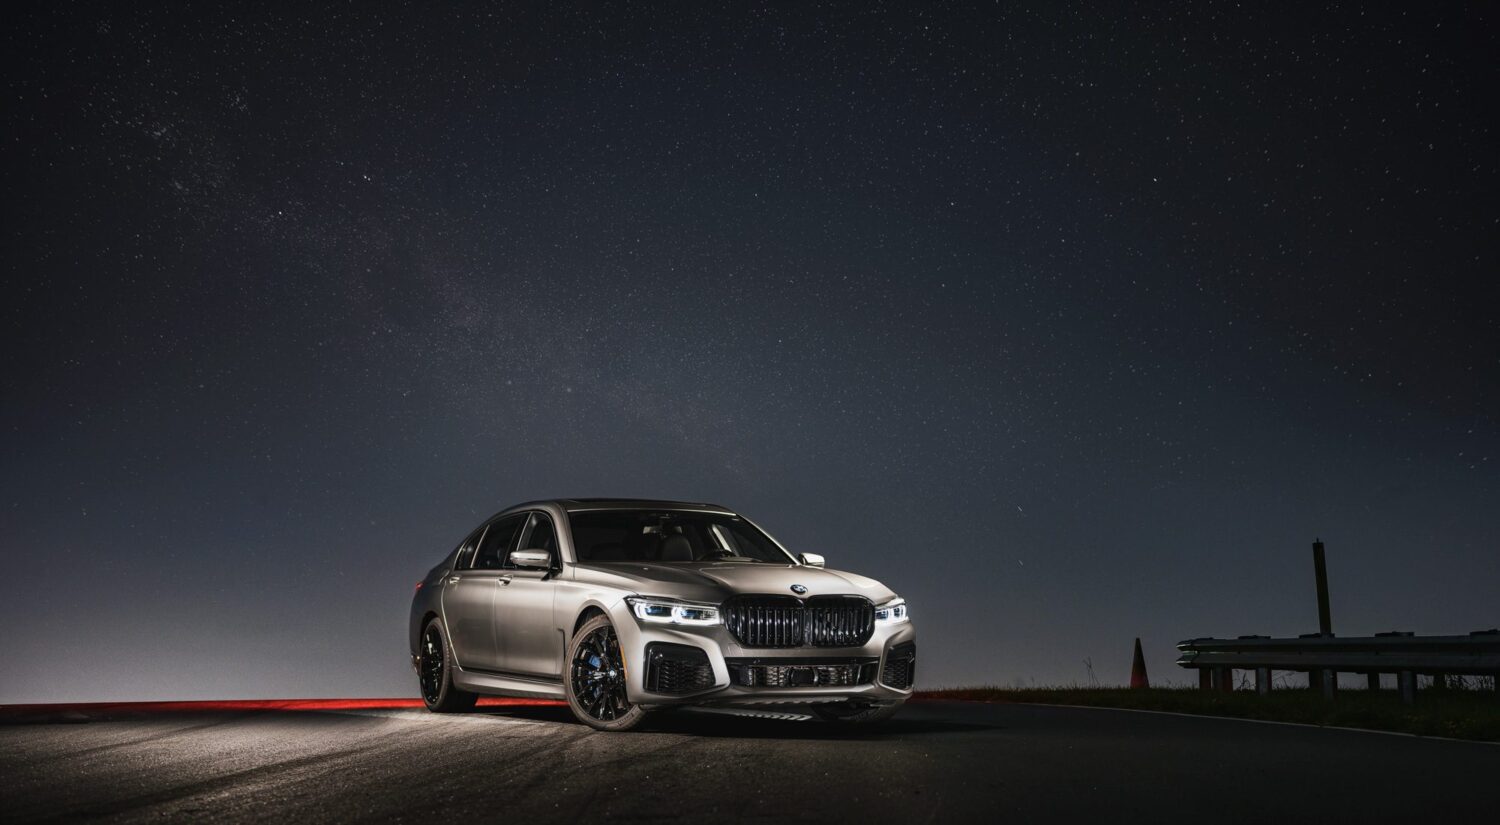
Last week, we went over how to shoot the night sky and apply it to automotive photography. Now, I’ll show you how to apply your star images in the final composite.
For part 1, click here.
Light Painting
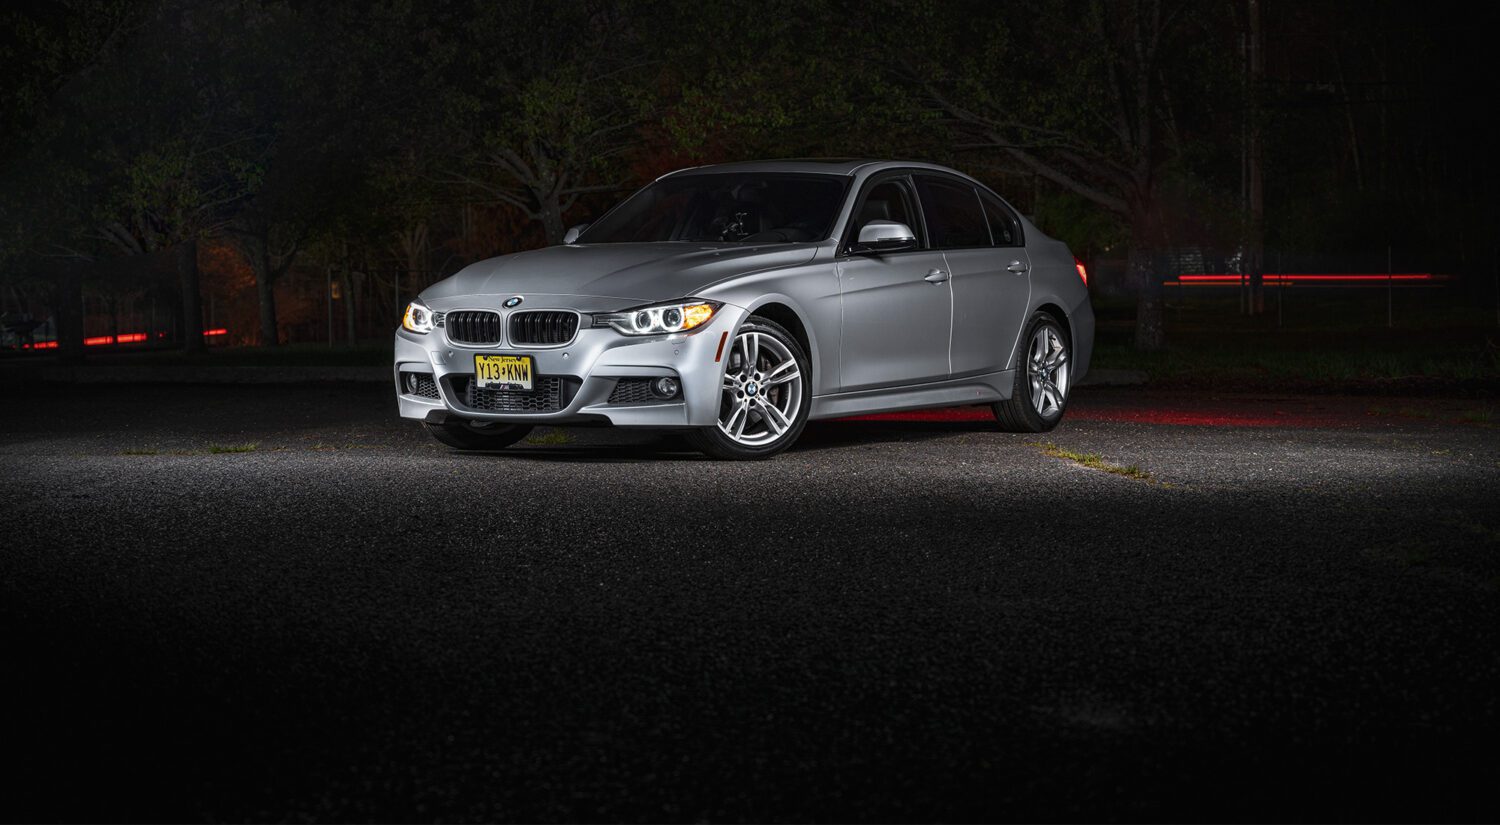
After we’ve taken our image of the night sky, make sure to refocus the camera on the car itself. Focusing the camera to infinity, as you do when shooting stars, causes your foreground to be blurry, which will result in an unusable image. To help the camera out, point a light at the car, then move your focus point to that spot and refocus. Be careful not to move your camera at all while doing this.
To learn how to edit a light painting shoot, see this post.

Moving to post
Remember the star image I had you take beforehand for practice? We’ll use that now. After you’ve completed adding all your layers together from your light painting, you’ll have something like the following.
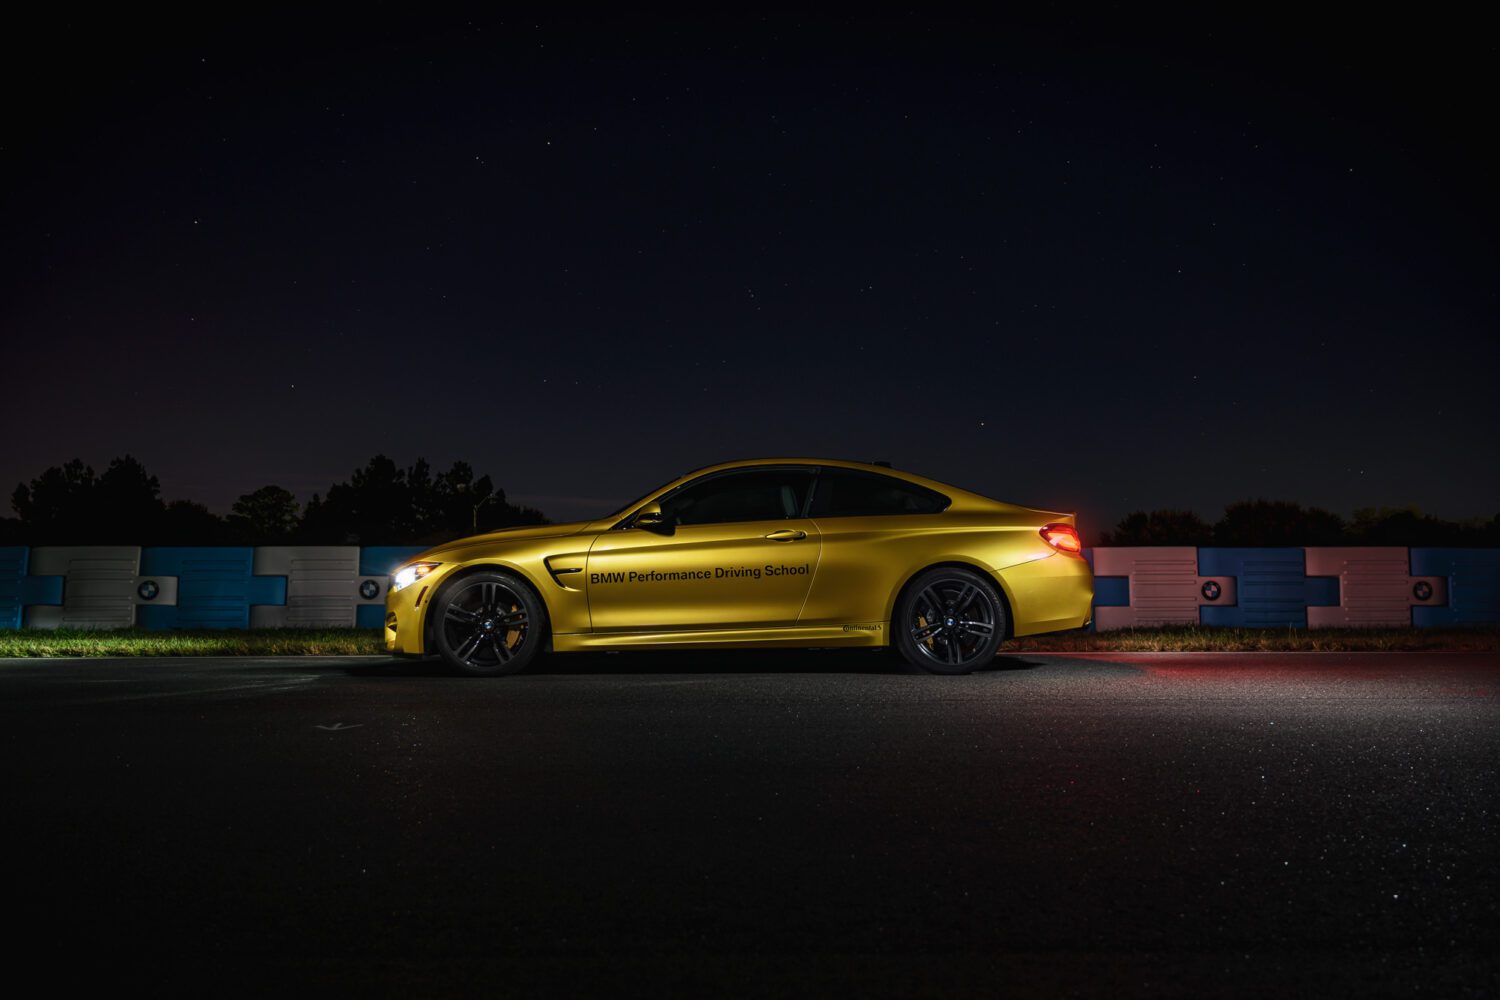
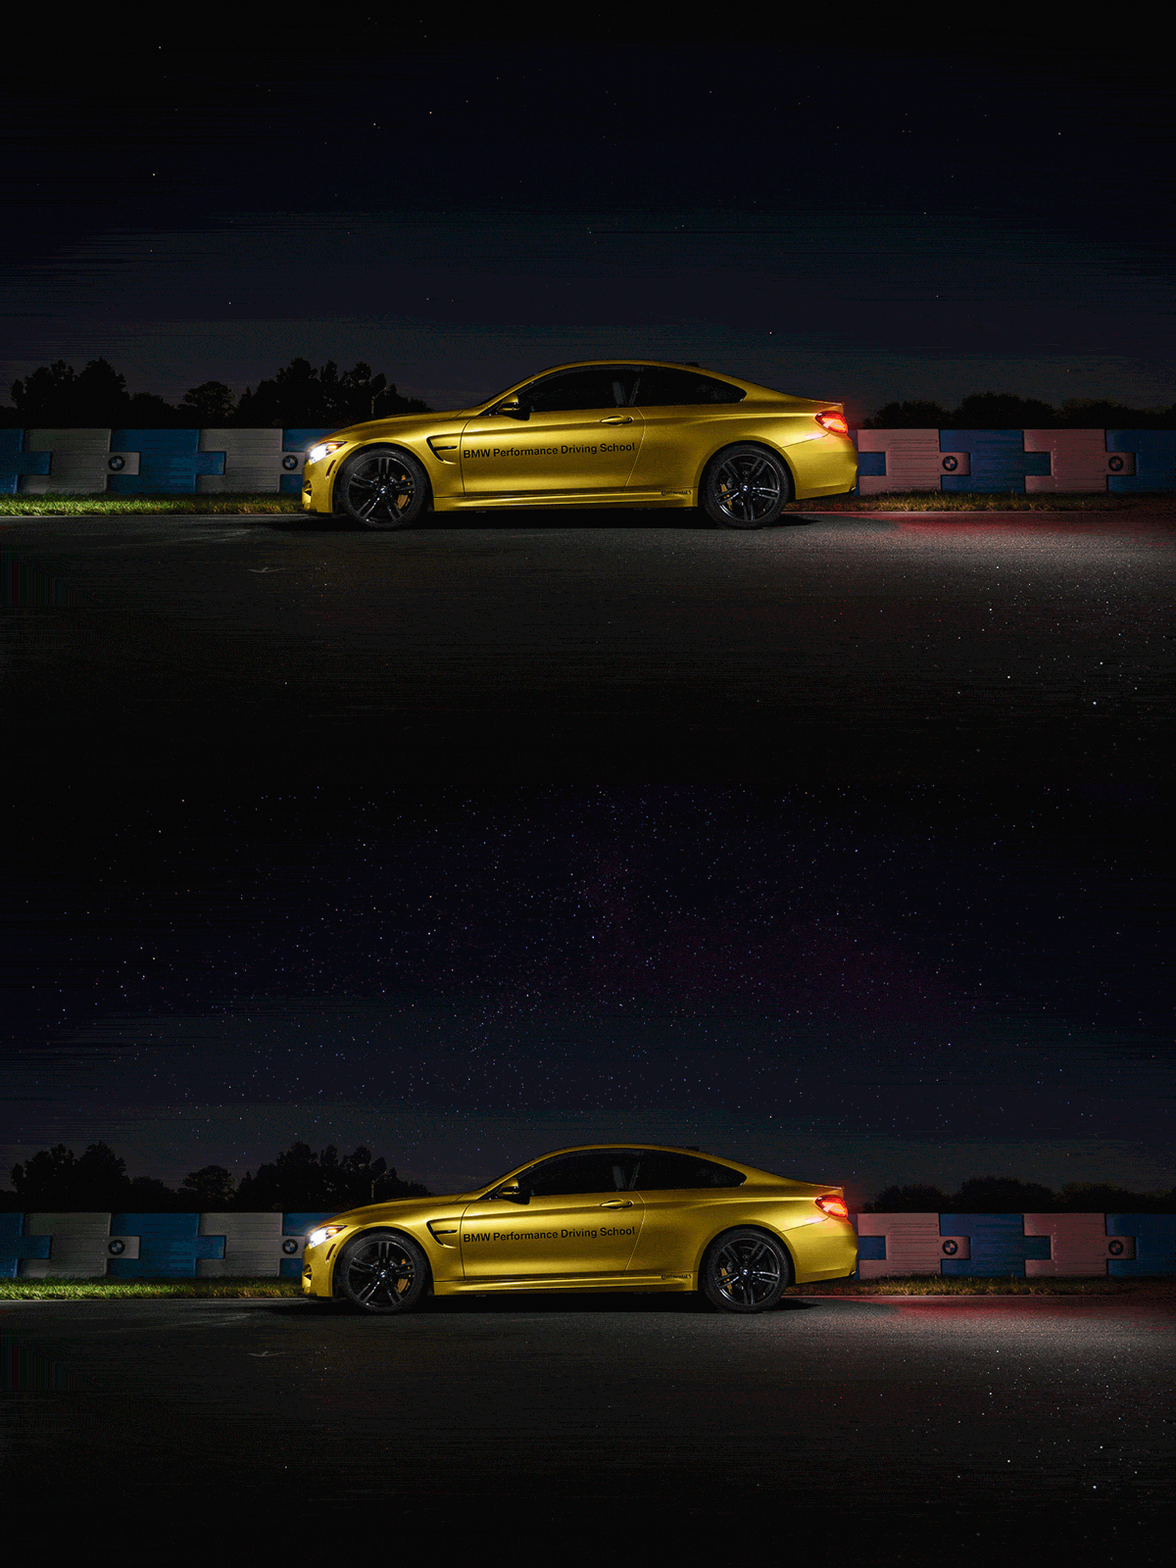
We can see some stars, but clearly the light pollution and our equipment have made the sky simply average. Import your flattened star image from that little practice session, then set the blend mode to either “screen”, or “lighter color”. My original image had lots of purple haze in it, so lighter color was the better option for me here. Then, add a layer mask, and paint away the parts where you don’t want any star to show through.
The M760i image
We’ll use another example from the same shoot of an M760i, where we’re emphasizing the sky more by shooting the car on a hill and looking up for a clear horizon line. This time, because of the different angle, light pollution was even worse than in the M4 image…
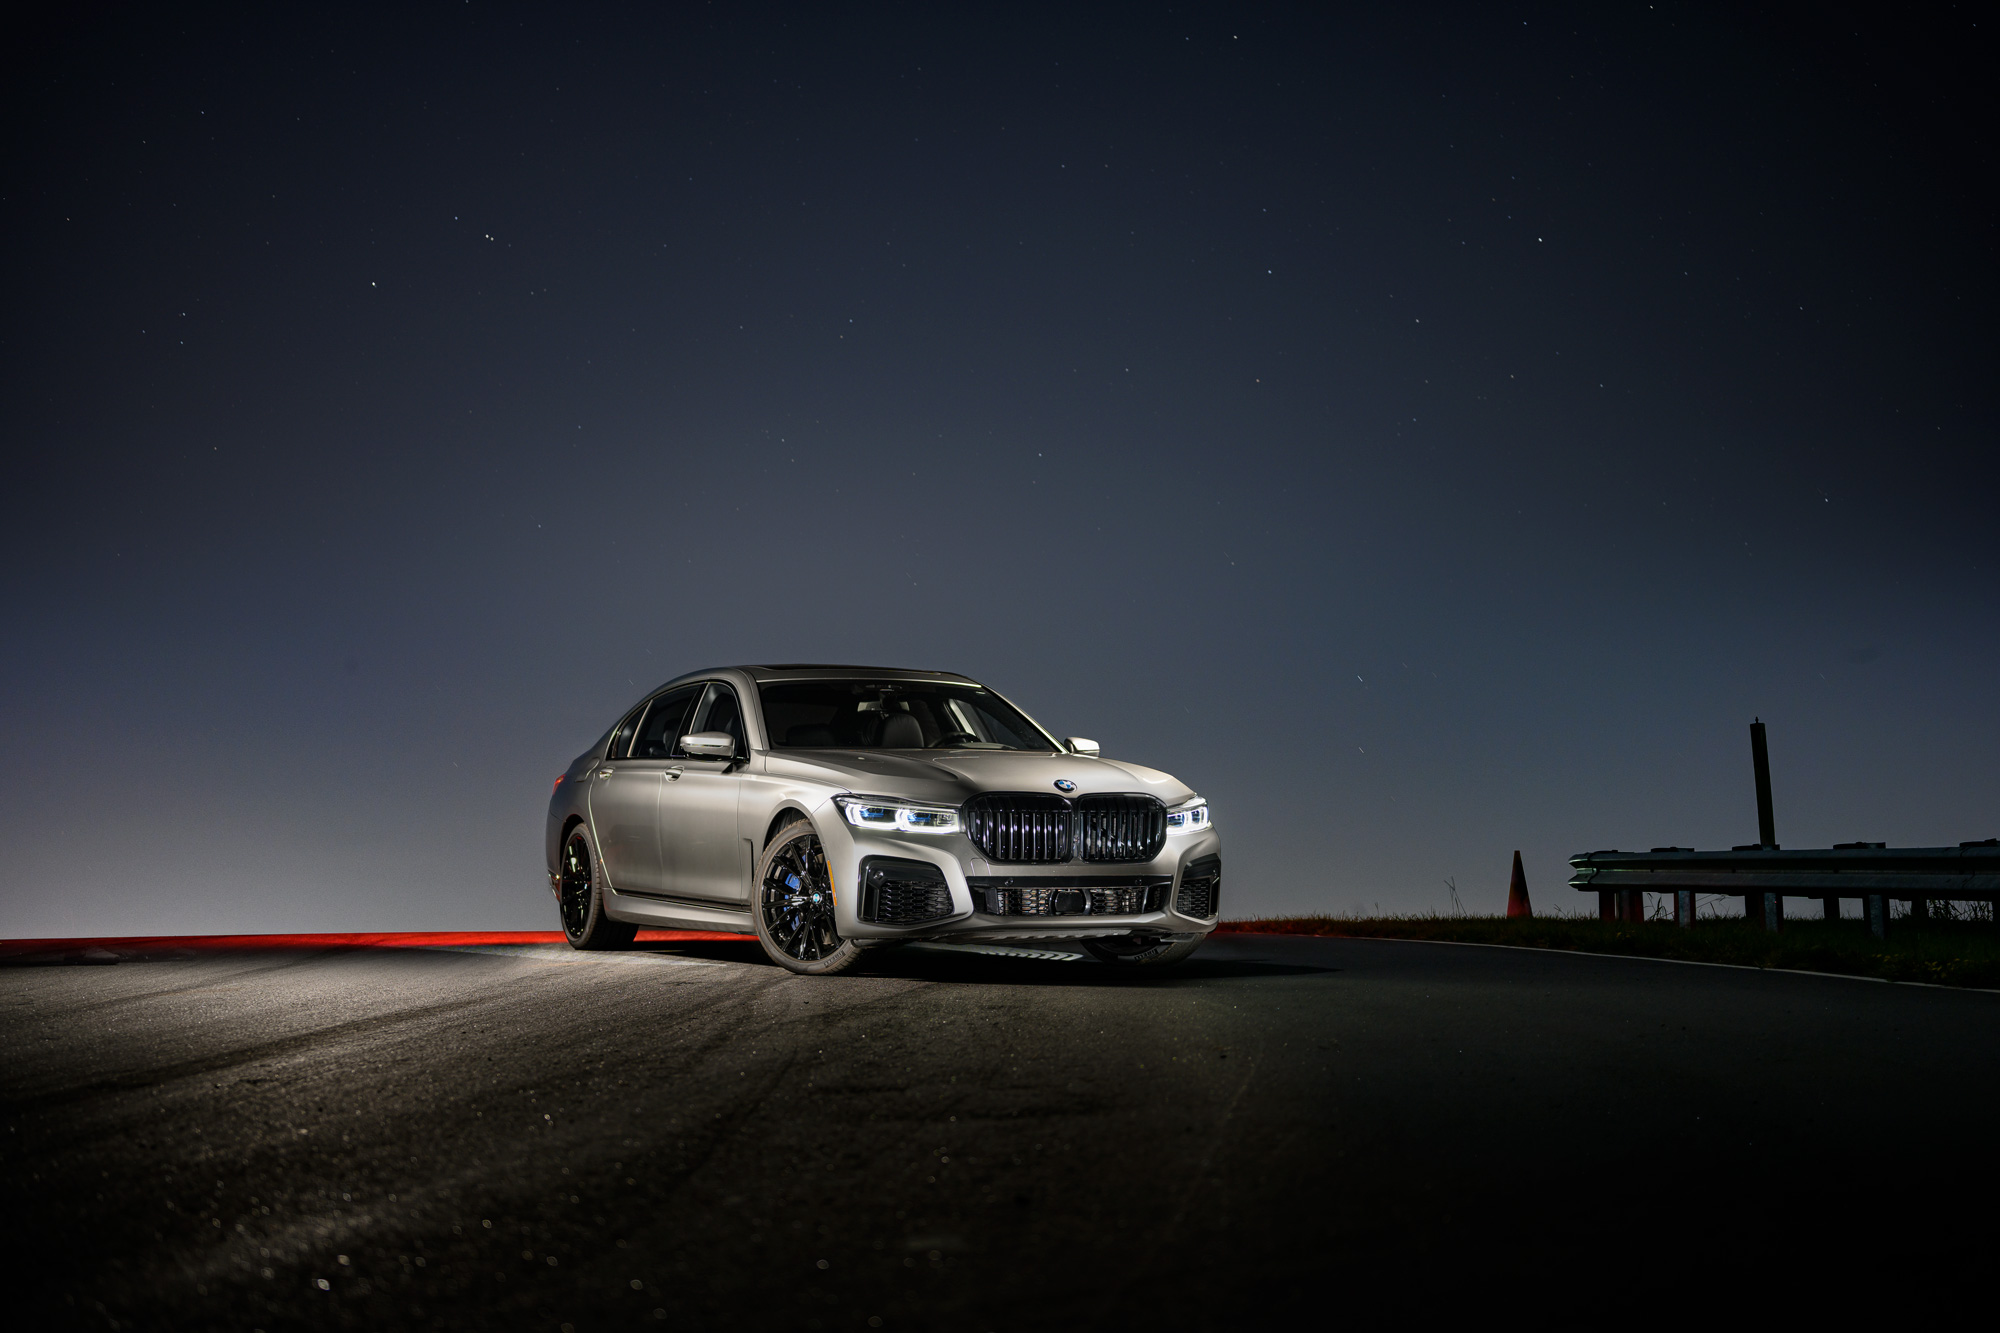
Remember that because of the rotation of the Earth, holding the shutter open longer than about 10 seconds causes the stars to blur, which is already happening a bit here. So, using the same retouching technique, let’s bring in our original star image.
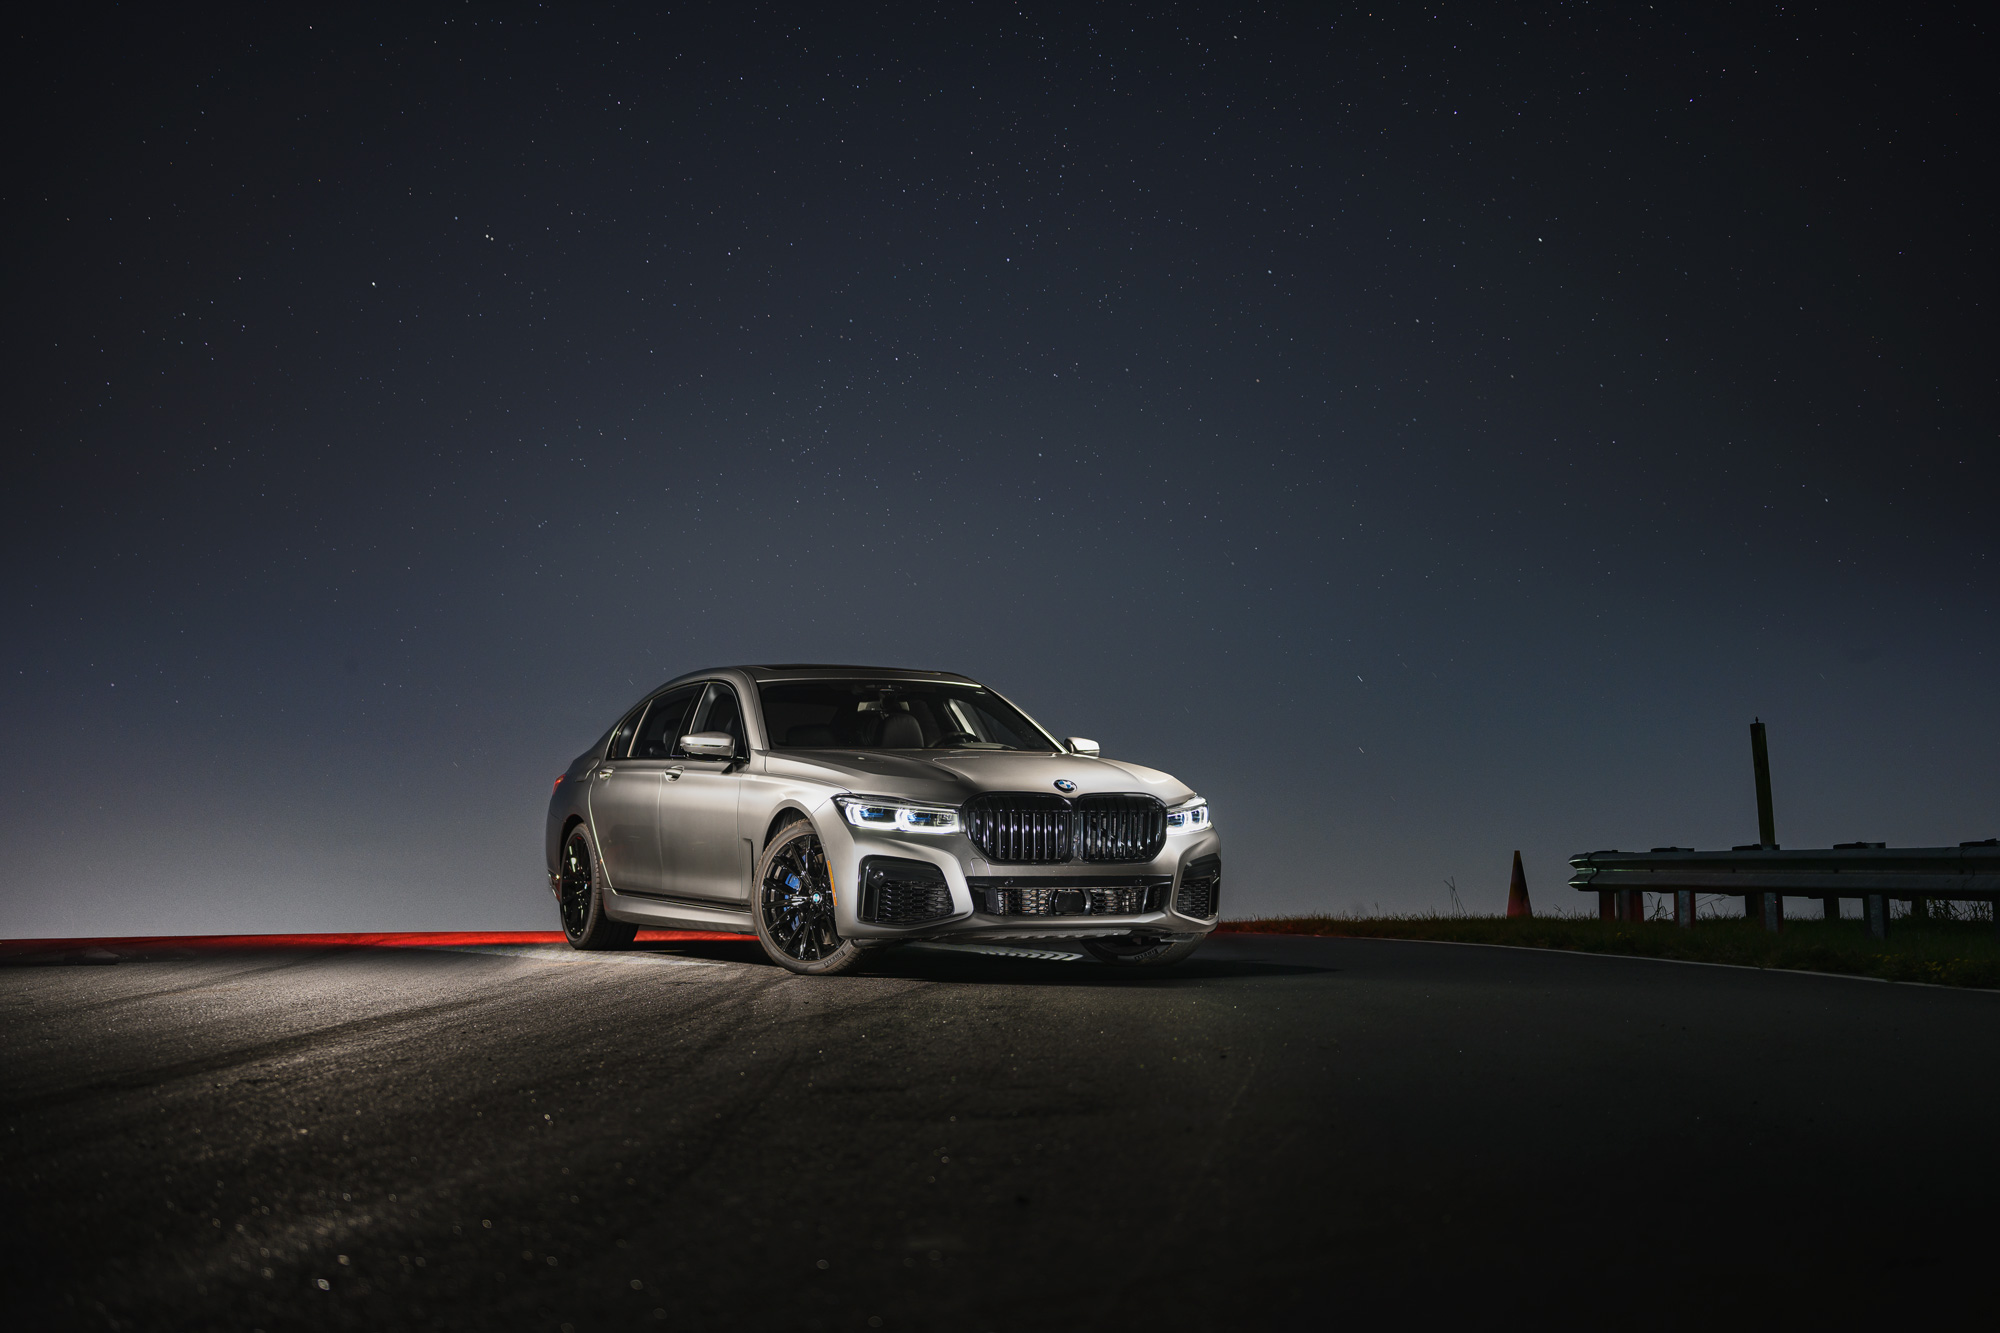
That’s better, but still lacking something. So, maybe bringing in some of the Milky Way Galaxy would help, and we can use free stock images for this. Bring your image in, set the blend most to “lighter color”, and then reduce the opacity to 30%. When painting in your mask, make sure to leave some room around the horizon, since the brighter sky would occlude some of the stars from view. I also had to rotate my galaxy image a bit to position it in a way that lead your eye to the car.
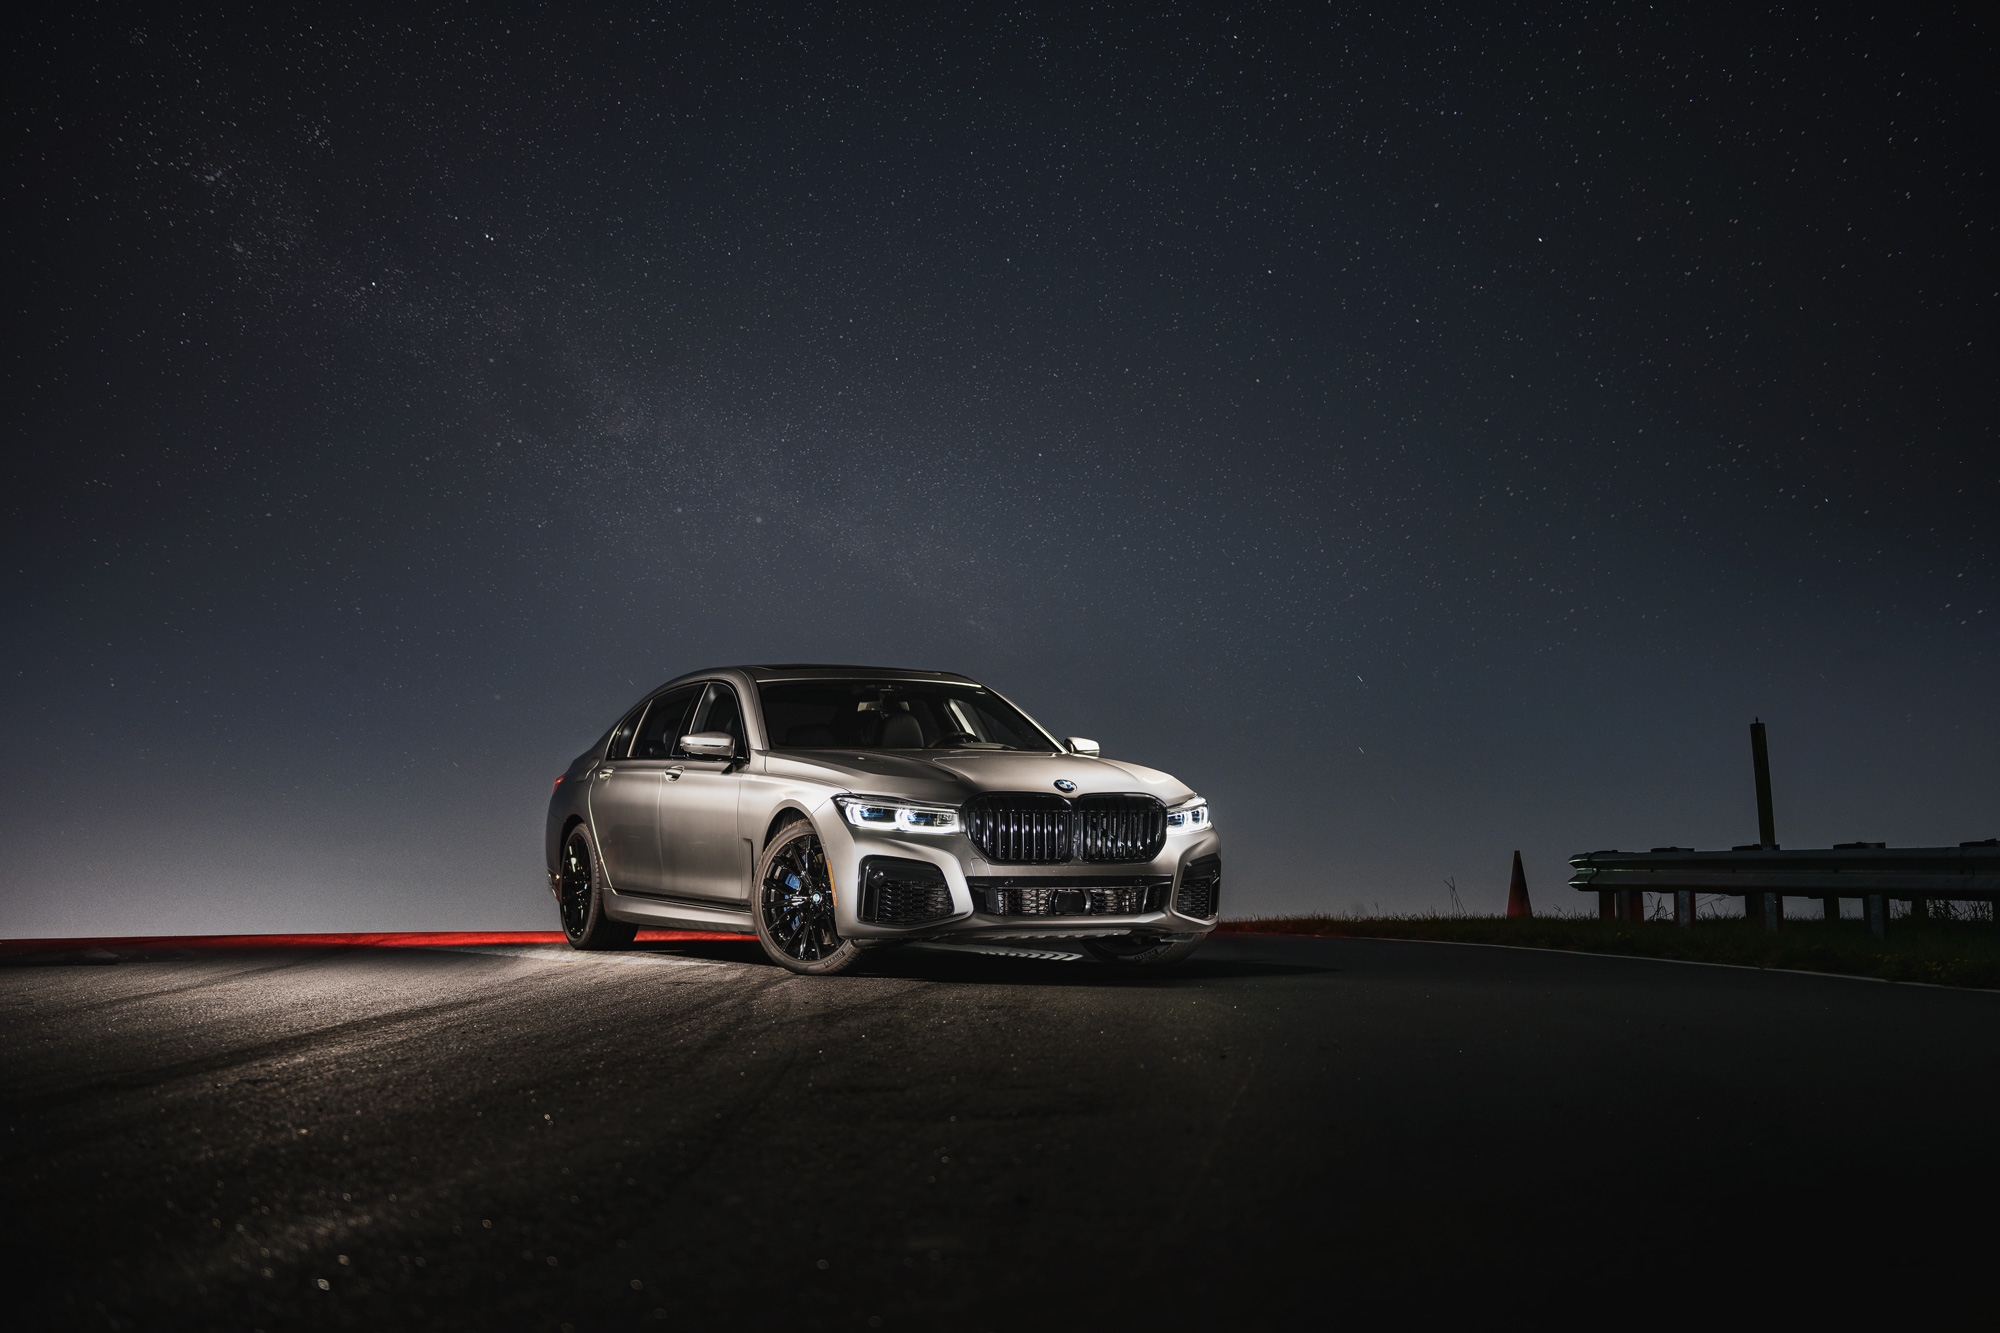
Overall, the key to shooting the night sky is the same as any other special effect when shooting a car. Keep your car as the main focus, and let the effects compliment the image.
Happy Thanksgiving!
Feel free to email me at mike@machineswithsouls.com with any questions.
Follow along on Instagram @machineswithsouls
Legal
Due to factors beyond the control of Machines With Souls LLC and Mike D’Ambrosio, I cannot guarantee against improper use or unauthorized modifications of this information. Machines With Souls LLC and Mike D’Ambrosio assumes no liability for property damage or injury incurred as a result of any of the information contained in this post. Use this information at your own risk. Machines With Souls LLC and Mike D’Ambrosio recommends safe practices when working on vehicles and or with tools seen or implied in this post. Due to factors beyond the control of Machines With Souls LLC and Mike D’Ambrosio, no information contained in this post shall create any expressed or implied warranty or guarantee of any particular result. Any injury, damage, or loss that may result from improper use of these tools, equipment, or from the information contained in this post is the sole responsibility of the user and not Machines With Souls LLC or Mike D’Ambrosio.


