You’ve seen them before and may not have even noticed: Photoshop composite images. That’s where two or more images are combined into one for a seamless look, and it’s used mostly for changing the environment the car is in. This post is all about how to make a convincing composite image that does not look fake.
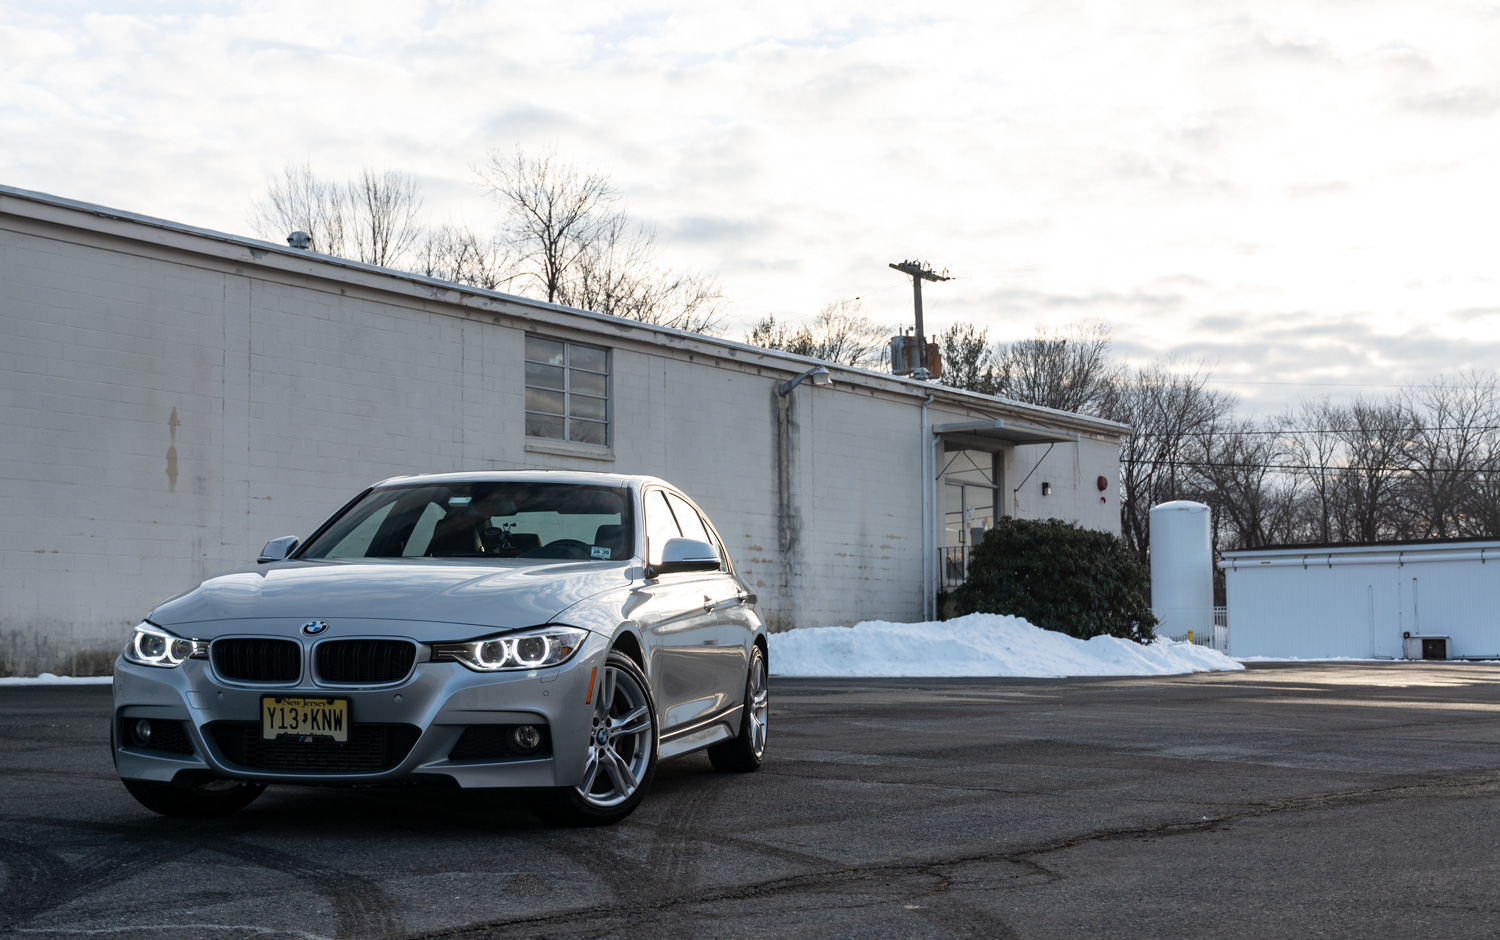
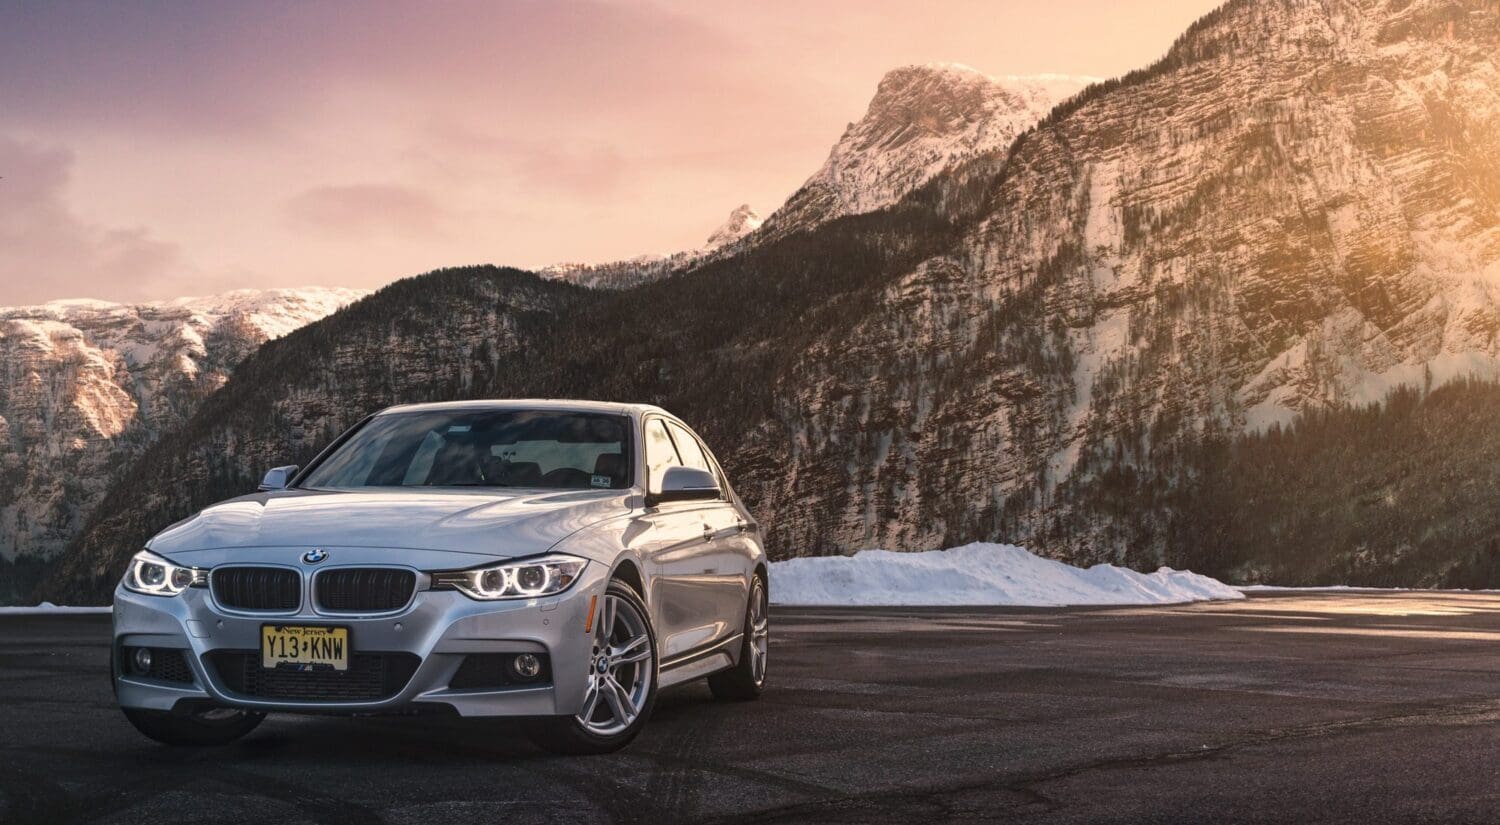
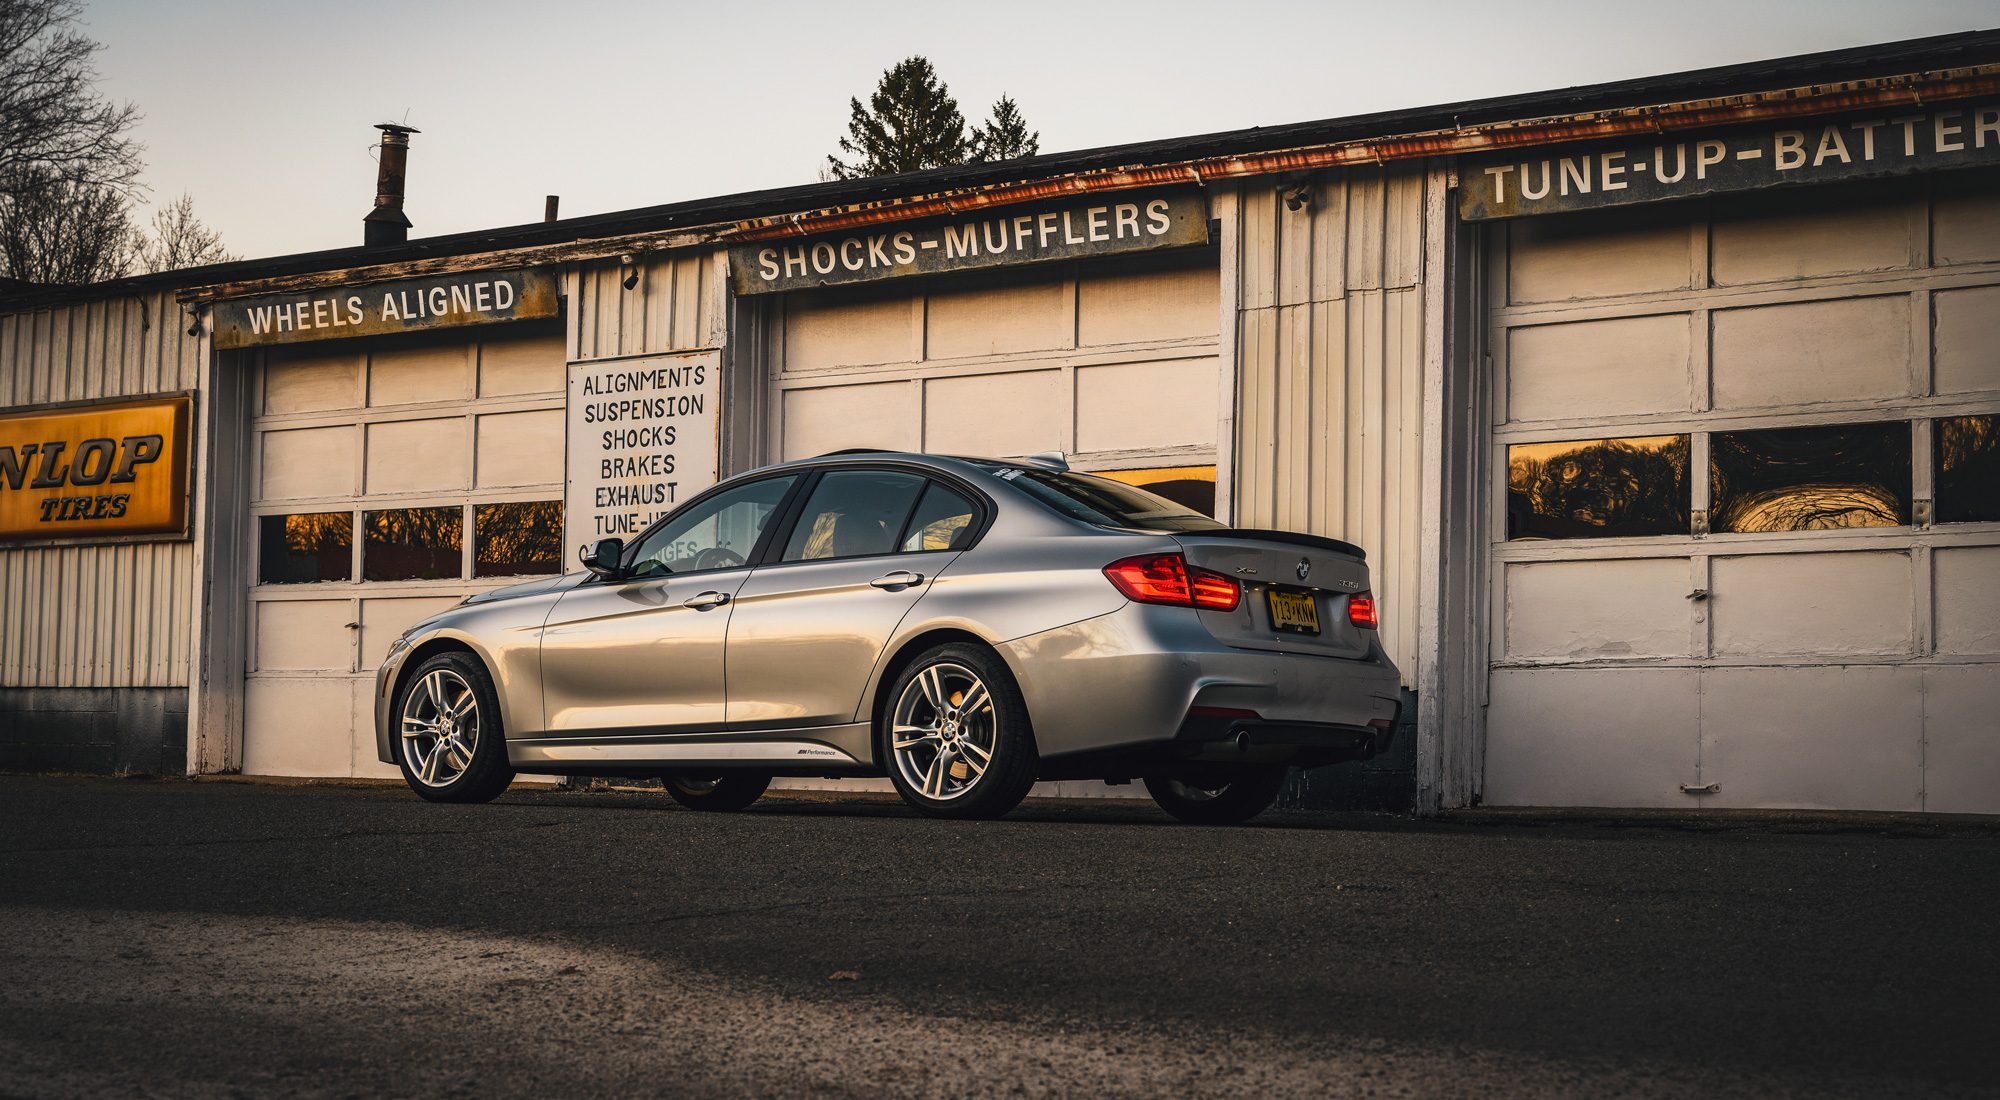
We’ll use a personal shot I took of my own BMW 335 as an example. I chose it because I liked the lighting and angle of the shot, but not the location. Let’s get to it!
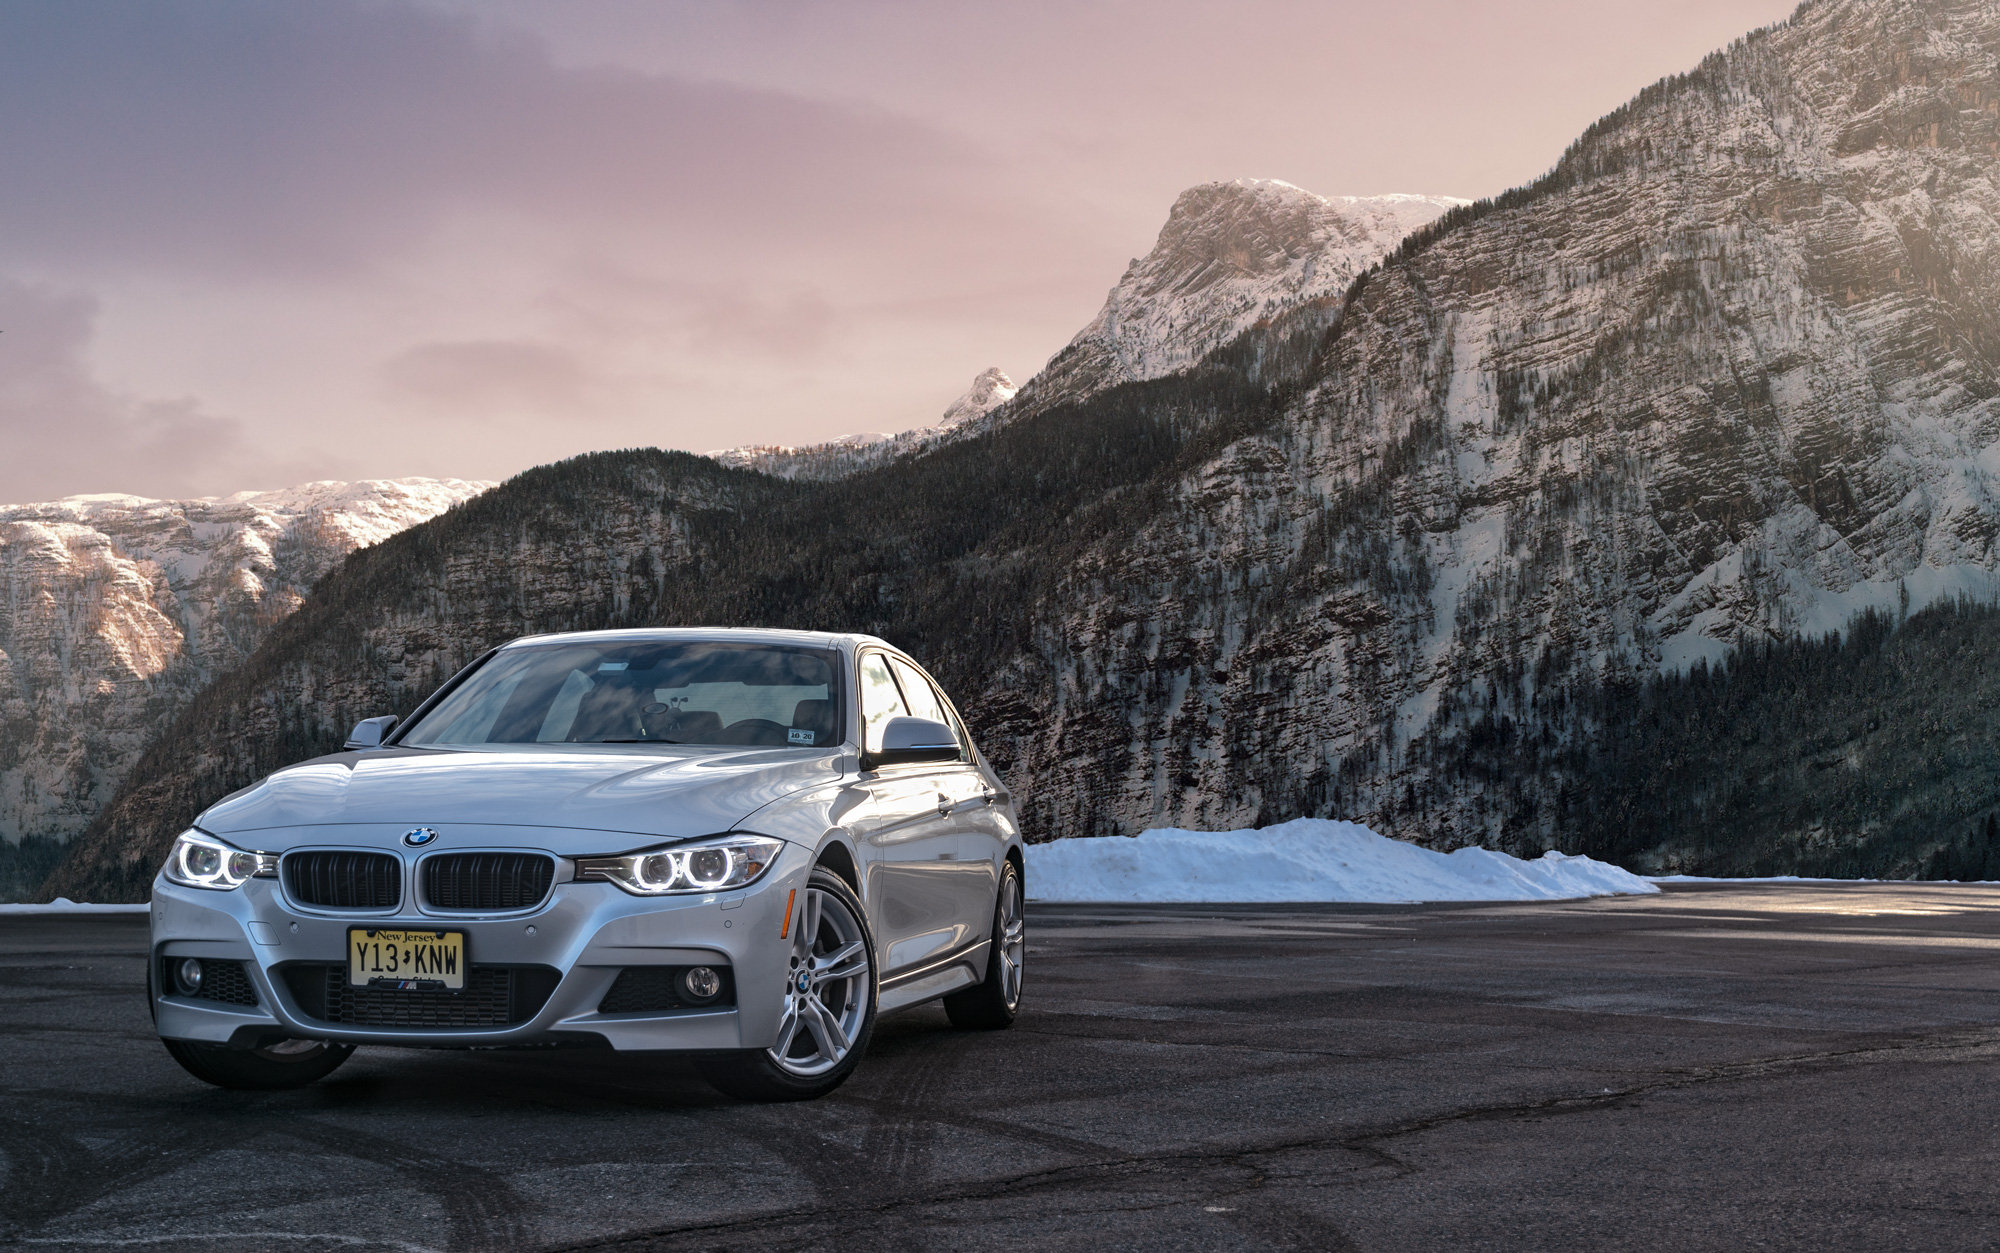
The original image
Normally I go into detail about how to shoot, but for this tutorial, I’ll skip that part and assume you have an image you like, but simply want to change the location of.

Now before we go nuts on the image itself, we have to choose a new background. I find it easiest to match up horizon lines, which meant most likely keeping that mound of snow in the background. There are many free stock houses you can choose from, and I found this image by doing a google search. I wanted to maintain the winter theme, so I went looking for some winter mountains.
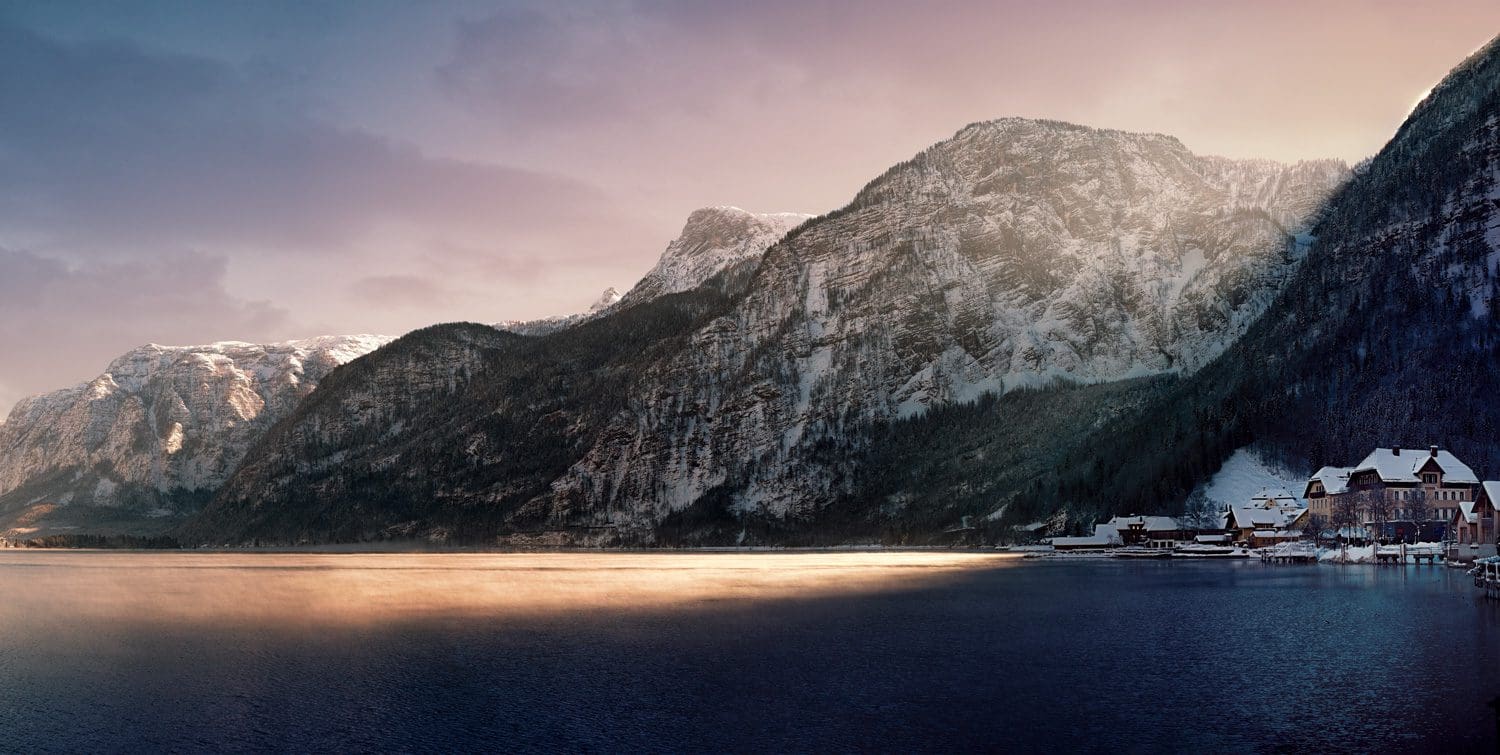

This image has a nice horizon line, and the scale of the mountains won’t overpower the car itself – they will feel far enough away.
Setting up the scene
You’ll want to create a new Photoshop canvas that is big enough to accommodate all your images, in this case, I’ve made mine 6000 x 3000px. Drag the mountain image in. To simulate a little lens blur, I’ll add a Gaussian blur of 1.2 to the mountain image, since you’d never had the entire image in focus if the shot were real.
Now drag in your flattened car image in (do some basic retouching on it like sharpening and clarity beforehand to avoid making this file huge). Add a layer mask to it, and paint out the parts you don’t want, mainly the background.
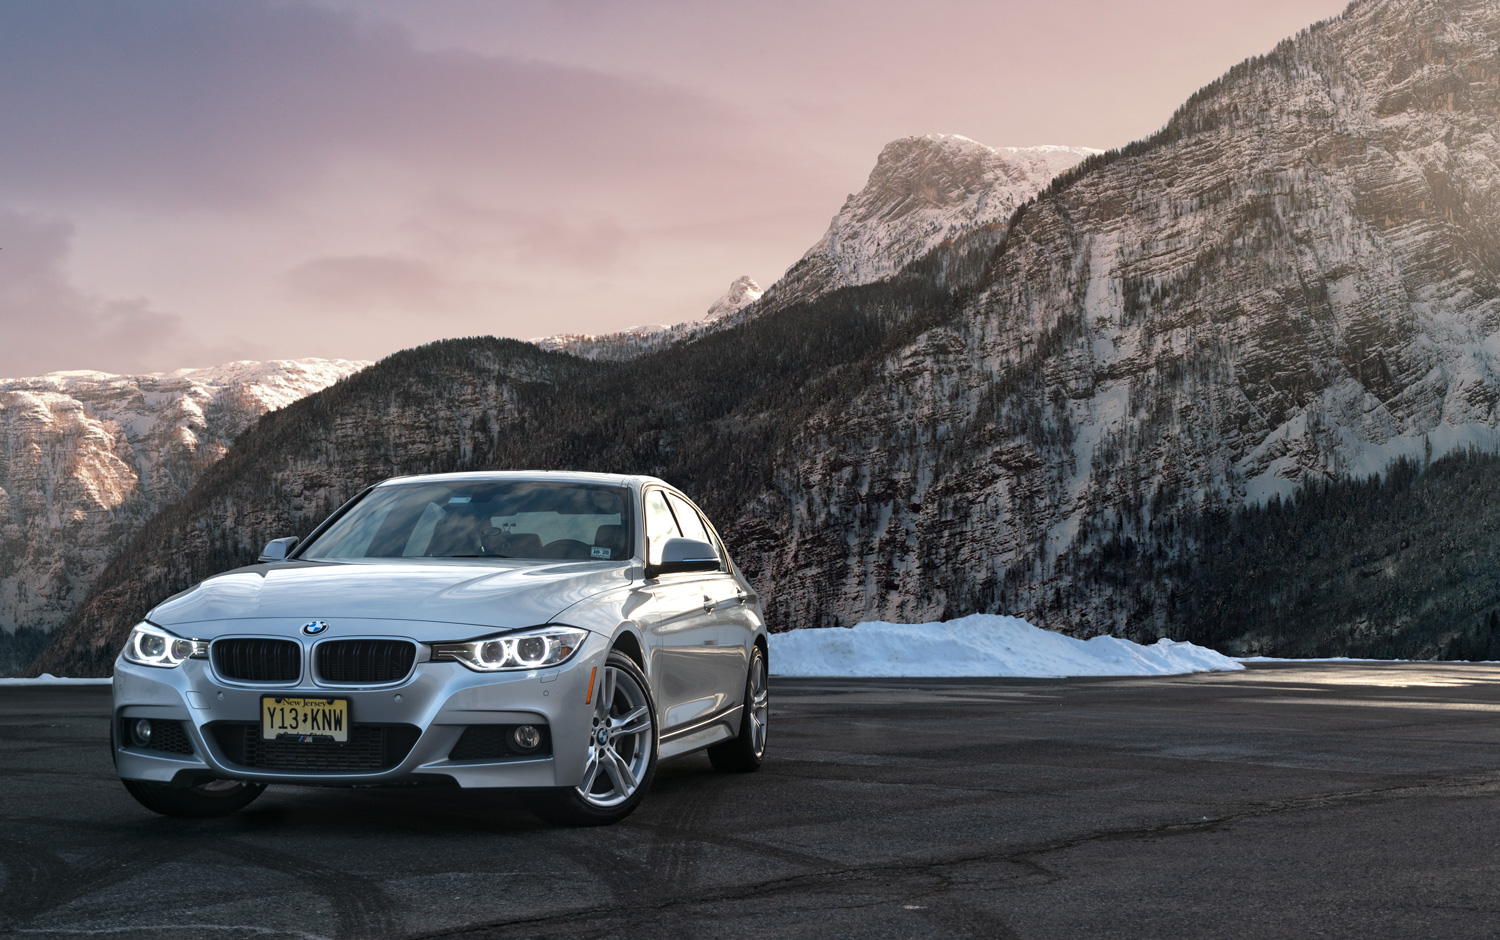

Let’s pause for a moment. You’ll notice I’ve selected a shot that has lighting that matches the car. The driver side is lit up, and so is the sunlight coming in toward the top of the mountains. Matching lighting is the most important part for realism. If lighting looks off, the image will automatically look fake. Even the light from the melted snow on the floor matches nicely.
We’ve only done some basic editing, but you can already tell that the final image will work. Try multiple images for backgrounds when doing these: I never get it right on the first try.
Color correcting
Now we have to make sure everything matches into one seamless look. Start be duplicating your masked car image, make it a smart object, and add the following Camera Raw filter:
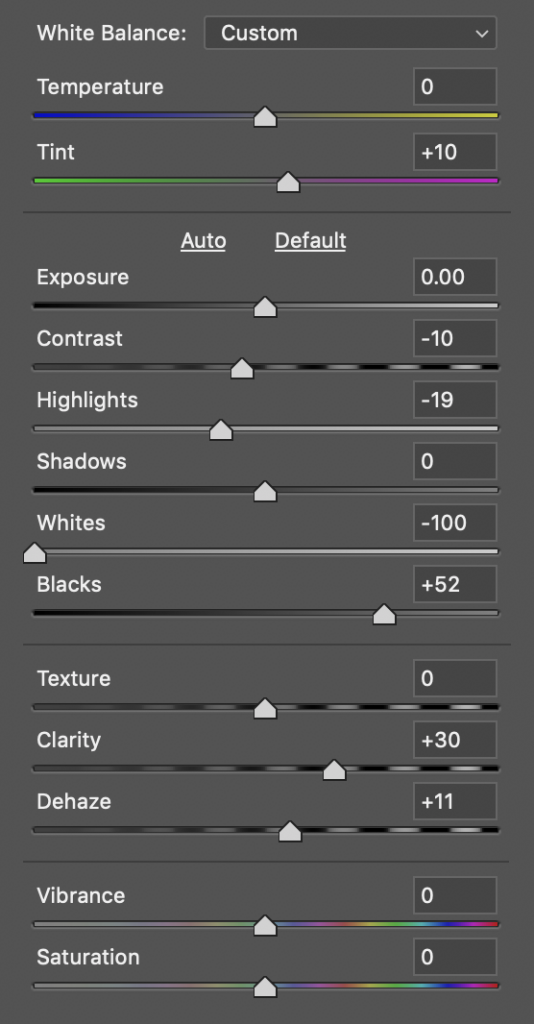

The result is a more purple tone on the car plus better lighting on the front end, to match the tone of the background.

At this point, we can copy both the mountain and car images, flatten them into one image, and make it a smart object. We’ll add some Lut filters to the image now get an even tone on it. Copy your flattened image 2 more times to that you have 3 layers of it, then add a Camera Raw filter to each one.
- First layer: Vivid Lut filter: opacity 50%.
- Second layer: Cross Process filter, 20% opacity
- Third layer: Matte filter: 30% opacity
The result:
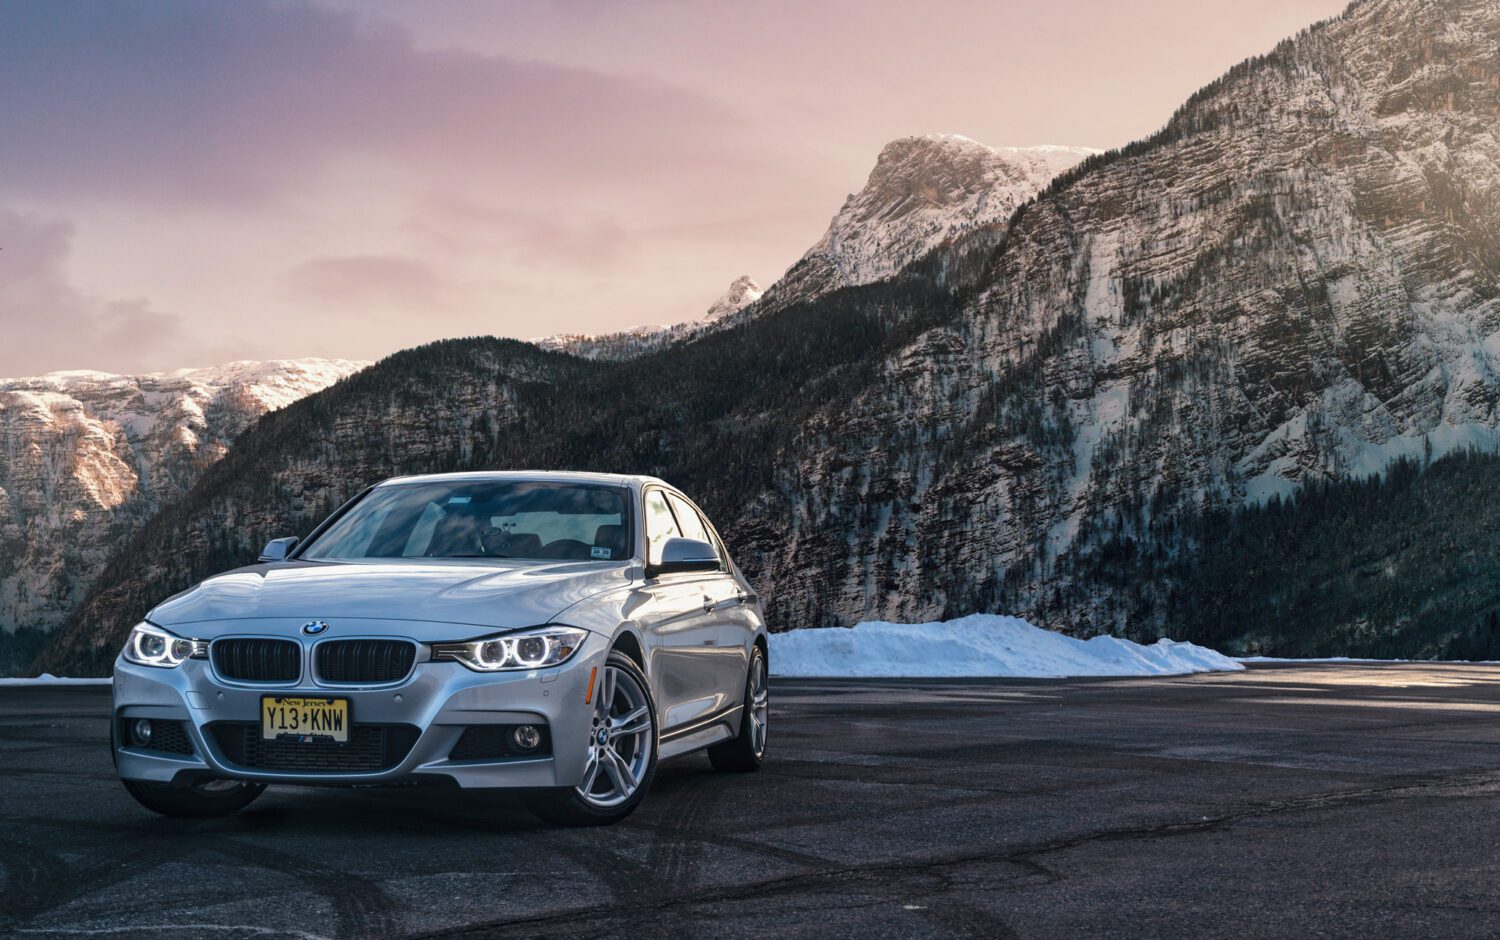

The changes are subtle, but help to give the image a unified look. The additional hits of blue on the car help set it in the scene.
Let there be light
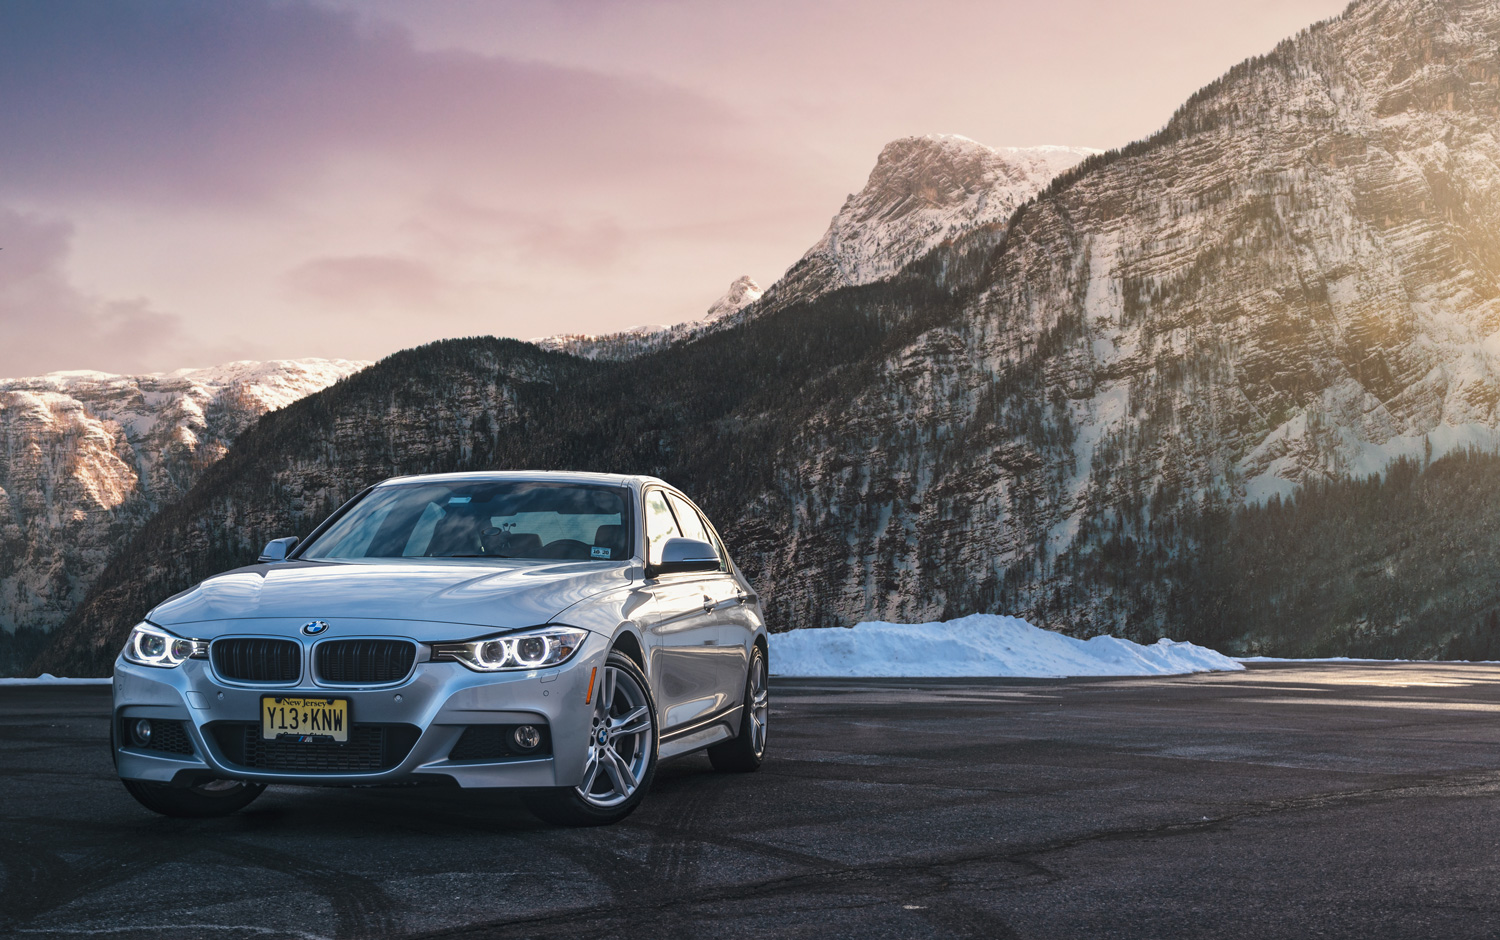
So far, we’ve combined shots and given everything a unified color look and feel, and now we’ll add some emphasis on lighting. As always, visit Shinobi lens flairs. Add a dirty lens flair layer, set the blend mode to screen, and make the opacity 60%. Then, enlarge it by about 40% and set it on the right side of the image, with just the “glare” part coming through on the side of the image, and the rest hanging off the canvas. We set it here because we have a lot of light hitting the car on the driver’s side, and we should explain where that hit is coming from.
Then, we’ll select both the image and the lens flair, duplicate them and combine them into one smart object. Finally, we’ll add a Camera Raw filter of “Lift Shadow” to the image, and set the opacity of the layer to 45%.
Result:

Finishing Touches
The last items will help make the image pop more. First, add a new layer and paint with your airbrush along the bottom using black (#000000), then set the opacity to 30%. This adds some darkness to the foreground, and I almost always do this on every image I take.
Next, add a new layer, and again using your airbrush, paint some orange (#ff9428) blobs by the lens flair, then set the opacity to 10%. This will add some color to the light for a more sunset-type of feel.
Add another new layer, and again using the airbrush tool, paint the windshield black to reduce some of the distracting glare. Set the opacity to 25%.
Now, well warm the image up. Add a new color adjustment layer called “Color Lookup” and choose “Crisp_Warm”. Set the opacity to 50%, and then select the mask on the layer. Using the gradient tool set to “Circle”, add a gradient so that the warmth come from the lighting on the right side. Your gradient should look like this:


Finally, add another color adjustment layer called “photo filter”, and set it to Warming Filter (85), density to 30%.
The result, from beginning to end:
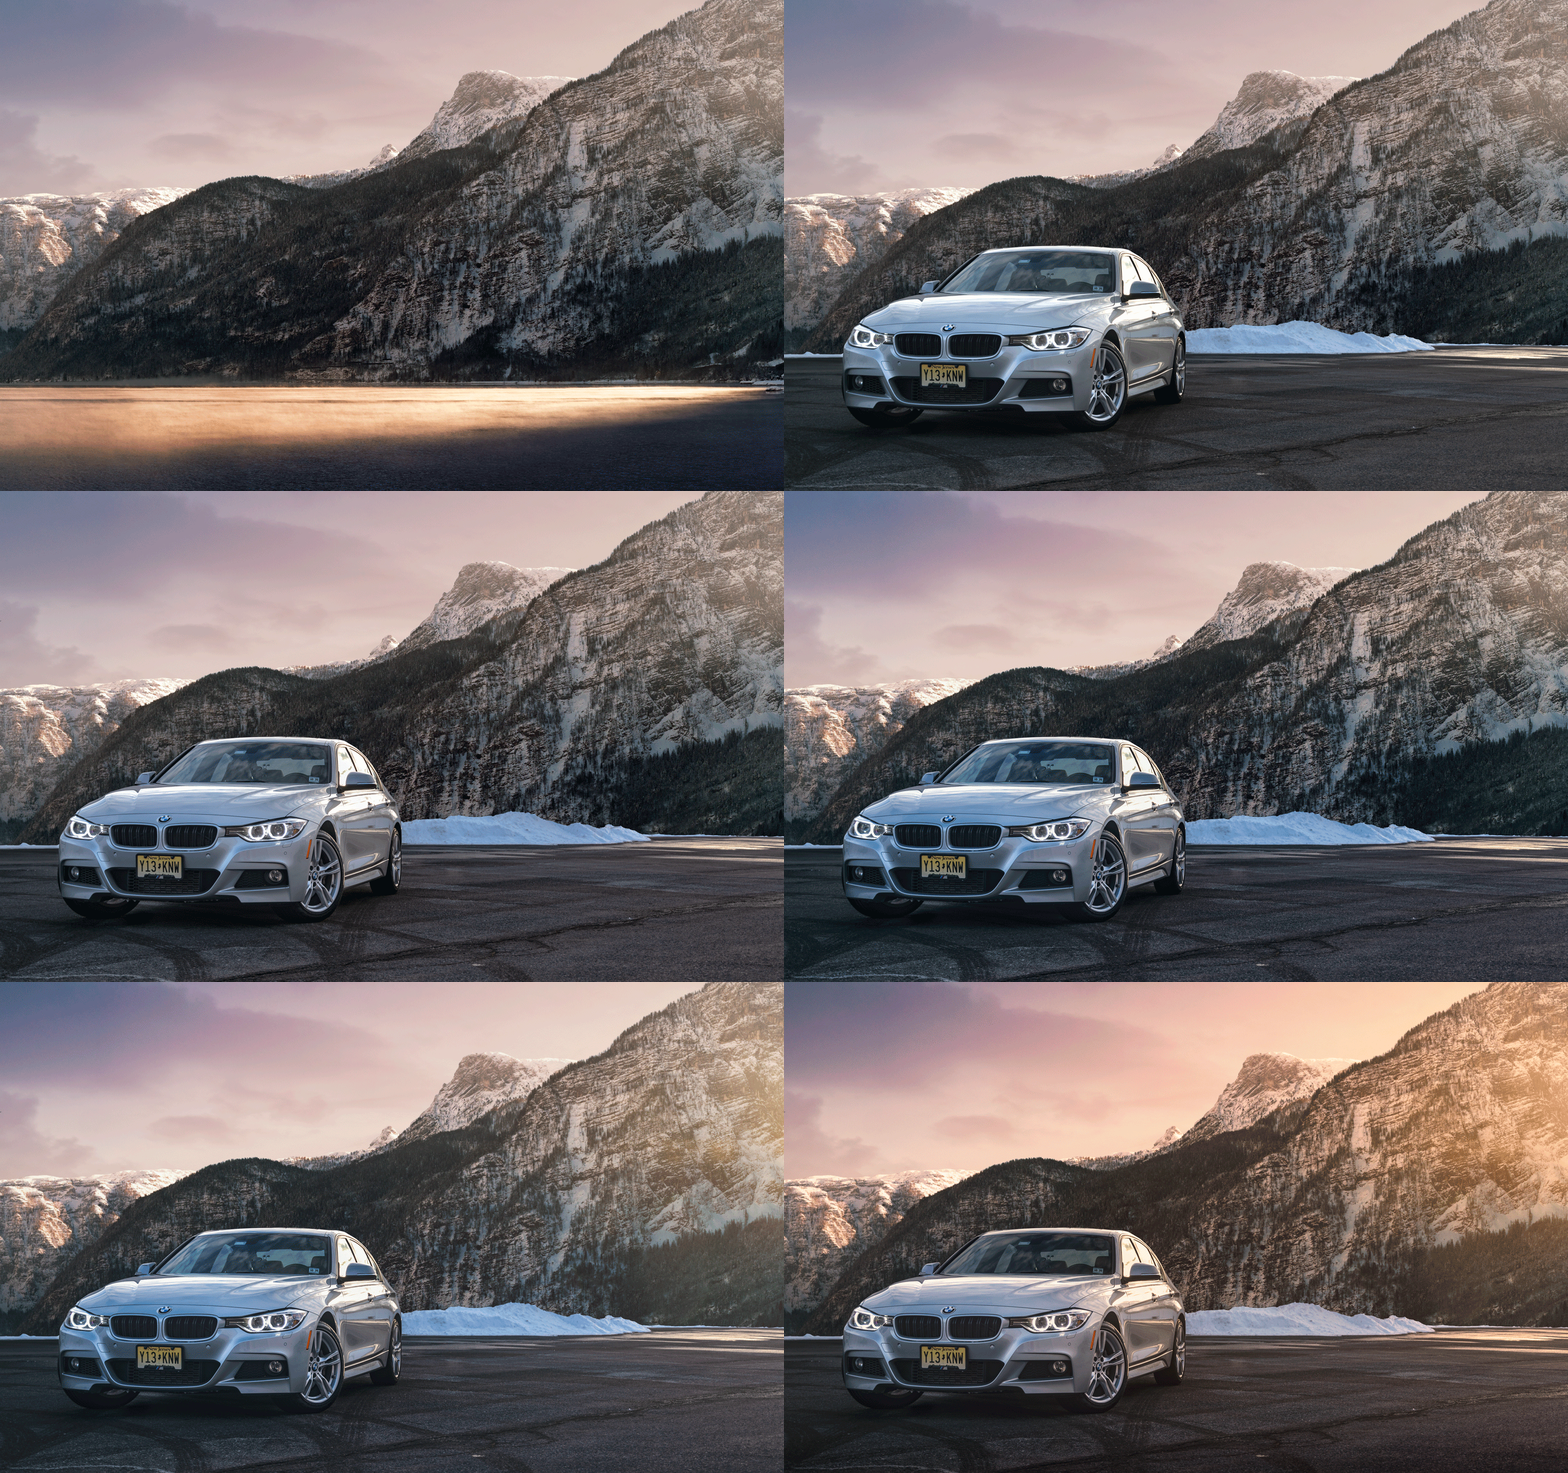

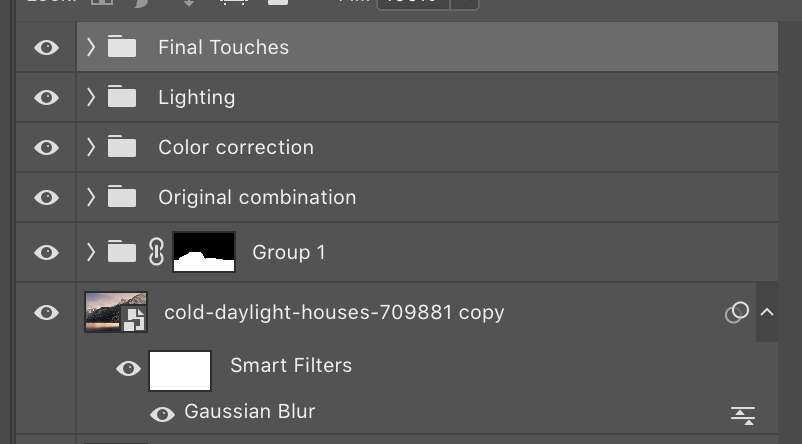
And all your layers should be organized like below. Each group interacts with the group below it.

Where might I use this technique?
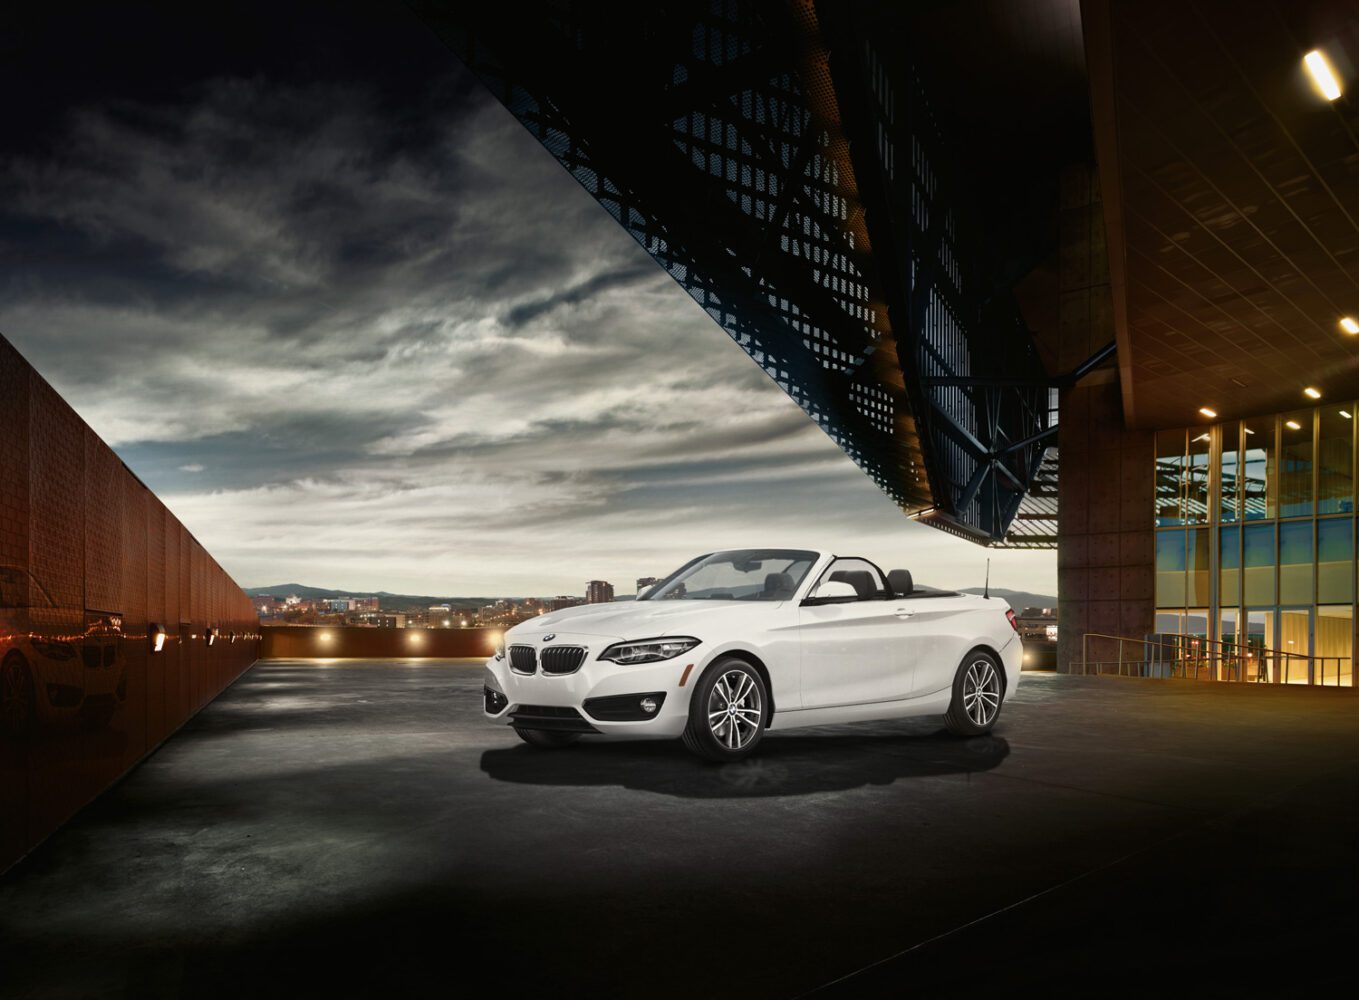
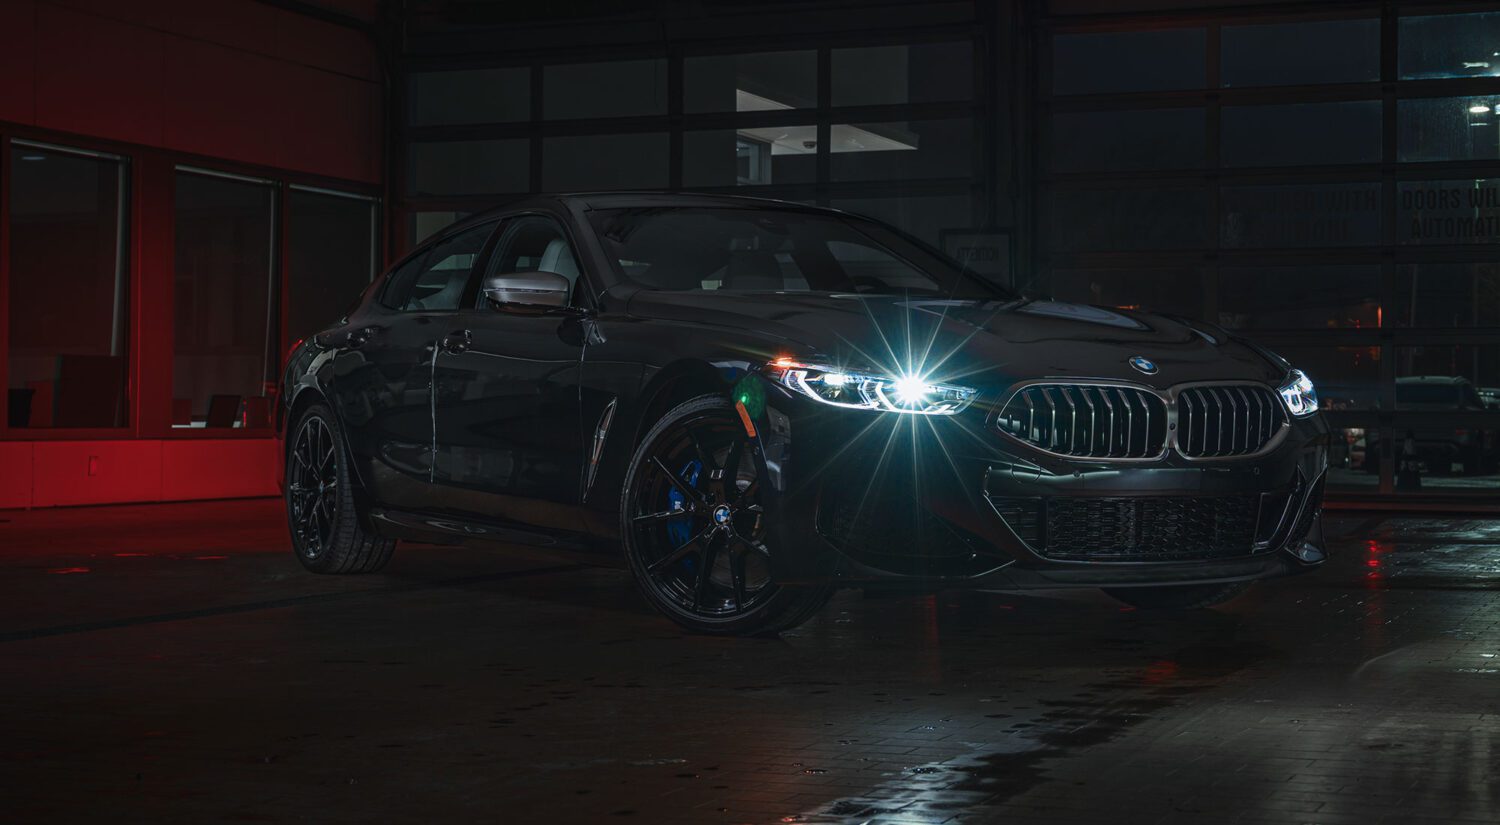
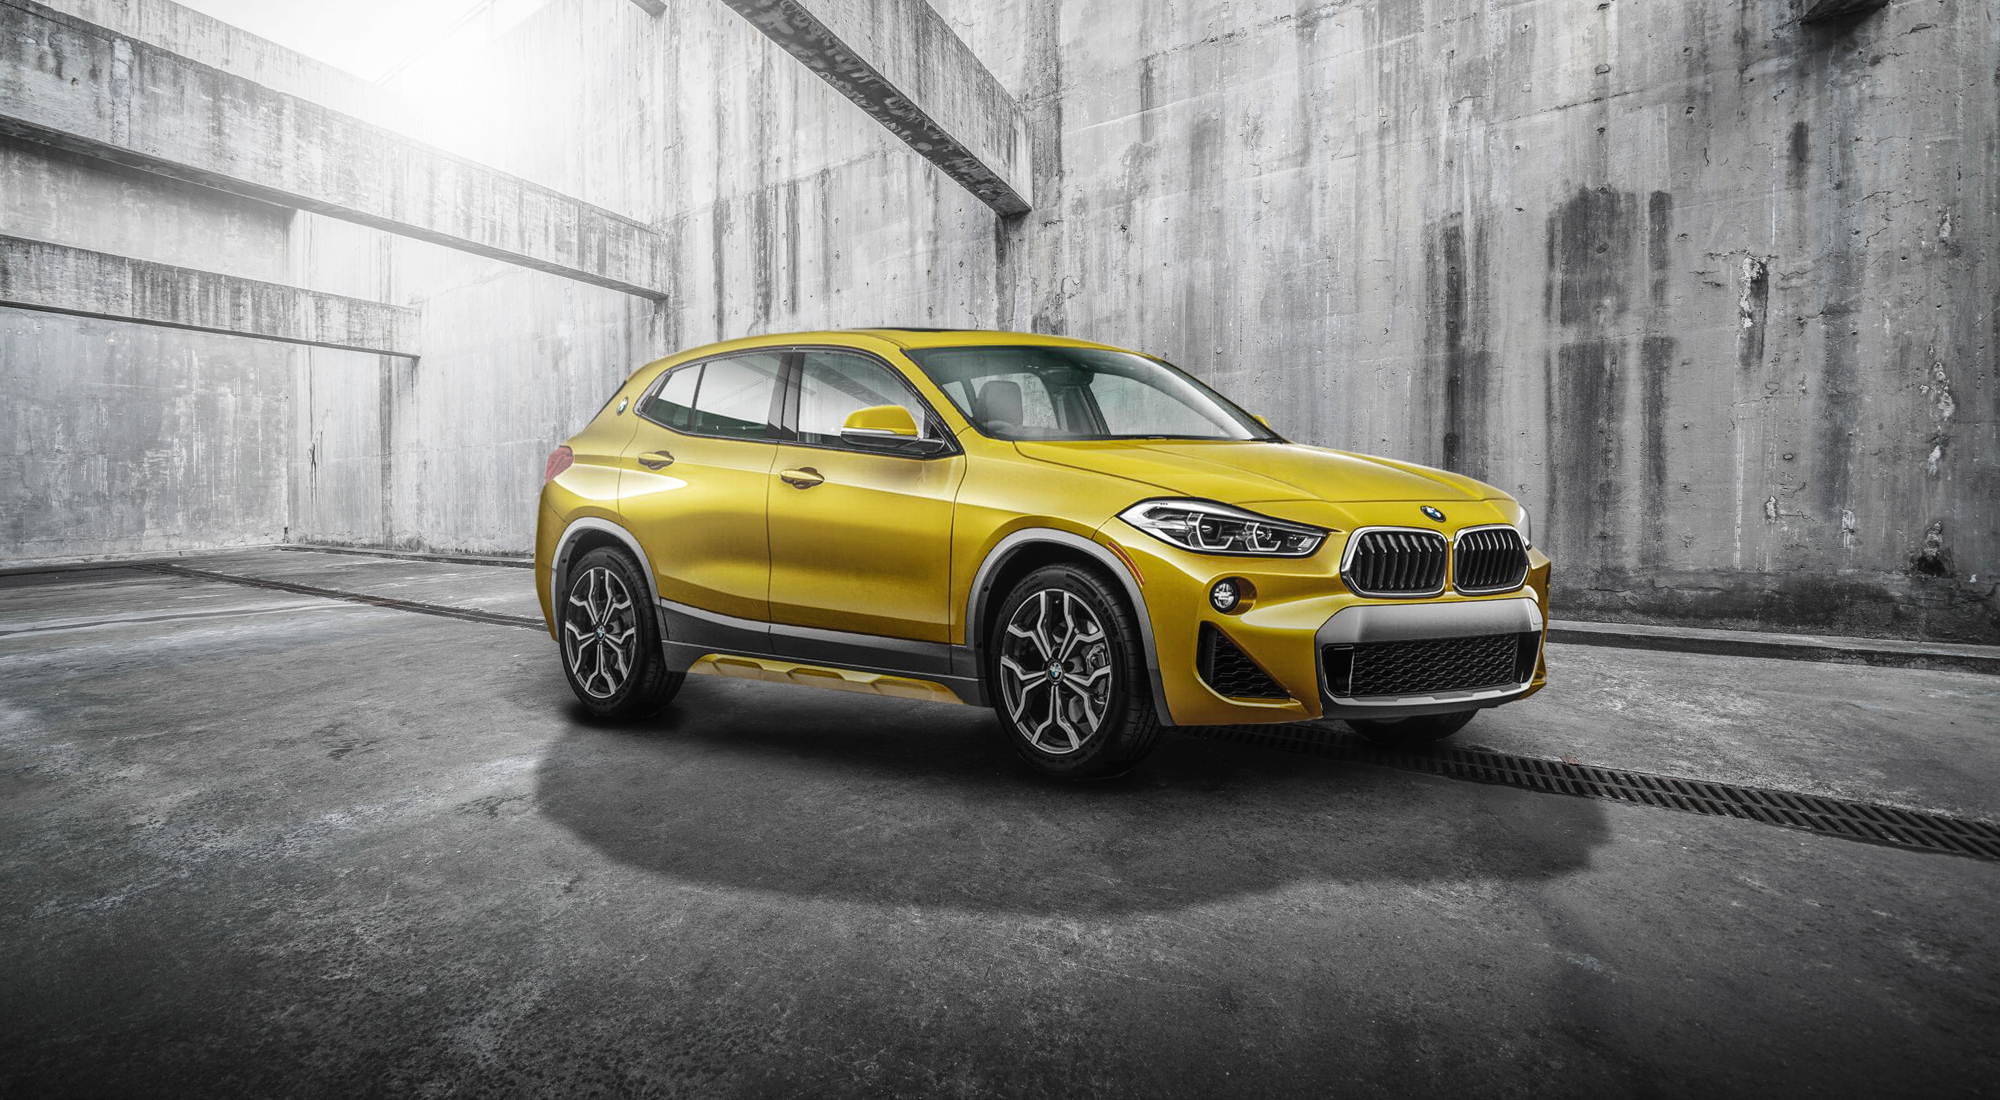
Well, major manufactures often do this instead of paying for an on location shoot. Sometimes, they look great, other times, not so much. Below is an example I did for a BMW 2 Series, using a studio shot for the car, and an empty background.
Remember to have fun with these and use your imagination! You might just turn one of your least favorite shots into one of your best.

Feel free to email me at mike@machineswithsouls.com with any questions.
Follow along on Instagram @machineswithsouls


3 thoughts on “How to make a composite image in Photoshop”
Comments are closed.