For parts 1 and 2 on how to make and edit light paint, click the links.
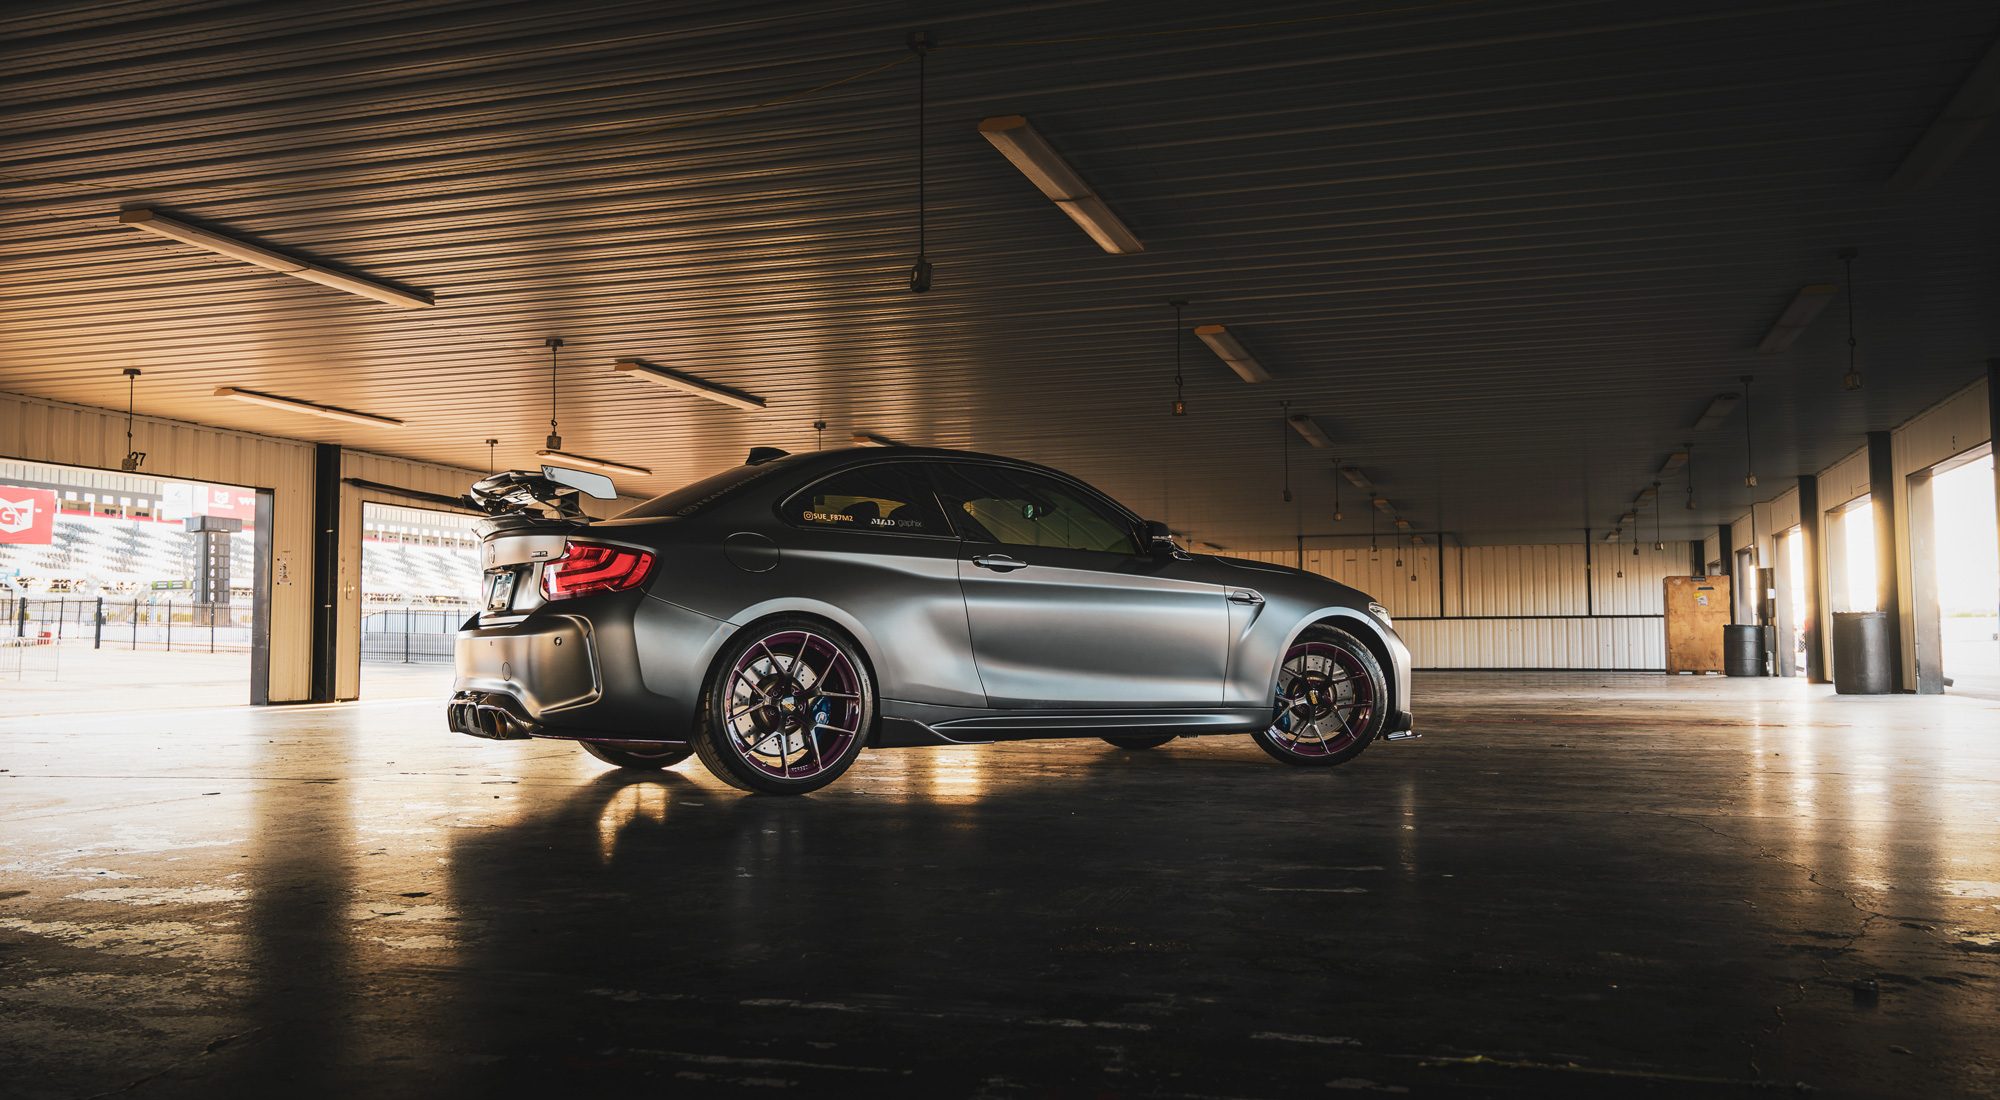
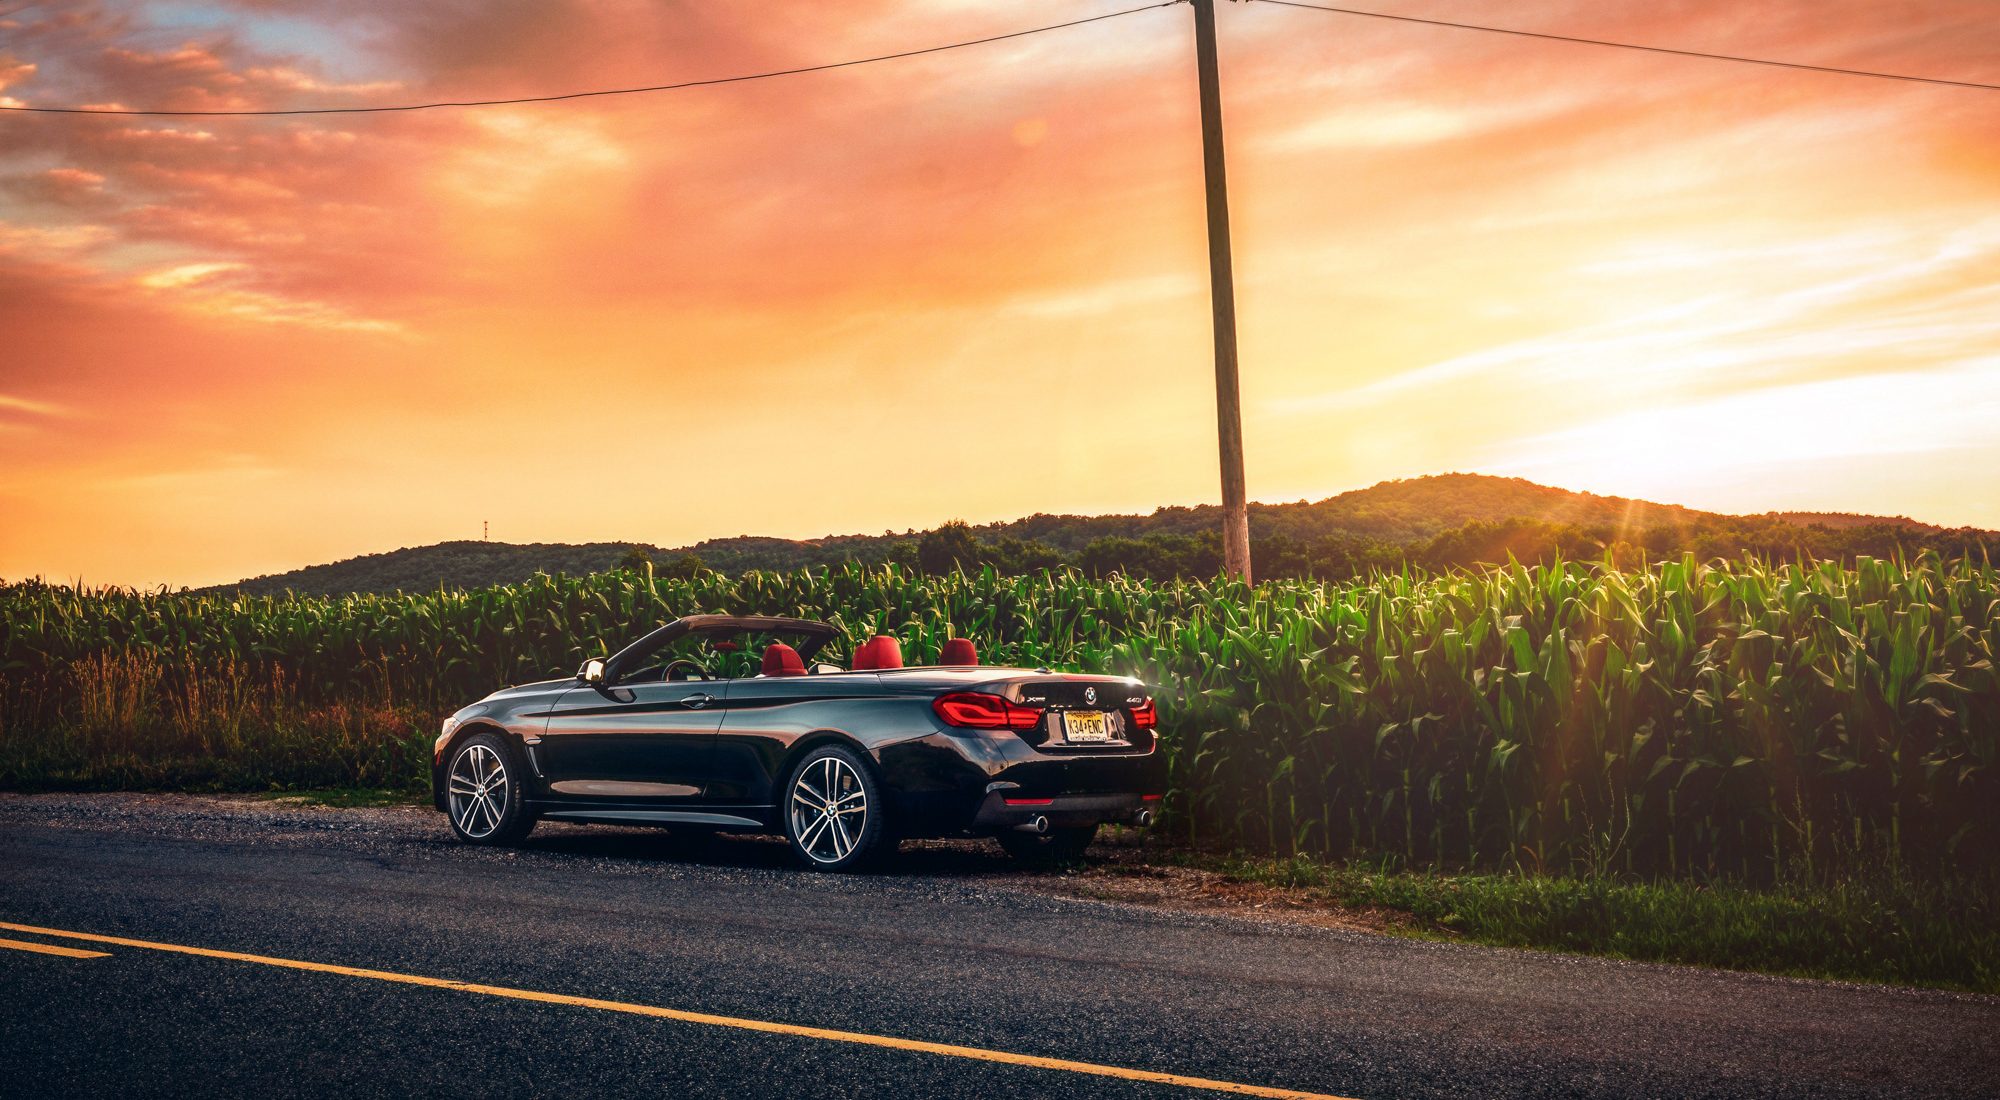
Now that we’ve gone over how to shoot the car with proper lighting, and light paint with special effects, this week will cover how to edit light paint shots together into one seamless look. We’ll be using a series of shots from a recent shoot with GlassParency, including the 911 GT3, 4 Series and Dodge Durango.
Step 1: Review your selections to edit light paint
I tend to shoot more than I need, because we obviously cannot go back once the shoot is over. On average, I have about 10-15 exposures for a light painting sequence, but I’ll only use 5-8 of them, depending on the lighting and how the car looks. This actually takes practice, because you’ll have to develop an eye for what works vs what doesn’t – no need to edit photos you won’t be using. We’ll be using the RAW files for this (.NEF if you’re on a Nikon). Make sure you include the image with headlights on
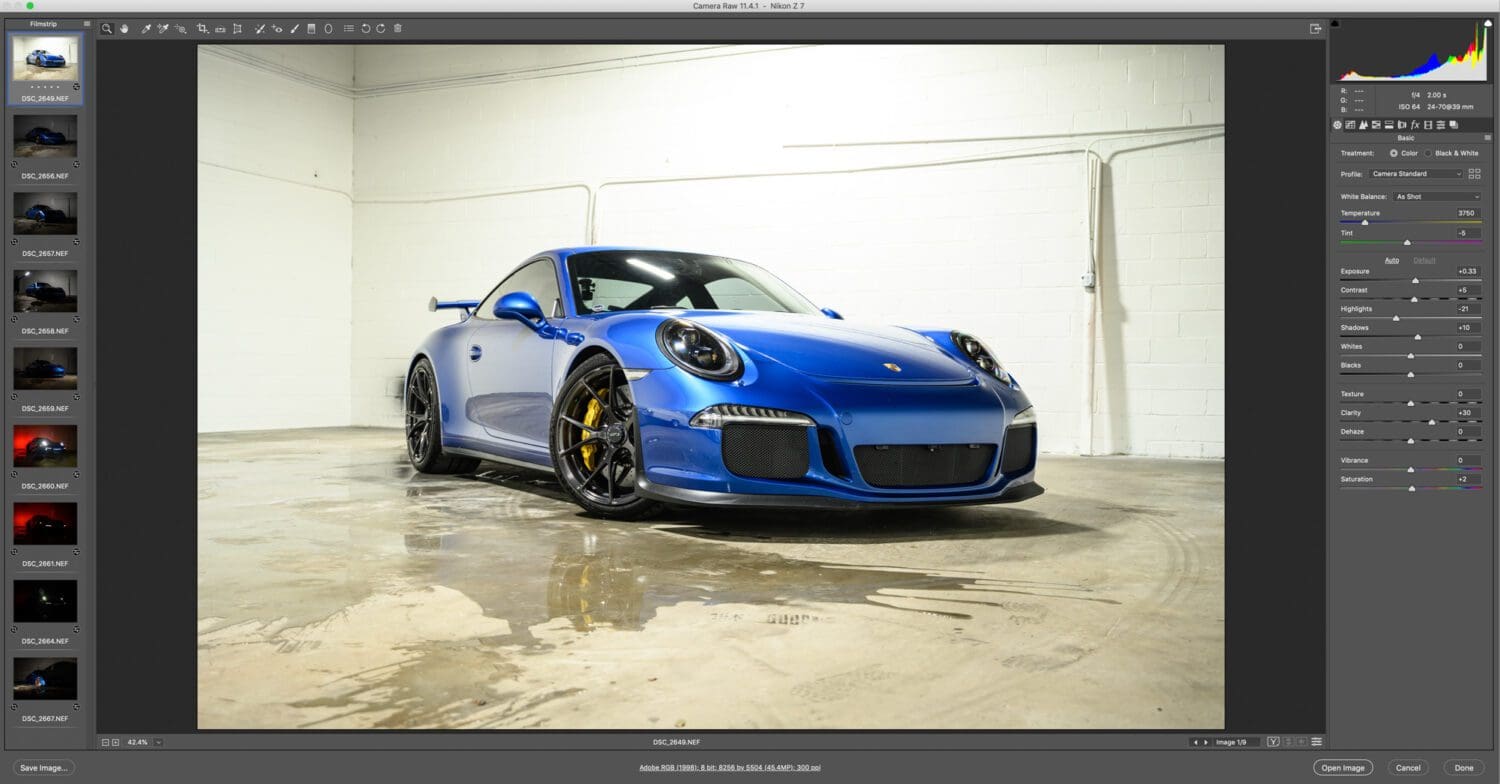
Step 2: Open in Camera Raw
Take your selections and open them in Camera Raw. You won’t need to do much here right now – I usually boost Clarity +30, Sharpness to +70, and if needed, a Lens Correction for your specific camera. We’ll adjust colors and other items later. Make sure you apply your corrections to all the images, and you can do that by selecting them all in the film strip on your left, right click, and select “Sync Settings”.
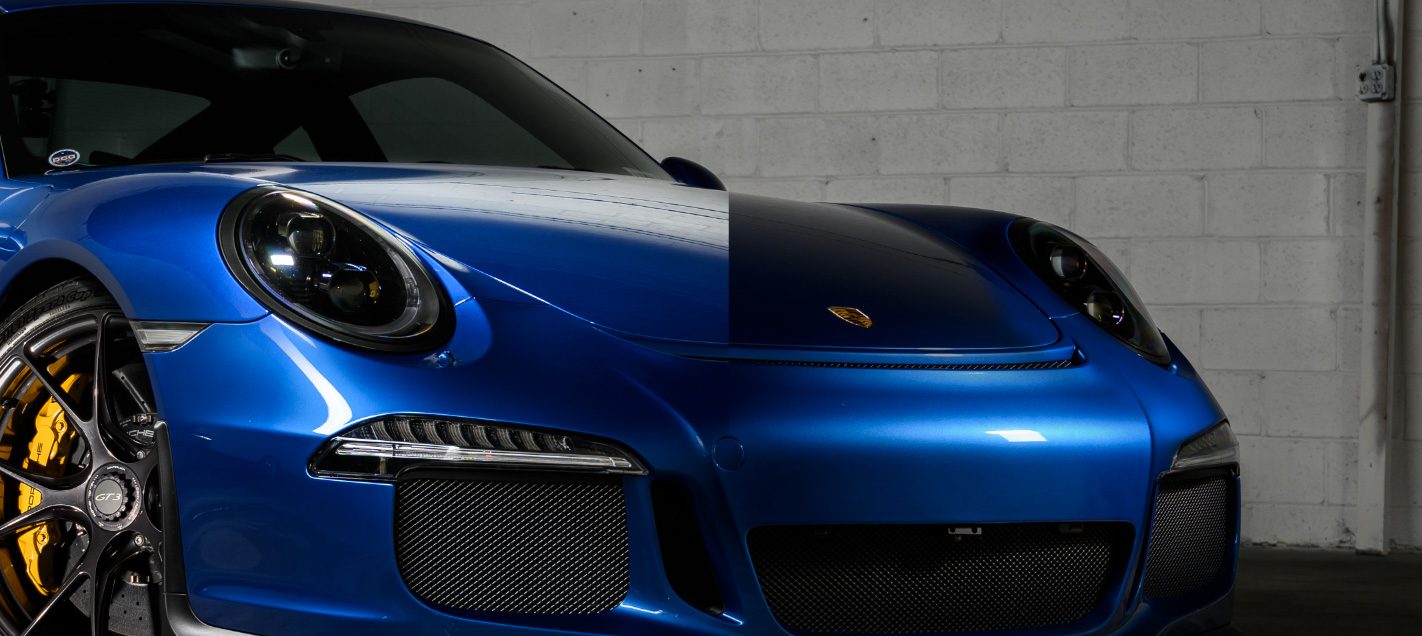
Step 3: Paint them in
After you open all the images (hold SHIFT to open as smart objects) – bring them all into one Photoshop file, making sure they all line up at the exact same points. Hide all but one image and the layer above it. On the second layer, add a layer mask, and make it black so it hides the entire layer.
Now select your airbrush tool and reverse the mask colors from black to white, then begin to paint in the sections as needed. Do this for each exposure, hiding everything on the layer with a mask, then painting in the sections needed. It will look something like this as you build the layers up:
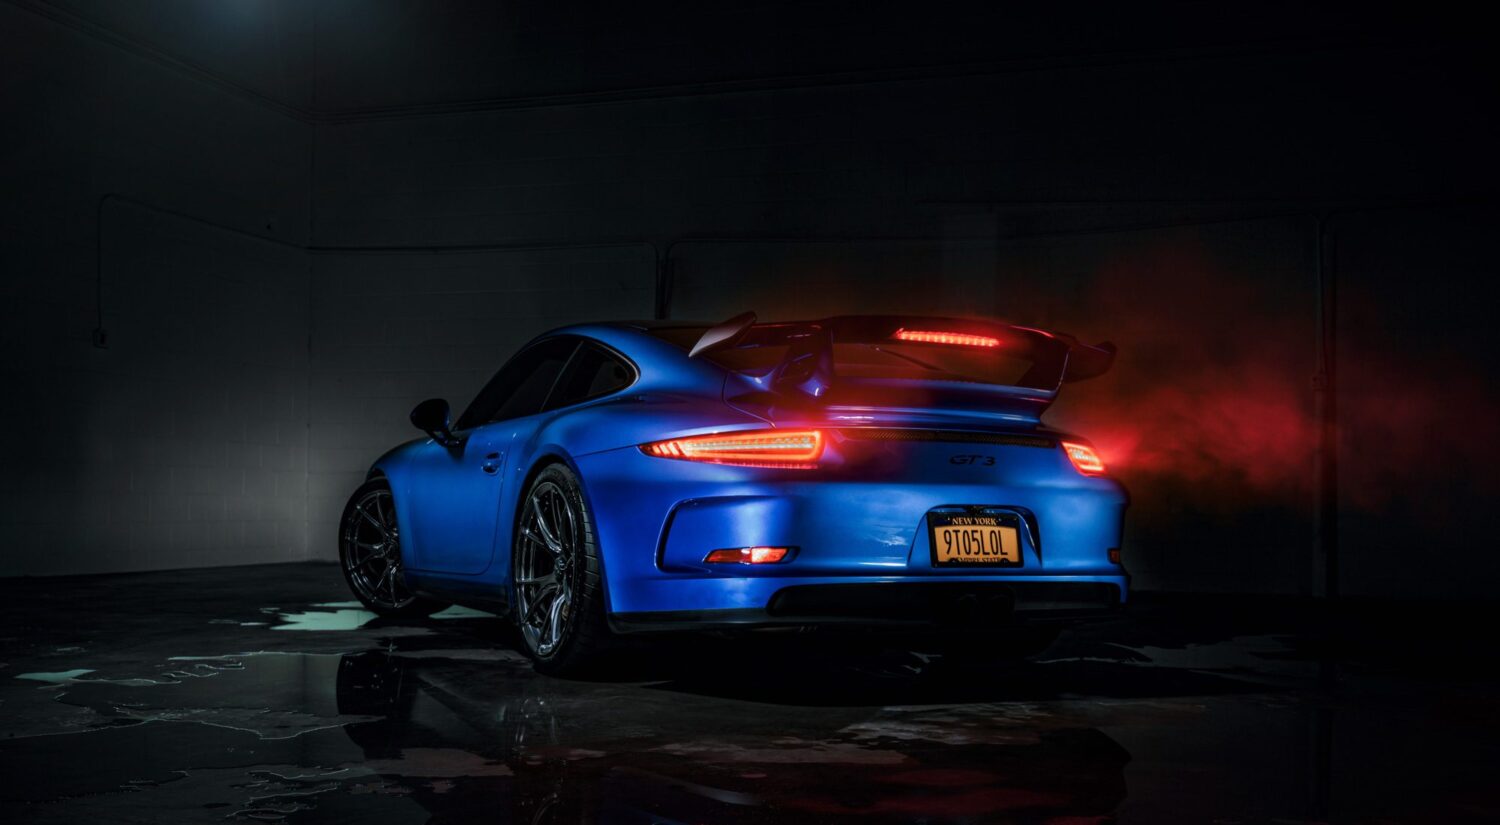
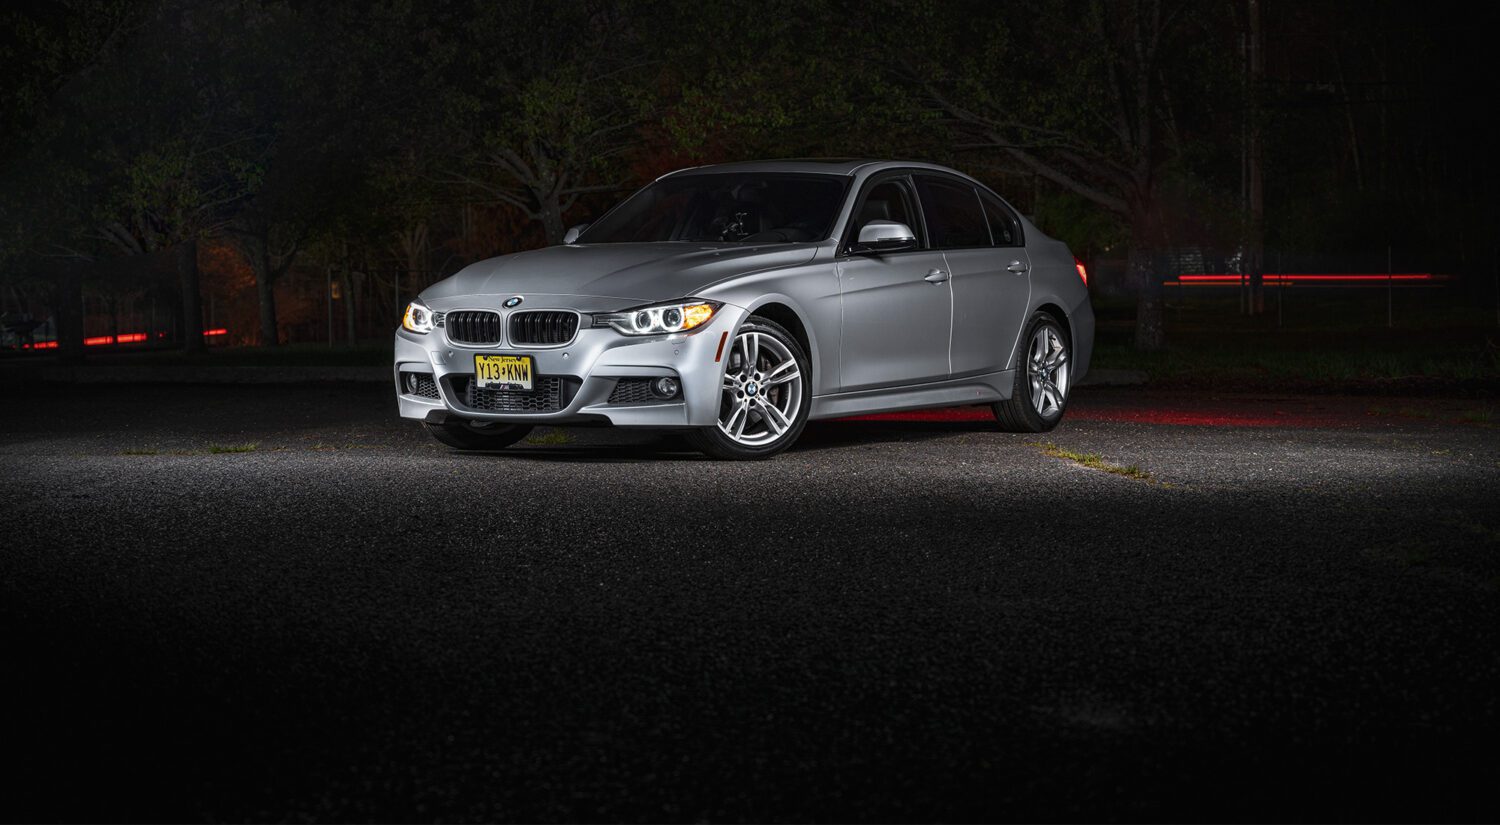
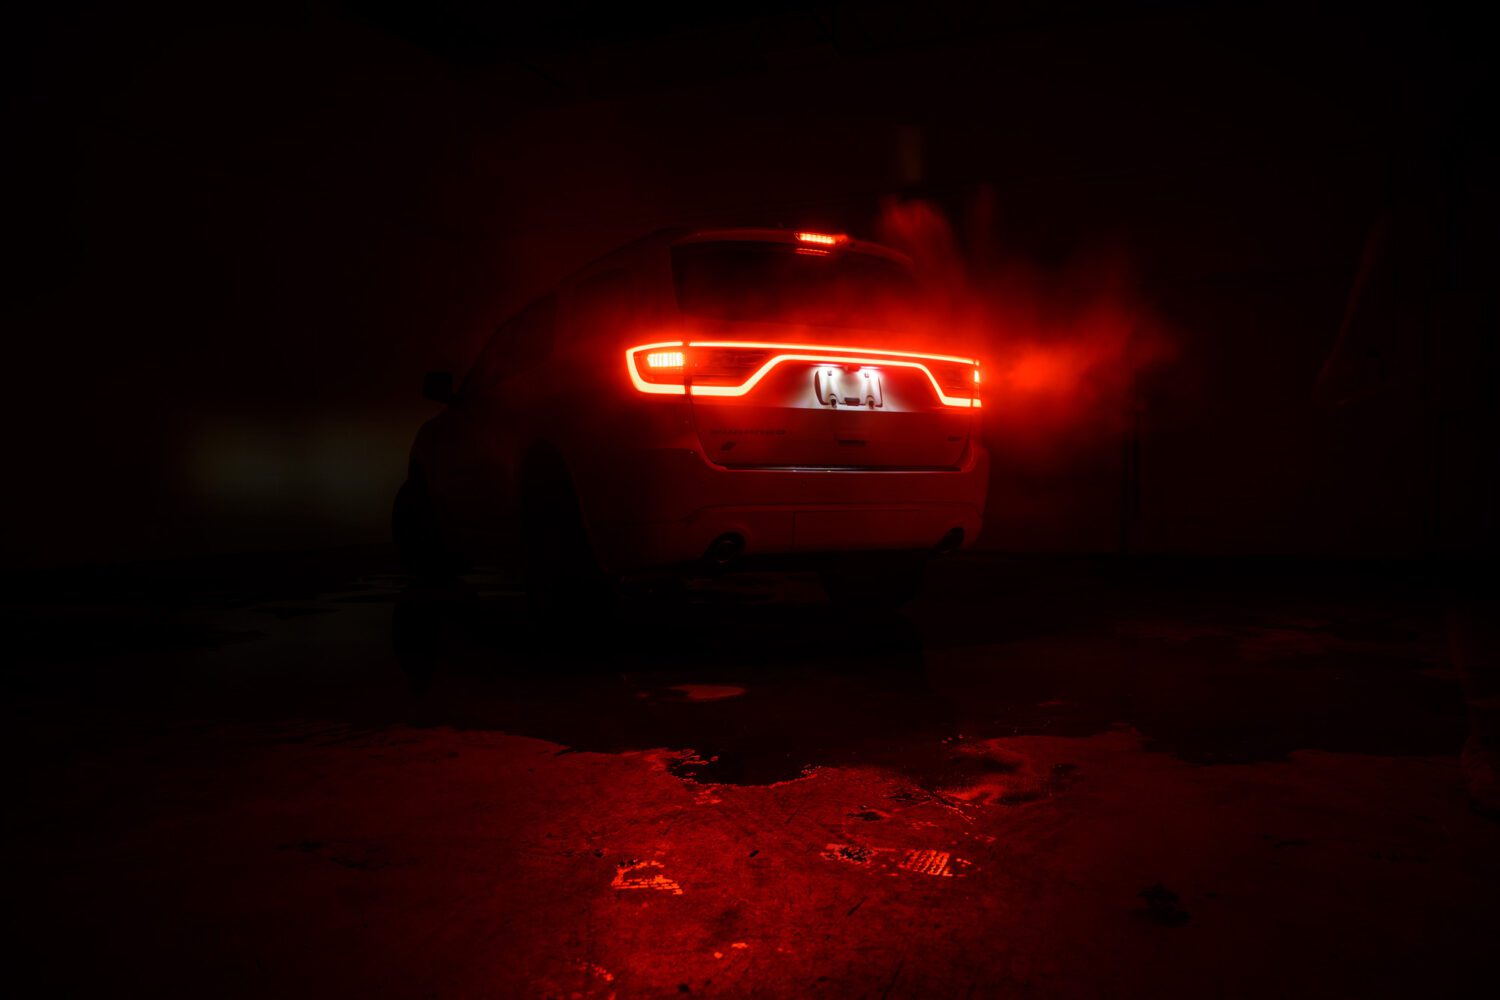
Step 4: Lights and fog for edit light paint shots
Once the car is lit nicely, you can do the same process to the layers with head- and taillights, but for these, you can set the blend mode to SCREEN. Paint them in and include the red glow from the brake lights if you have them. For the headlights, make sure they are not to bright and overpowering – use the opacity setting on the layer to control the brightness if needed.
I had shot the fog as a separate exposure from the lights, and now you can paint just the right amount of fog back into the image. Again, set the blend mode to SCREEN, and use your airbrush. I find it best to let the effect taper off into darkness to help blend the fog in.
Step 5: The base layer
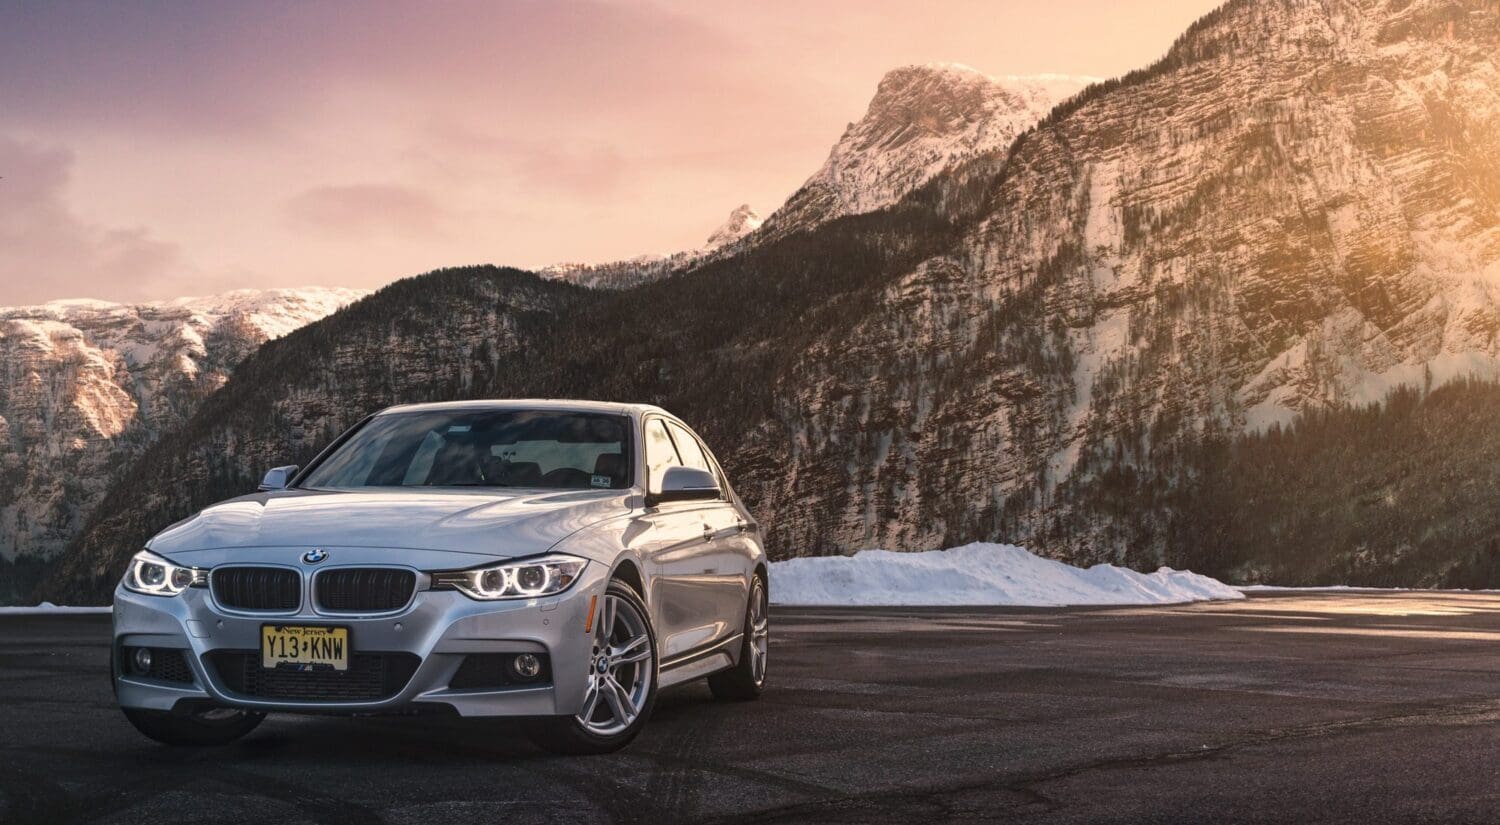
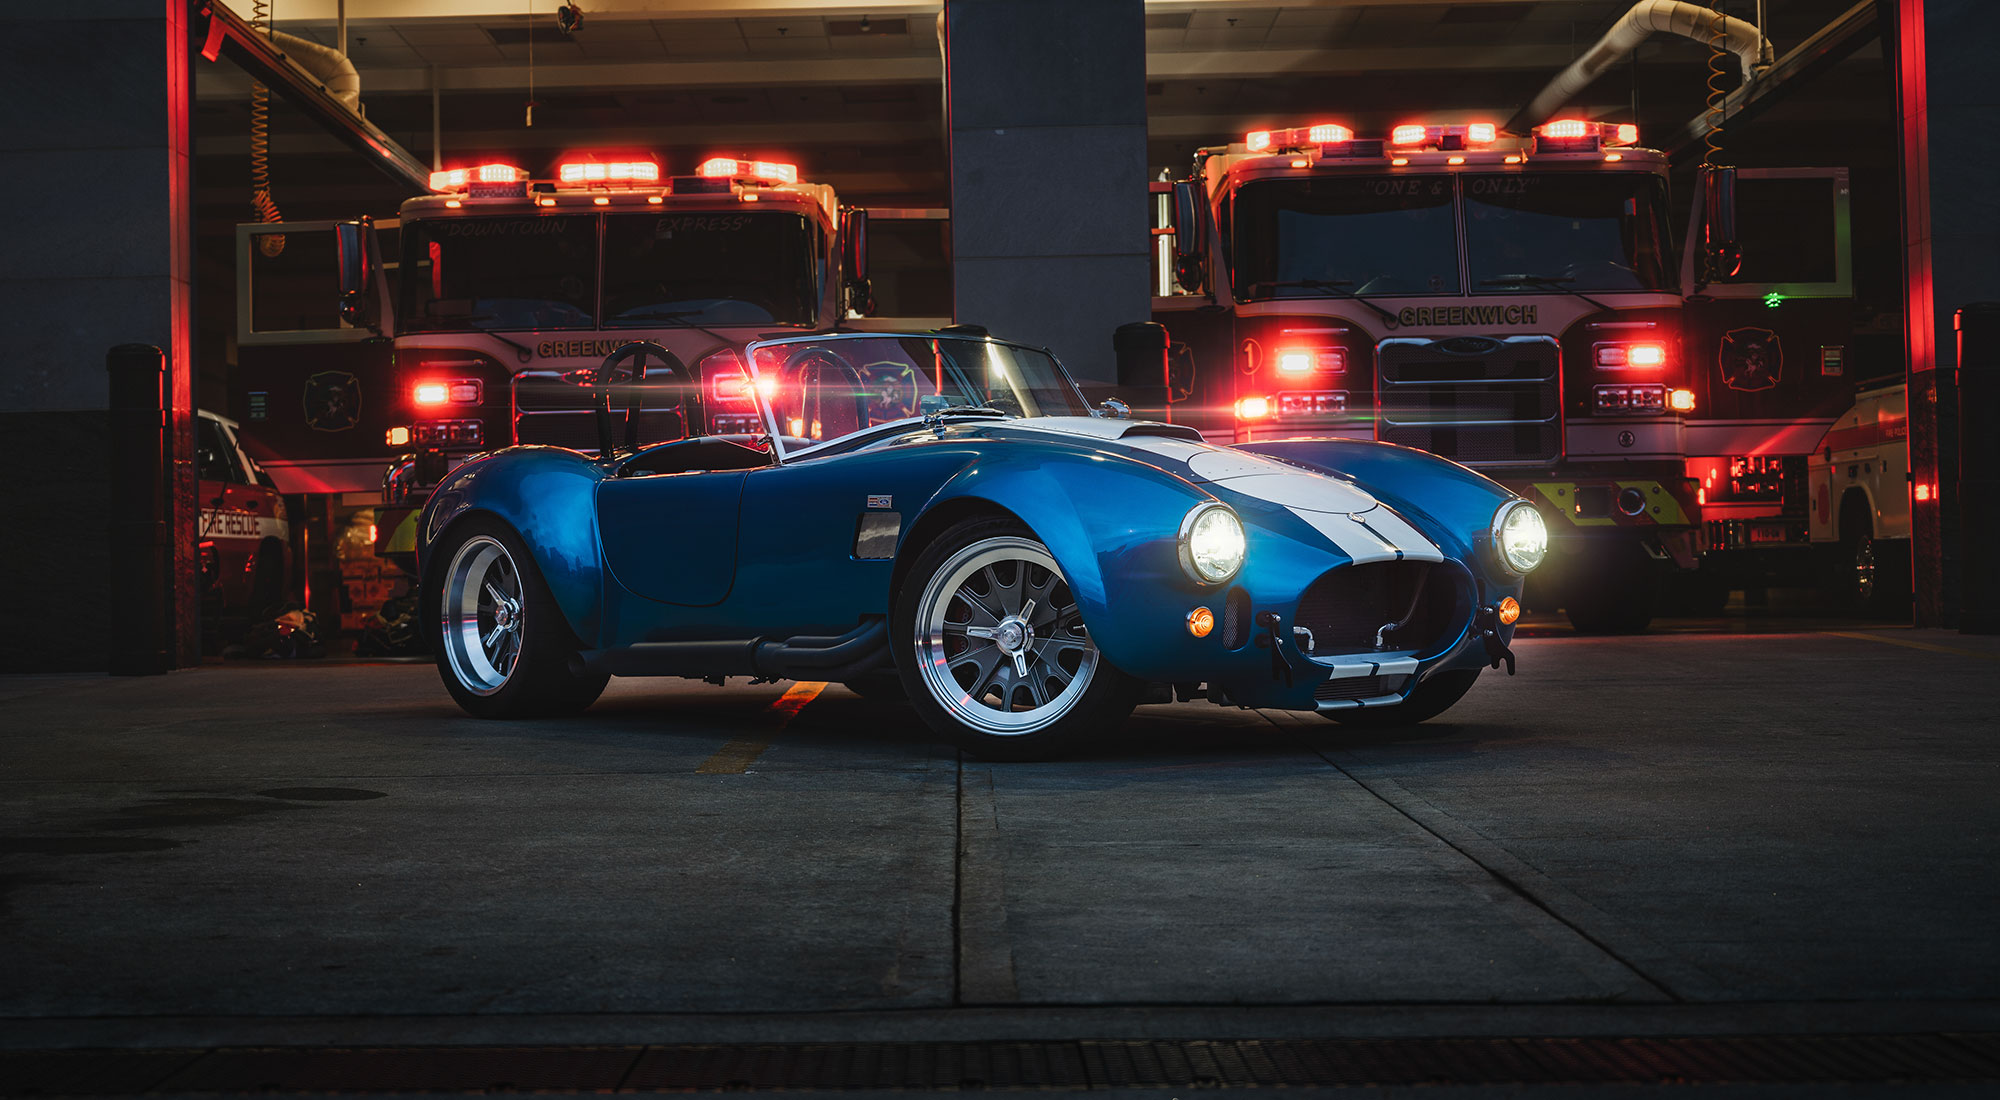
The first layer I shot was actually with the lights on in the garage, and I use that for a specific purpose. Mainly to paint in some spots I may have missed with the light. Those garage lights have a greenish-yellow tint, so make sure to open this file in Camera Raw first. You can then color correct it to match your other layers. It can also be useful for reflections. Lack of reflection is part of what gives images like this a special quality, but a few will help set the car in the scene better.
Why don’t I just use this one image and a darkened garage? Because you would not get the highlighting effect that the Ice Light gives. Tt would look like a pasted in car against a dark background.
Step 6: Finishing touches
From here, you have a complete image. Group all your shots, copy that group, then merge it together for one flattened layer. Make it a smart object, and add a Camera Raw filter to it to adjust color and add LUT filters. It’ll all make the image feel more uniform if all corrected together as one.
That’s it! Light painting takes some practice to get right, but don’t hesitate to take as many exposures as you need to. Most of all, use your imagination and have fun with the concept!
Feel free to email me at mike@machineswithsouls.com with any questions.
Follow along on Instagram @machineswithsouls
5 thoughts on “The definitive guide on light paint, Part 3”