
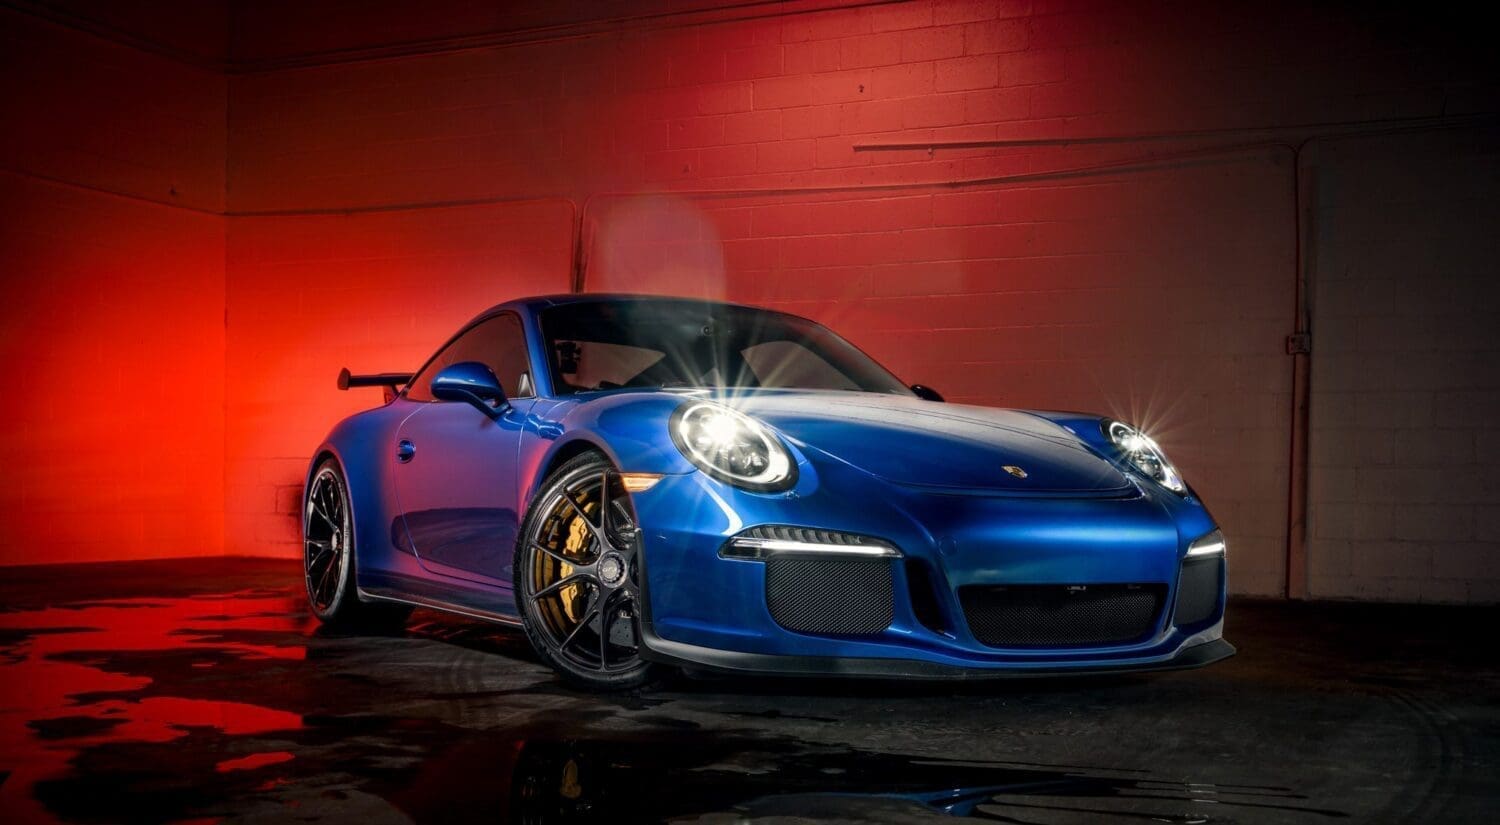
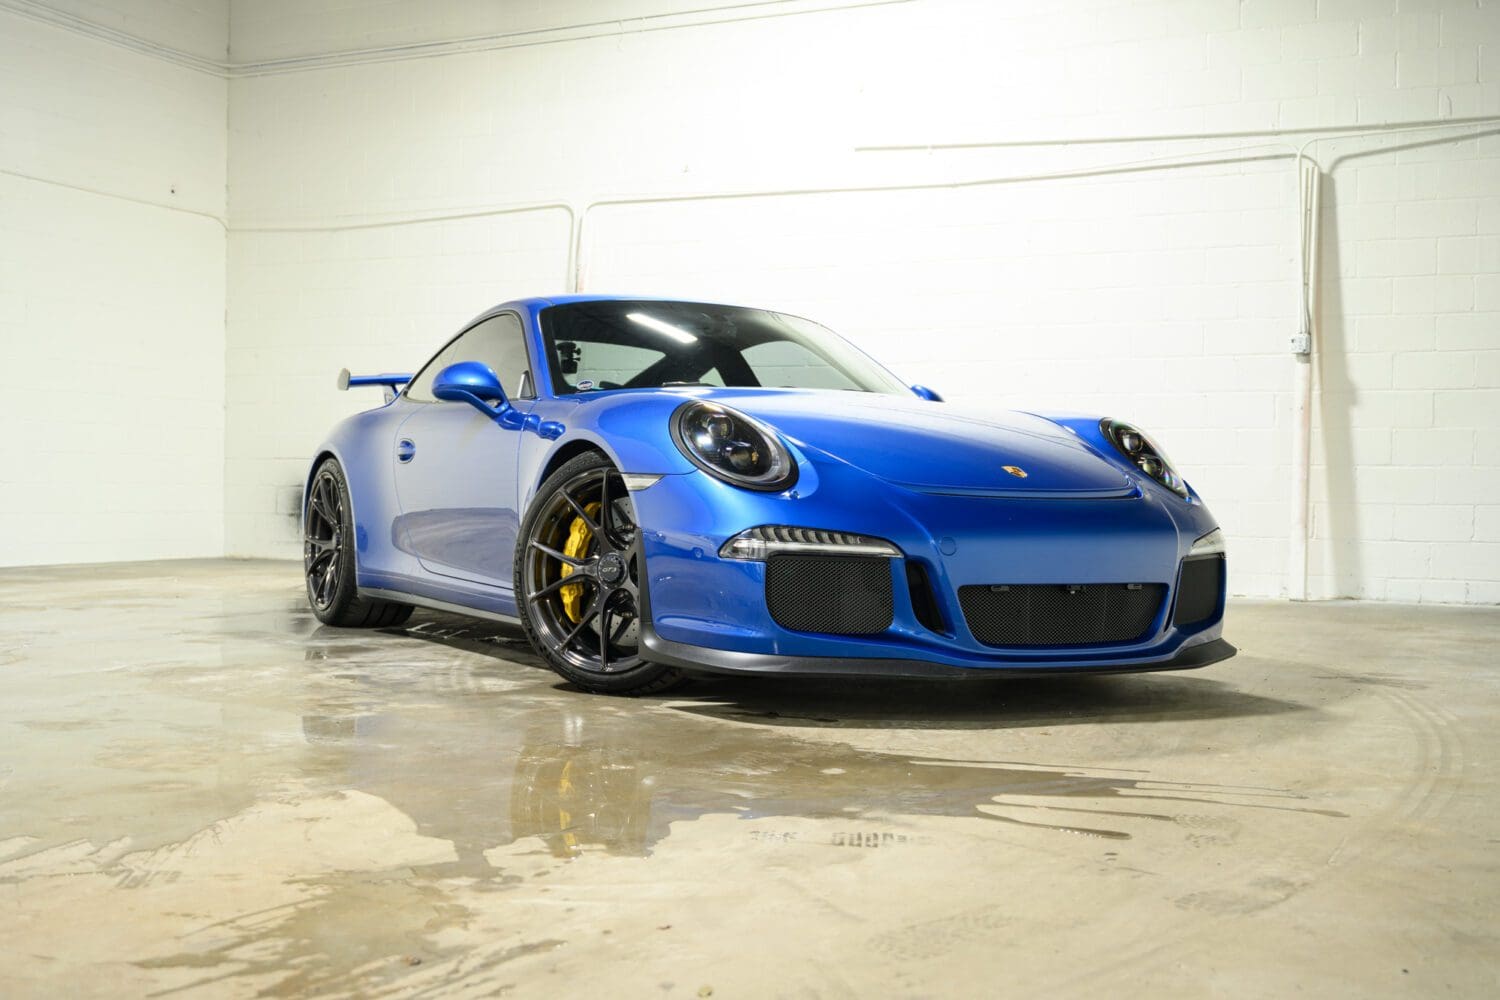
Without a doubt, the biggest WOW factor you can produce with a car and camera is to light paint. It’s a simple concept – turn the lights off, light the car, combine the exposures, and you’ve got a car that has a unique-looking sheen. This is the question I often get asked the most, and this guide is going to break it down step-by-step, using a 911 GT3 from a recent shoot with GlassParency.
This is going to be separated into 3 posts: how to shoot, how to produce special effects, and how to edit. For an introduction to the process (and watch me with Larry Kosilla from AMMO NYC), watch the tutorial here.
Step 1: Light paint Location
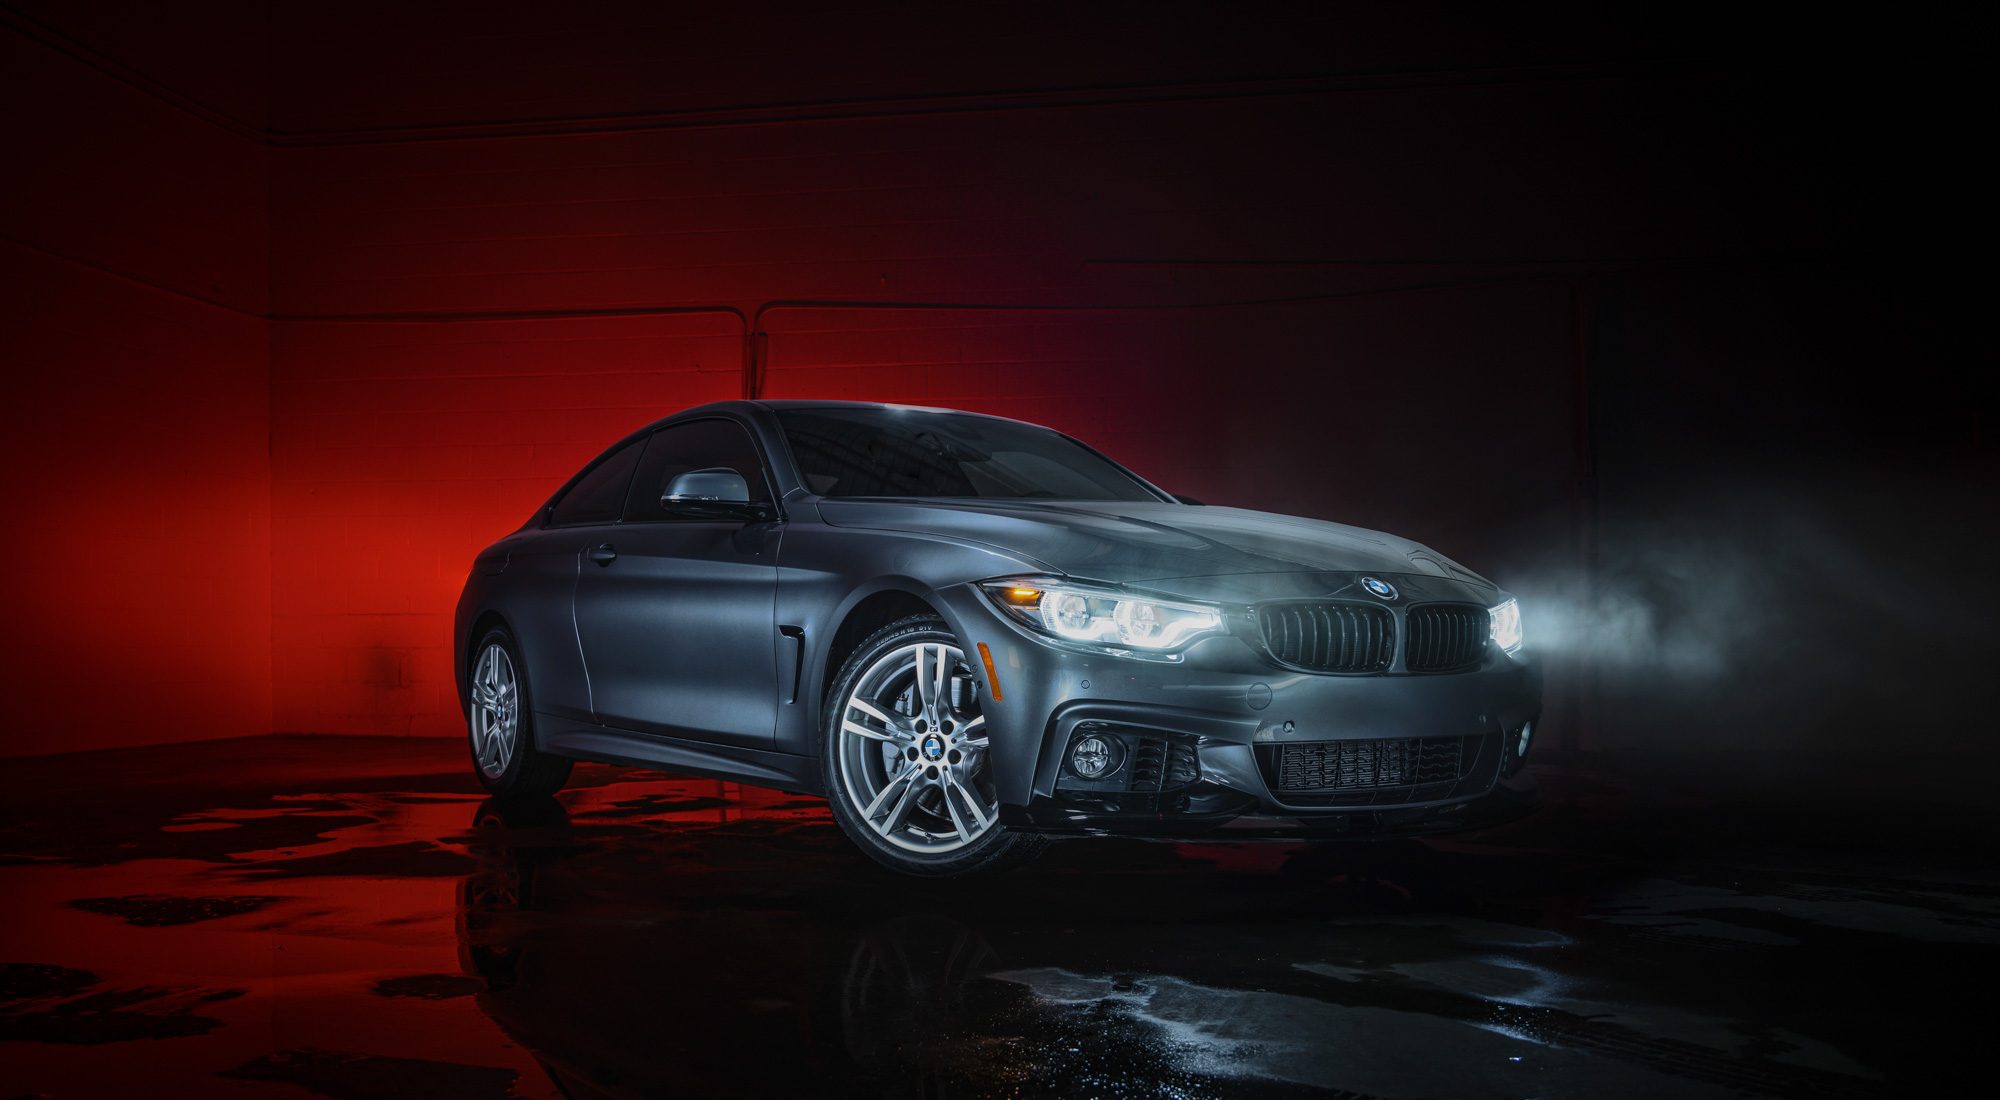
Like any other shoot, the location is key, but even more so for light painting, since there can’t be any ambient light in the scene. It should be pitch black, or very close to it. The client had access to a large garage, which would be perfect since we could close the doors and shut the lights off. Also helpful is the ambiance it created – gritty and urban. If you don’t have access to an area like that, you can always drive to an open park or field at night away from any street lights, which should provide the darkness level needed.
Step 2: Light paint Gear
You’ll need the following:
- Camera (Nikon Z7, in this case)
- Tripod (I love Manfrotto ones)
- Light source (I’ve chosen a Westcott Ice Light II)
- Remote trigger (Here’s the Nikon one)
- Polarizer (B + W)
- Photographers haze
- Buckets of water and a push broom
- Optional: An additional person to help with the brake lights
Step 3: Setting up for light paint
Begin by getting the car in the spot you want. Then get your camera set up on the tripod and connect your remote trigger. It’s much easier to do this with the lights on. Once your camera is set, it can’t move at all, or the layers of images won’t line up in post production.
My Nikon Z7 has an auto focus issue in low light, so I like to set the focus with the lights on, then flip the auto focus off. That way, the car will remain totally in focus, even with the lights dim.
The remote trigger will help with keeping everything in place, since you won’t have to touch the camera to fire off a shot. Even depressing the shoot button on the camera body can give a small amount of vibration, and in turn make everything blurry when it comes to this level of detail.
Step 4: Light Paint Base Exposure
Before turning the lights off, you’ll want to fire a shot with the lights on. This gives you a nice, well-lit base exposure which you can pull some detail and reflection from. It’s not easy to paint every section of the entire car, and if you miss a spot when you light paint, you can always go back and paint in parts from this shot, then blend it in for a seamless look.
Step 5: Light Painting
Once you have your base shot, go ahead and turn off the lights, then turn on your light source for painting. It’s best to treat the car in small sections, as if you were applying wax to it: front bumper, lower front bumper, hood, front wheel, front fender, etc. Be meticulous and check your results often, because if it doesn’t look well lit in camera, it won’t be when it comes time to edit.
Depending on your camera and lens, your exposure time should be anywhere from 3-10 seconds per shot. Experiment to see the time frame that gives you a nicely lit section without to much brightness. My camera settings for each shot:
- Exposure: 4 seconds
- Aperture: f/4
- ISO: 64
- White Balance: Auto
- Focal length: 39mm
The Z7 is surprisingly good at selecting white balance. The Ice Light gives off a pure white light, and the camera had no problem picking up the right balance.
Don’t be shy when it comes to the amount of images you take. The scene here is a combination of 9 different exposures.
Step 6: Wave
There are techniques to moving the Ice Light around for best lighting, and I’m on the taller side, so for a car like this 911, it’s easy for me to hold the light above my head and aim it at the part of the car I’m lighting. If you can’t reach over the hood or roof, attach the light to a stand or ladder.
As a rule, you don’t want to wave the light in front of the camera’s line of sight. Even if you’re moving in and out of frame, the camera will record that movement. Instead, stand off to one side (about 6-8ft) and wave the light around each section as needed. This distance will give you a softer light that covers more area without giving you hot spots or bad reflections.
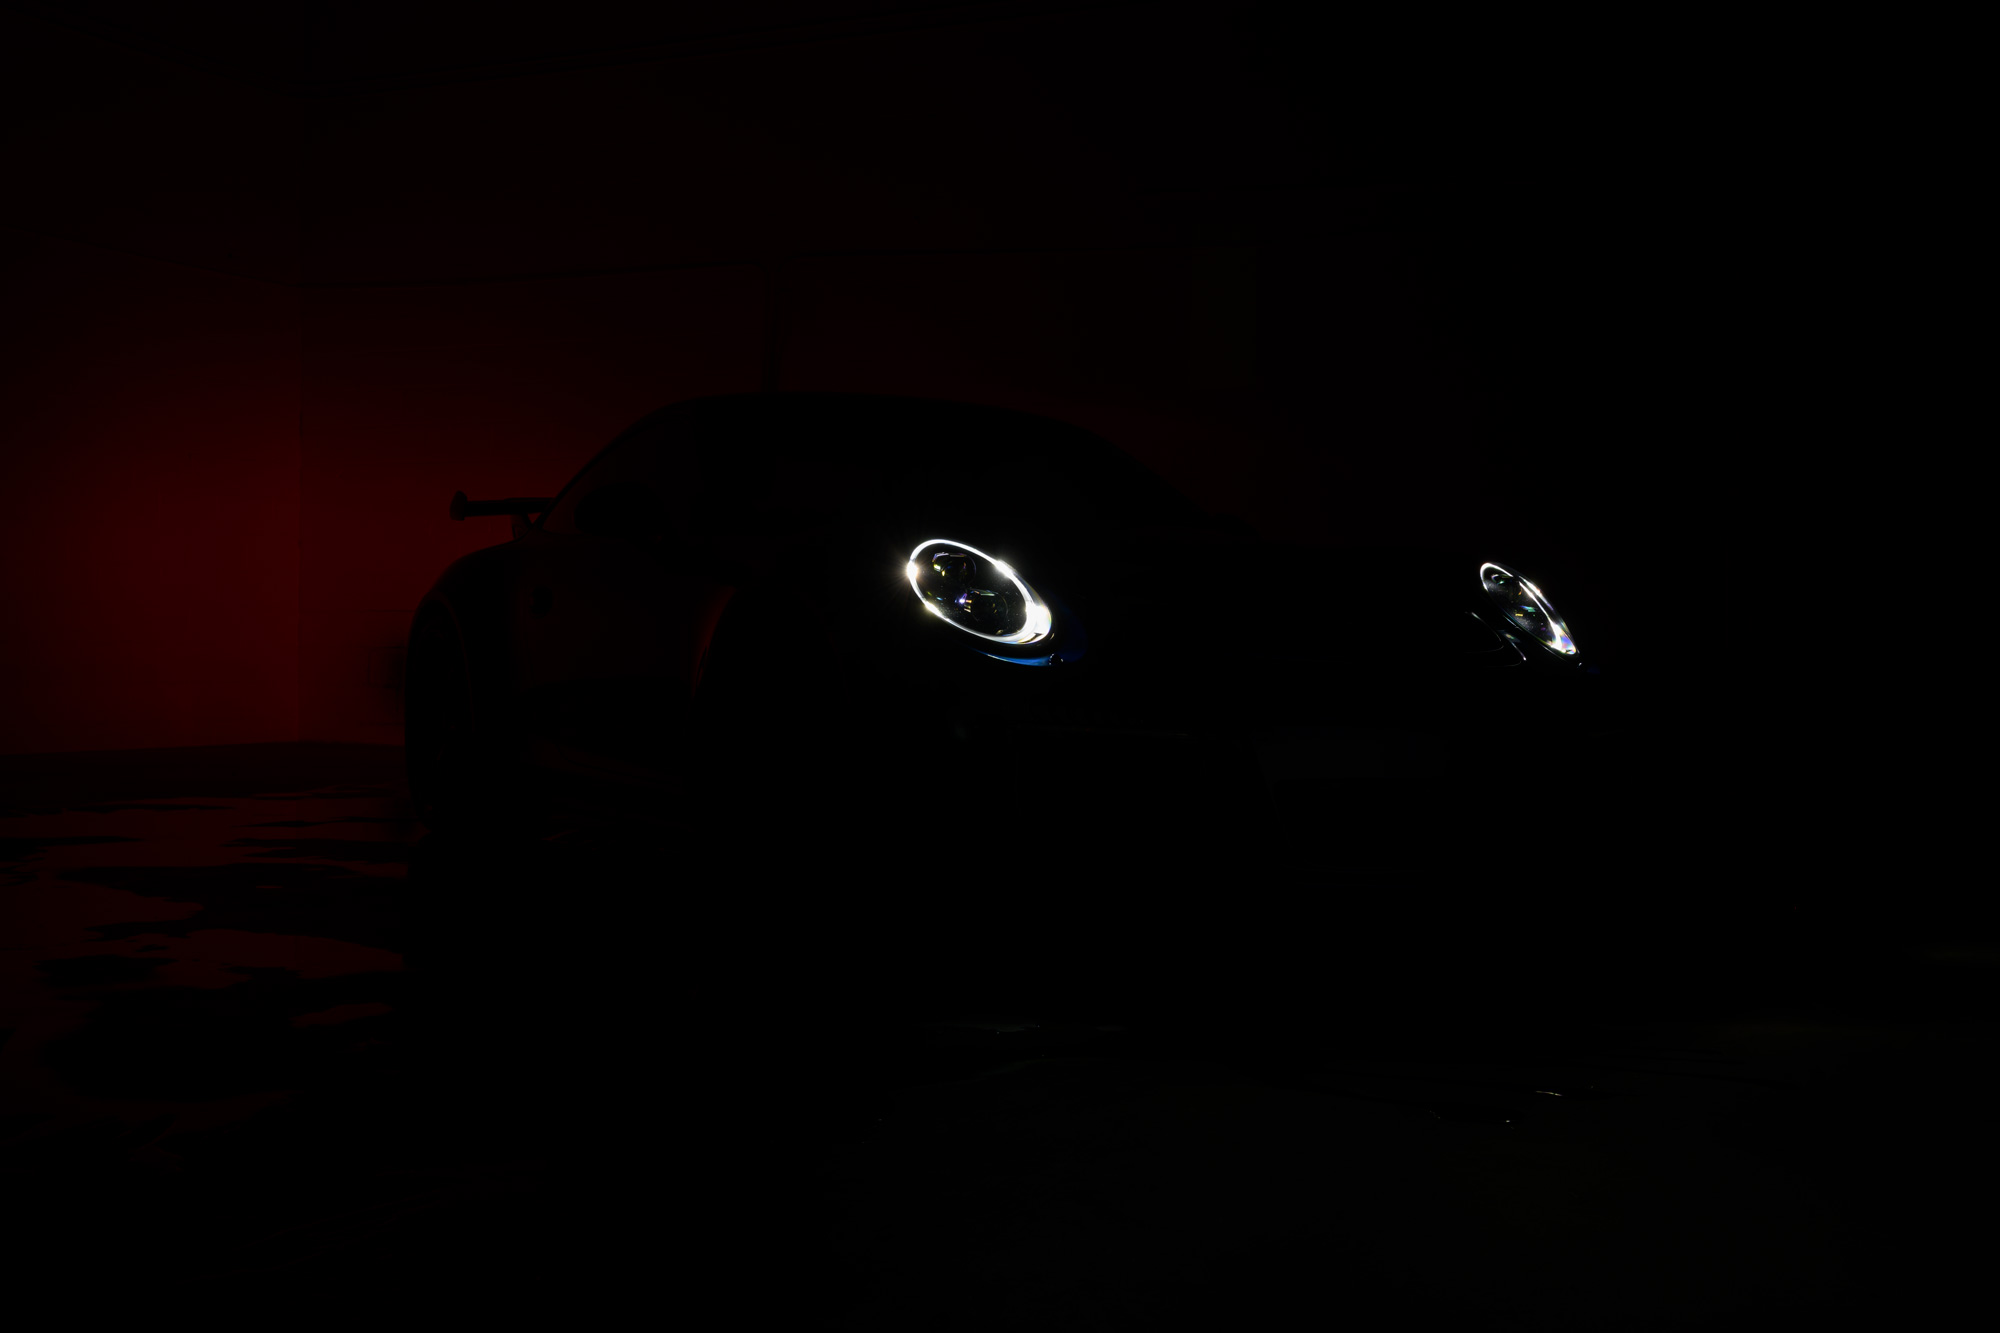
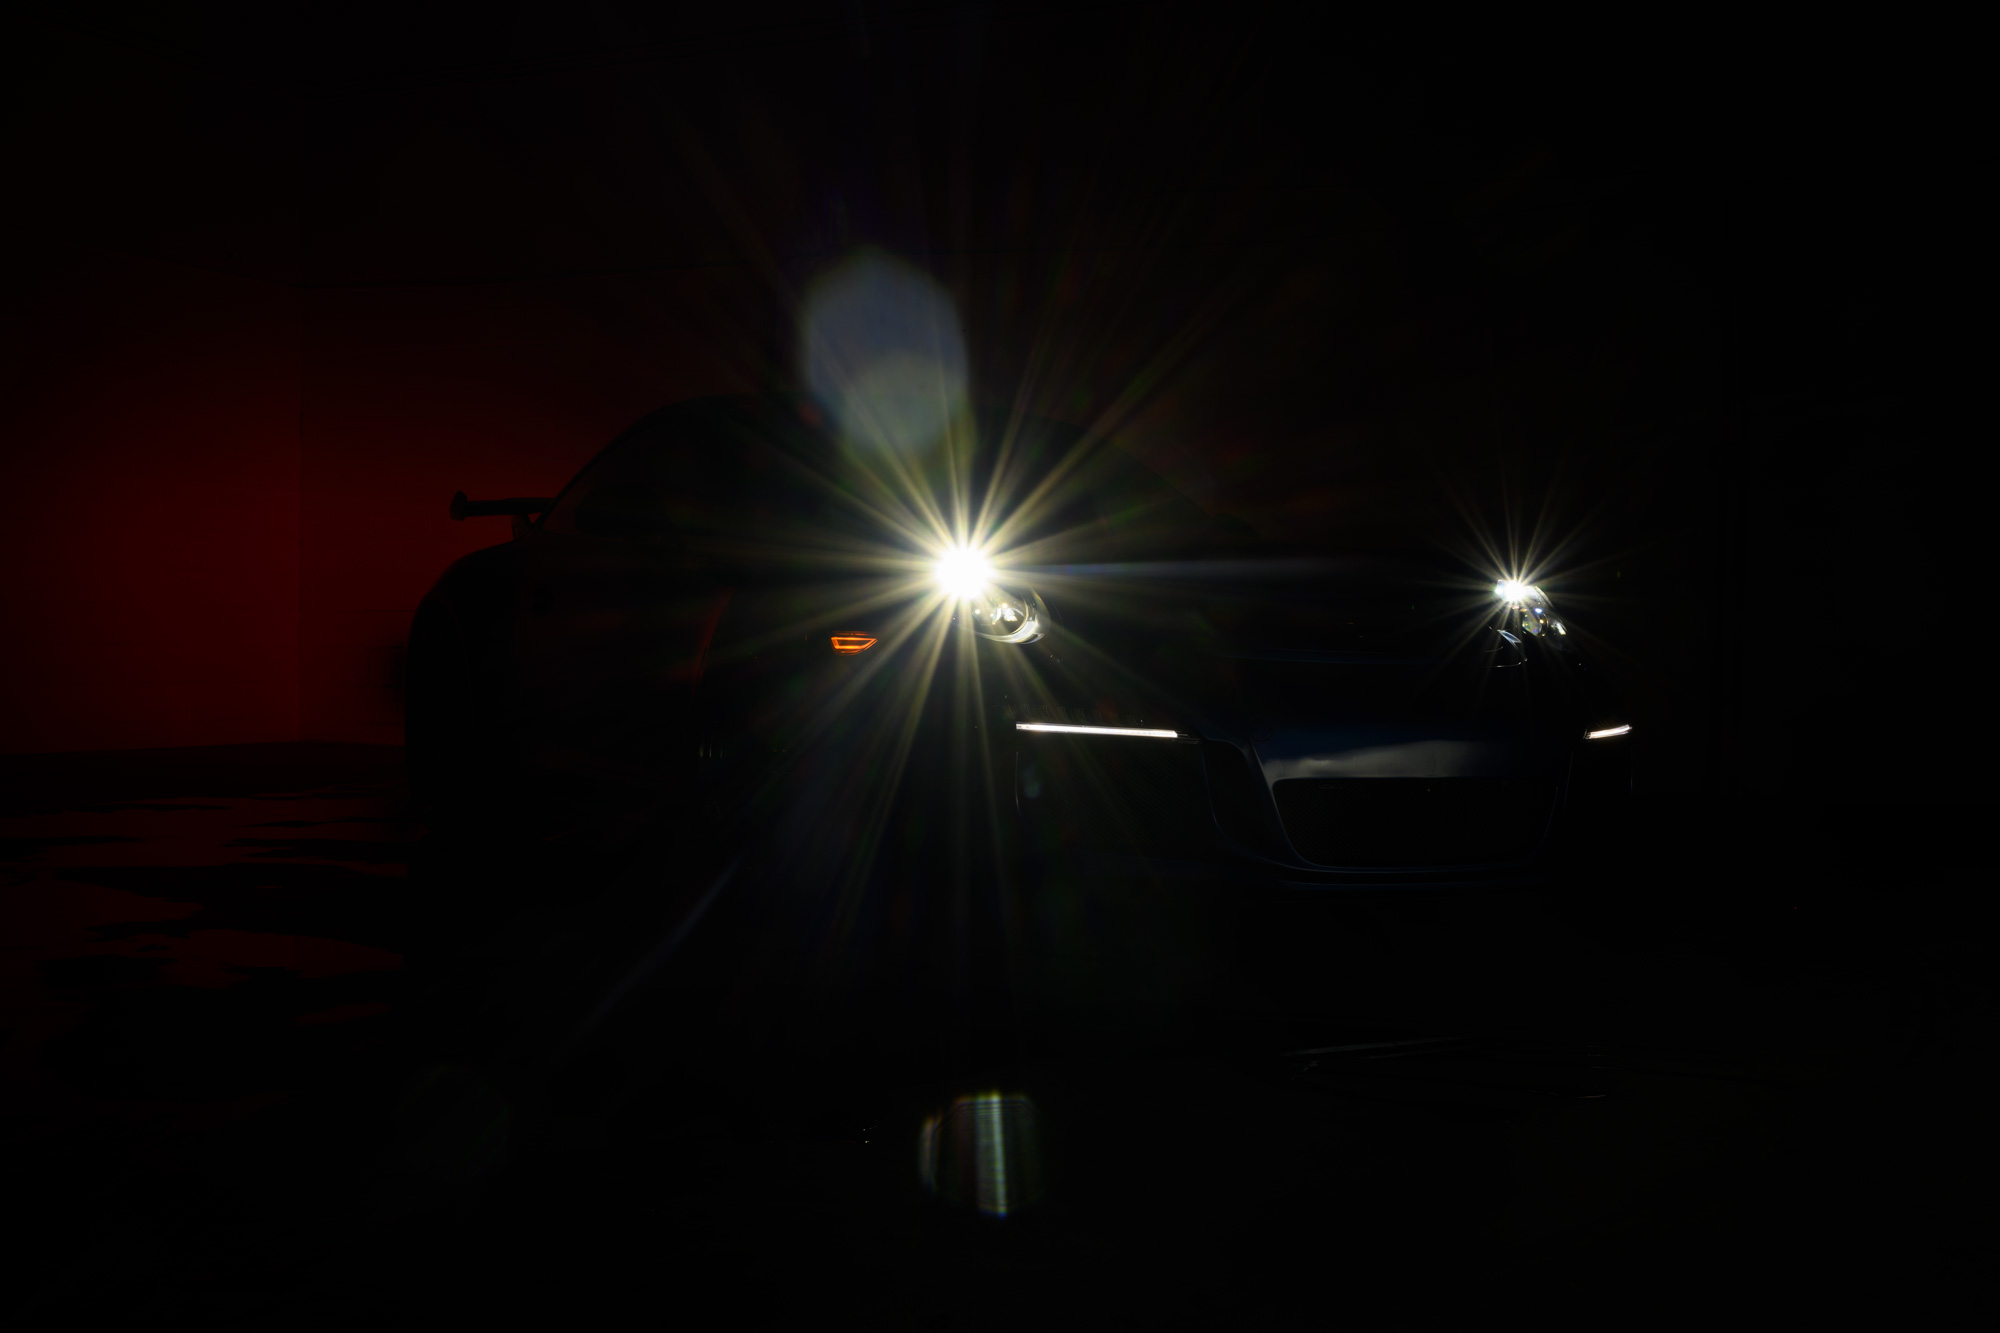
Step 7: Brake and Headlights
To get the the red light, you need to hit the brake pedal and shoot with the same exposure. Even if you don’t have a wall, doing this will give you a red glow that adds drama.
For headlights, you’ll need to lower your exposure time down to 2 seconds. I like to do a shot for parking another for headlights, especially with modern cars. So many have unique LED lighting elements.

To be continued…
Next week, we’ll review a few others from the series that have haze and water for unique atmospheric effects.

I may get commissions for product links on this site, so help out if you can. I only write about products I use and believe in.
Feel free to email me at mike@machineswithsouls.com with any questions.
Follow along on Instagram @machineswithsouls
17 thoughts on “The definitive guide on how to light paint, Part 1”
Comments are closed.