For a review of the basics of a composite in Photoshop, it’s here.
Welcome to the step by step process for recreating this Porsche 911 Turbo composite. The longest part of this is usually finding a stock image that works with your image, as in the correct perspective and, in some cases, lighting. Let’s get to it!
Step 1: Find a shot of a car you like, but needs environment love.
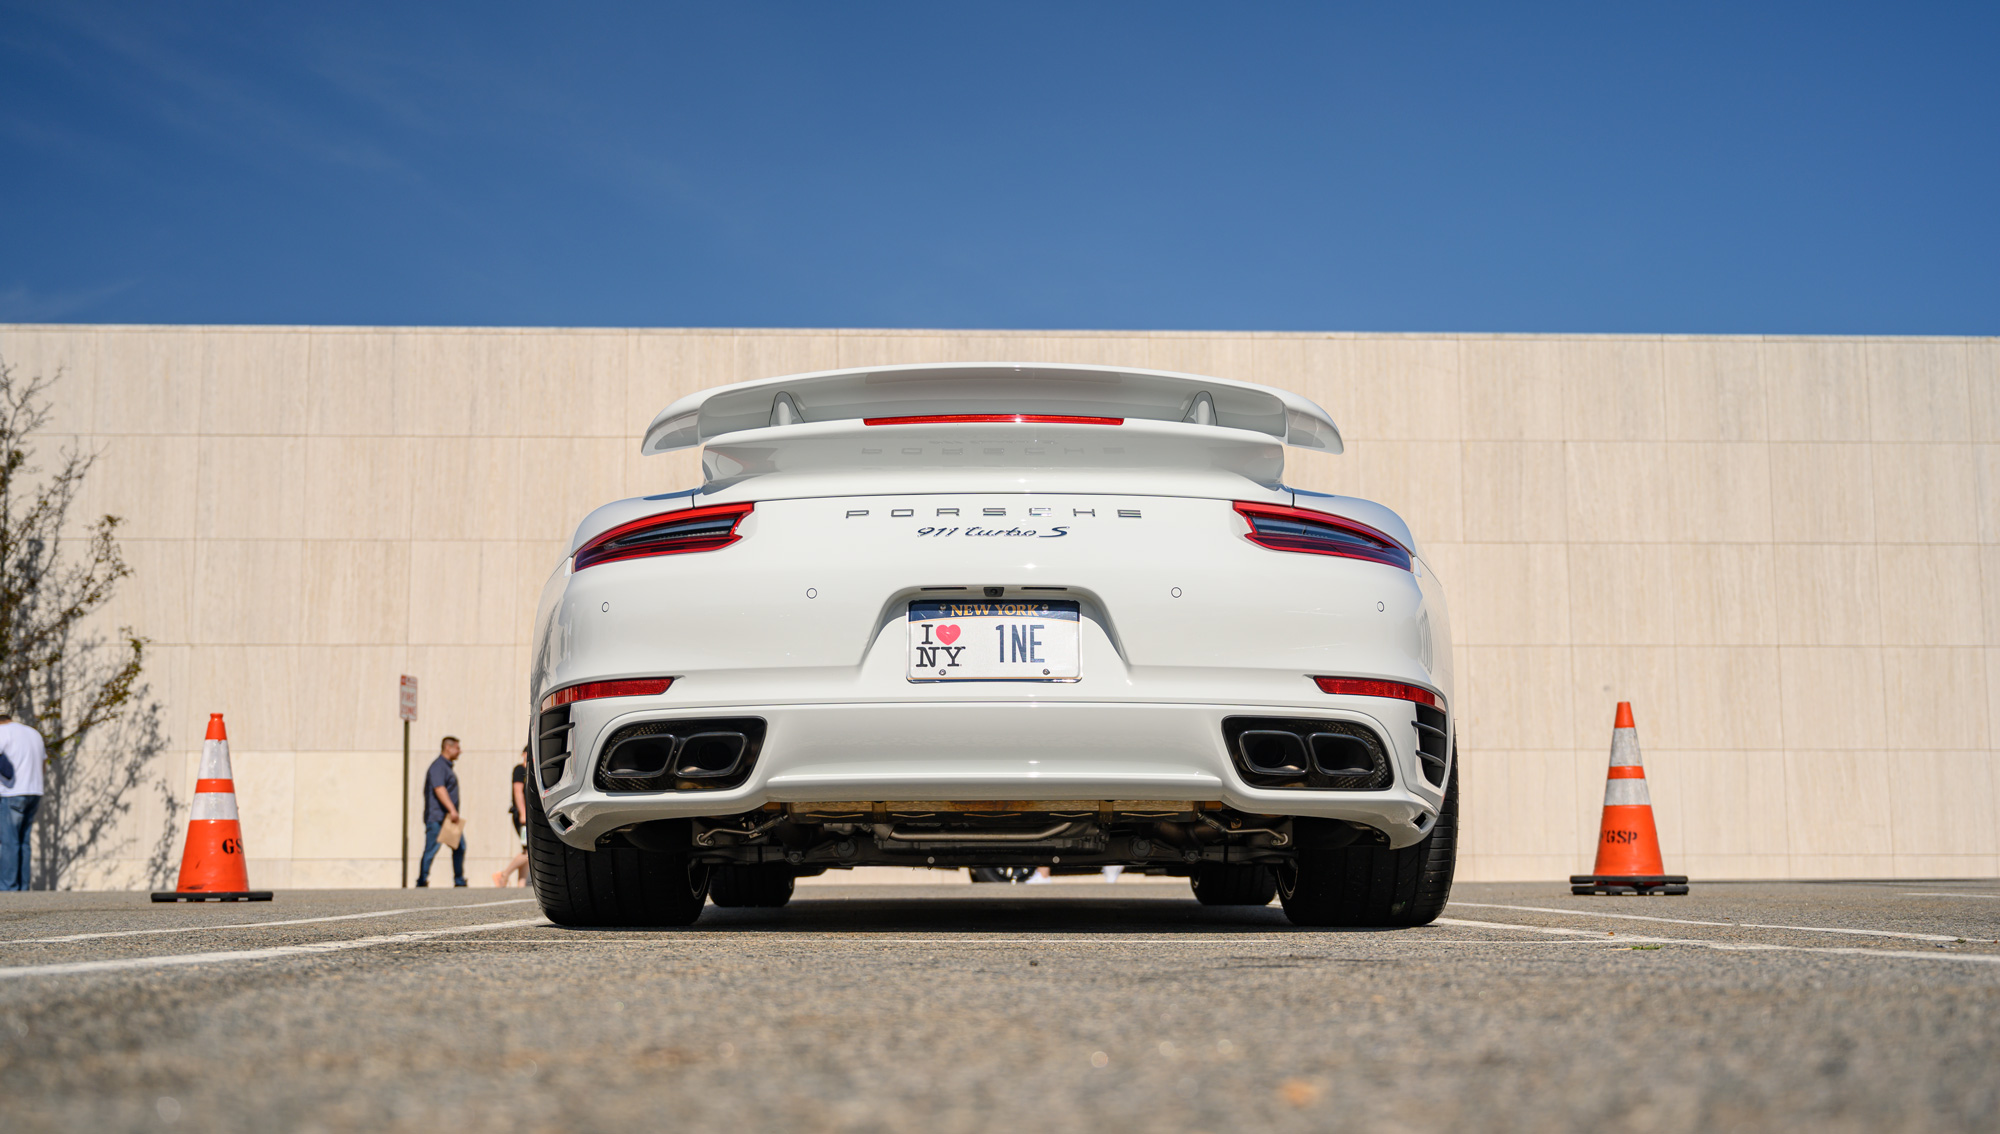

To make a composite in Photoshop, you’ve got to start with something good. I’ve always been a 911 Turbo fan, and find them to be as special as any other super car in terms of performance. I took this shot of a white 911 Turbo at Cars and Cafe in the Garden State Plaza parking lot. I liked the mostly white wall, which I knew would make the car easy to silhouette. Camera settings:
- Aperture: F/4
- ISO: 64
- Exposure: 1/500s
- Focal length: 41mm
As always, I decided to get a low angle, which meant laying on the floor, but otherwise, the shot was unremarkable. It was begging for something to make it stand out.
Step 2: Choosing the environment for a composite in Photoshop
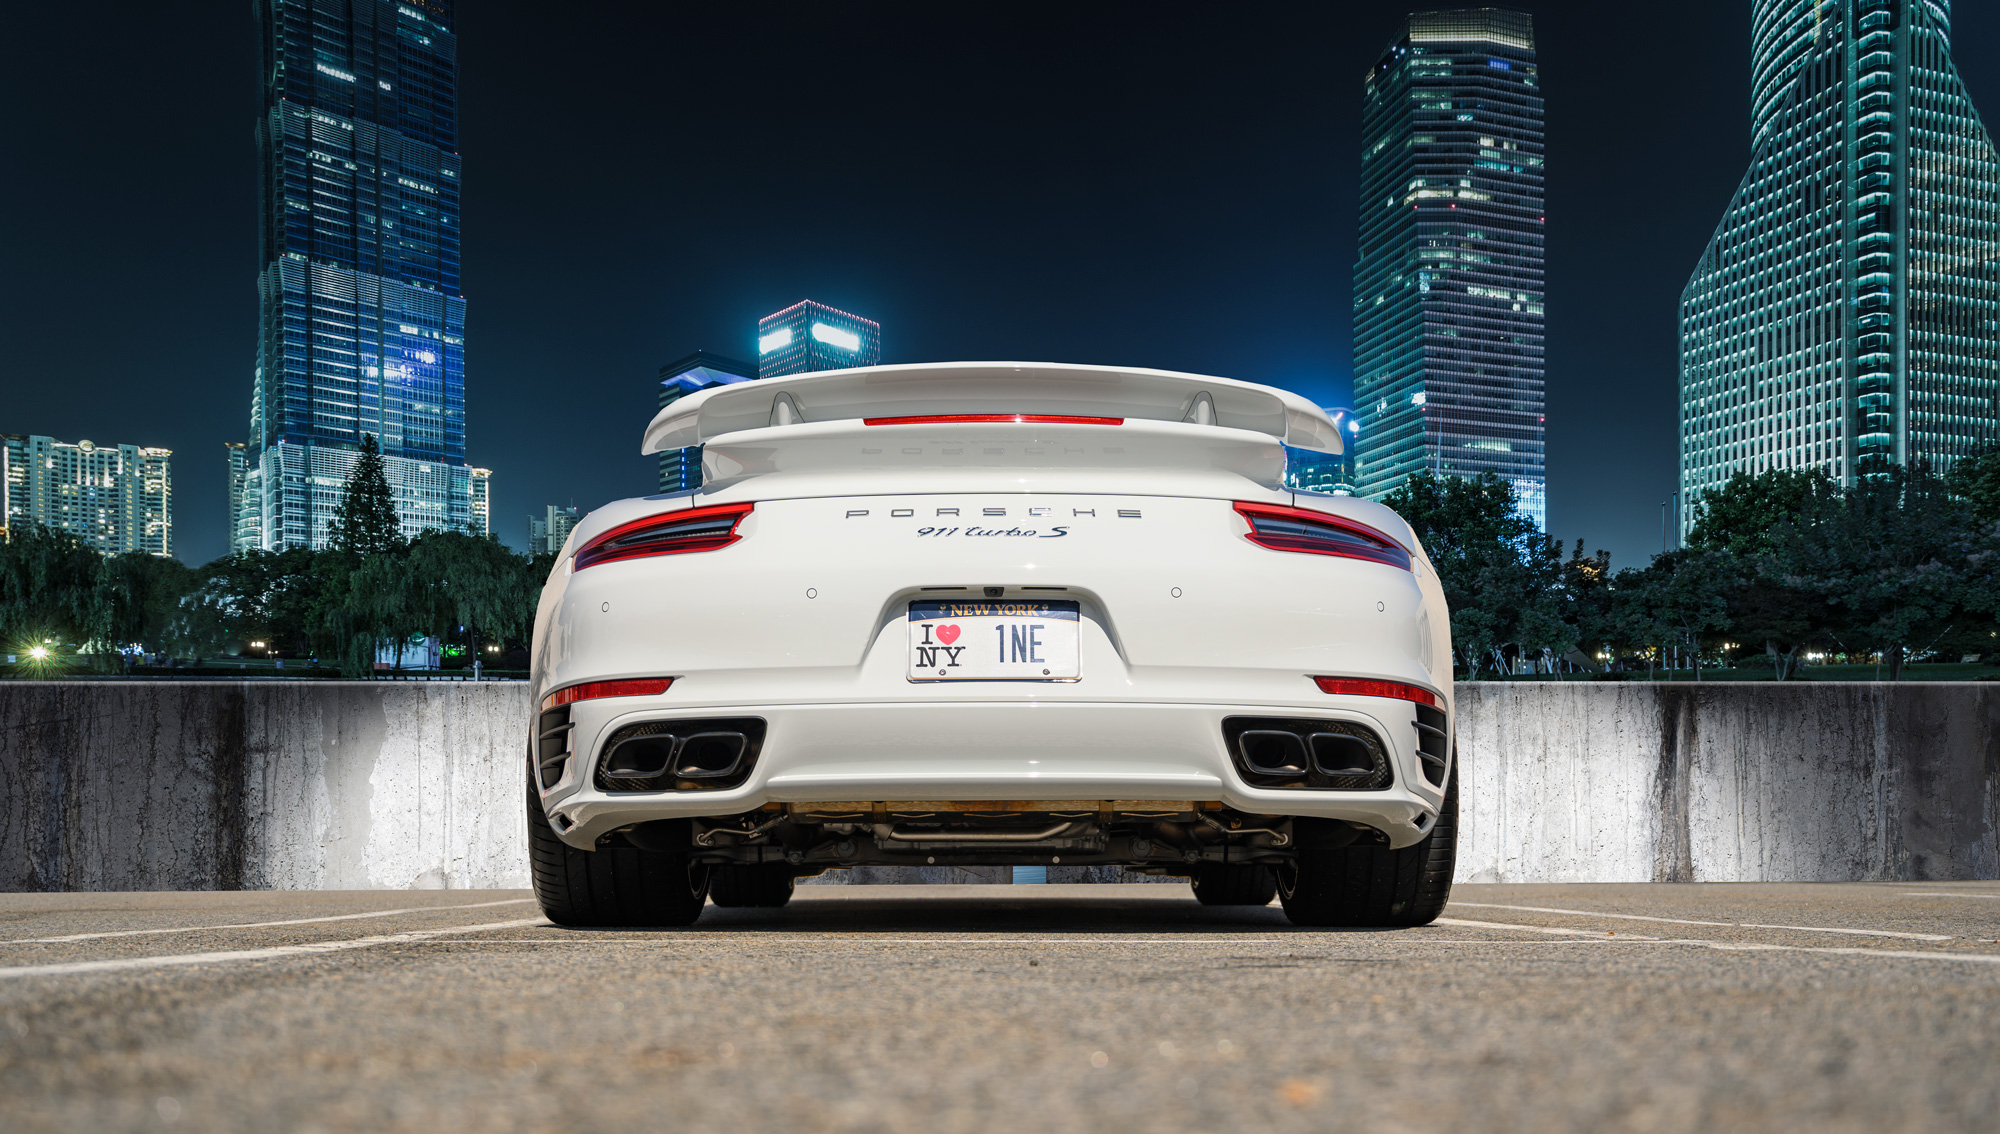

As stated in my original composite post, a stock house is your best bet to find images that will work, and in this case, I found a cityscape that inspired me to turn this daylight shot to night. Some key things here are the angle of the buildings, which match the original shot of low, looking up, and a clean horizon line. But not clean enough; I didn’t want it to feel like the car would be driving over a cliff. I went back and searched for a cement wall that would make it seem as if the car were parked, overlooking the city.
To give the top of that wall a more finished edge, I double-click on the layer and choose “Bevel and Emboss” with the following settings:
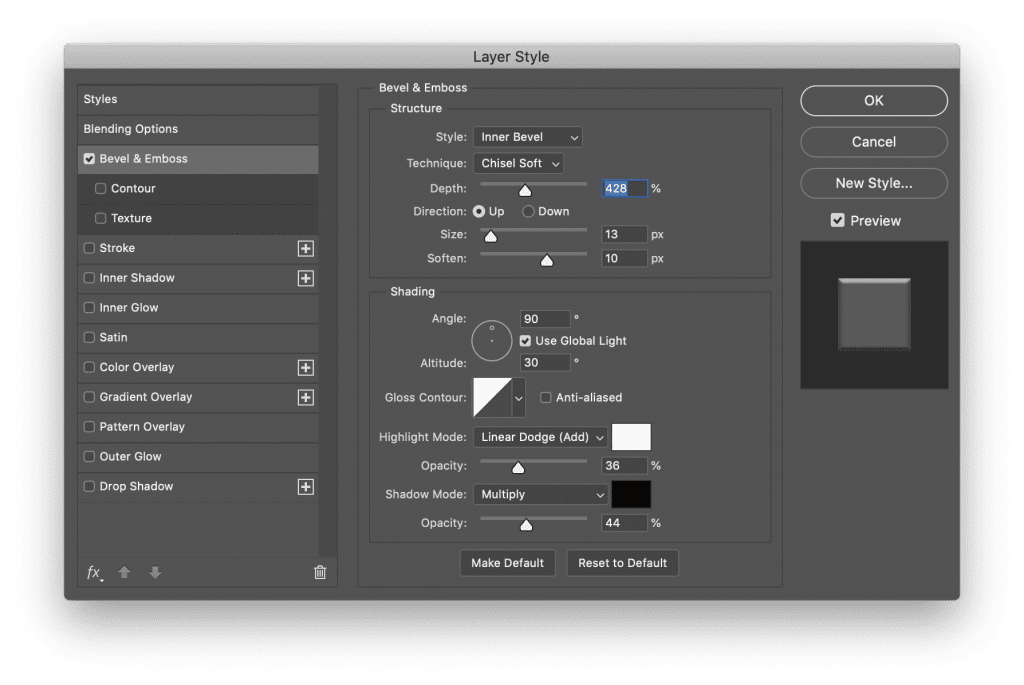

Looks weird though – the colors don’t match at all. Let’s tone.
Step 3: De-saturate, then enhance the composite in Photoshop
Since we’re on the original image, you’ll have access to the Camera Raw options, so in this case, choose your car image layer, and reduce the temperature by -12 for more blue, then reduce the saturation by -35. Then, click on the HSL tab, and bring the yellow all the way down to -100, orange to -54, and green to -42. The result:
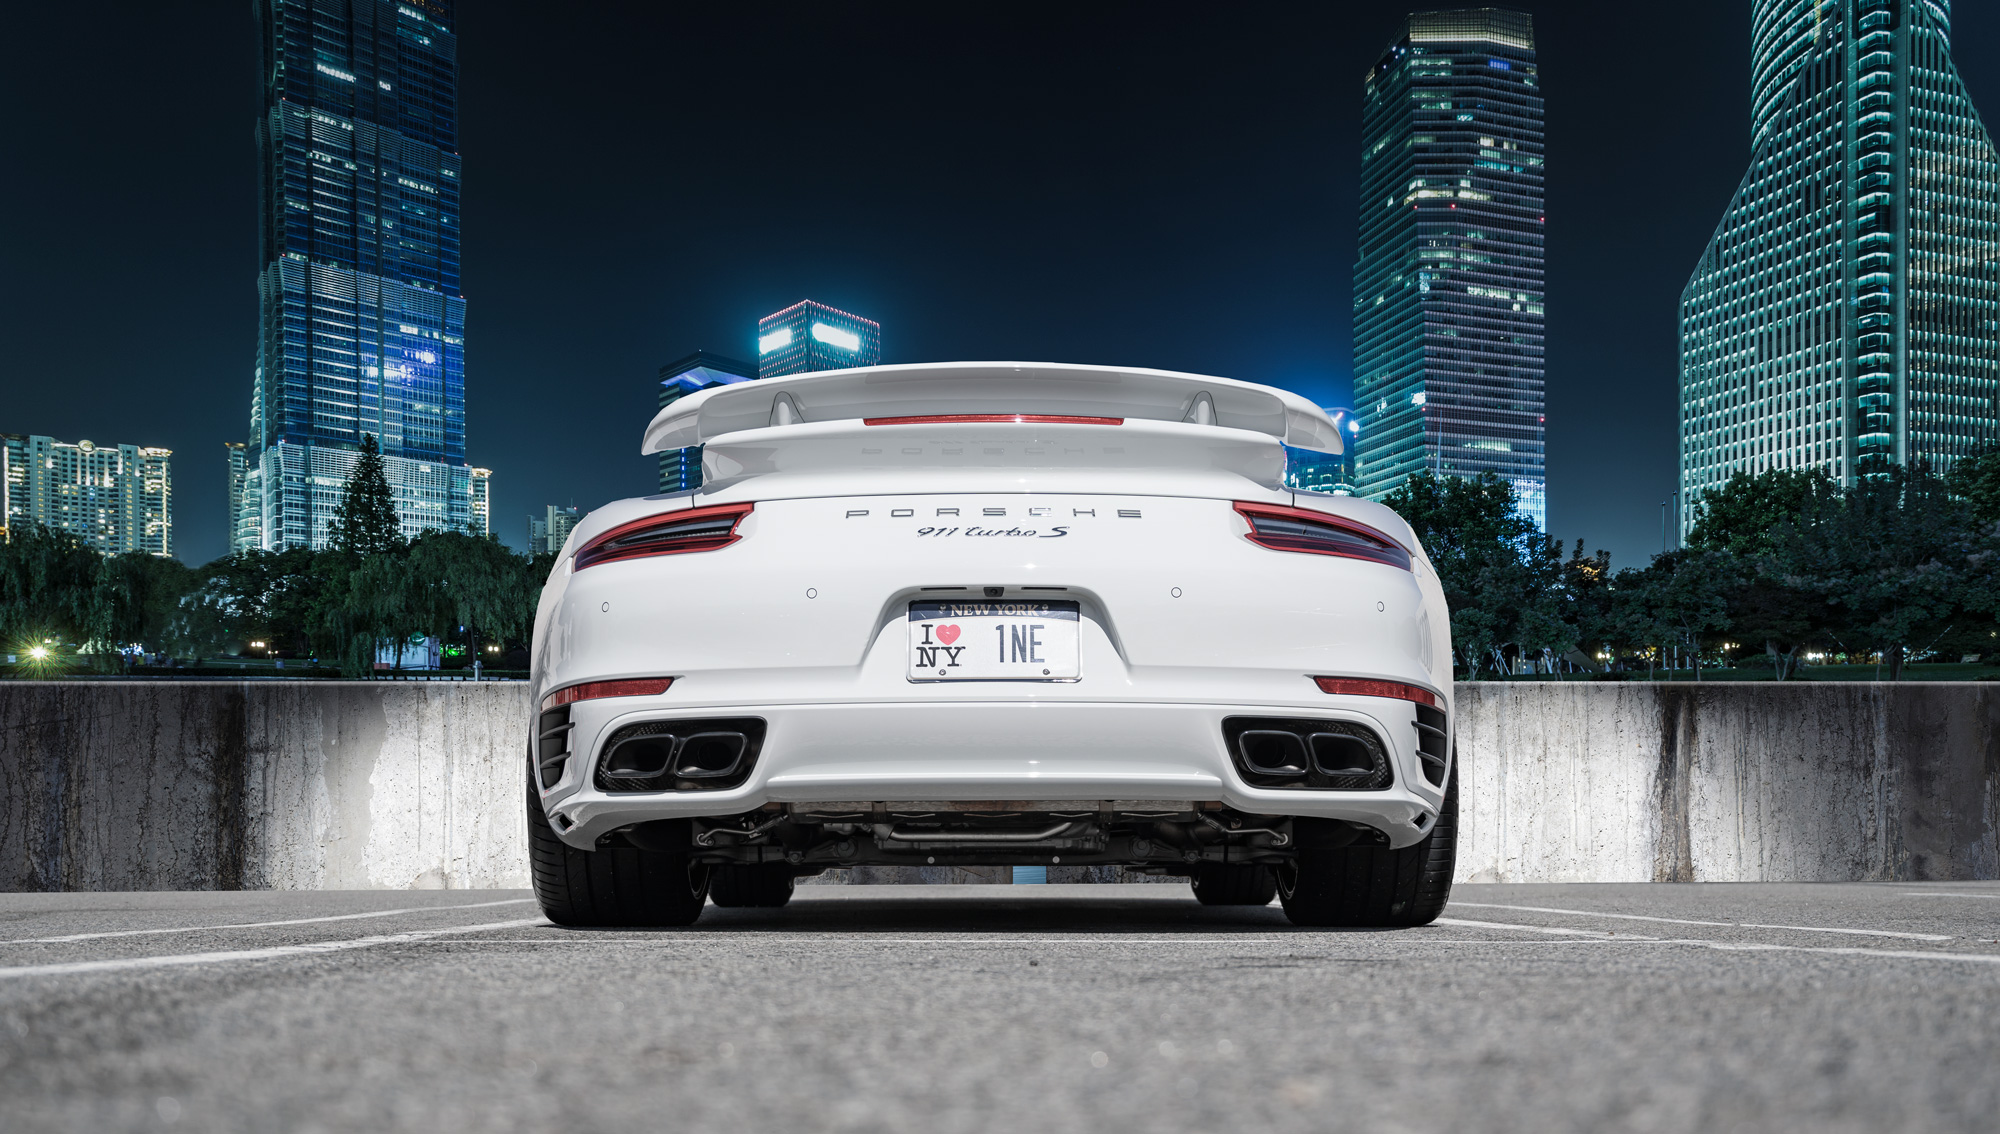

Already, the car feels like it belongs in the scene much more convincingly. Group all your layers and combine them into a new one, because now we’ll adjust the entire image as a whole, instead of 3 separate ones. Make it a smart object, and add a Camera Raw filter, then mimic these settings:
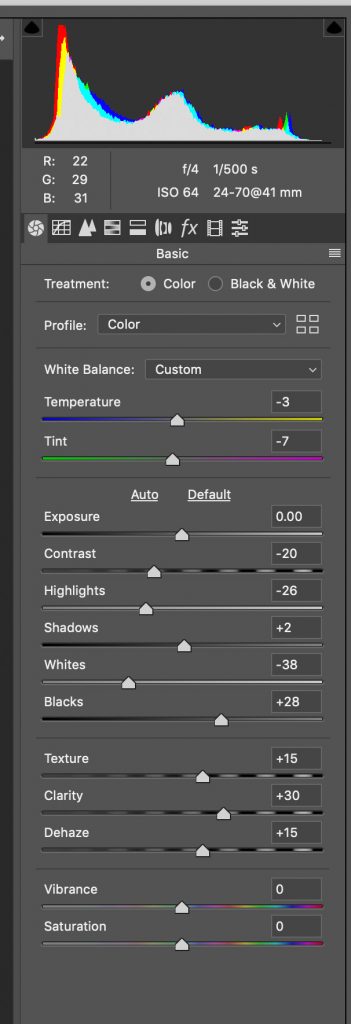

And the result:


Step 4: Adding effects.
From here, we can add effects like we would any other image, and that will help set the car in the frame entirely. We’ll be using new, cinematic style lens flairs for this from PSDBOX.com, so head there to download them first.
Lets group our layers and copy, then combine them into a new image. Add a Camera Raw filter to it, select the LUT tab, and use the High Contrast filter.
Then, copy that layer and change the LUT filter to Cross Process, and set the opacity to 60%.
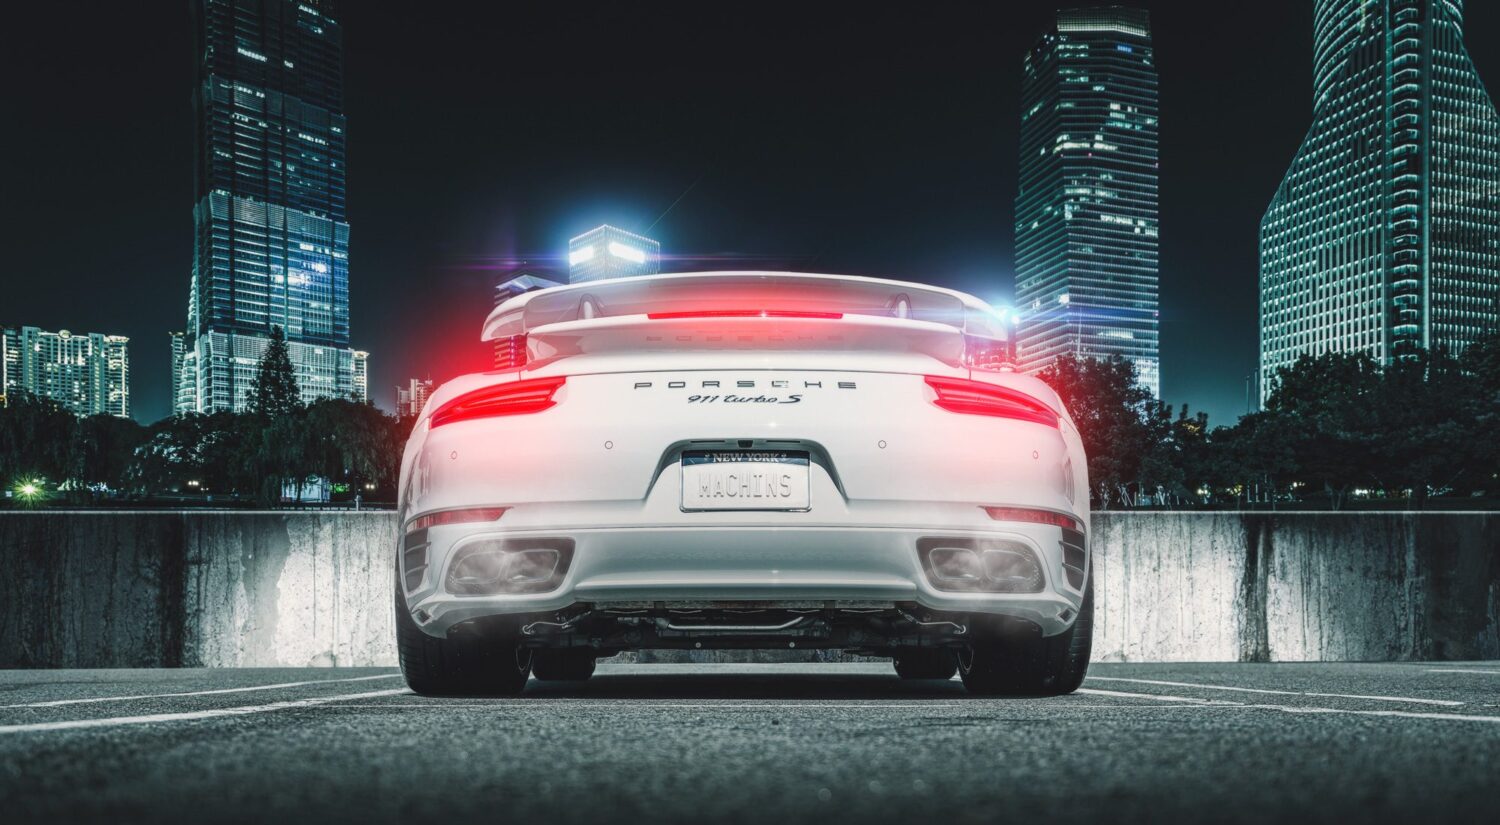
Finally, bring in the Optical 4 and 5 PSD flair images, and set them to screen blend mode. The light of the buildings in the distance are the perfect spot for them, and they will interact with the car to make it seem like the spoiler in blocking the light, causing that flair. The result of all this is:
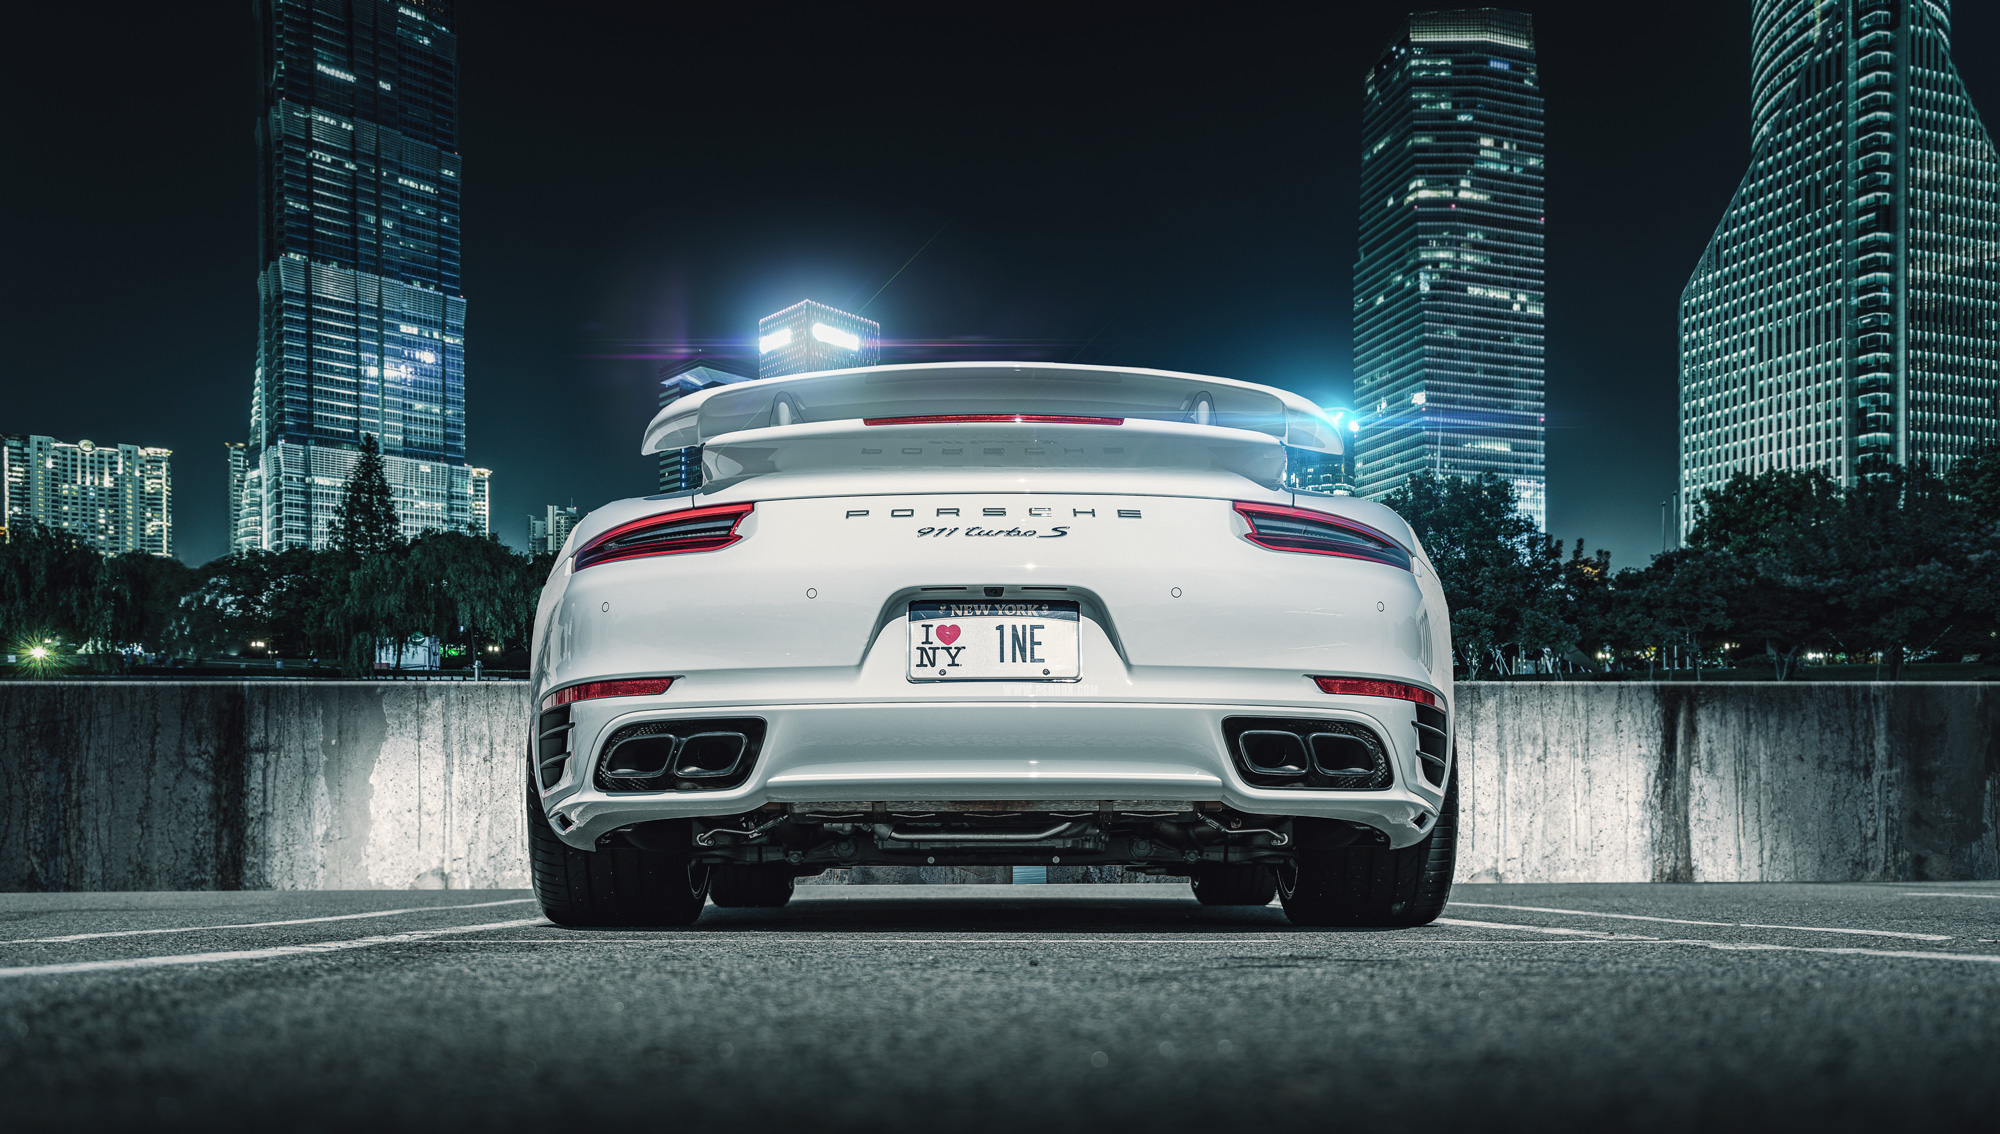

At this point, you should be getting excited about your image – it’s looking real, and that’s the ultimate goal here.
Step 5: Adding realism to a composite in Photoshop
It’s night time, and the bright lights on the wall make it seem like the headlights are on, so let’s have a little fun and paint in the brake lights. While we’re at it, those dual pipes look menacing: maybe some exhaust smoke will add even more drama.
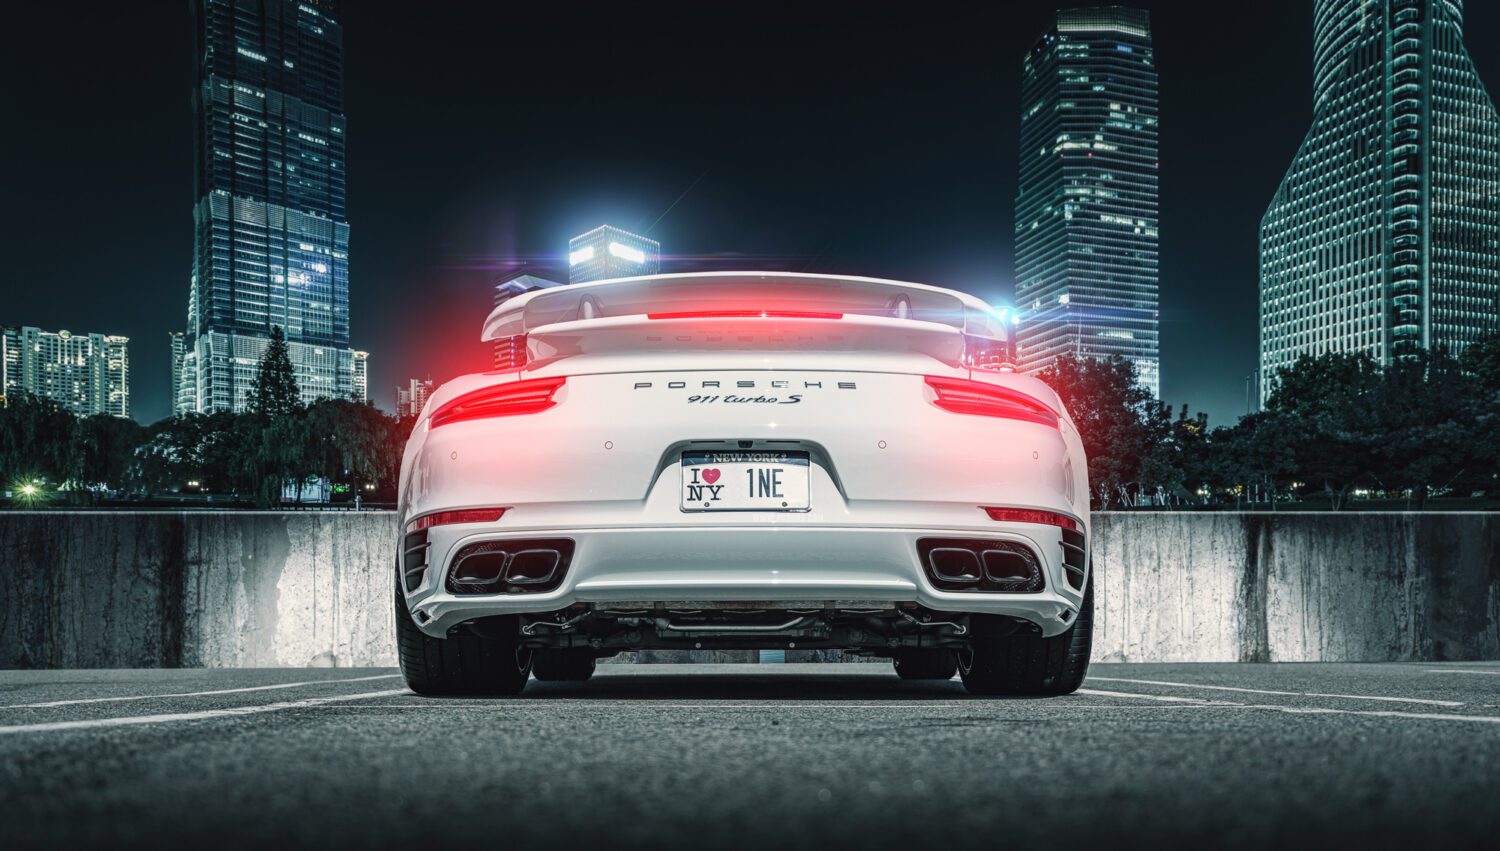
If you’re not familiar with how a 911 Turbo lights up at night (I was not), I suggest a google search for some quick research. We’ll group our layers, duplicate, and combine into a new flat image. Then we’ll add a blank layer and, using a pinkish-red color (Hex #ff4b59, if you’re wondering), paint in the brake lights, like so:


Nice, but more drama can be added to match those lens flairs. Add a new layer, select your air brush, and make the brush large enough to encompass a light, then tap it once for a large red circle over a brake light. I then added a bit of motion blur to the layer so that it seems more ” flair-ish”, use your judgement here. Repeat the process for the other lights, making sure to adjust for the smaller third brake light by making your brush size smaller.

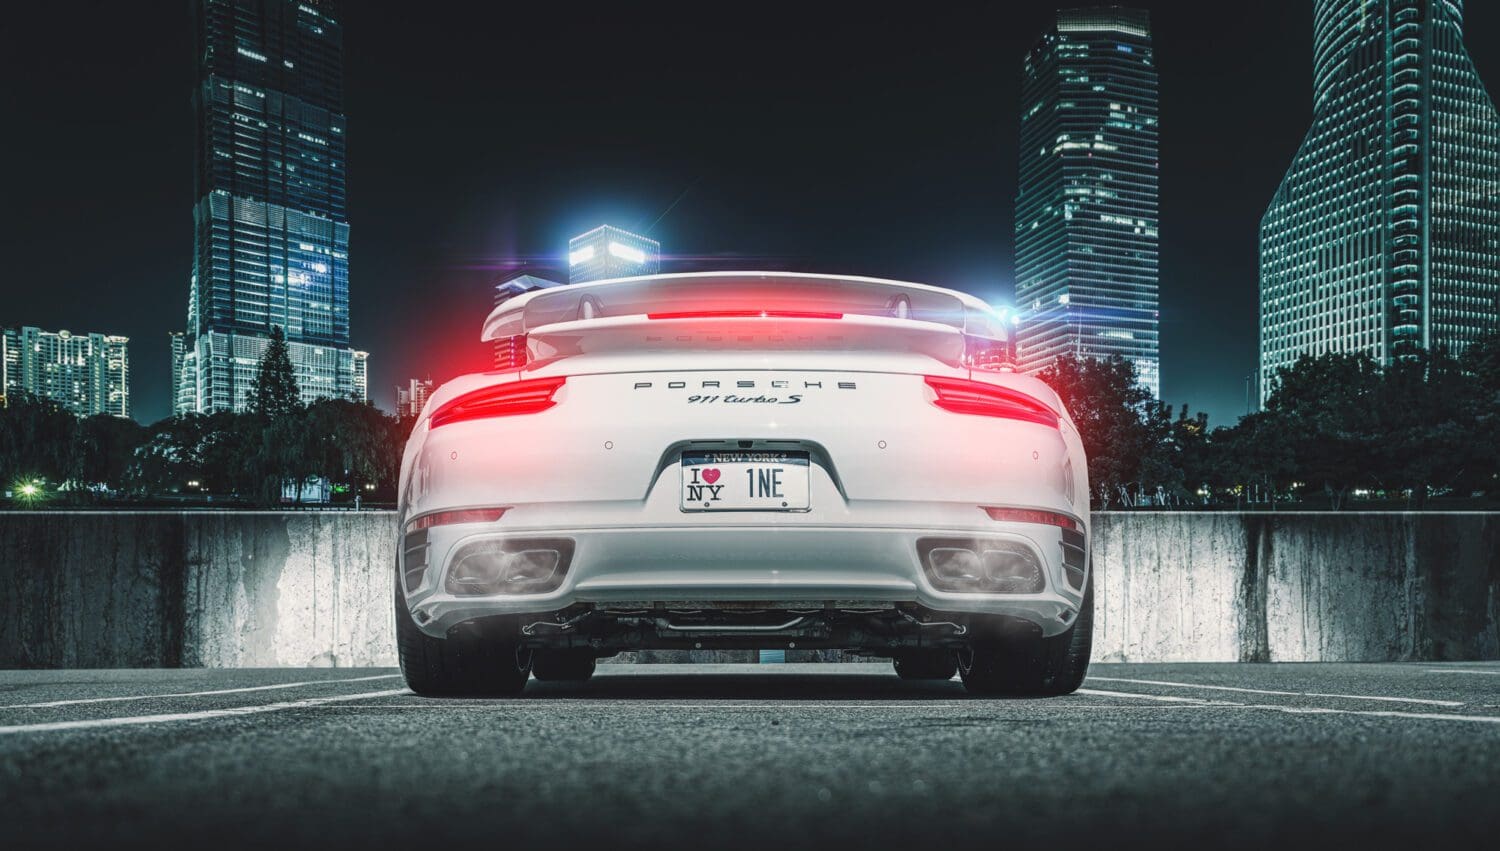
Now for smoke. I almost always use the same image, from Pixabay. Bring the image in, and set it to screen, then add a mask to it. Use COMMAND + DELETE to mask the entire image. Then, using the eraser tool set to airbrush, paint some smoke back in by the exhaust tips. Play around with this and move the smoke around as needed. Set the opacity to 70% when you’re happy with the position.
Duplicate the image and add a Camera Raw filter to it. Selecting a LUT filter called “Lift Shadow” – set the layer opacity to 40%.
IMPORTANT TIP before moving on.
This car was shot during the day, so it’s pretty well-lit. To reduce the white point on the lower half of the car, paint some black on a new layer. Then set the opacity to about 80%. This puts the car in more shadow and helps set it into position. The result:

Step 6: Final Touches
There are a few things we can do to make this look as good as it can. First, that NY license plate is pretty distracting. Using the Patch tool, I edited out the lettering on the plate, and then found an image on line of regular license plate letters to paste in. I cut each letter out of that image and placed it in:
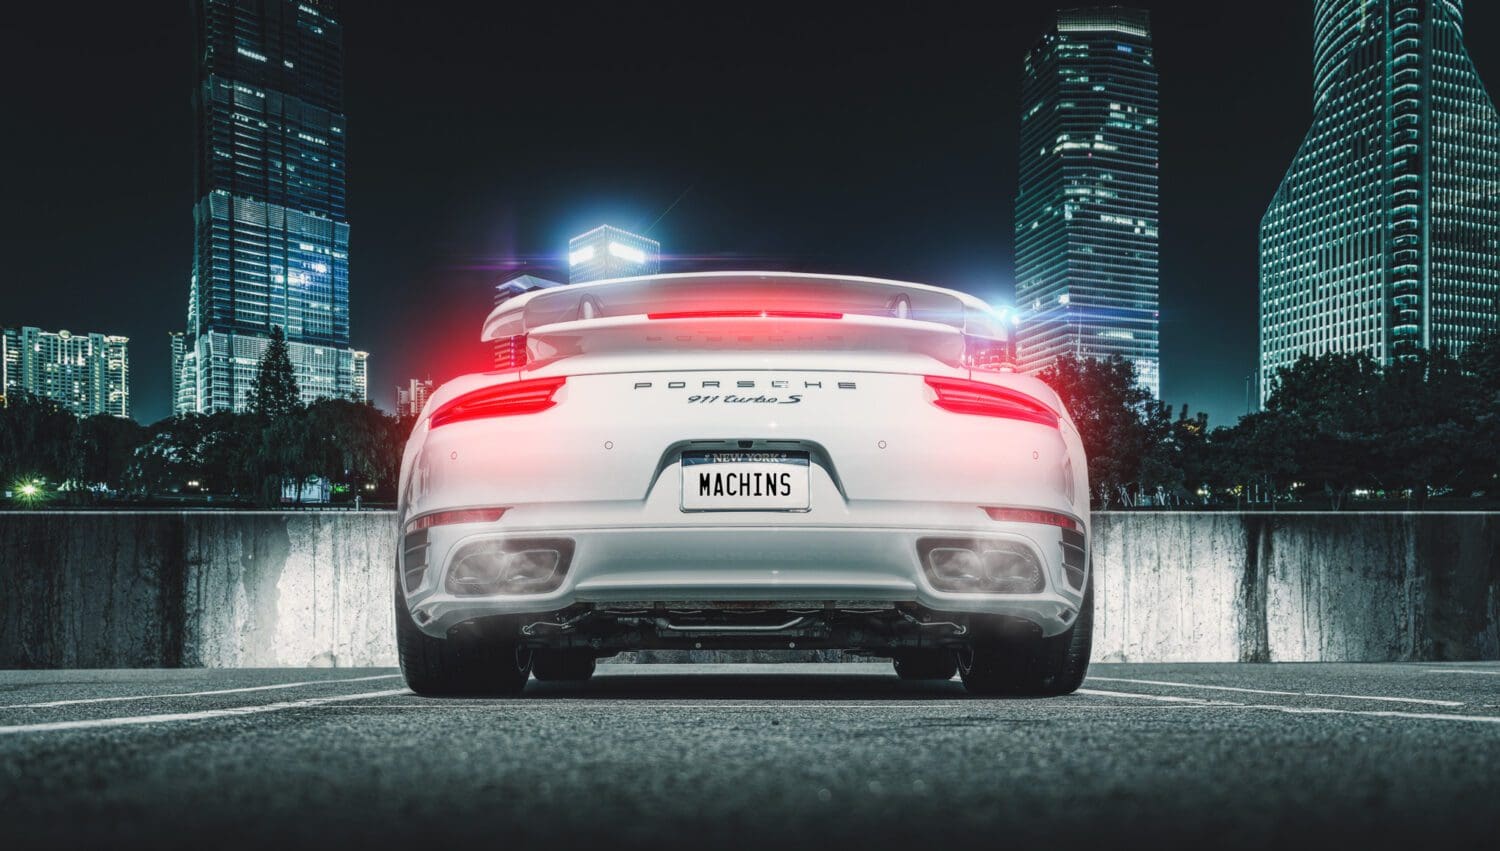

To make it match, combine all your letter layers into one, and double click to add special effects. In this case, we’ll do Color Overlay, using the same tone of white as the plate itself. Then Bevel and Emboss, to give these letters the feel of being stamped in like a real plate.
Finally, I like to add a layer of noise over the entire image to help set it together. Add a new layer by choosing LAYER > NEW, and set the blend mode to overlay, then click the option that says “Fill with overlay-neutral color.” Hit OK. It will look gray. Now, select FILTER > NOISE > ADD NOISE. Choose a value of 4. This is subtle and not noticeable if the image is small. For larger ones, like a desktop, or for print, noise can help make everything look like it belongs together.
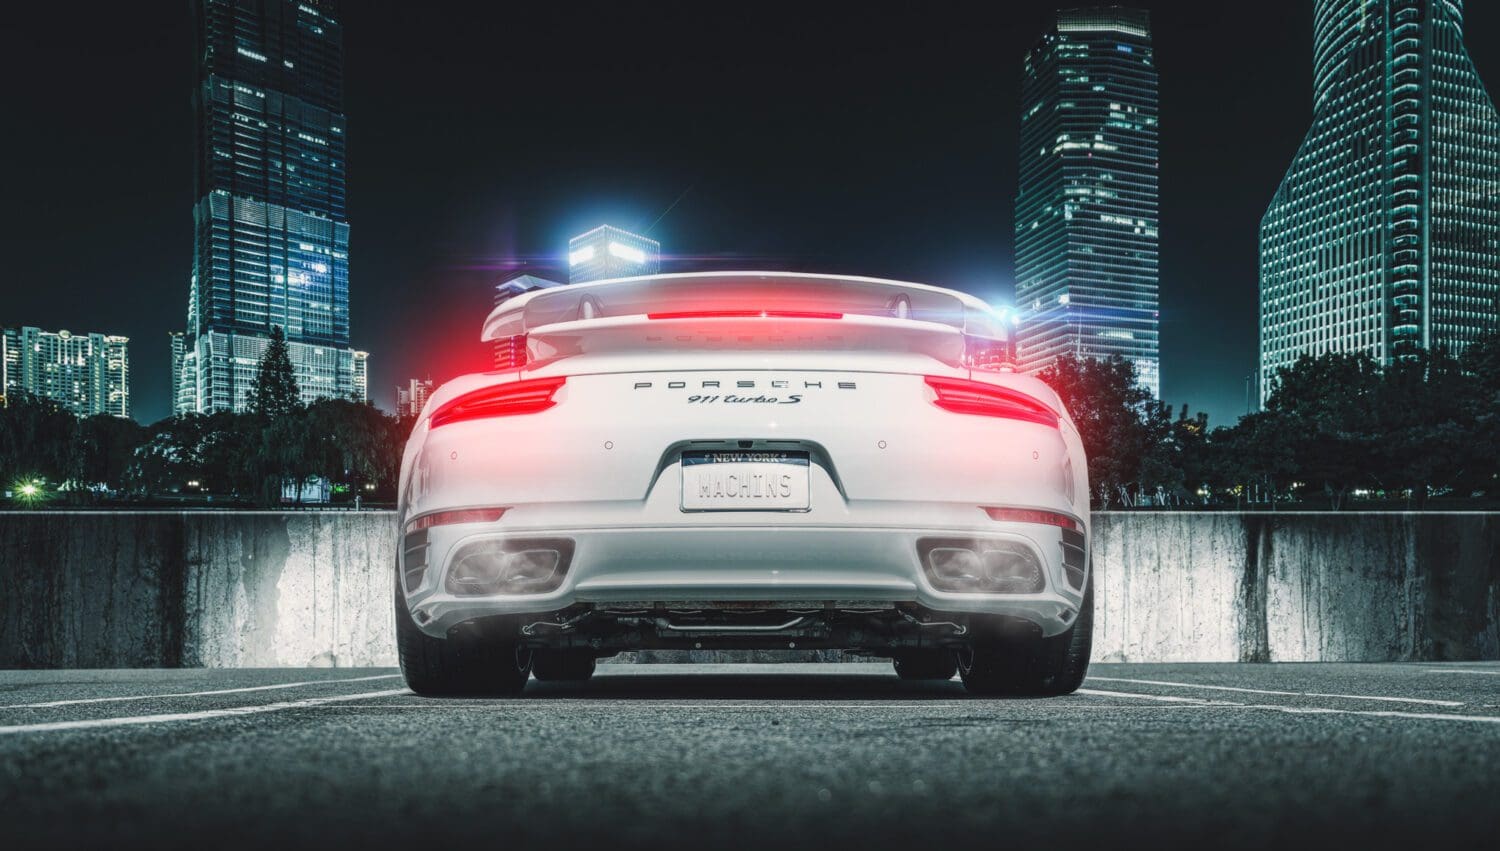

That’s it! Using a technique like this take practice, but in time you’ll be able to use your imagination to create any scene you like. Have fun!
Feel free to email me at mike@machineswithsouls.com with any questions.
Follow along on Instagram @machineswithsouls


2 thoughts on “Epic Composite of a Porsche made in Photoshop”
Comments are closed.