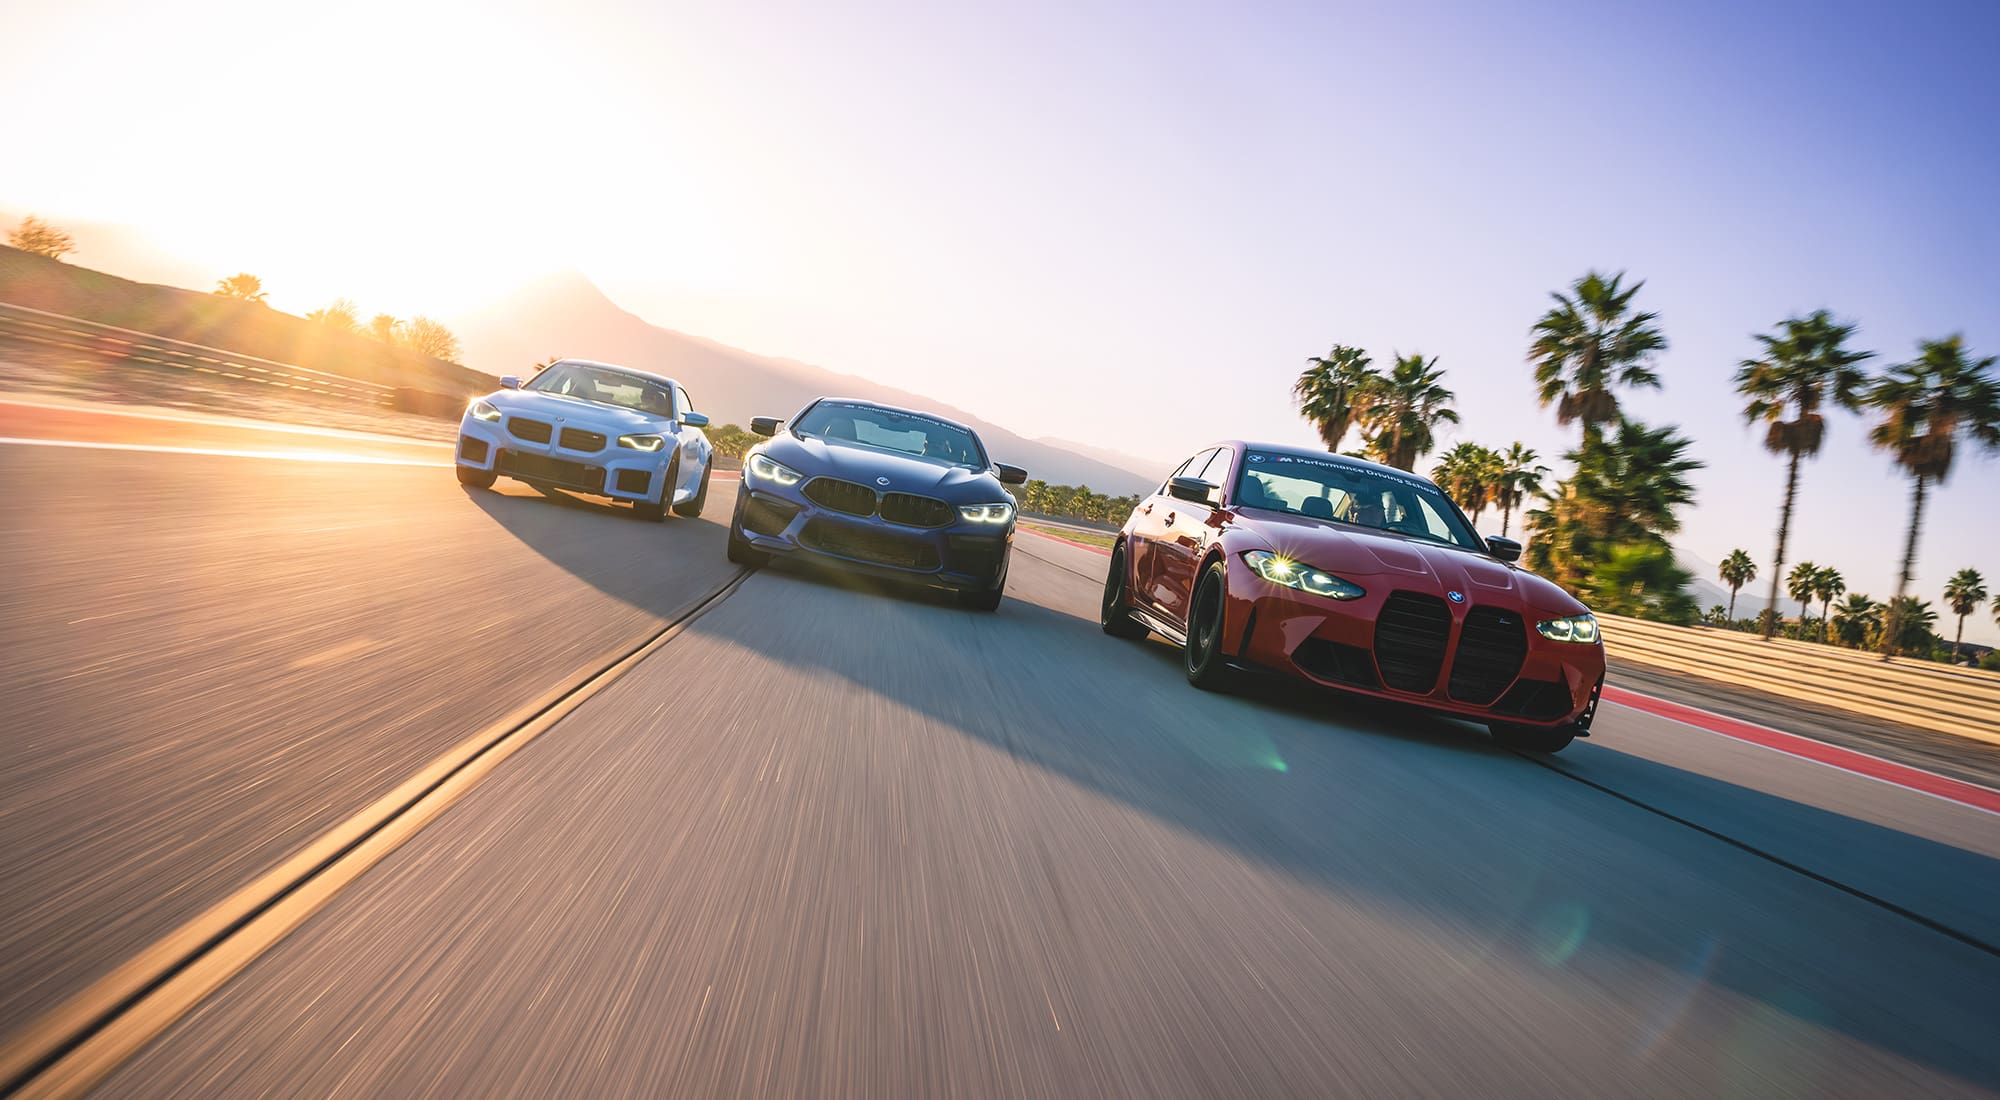
It’s fun to shoot M cars like this BMW M2 in different environments. After all, the mantra of these cars is that you can literally race it during the day and pick up your date with it that night. They all have dual personalities.
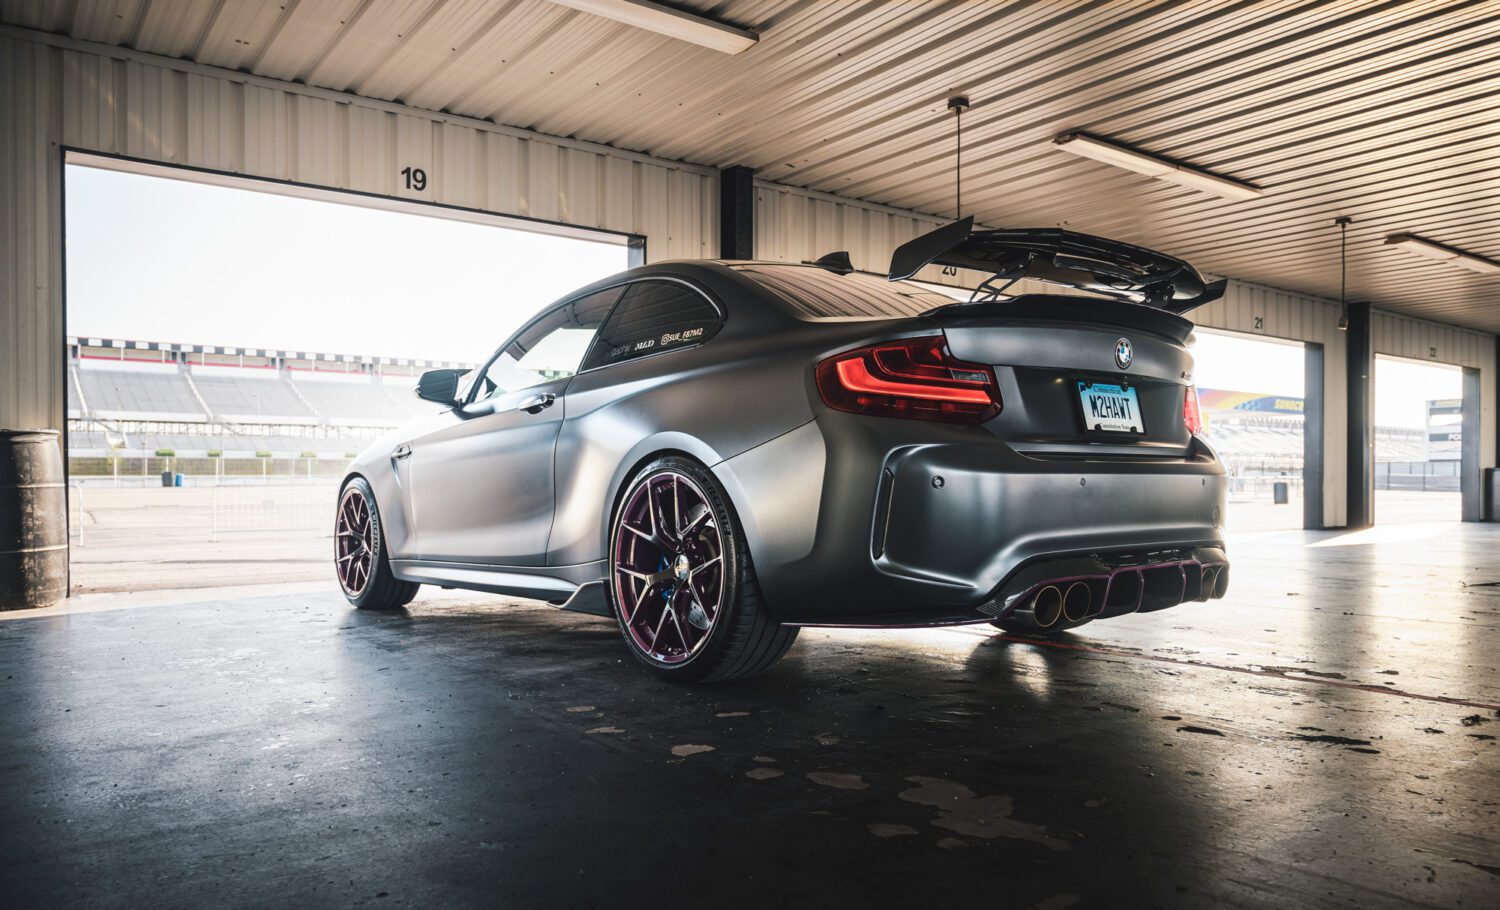
We always focus on the outside world because that’s what we have access to, but for MPACT 2019, I was able to shoot on the closed track for a few hours with Sue and her amazing BMW M2 during magic hour.
Planning for a shoot with this BMW M2
A shoot like this requires careful planning and creative vision. We had three things working against us:
- Time, as in the sun going down.
- Time again, as in how long we could be out on the track and in the pits unhindered.
- Lighting. There would be no scouting beforehand, though I had been to Pocono both as a spectator and racer before.
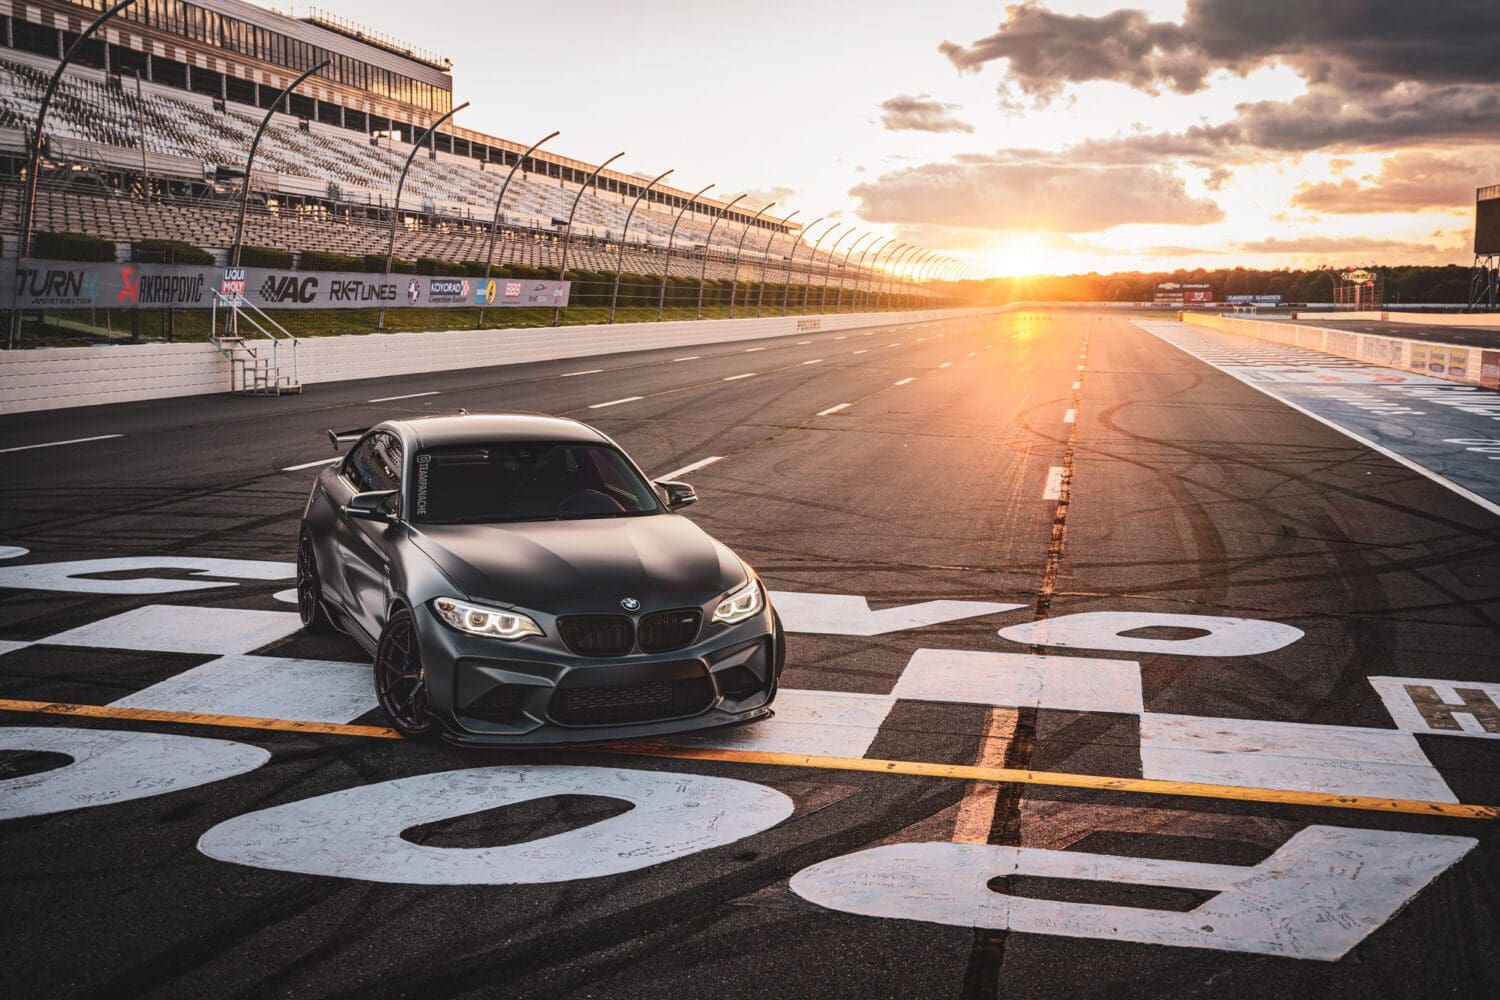
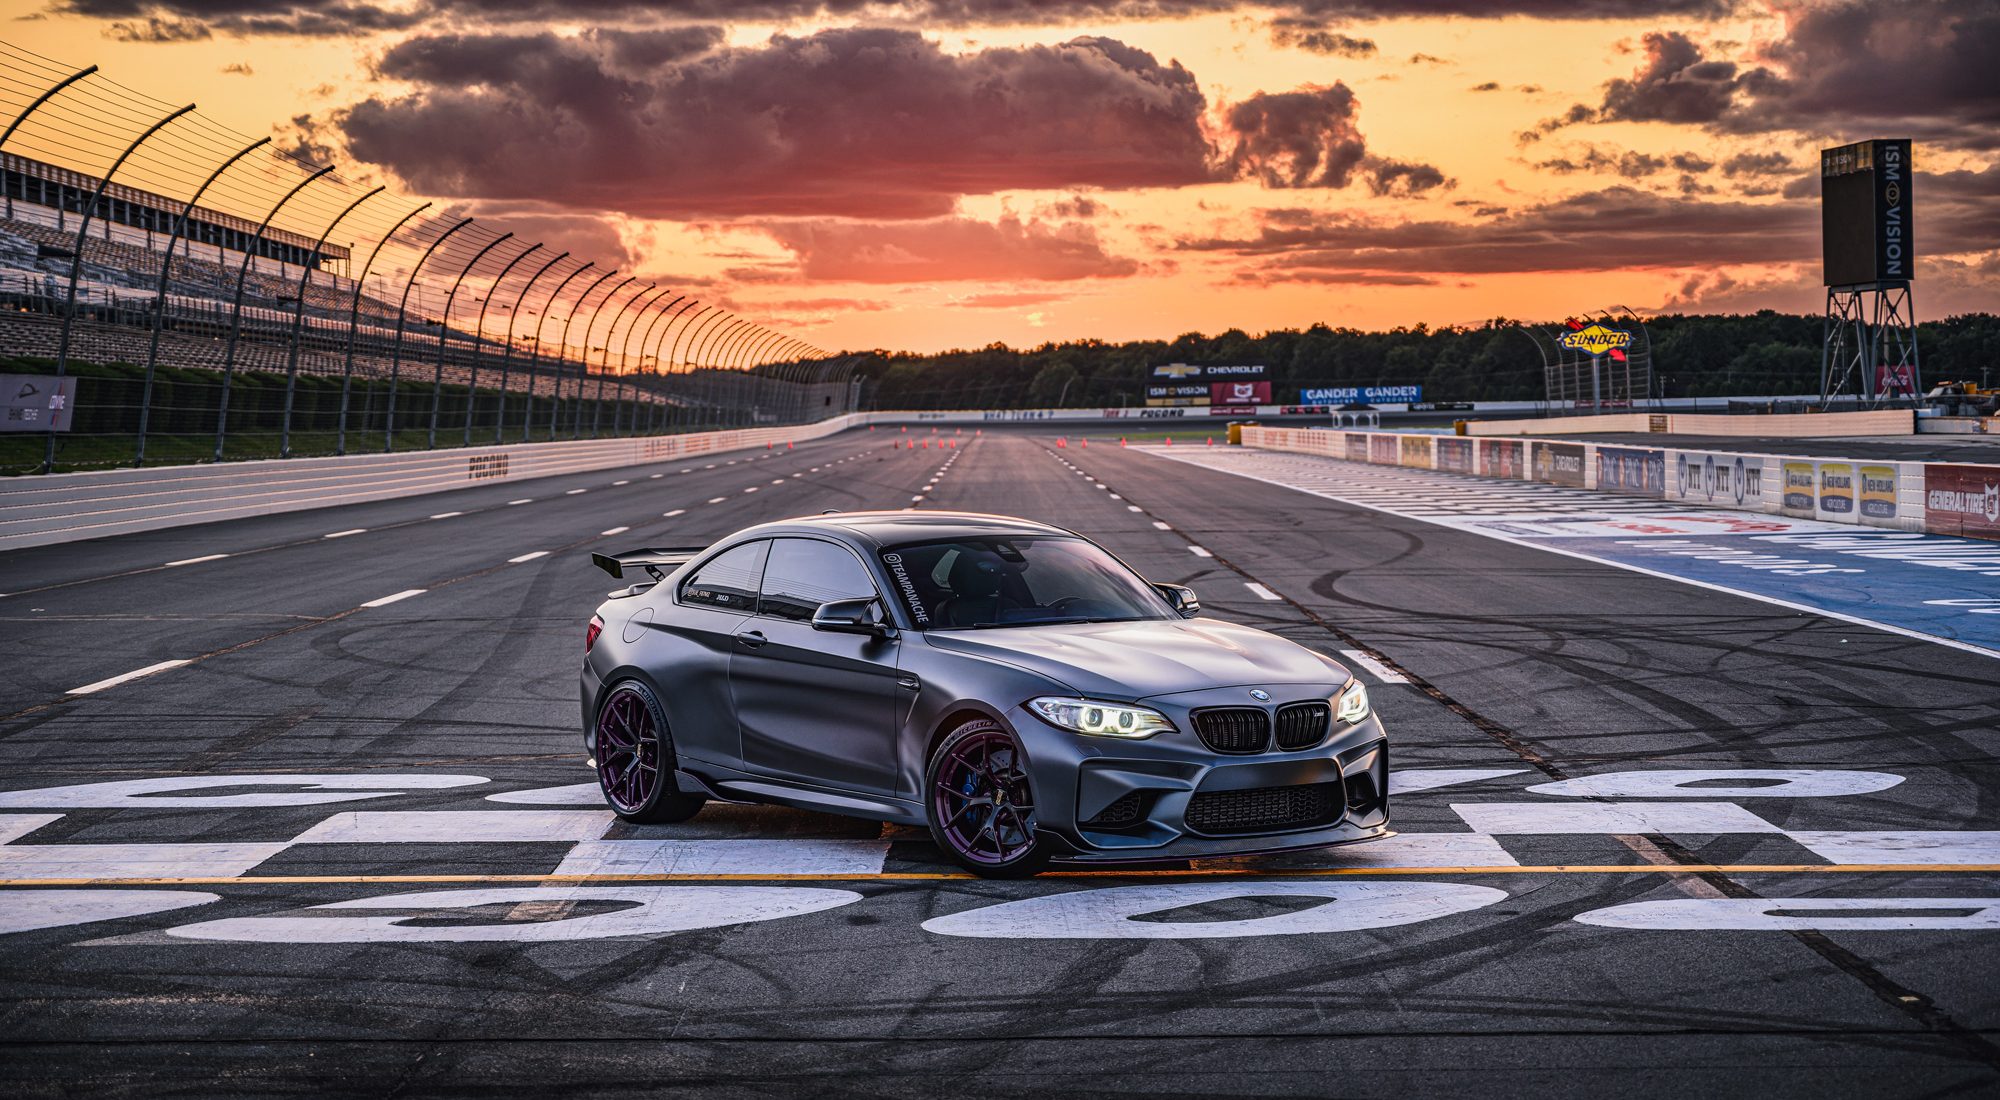
Luckily, I knew the angle I wanted from watching years of Top Gear and reading Car & Driver; the car parked on the finish line, wheel turned in, perfectly symmetrical with the walls. Looking at BMWUSA.com showed that the M4 series they shot had a similar theme to what I wanted, and I used that for inspiration.
Equipment
I brought everything, and ended up using nothing aside from the camera and a tripod. You can use a light, or strobe, to light the car, but as the sun was changing position fast, I did not want to waste time setting one up. To compensate for fading light, just hold the shutter open longer. No doubt you’ll over expose the sky when you do this, so shoot another plate for the sky on a shorter exposure, and if using a polarizer on your lens, shoot a third plate so you have clean reflections.
Angle
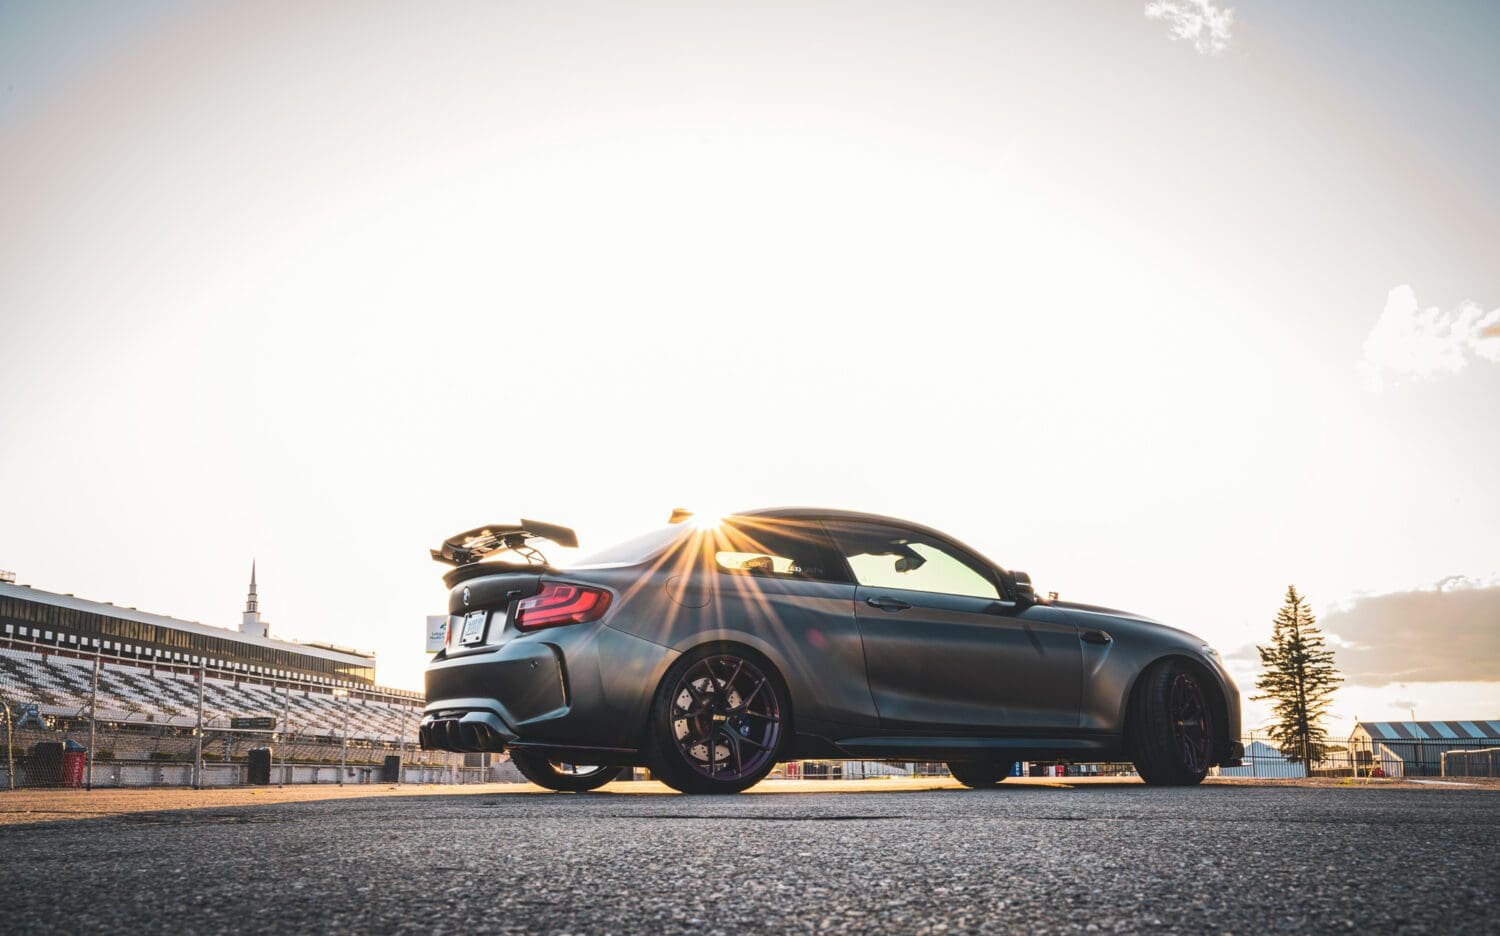
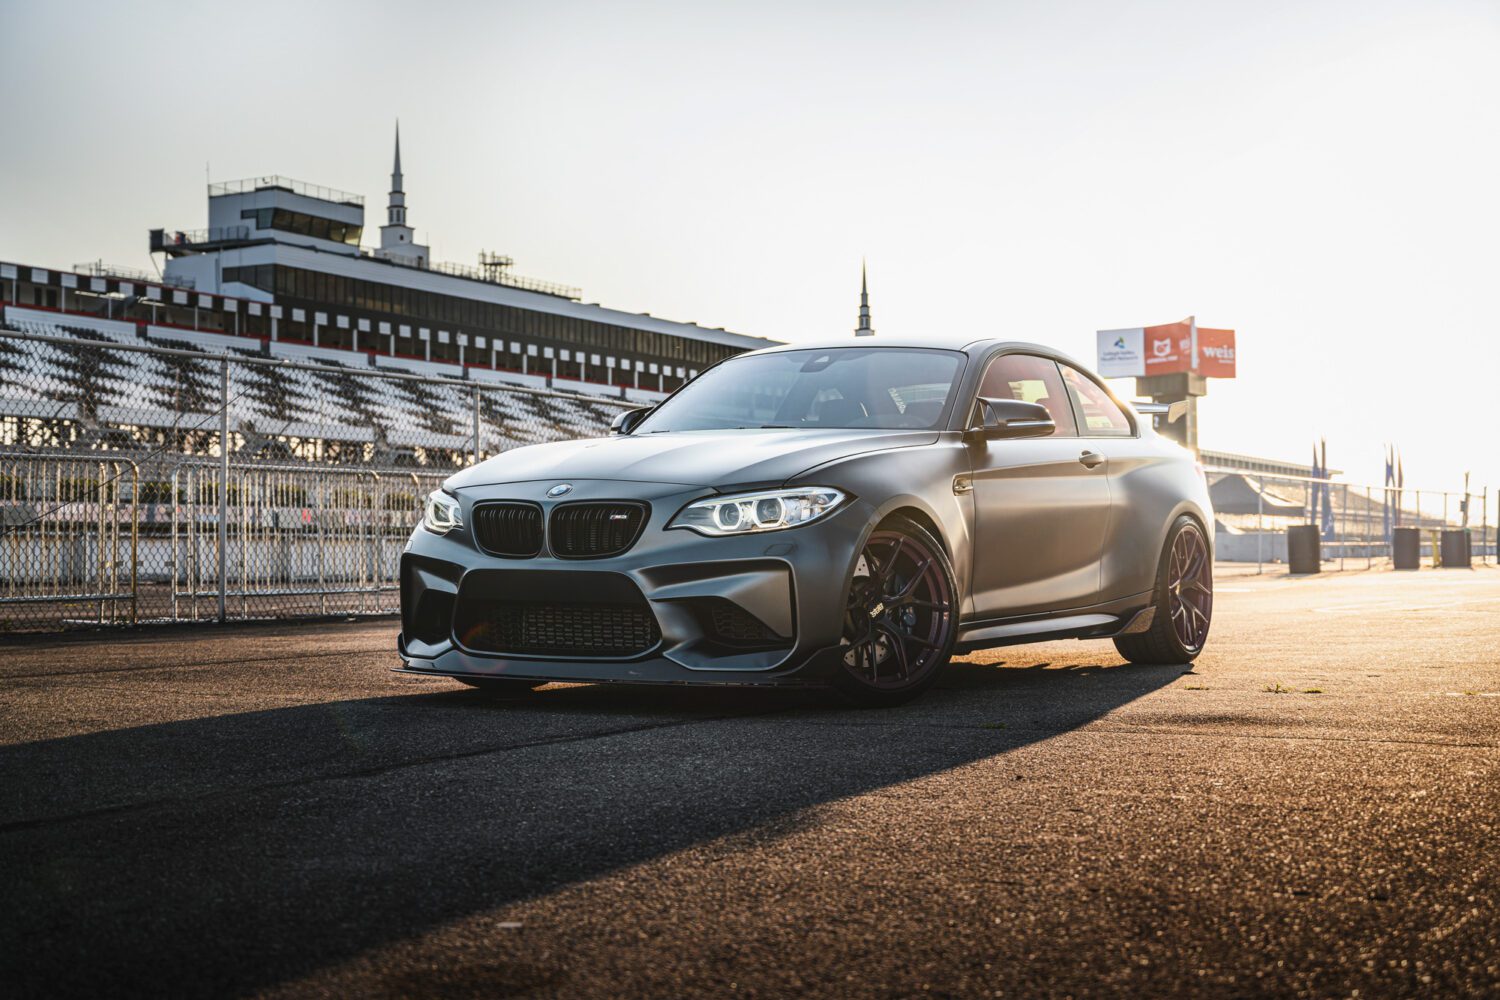
I have many angles of the car on the line as you’ll see below, but I always knew my favorite would be a wider angle. The the car should be living in its environment, and cropping in close can ruin the effect the track will have. I got low for some, and held the camera high for others. What execution is most successful depends on you, dear reader.
Execution
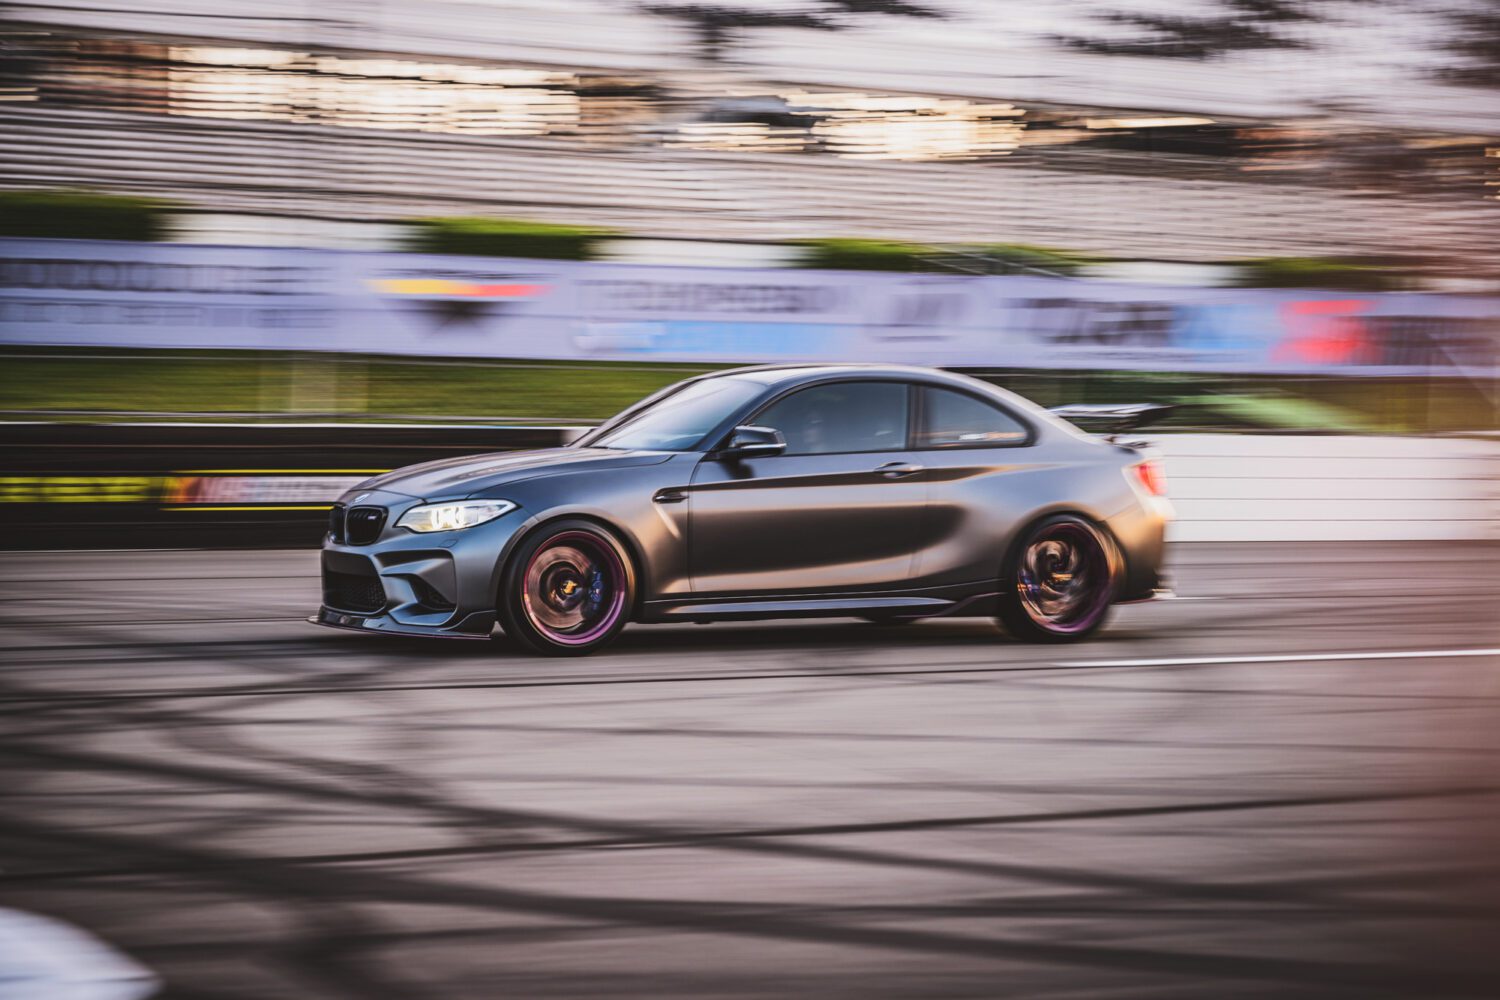
After shooting the M2 in the pits and around the track, the sun had started to descend pretty low, and when we got the OK, I had Sue move her car onto the track.I was able to take both static and panning shots as she drove slowly down the finish line. This entire portion of the shoot took about 45 minutes, until there was no usable light left and the sun had set.
The big shot of the BMW M2
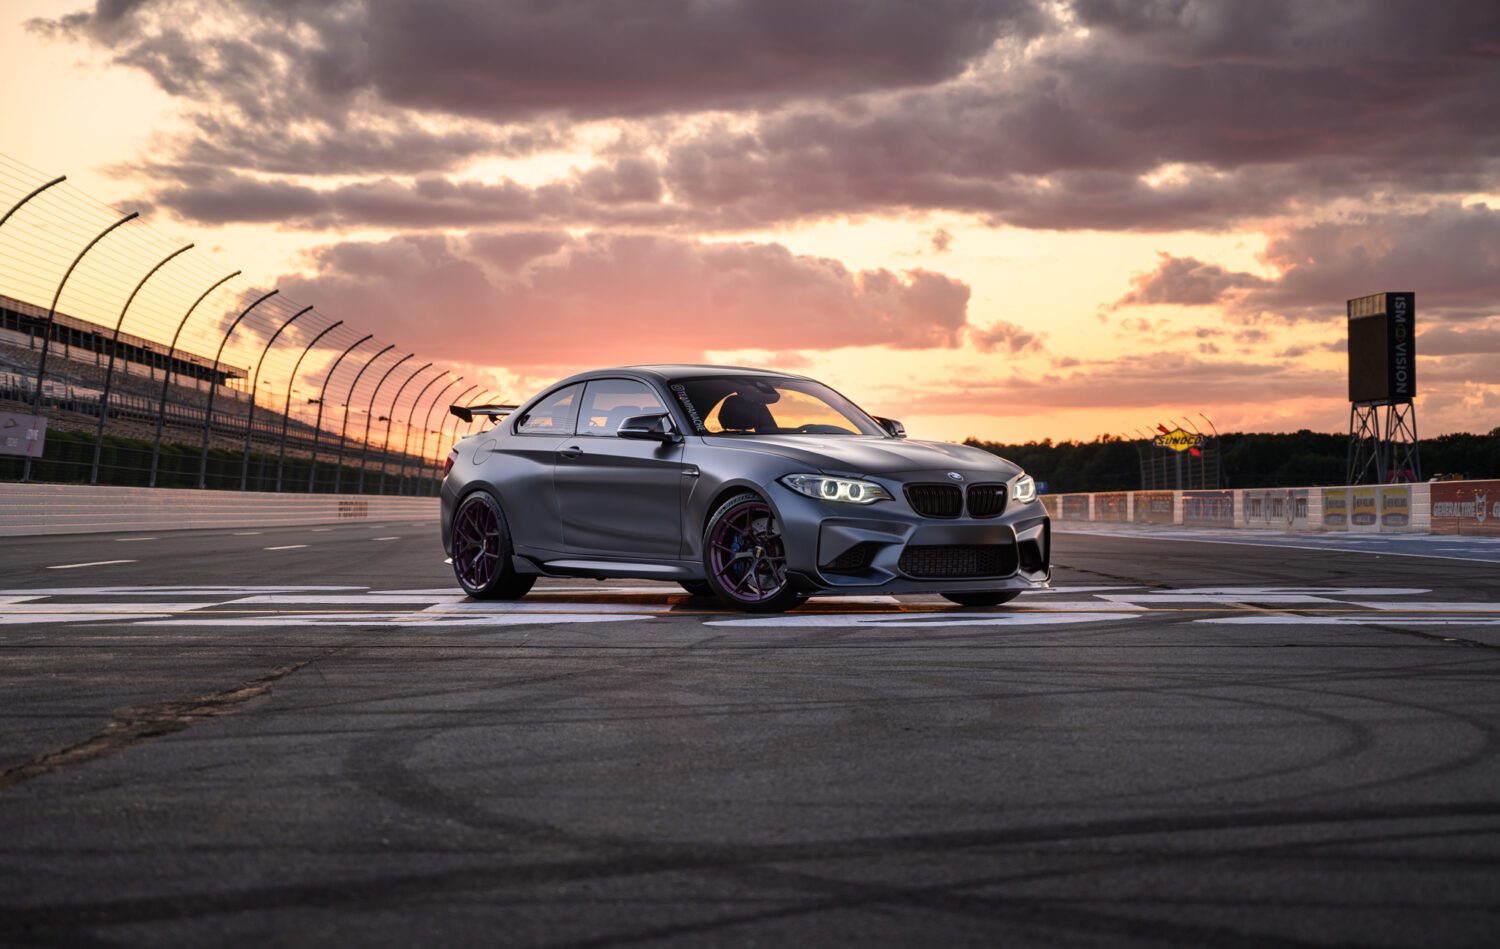
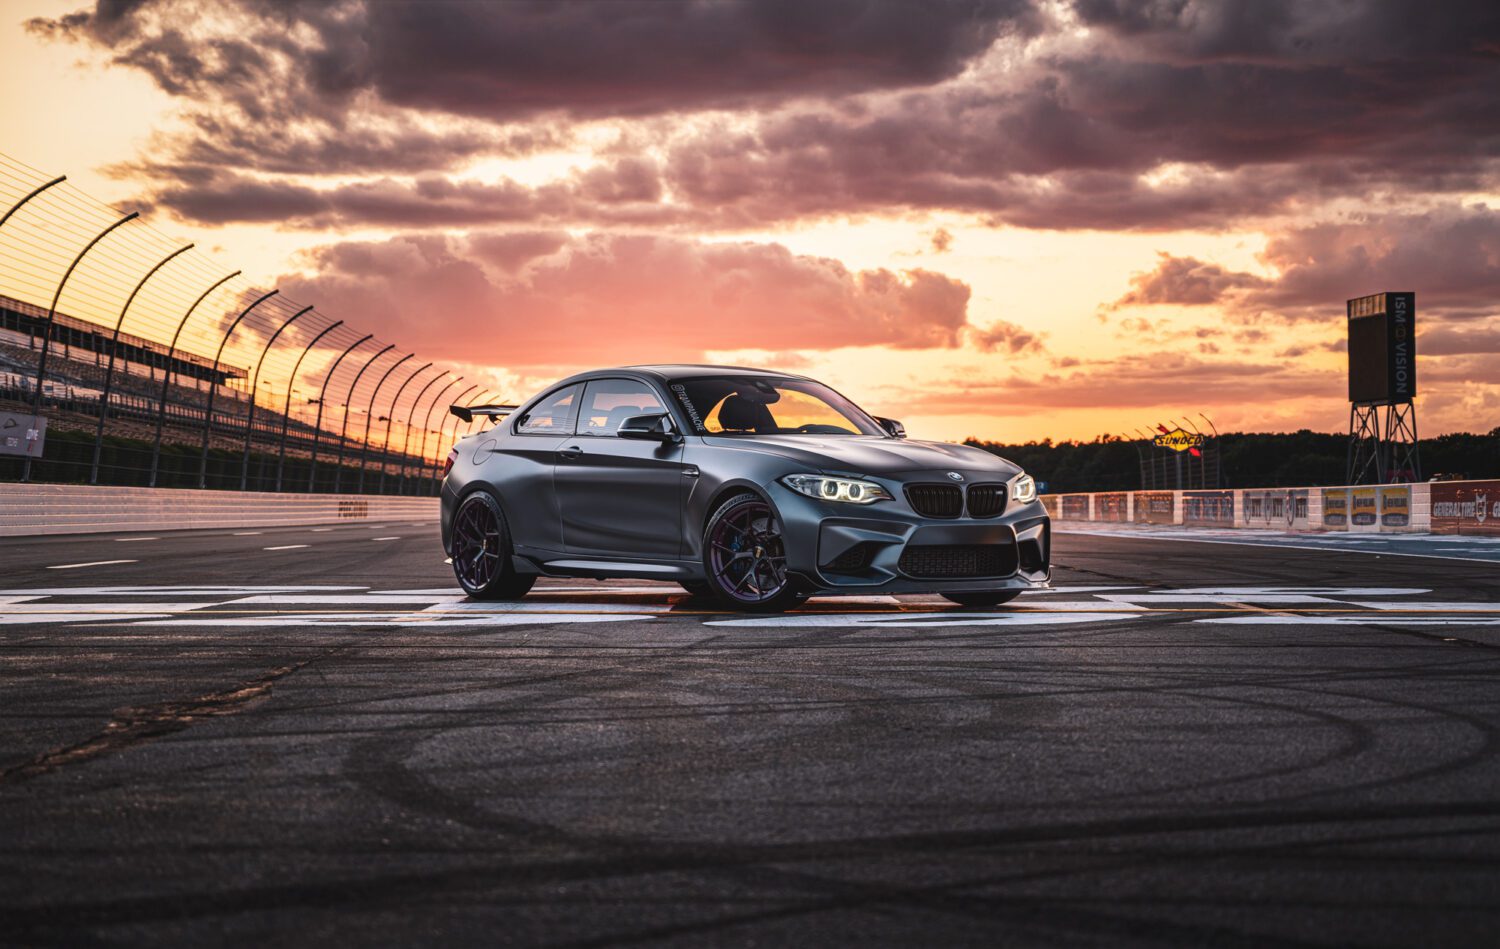
I had to wait until AFTER the sun had set before attempting the big shot I had in my mind. Setting set the camera on the tripod as it’s lowest height, I had Sue angle the car across the line, turning her wheel in (I’m OCD about this, and the shot won’t look complete without that turn in.) I also made sure that the car was positioned in the center of the track so that the walls would give a nice sense of perspective. There is literally a 5 minute window to make a shot like this happen with the sun setting fast, and there were no do-overs.
Sometimes it takes a bit of imagination to see what the final shot will look like in your mind after editing. This was not one of those times, and what you see is pretty much what I saw with my naked eye. Camera settings for the base exposure:
- Aperture: f/4
- Exposure: 1/8s
- ISO: 64
- Focal length: 64mm
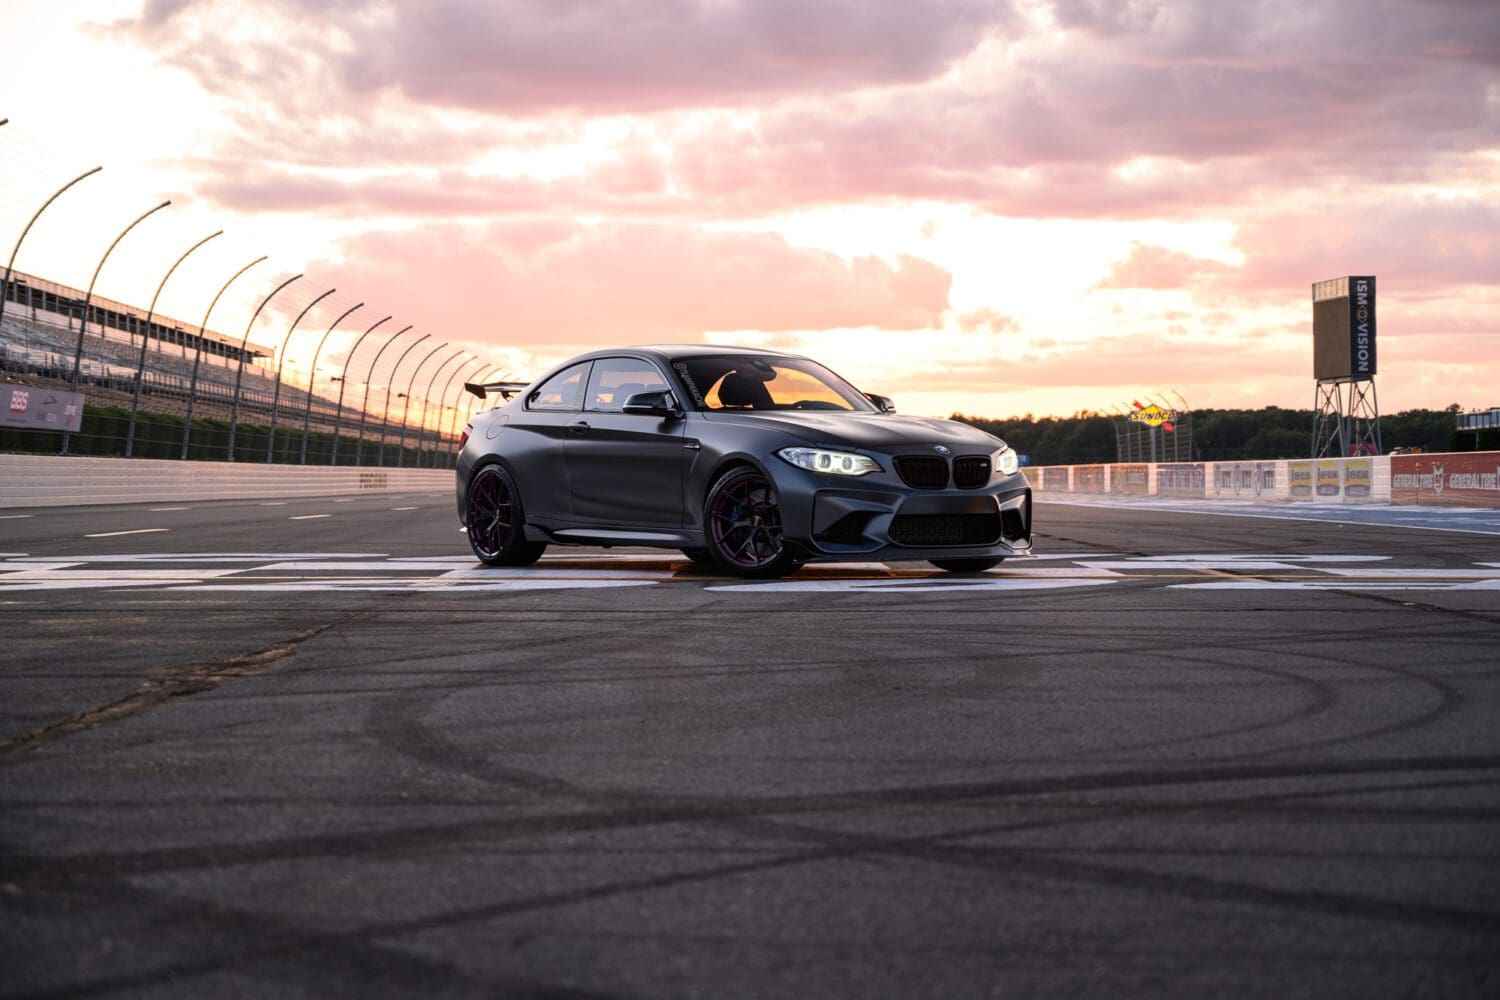
Exposures
We’ll take 3 shots to bracket the sky and reduce the car reflections by turning polarizer. You can use the same settings for the second polarized shot. The sky exposure:
- Aperture: f/4
- Exposure: 1/25s
- ISO: 64
- Focal length: 64mm
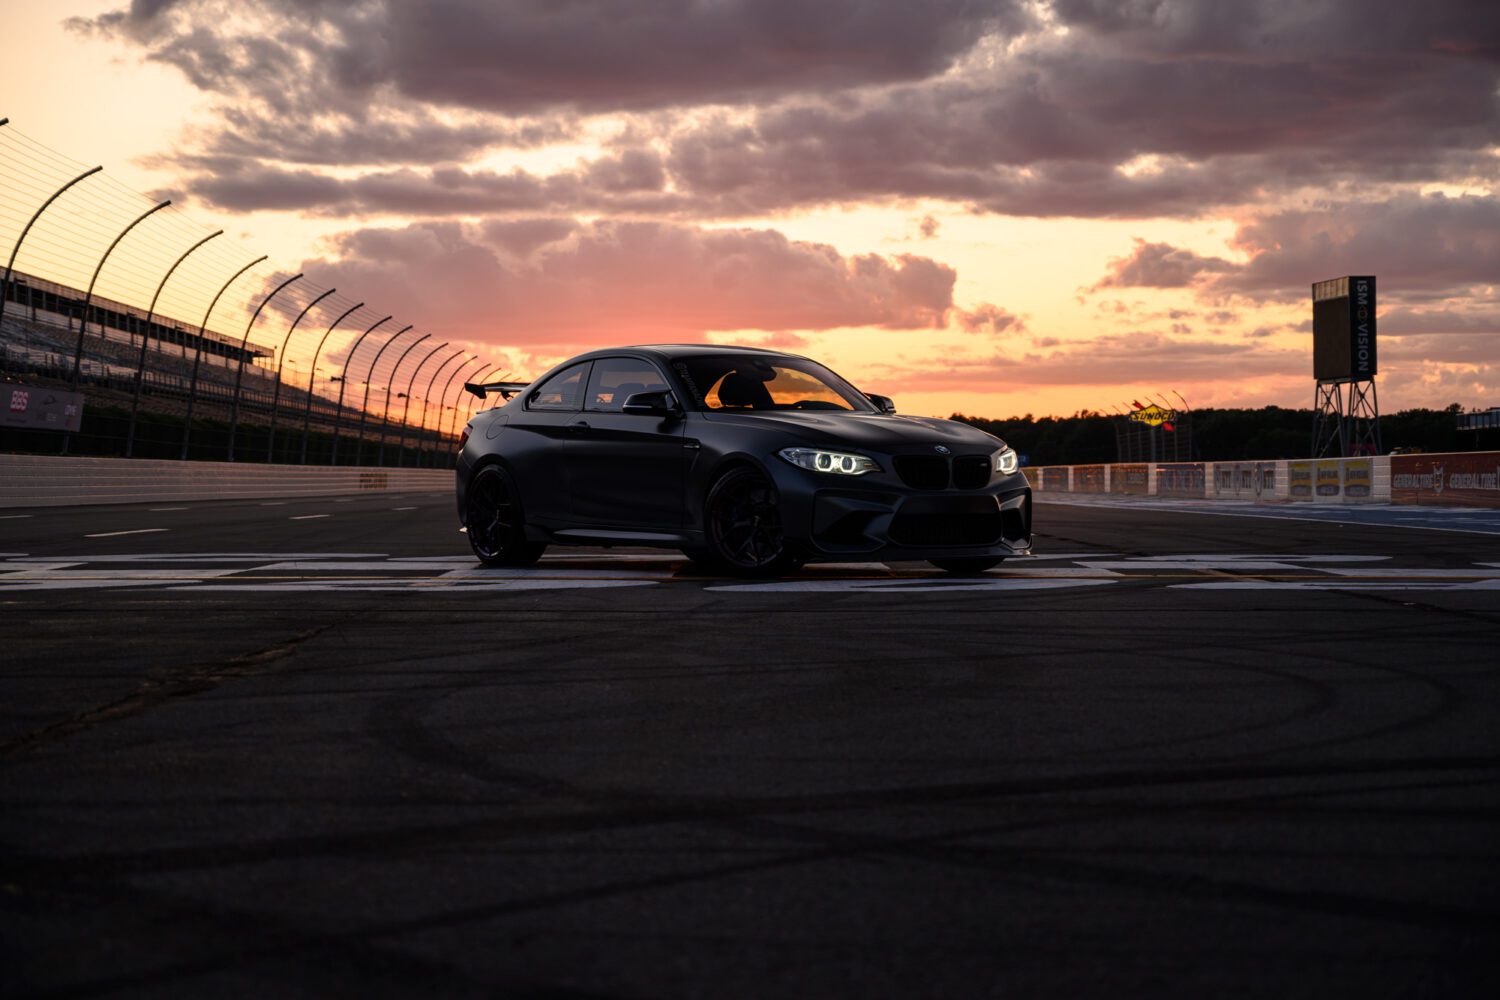
I then kept the same position, but raised the tripod up as tall as it would go to give a bit of a bird’s eye view. The same camera settings were used for all 3 shots. The RAW image is below, and the final composite is at the top of this article.
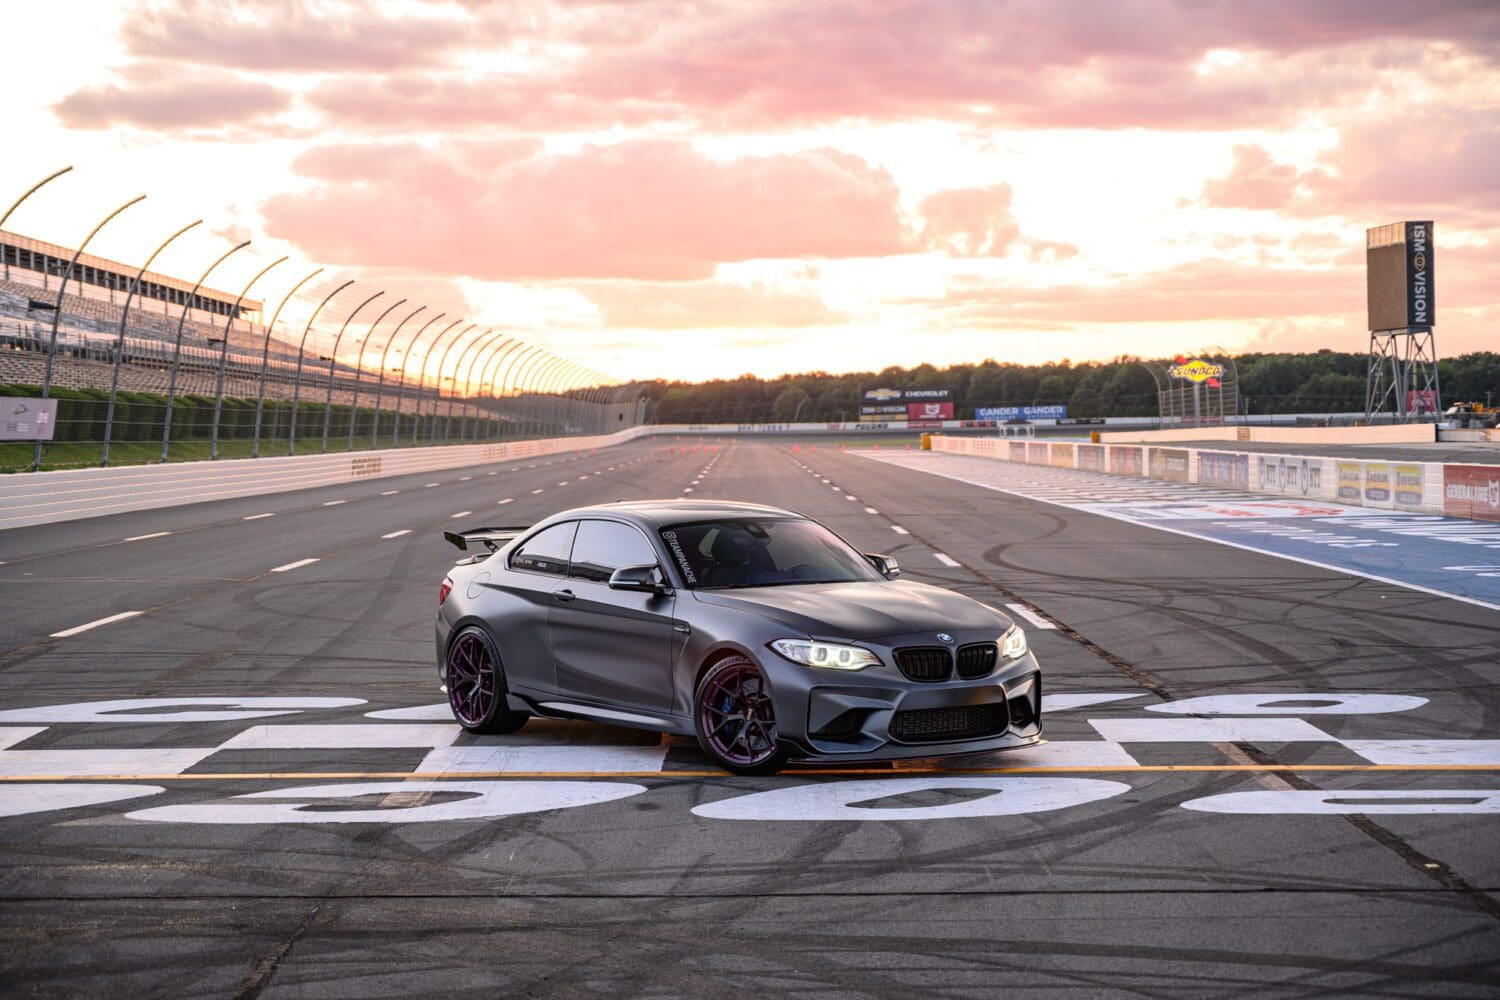
When conditions are right, there isn’t much editing work needed.
Editing
Just like the Maserati AMMO video, we’ll combine our exposures and make one image in Photoshop. Open all 3 shots in Camera Raw, sync your settings, and choose the following:
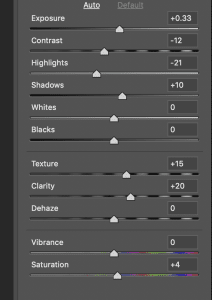
Then, open them as smart objects, and drag your images into one canvas, giving you a file with 3 layers. Add a layer mask to the sky image, and press COMMAND + DELETE to fill it all in, letting you see the layer underneath. Then, using your soft brush, paint back in the sky and darkened foreground with the mask. The result:
The final shot is below after retouching (very minor retouching). One thing I did do was bring out a bit of glow from the sun setting behind the car. It’s subtle but helps draw your eye to the center on the image, and thus the car itself.
BONUS LEVEL: ND filters
ND, or Neutral Density filters, are filters that go over your lens like a polarizer and help to darken the light coming through. That in turn requires you to adjust how long you need to keep your shutter open. Why would you do this? For some cool effects, like the blur of clouds moving across the sky. Without the filter, there would be no way to capture the movement without totally overexposing the sky. See the example below.
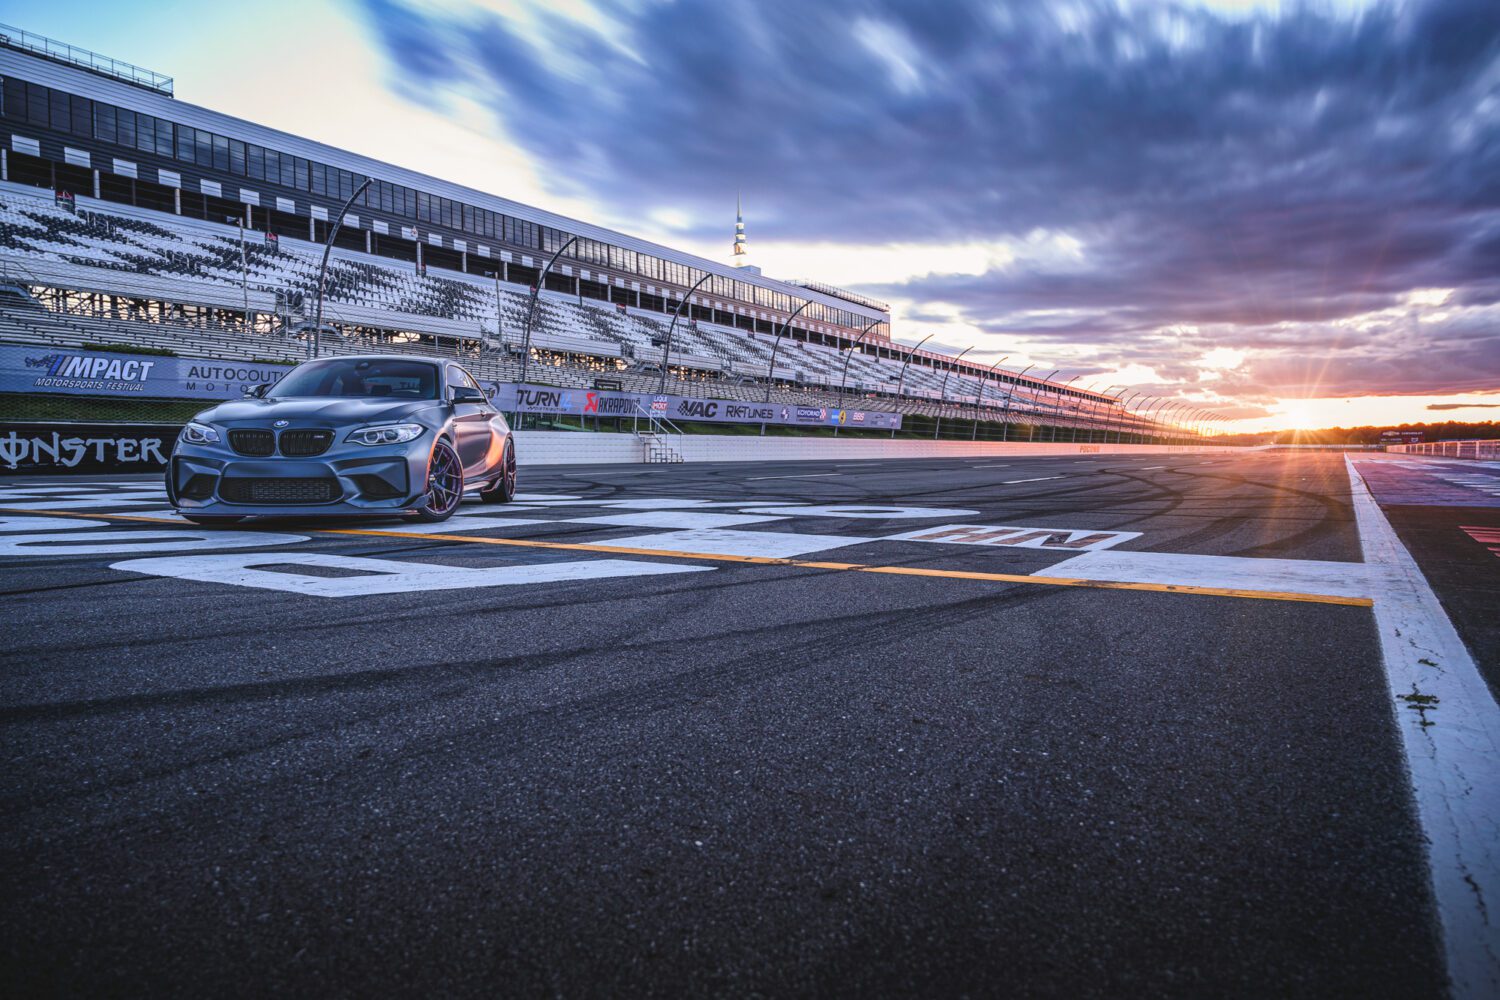
We had about 2 hours to shoot in and around the track in total. Thanks to both Sue and MPACT for coming out and helping me make some memorable art.
Commissions may be received for product links on this site, so help out if you can. I only write about products I use and believe in.
I use Nikon camera bodies and lenses, a Westcott Ice Light 2, Manfrotto tripod, B + W filters and an iMac Pro to make the art you see here.
Email me at mike@machineswithsouls.com with any questions.
Follow along on Instagram @machineswithsouls


15 thoughts on “How I shot the BMW M2 at Pocono Raceway”
Comments are closed.