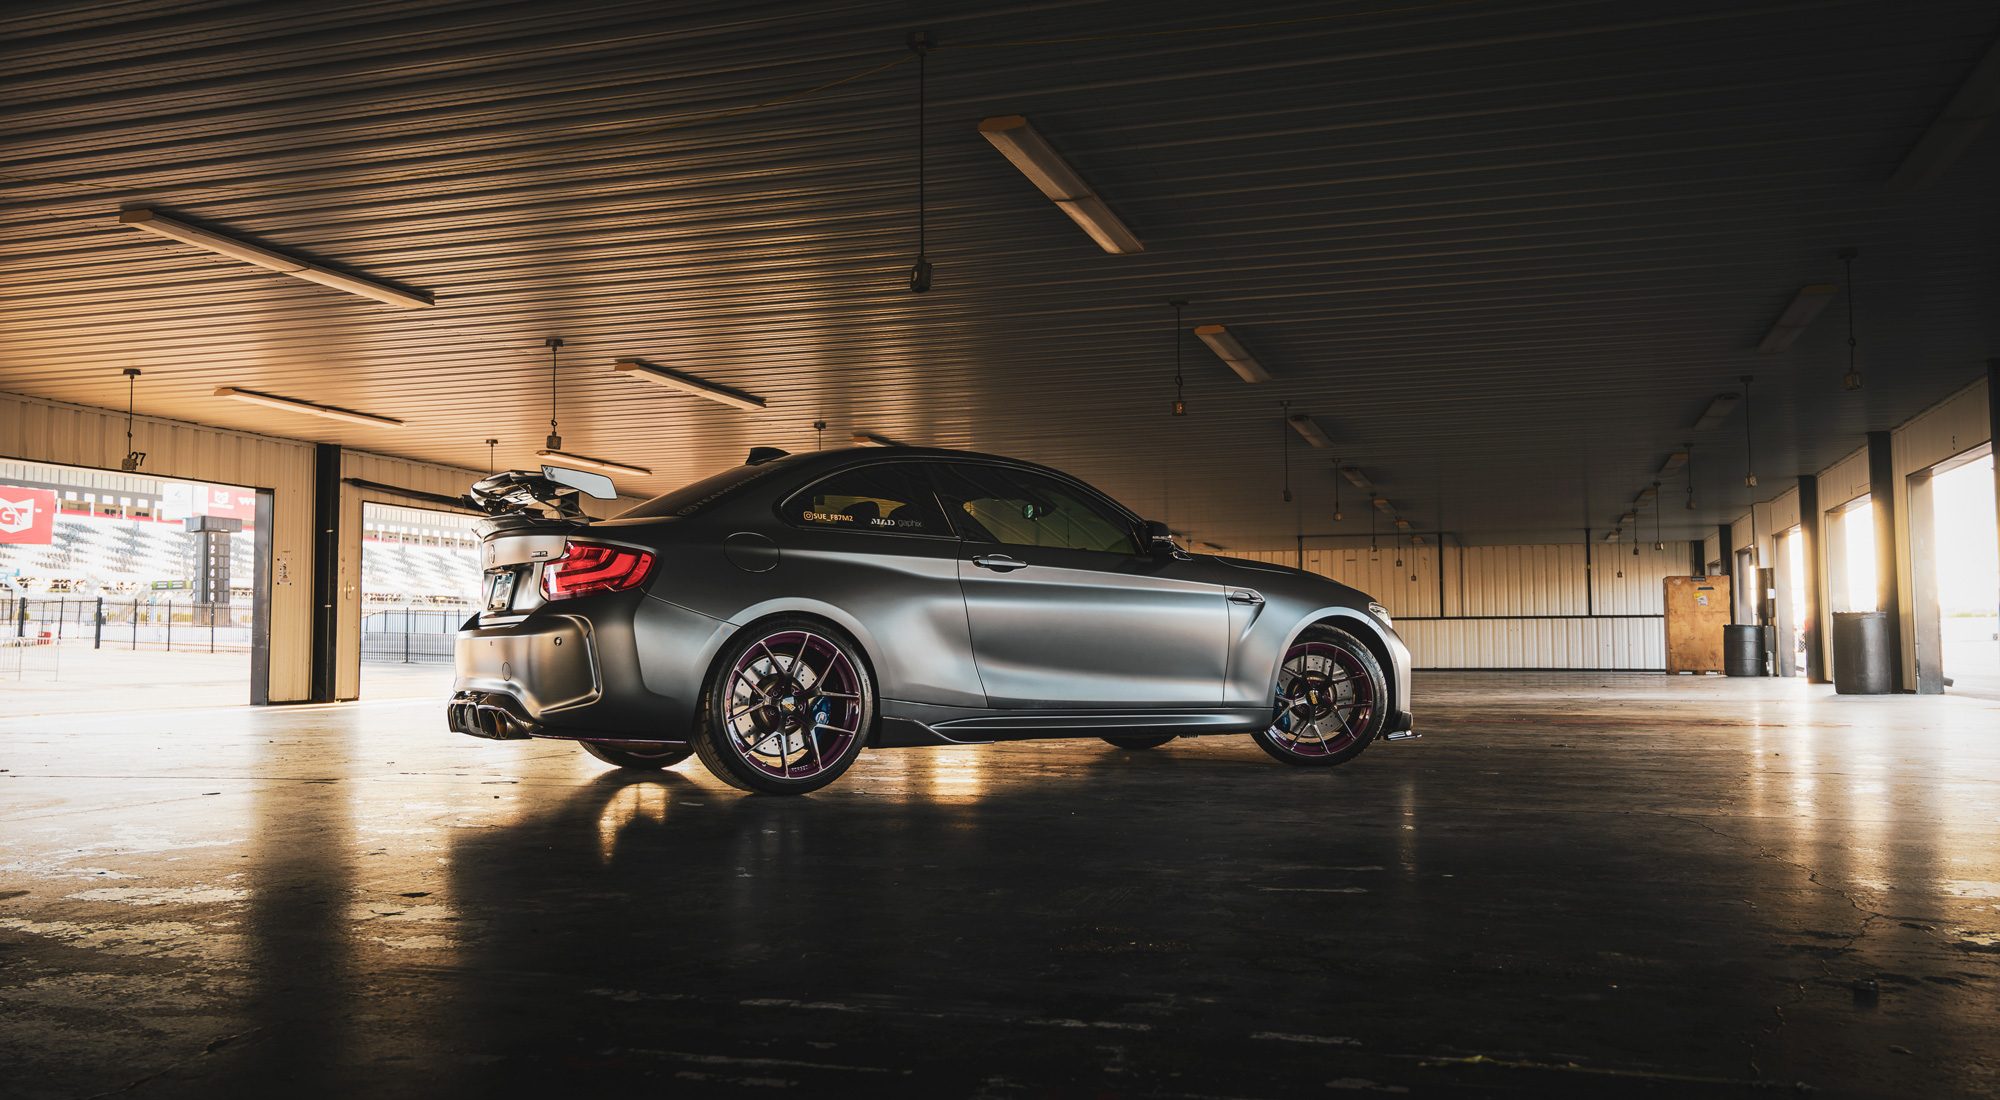
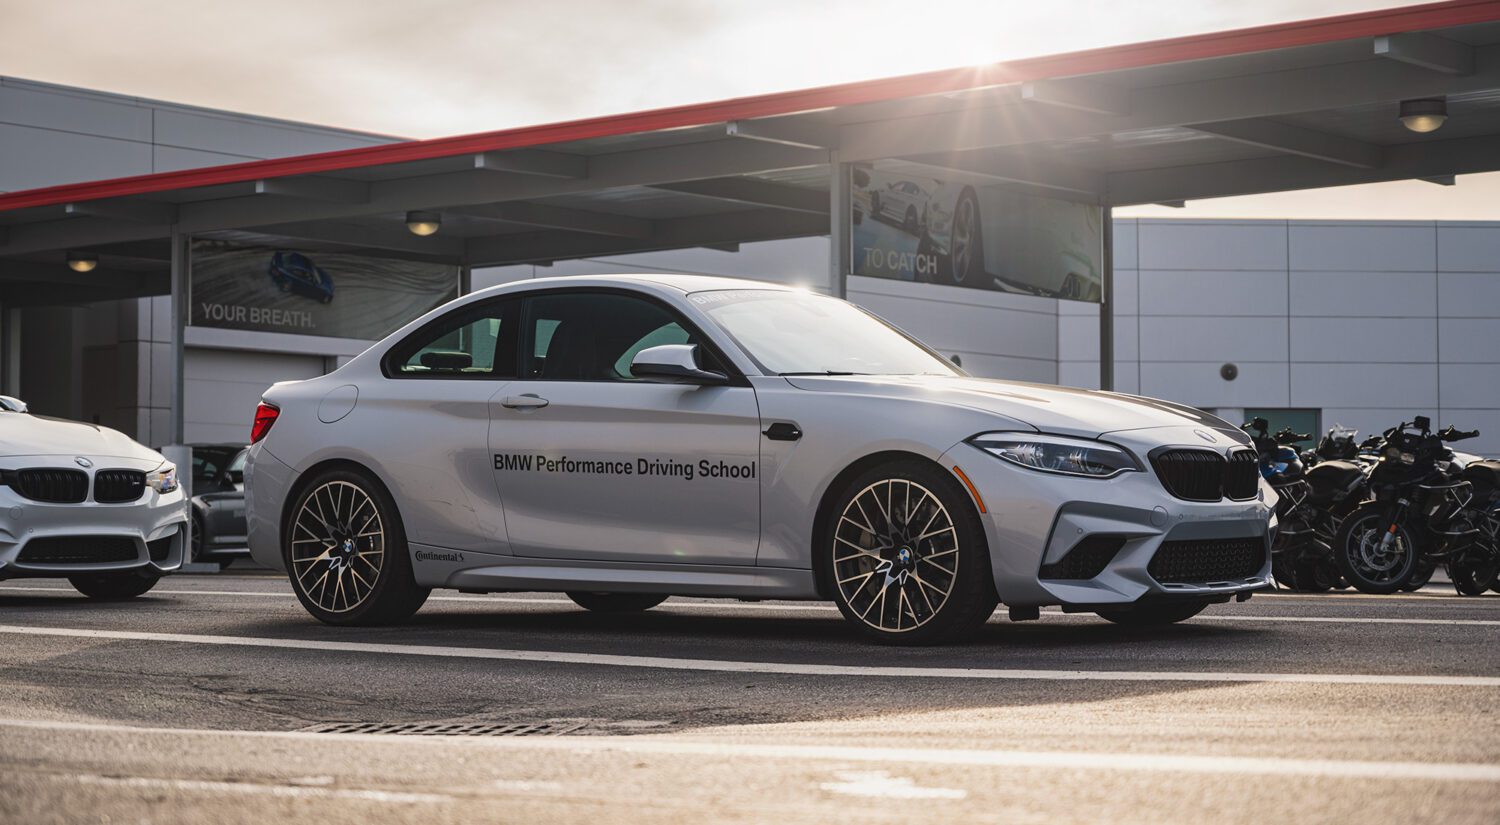

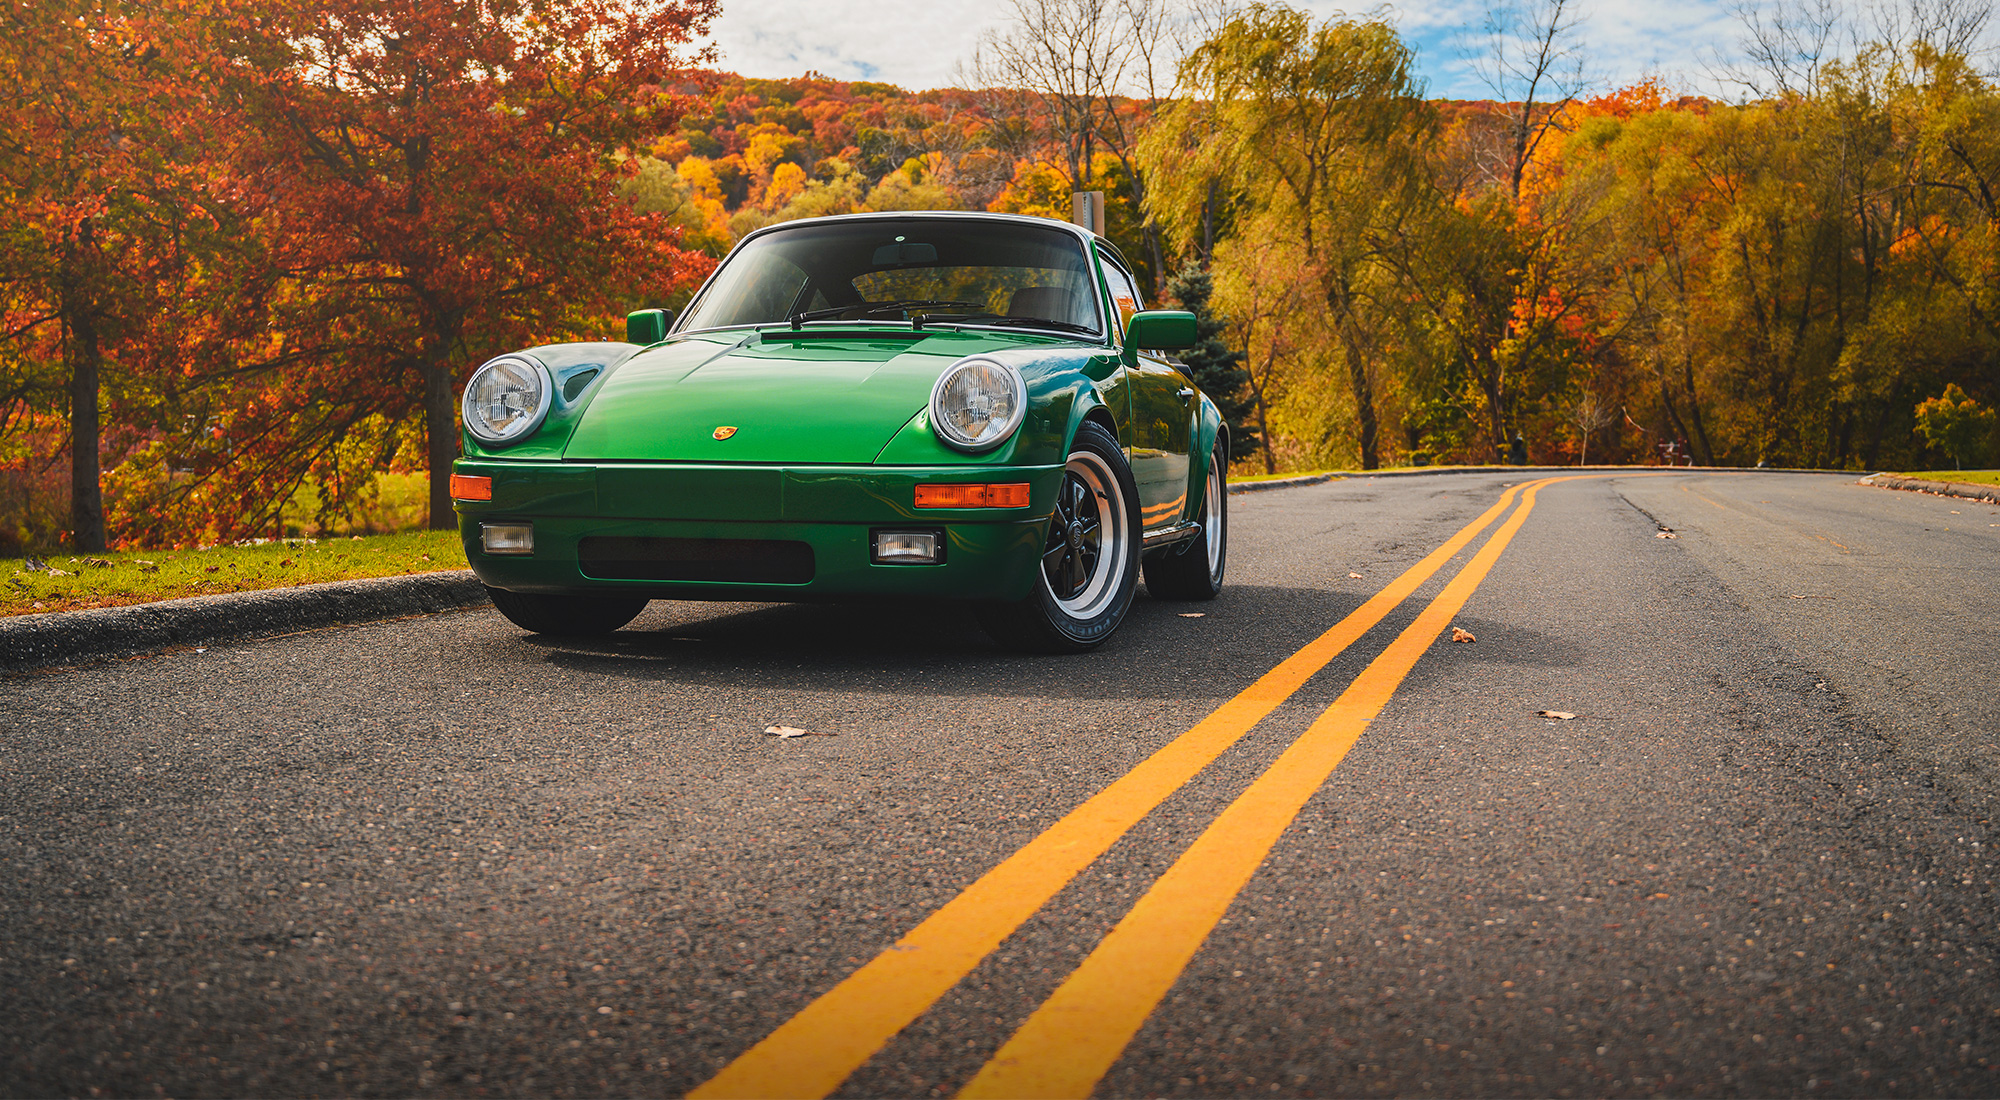
Last week, I went into the sunset sequence on Sue’s beautiful BMW M2 during MPACT 2019, and this week, I’ll cover the garage portion of the shoot. It’s the same principal concept with multiple exposures, but takes more practice because of the differences in light. I’ll go over one of the harder shots to do, and show a few others at the end of the post.
The location
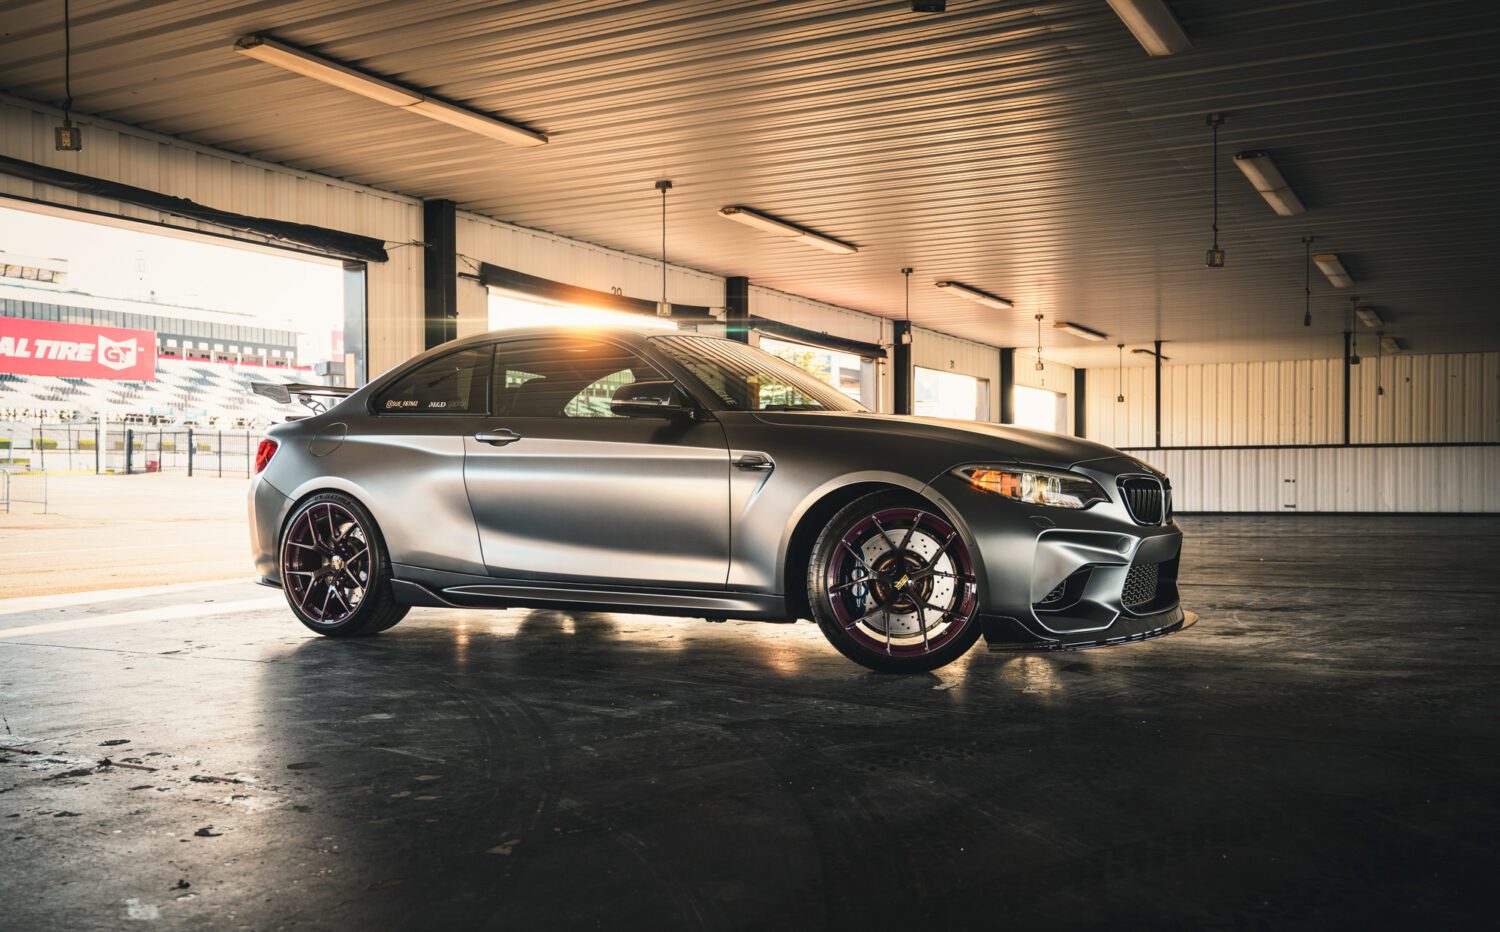
If you’ve never been to Pocono Raceway, the garage encompasses 2 big, long buildings with about 30 garage doors on each side. Everything from NASCA, to Indy, to HPDE events are held here, and these spaces are usually bustling with racing teams trying to put finishing touches on their cars, or repair them. It’s never empty, except for the evening before MPACT. The polished concrete floor would give great reflections, and the darkness of the garage vs the light coming in from outside would give some nice contrast. It was a great spot to shoot!
Setting up the car for multiple exposures
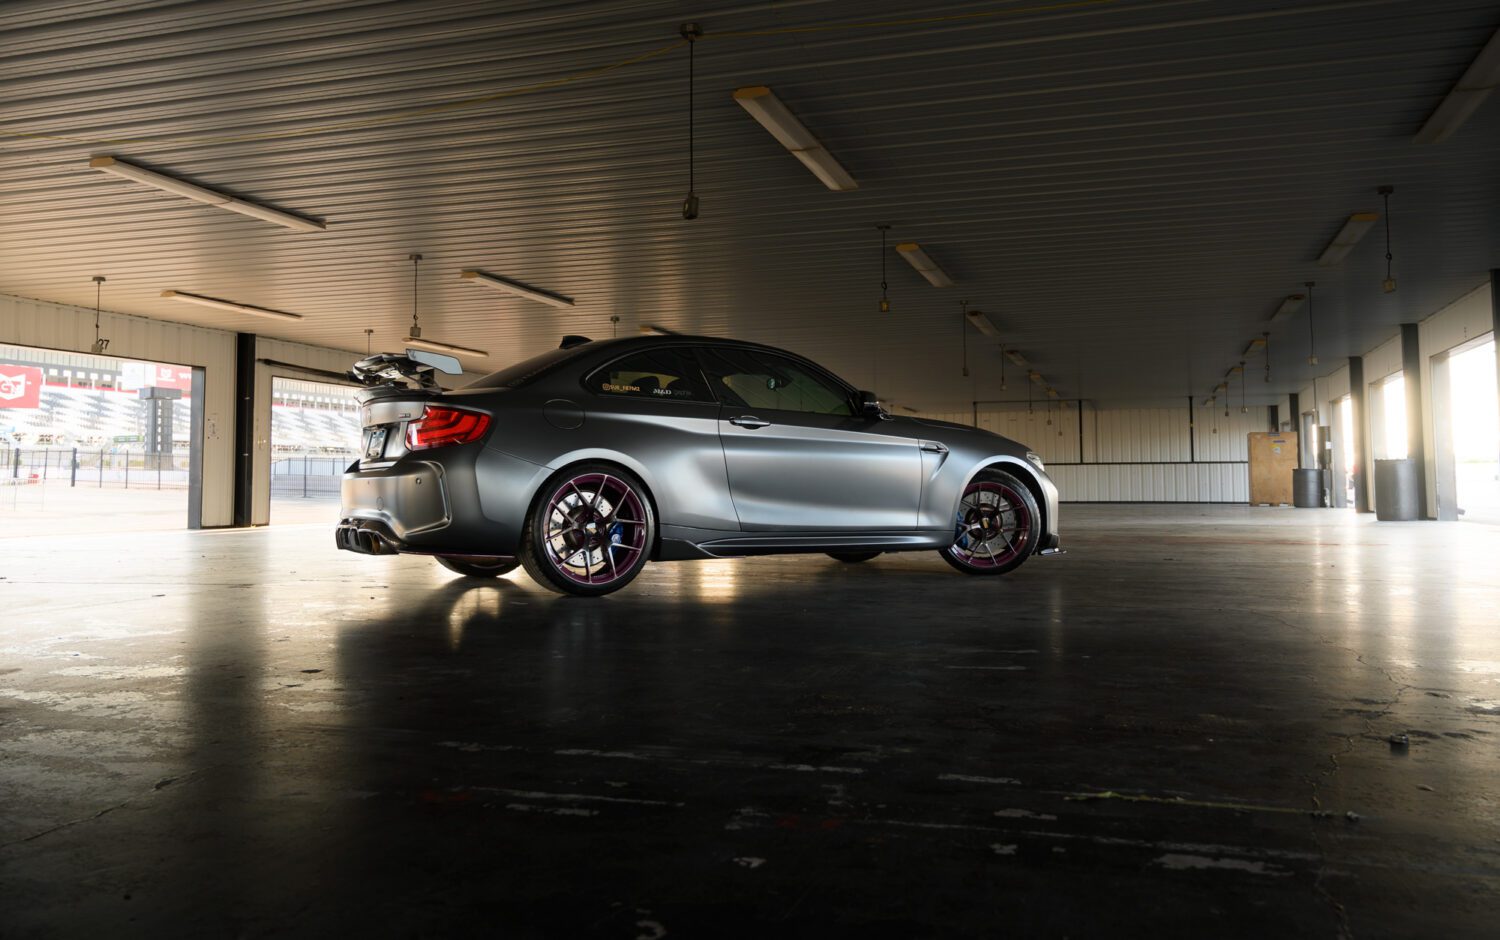
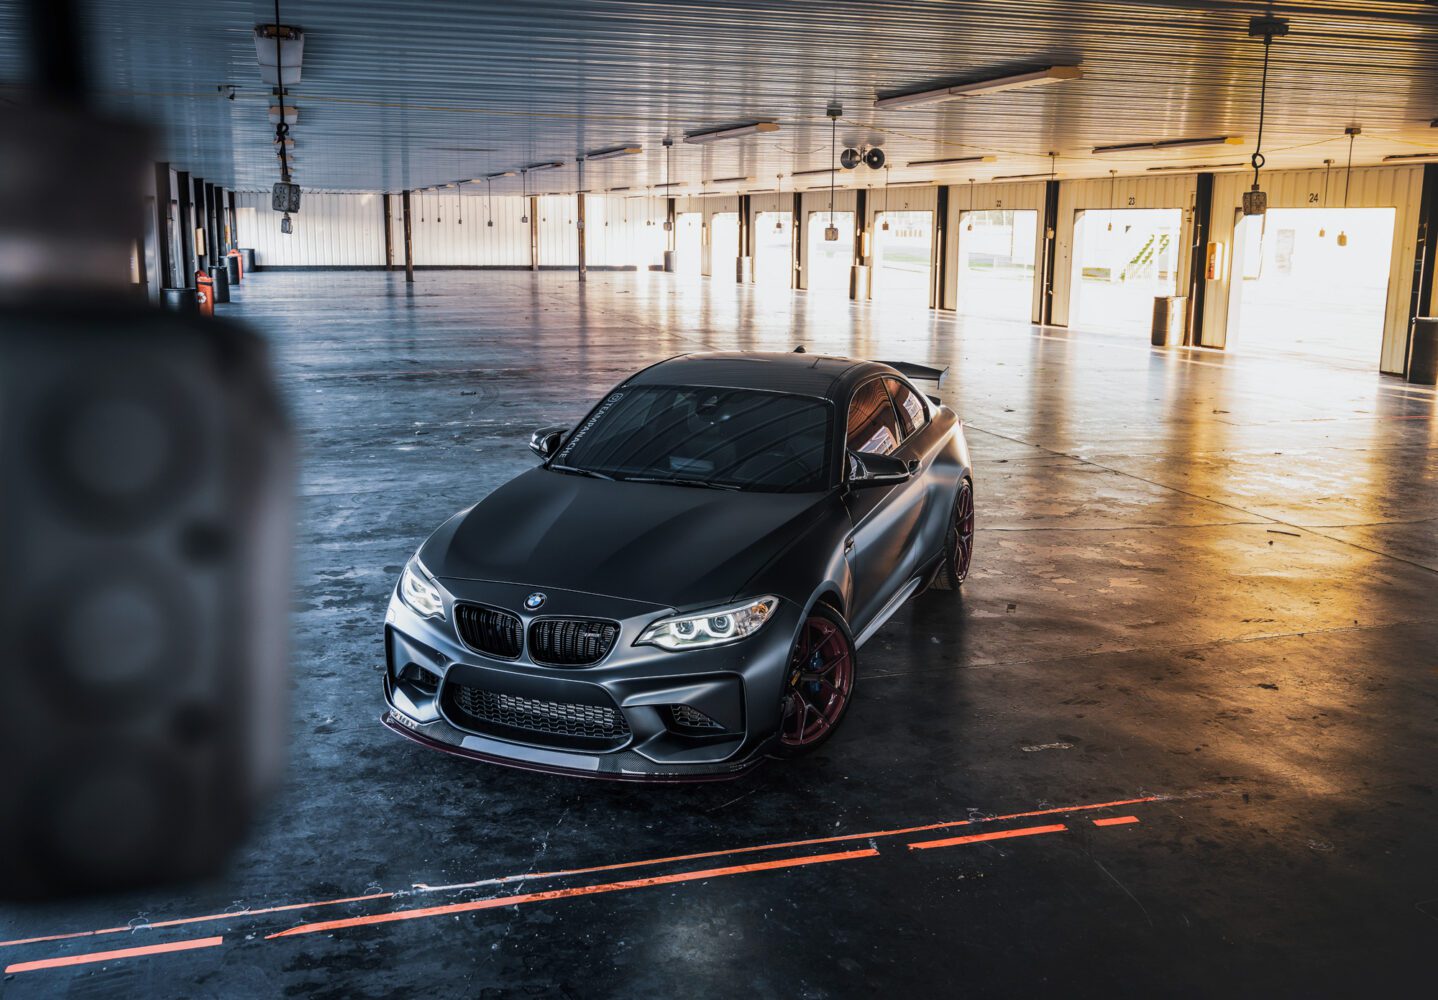
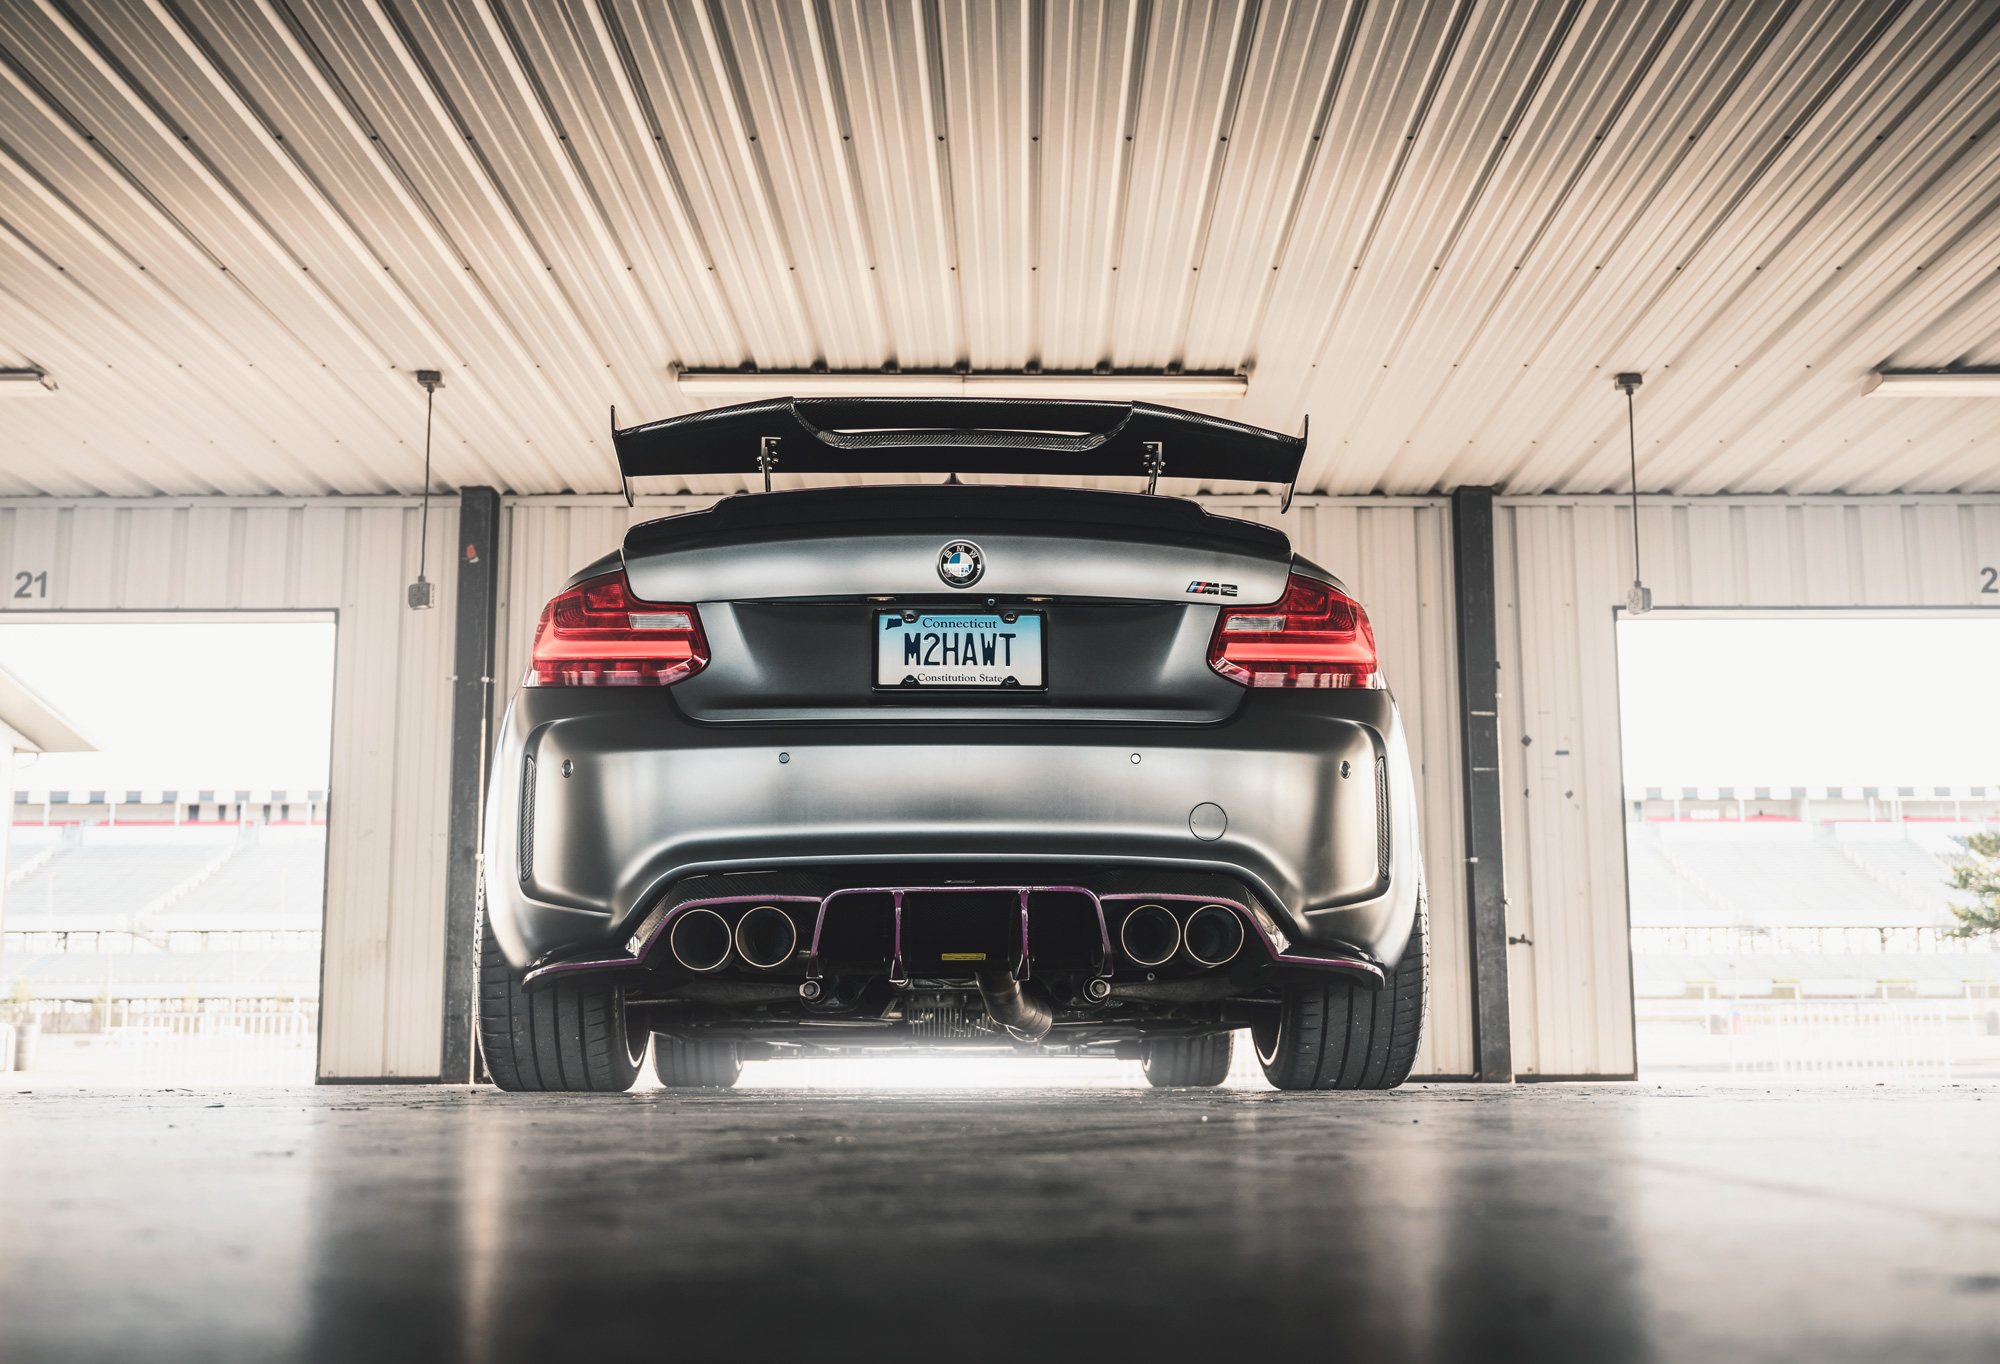
Since we had the time here, I shot multiple angles, which you can see below, but for this one, I wanted to capture the vastness of the garage and the light coming through the doors. I had Sue angle the car as you see, and turn the wheels toward the camera to show off those BBS wheels.
Gear
Simple here. Your camera with lens, a polarizer, and a tripod. We’ll be taking multiple exposures.
The multiple exposures
Start with a nice base plate, or exposure, to work with. Settings:
- Aperture: f/4
- Exposure: 1/5s
- ISO: 64
- Focal length: 27mm
NOTE: It’s important to note that every lens, no matter how good, has something called “barrel distortion” . At certain focal lengths (different for each lens), the image can become somewhat distorted. My Nikon Z7 automatically adjusts in camera for this, and it’s actually really good at it, but if you don’t have that feature and you see a somewhat fish-eye bend, Photoshop can fix this for you in Camera Raw with their lens correction settings. I note this here because it’s usually more prevalent at the wider angle we’re pulled back too.
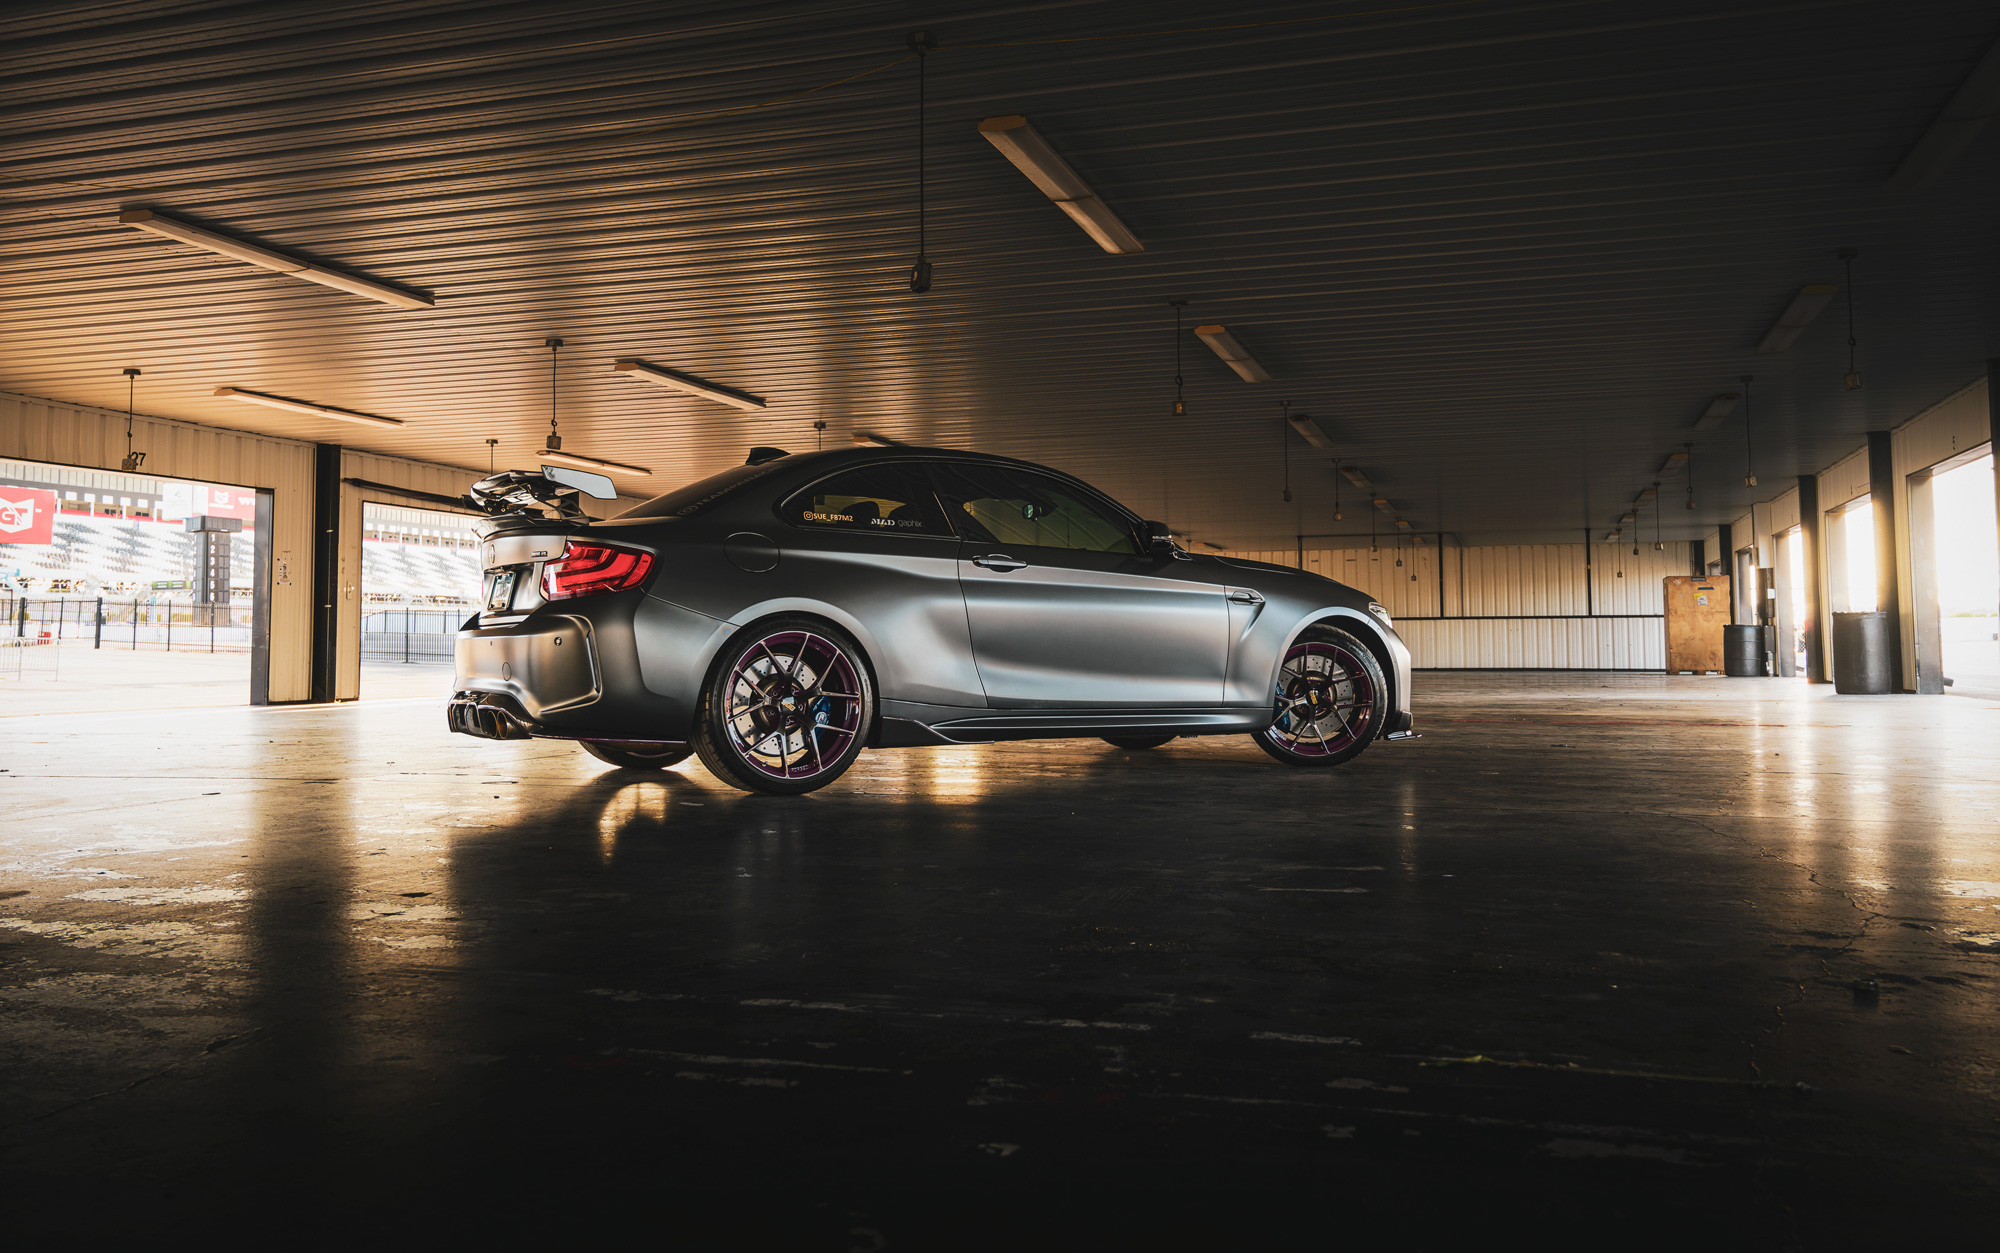
Check the halo effect coming from the doors – shooting at magic hour is key, even indoors. Exposure number 2 should highlight the car itself, so we’ll raise the exposure up to 1/3s, and hit it again while turning the polarizer. The result:
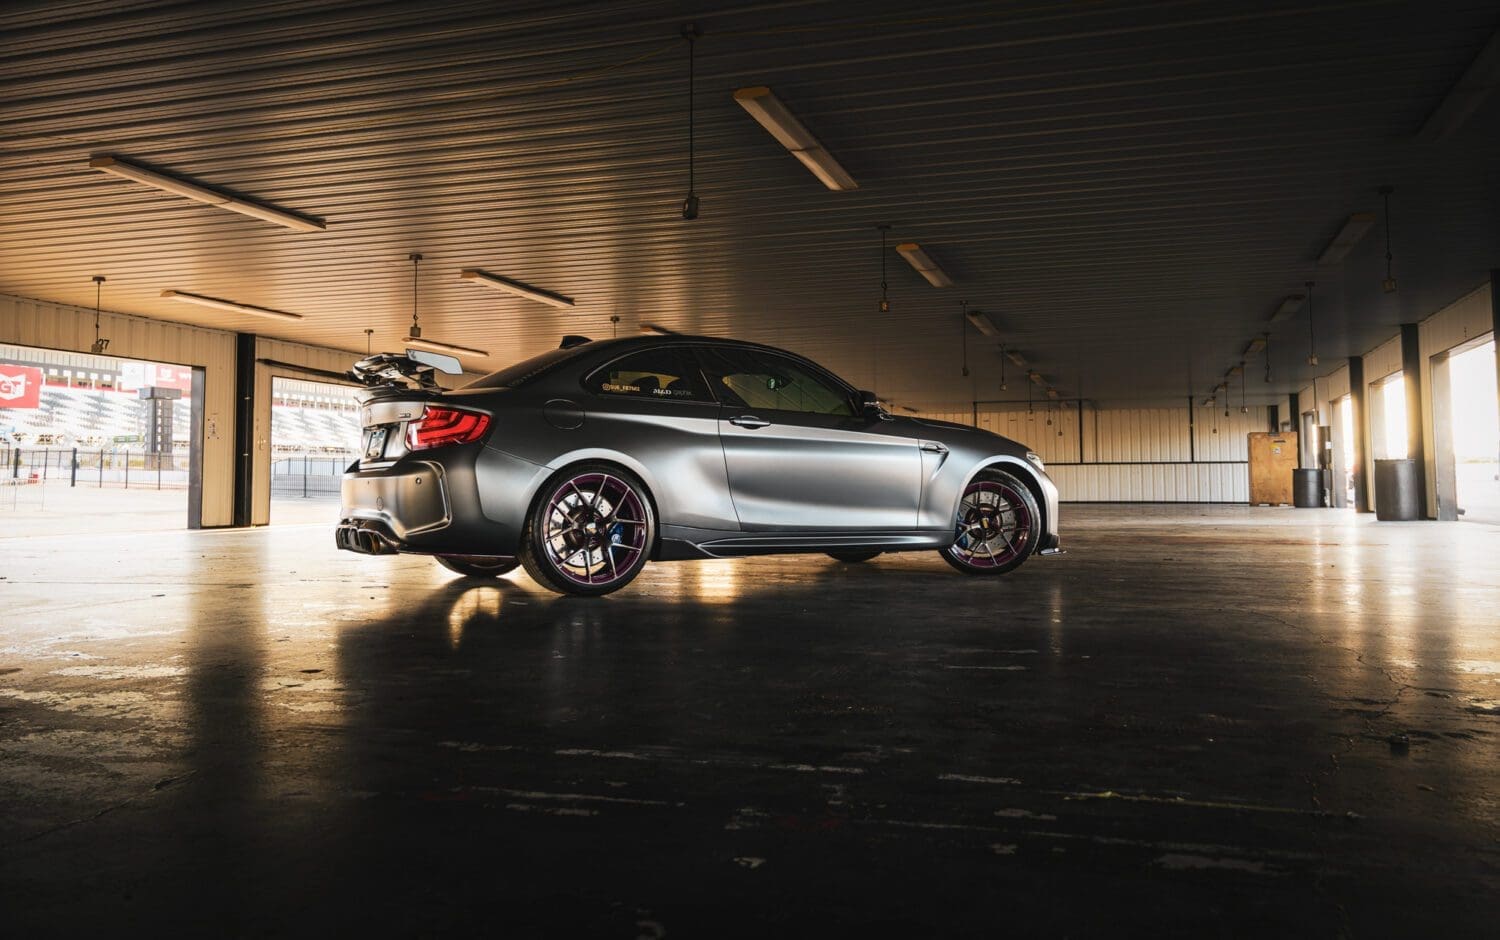
Finally, one more for the outside portion, and some shadow details. Exposure here is 1/20s:
The post experience with multiple exposures
Usually we focus on making the car brighter. Here we also want to emphasize the light from the doors. Open your 3 images in Photoshop (Camera Raw will come later), and then stack them into one canvas with 3 layers. I put my “bright” exposure on the bottom, then my dark, and finally my middle.
Add a mask to your dark layer, then paint away the sections where the garage doors are. This gives the shadow on the ceiling and floor that we want, while emphasizing the light where it naturally should be. Then, bring in your middle layer on top and add another mask to it. Then paint in the well-lit car.
Group and combine your layers into a new flat one, then make it a smart object. Add a Camera Raw filter with these settings:
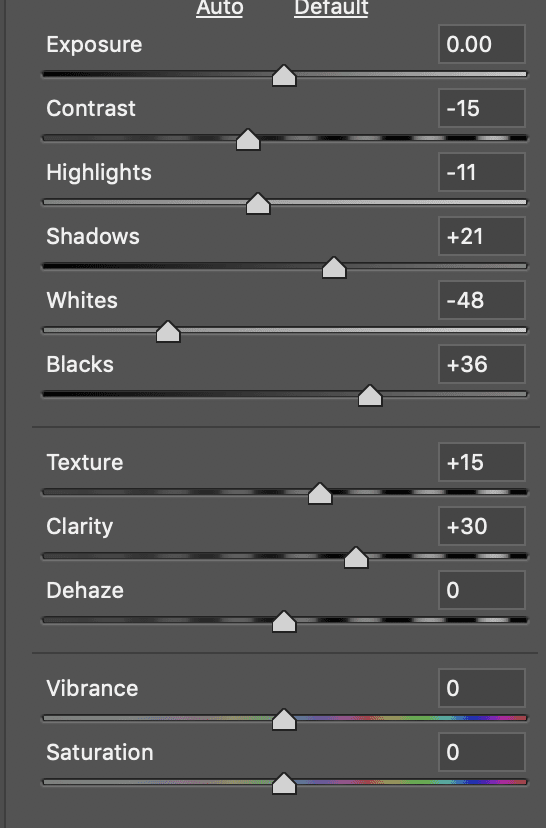
Copy the layer and make it a smart object. Add a Camera Raw LUT filter called “High Contrast”, then set the layer opacity to 50%. Then, copy the layer once again and change the LUT effect to “Warm Contrast”, then set the layer opacity to 70%. You’ll have this:
From there, it’s basically some highlight and tone corrections to achieve the final look. We’re bringing in some detail from outside the overexposed doors and making sure the car is well-lit. We’re also adding some atmosphere with a darker, moody garage. Three exposures are the key here, so if you have a scene with a lot of contrast in lighting, multiple exposures are a way around it. More examples follow below.
Feel free to email me at mike@machineswithsouls.com with any questions.
Follow along on Instagram @machineswithsouls
2 thoughts on “Shooting the garage sequence at MPACT”
Comments are closed.