Today I’ll cover the BMW M2 Competition, shot for BMW of Manhattan, and show you a little behind the scenes at one of the busiest BMW dealers I’ve been to.
I was invited by Louis to stop by the dealership for a few hours and come check out a special M Performance version of the standard M2 Competition. What was so special, he would not say, only that it was on loan from BMW of North America, and that nothing could be shared about it. Of course, I jumped at the opportunity, and headed to midtown on a cloudy April afternoon.
BMW NYC
Located on 57th Street and 11th Avenue, BMW of Manhattan is one of the largest BMW dealers I’ve been to. Spanning two buildings with multiple floors, they run a smooth operation considering they work in the busiest city in the country. Over 200 BMWs travel through its service bay doors each day, and there were some rare birds tucked away (such as an Alpina B7 with right-hand drive, and a 1M Coupe.) Their M showroom was of particular interest, with many M5s and M850is on display.
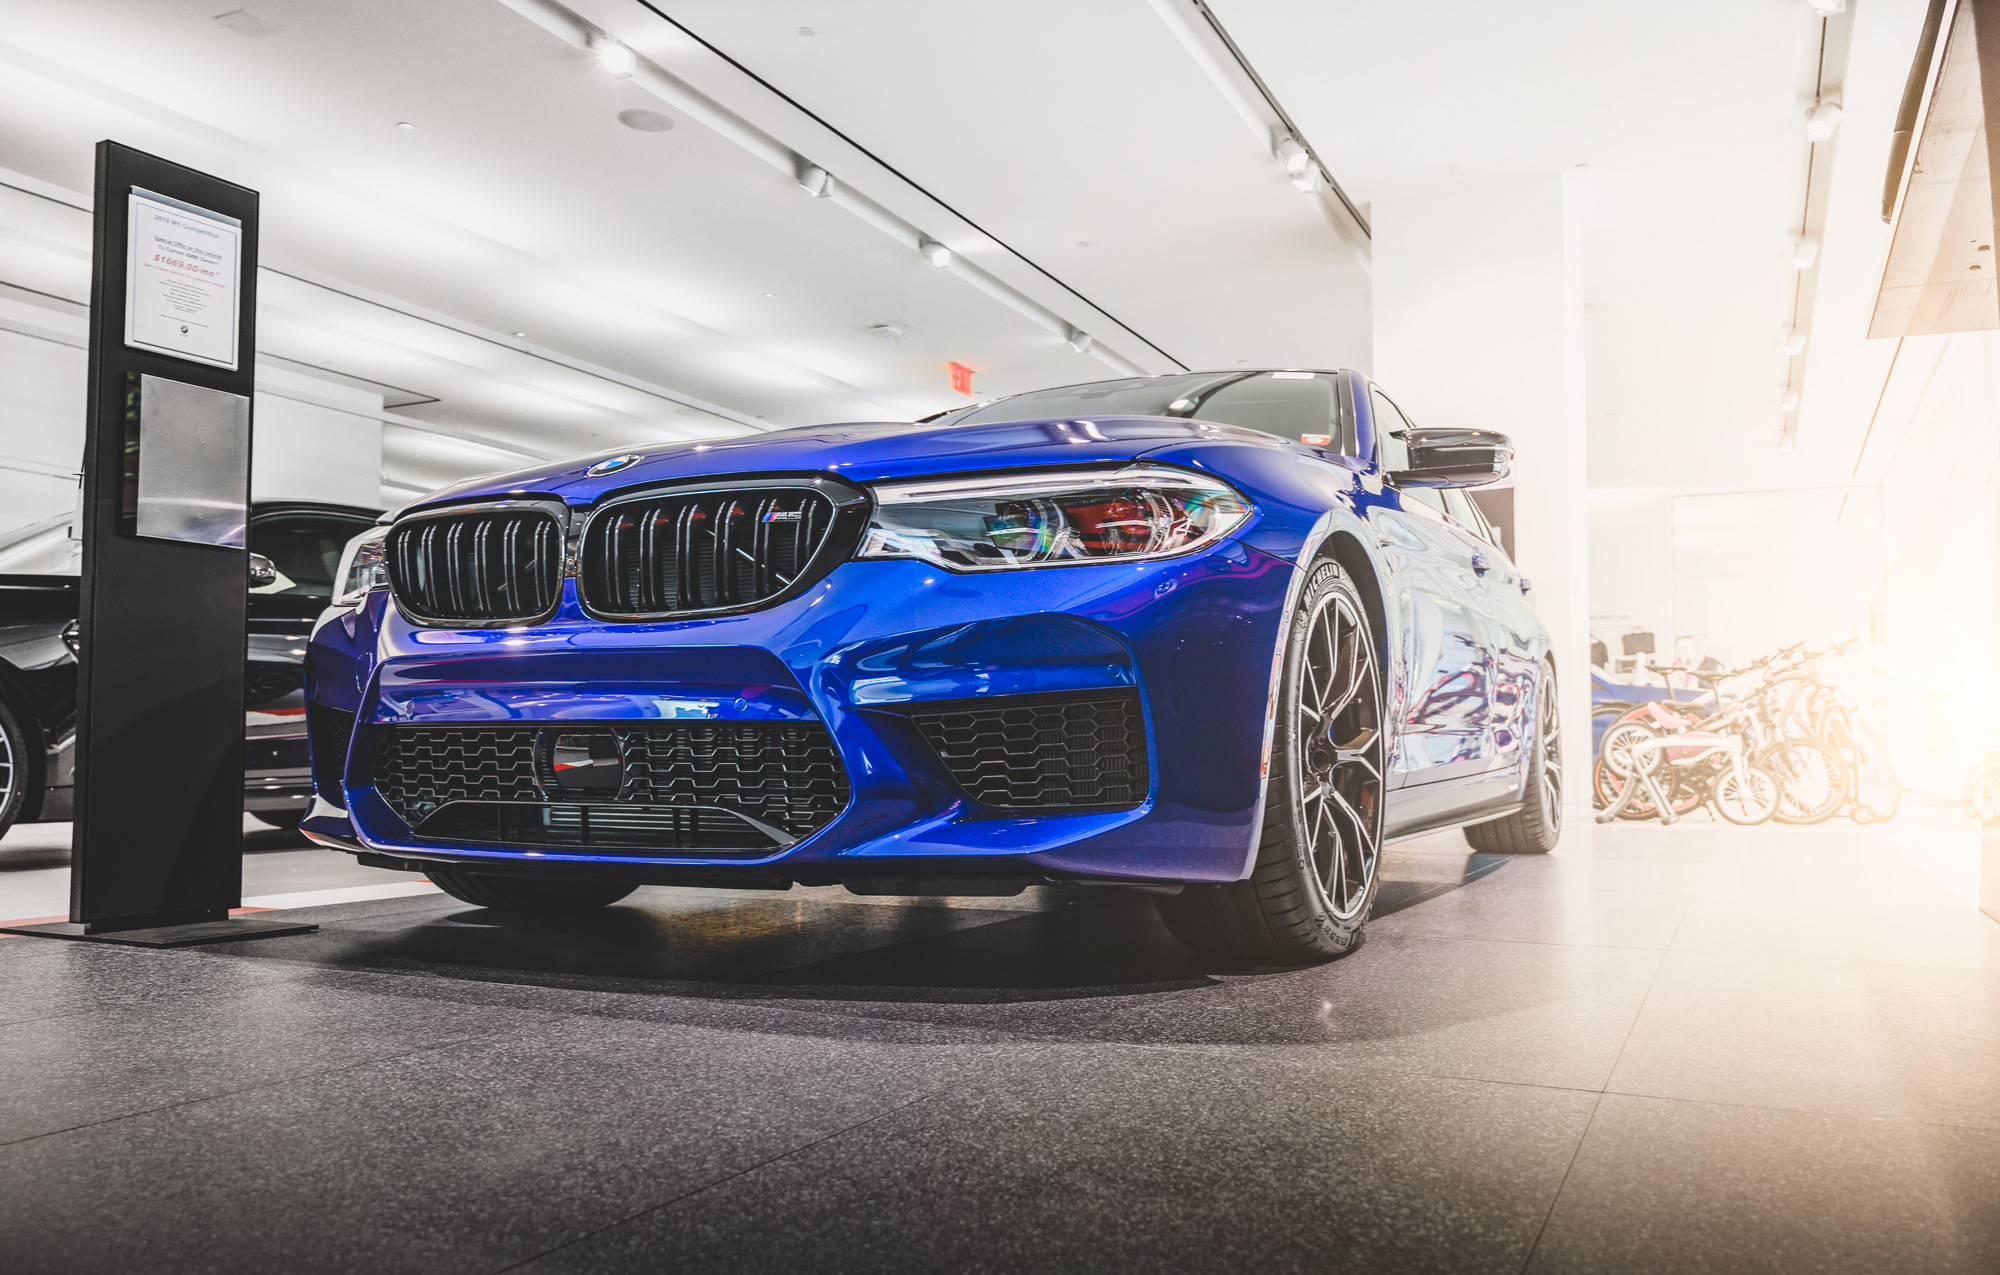
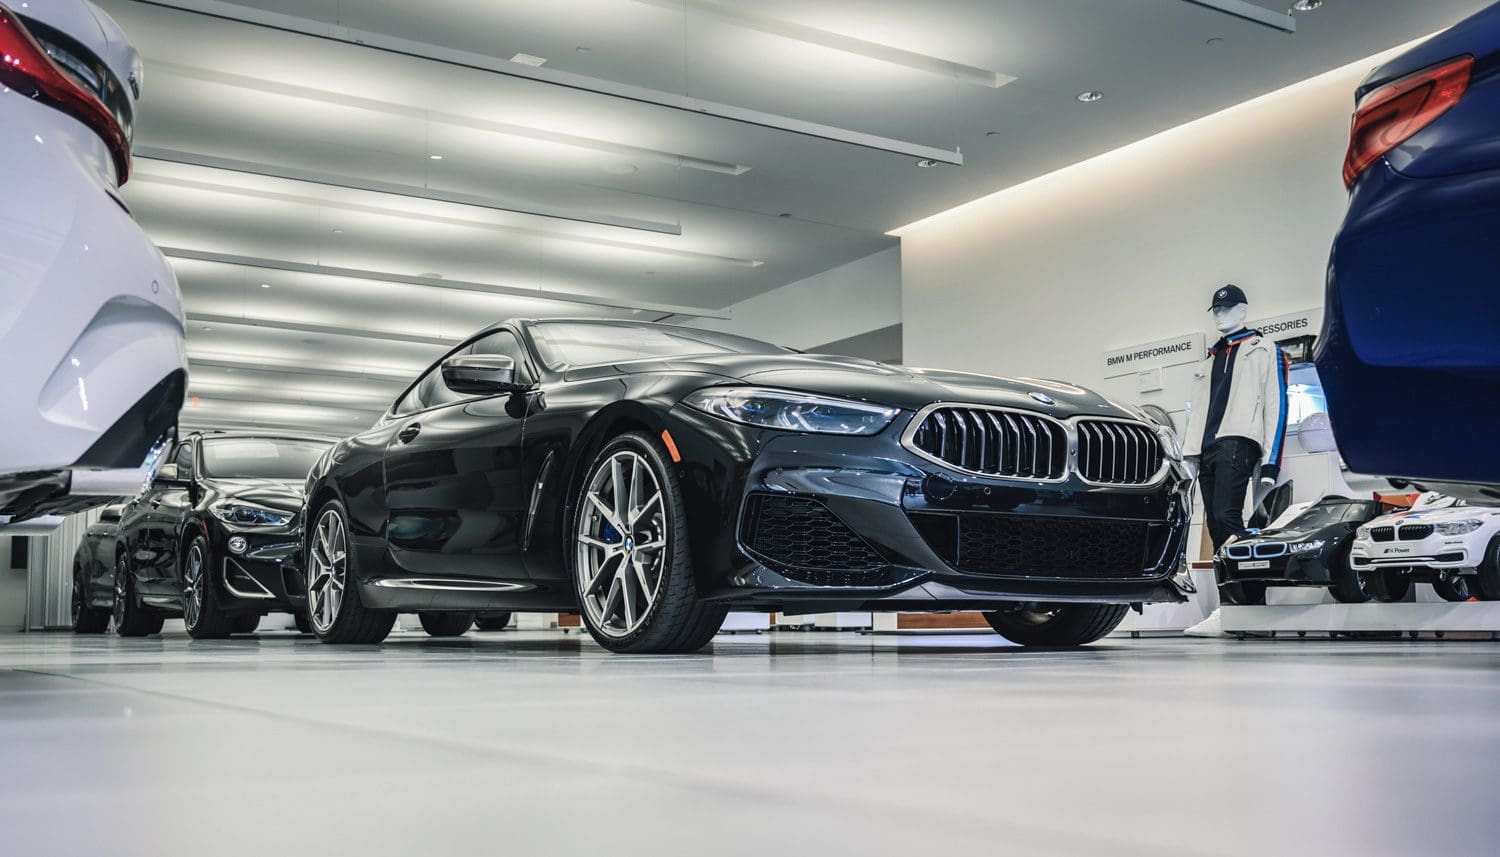
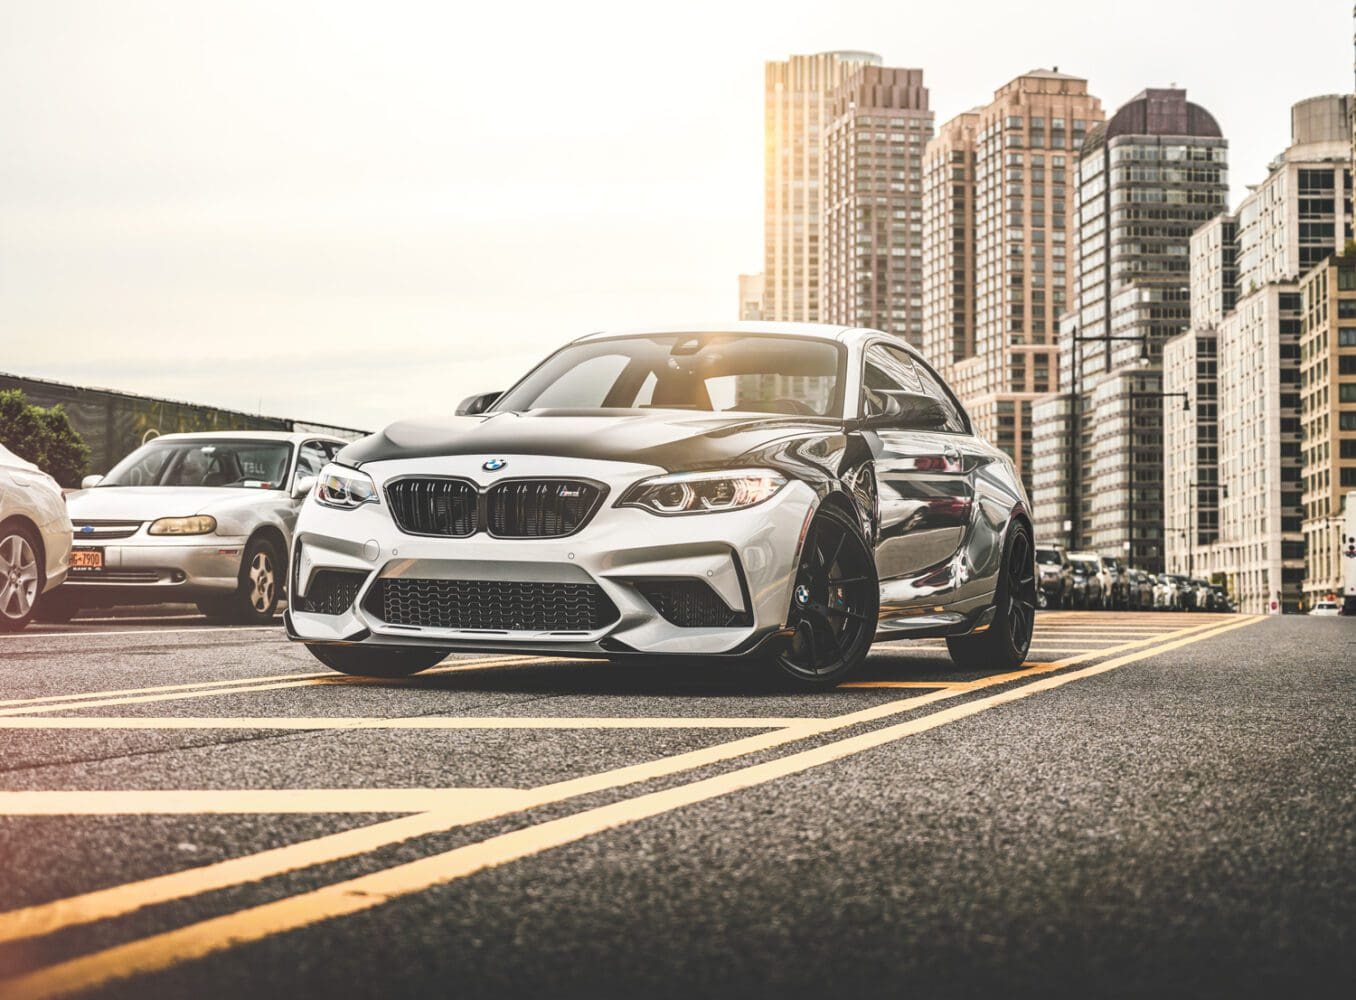
Louis led me to a parking garage that was filled to the brim with BMWs, and I finally saw what I had come for: A new BMW M2 Competition with prototype M Performance carbon fiber body parts fitted on it. Front fenders, a hood and trunk gave the car a menacing look.
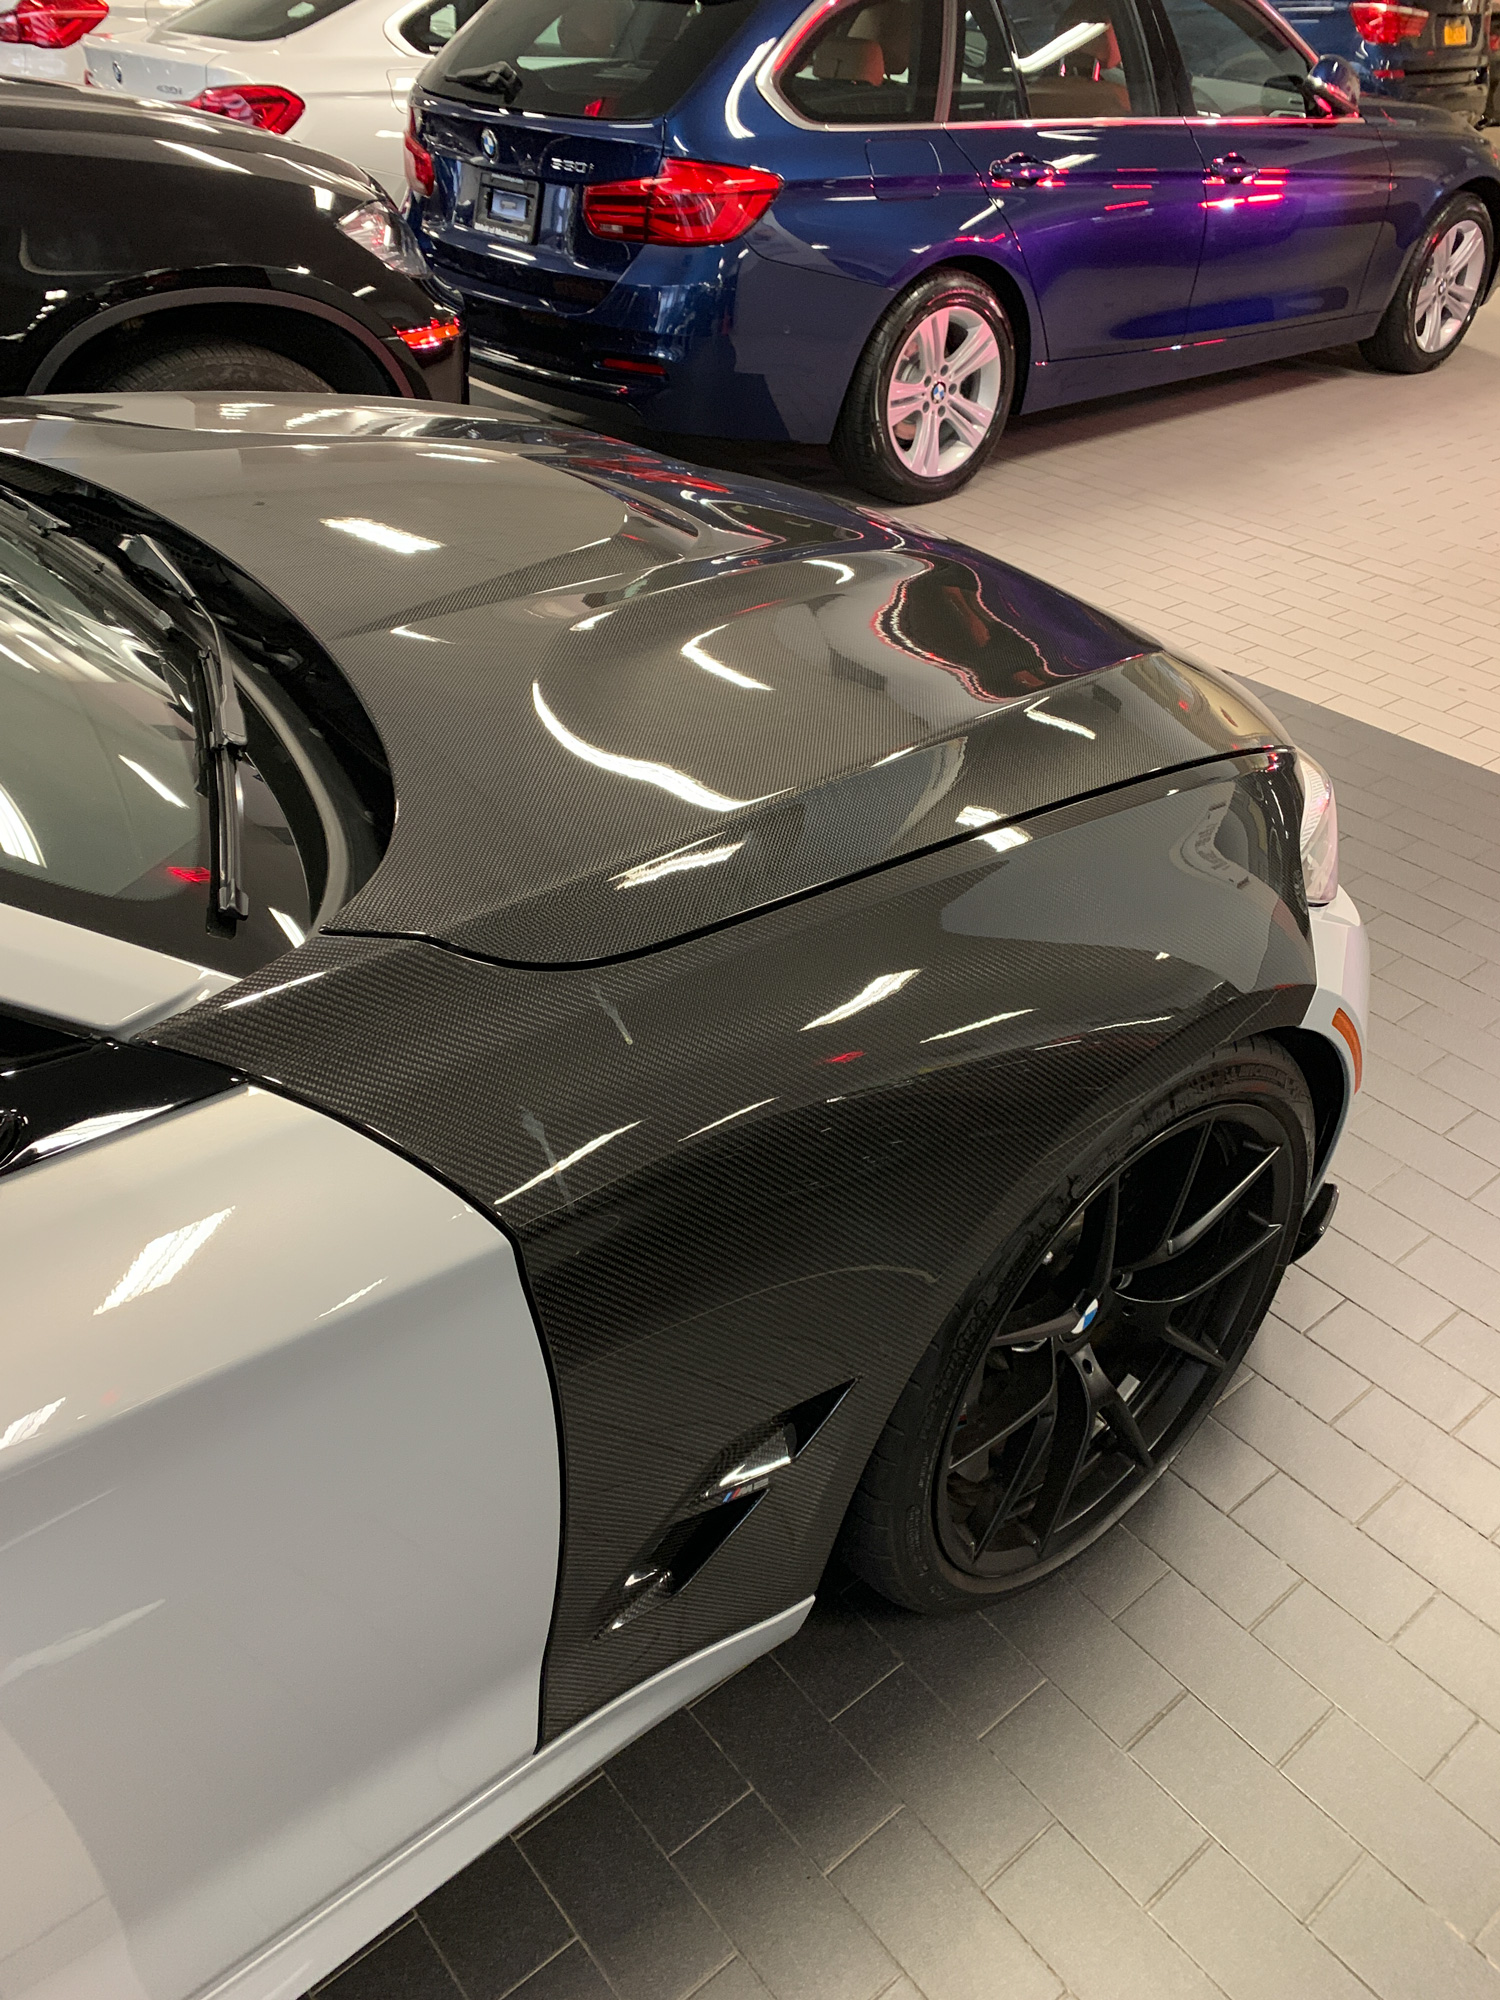
Louis had a good spot picked out, and with that, we headed out.
The Shot
Location: 158 Riverside Blvd, New York, NY 10069
Equipment
- Camera with zoom lens
- Polarizer
- A spare battery
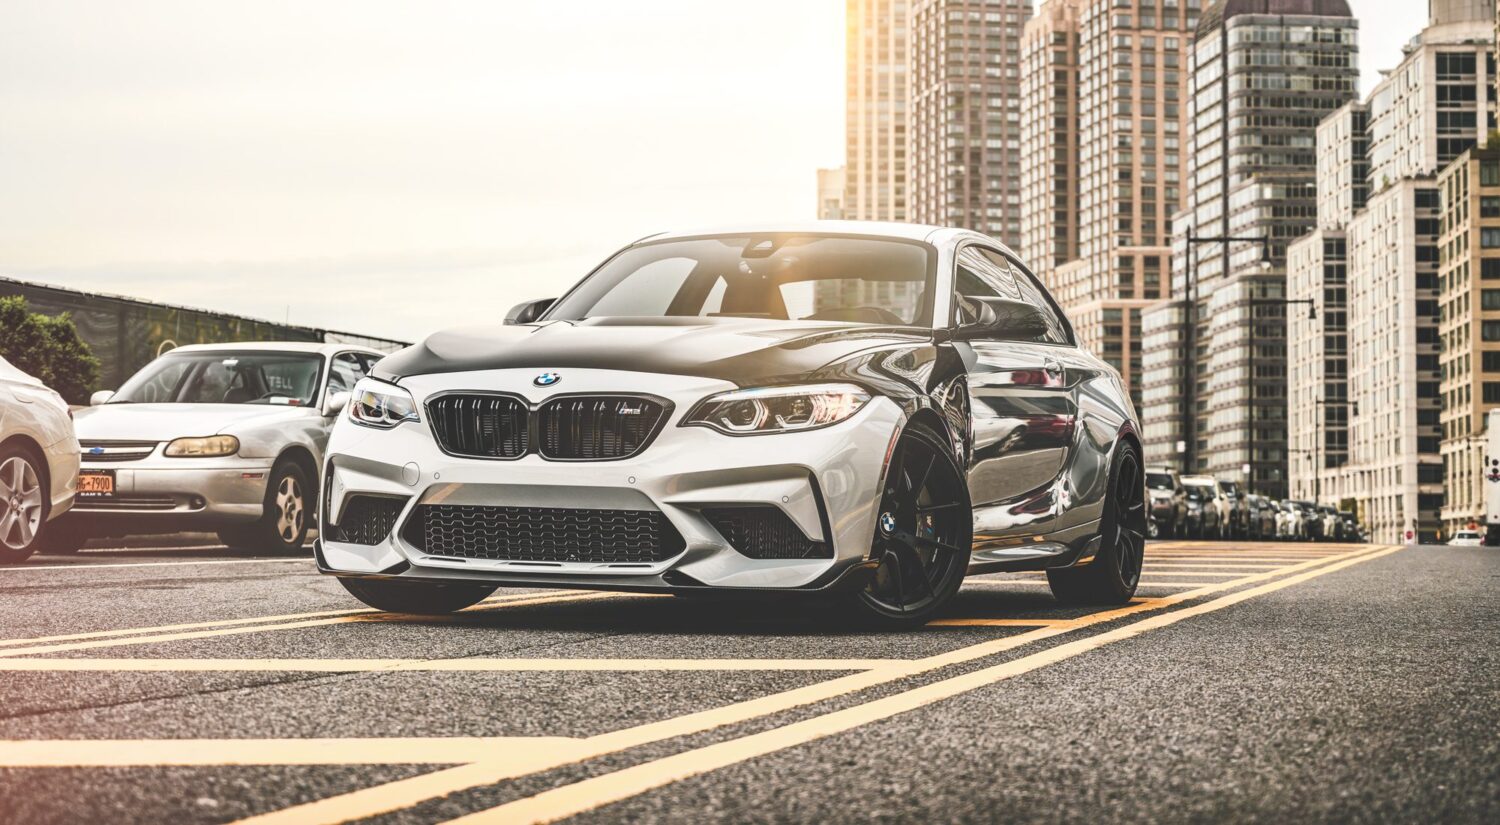
This was a live street, but somewhat out of the way, so it was not your typical New York City level of busy. I had the car positioned against some modern buildings and got low – this car is all about aggression, so the lower, the better. Think laying in the street (please have someone look out for traffic as you do this). The weather was overcast, so lighting was nice and even, even though it was mid-day, but this can cause the clouds to have a washed out look.
Normally I would be on a tripod to do this shoot, but room to haul gear was limited, so I left pretty much all of it behind and brought just an extra battery for the camera. If you look at the side of the car in this shot, you’ll see the gnarly reflections on the door panel – I would have done a second shot and rotated the polarizer to even out the reflection, but sometimes you must work within the constrains of the situation. The result is this:
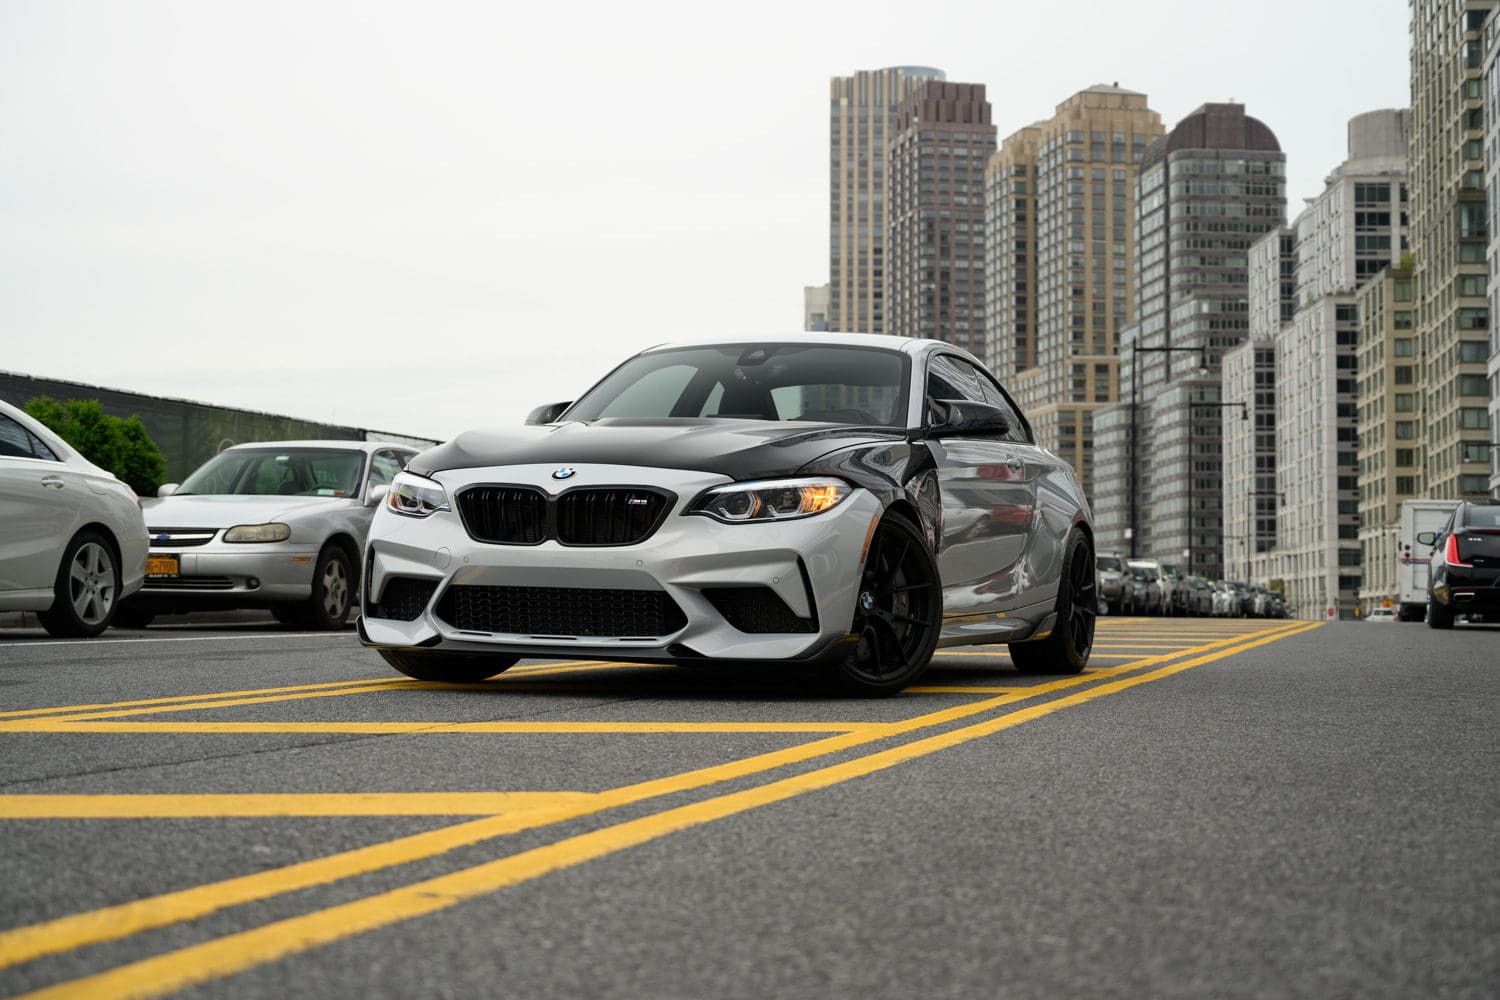
As oppose to multiple exposures, just one means you are exposing and shooting for the entire frame. You’ll notice the sky is overexposed, with no detail, and the car, especially on the bottom, is underexposed, hiding details in the grill and wheels. But because we are working with RAW files, and the Nikon Z7 has excellent dynamic range, I knew I could go into post and pull out much more.
Post Production
Once we’ve loaded the image into Camera Raw, we’ll adjust some lighting:
- Clarity +30
- Dehaze +10
- Blacks +30
- Shadows +60
- Highlights -100
- Contrast -20
- Exposure +0.33
- Temperature: 6250
- Tint: -20
You’ll end up with this:
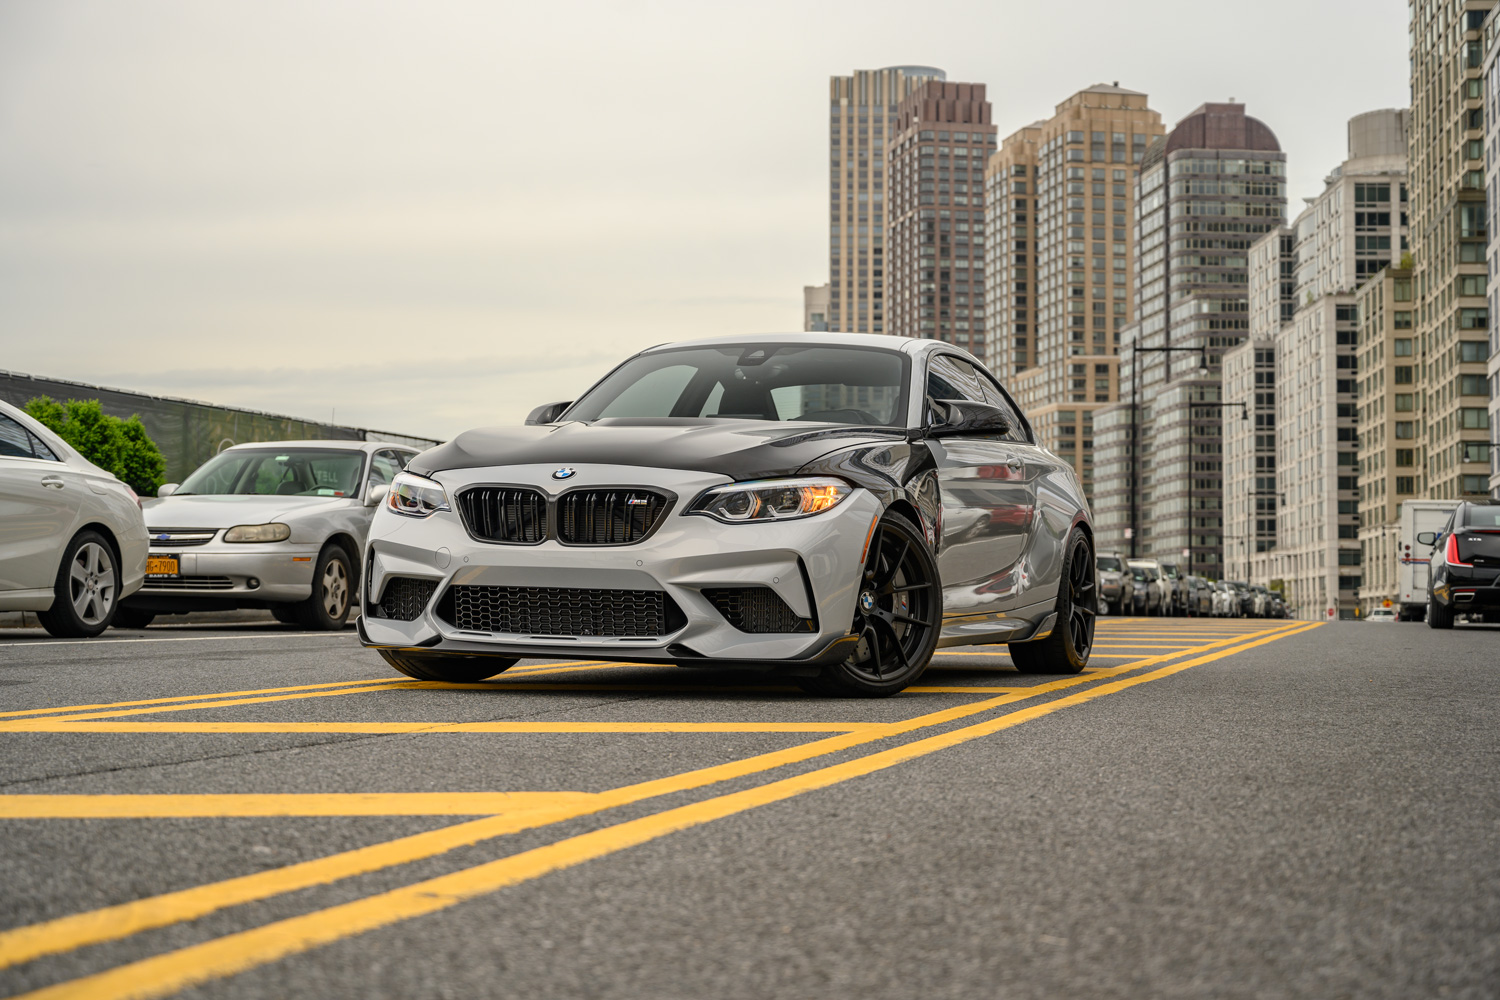
Notice how the grille and lower half of the car now has some detail to it. In doing this, the image felt a bit to green and yellow, so I went in and pulled those back. Go into HSL adjustments, Saturation, and select:
- Orange -48
- Yellow -23
- Green-100
Select the Luminescence tab and reduce Yellow by -20. You’ll now have this:
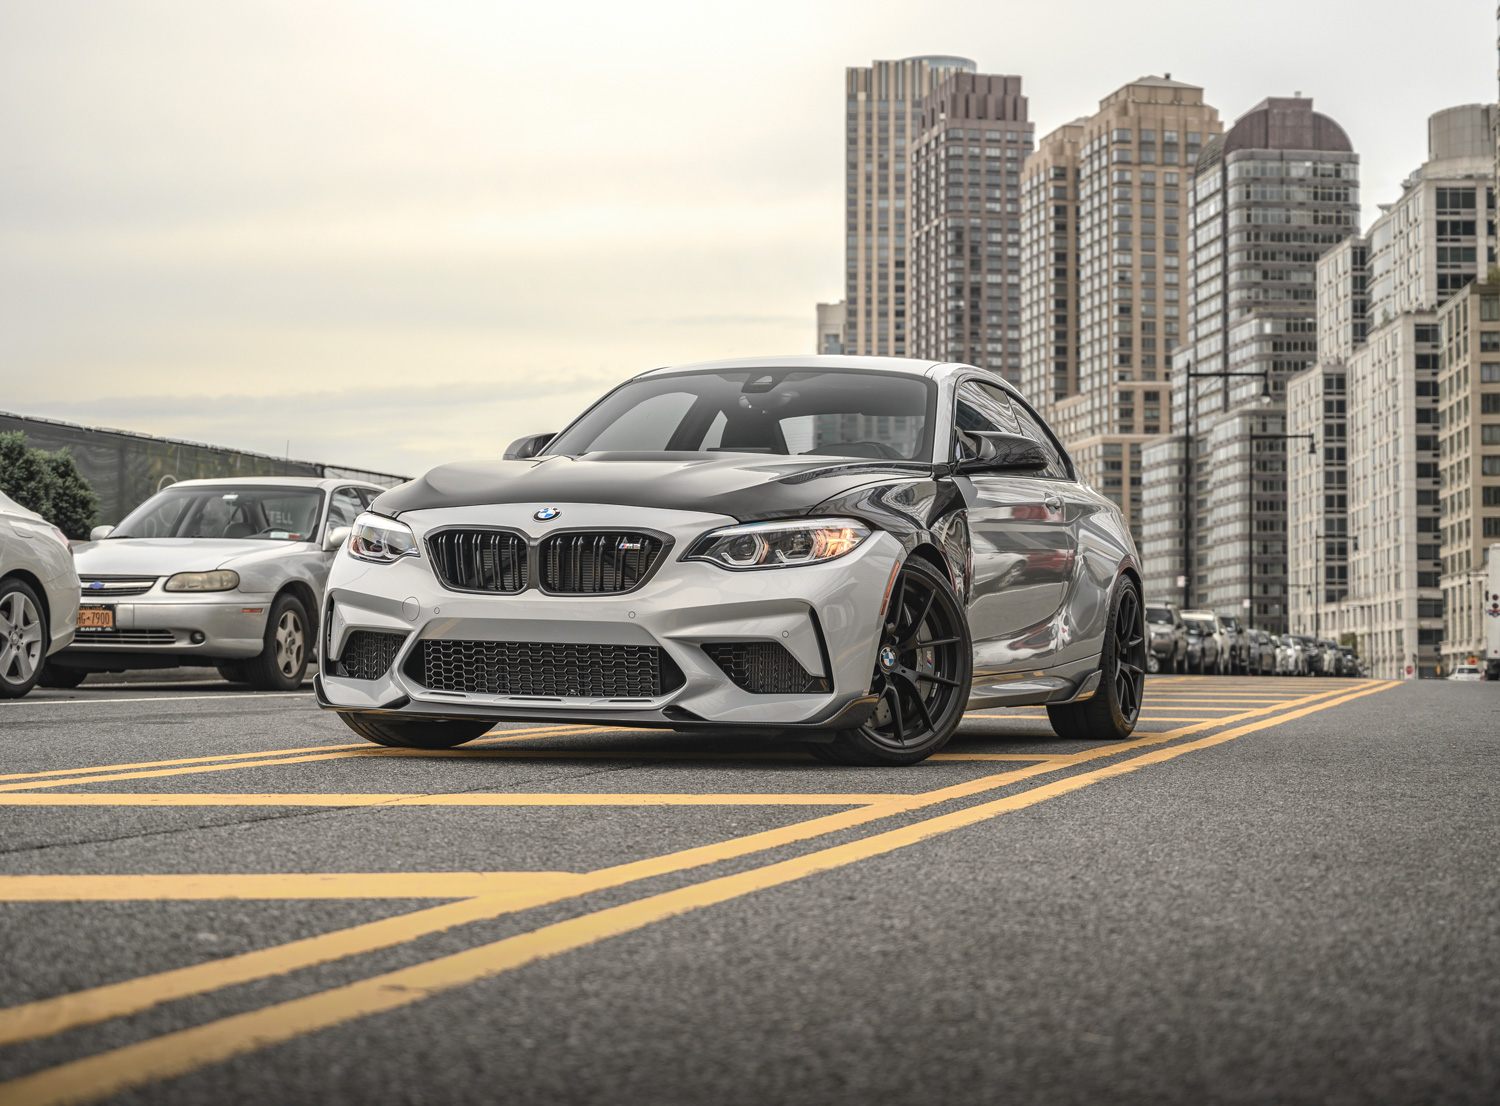
You can now add editing effects in any way you like, but this felt ripe for a lens flair popping out from behind the building, and the highlights of the car would make it believable. We’ll use the Fireborn, Dirty Lens, and Supernova flairs for this. Start with Fireborn. Drag it into your canvas, and select “Screen” as your blend mode. Then, increase the size to about 200%, and place it next to the tallest tower.
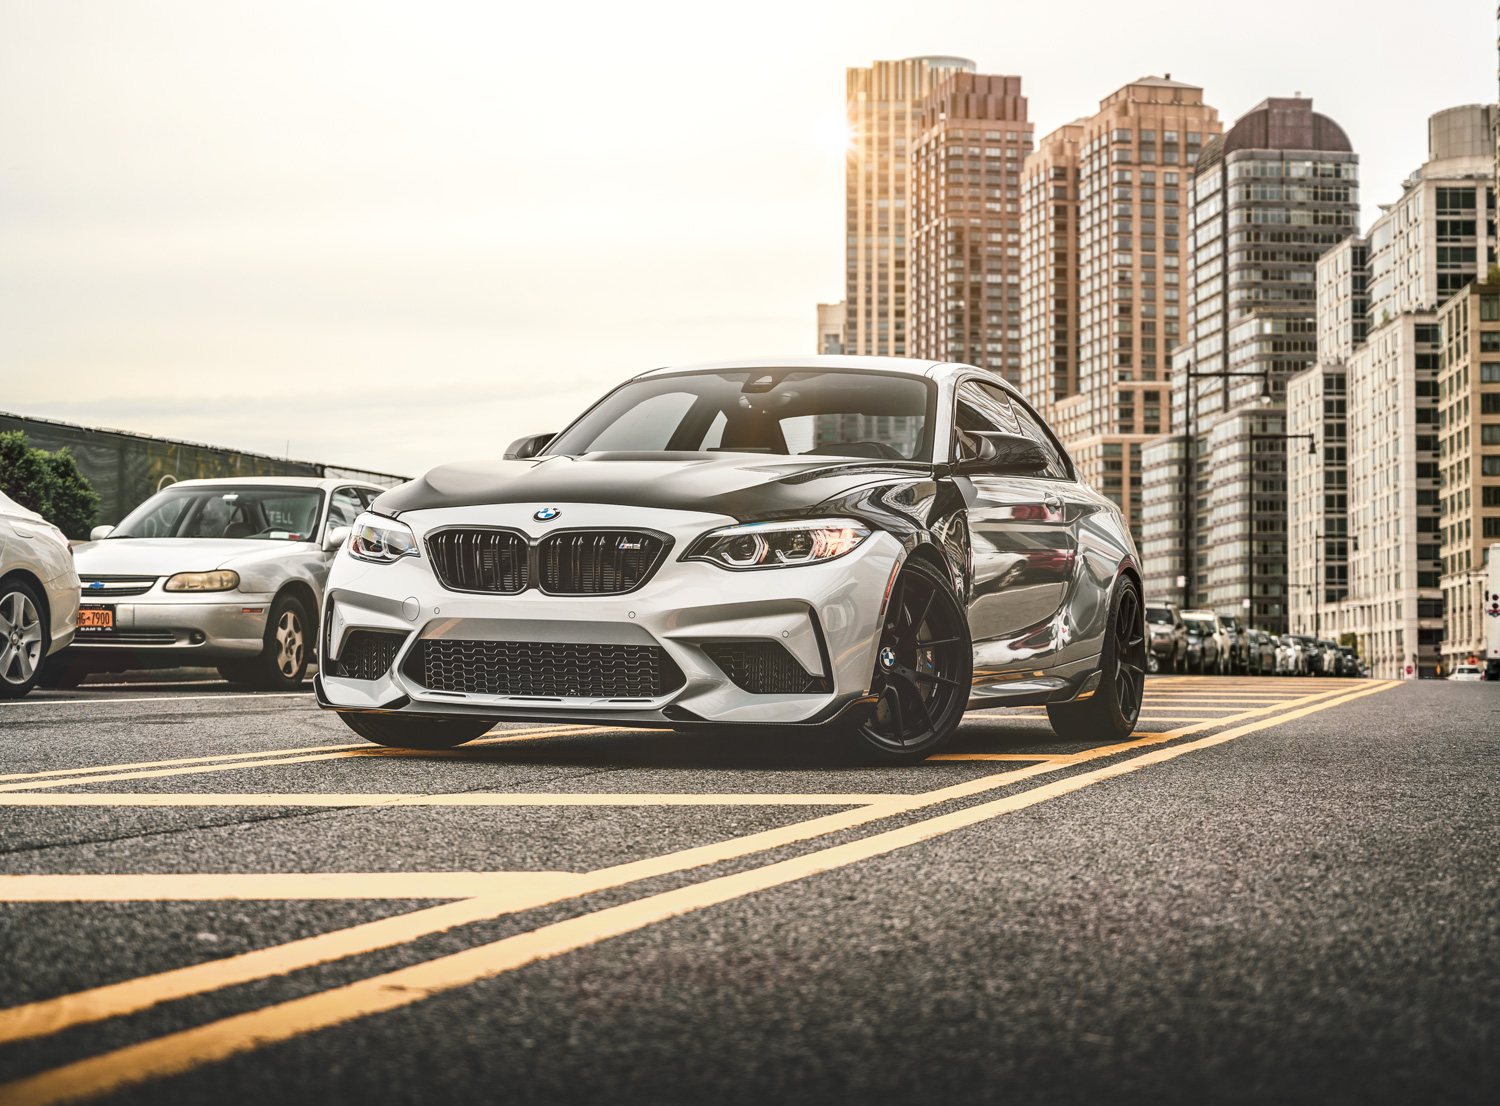
Next is “Dirty Lens”, again setting it to screen, and size it to about 120%. Place it over the first flair and rotate it a bit to position it as you want for some nice gold tones of light.
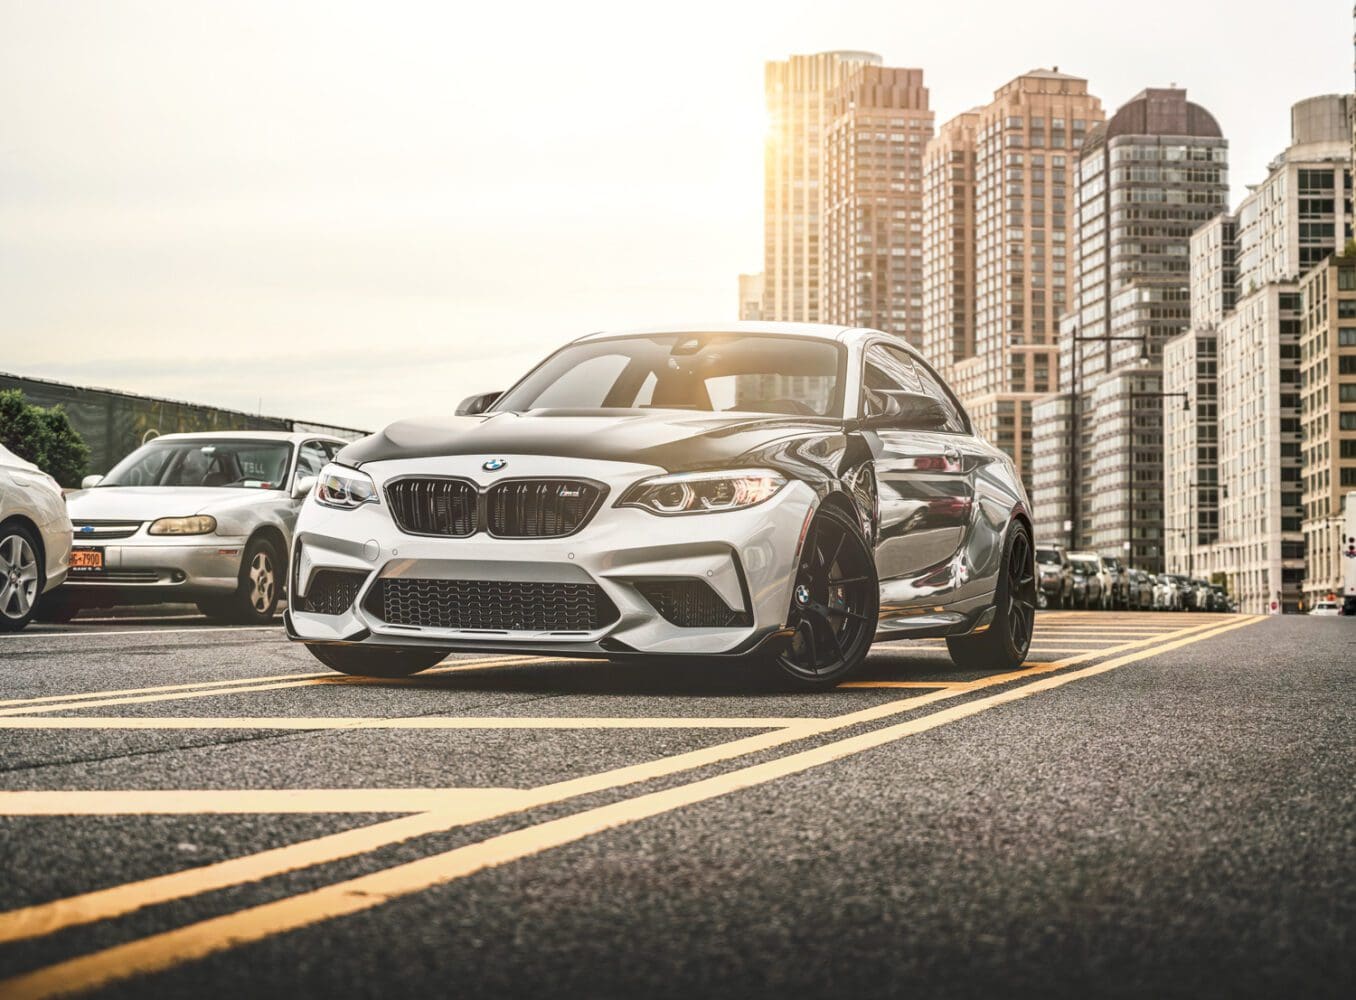
Finally, we can add a little tone to the left side of the image. Then, Add your Supernova lens flair, set it to Screen, and position mostly off frame on the left side. You’ll notice a soft red tone come through. This is a nice touch, but you can also leave it out. Finally, copy your layers, flatten, and turn into a smart object. Then, add a camera raw filter, and set a LUT filter of Lift Shadows. You’re done!
Special thanks to BMW NYC for the access, and Louis for the tour and being a great spotter.
Feel free to email me at mike@machineswithsouls.com with any questions.
Follow along on Instagram @machineswithsouls


3 thoughts on “Behind the scenes on the BMW M2 photoshoot”
Comments are closed.