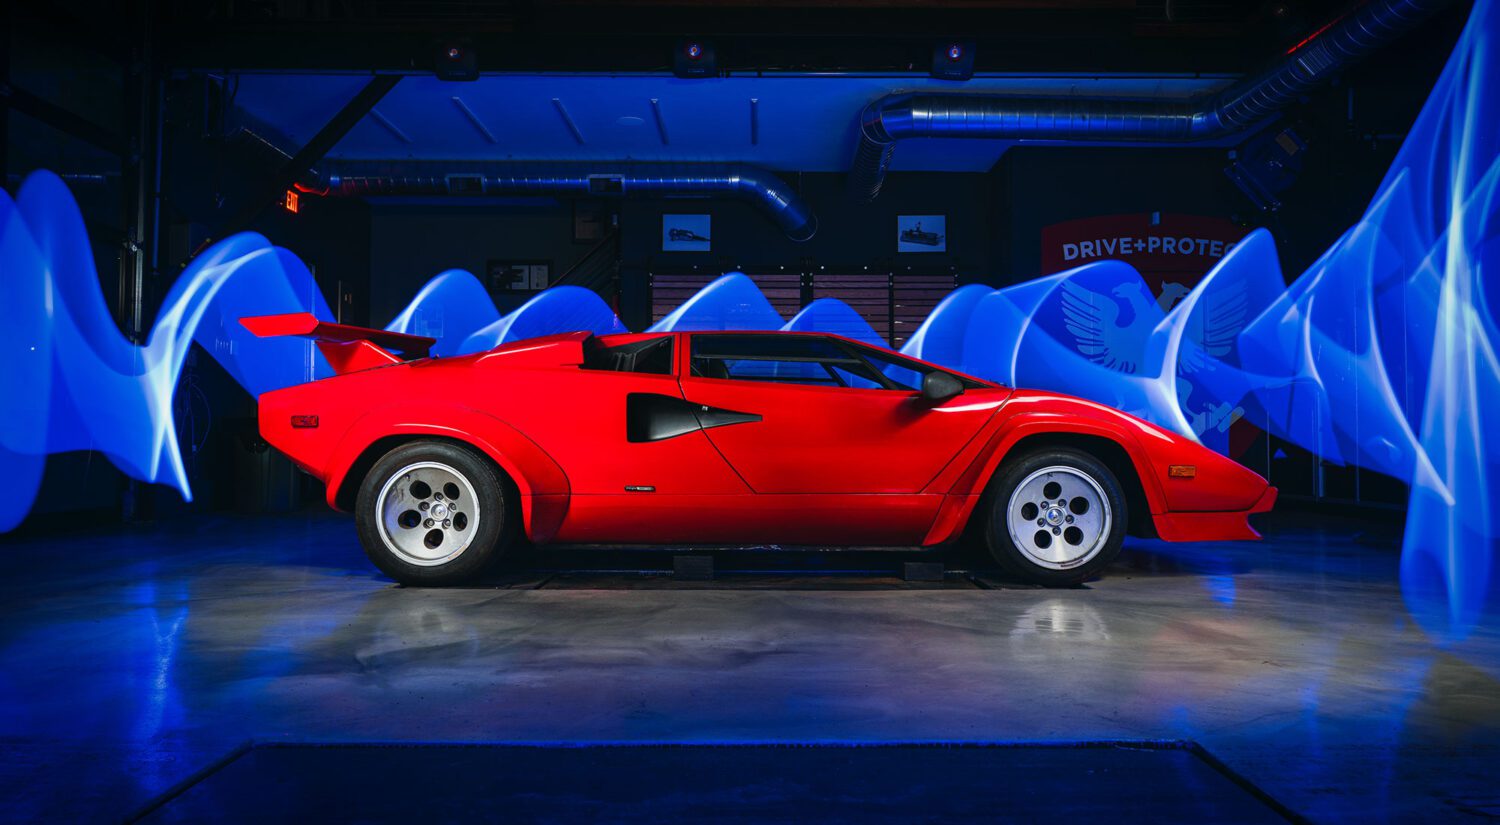
I’ve shown you retouching a scene from scratch, using one of your own shots of a car as a good base.
But, what if you only have a shot of the car on white, from a studio environment? That means no foreground, no reflections and no lighting source. No matter what you do, it’ll look pasted in. So, let’s take a look at how to make a realistic scene, and since this is for a client (BMW), it’ll start with an image search. Let retouch a car in a CGI car.
Step 1 – Pick your angle for retouching
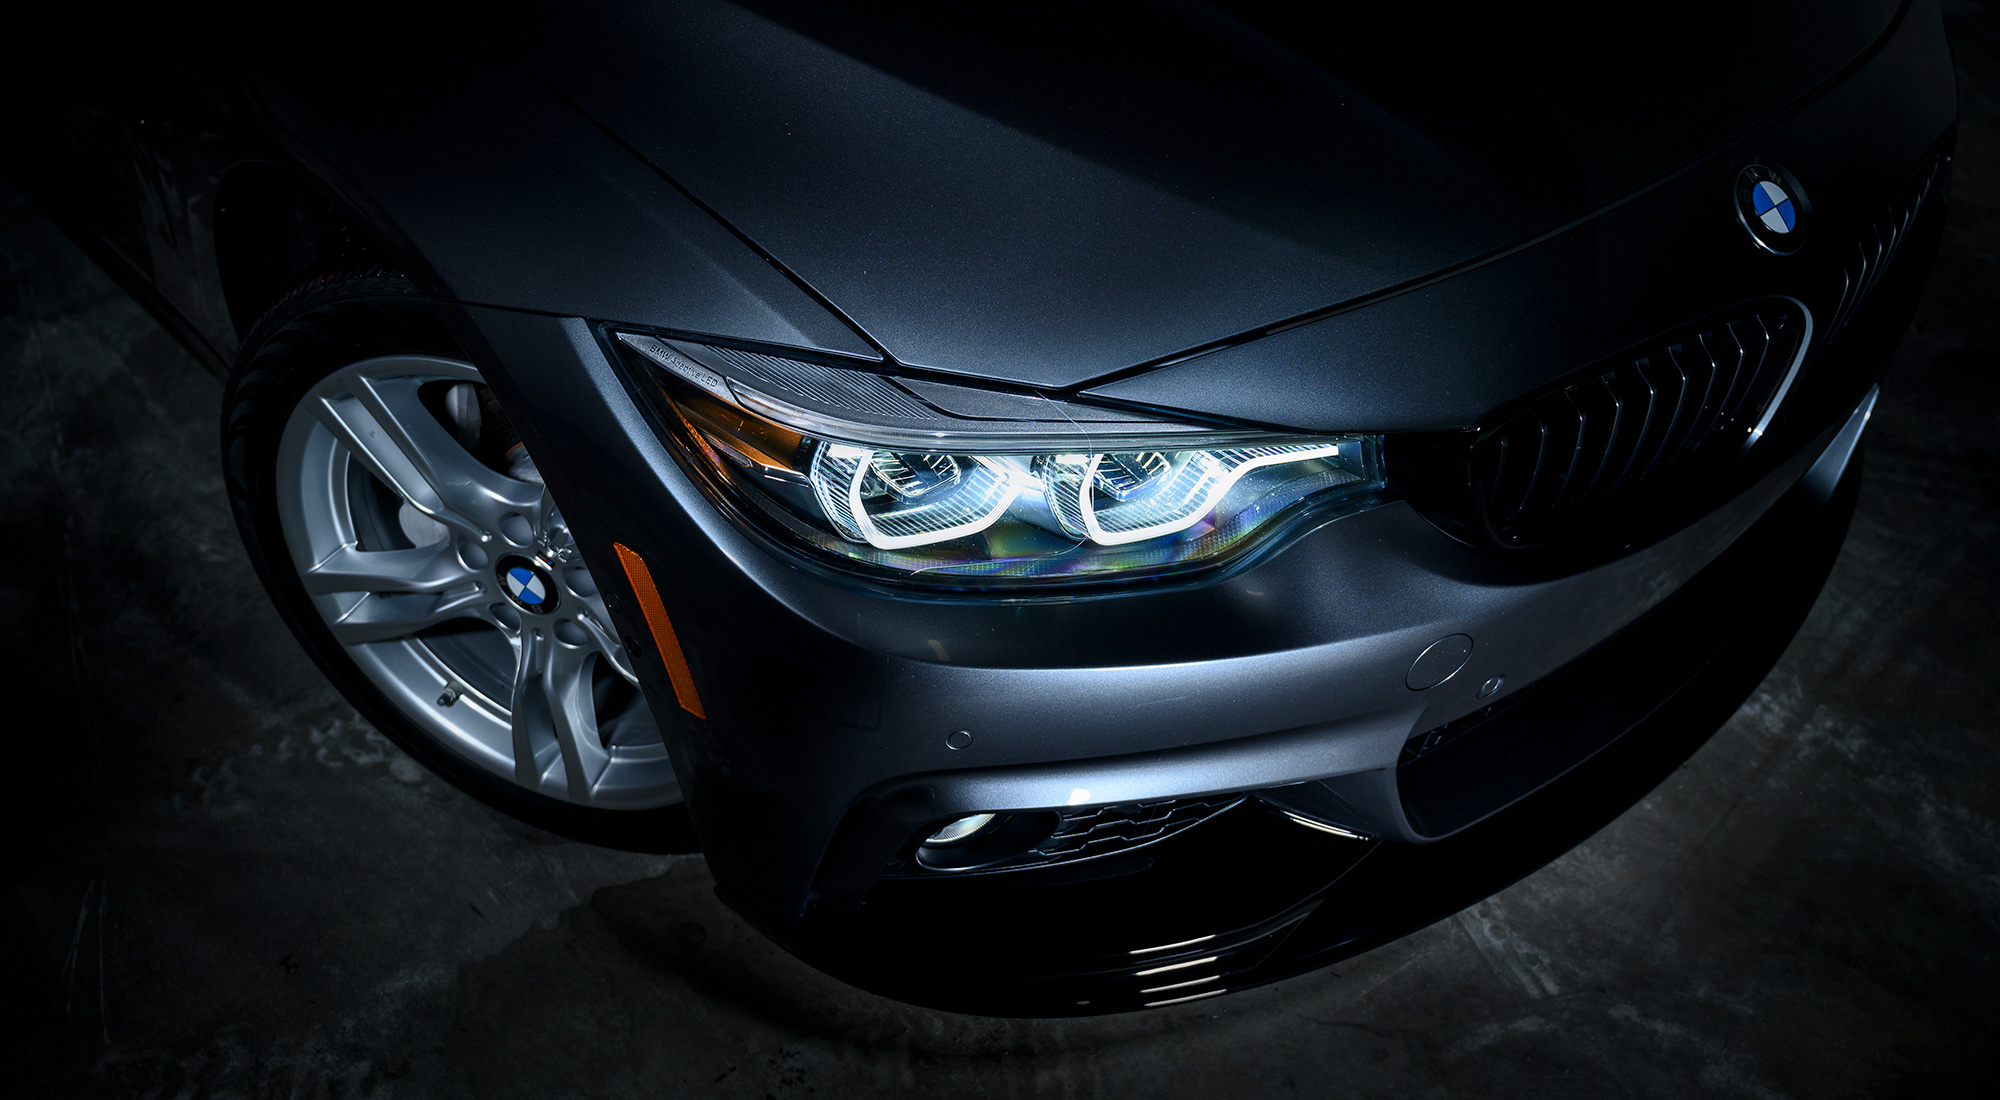
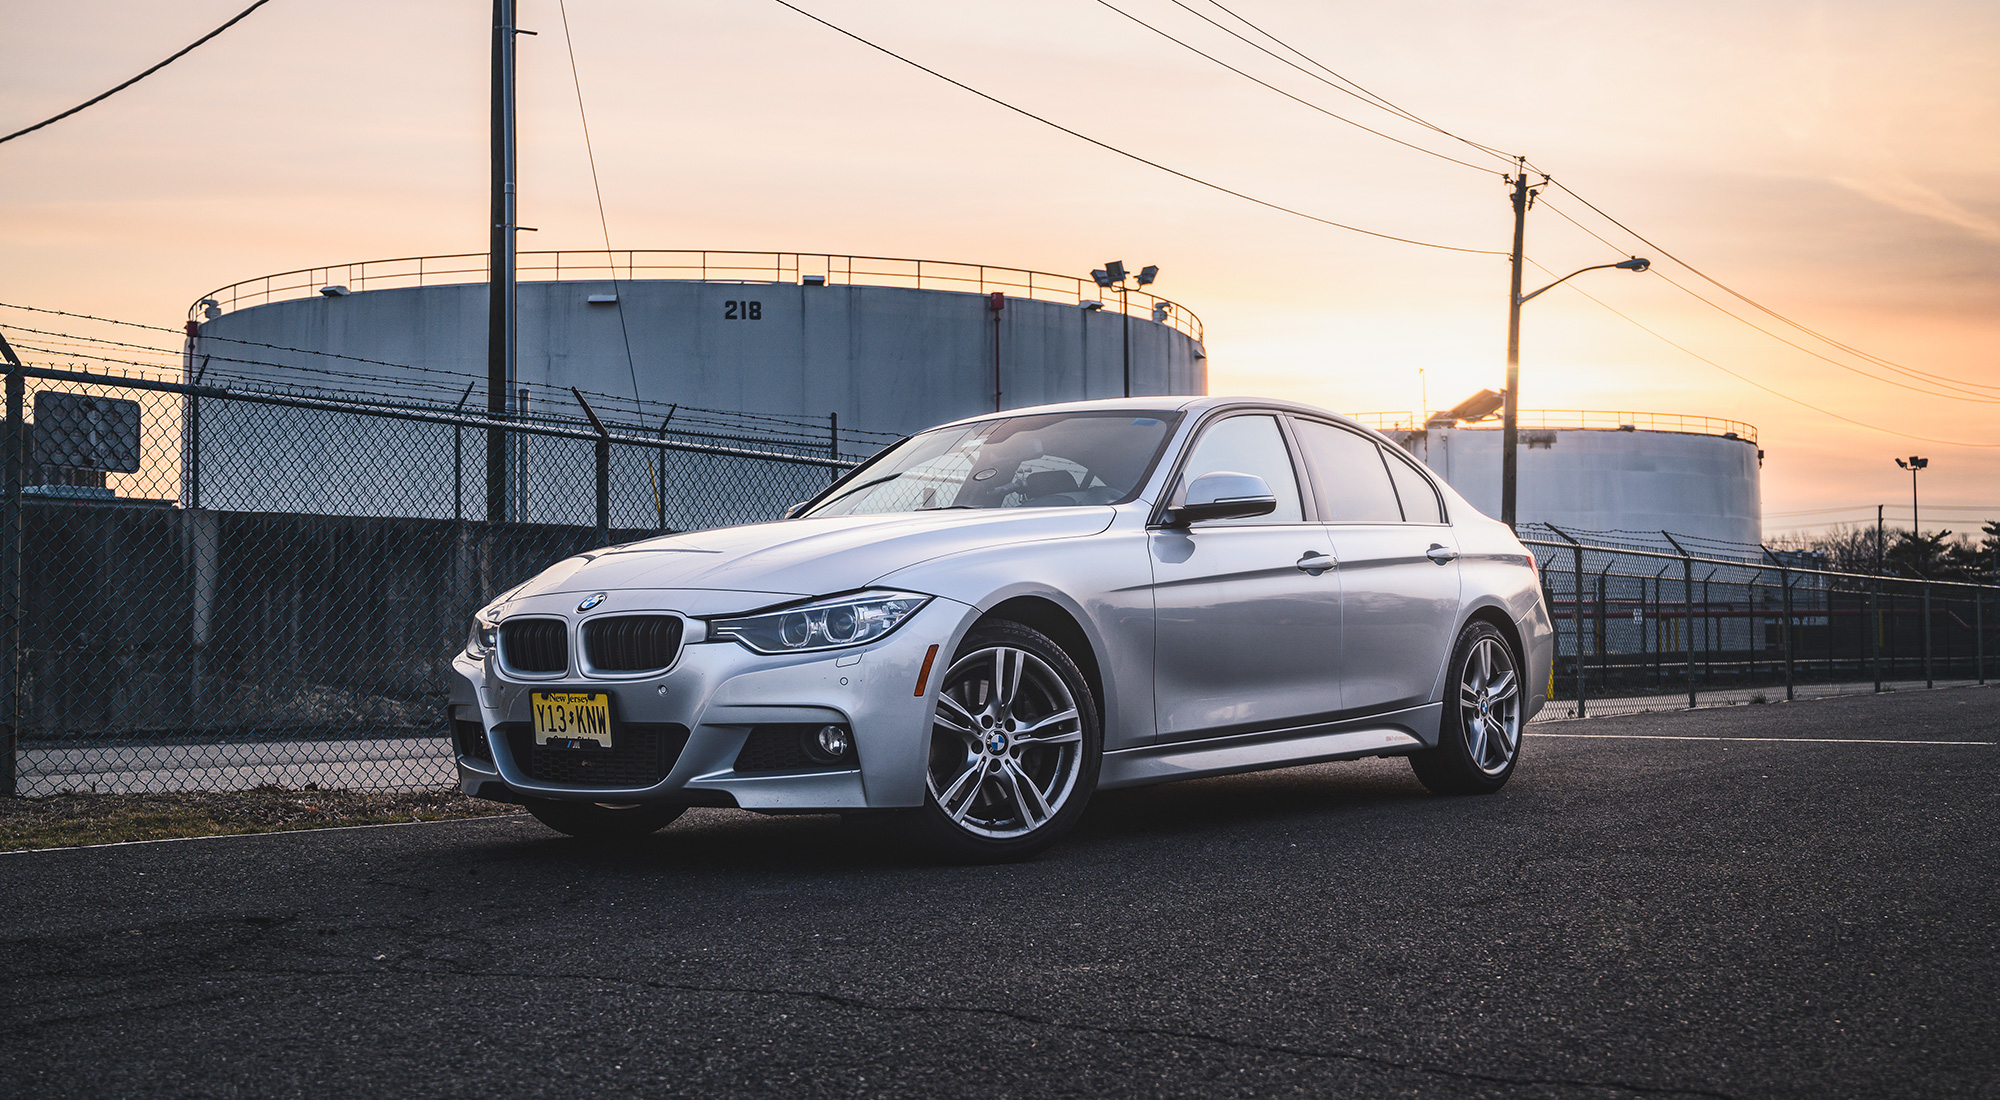
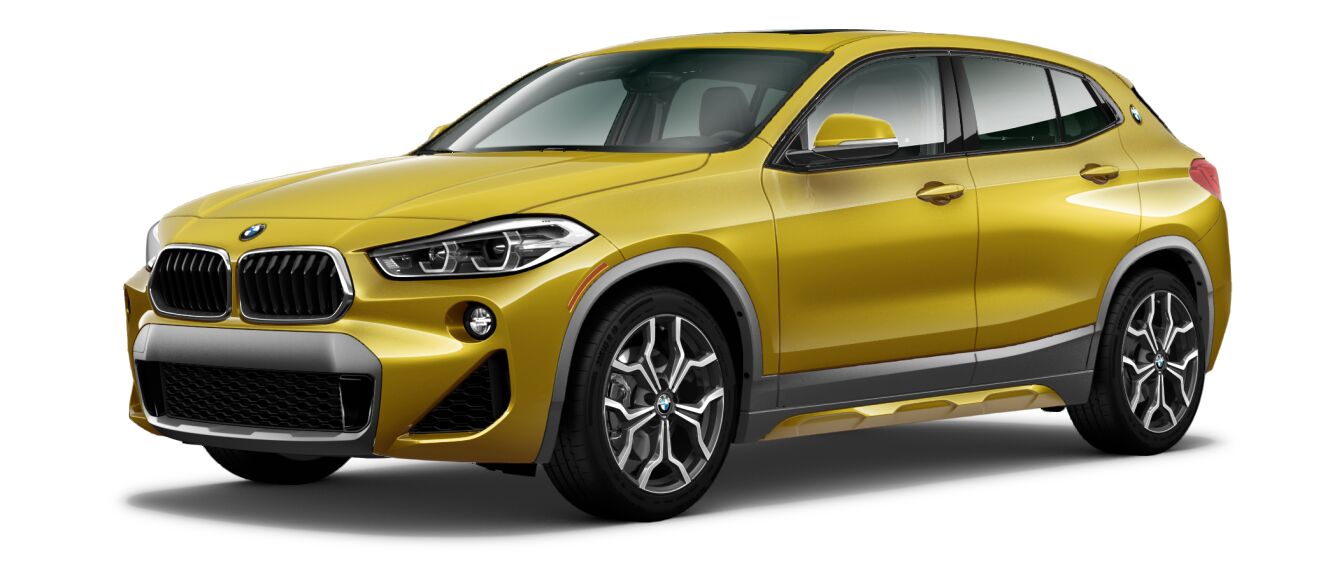
When a big company like BMW does a photo shoot, they bring the car to a studio and shoot every angle conceivable. Head on, back, three quarter, wheel close-ups…anything you can think of. Each shot is perfectly lit and super high-res (as big as 12,000 pixels wide!), but I almost always choose the three-quarter view, which shows off the entire car nicely.
Sometimes, they go a different route and crate a 3D model of the car in a program like MAYA. The results are very similar, but the car usually looks a bit like plastic, so you’ll have to do more work to make it look real. It’s also usually a good deal smaller, but I’ll show you how to work around that.
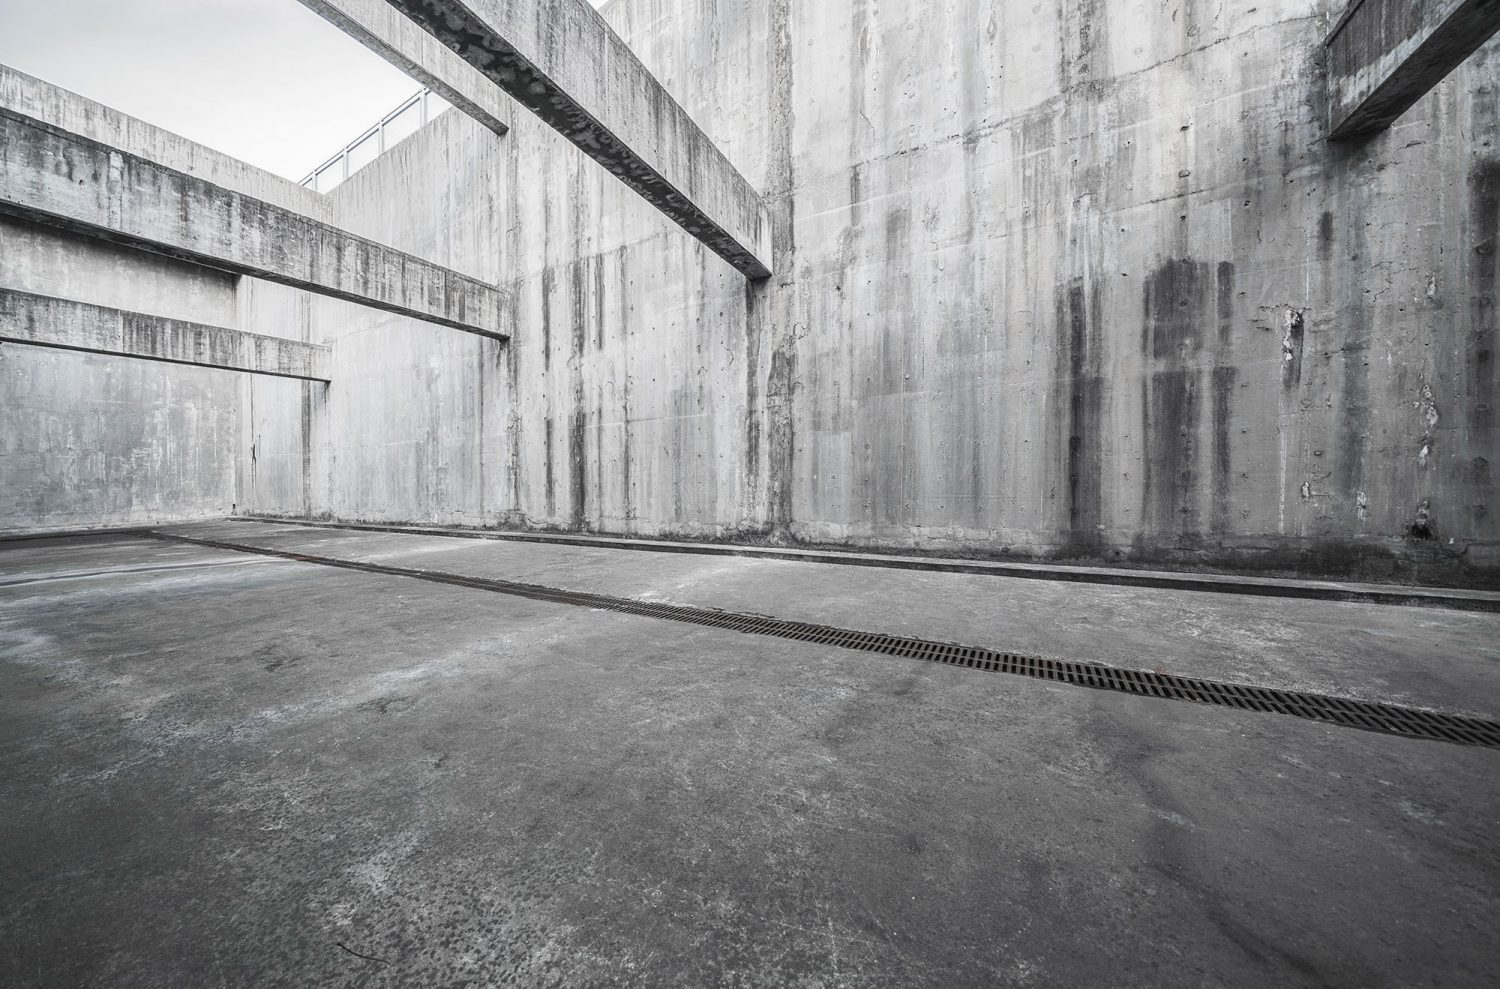
Step 2 – Choosing a background
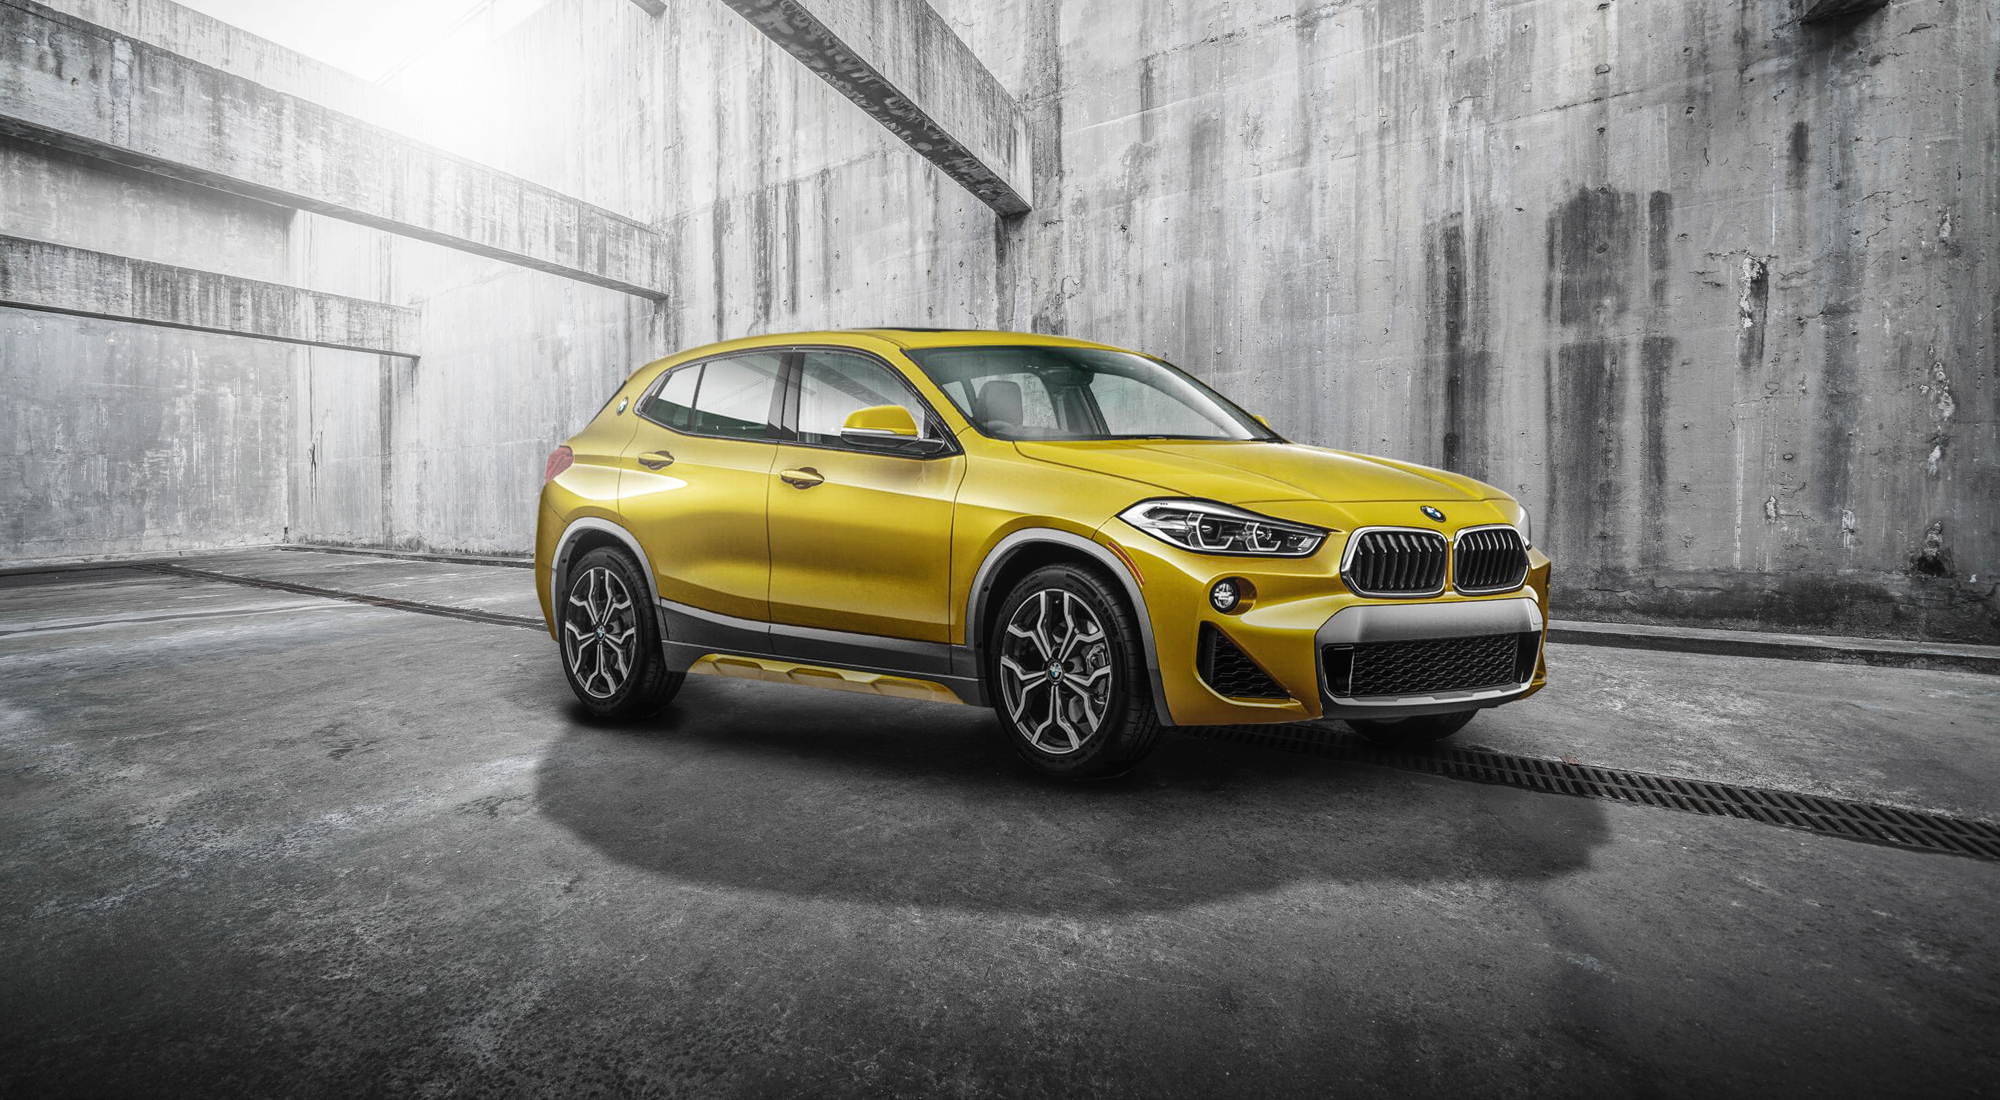
Often, a client like BMW will provide a background image that aligns with the rest of their ad campaign for that car, but you may be asked to select your own background on occasion. That means image searching, just like when you might do your own composite. You’re going to play the role of art director here, so try to pick out a background that matches the attitude of the car (in this case, an X2 is young, fun and modern, so an urban background seemed to fit). You also want it to be:
- Clean, free of clutter
- Have a clear light source, or a place to put one
- Have a neutral tone that does not distract from the car
- Most importantly, matches the angle of the car
Be patient and take your time. This can be the longest part of the process. Download a few and place the masked car in the scene just to see if it’ll work. There’s no magic pill here, but the more you do it, the quicker you’ll be able to determine if it will work.
Step 3 – Set the car in the scene.
Before anything else, you’ll want to open your car image and mask it, erasing the white around the background. You can use the magic wand tool for this, but even after doing so, you’ll want to go in and make sure no edges look too jagged.
The original size of the background image is over 7,000 pixels wide. The original size of the car is just 1,300 pixels wide, but in this instance I would mask the car, turn it into a smart object, then bring it into your background image and size it up to match the background. It will get soft, but let me explain…
If you know you’re going to print this for a book when it’s complete, then the softness of the car won’t work – it’ll take away from the illusion and look unprofessional. However, if this is going on a website, where say the max size is 1,500 pixels. You won’t notice a difference. As you size the image down, it’ll get sharper and look much better. So just keep in mind the mediums this will work in – and make the client aware. Always work at the highest resolution possible and save yourself the extra work later on.
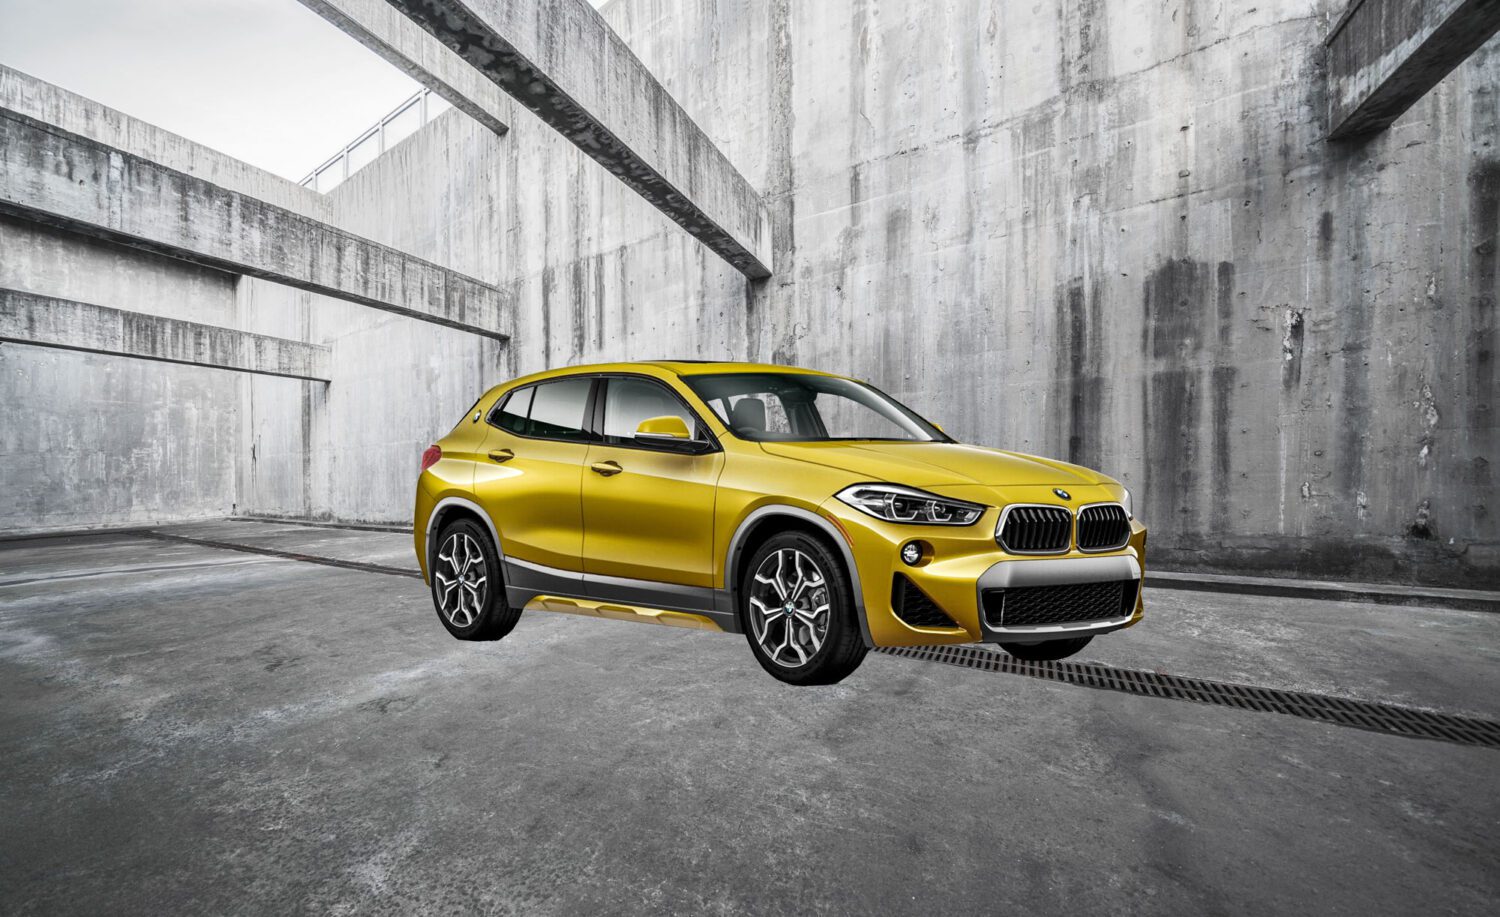
The first thing I did here was flip the car to match the angle of the floor. This puts the steering wheel on the wrong side of the car, but will fix that later. For now, just check to see how the car looks. Too big and it’ll dwarf the environment, to small and it’ll look like a toy.
More to come…
Come back next week when I show you how to add shadow and reflection to the car.
Feel free to email me at mike@machineswithsouls.com with any questions.
Follow along on Instagram @machineswithsouls


3 thoughts on “Automotive Retouching School, Part 1”
Comments are closed.