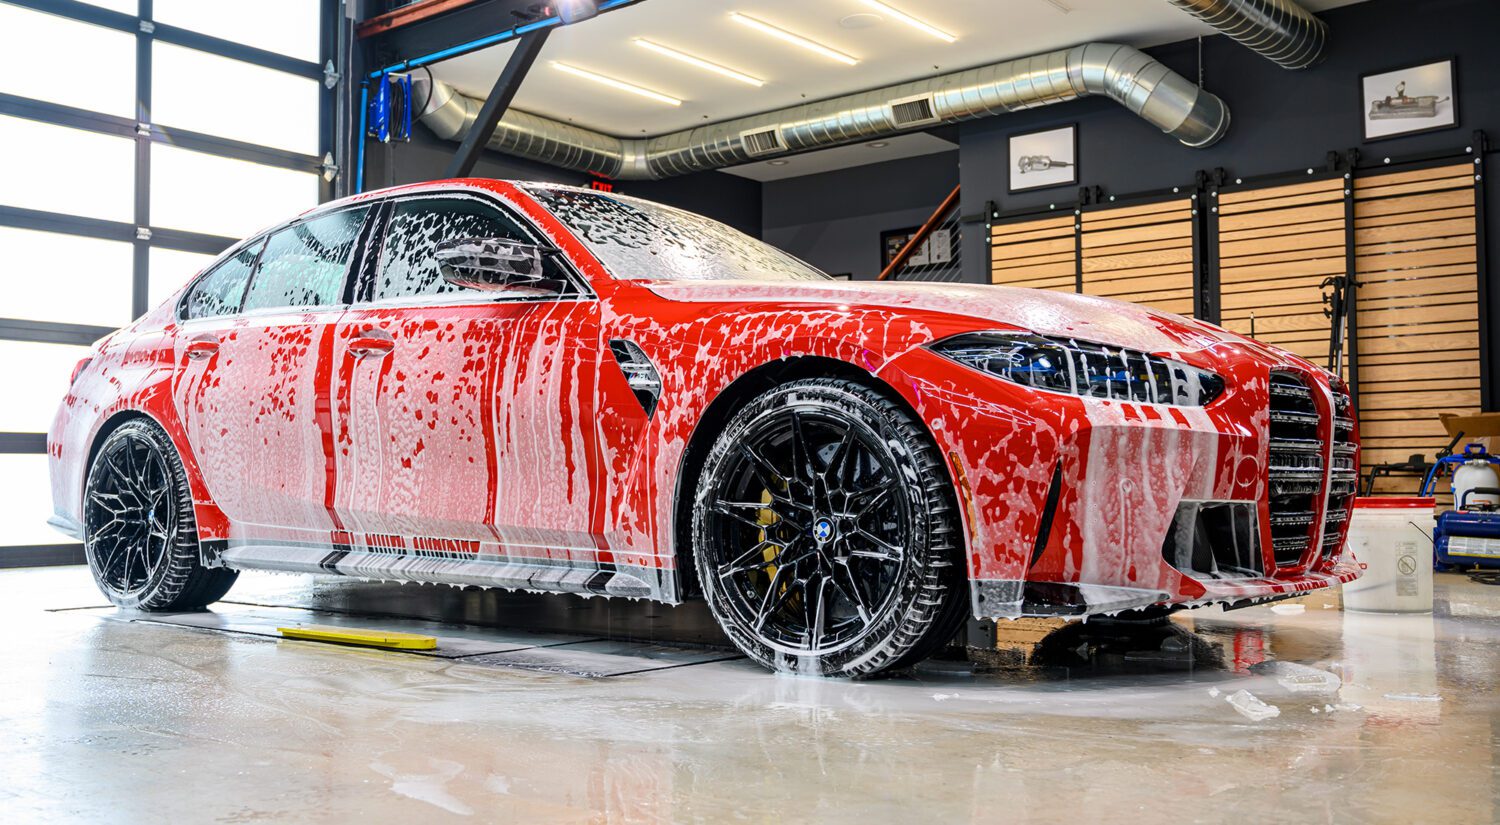
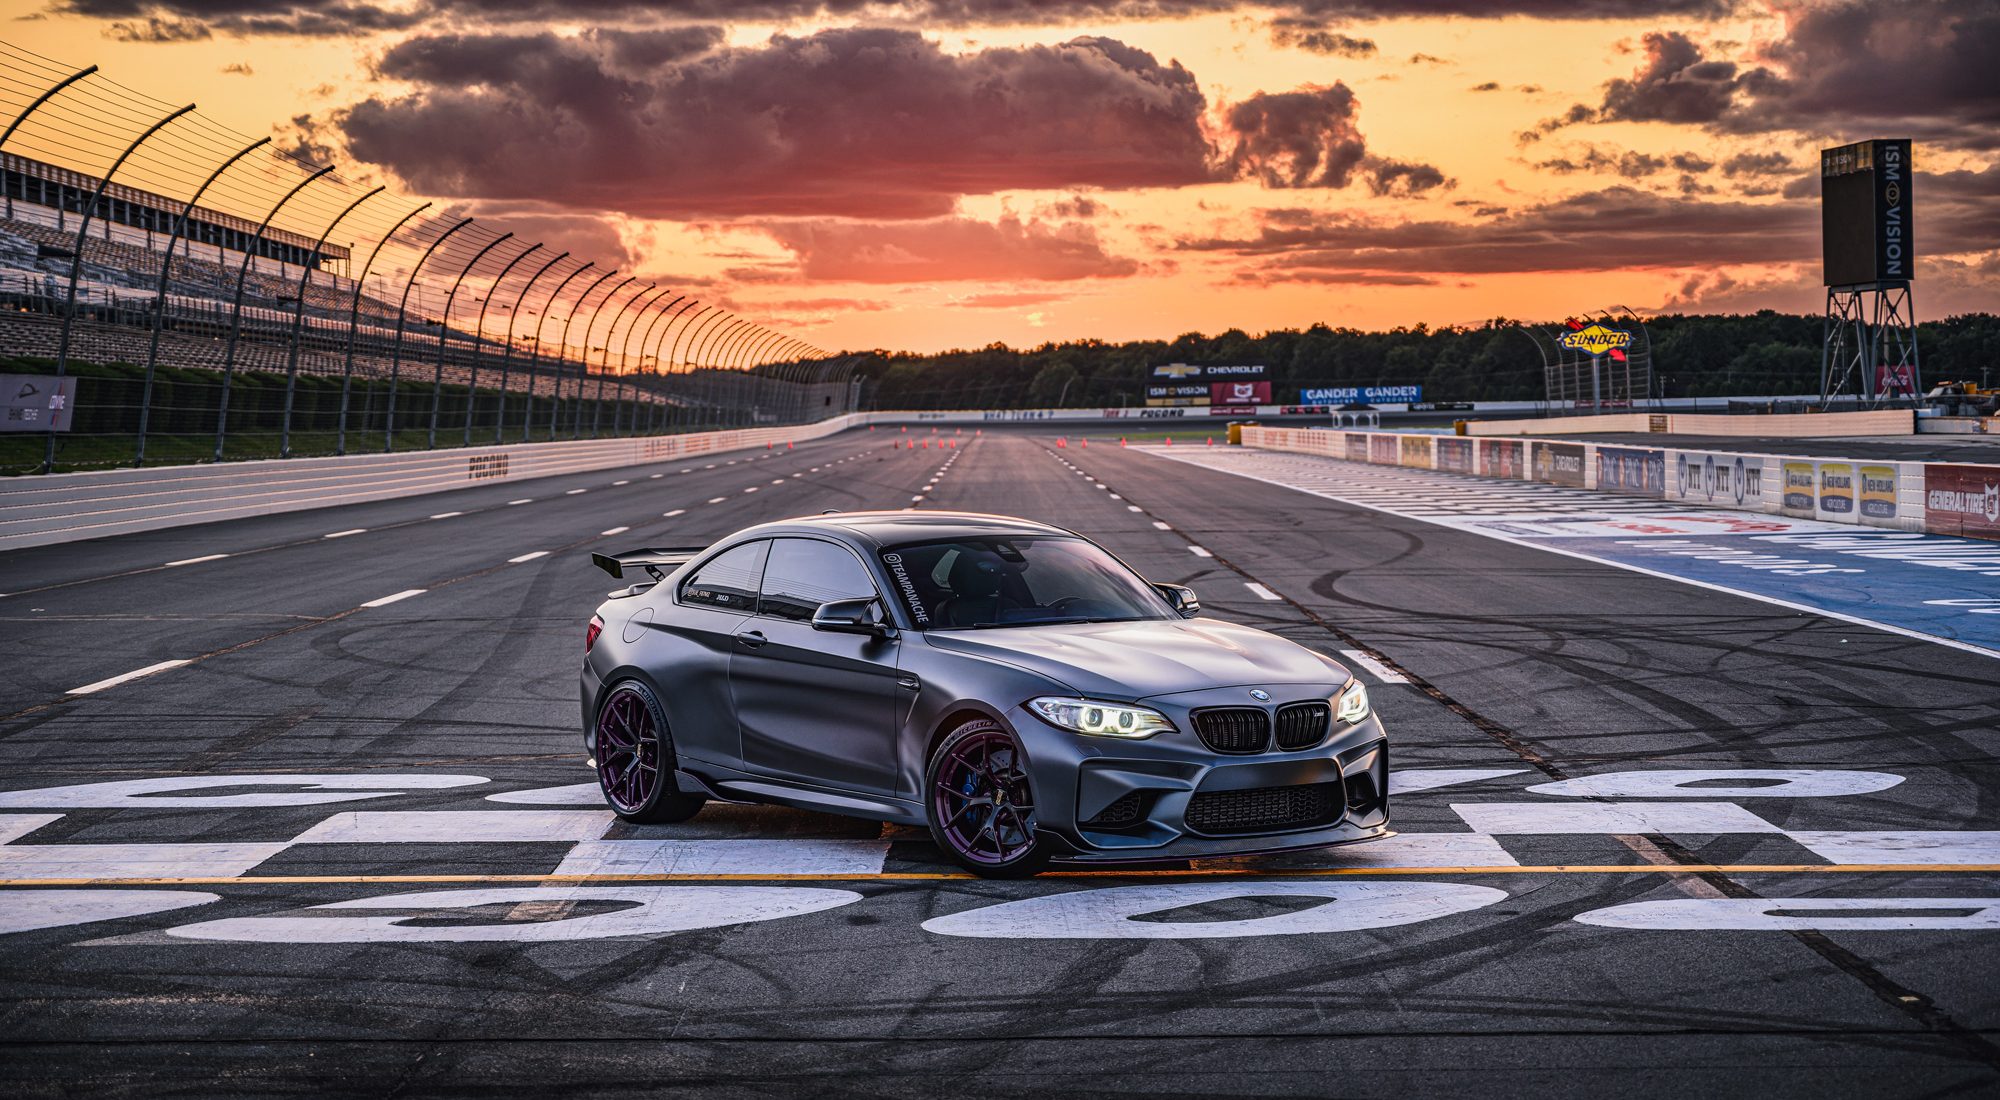
A popular question I often get asked is about automotive daytime running lights and how I get the color so accurate. While most cars today come with LED lights that are always on and give the car a more aggressive look, matching the color of what they actually look like in real life can be a challenge.
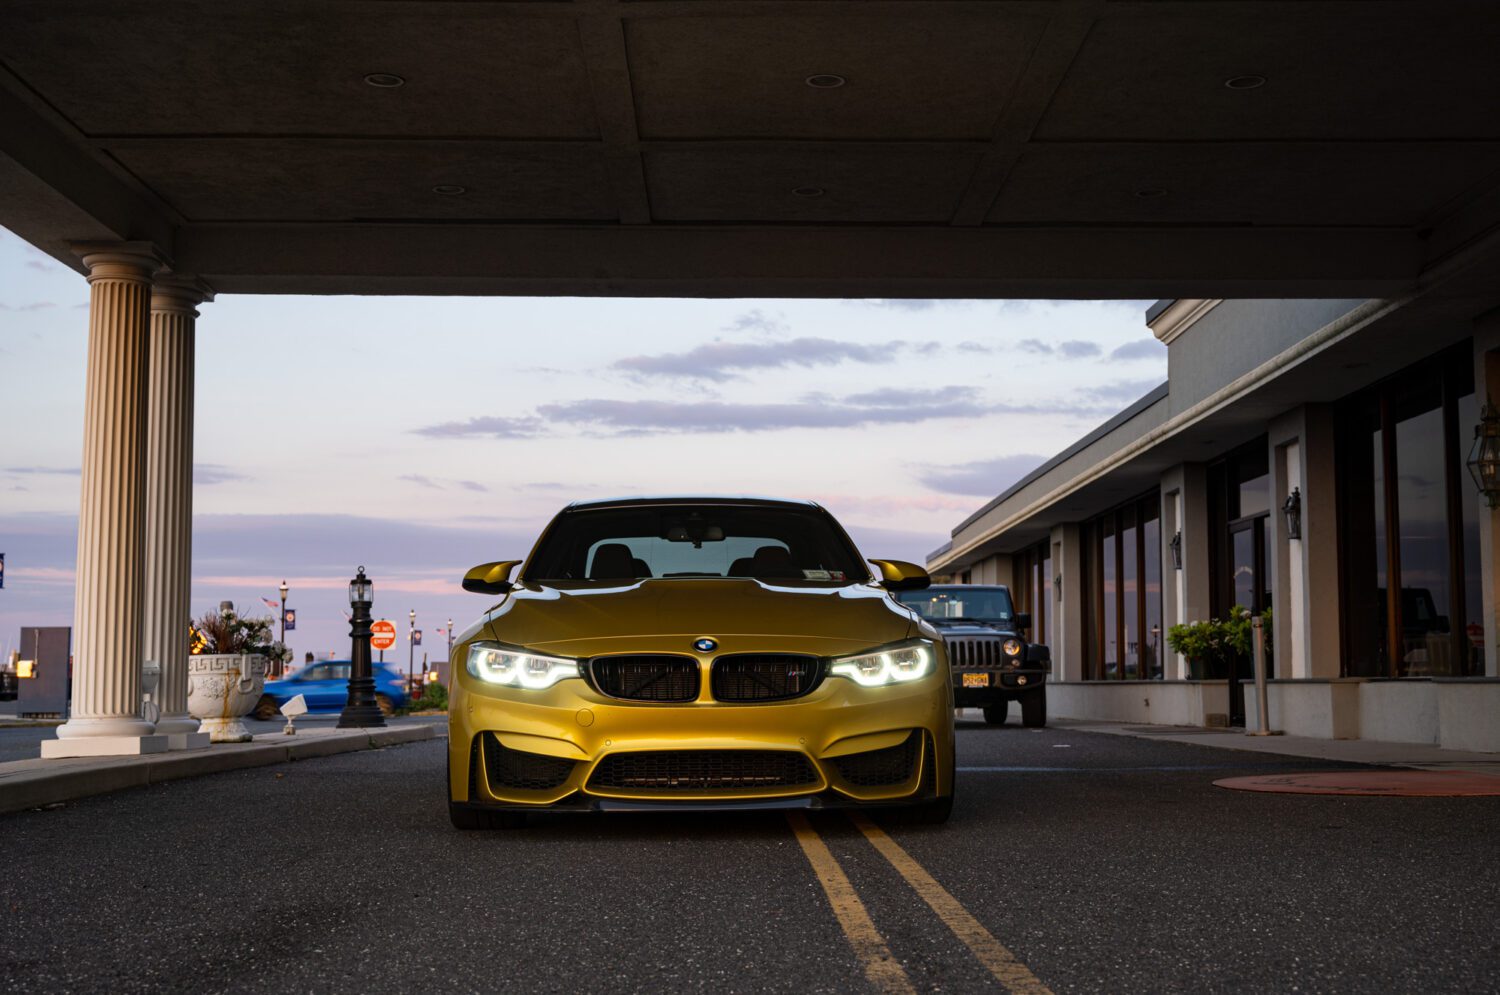
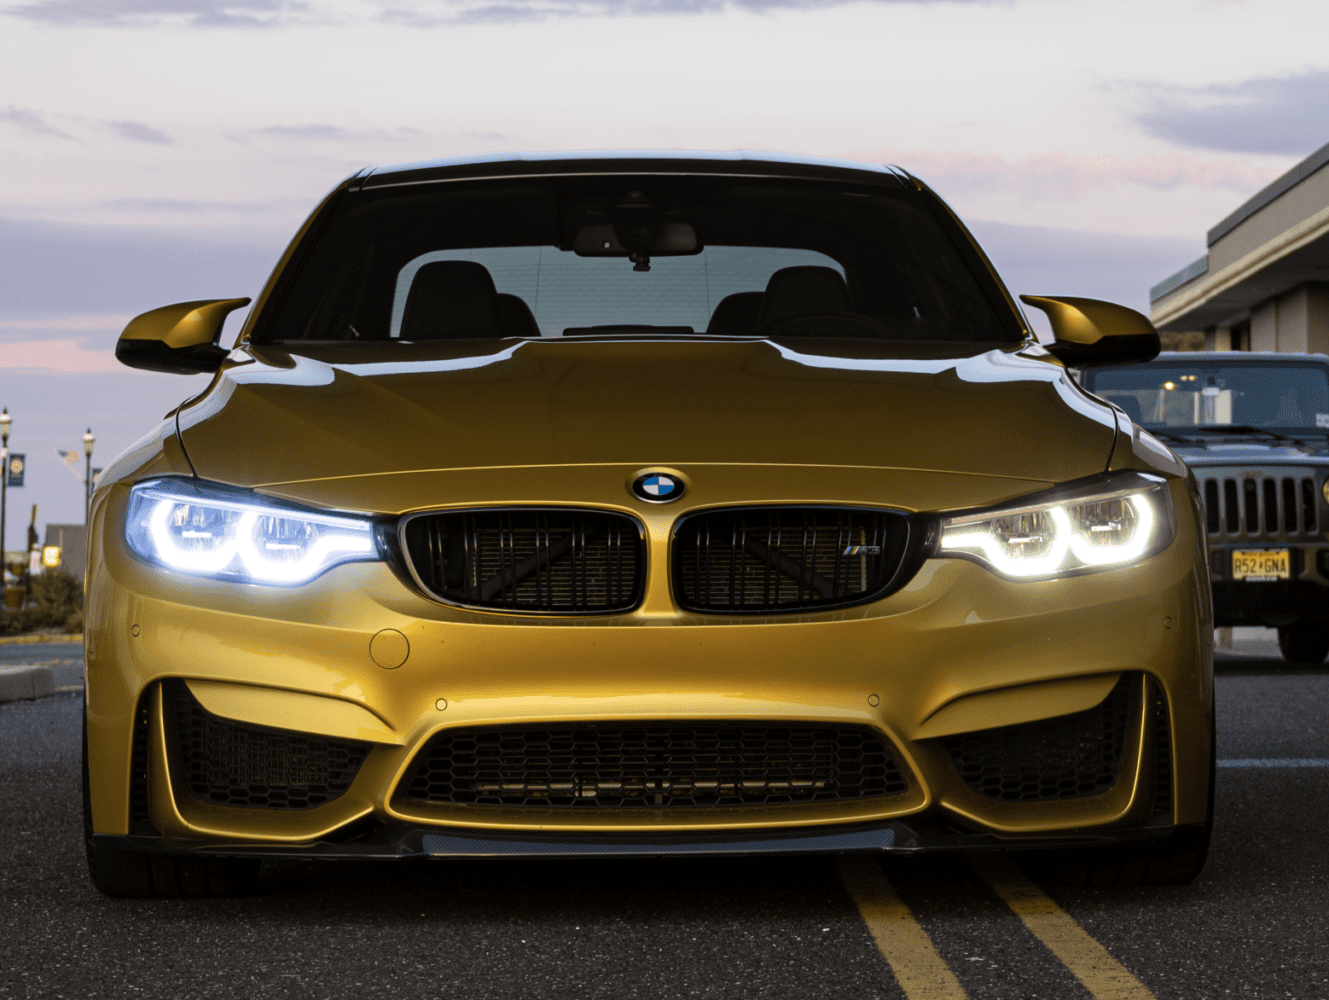
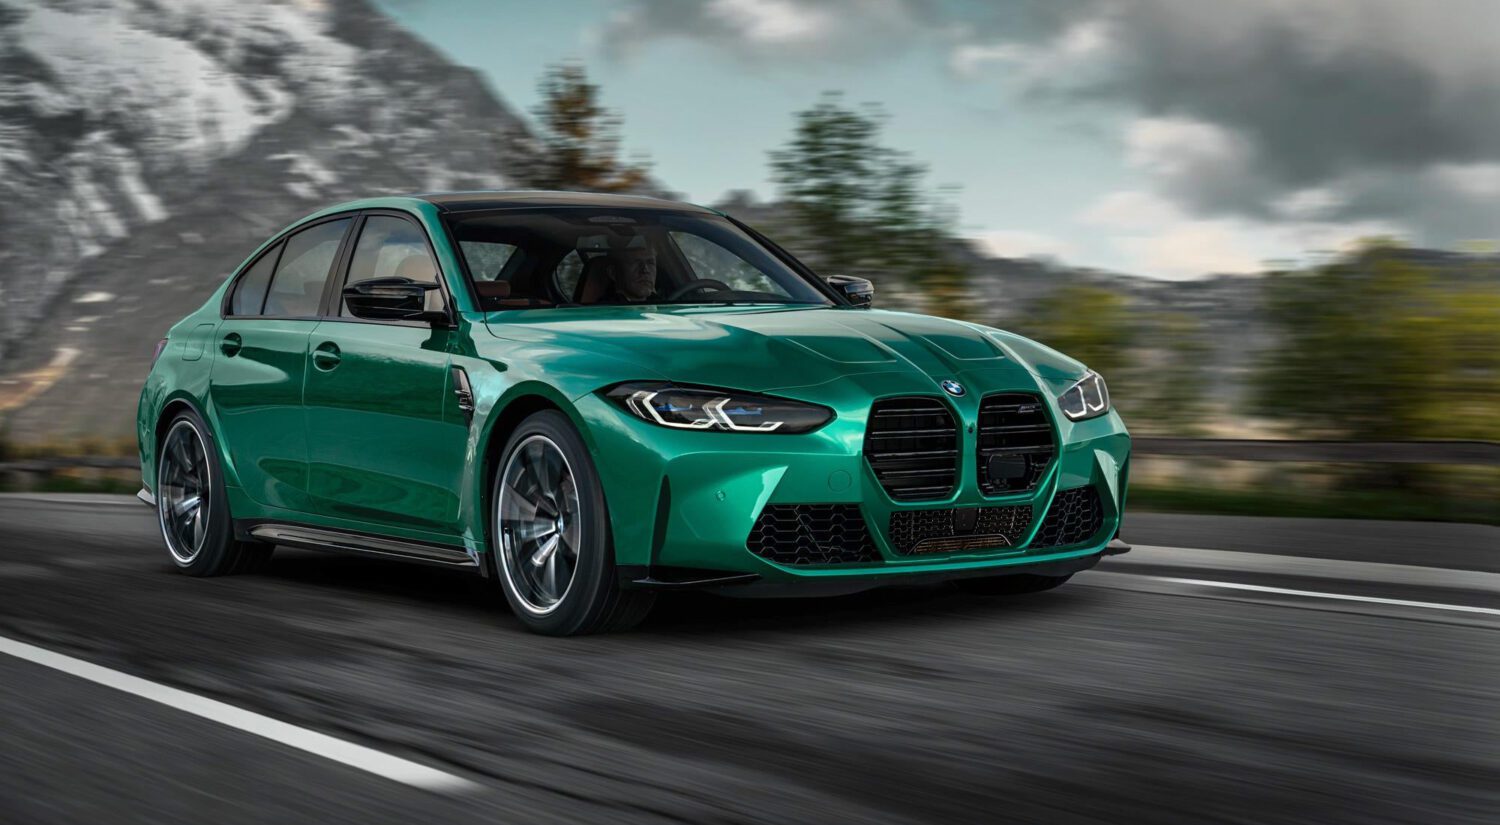
We’ll be using a BMW M3 for this example, but this applies to any headlight. Though I will always urge you to use a camera with a lens, there are some iPhone tips here as well.
Tip 1 – Understanding color temperature in your DSRL or Mirrorless camera
In the old days when I had a Nikon D5200, I’d usually have to select a color mode for the white balance of the shot. If you’re shooting at sunset, the scene might be predominantly orange, so you’d go to a “cool” temperature, making the orange toned down. You can usually see the difference each option makes via your live view in the camera.
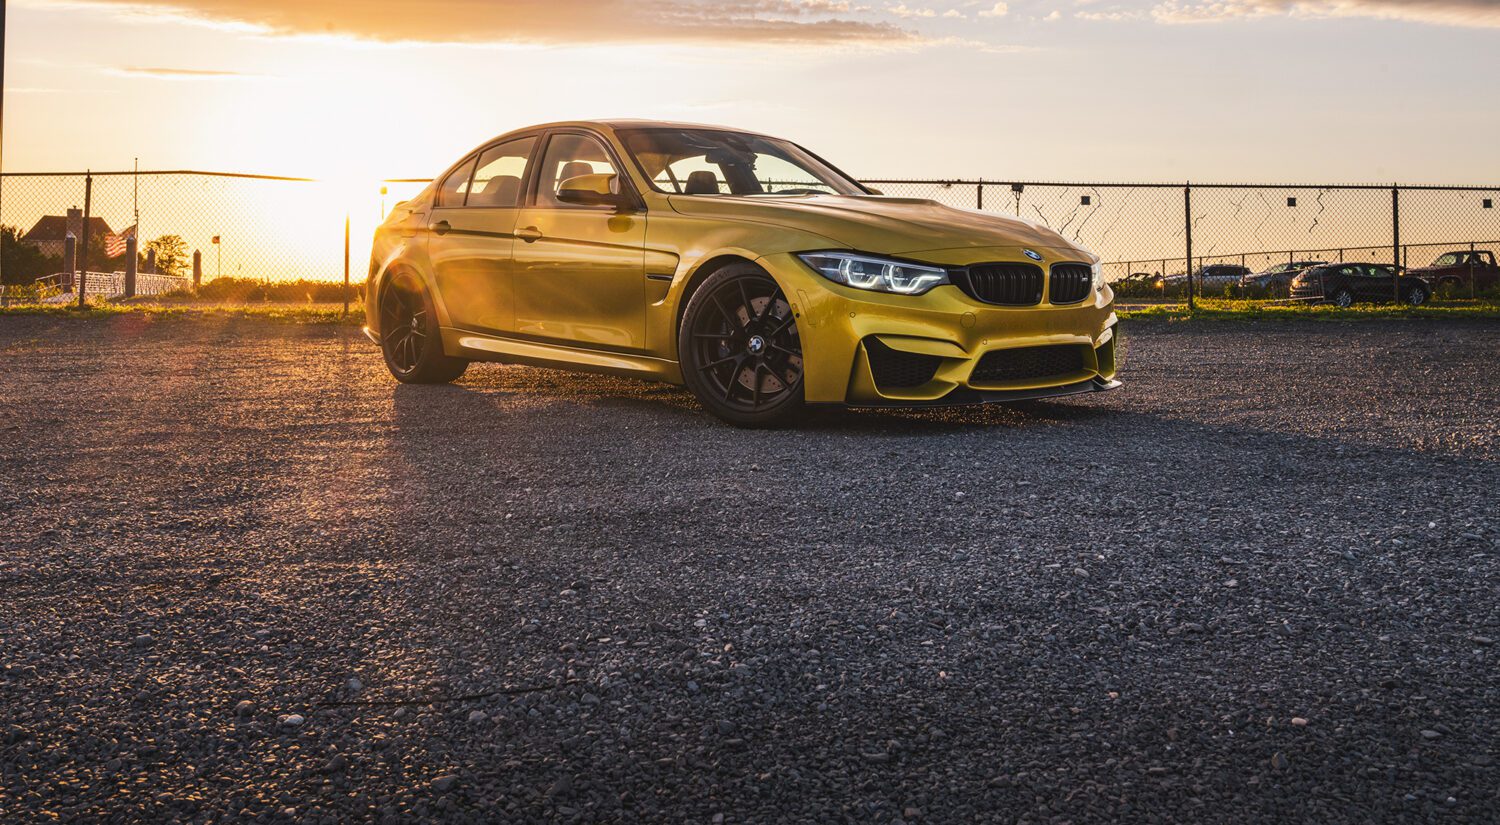
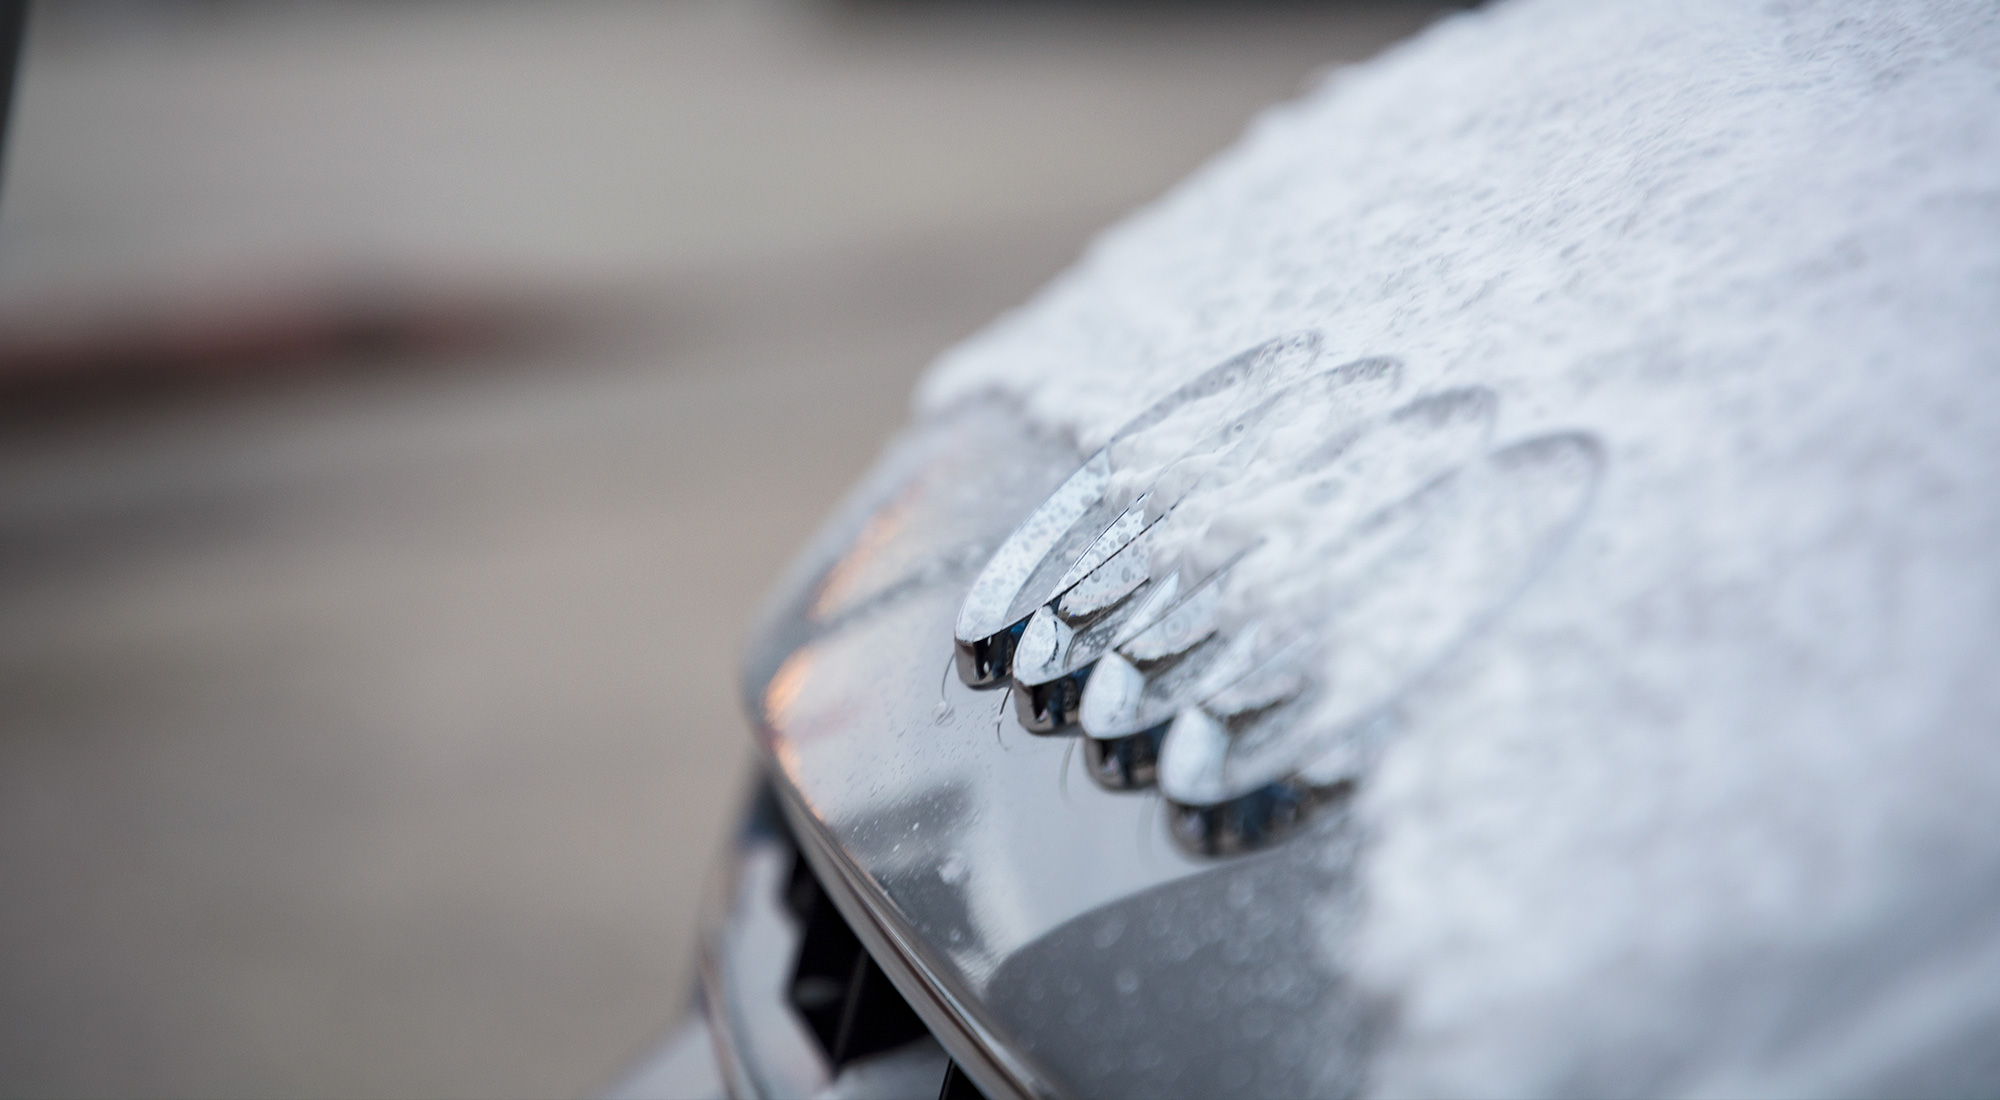
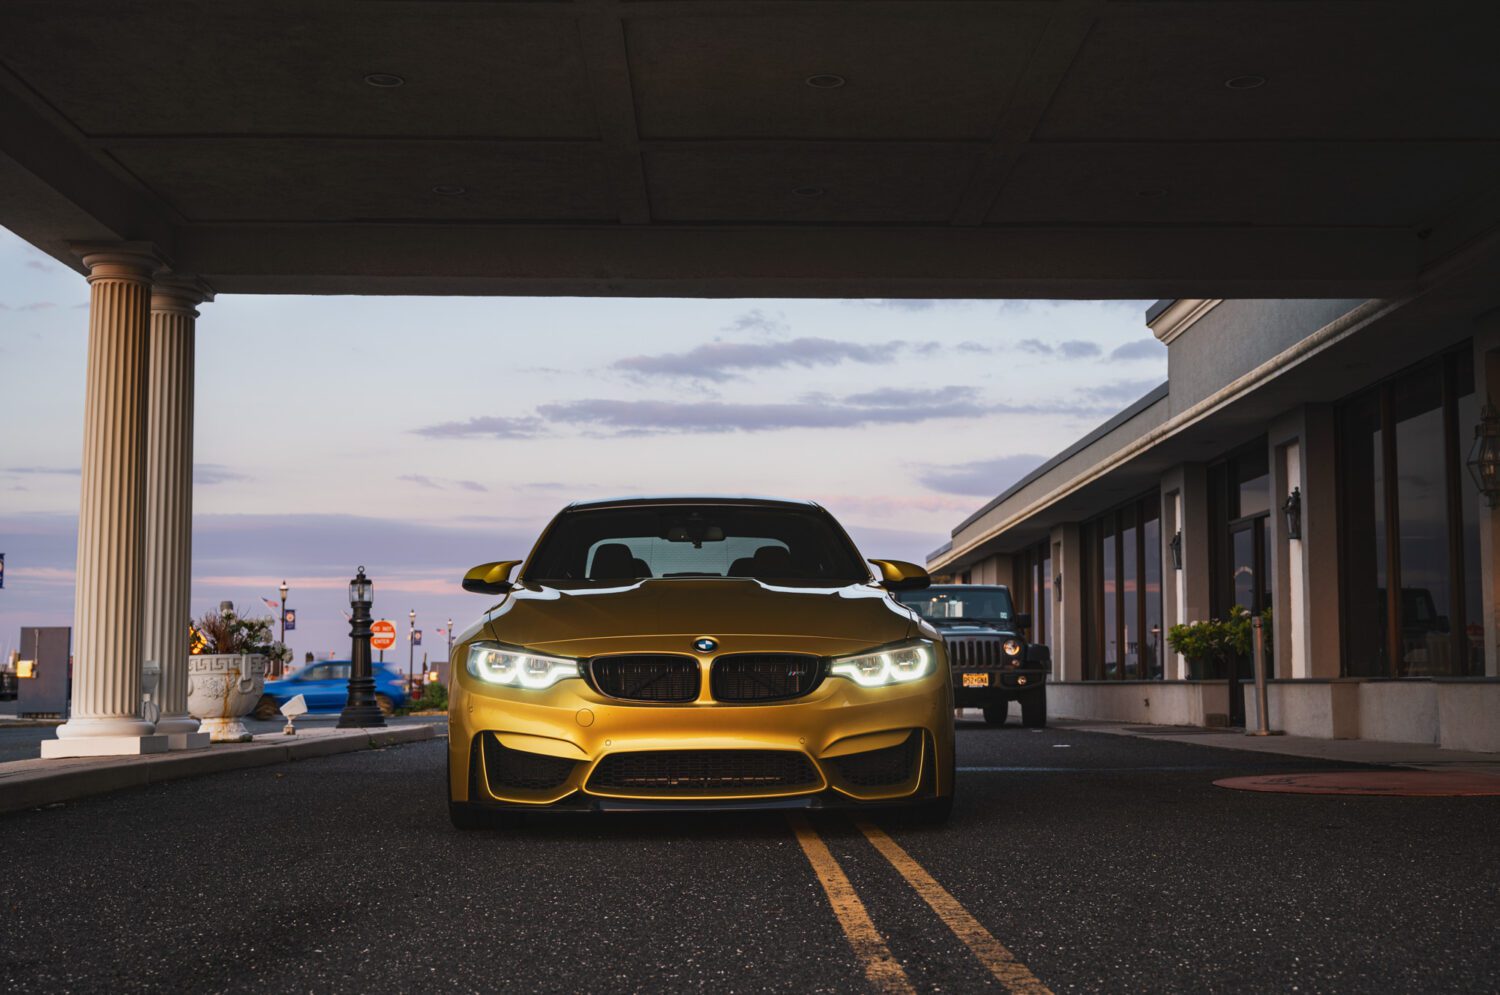
With my Z7, the camera is smart enough to decide this on its own, and so I leave the temperature selection to automatic. Now the Z7 is really good, but it can still sometimes be fooled. This Austin Yellow M3 means the image naturally has a lot of yellow in it already, so no matter what, the tone of the image will have a slight yellow hue to it.
Tip 2 – Shooting with your iPhone
There are a few things you can do with your iPhone to ensure accurate color:
- Make sure “Night shift” is off – this gives the screen a warm hue at night to save your eyes, but will hinder your photo shoot.
- If you have a newer iPhone, you can enable “True Tone”, which will make the colors on your screen more vibrant.
- When in your camera mode, tapping the screen will adjust the brightness and color according to the area you select. Tap the sky, and the foreground will become darker. Tap the headlights of a car, and the scene will adjust the exposure for the headlight. This is your best best for getting an accurate picture.
- Modern iPhones automatically have HDR (High Dynamic Range) enabled. On some older models, you might have to turn it on manually.
- You can still use some help like a tripod or even attachable lenses to aid in multiple exposures
Tip 3 – Automotive daytime running lights in Post production
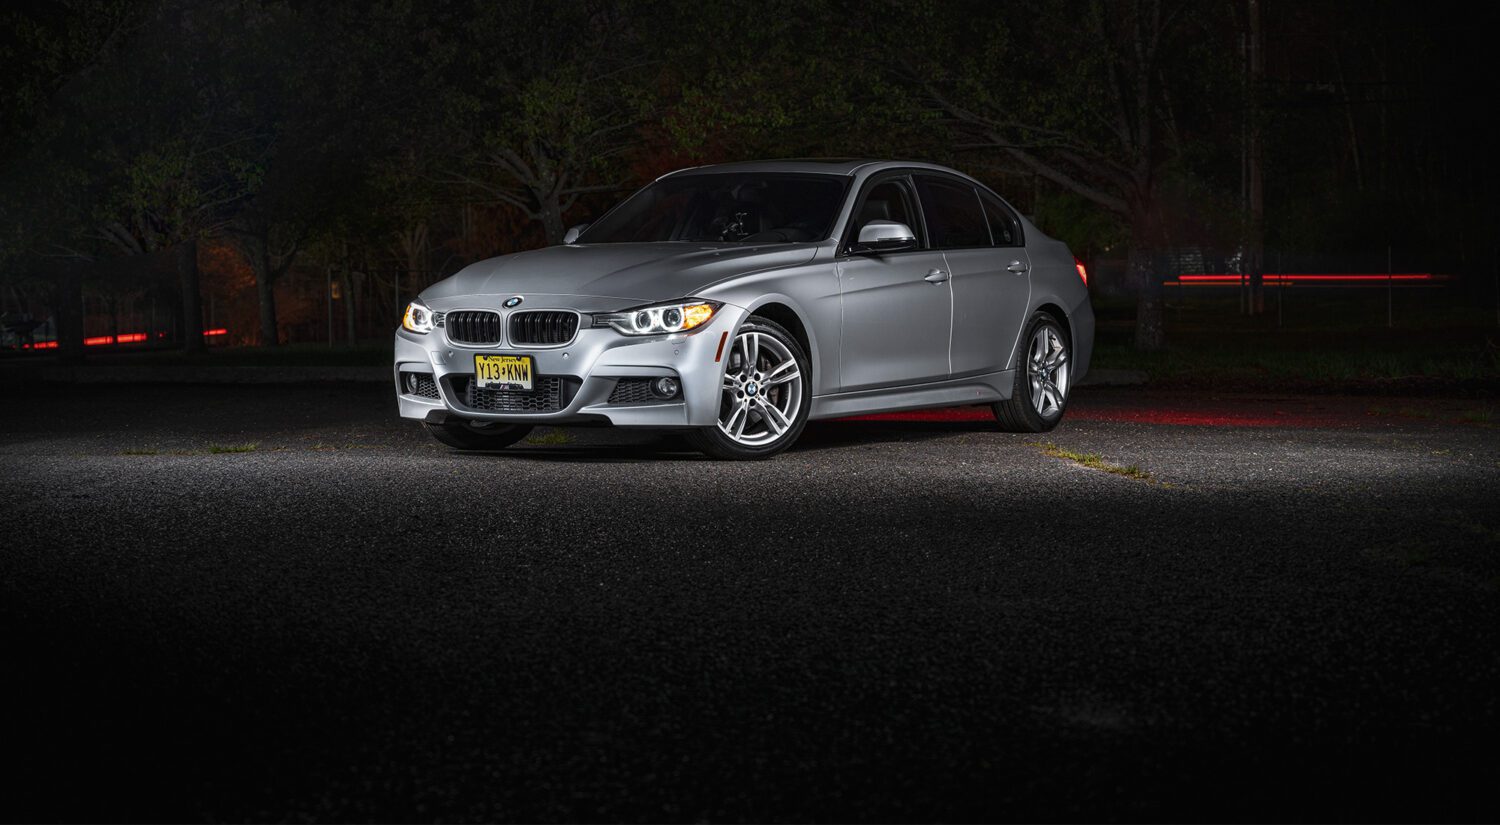
You can open your RAW image in Camera Raw and check out the “White balance” panel here.
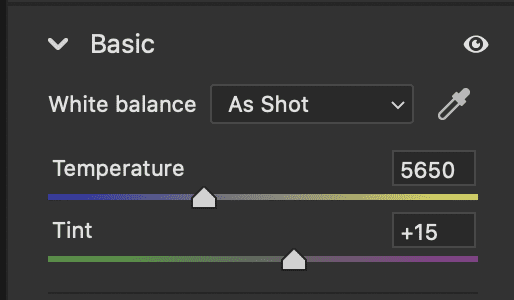
Adjust as needed for the entire shot – not just the headlights. As you can see, the Z7 got the color right in camera.
If it’s not, then duplicate your layer in Photoshop by right clicking on it and selecting “New smart object via copy”. Then, open the Camera Raw option on your new layer, and adjust the color for just the headlights.
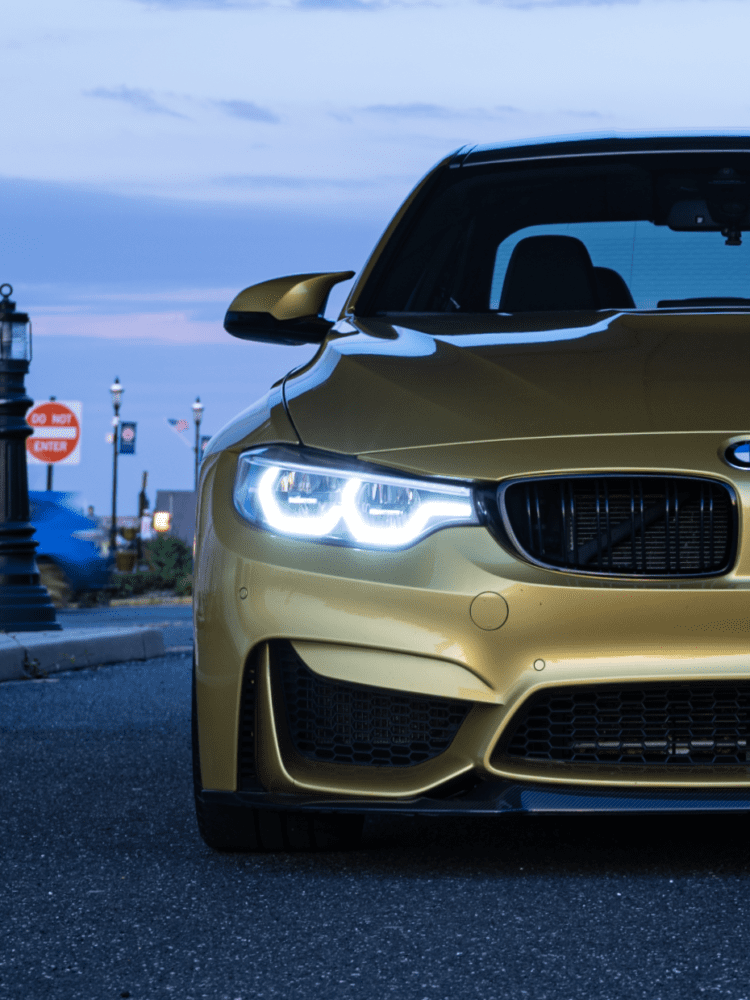
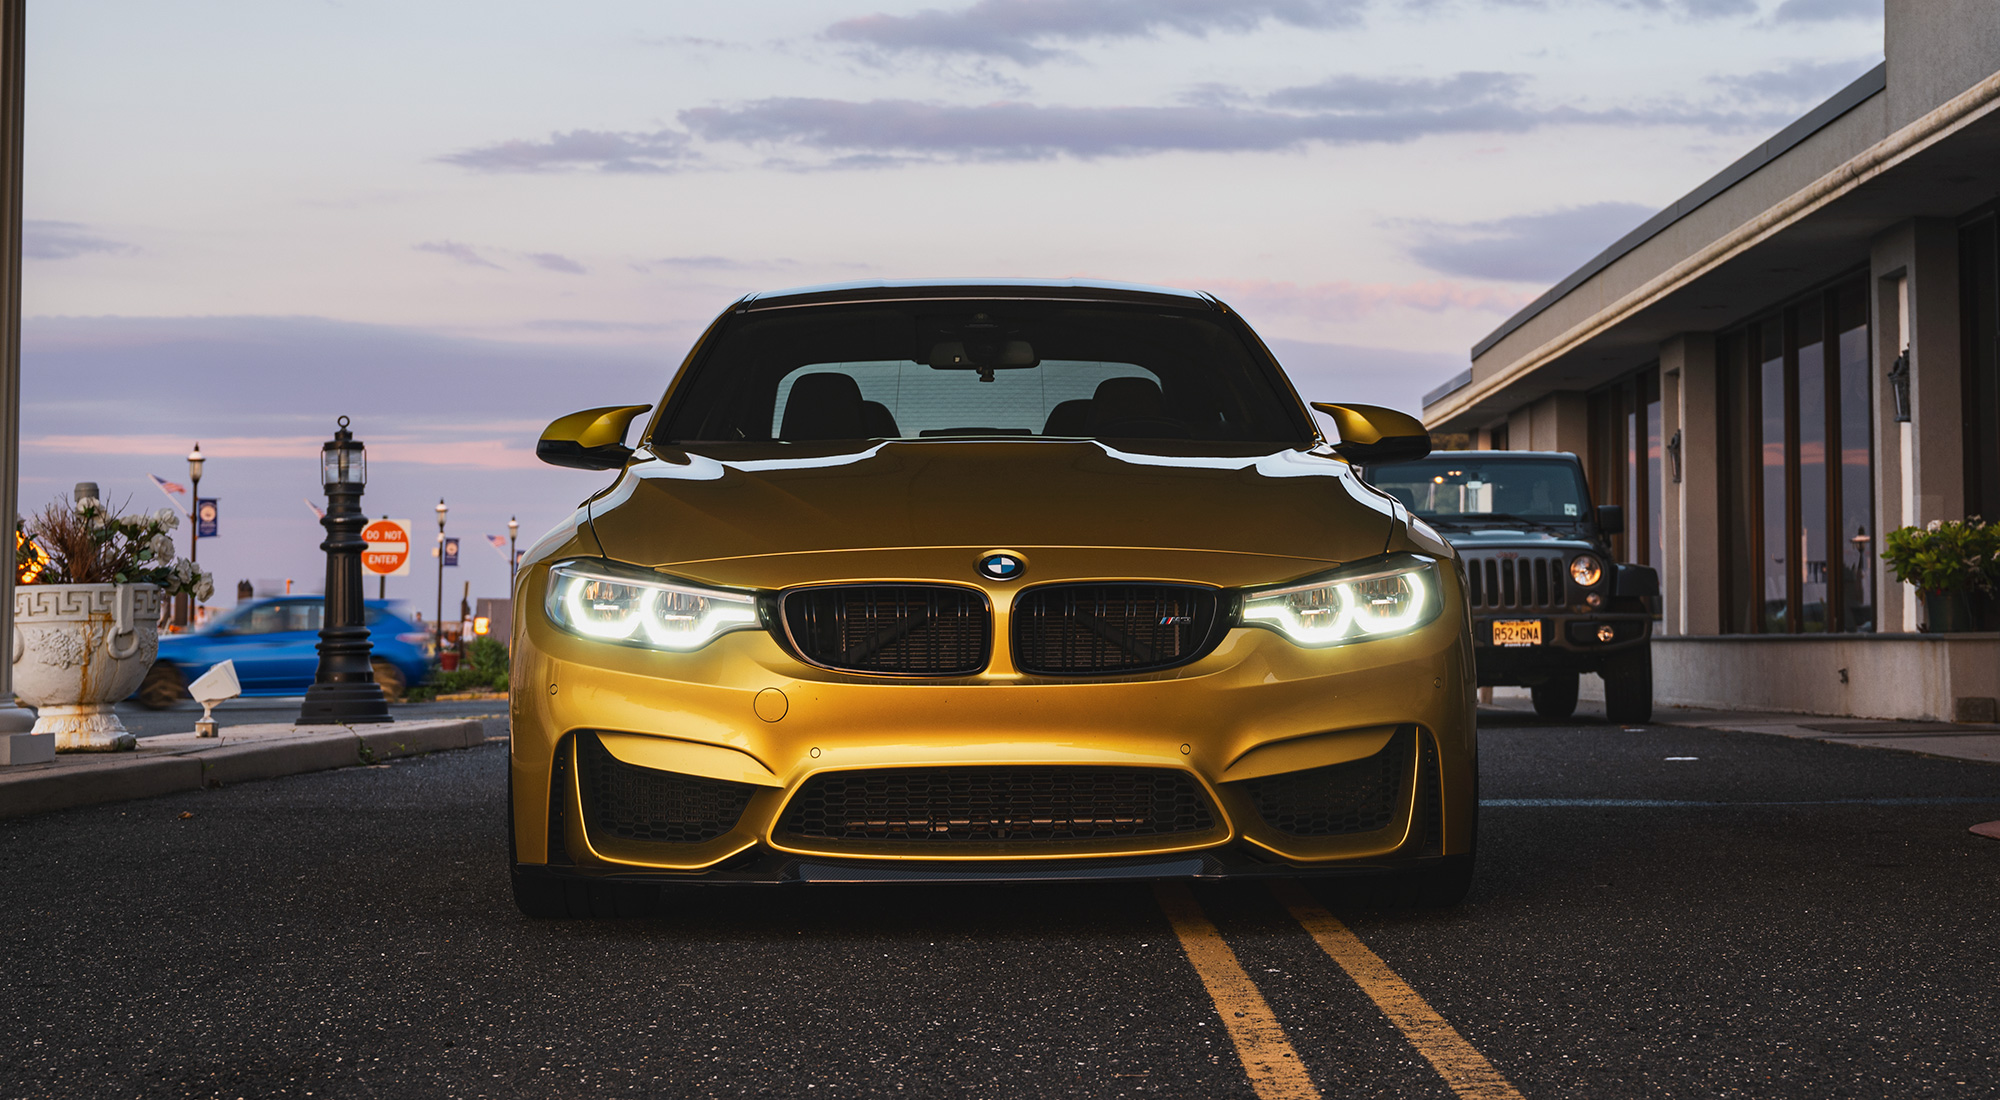
Close Camera Raw, and go back to Photoshop. On the layer you’ve just tweaked, change the blend mode to LIGHTEN. Then add a layer mask and fill it entirely with black. Now select your airbrush and just paint the headlight back in.
For this purpose, we’ll keep the color original. But this is a great way to adjust your headlights as needed if your camera is less accurate.
Feel free to email me at mike@machineswithsouls.com with any questions.
Follow along on Instagram @machineswithsouls
One thought on “Shooting Automotive daytime running lights”
Comments are closed.