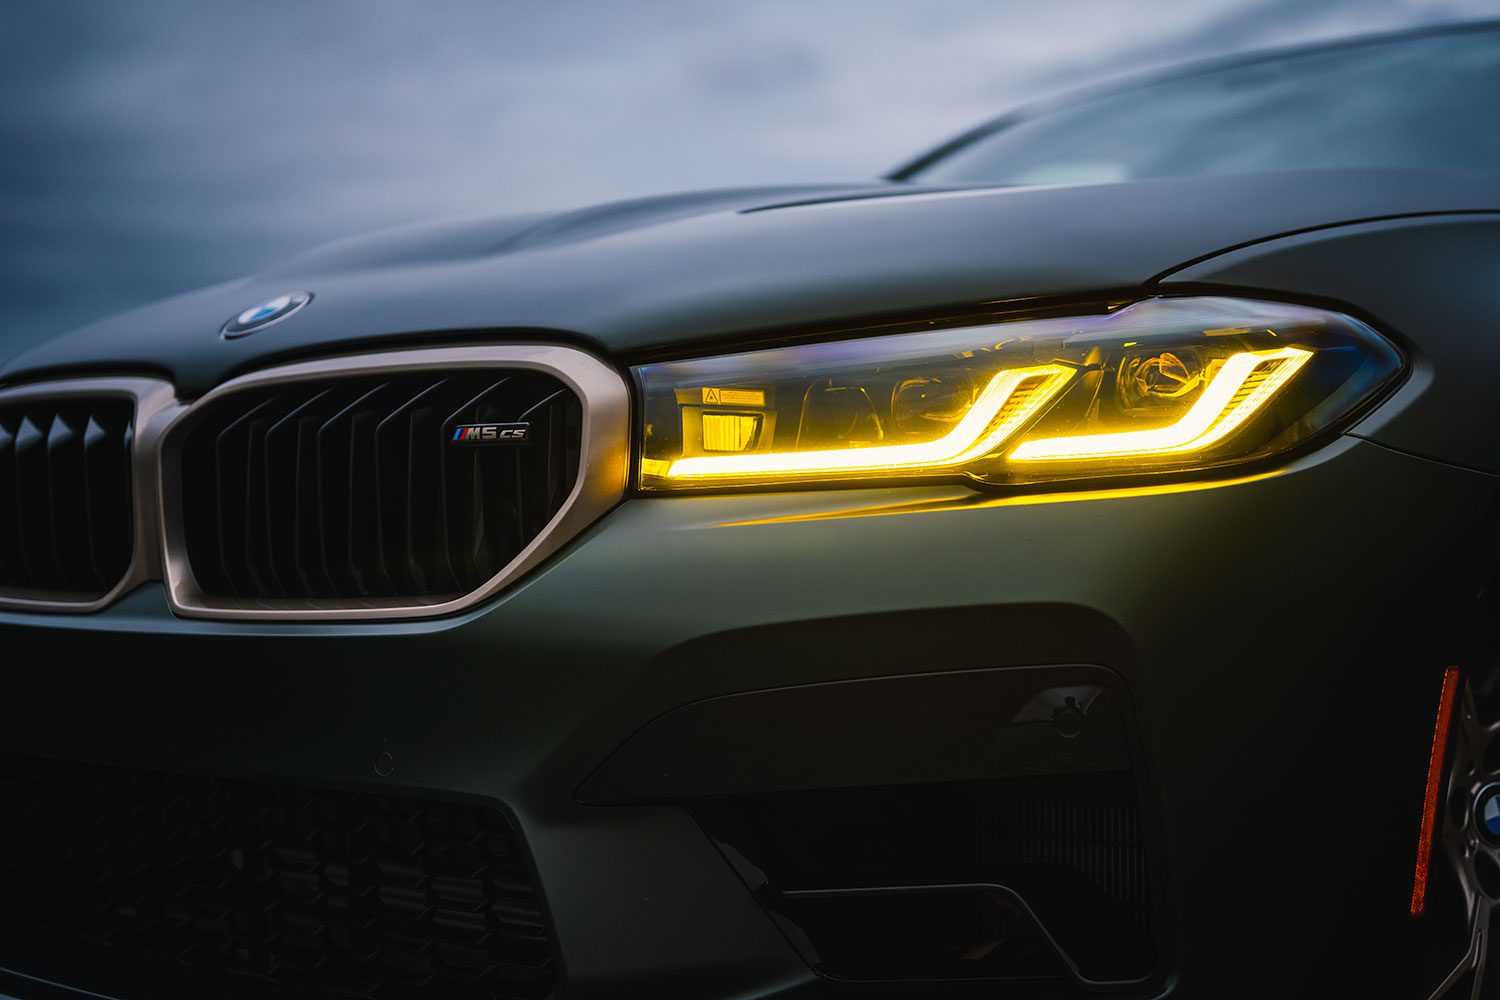
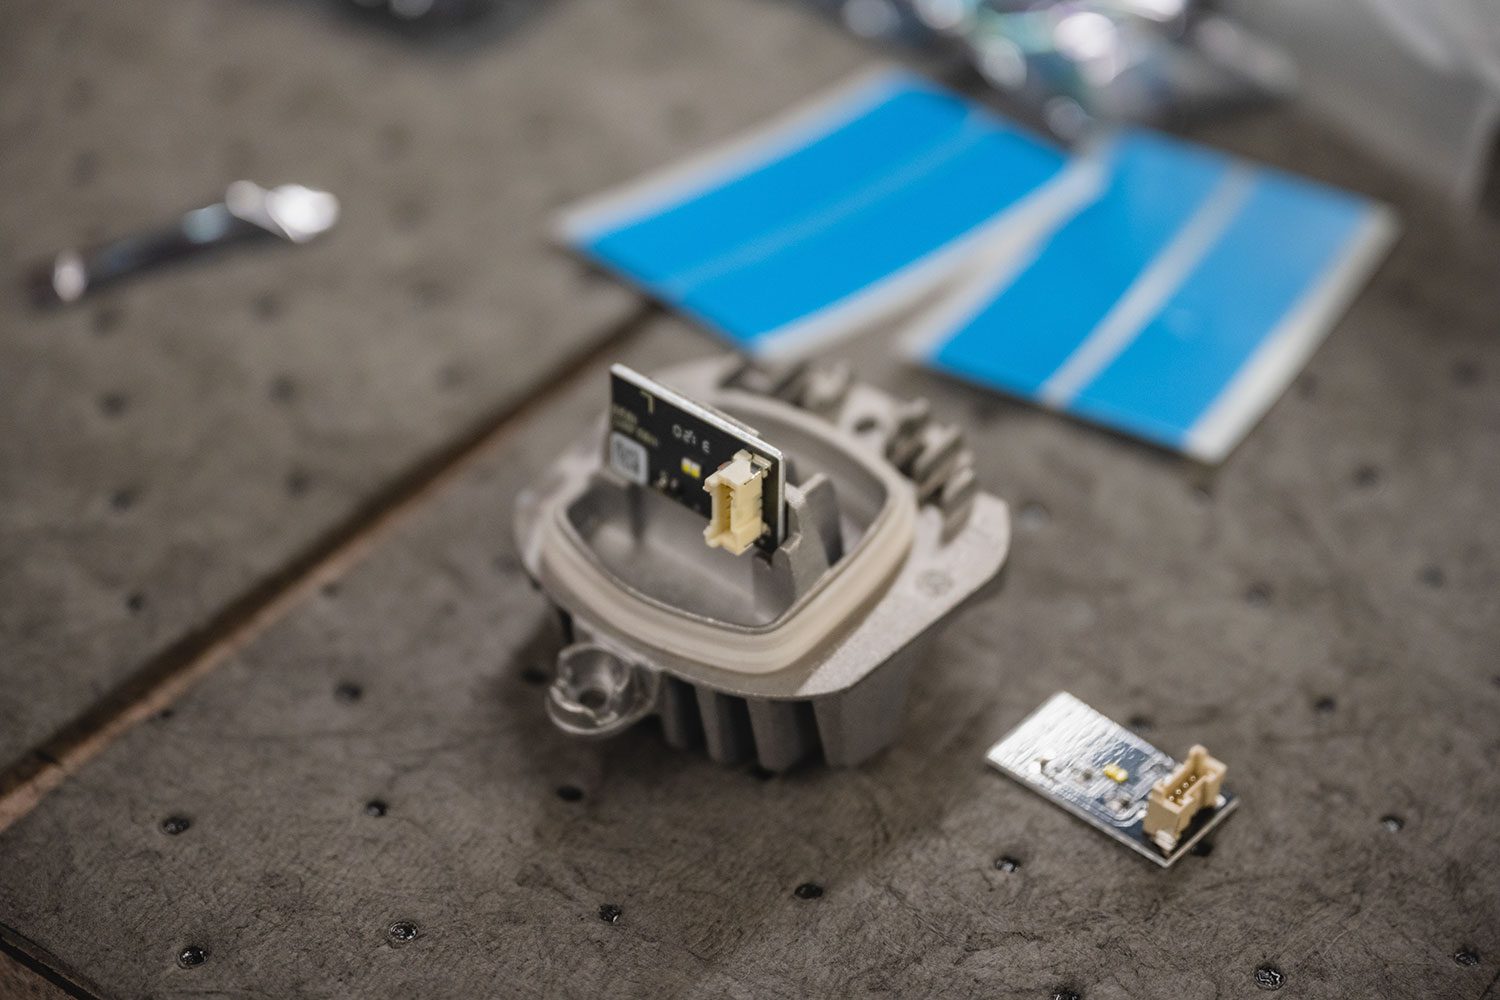
One of the many cool features of a CS or CSL BMW are a set of yellow DRLs, or Daytime Running Lights. I wondered if it would be possible to get that look on my own, and a company called Bayoptics was happy to help. This story will go through the installation with TySpeed, and show the results of how an easy mod can make a big impact. I am not lost on the irony that 20 years ago, we used to hunt for Sylvania bulbs that gave off pure white light. Now here we are replacing the stock units for yellow ones. But I don’t make the decisions on what’s cool. CSL DRLs are.
First, a few questions from the masses on my previous mods.
M Performance Suspension update
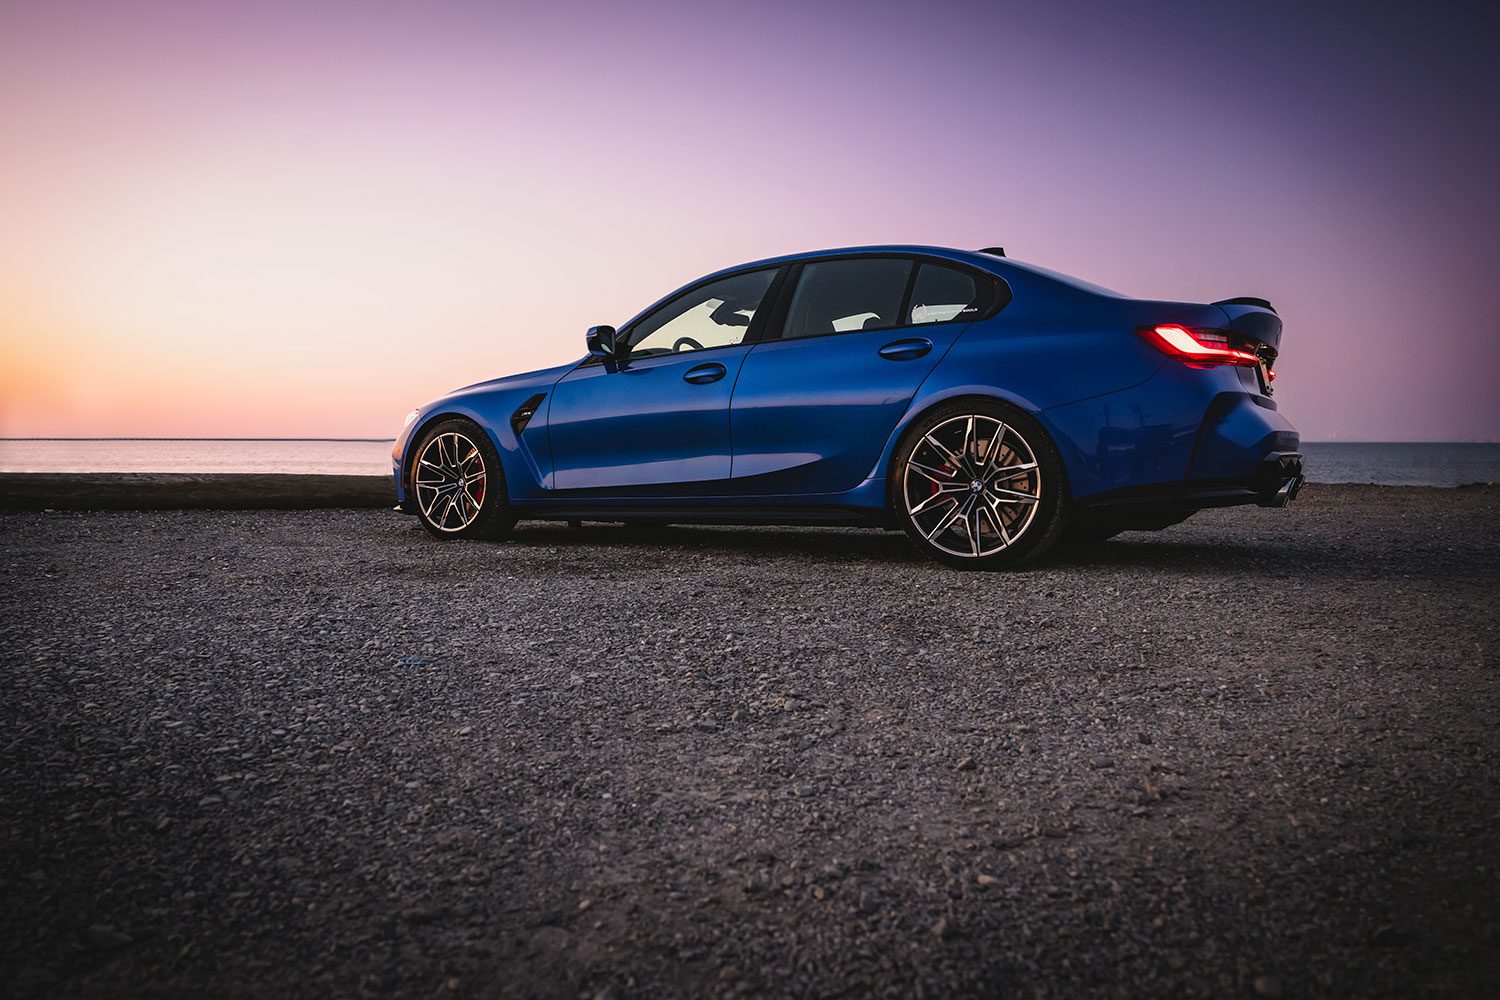
I’ve put about 500 miles on the car since the M Performance suspension has been installed, and feel as if it’s just about perfect.
The look isn’t as aggressive as some setups are, but I’d rather maintain the car’s full function than have it be “slammed”. Any lower, and the wheels would hit the inner fender walls when at full lock. The OEM+ look the suspension offers is just right.
In the rear, lower springs have a tendency to bottom out, which can cause the ride to be harsh and unsettled mid-turn. The G80 already has what some call a “firm” ride from the factory, and this essentially made it worse (though not unbearable)
Only true masochists will ride around in Sport+ mode, but beyond that, it’s given the car a greater sense of precision and maneuverability.
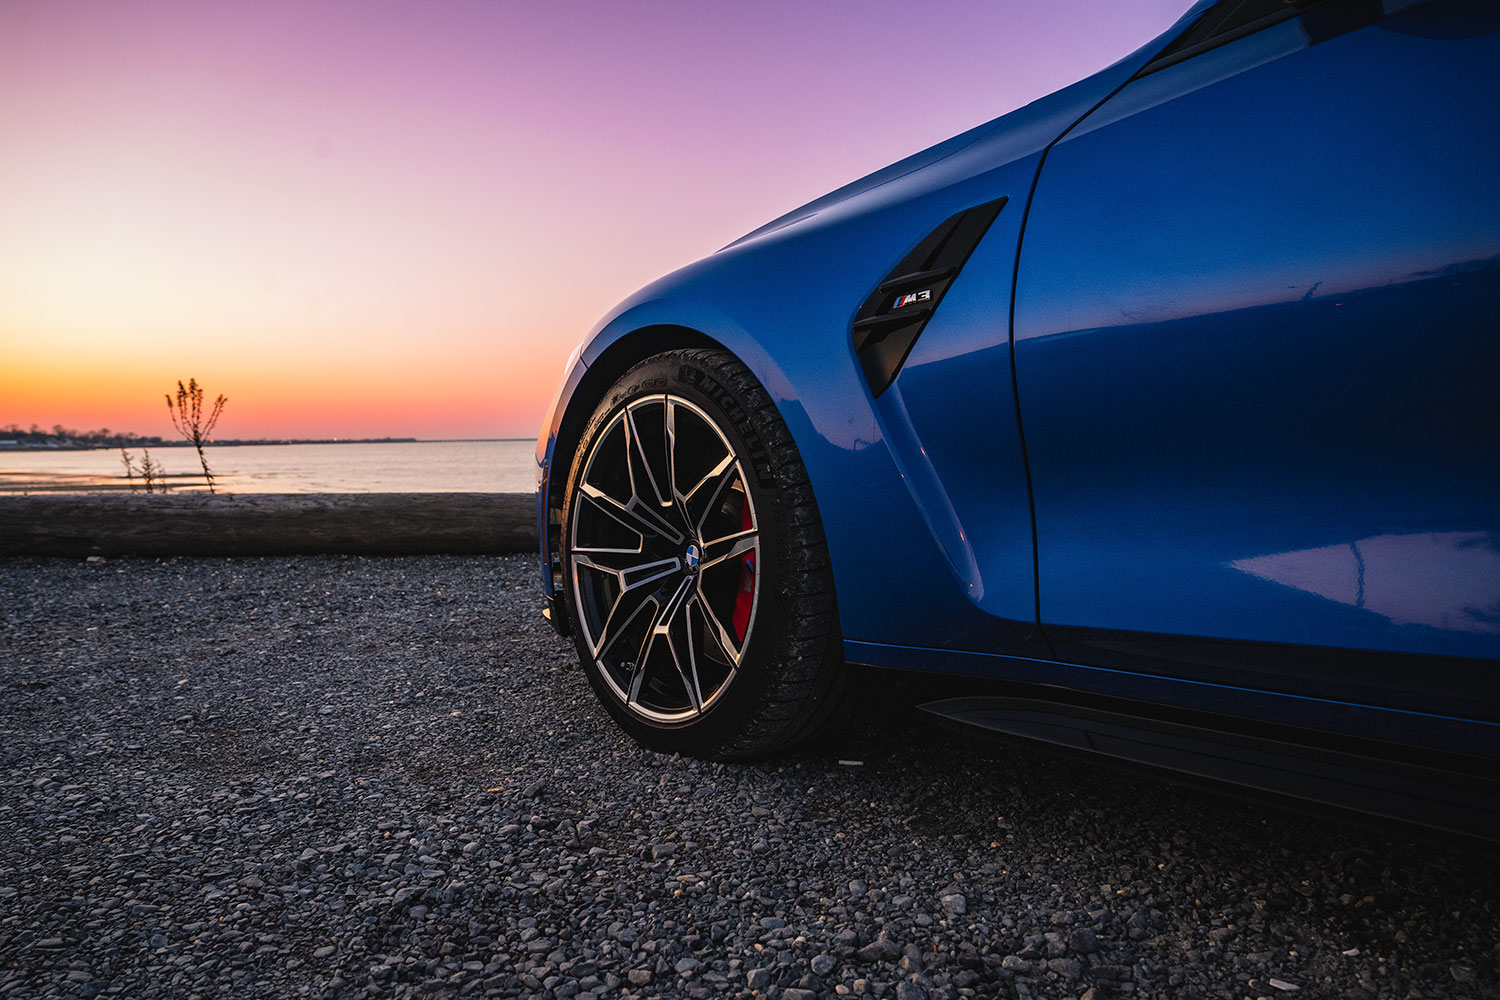
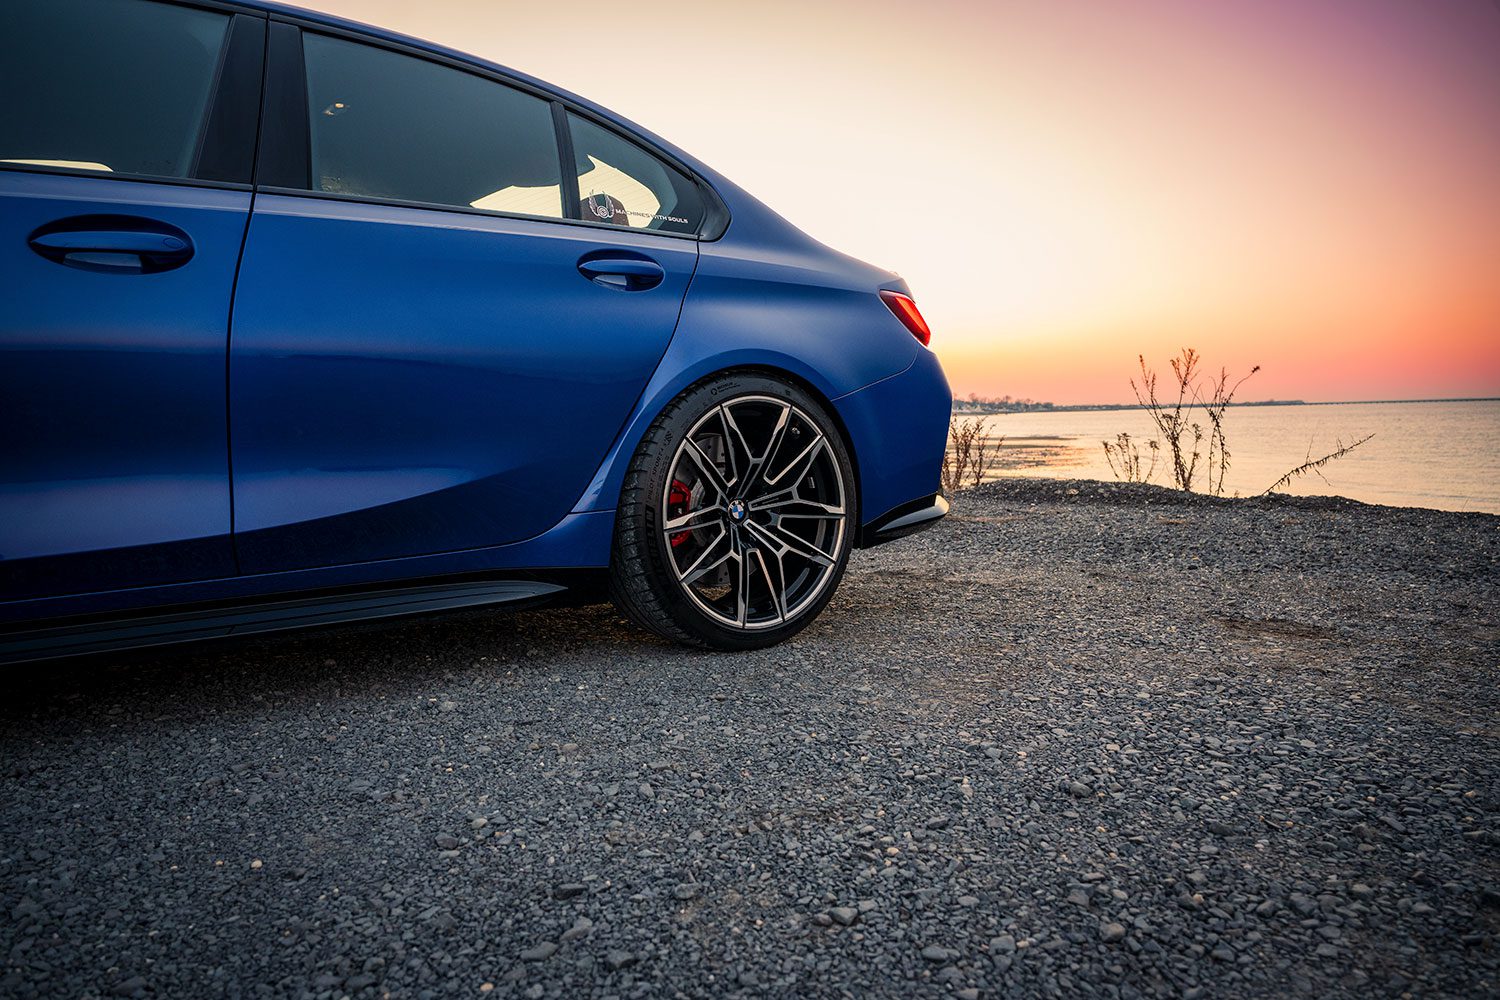
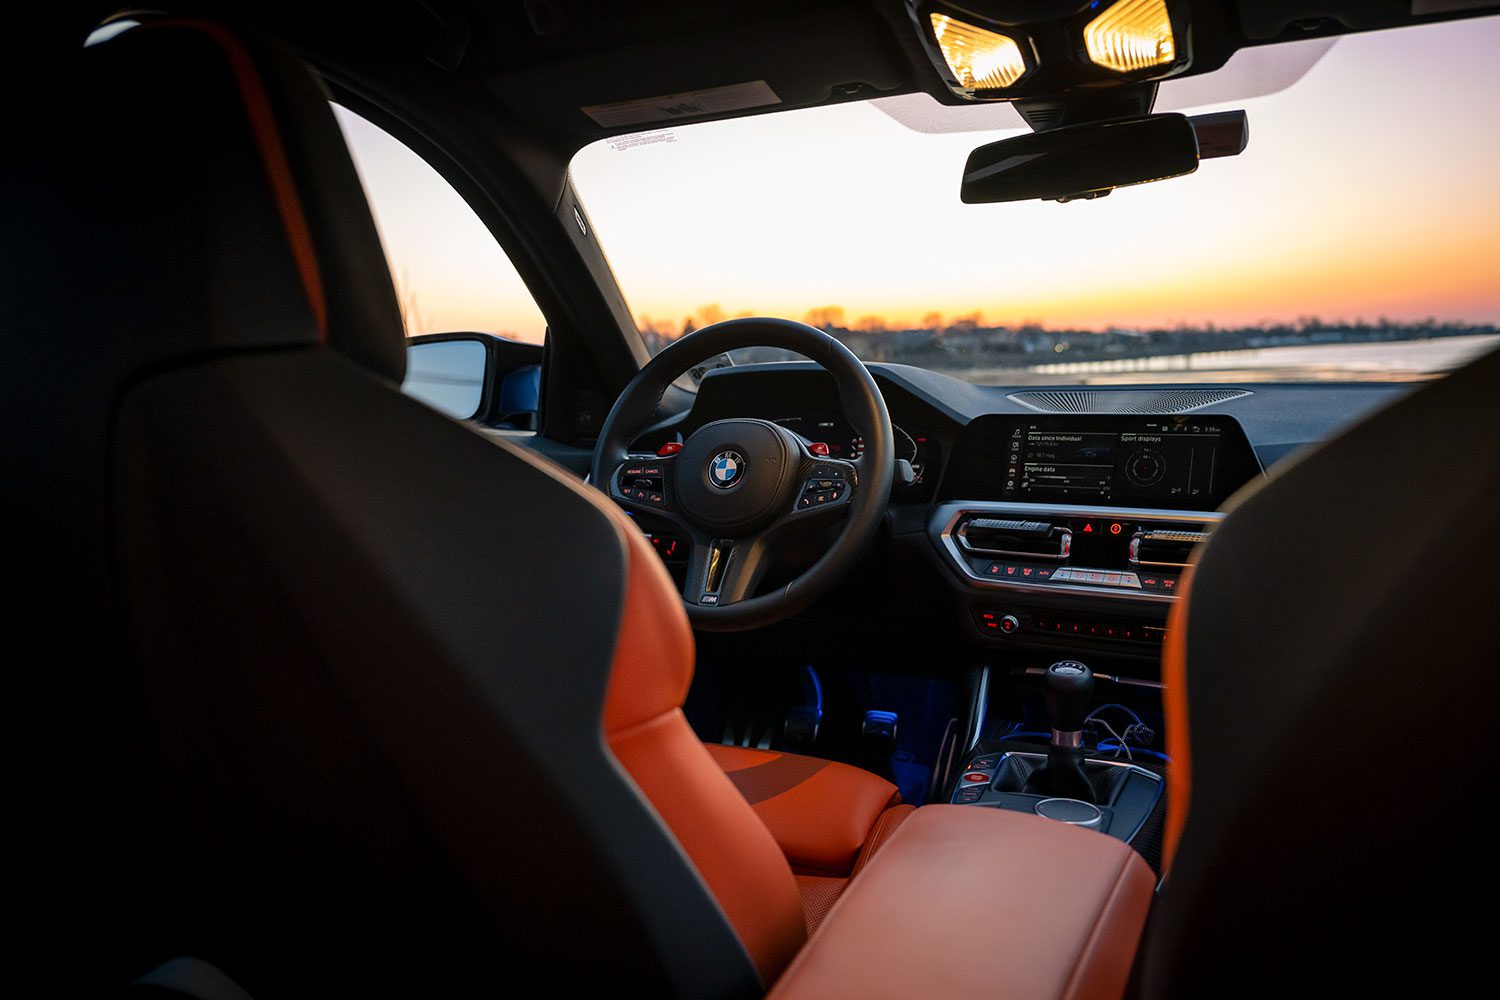
Does the AWE Track Exhaust drone?
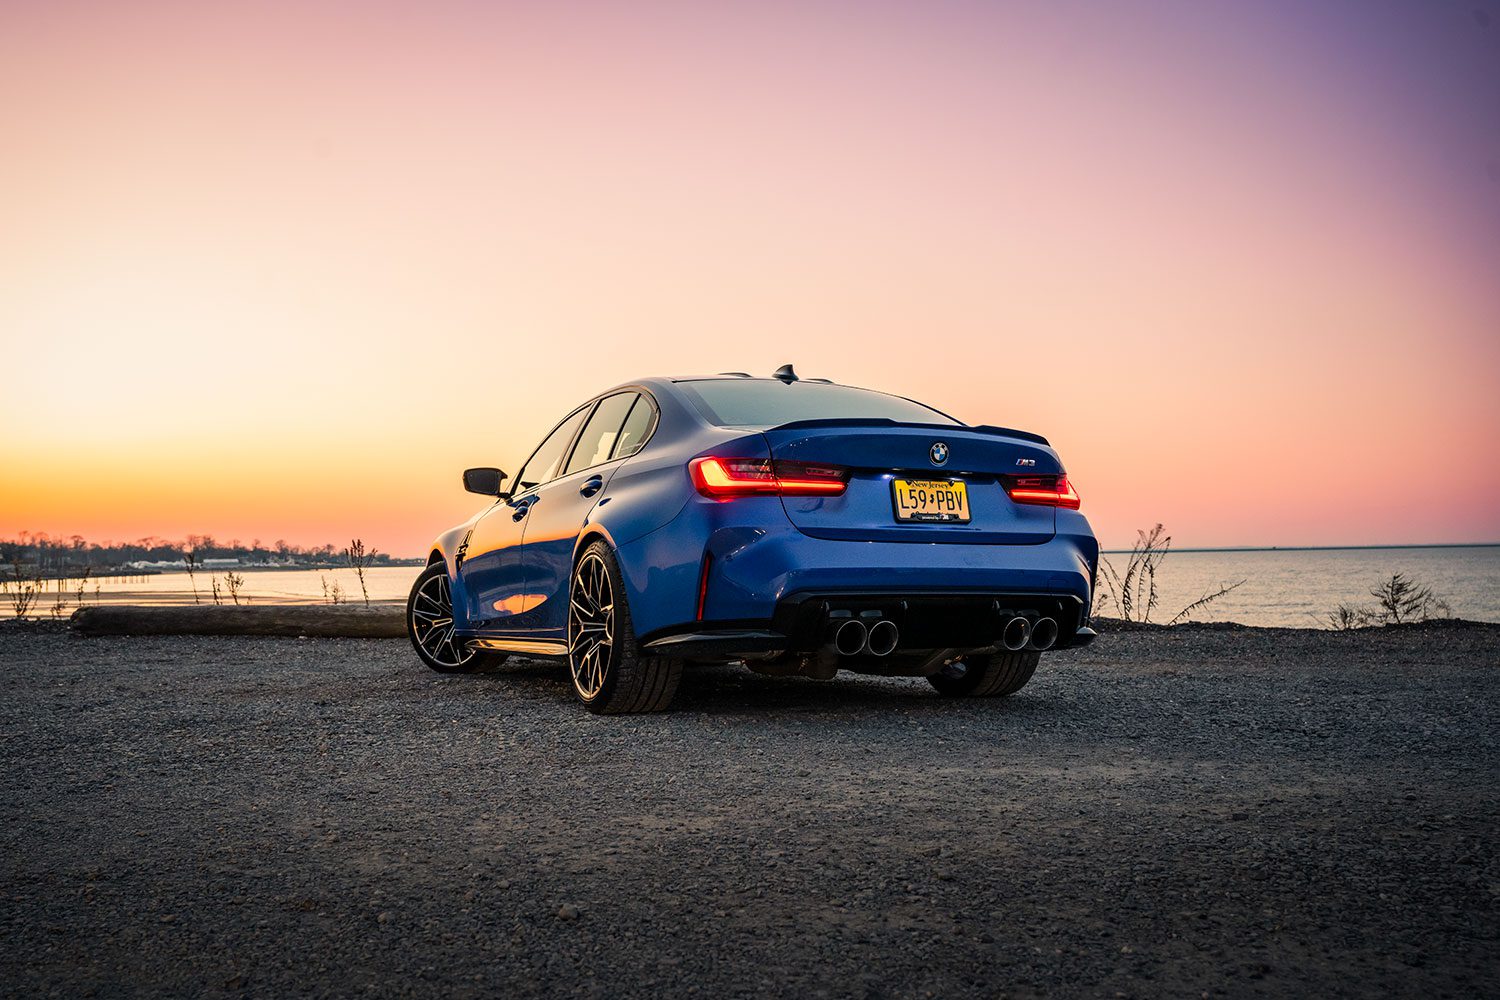
The AWE Track mid-pipe and exhaust has been on for a few thousand miles now, and I can’t imagine having any other setup. It’s not buzzy at all like so many other systems I hear for this car.
If you’re in sixth at about 80mph, there is some slight drone, but it’s by no means unbearable. Competition models probably won’t even have this issue due to additional gears. The Borla setup on my E92 was worse, and that had mufflers.
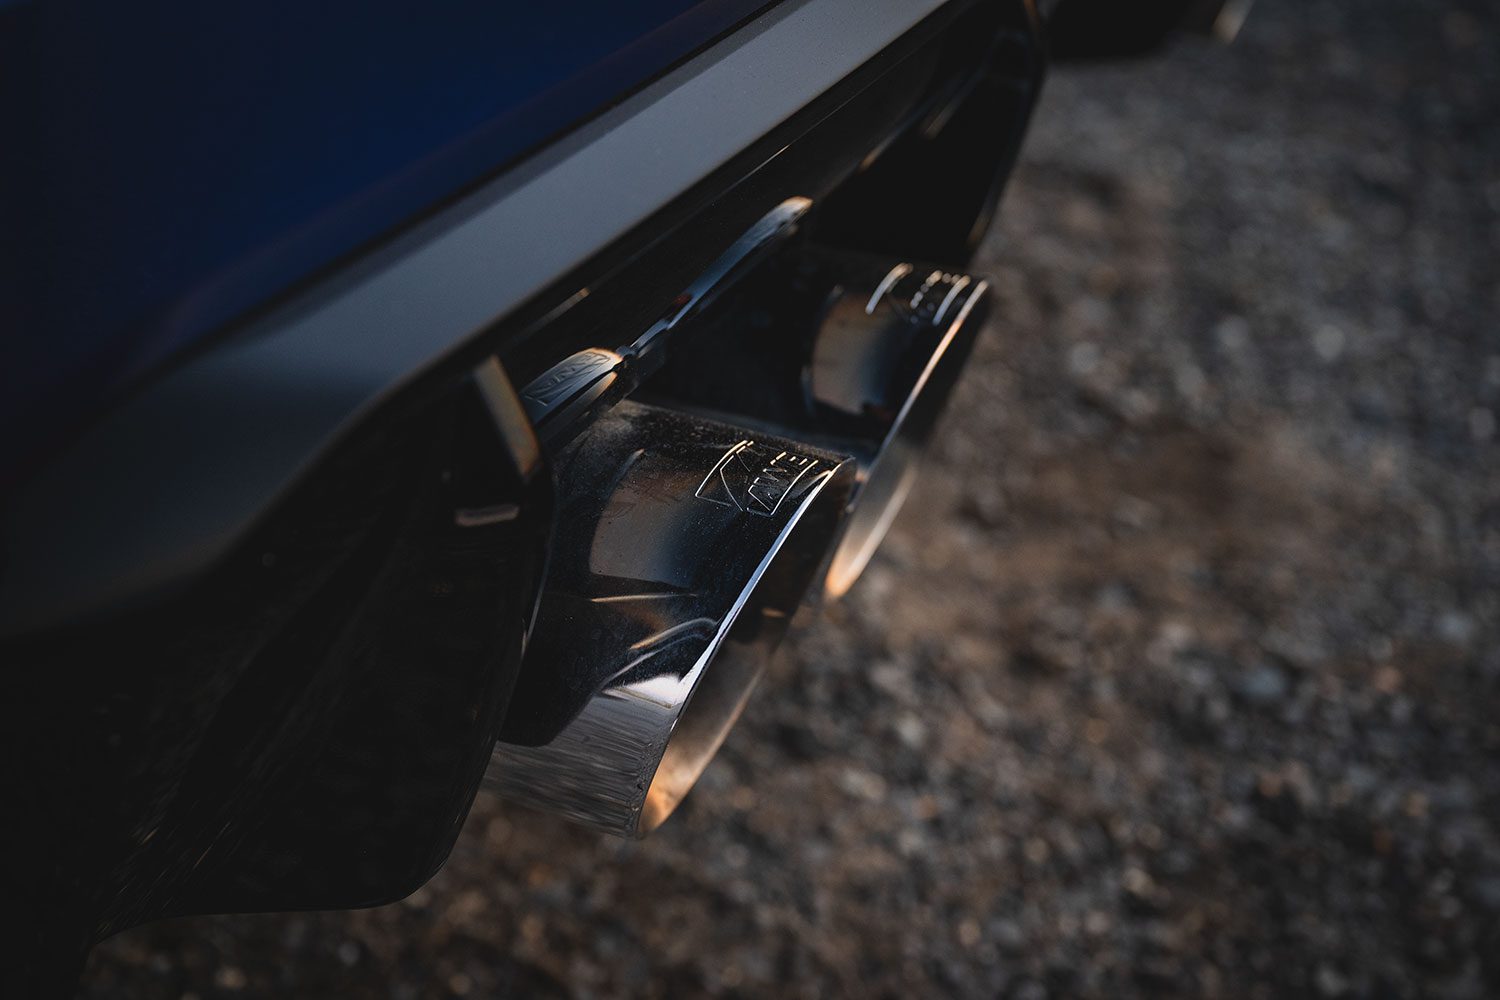
If you’re someone that finds themselves reaching for the Sport+ button on your stock exhaust and driving like that all the time, you’ll love this setup.
Onto the lights.
Why yellow CSL DRLs?
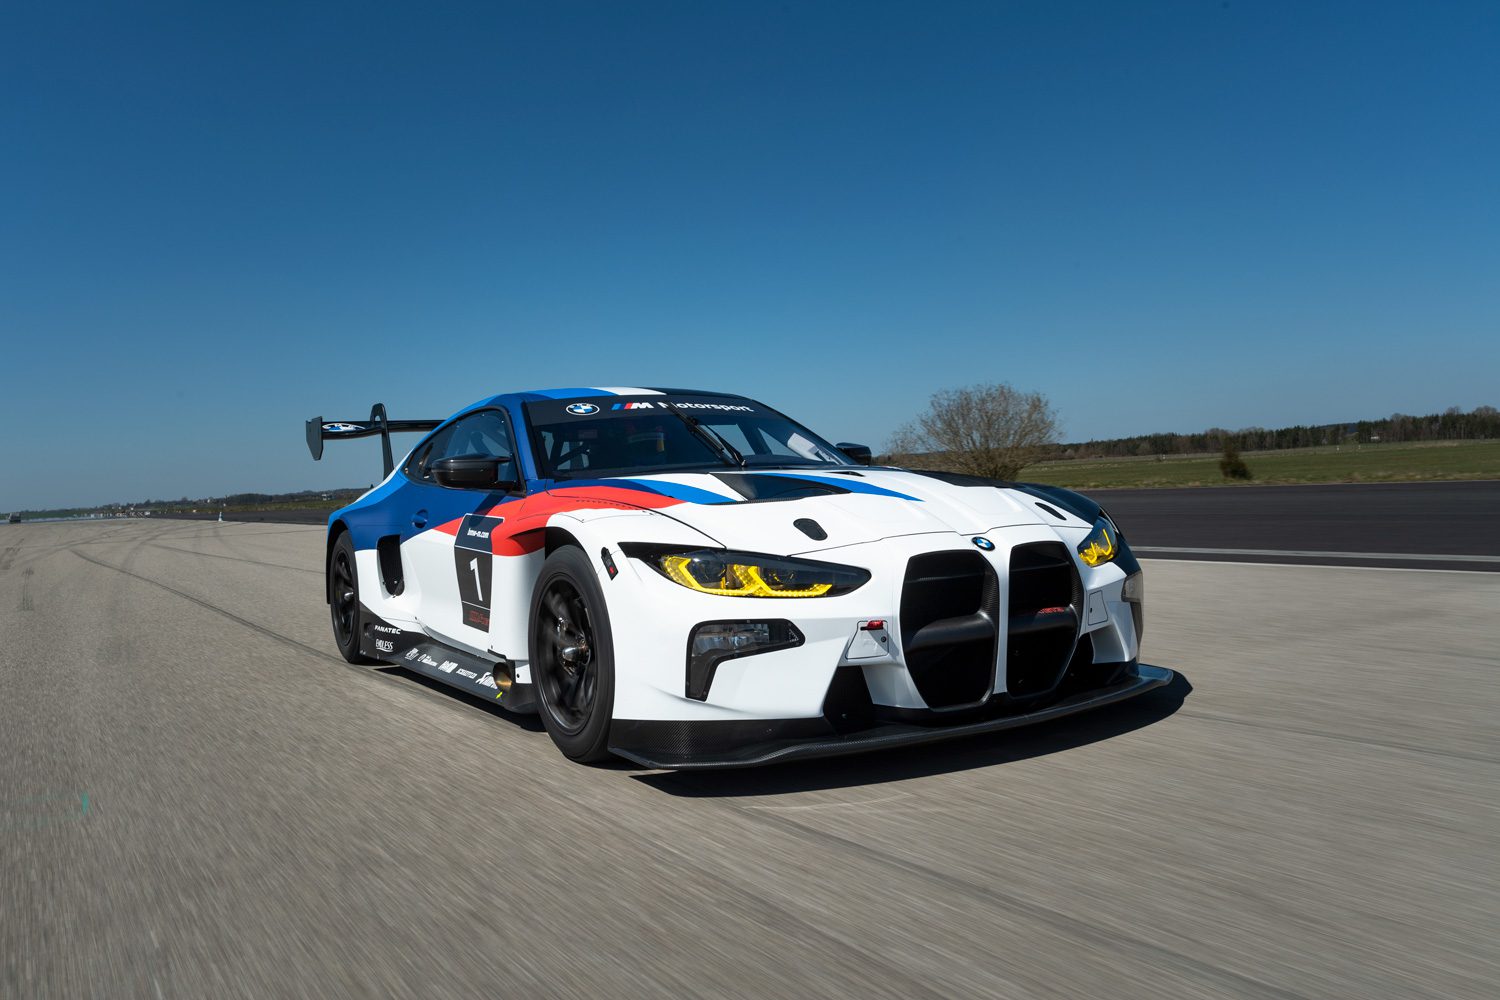
This is no poseur look. Yellow DRLs are installed on BMW’s M4 GT3 race car, and have been since the days of the E92.
Yellow lighting, or Selective Yellow, helps your eyes to adjust to darkness better. In GT races such as the one the M4 participates in, it helps to distinguish cars in certain classes. The Prototype Class is faster on track, and it’s easier for the drivers to make out who is who at night.
BMW first did it for a production car on the F90 M5 CS, and it made everyone go “ohhhh”. So the M4 CSL and M3 CS both get the treatment.
Now my puny stick car does too.
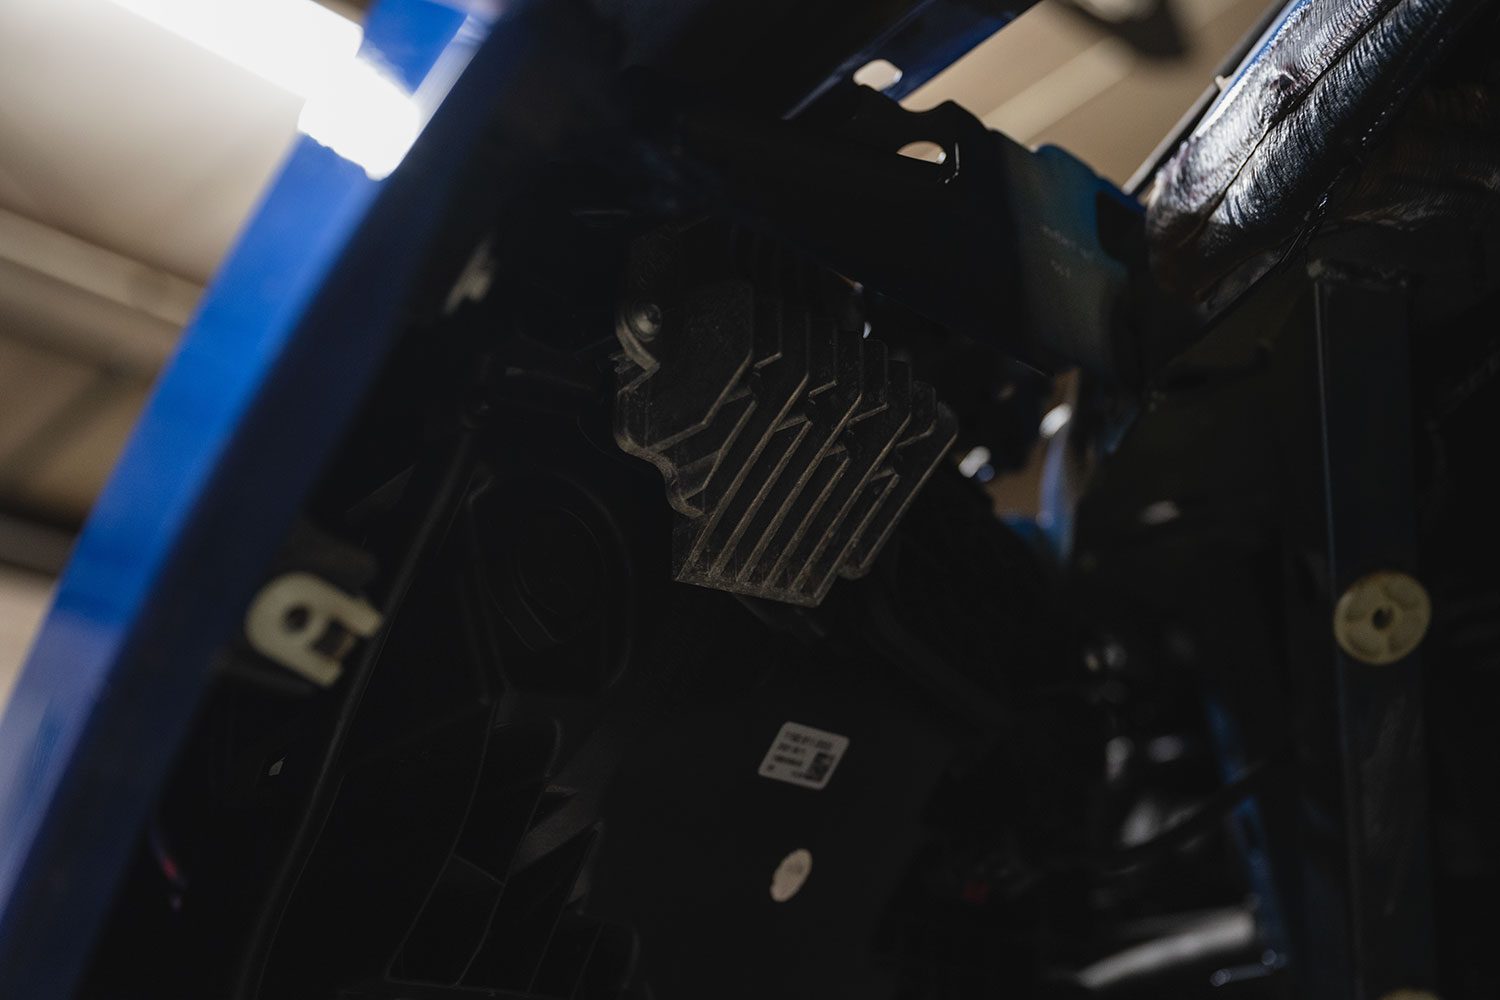
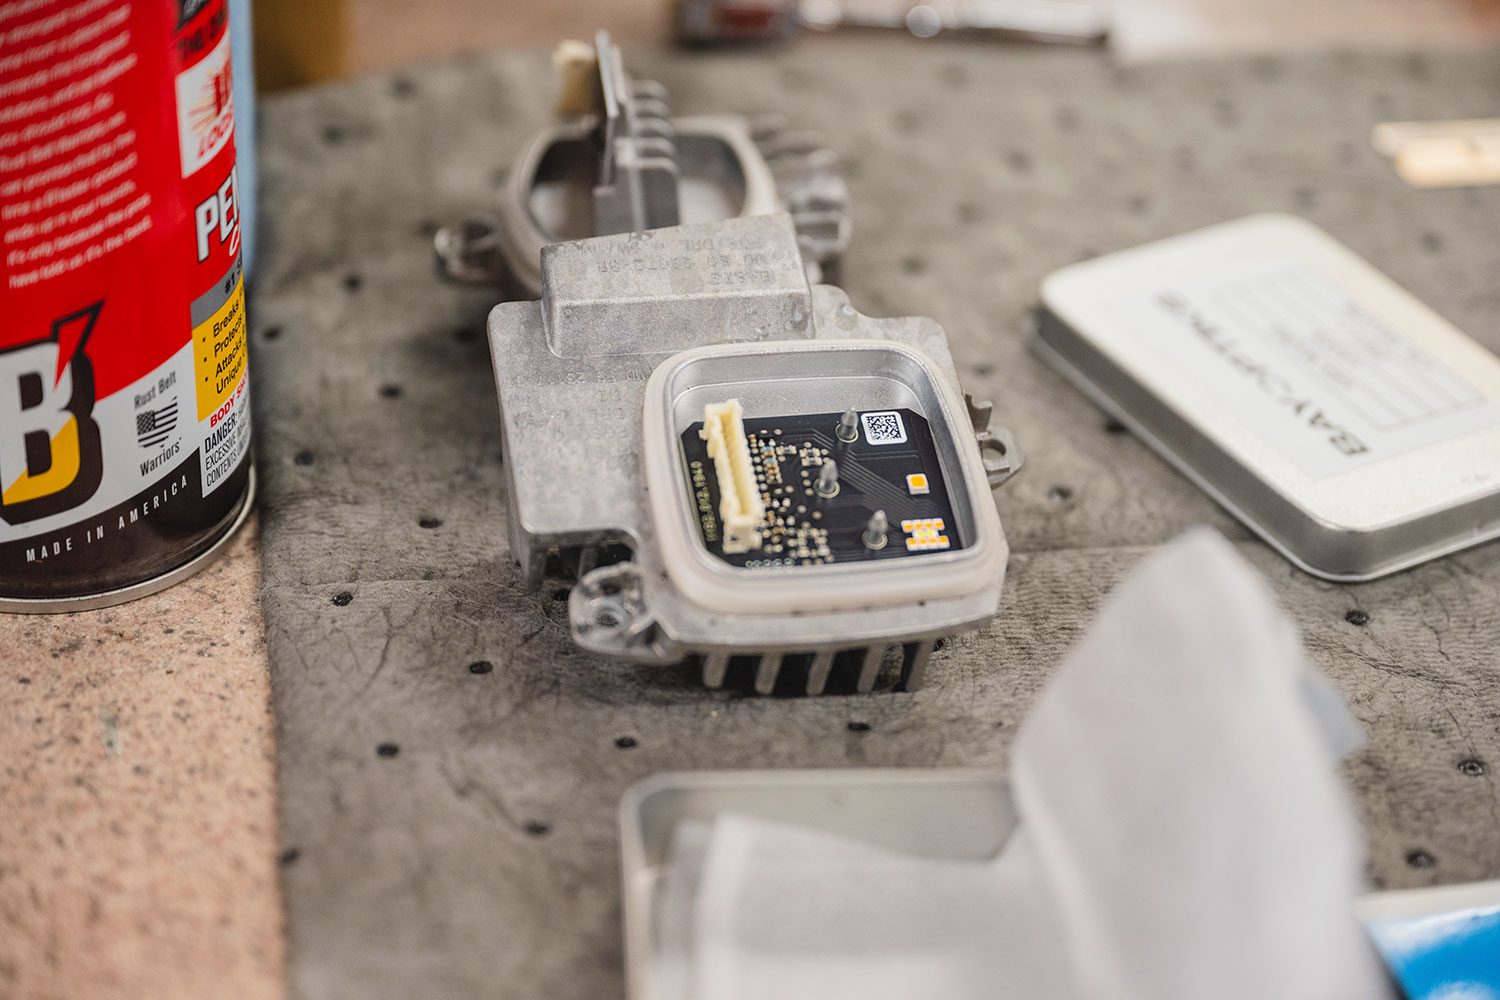
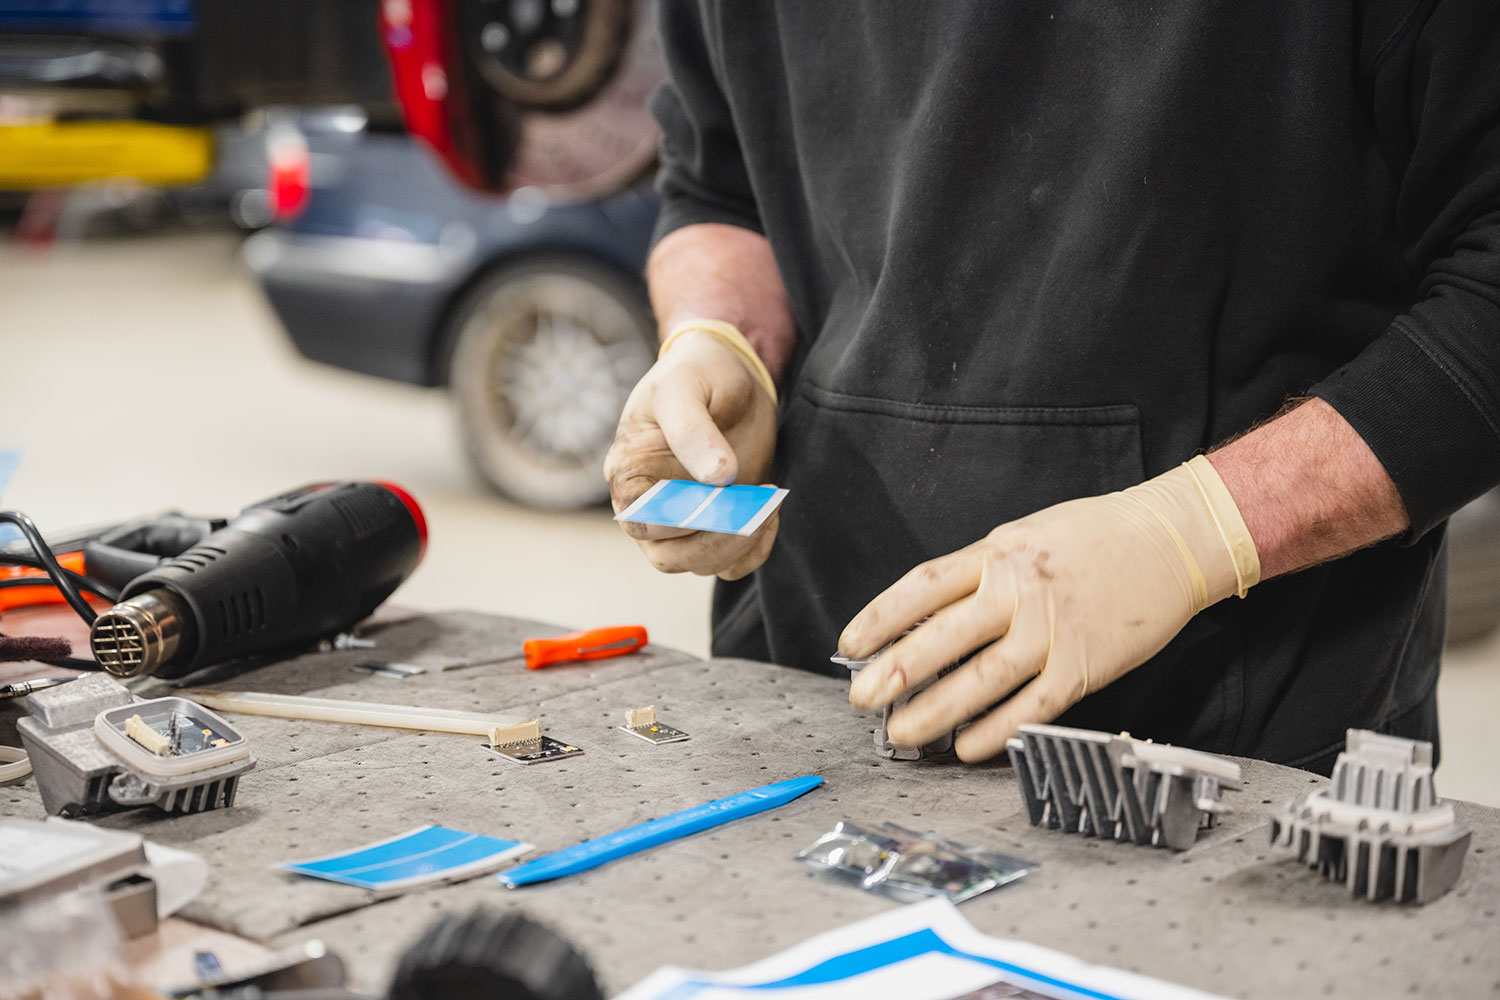
How do you install Bayoptics yellow CSL DRLs on a G80 M3?
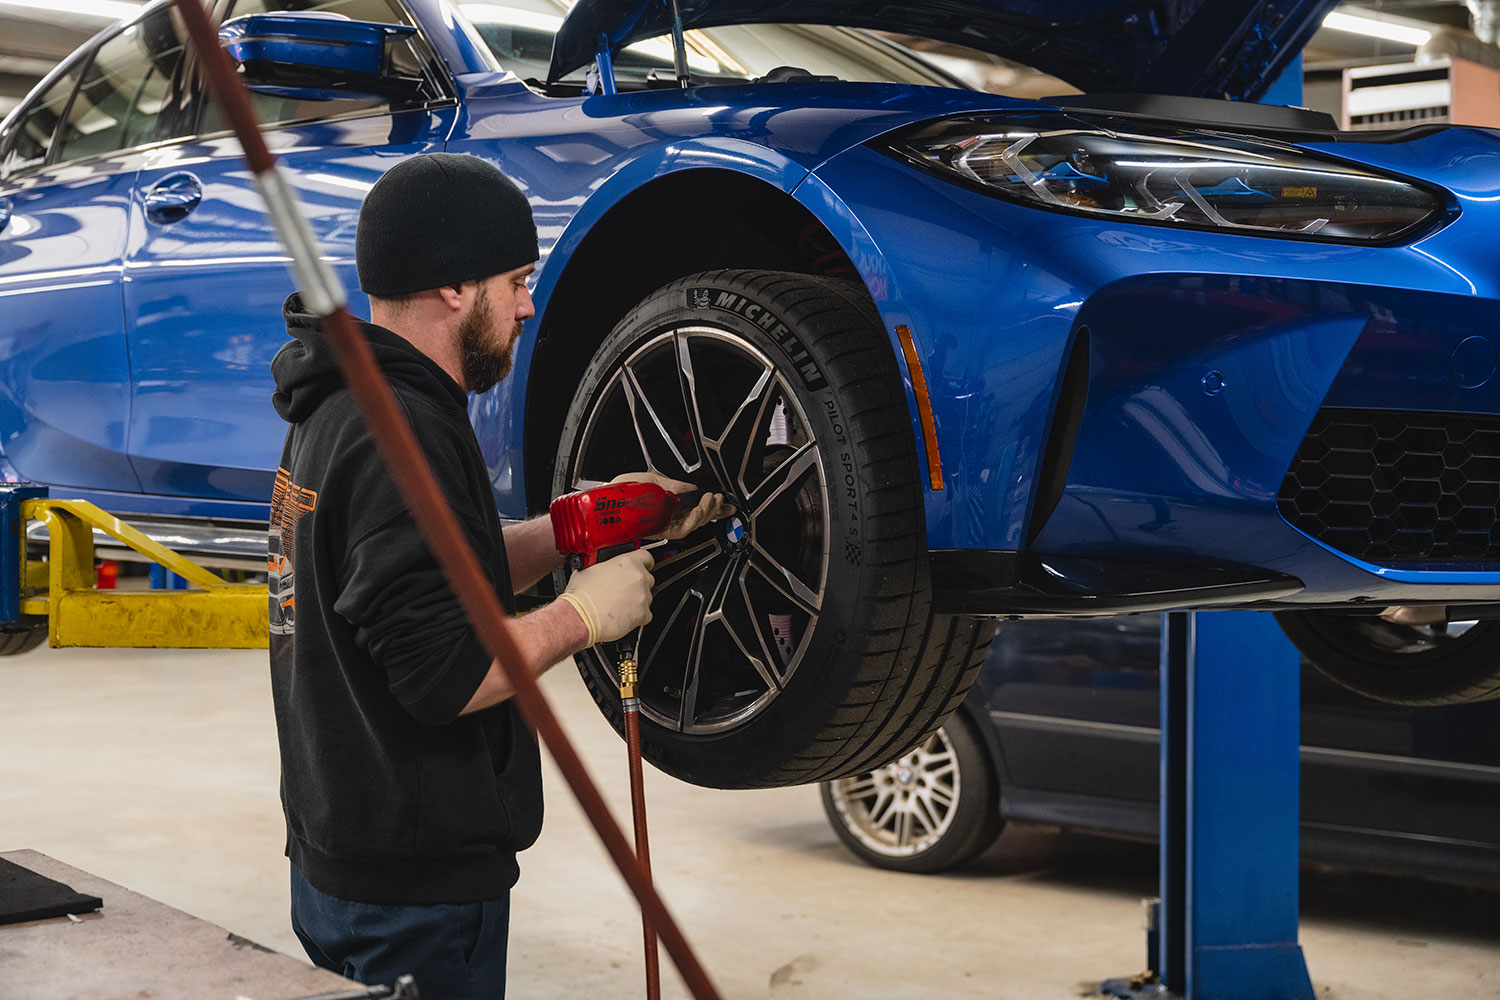
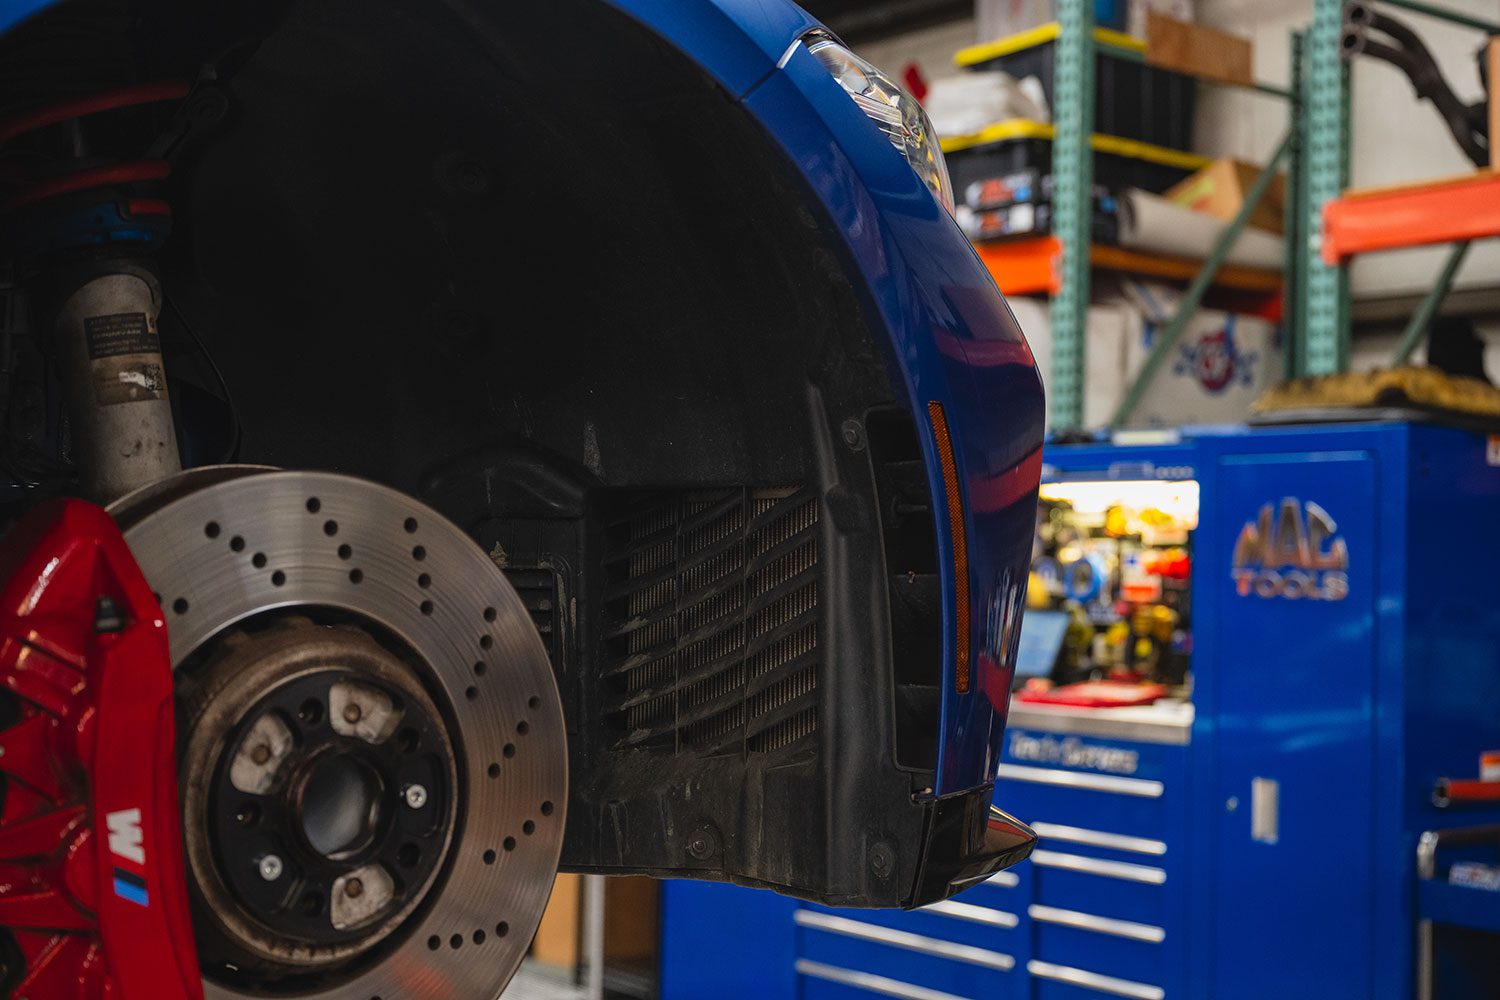
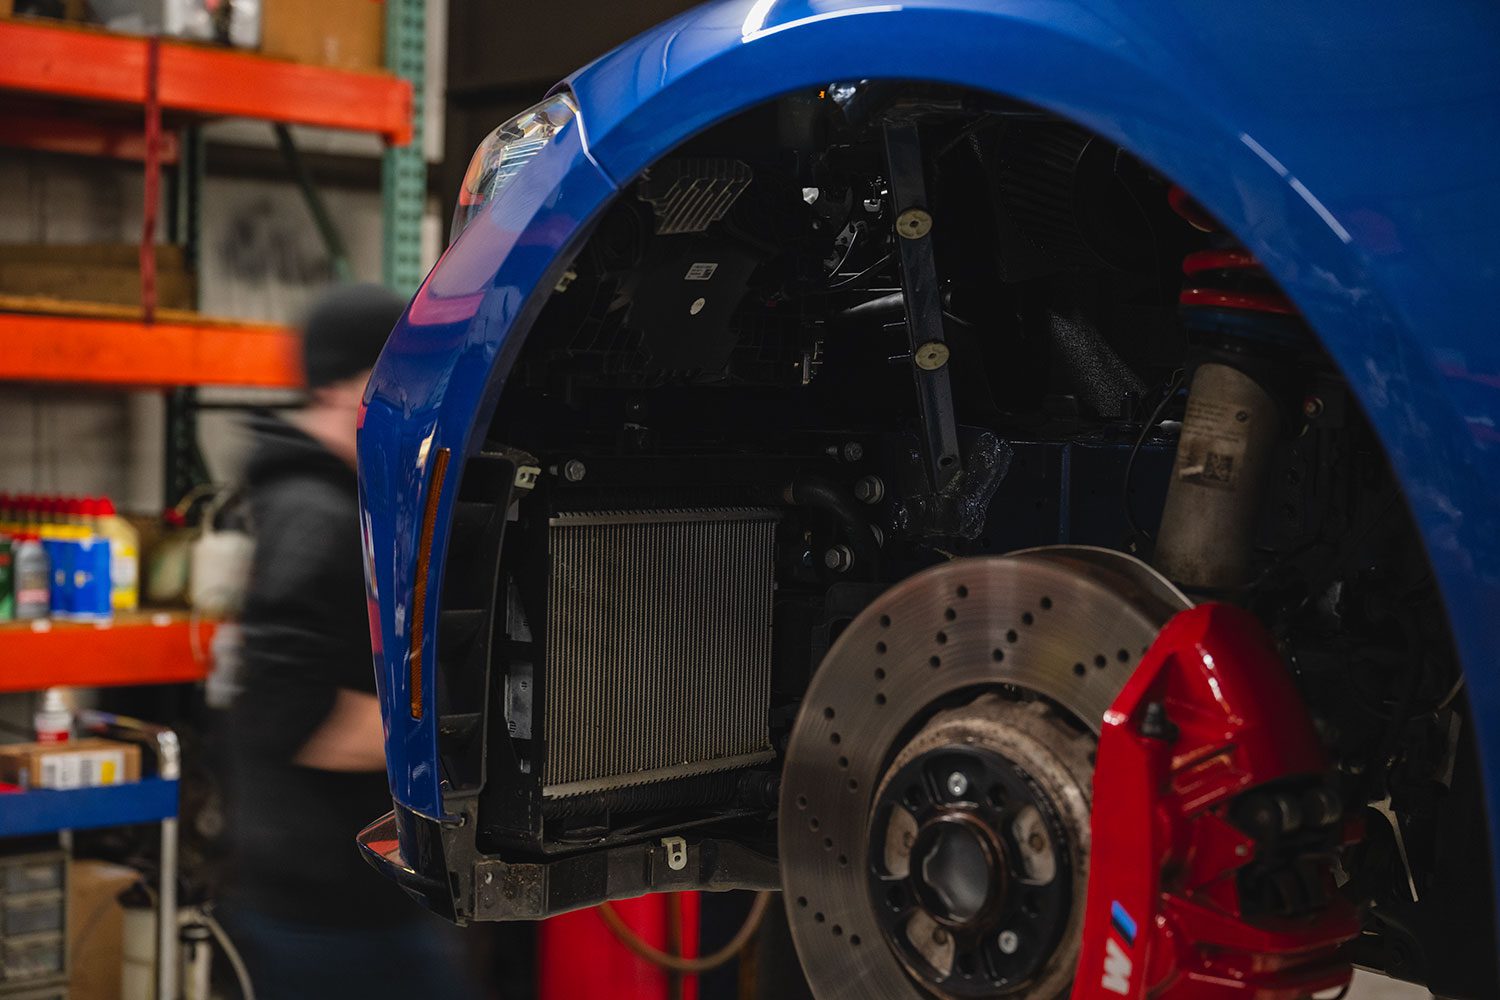
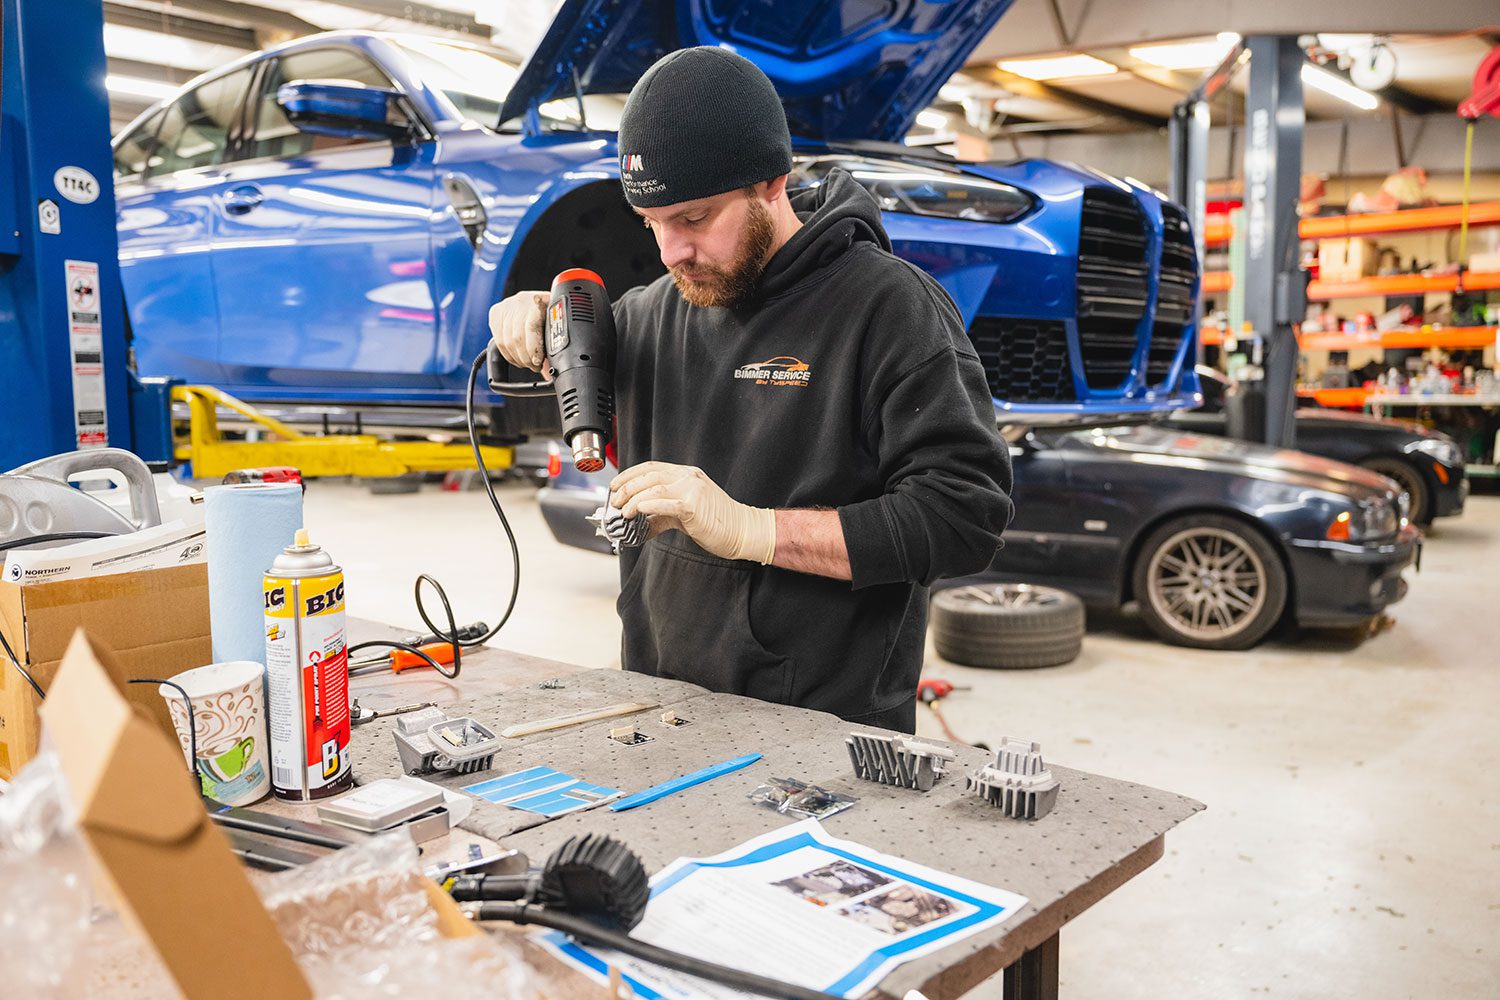
It’s not too challenging if you’re so inclined mechanically, but I headed to Tyspeed once again to document the process. Everything is easier with a lift, and the guys made quick work of it.
Today, we’ll be working with Adam, shop foreman and master BMW tech. Let’s get to it.
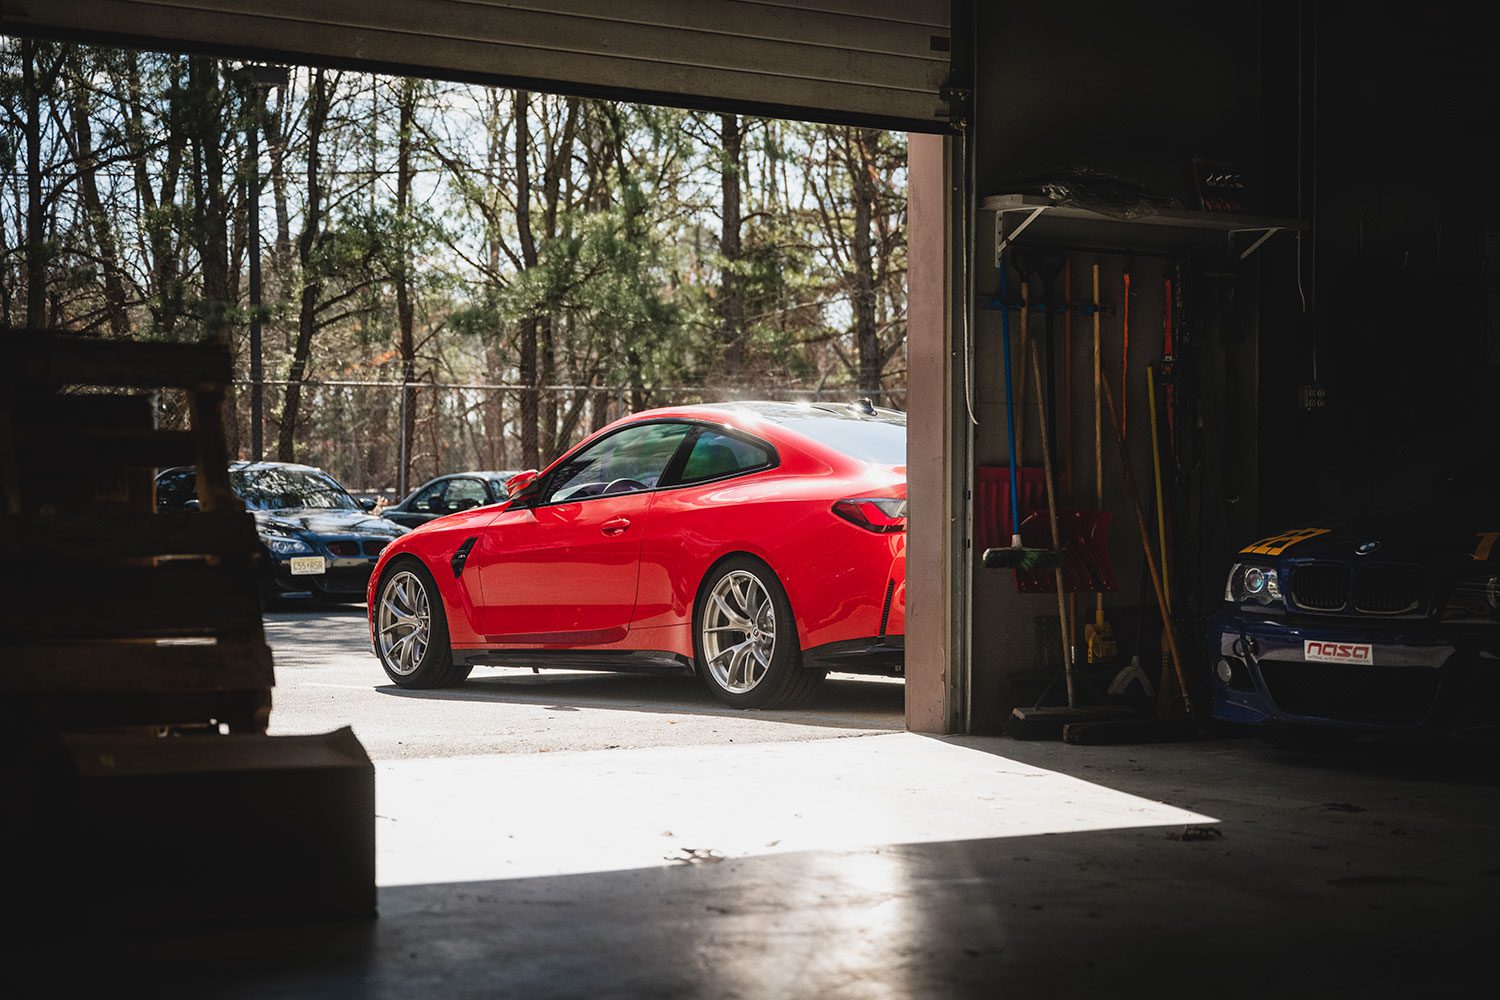
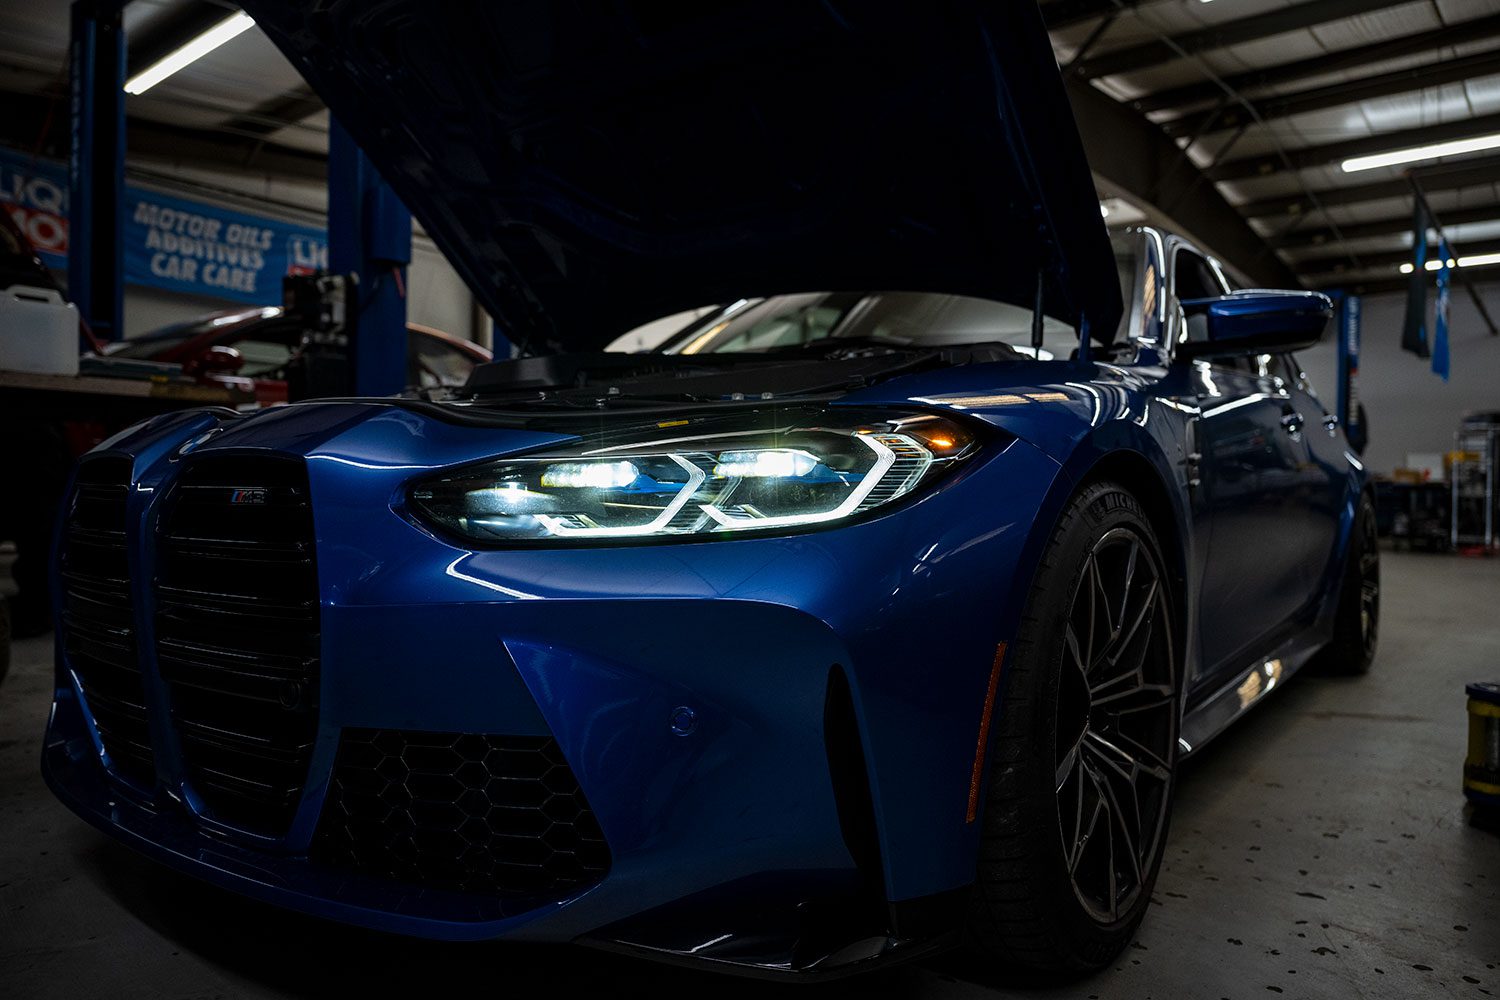
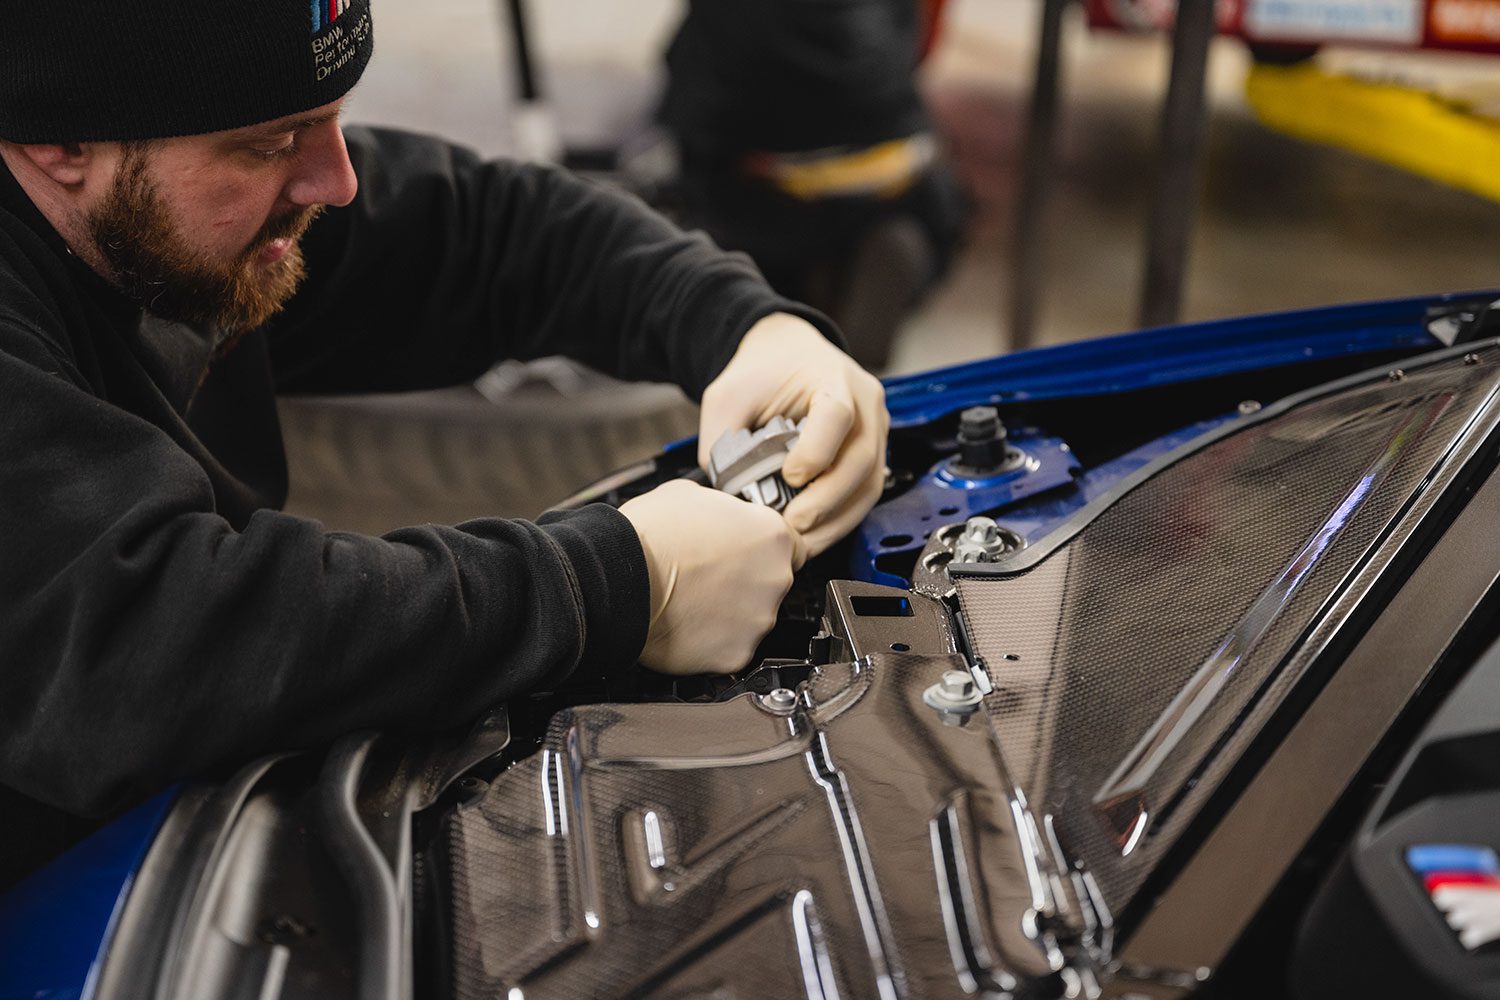
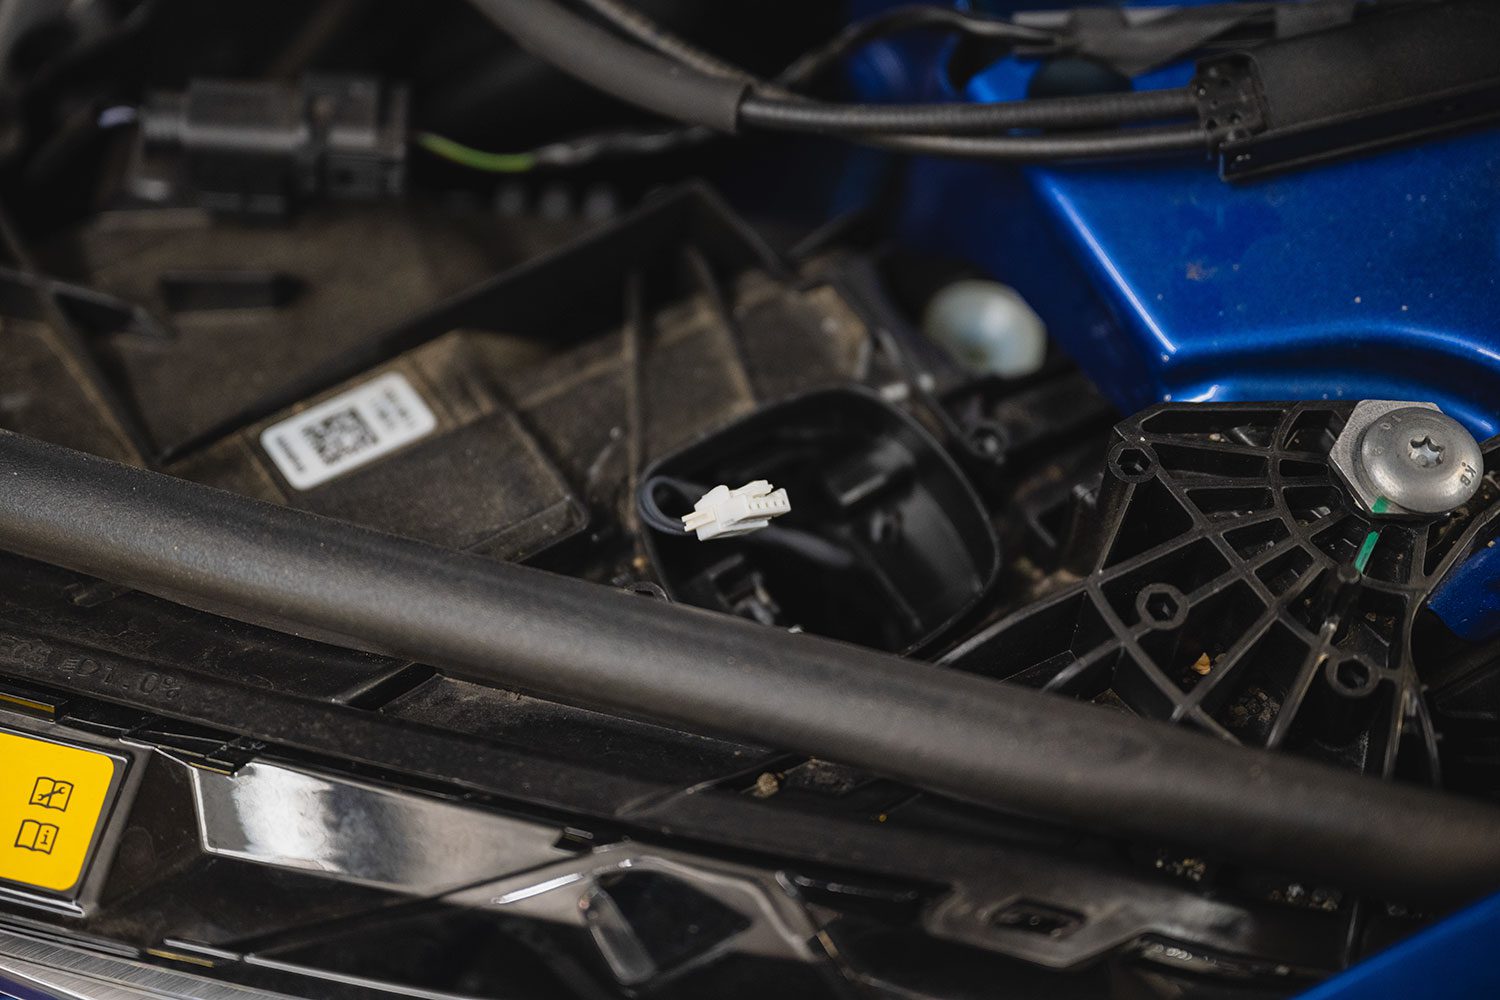
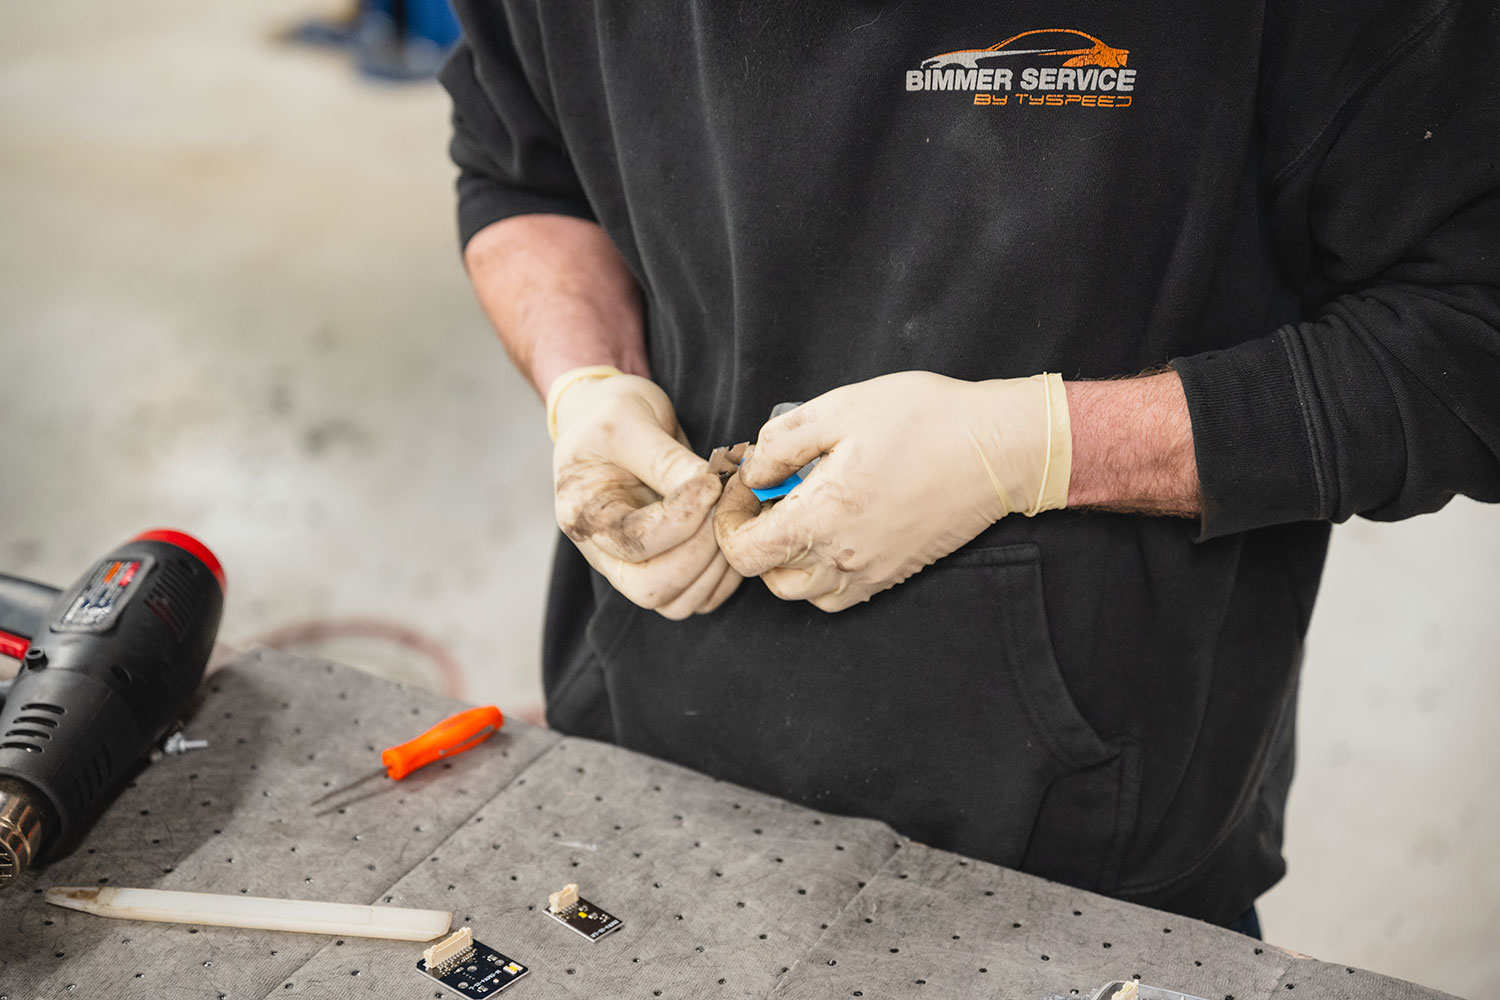
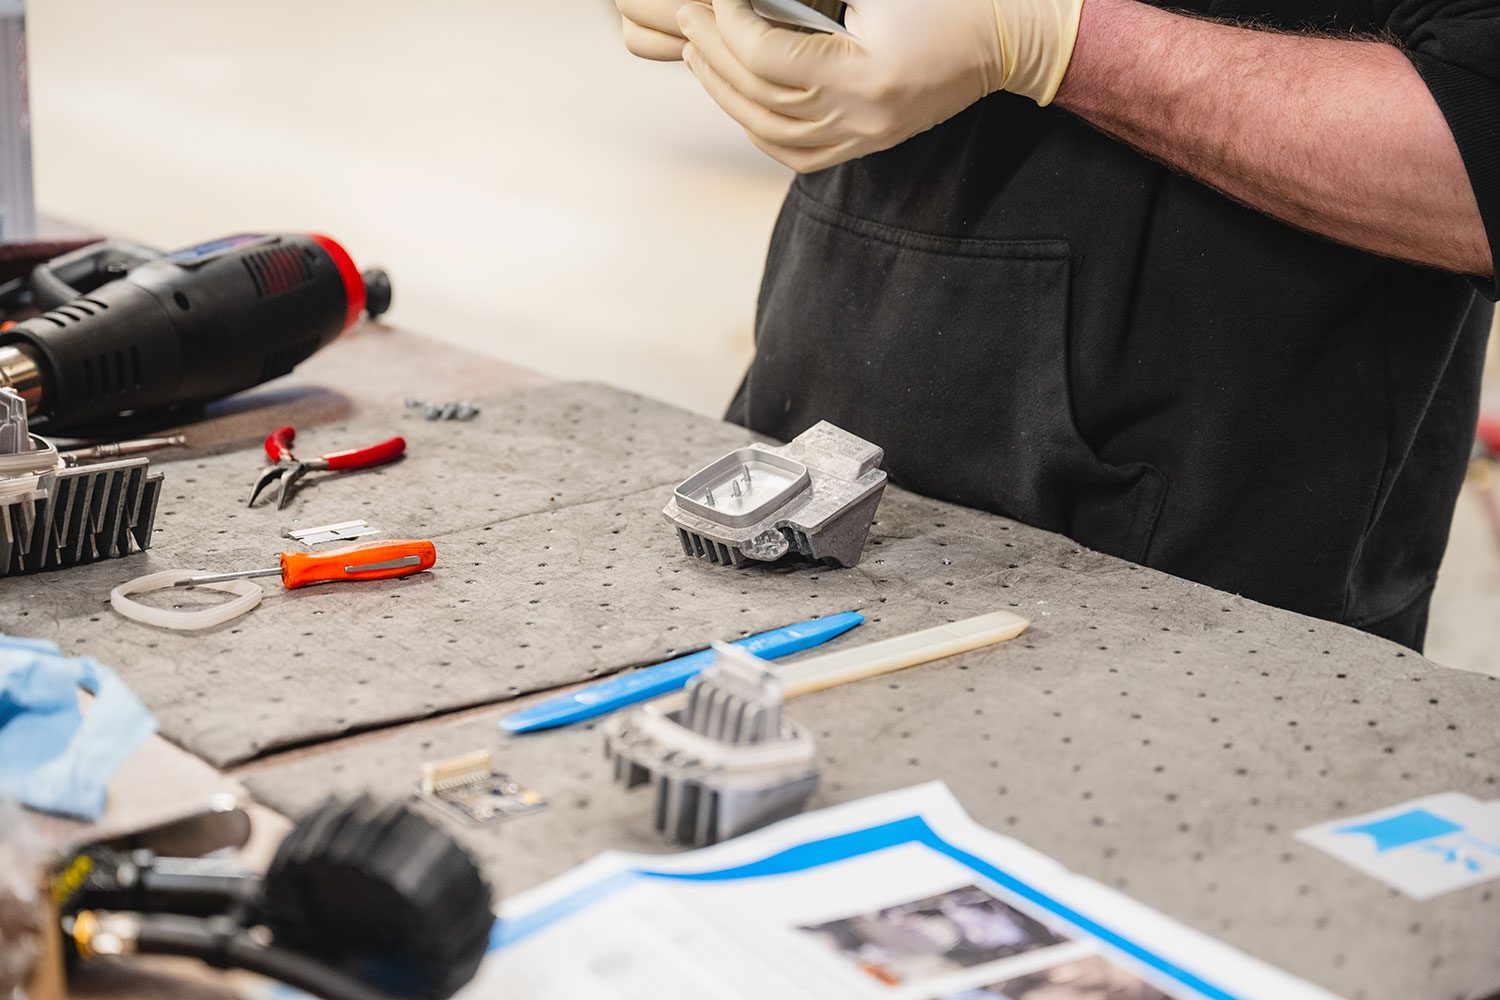
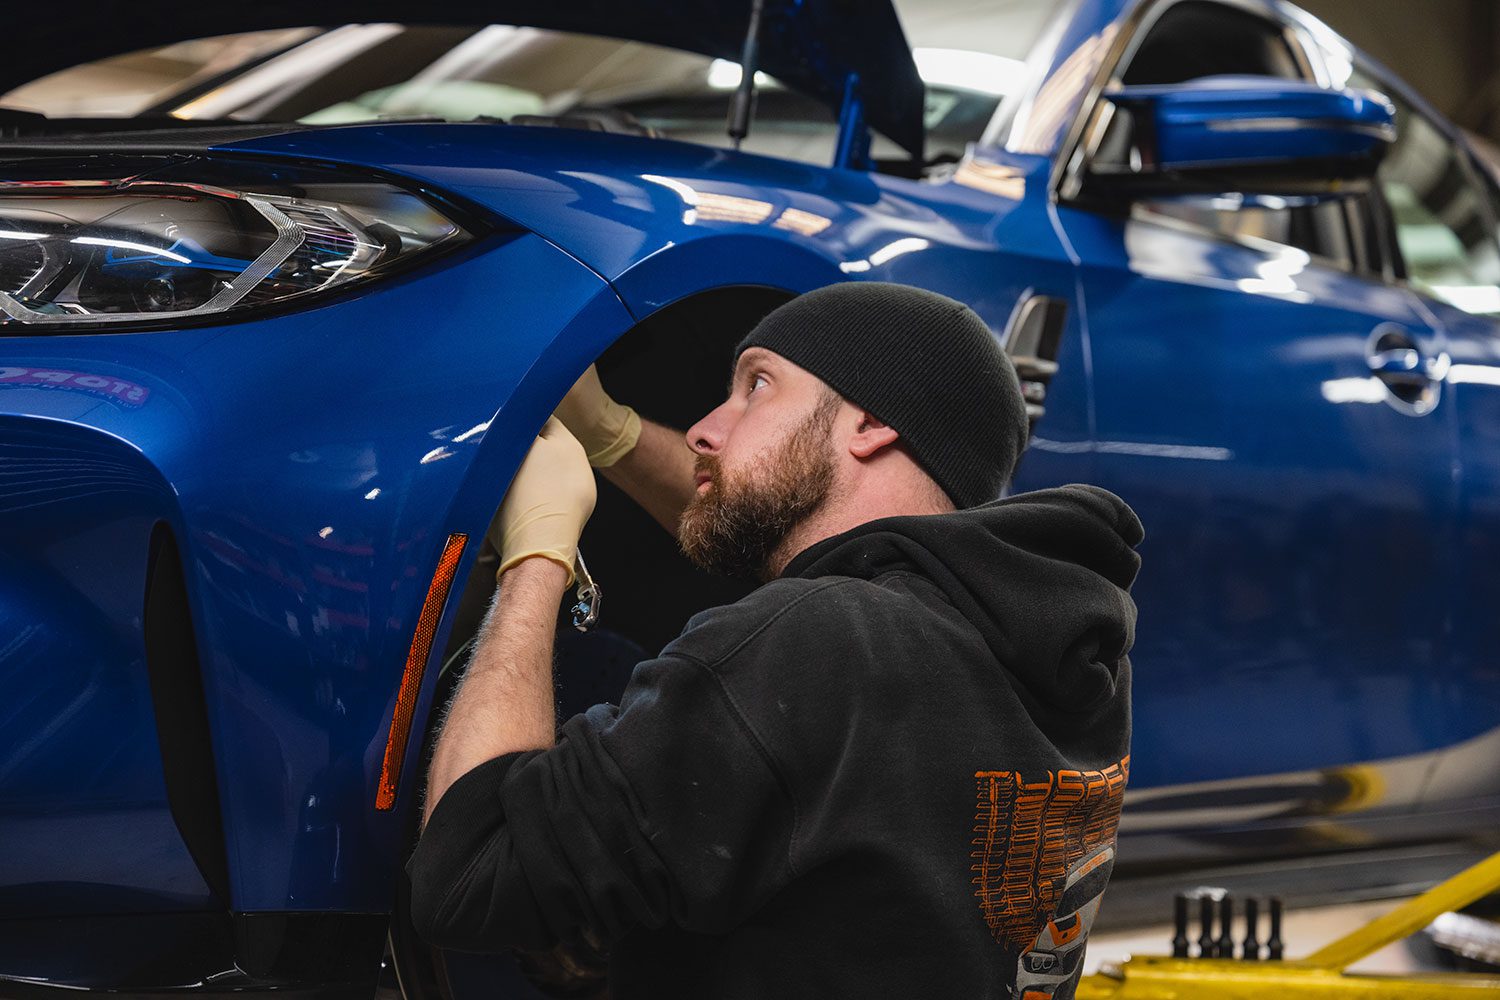
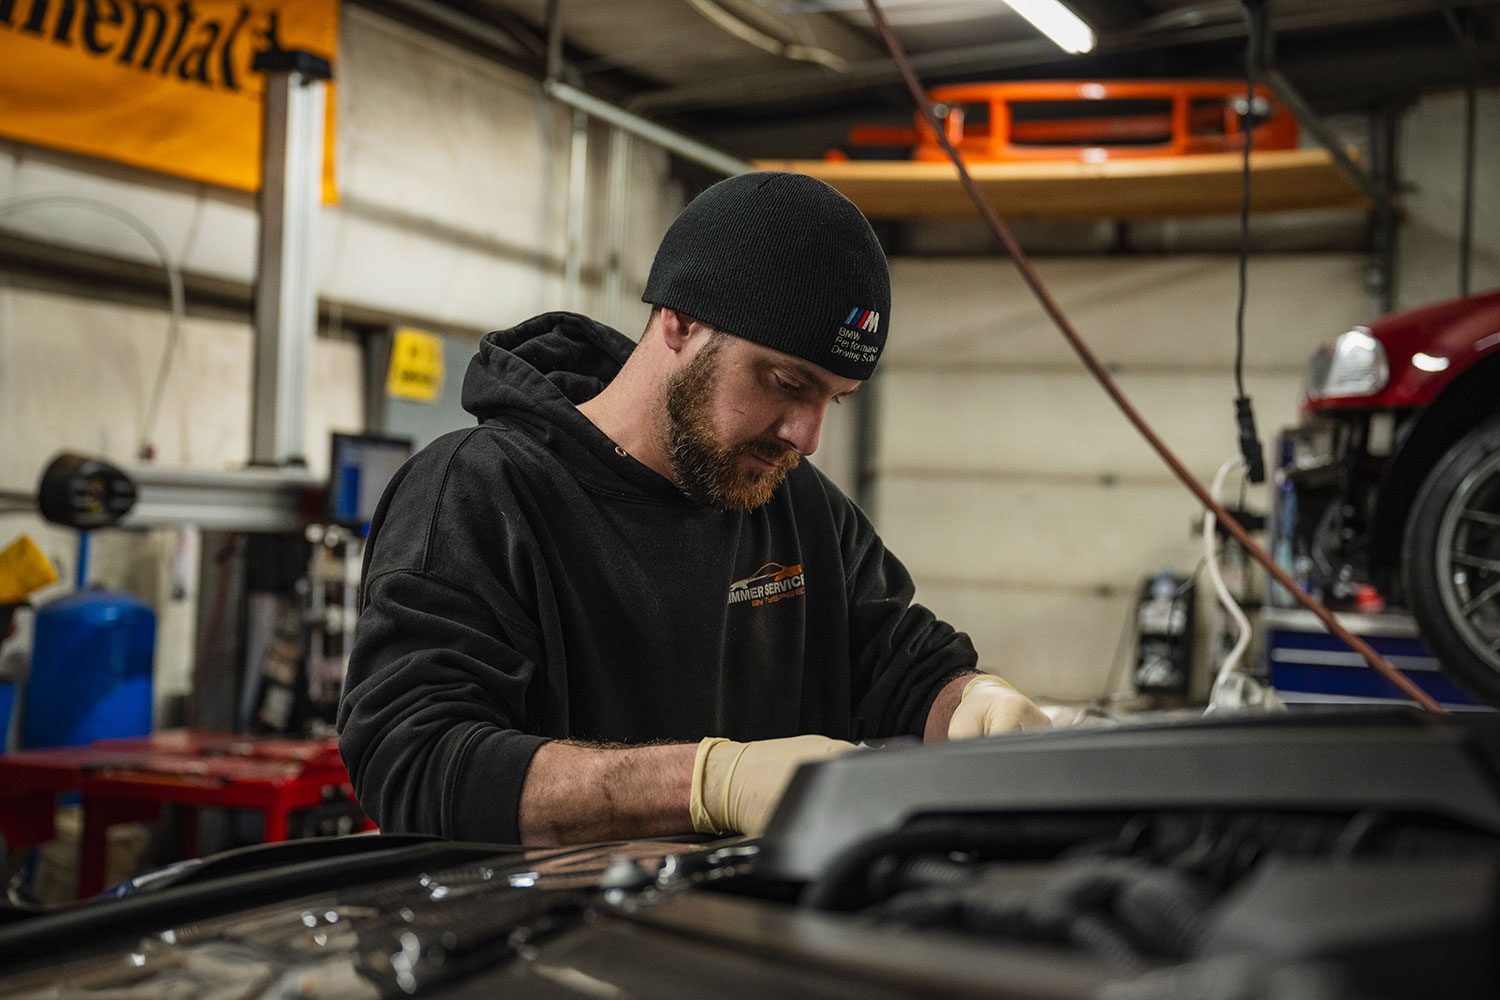
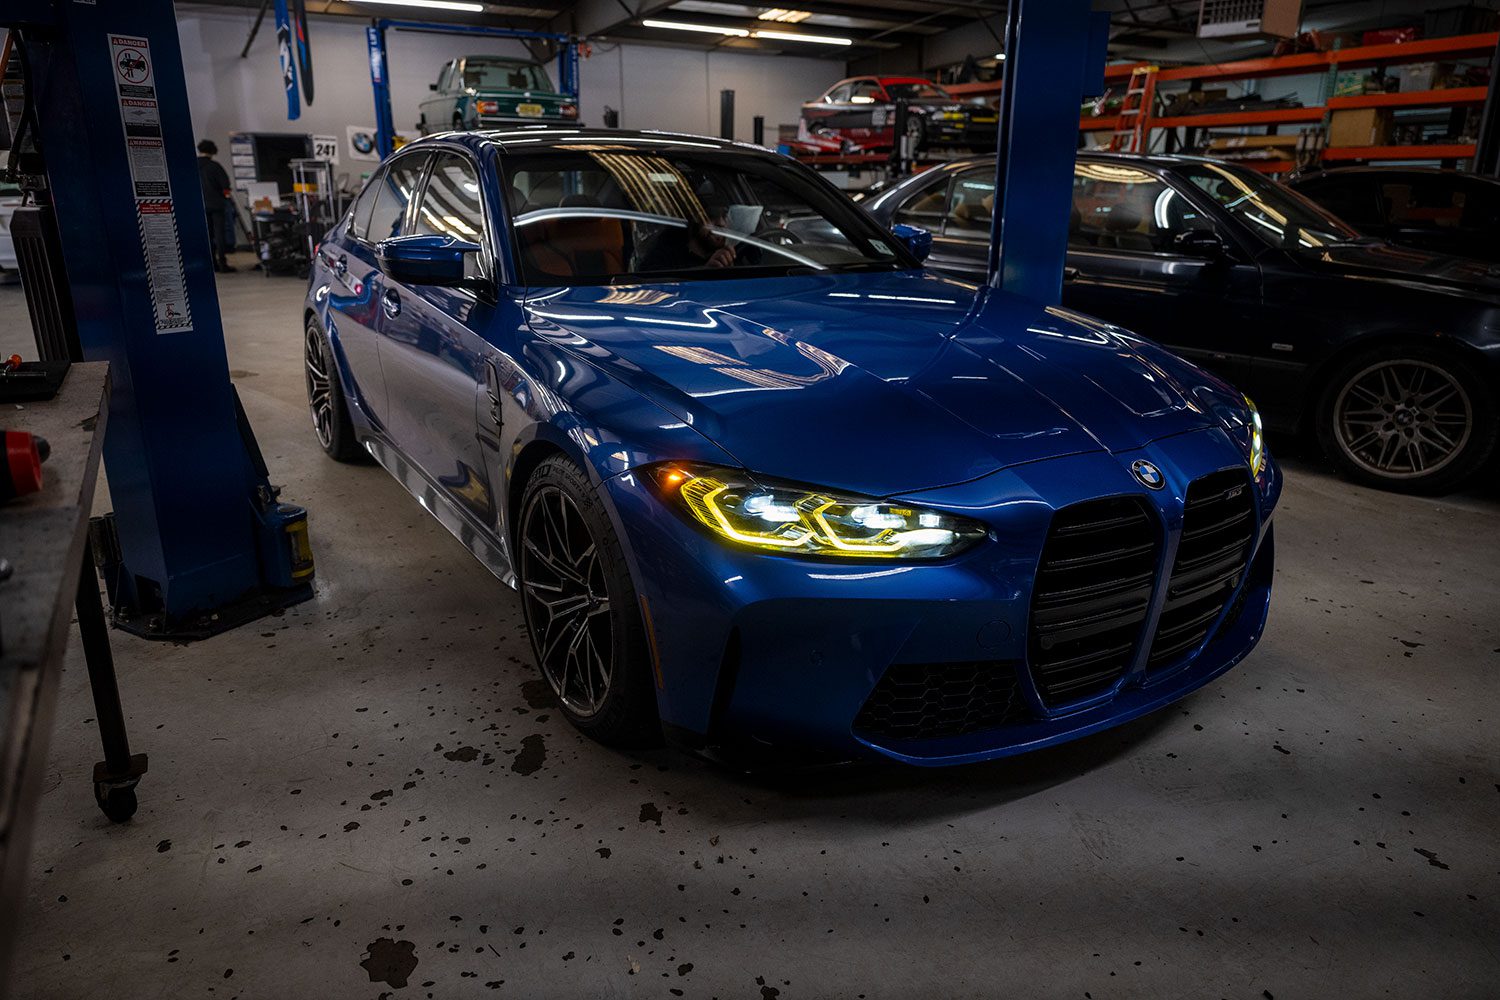
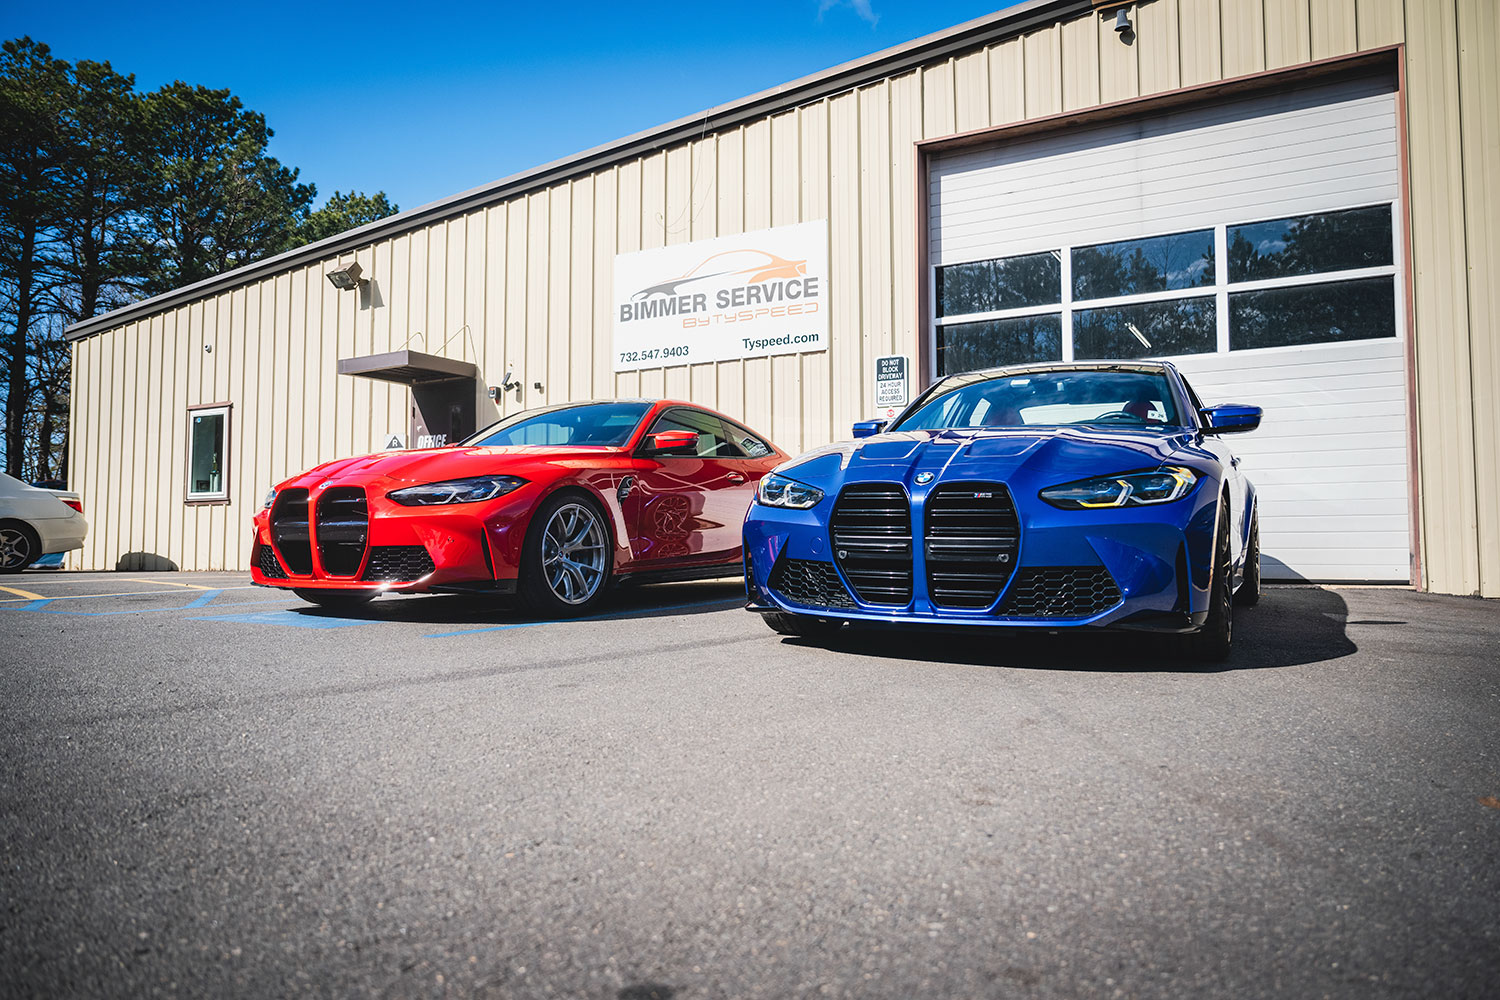
Bayoptics CSL DRLs results
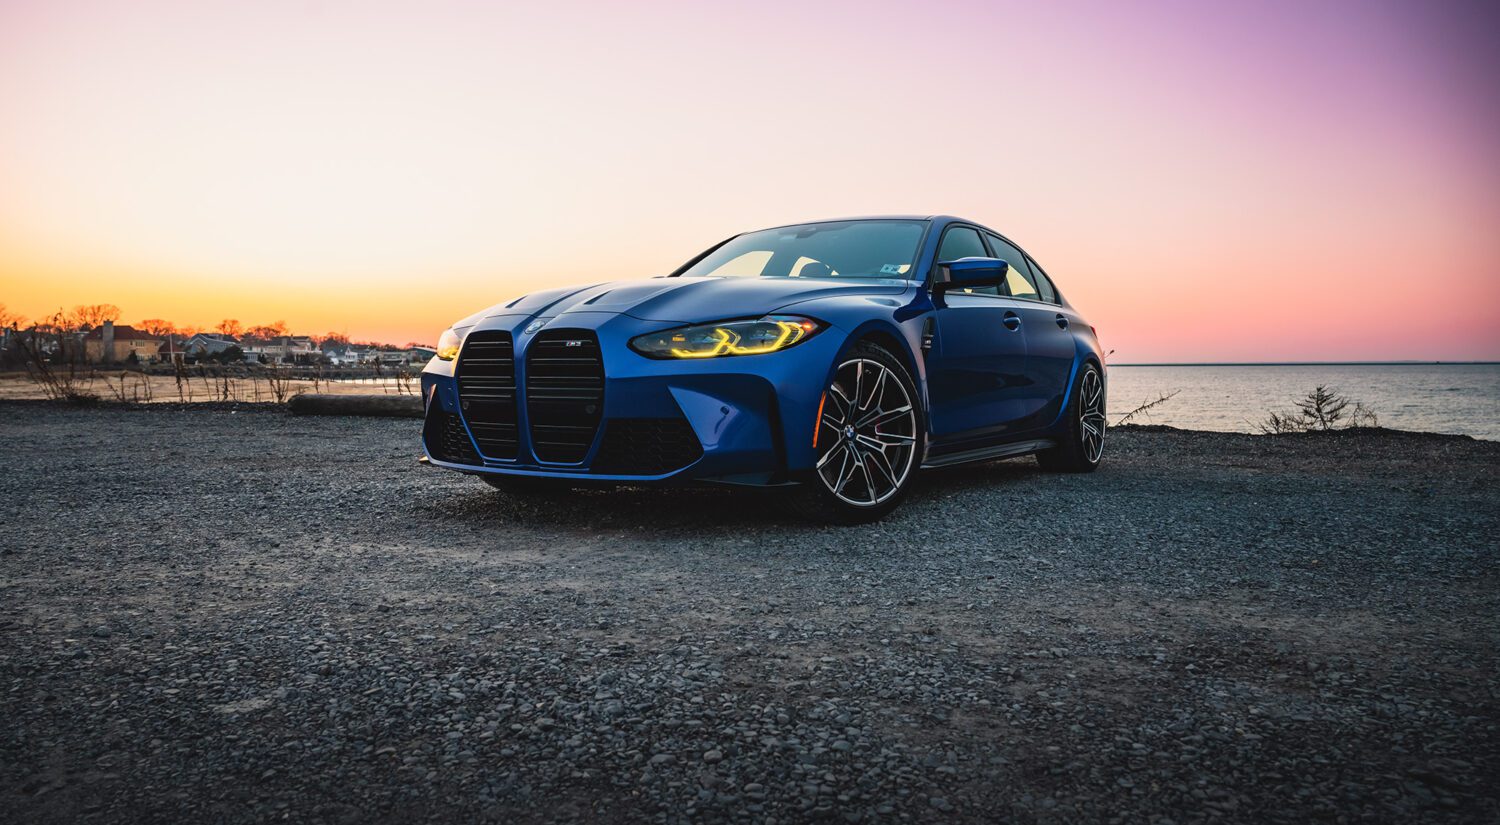
Here’s the final result with the car in proper lighting.
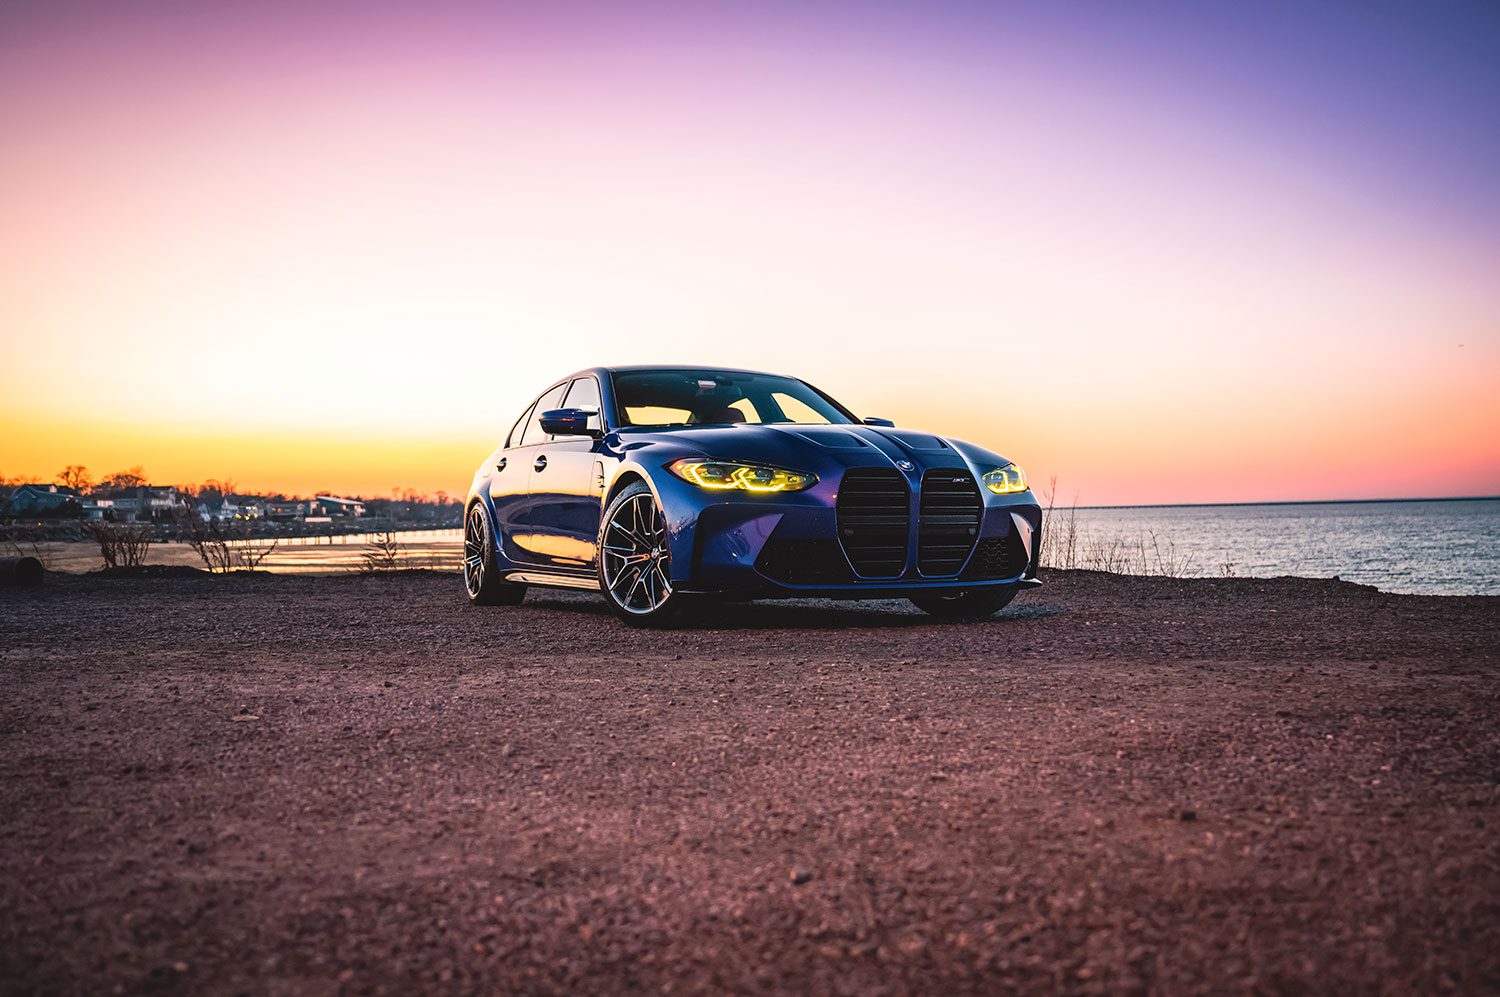
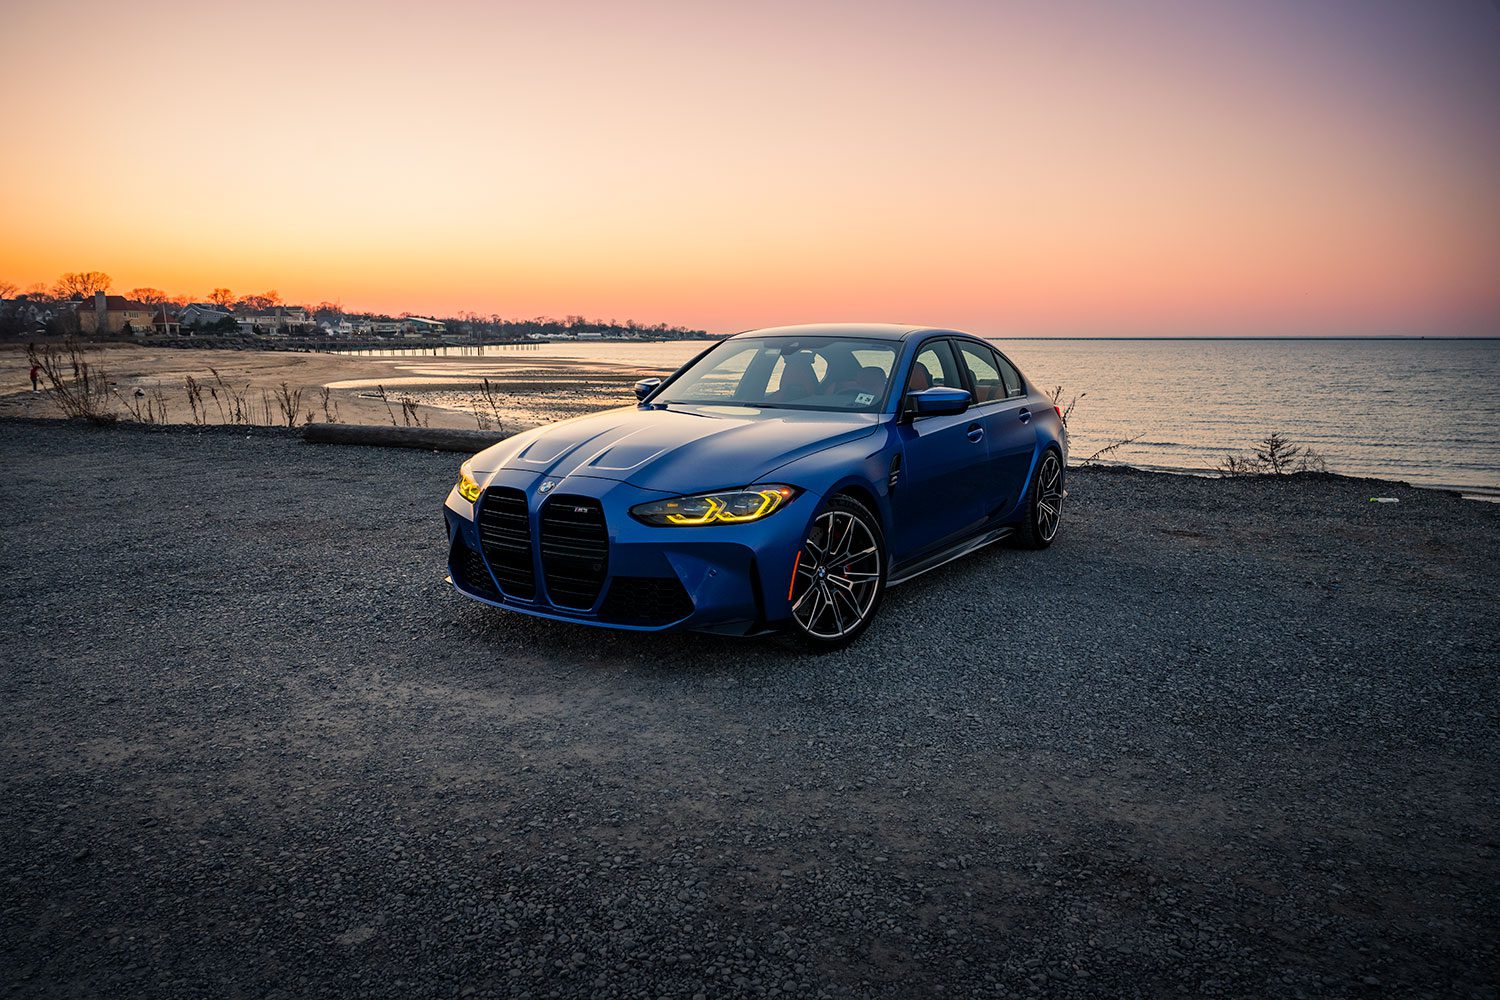
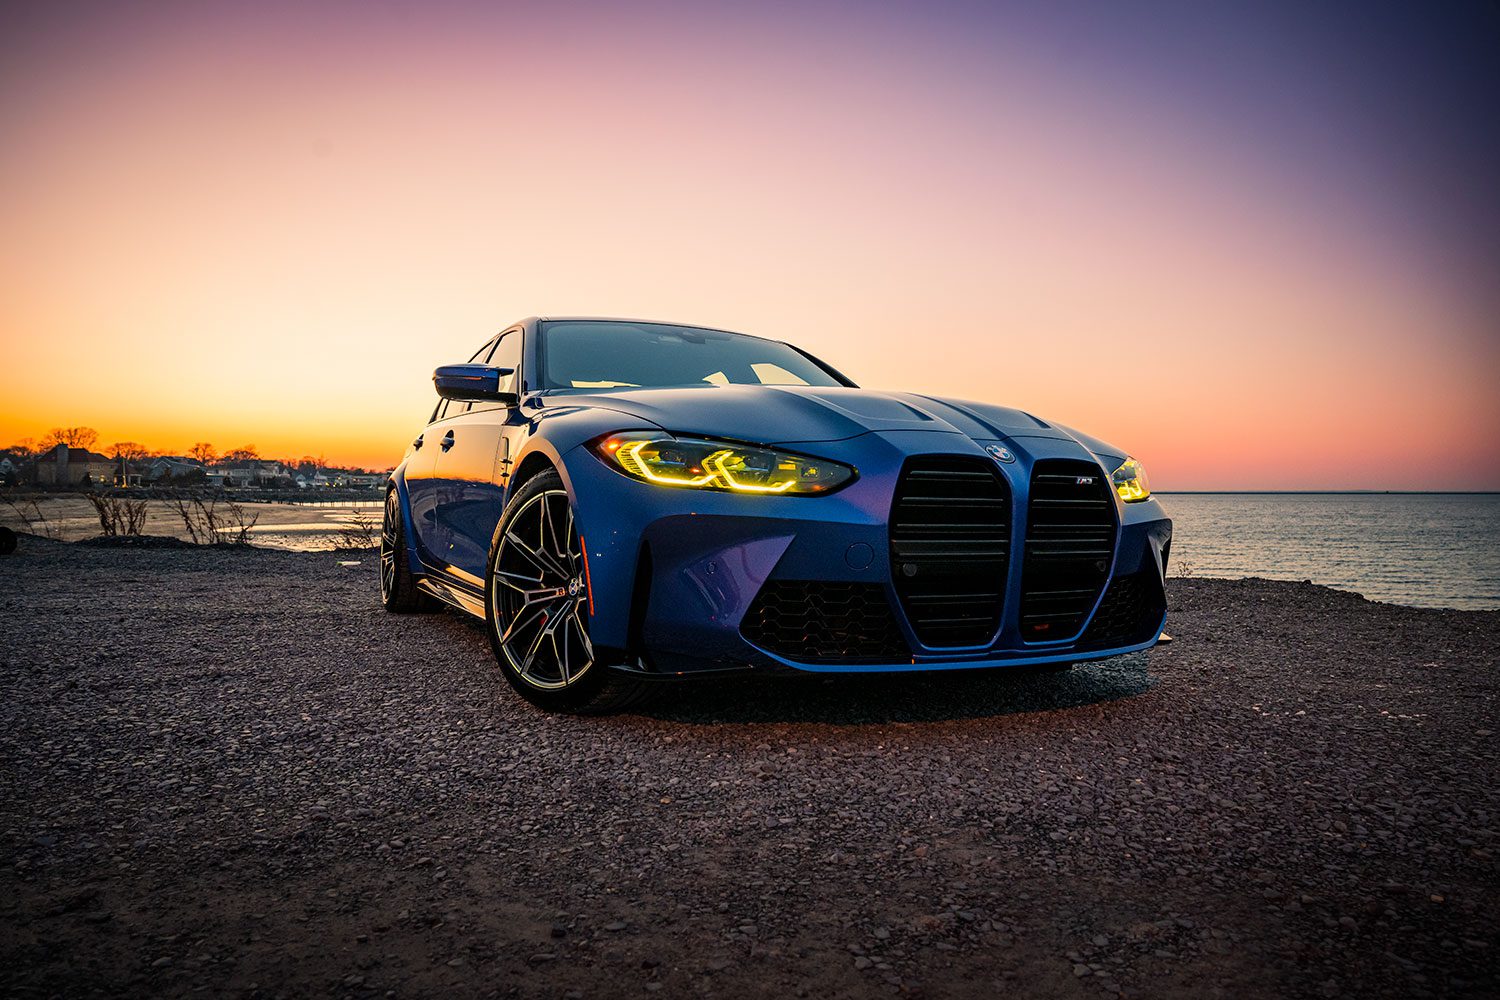
Quite dramatic, and easy enough if you can access the fender wall on your own. Now, what to do about that nose…
Want your car reviewed?
If you live in the tri-state area and want me to check it out, send me an email!
Support the cause
Commissions may be received for product links on this site. Help out if you can.
I use Nikon camera bodies and lenses, a Westcott Ice Light 2, Manfrotto tripod, B + W filters and an iMac Pro to make the art you see here.
Follow along on Instagram @machineswithsouls


2 thoughts on “Installing CSL DRLs on the G80 M3”