
No doubt you’ve seen a BMW out and about with unique Roundel badges. There are multiple options to choose from, but they all have the same installation process, so today I’ll show you how to remove the original badges on your BMW and replace them with this BMW badge installation guide.
Where I got my BMW badges
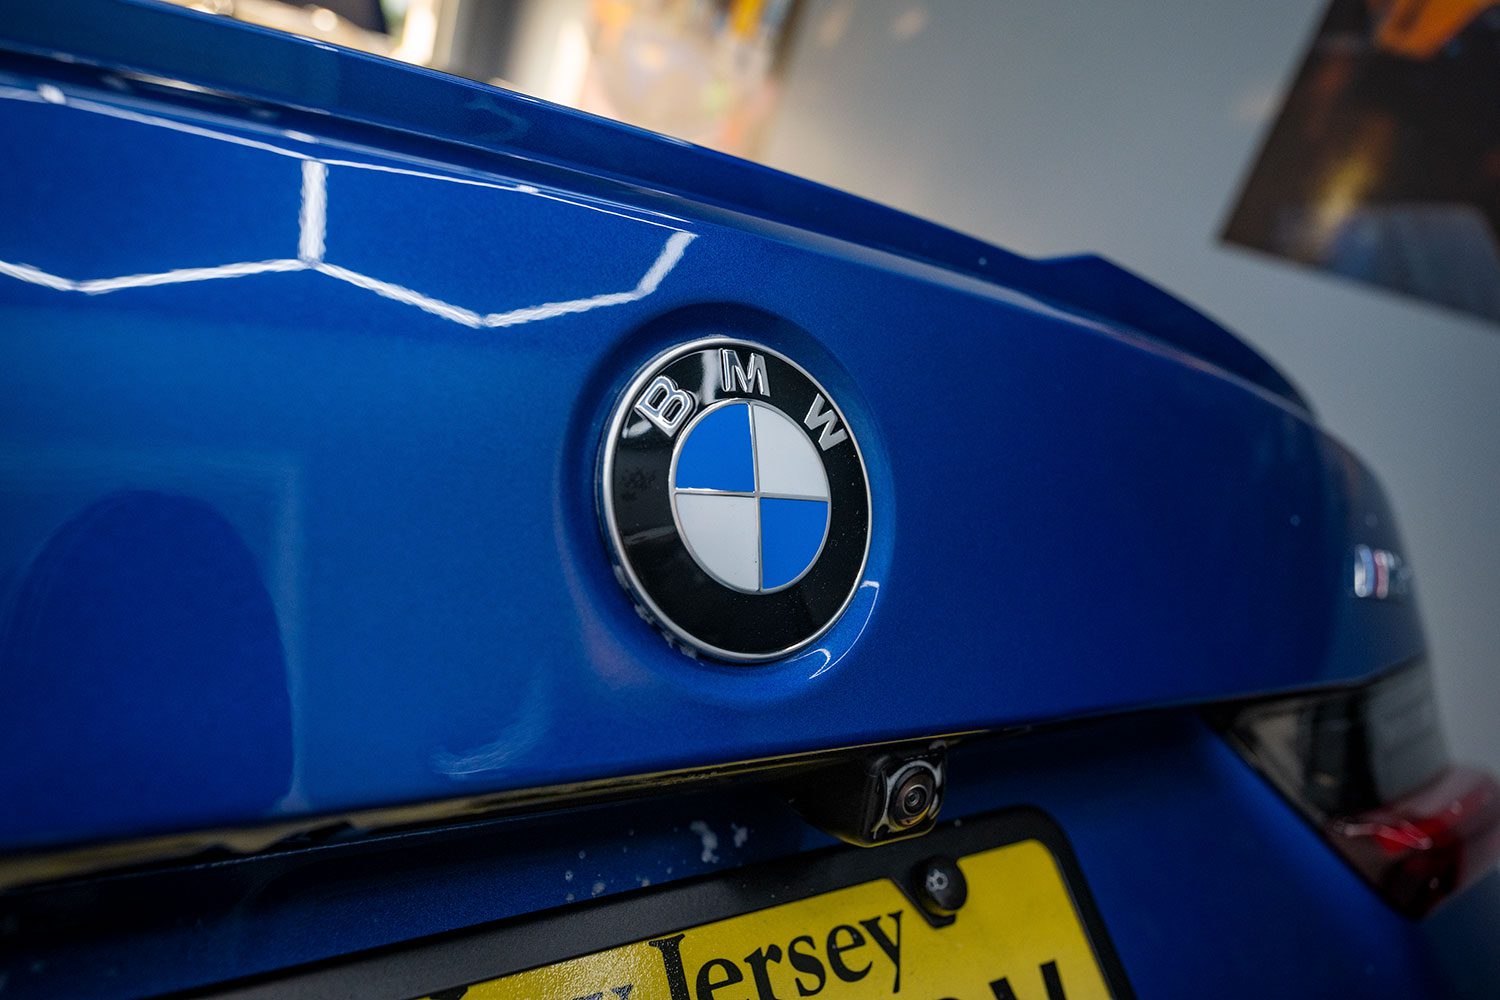
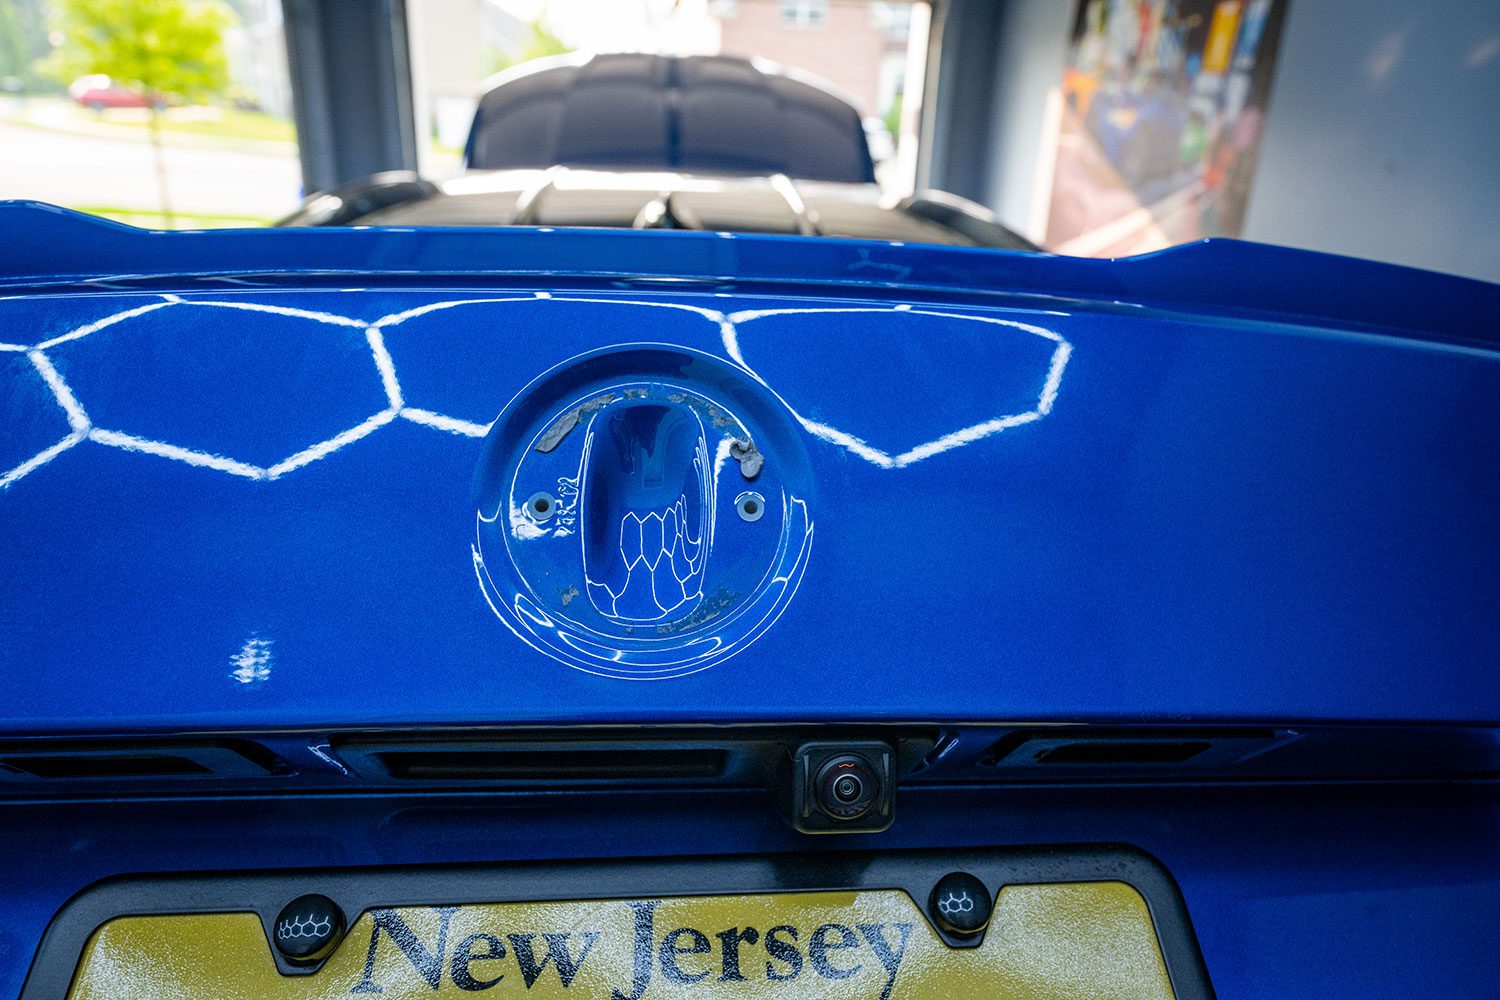
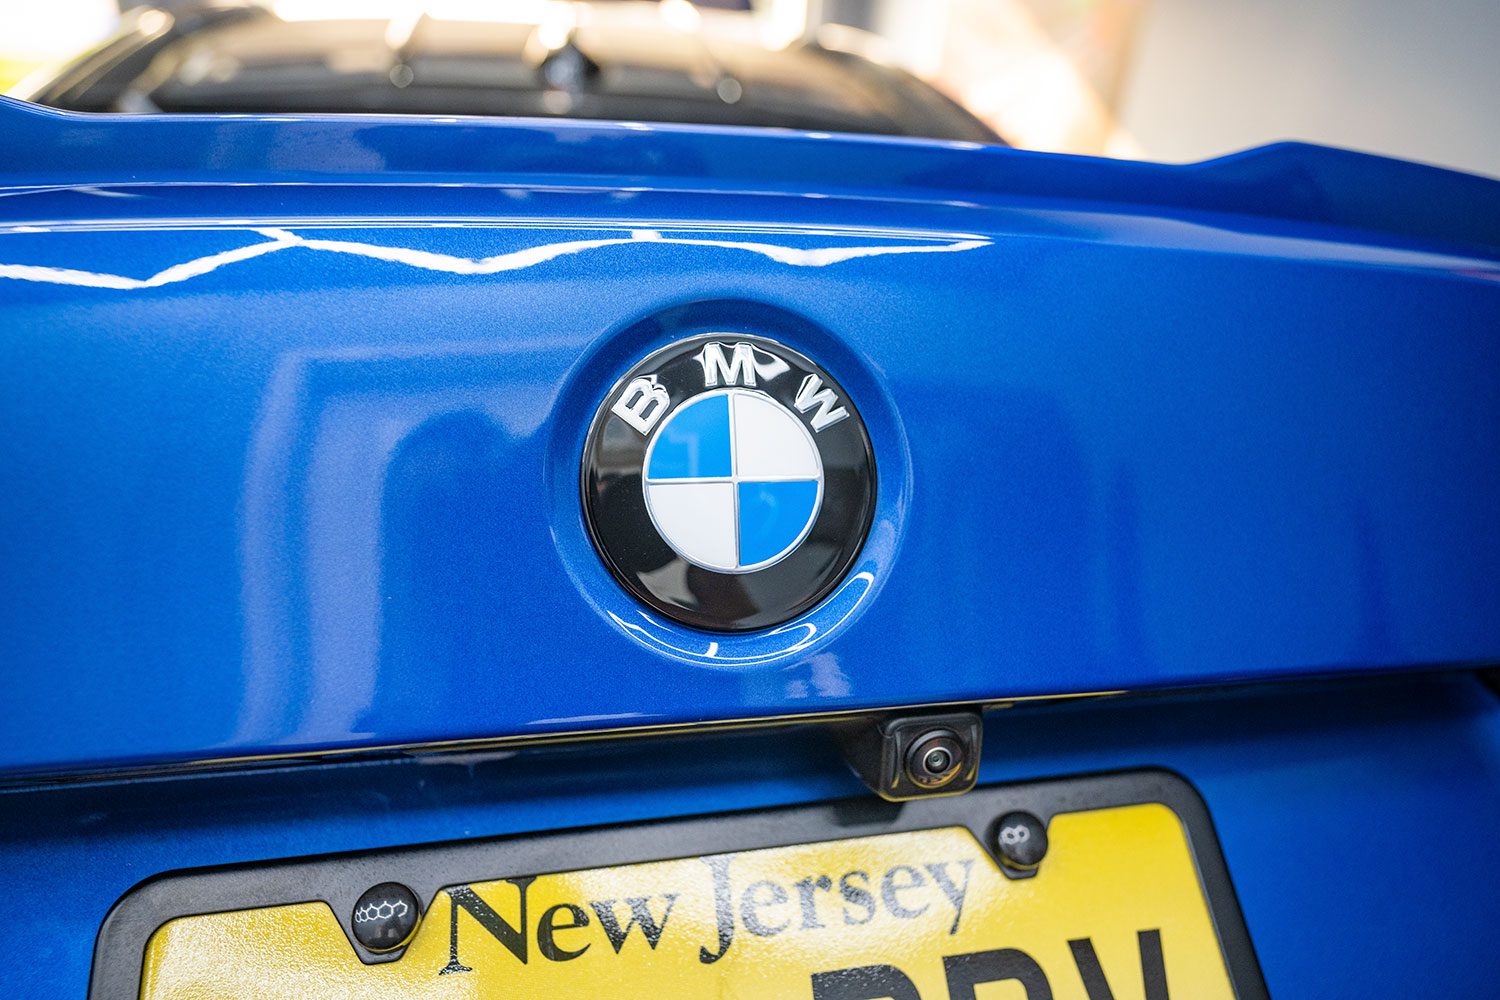
All modern BMWs use the same front badge, but the rear can differ depending on whether or not you have the Parking Distance Package (a larger badge hides the rear camera).
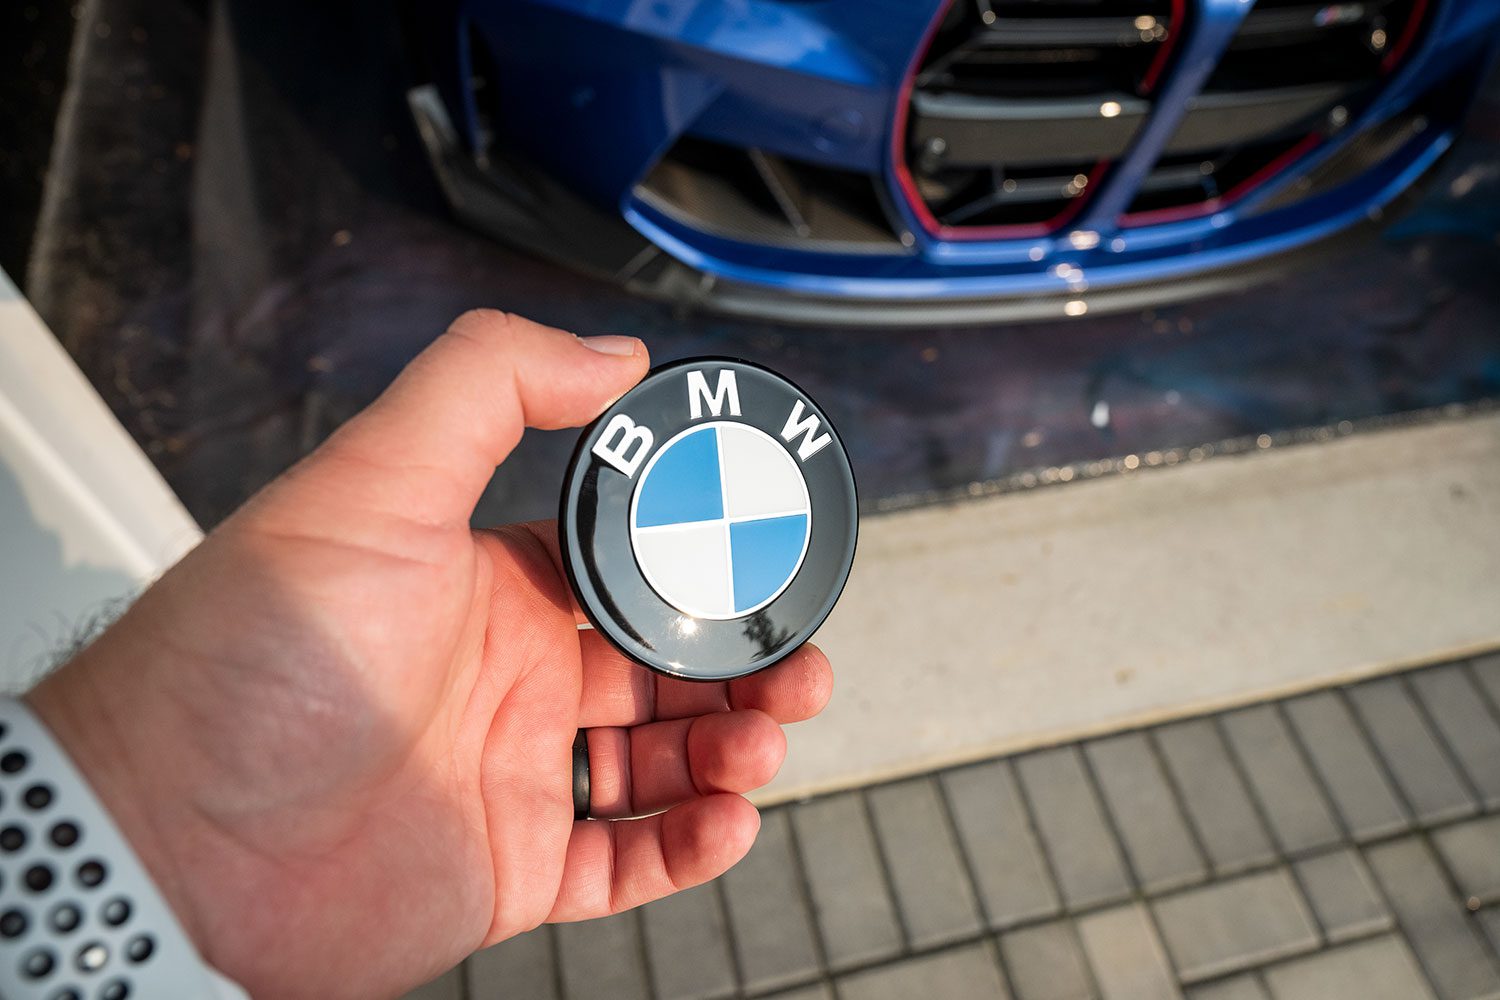
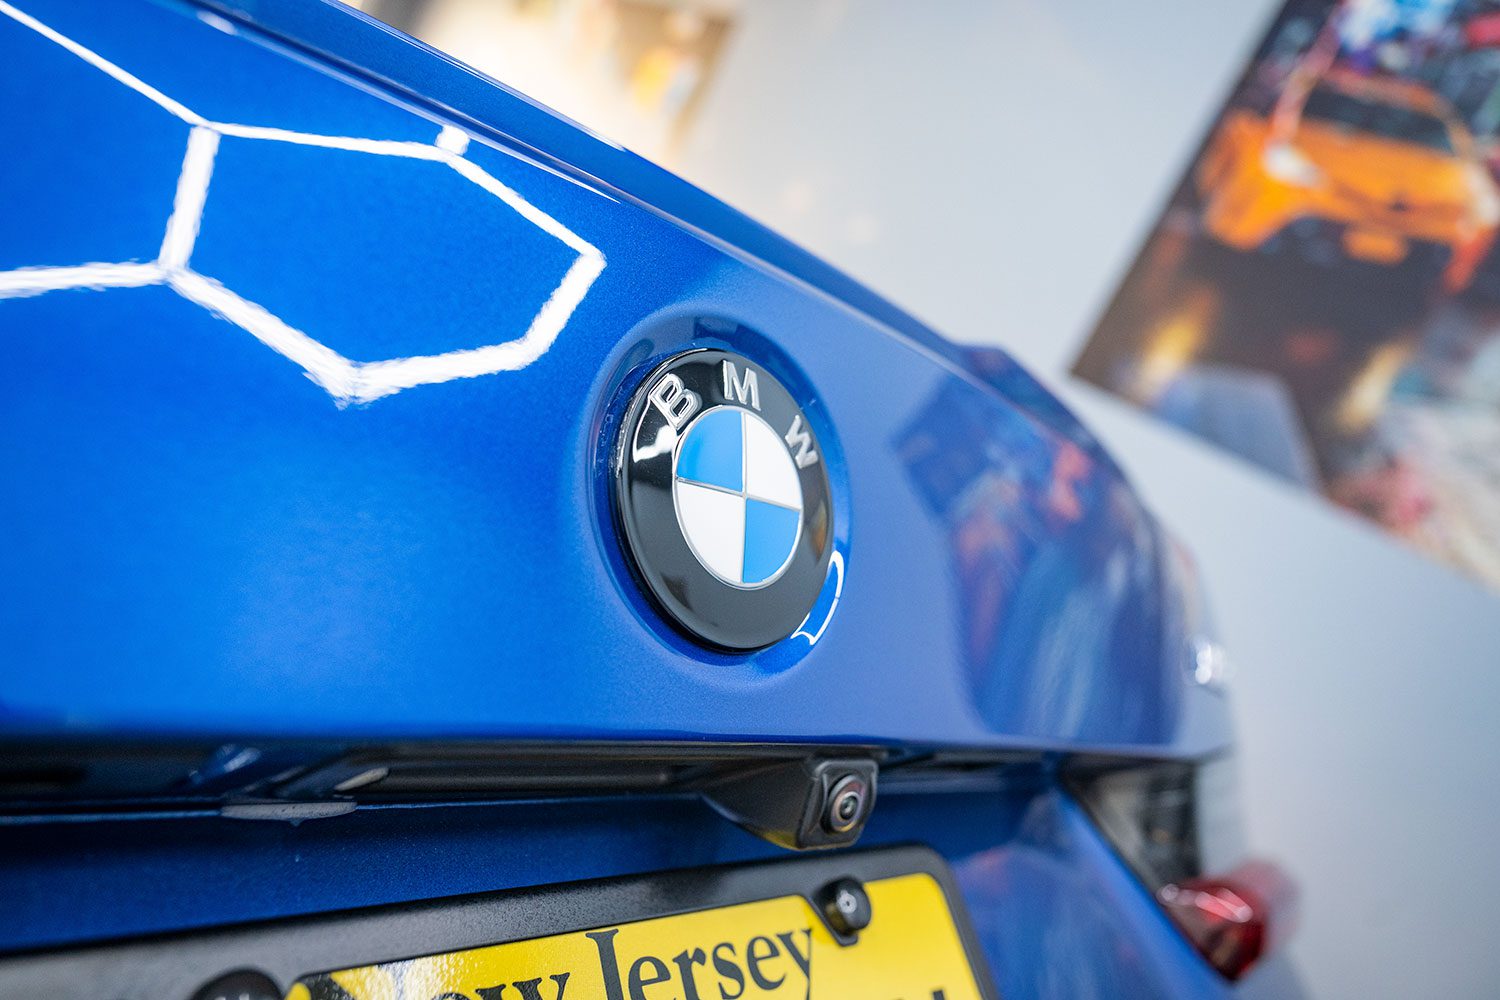
I’m going to swap my original badges for a set of black-painted roundels from IND. These subtle but beautiful badges ditch the chrome surround for gloss black and add a nice touch to an M car.
I got the idea from Ram’s F80. Though BMW makes 50th anniversary badges, my car is not a MY23, so it did not feel authentic to add them to mine. I think these are cleaner.
These took three months to receive, so expect a long lead time. They are hand painted and beautifully finished, making it is worth the wait.
What you’ll need
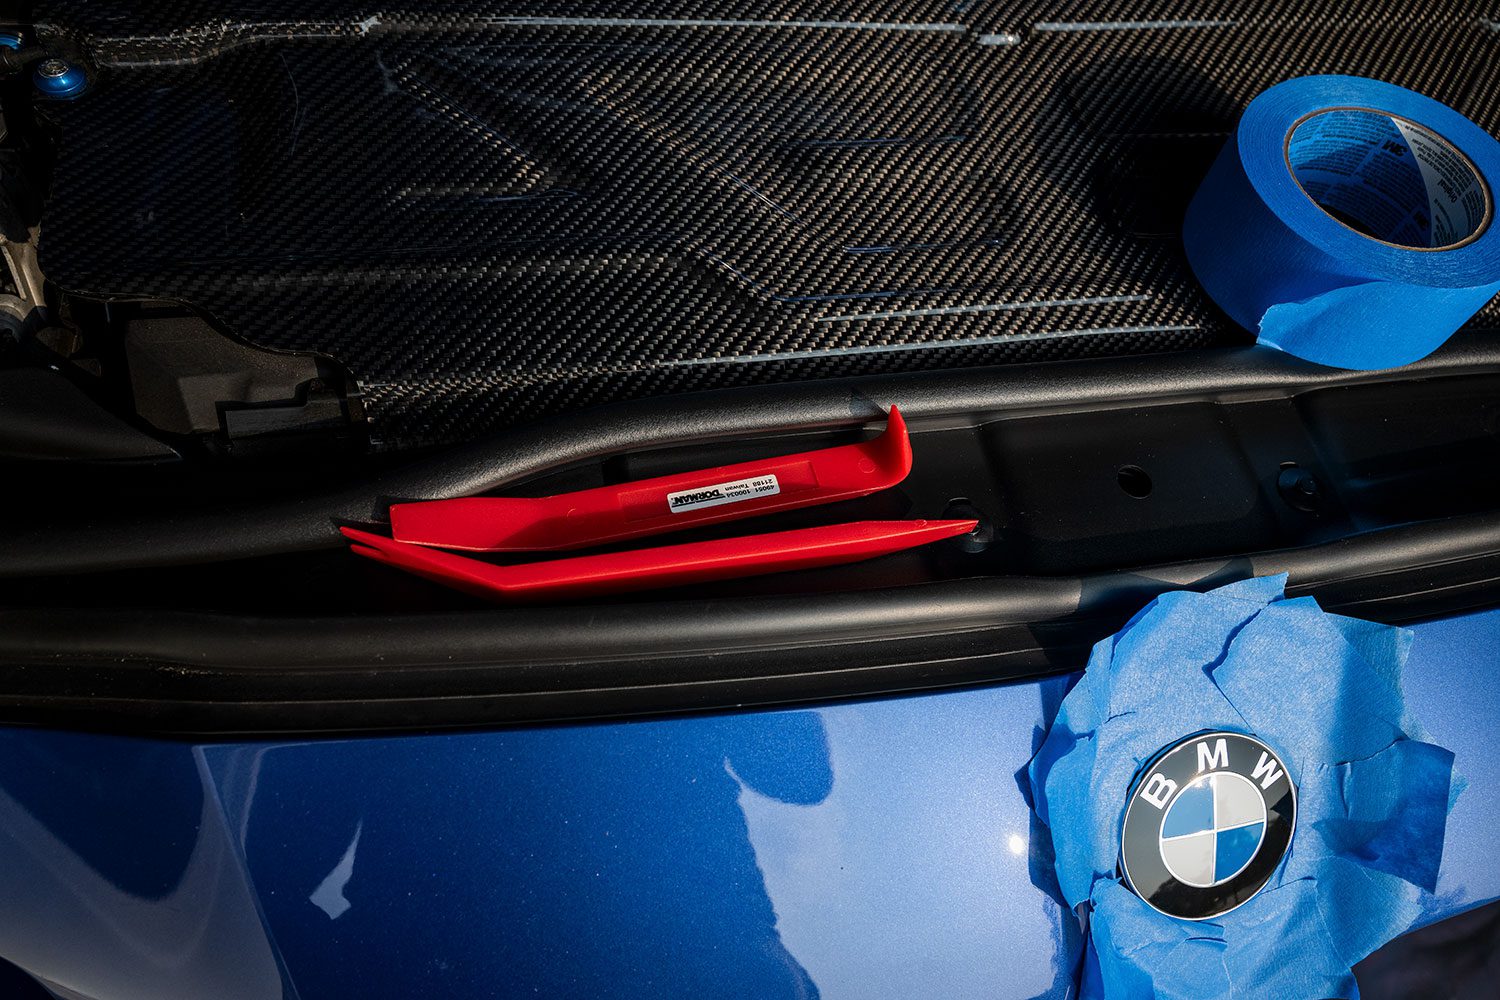
This isn’t difficult, but patience is required to ensure you don’t mar your paint. You’ll need:
- Painter’s Tape
- Trim tool kit
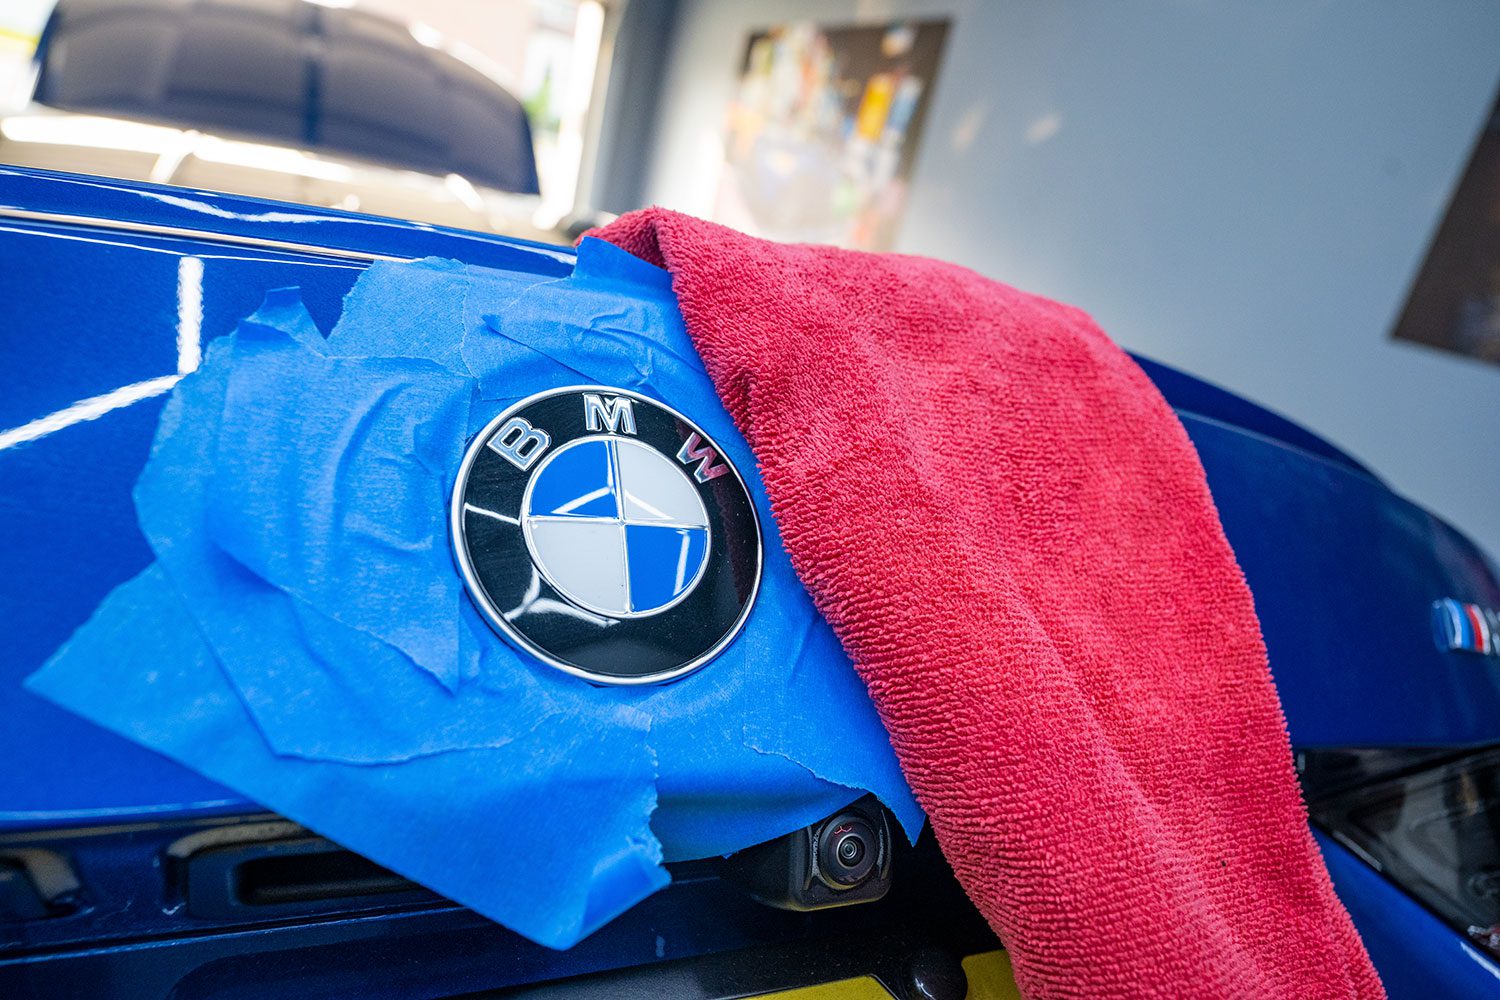
- A heat gun or hair dryer
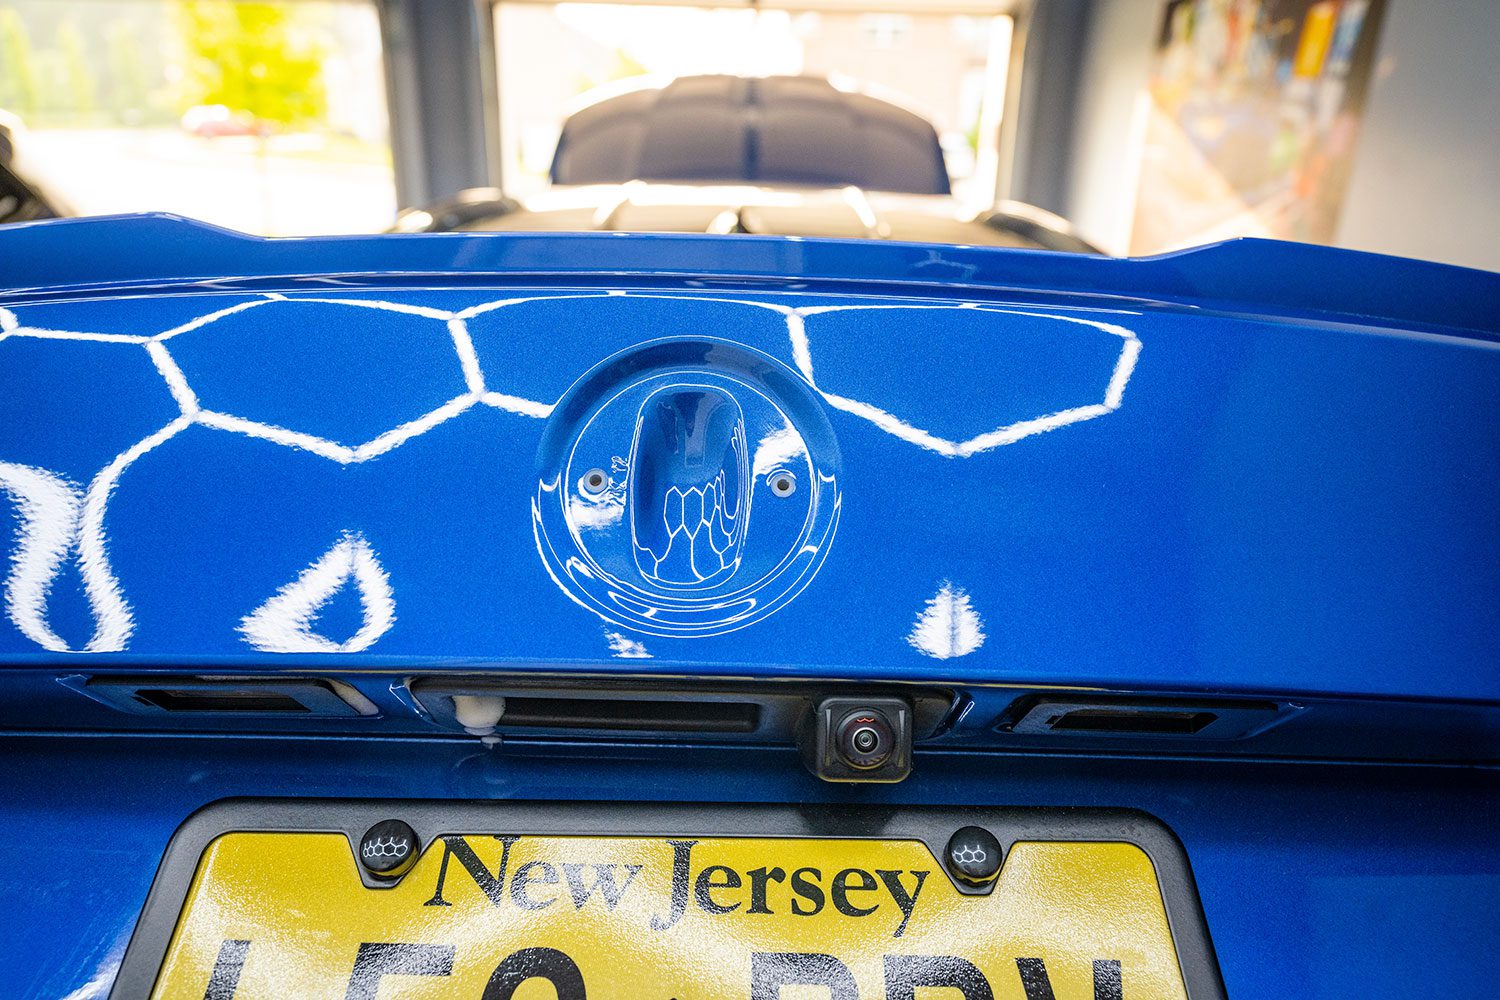
- Adhesive remover
- Isopropyl lcohol mixed 50/50 with water
- Microfiber towels
- Spray wax (optional)
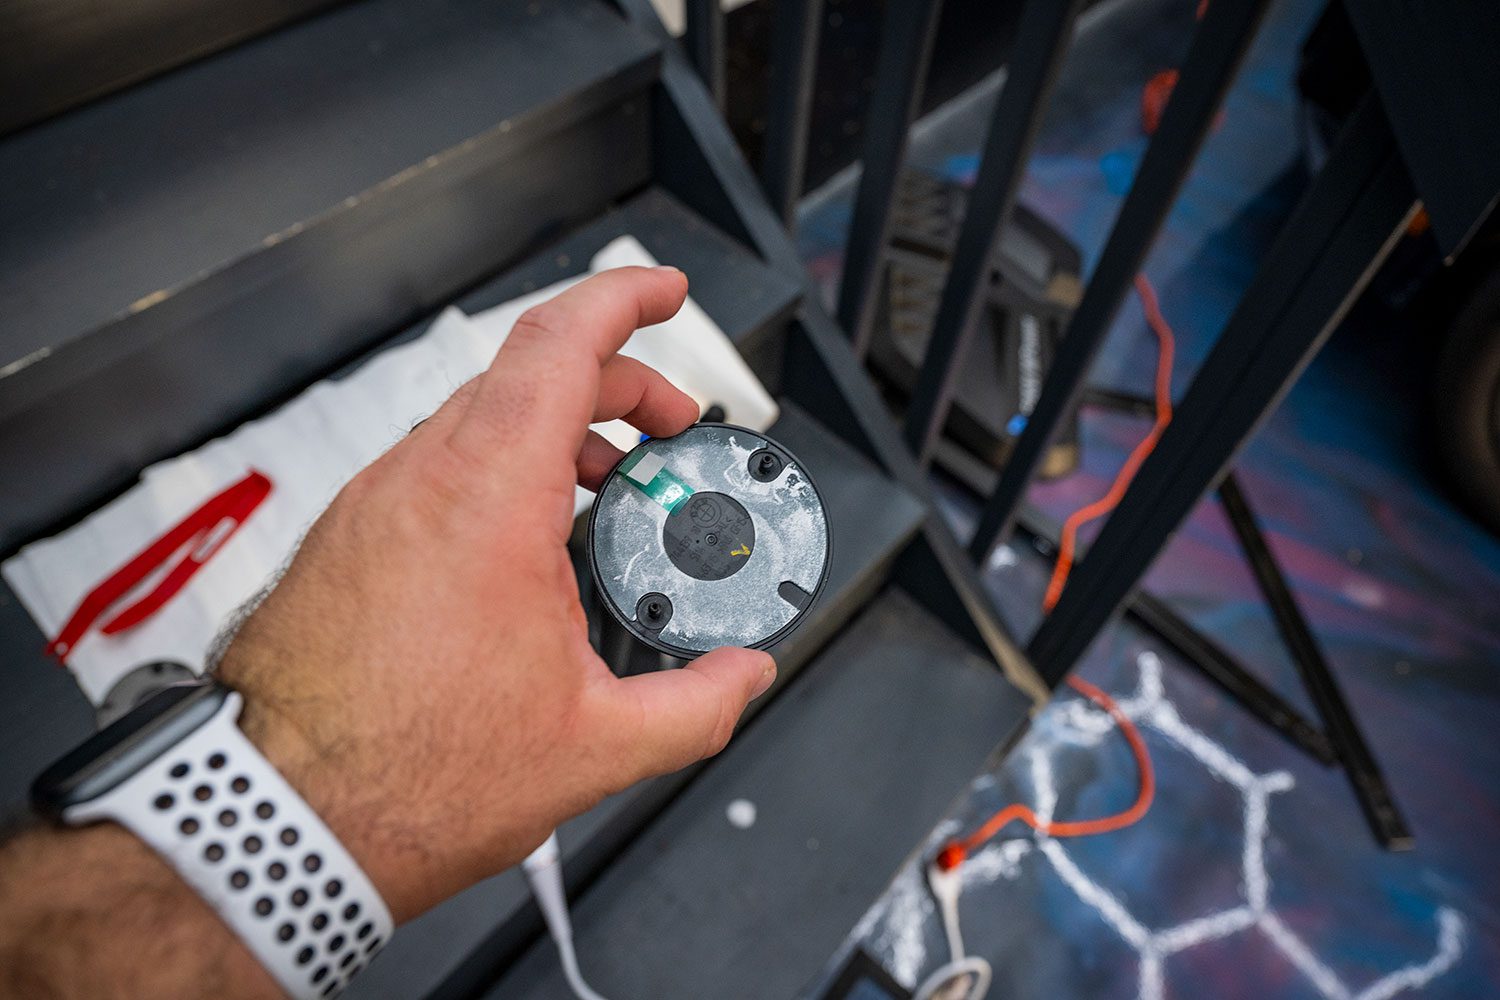
Before you start, I recommend giving the car a wash. You’ll be touching the paint, so it’s best to have it clean and dirt-free.
When I took the badges out of the packaging, I noticed what looked like white scratches. IND said this was simply dried polish, and sure enough, it came right off with a microfiber towel. If you see it on your set, try rubbing it off before panicking.
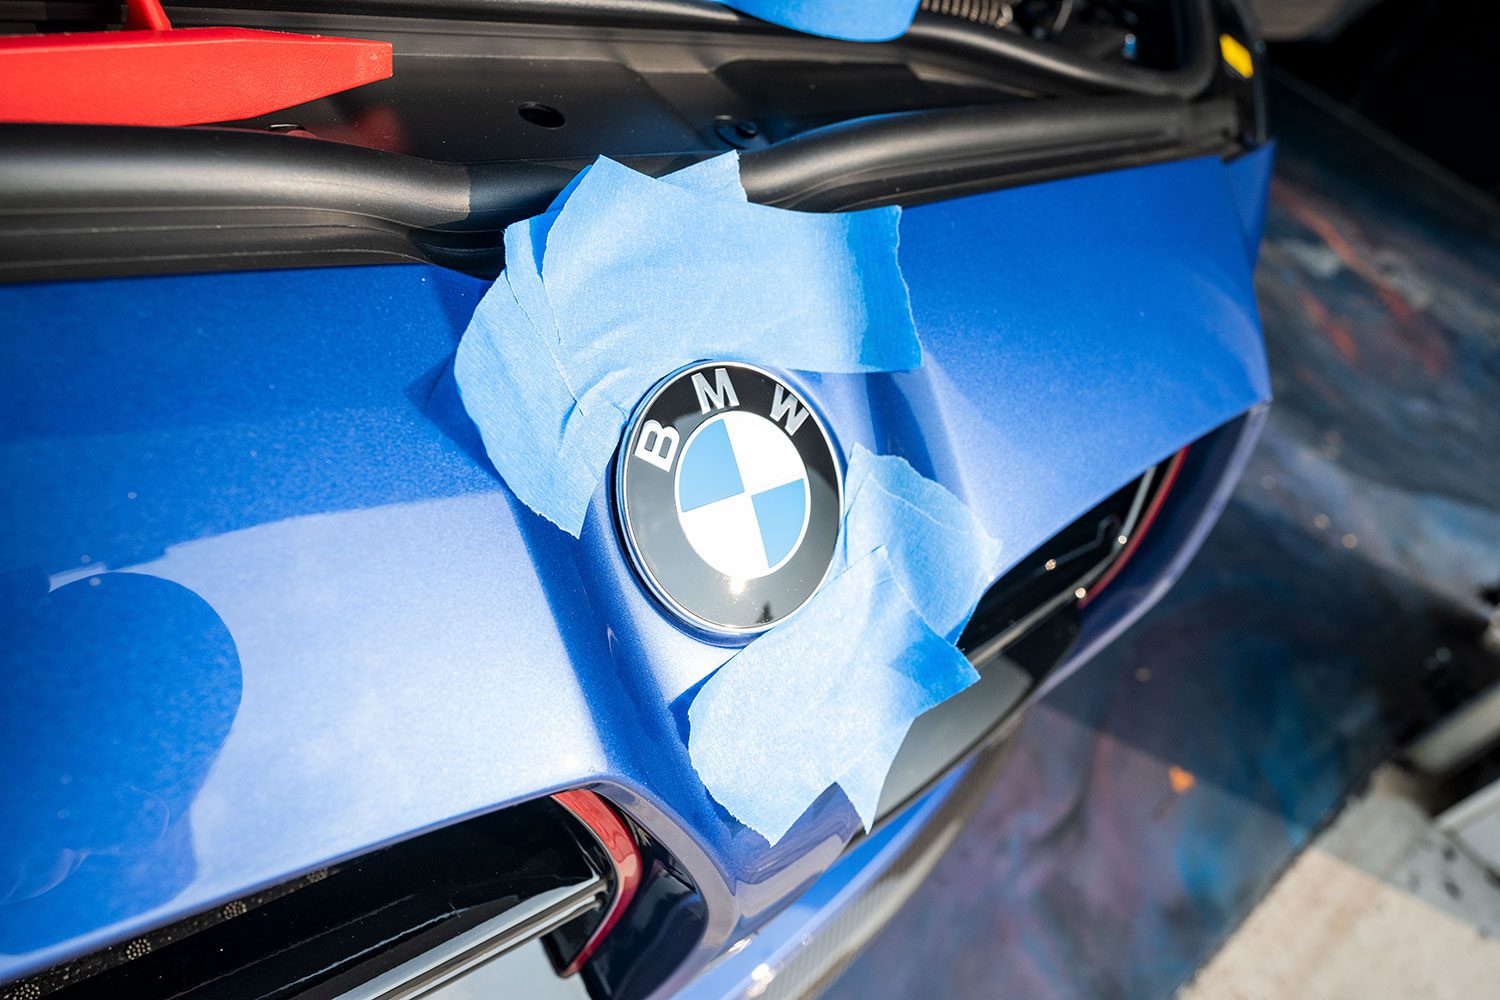
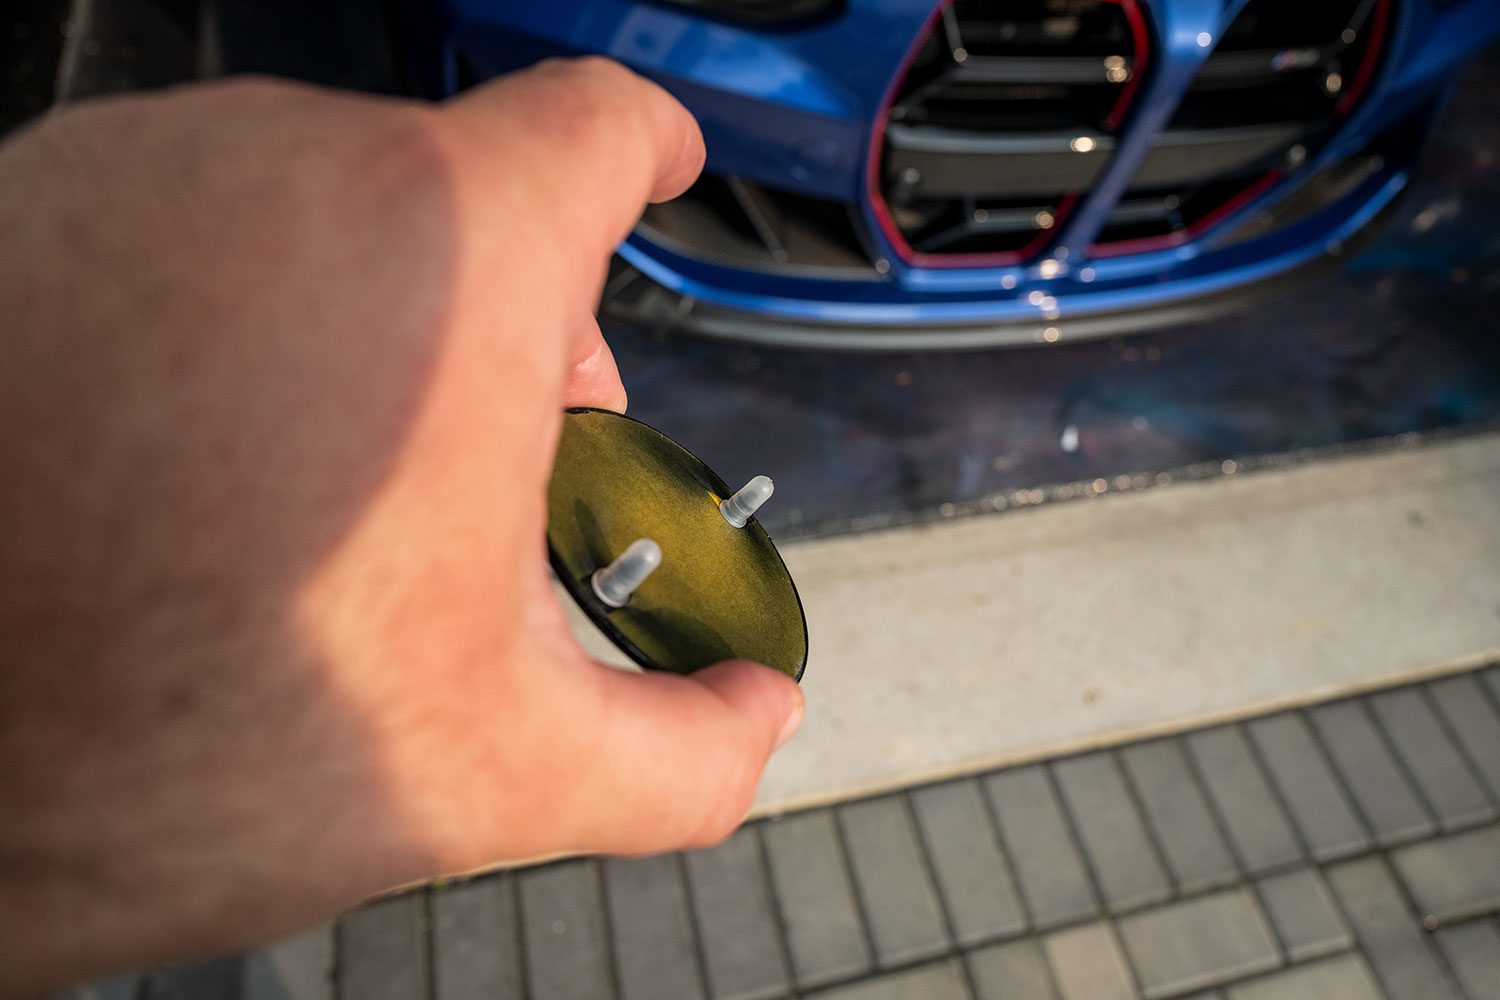
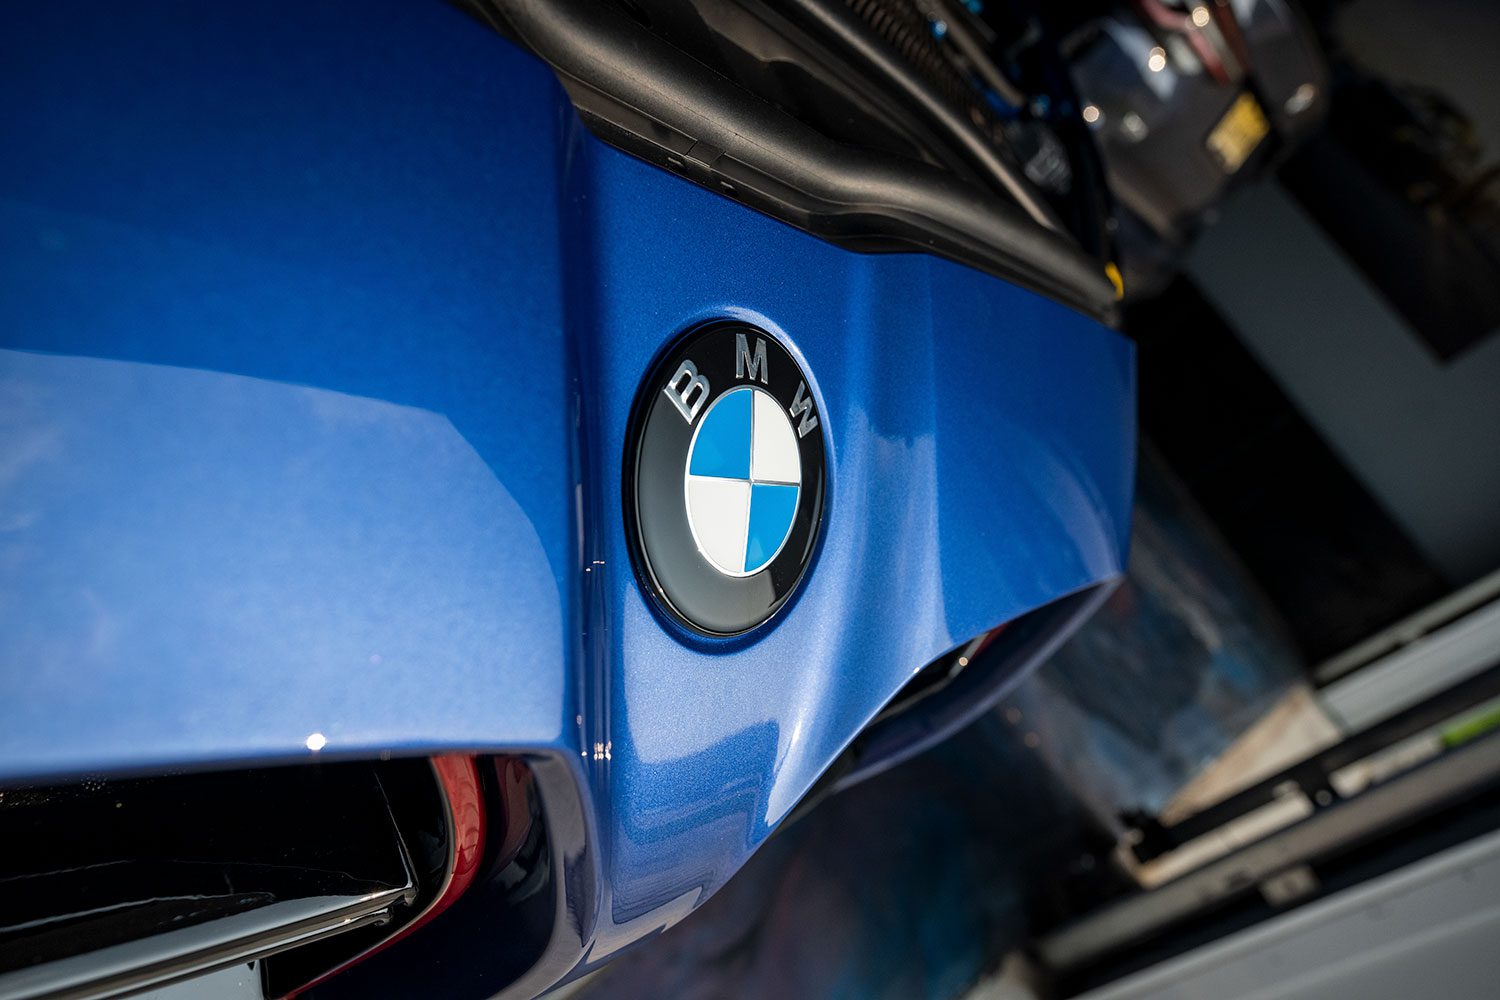
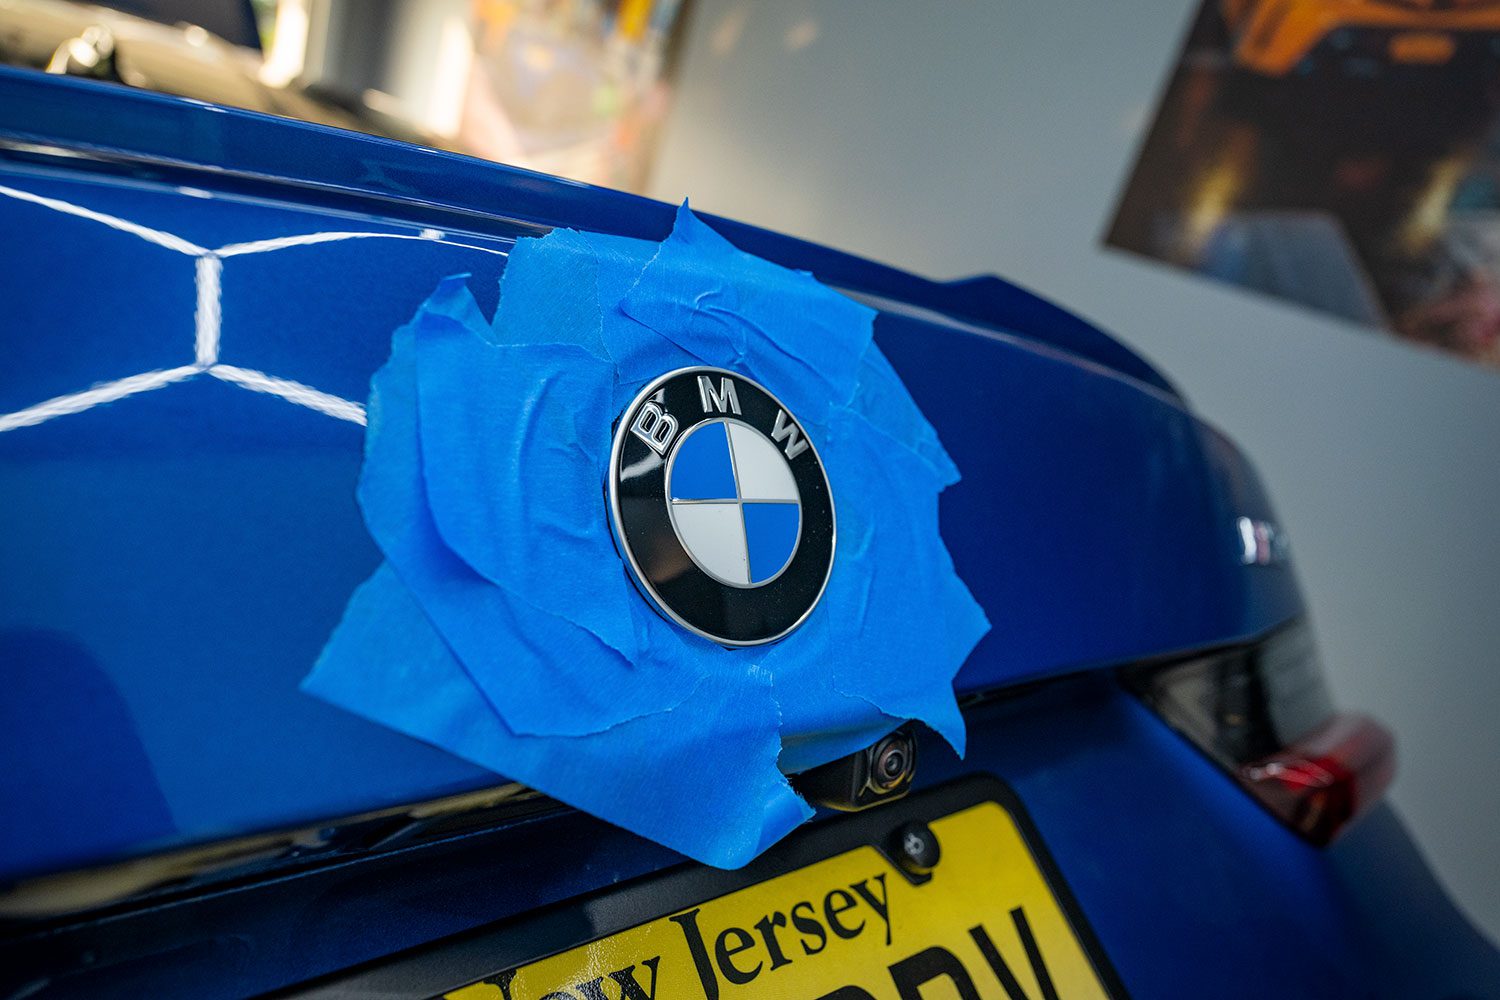
Removing and installing the front BMW Badge
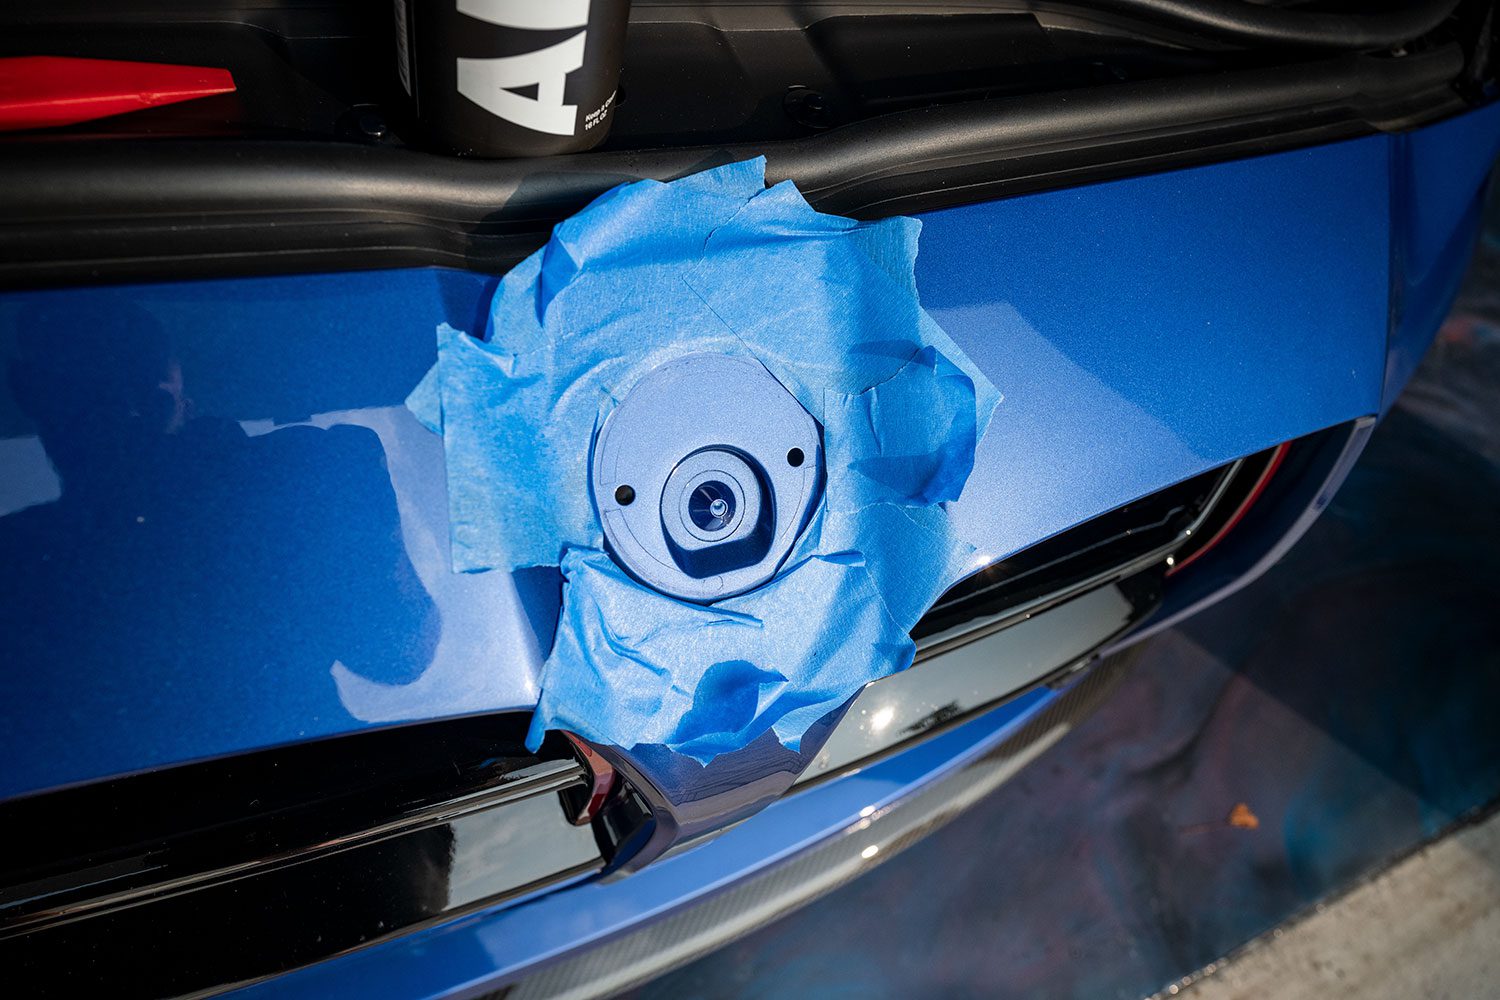
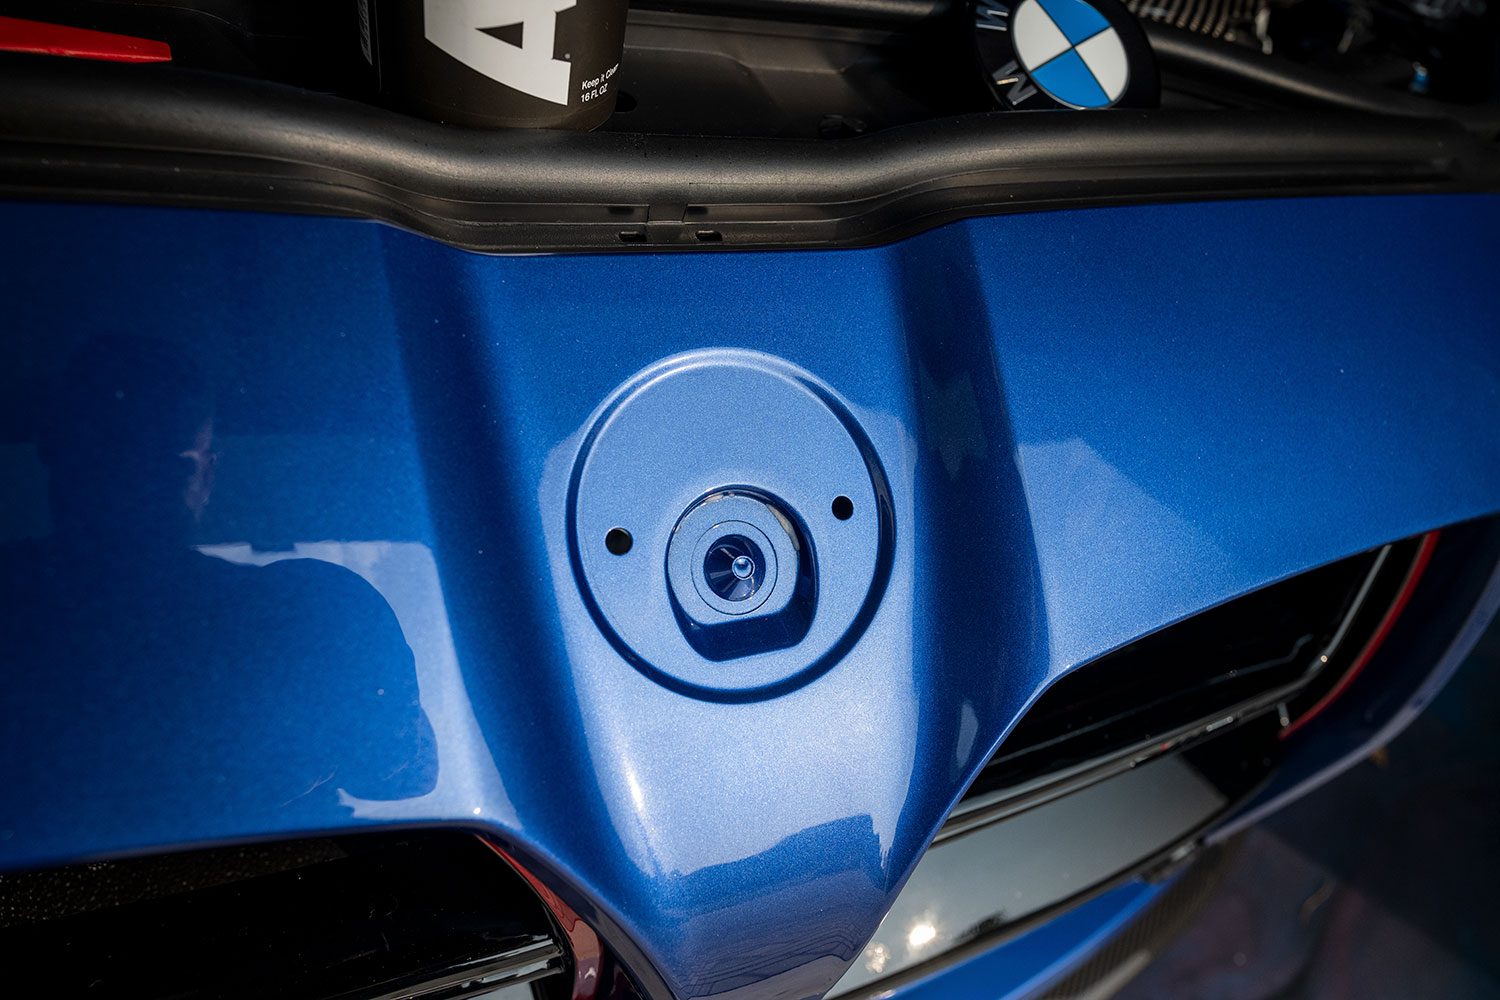
Removing and installing the rear BMW Badge
The rear is just a bit more difficult, as we’re working with metal as oppose to plastic. The same steps still apply.
Want your car reviewed?
If you live in the tri-state area and want me to check it out, send me an email!
Support the cause
Commissions may be received for product links on this site. Help out if you can.
I use Nikon camera bodies and lenses, a Westcott Ice Light 2, Manfrotto tripod, B + W filters and an iMac Pro to make the art you see here.
Follow along on Instagram @machineswithsouls
2 thoughts on “How to install BMW badges”