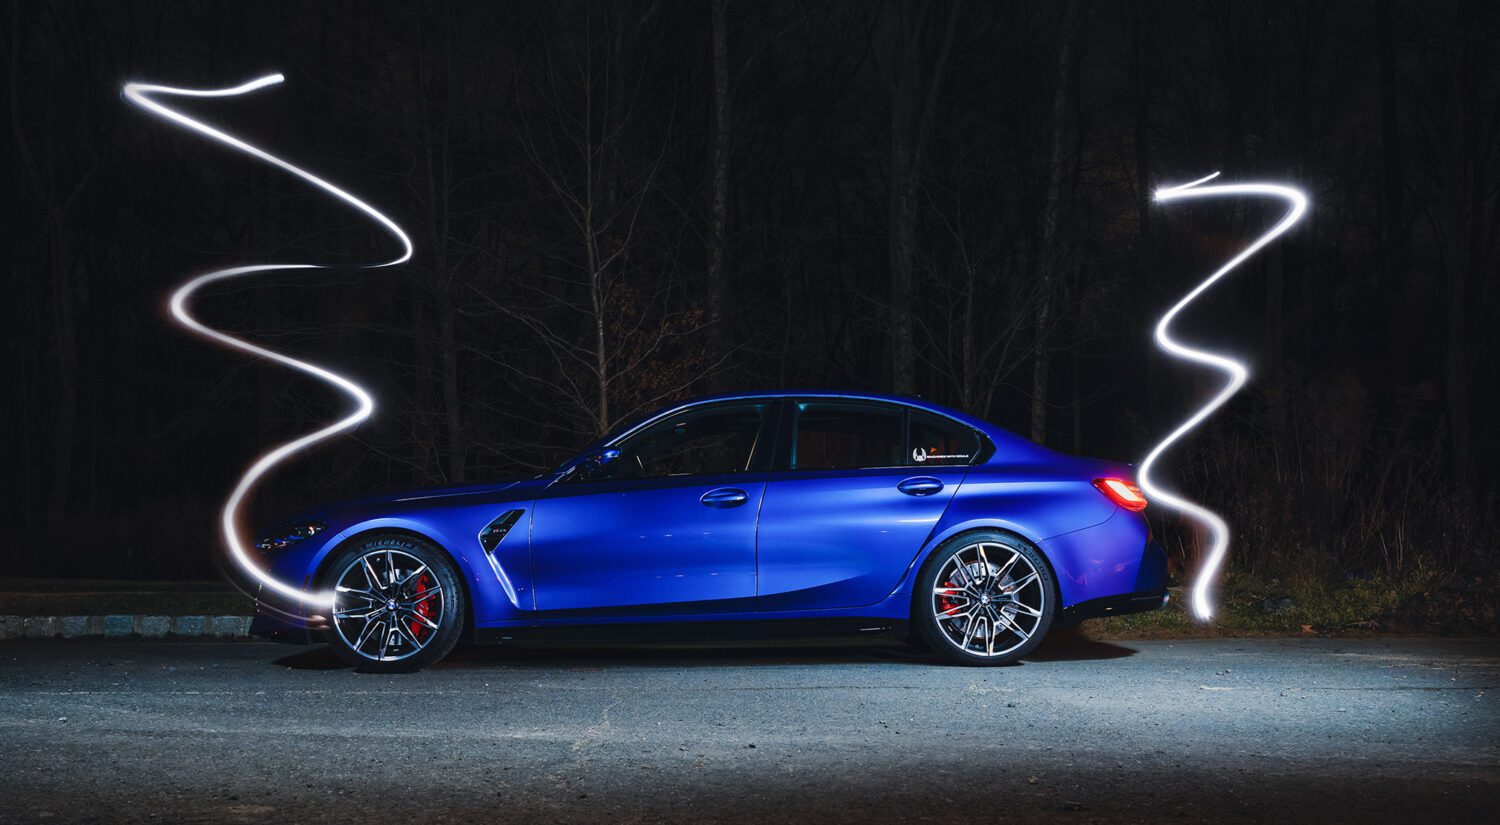
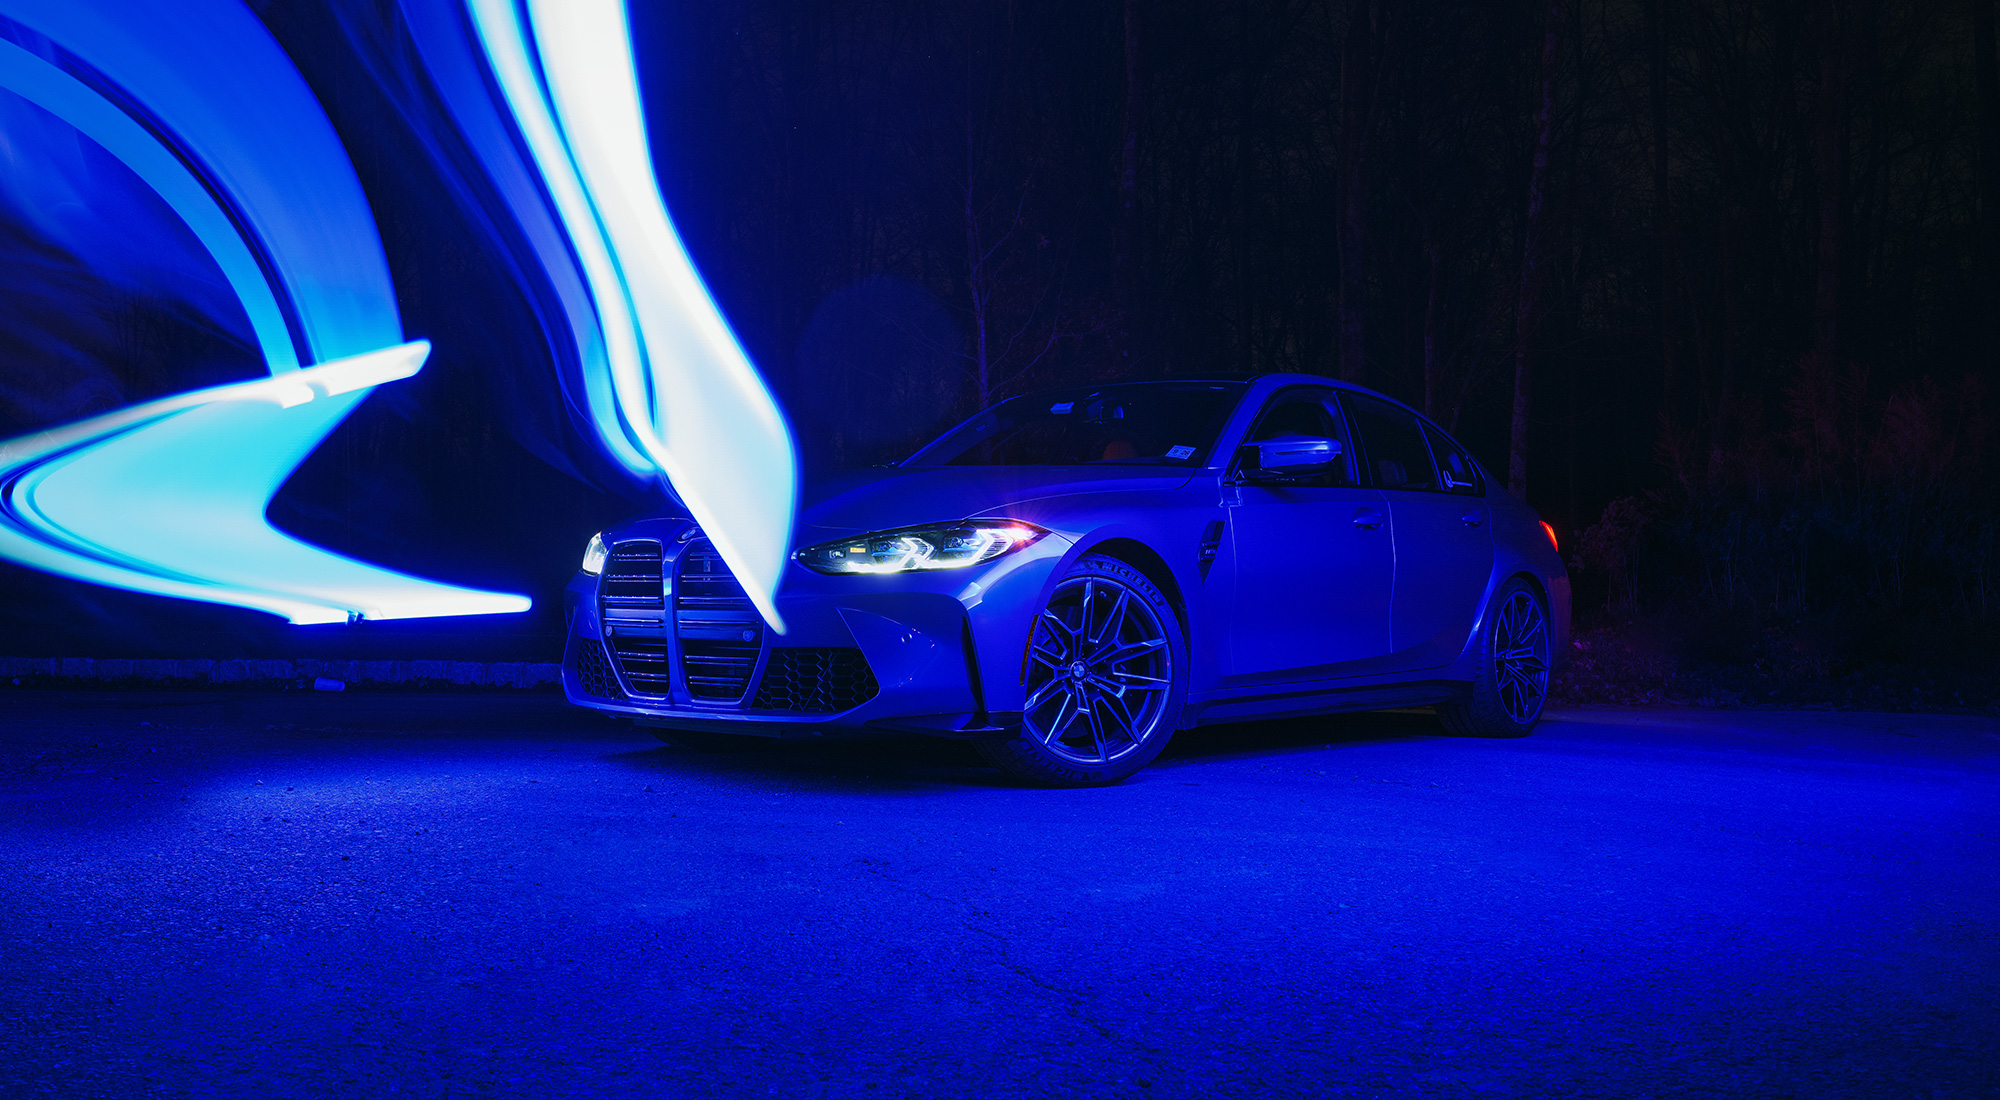

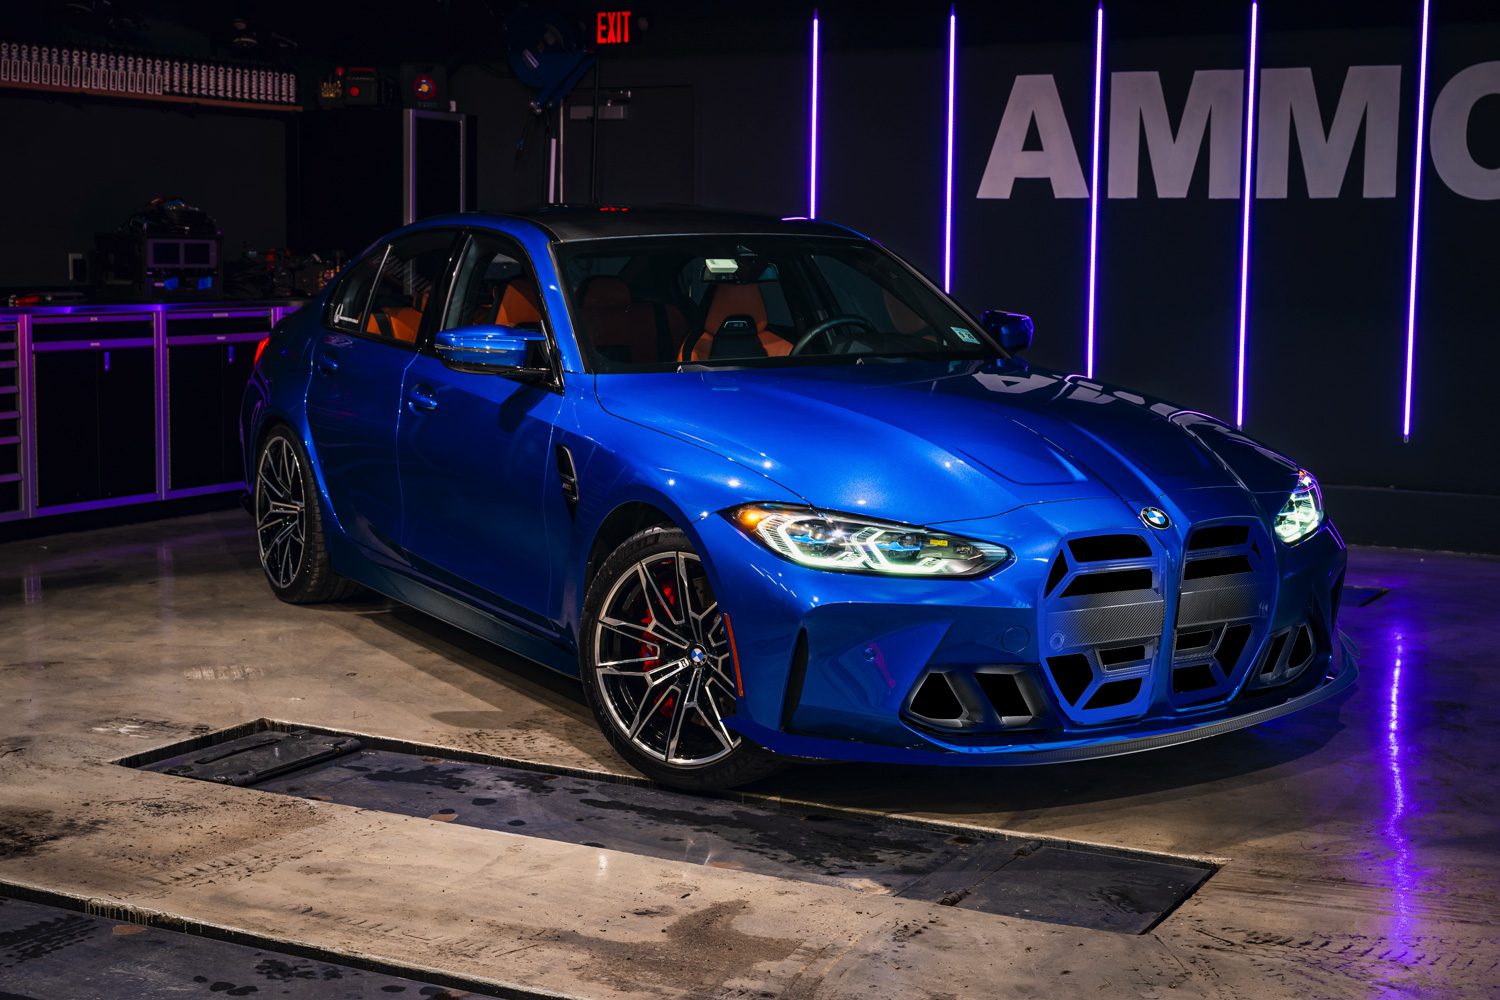
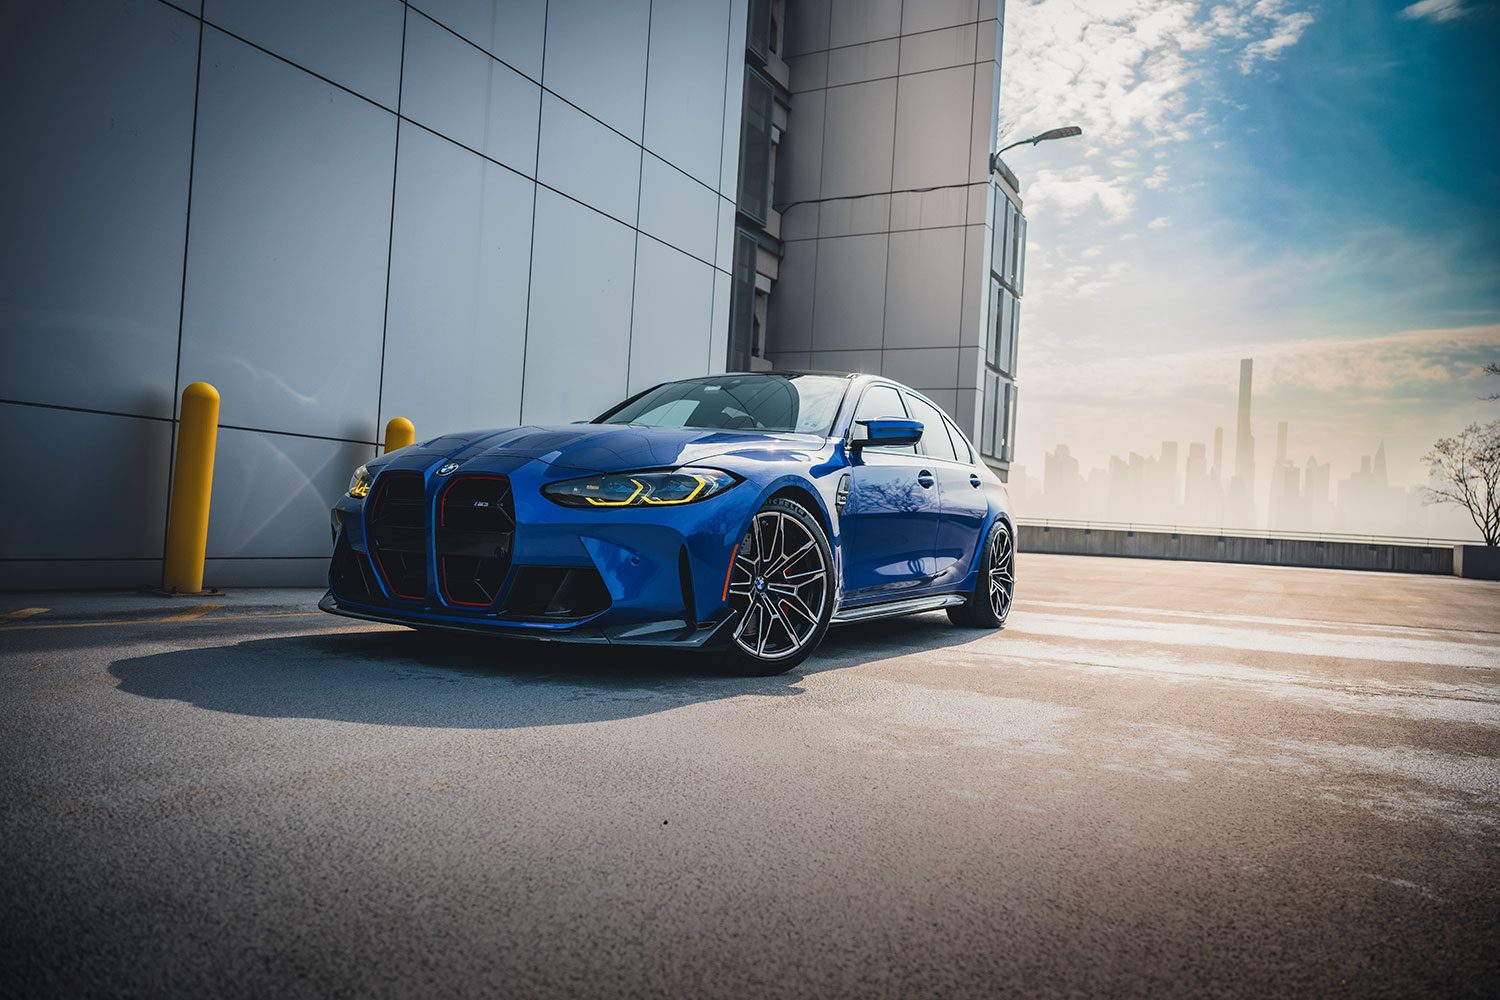
Let’s just level with each other right off the bat. I love the G8X. I loved it so much that I voted with my own bank account to obtain one. However, I cannot sit here with a straight face and tell you that it is the prettiest M ever made. It’s the M3’s nose, obviously. It’s different. Aggressive. Attention-getting. But it’ll always be weird. So, screw it. Let’s embrace the weird by adding more of it. Let’s fix the G80 M3 nose.
This isn’t as clear cut as you might think.
The nose knows
There are basically three options for this car. You can add a new grille (of which there are many), you can add carbon fiber, or you can get rhinoplasty. I have opted for a combination of the first two.
I think it’s best to start with the first option I thought of, which was to use a special body shop to paint a CSL grille, intakes, lip and more with a gradient. It would look like this:
Certainly different. But this is not a show car, just one I drive every day. Not exactly OEM+ either, which is my style.
Then I thought about a nose job.
Ad-no
I reached out to Adro, which released a full ($12,000 without labor or paint!) body kit, and they said they’d be willing to work with me.
(Now before I go any further, I’d like to tell you that if you’re reading this and you either have or like the Adro kit, please enjoy it and skip the next paragraph.)
Adro might have been willing to work with me, but not nearly enough to offset the cost of everything. But even if the kit were free, I couldn’t do it, because…it’s ugly. It makes the car look worse. Here, see…
The angled-down nose resembles a dog sniffing for a bone. That big black hole with no body color in between the nostrils. And all the mesh – we want less of a mess in the front, not more sloots, slits and slats. No thank you. Next.
CS to the RS-cue
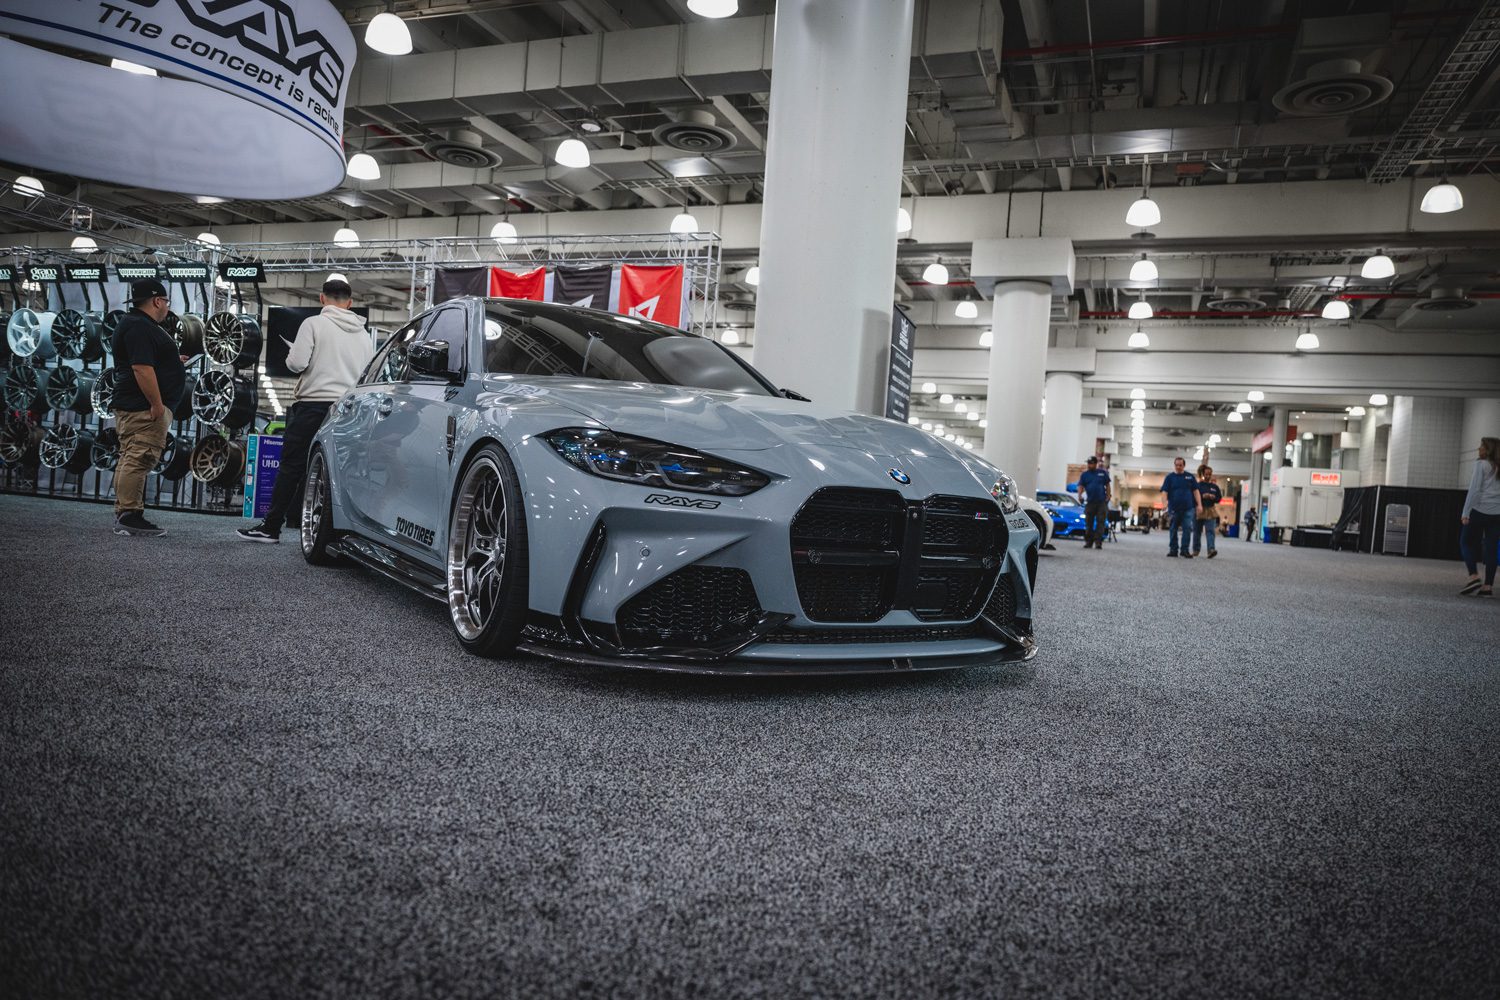
All of this had been going on for quite some time, and I just didn’t see a grille/carbon fiber combo I liked. But then, the M3 CS came out. Too bad it’ll never have a stick. So…let’s make an M3 CS 6MT!
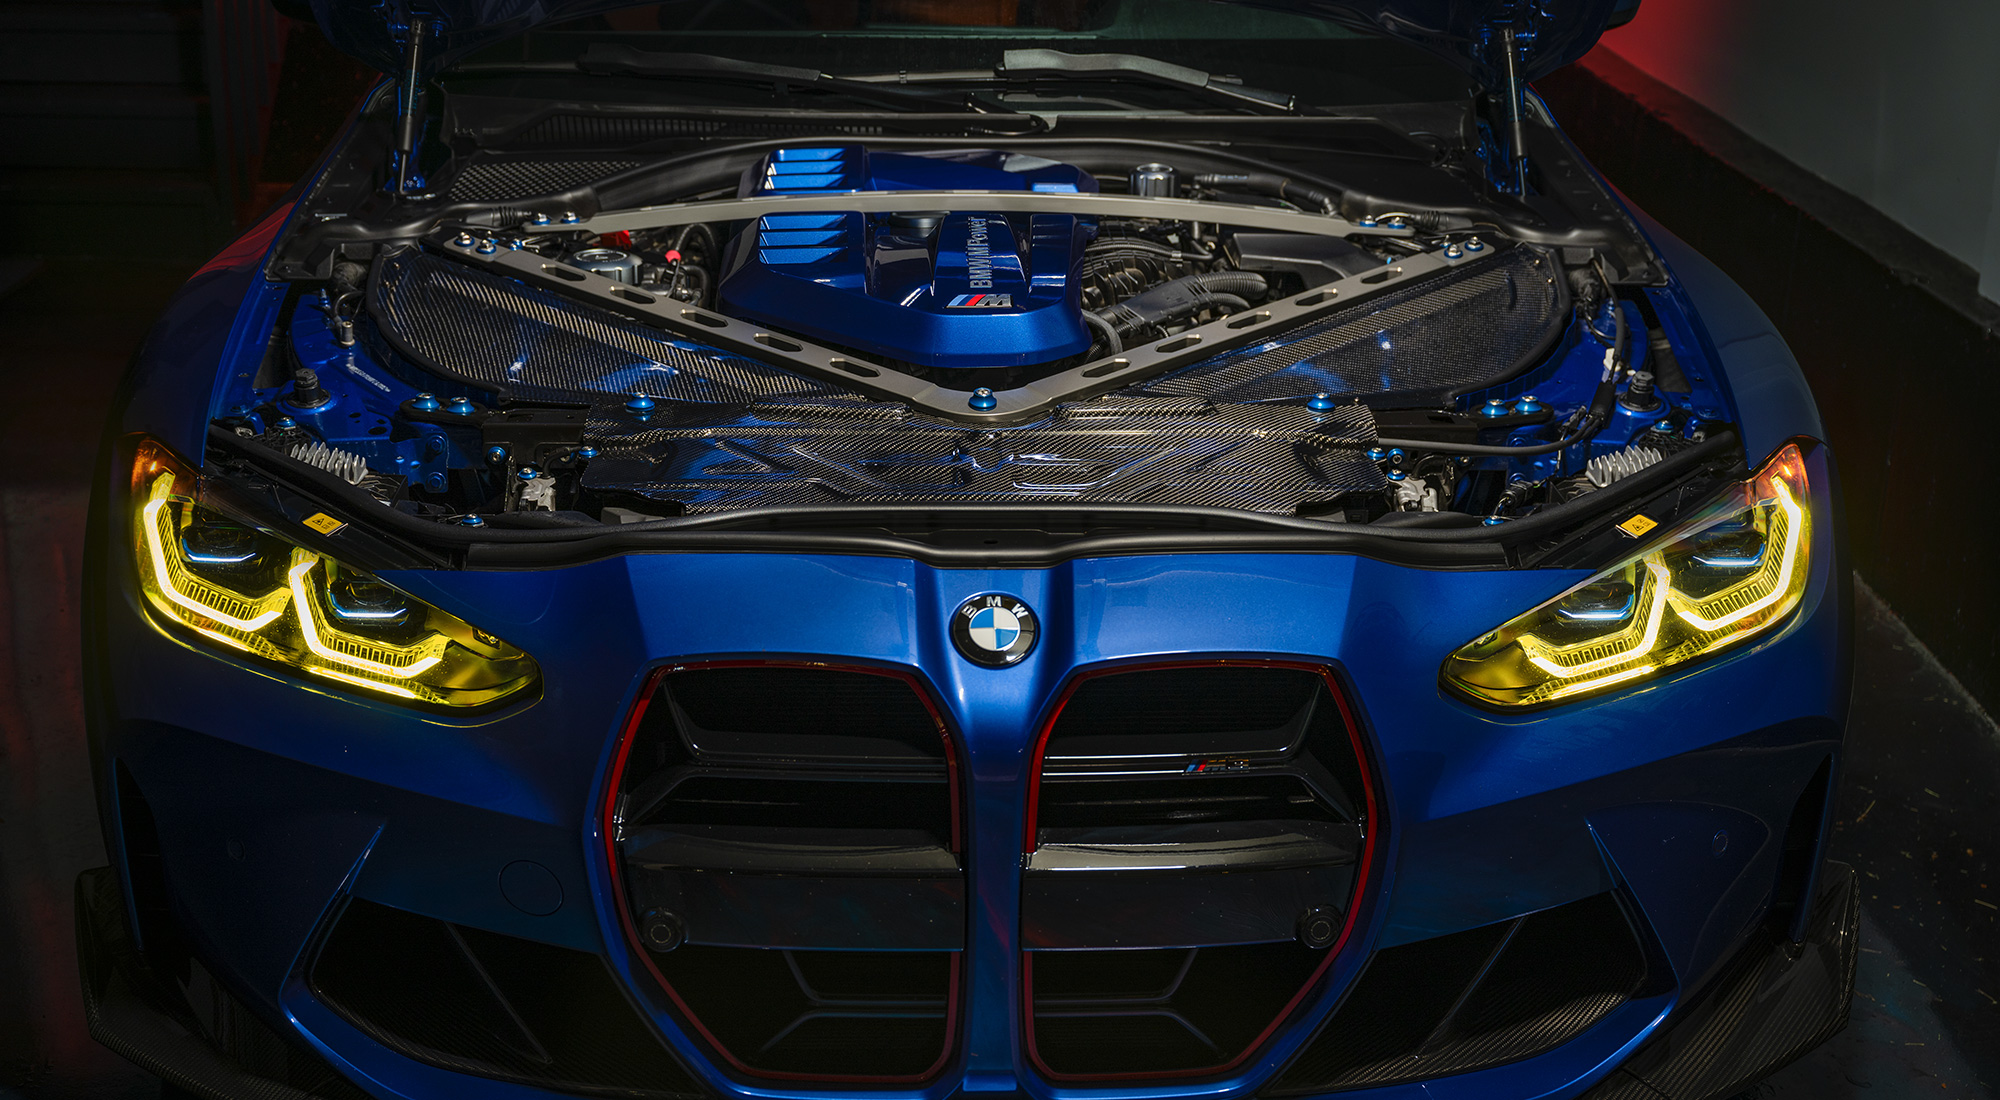
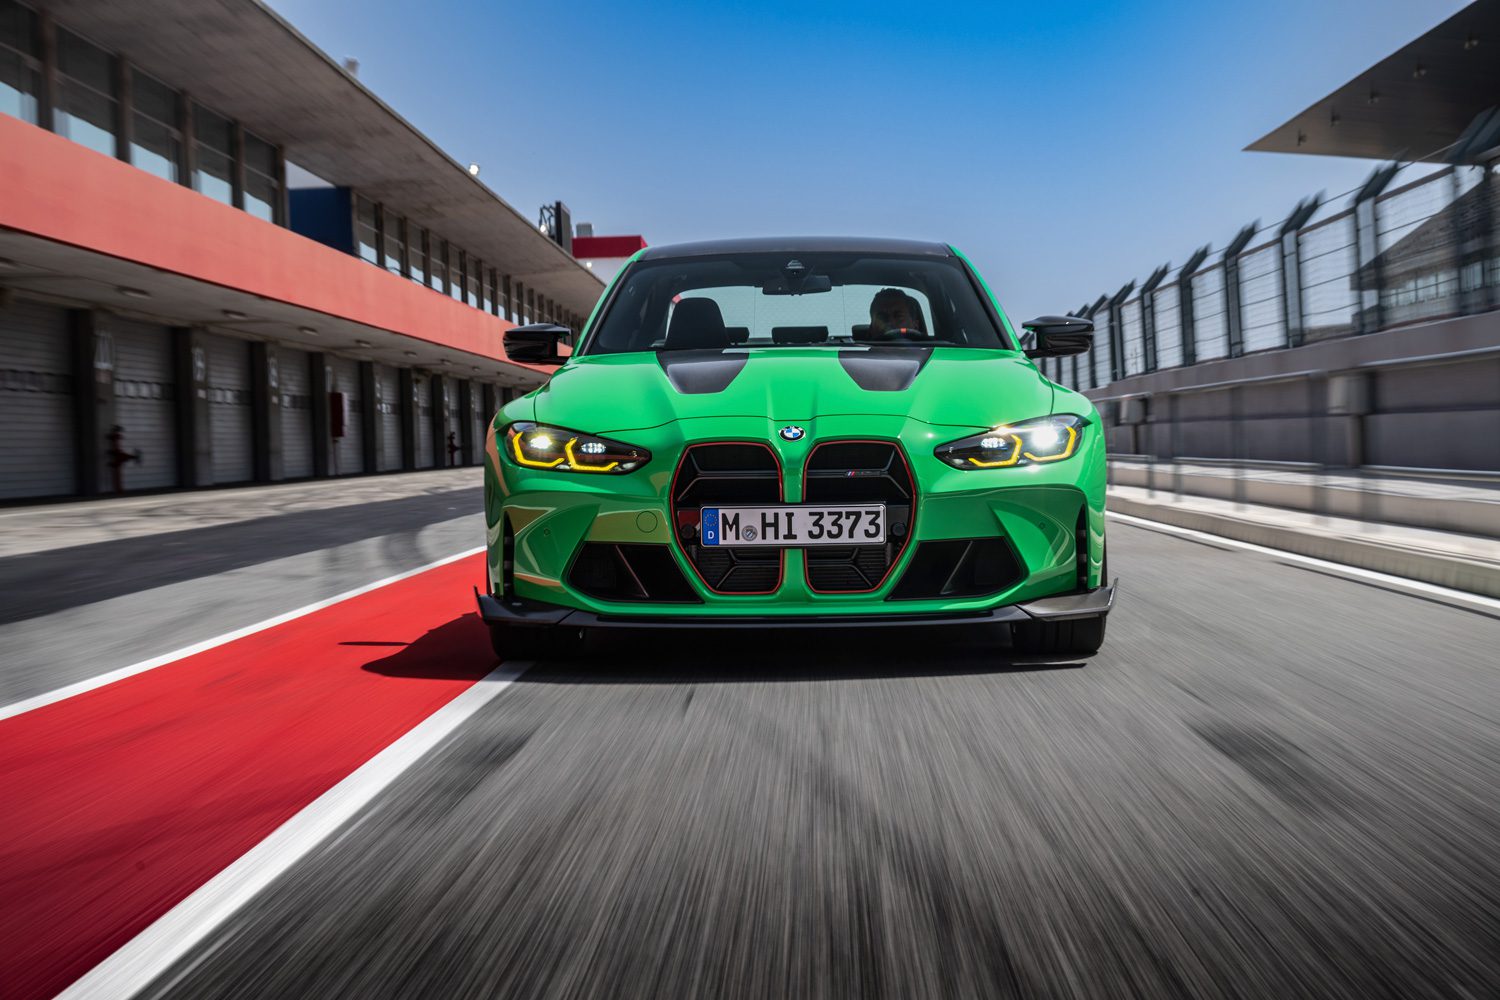
I already had the proper lights.
To do this, I decided on three items:
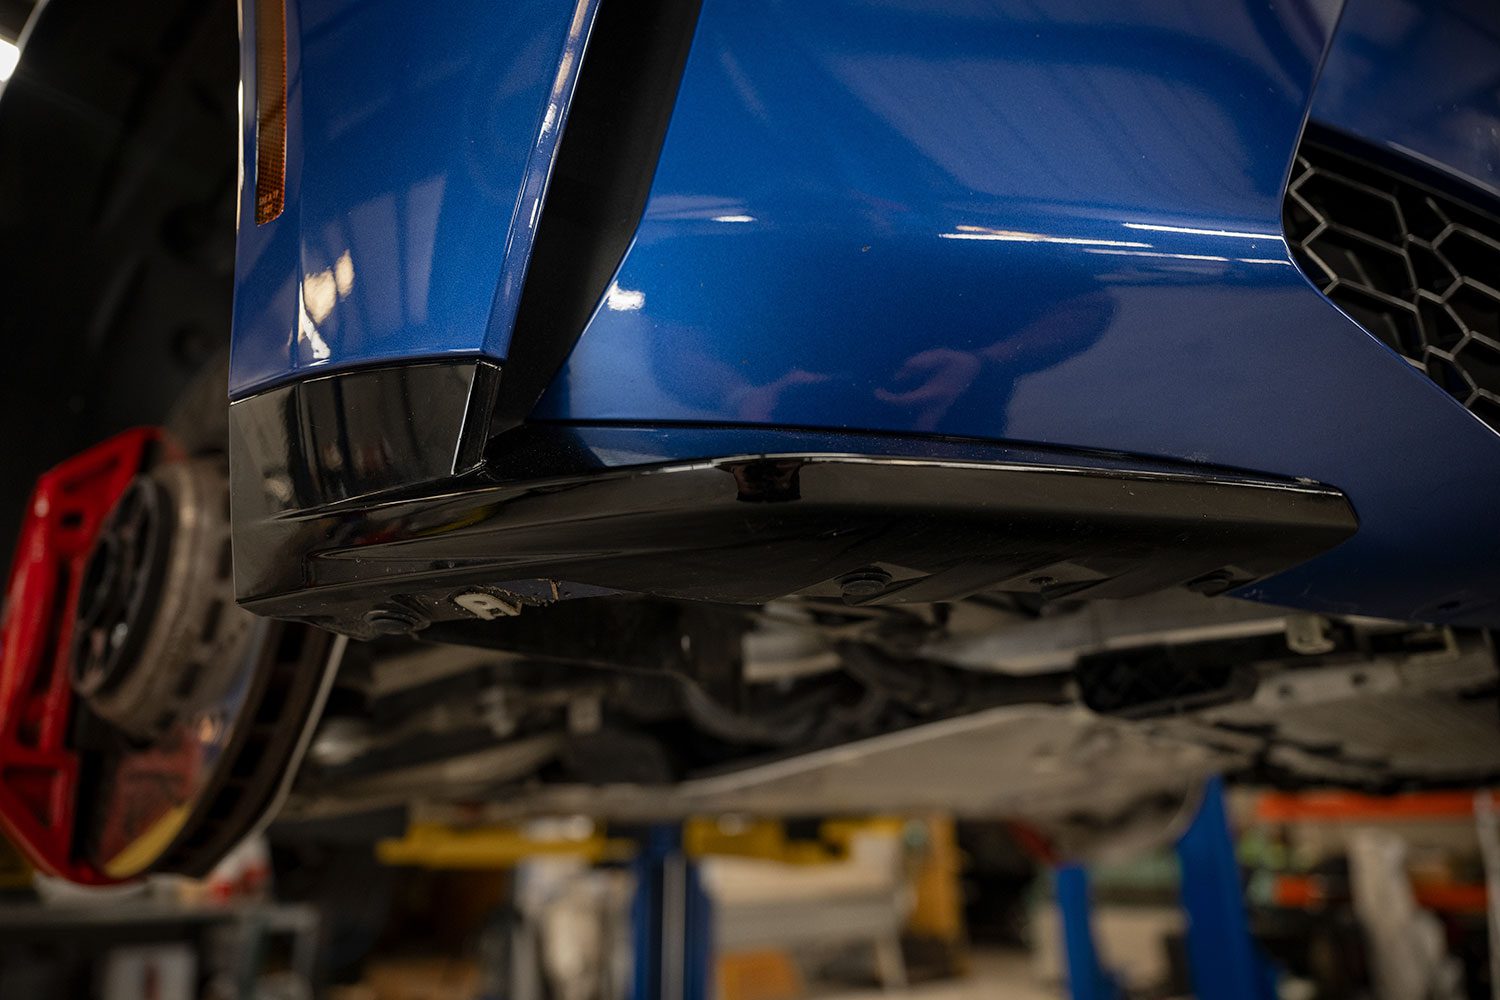
- An M4 CSL front lip, of which the M3 will have a nearly identical one.
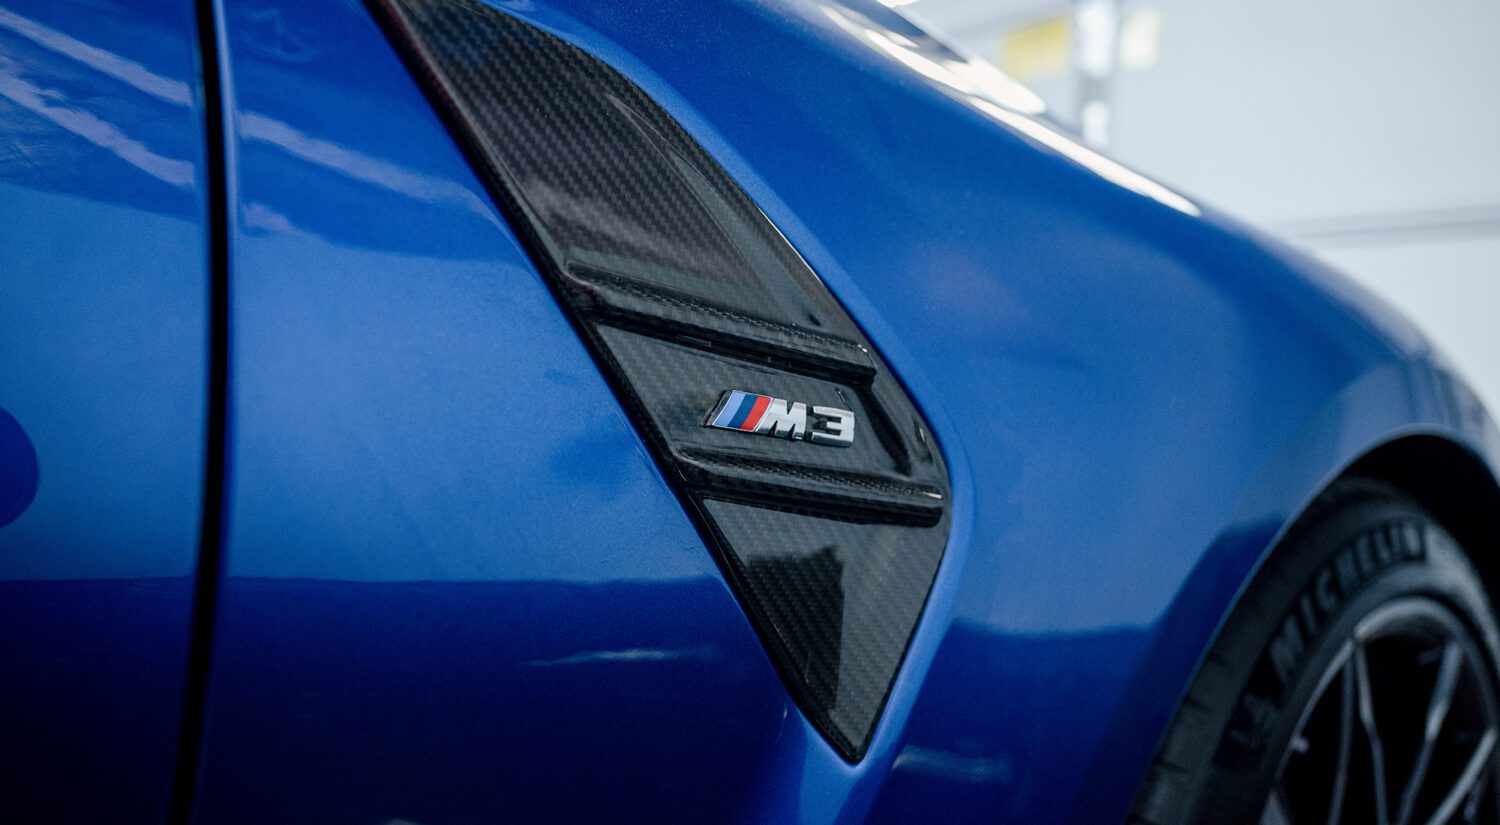
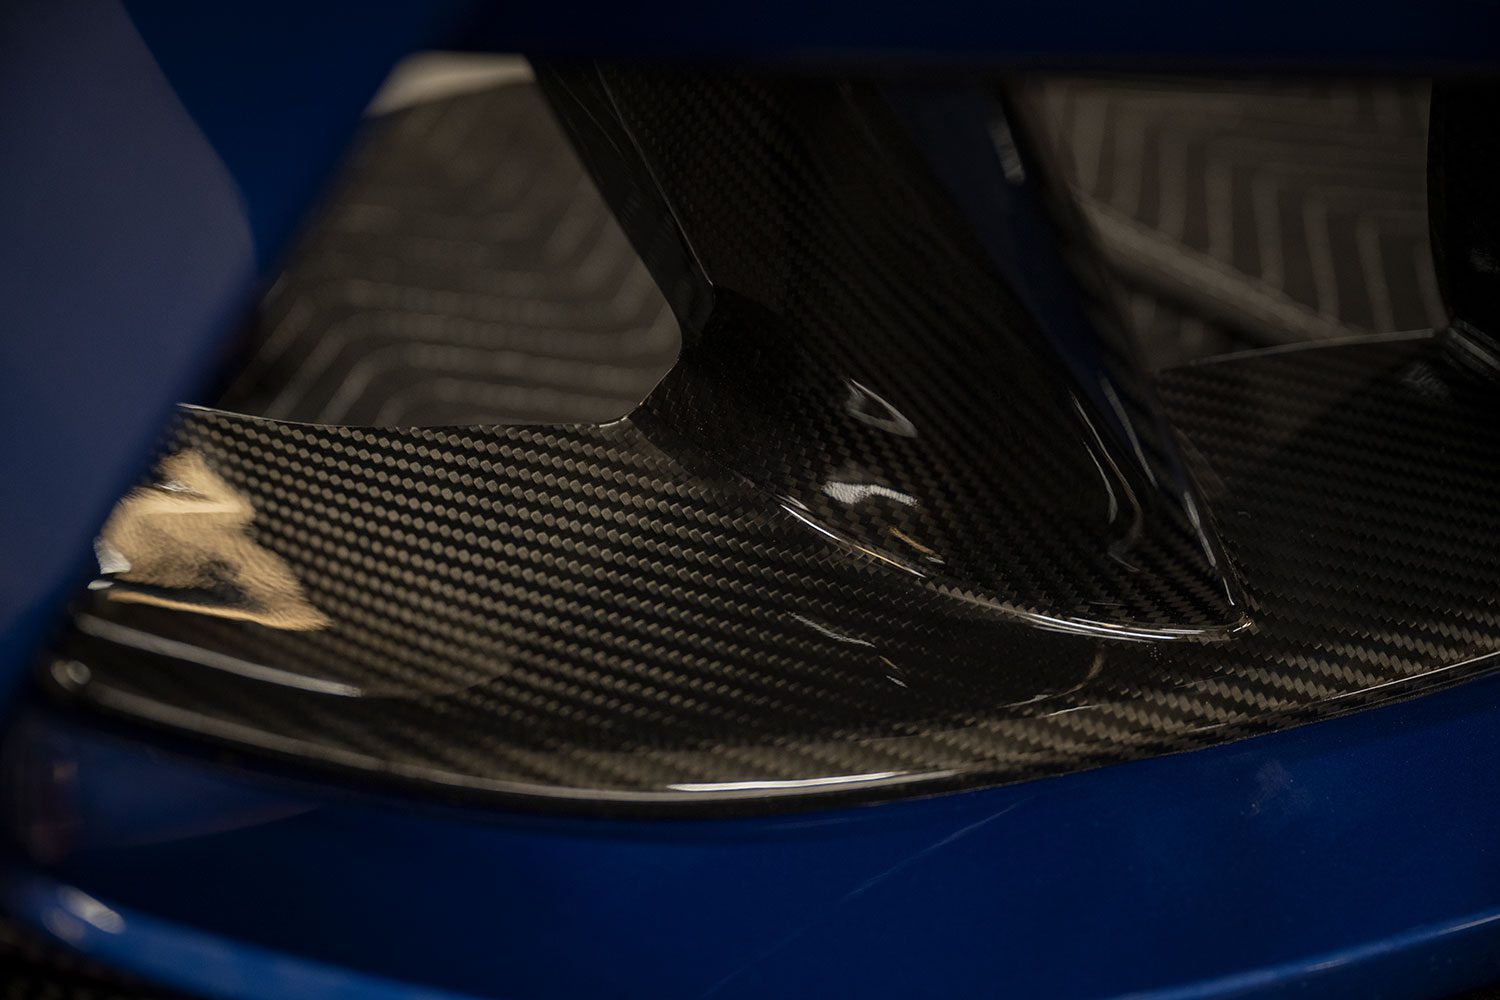
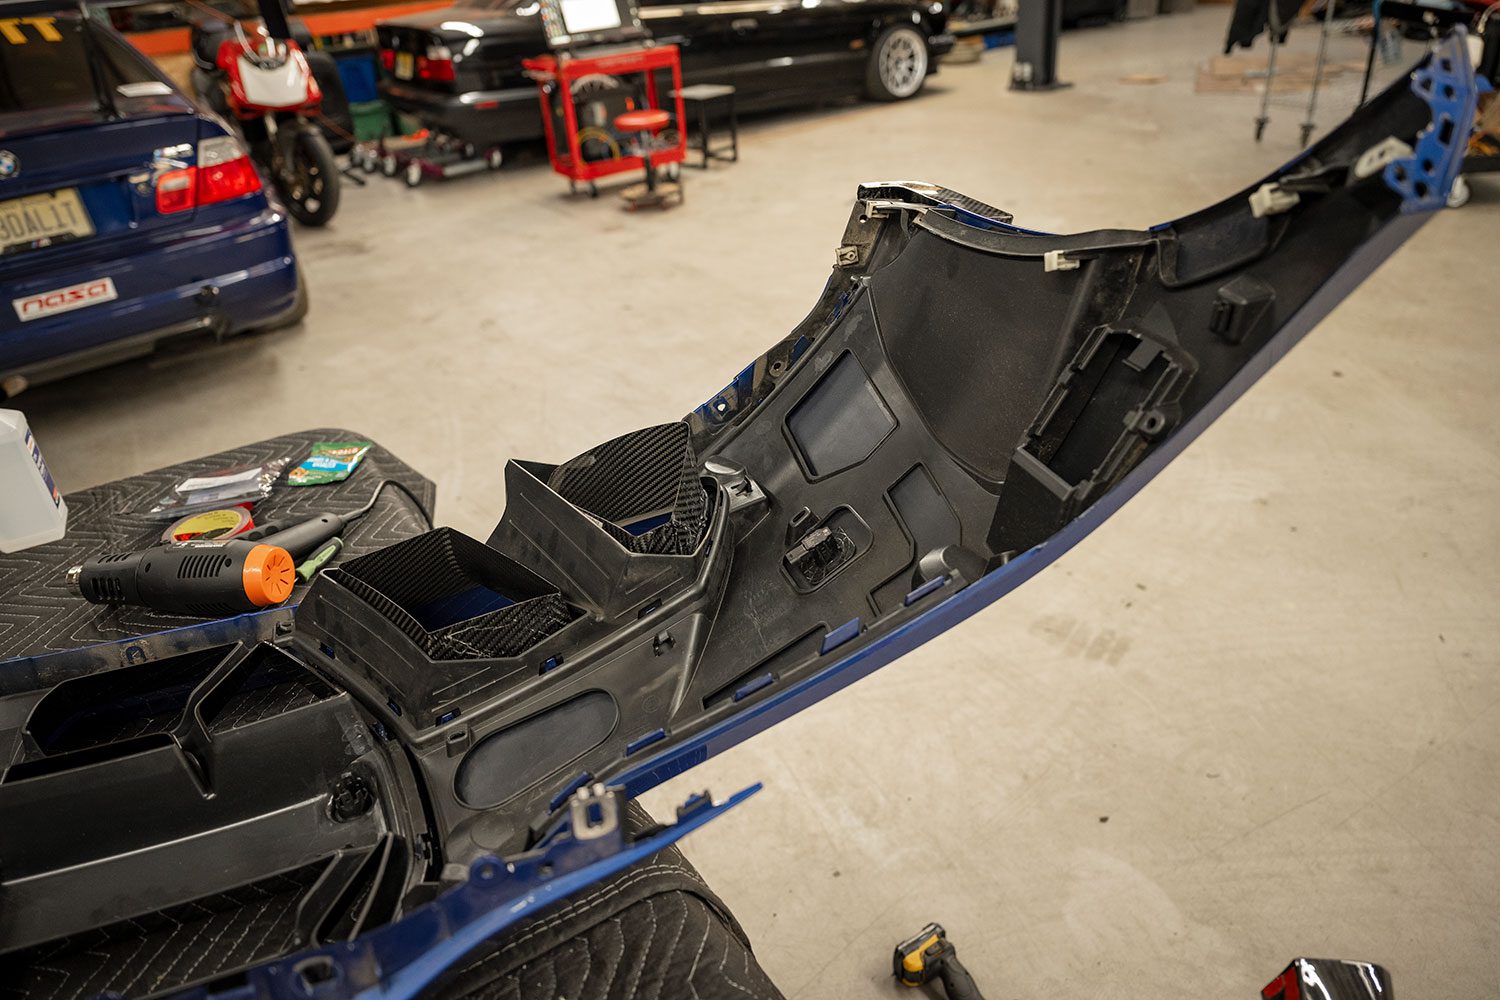
- Carbon Fiber air scoops. I’ve always hated the stock mesh grilles, but was unaware of the change without ordering the Carbon Package because I had ordered the car so early.
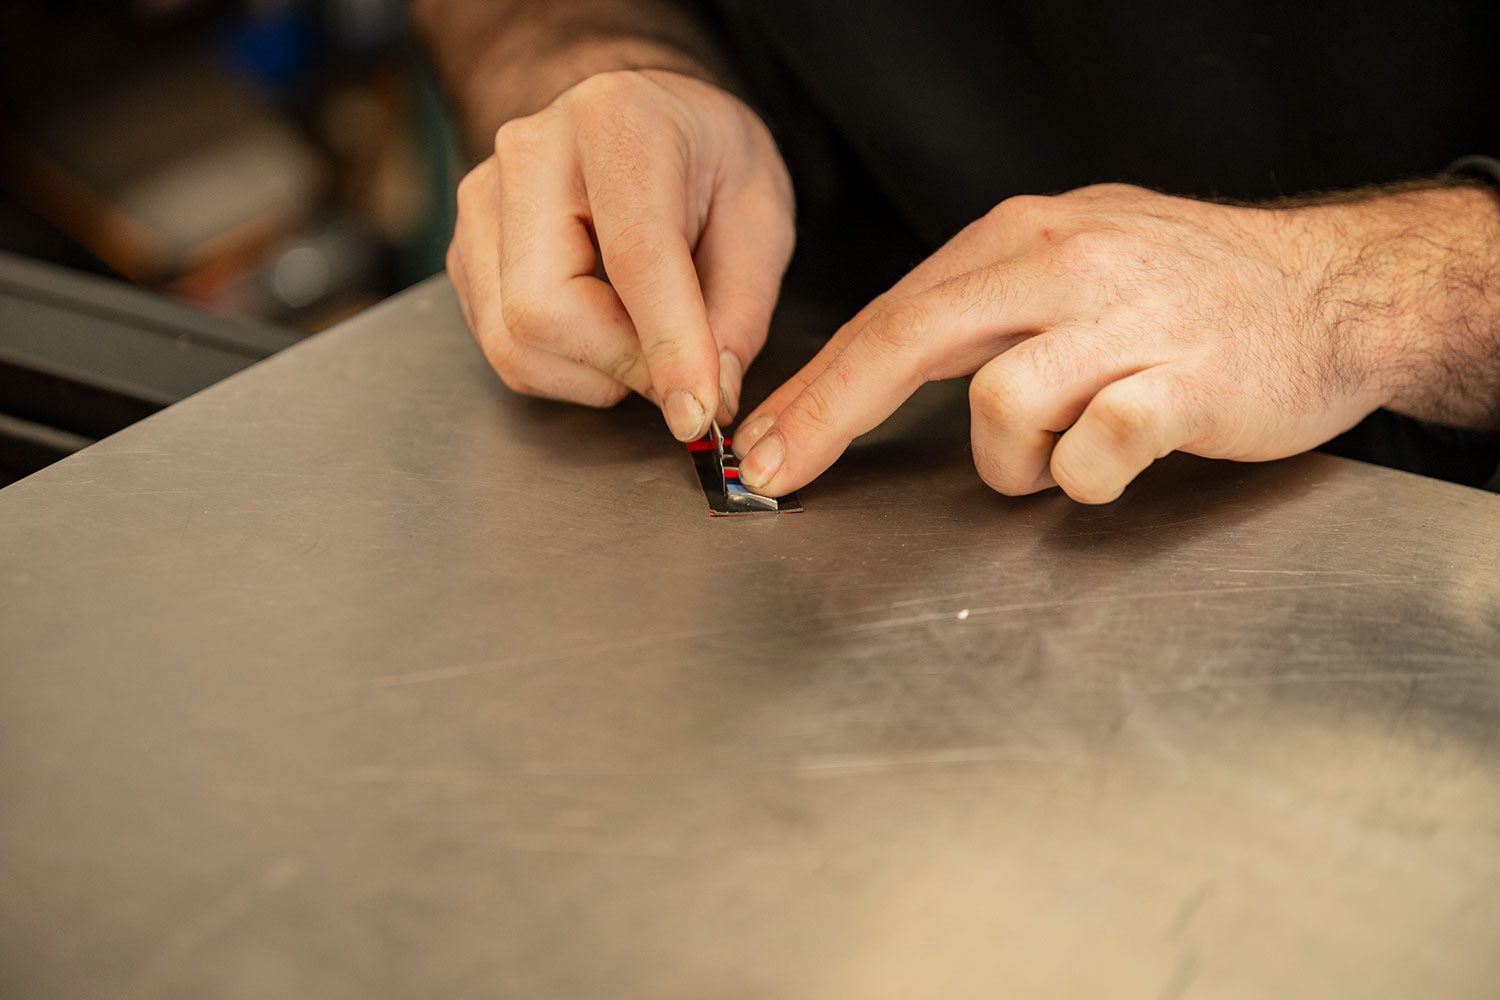
- A gloss black CS grille, with metallic red trim.
I thought about changing the badging to those from a red M3 CS, but it’s not readily available, and the more I thought about it, the more I felt that keeping the chrome badges, which is BMW-speak for manual, would be true to the car.
Where I get the things to fix the G80 M3 nose
Now that I knew what I wanted, the question was how I could go about getting it. Only one company makes the grille I wanted, AutoTecknic.
You can go with a carbon fiber grille, which I’m sure would be lighter, but I don’t like the look from more than three feet away. With the CS grille, the red accents compliment my car’s brakes.
Speaking of carbon, we have a lot of options. I decided to take a chance on a new company called NWCarbon Haus.
- BMW M has the scoops and CSL lip. The cost is over $7,000.
- Aftermarket companies cost half that, but the M tax is still severe. NWCarbon Haus is a new maker, but priced quite competitively.
- Even if the pieces were terrible in fitment or quality (they are not), I figured it would be justified to give it a try.
TySpeed
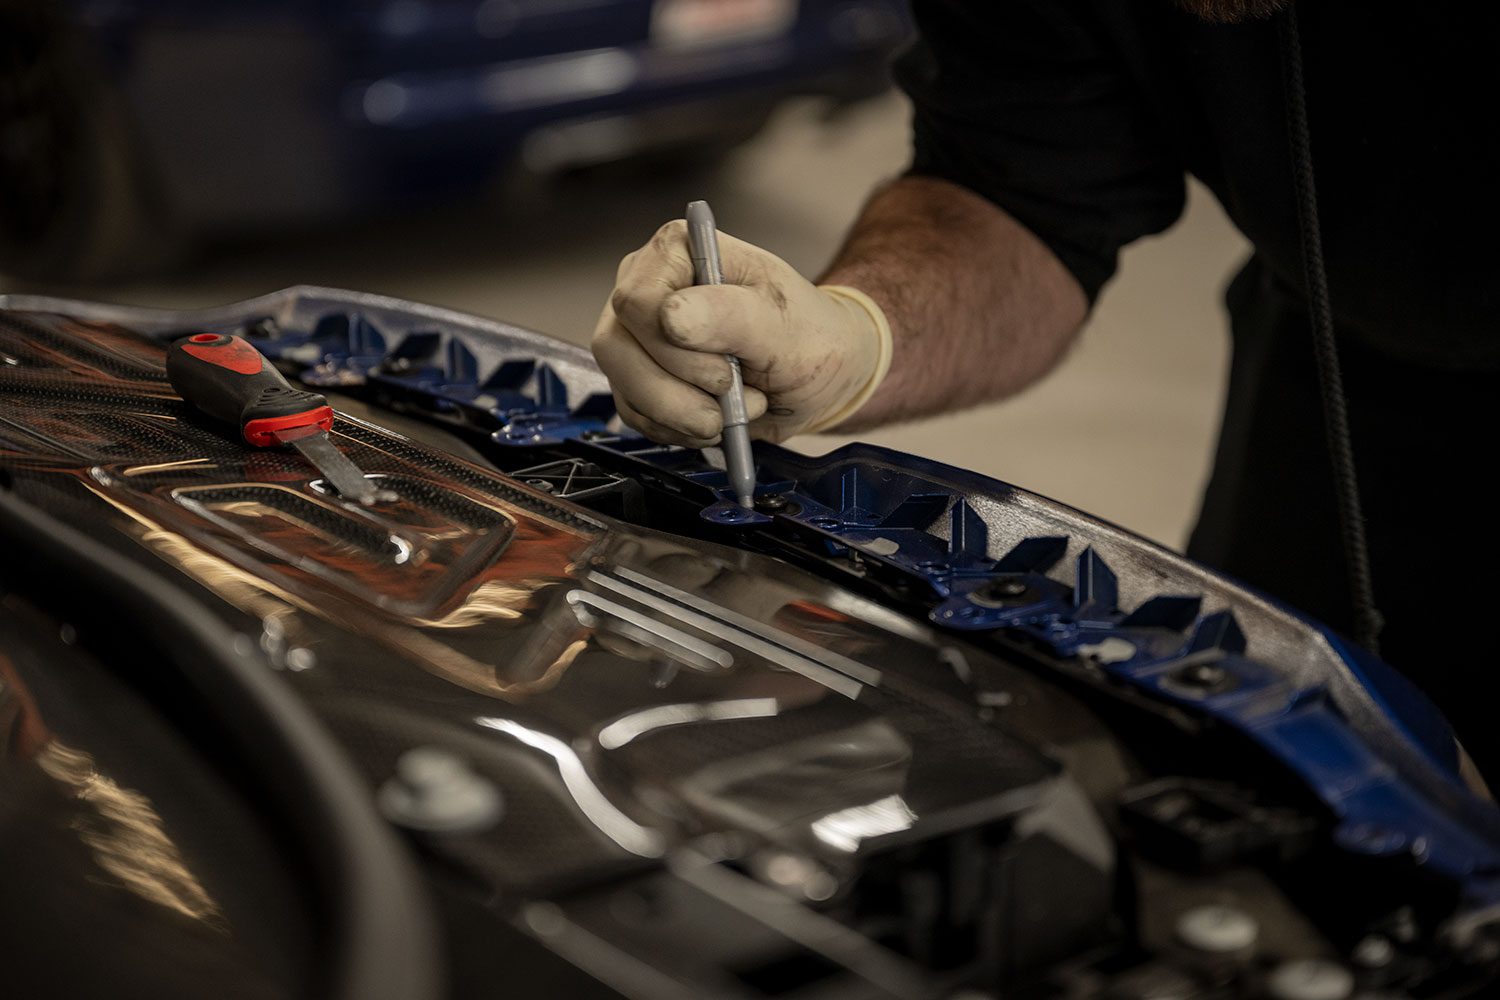
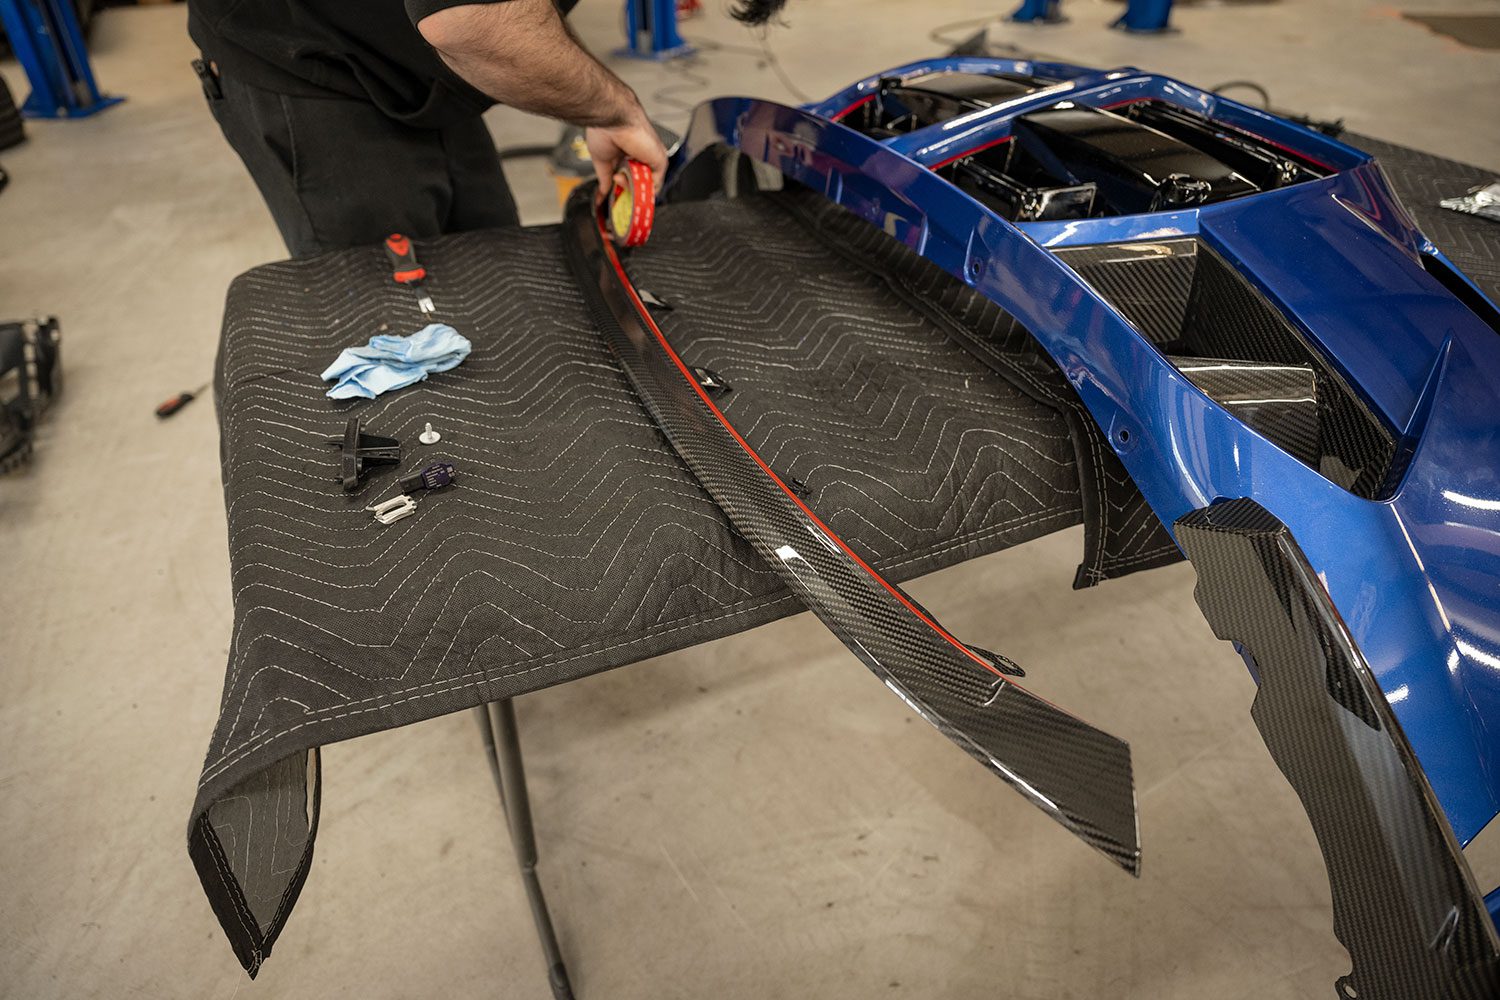
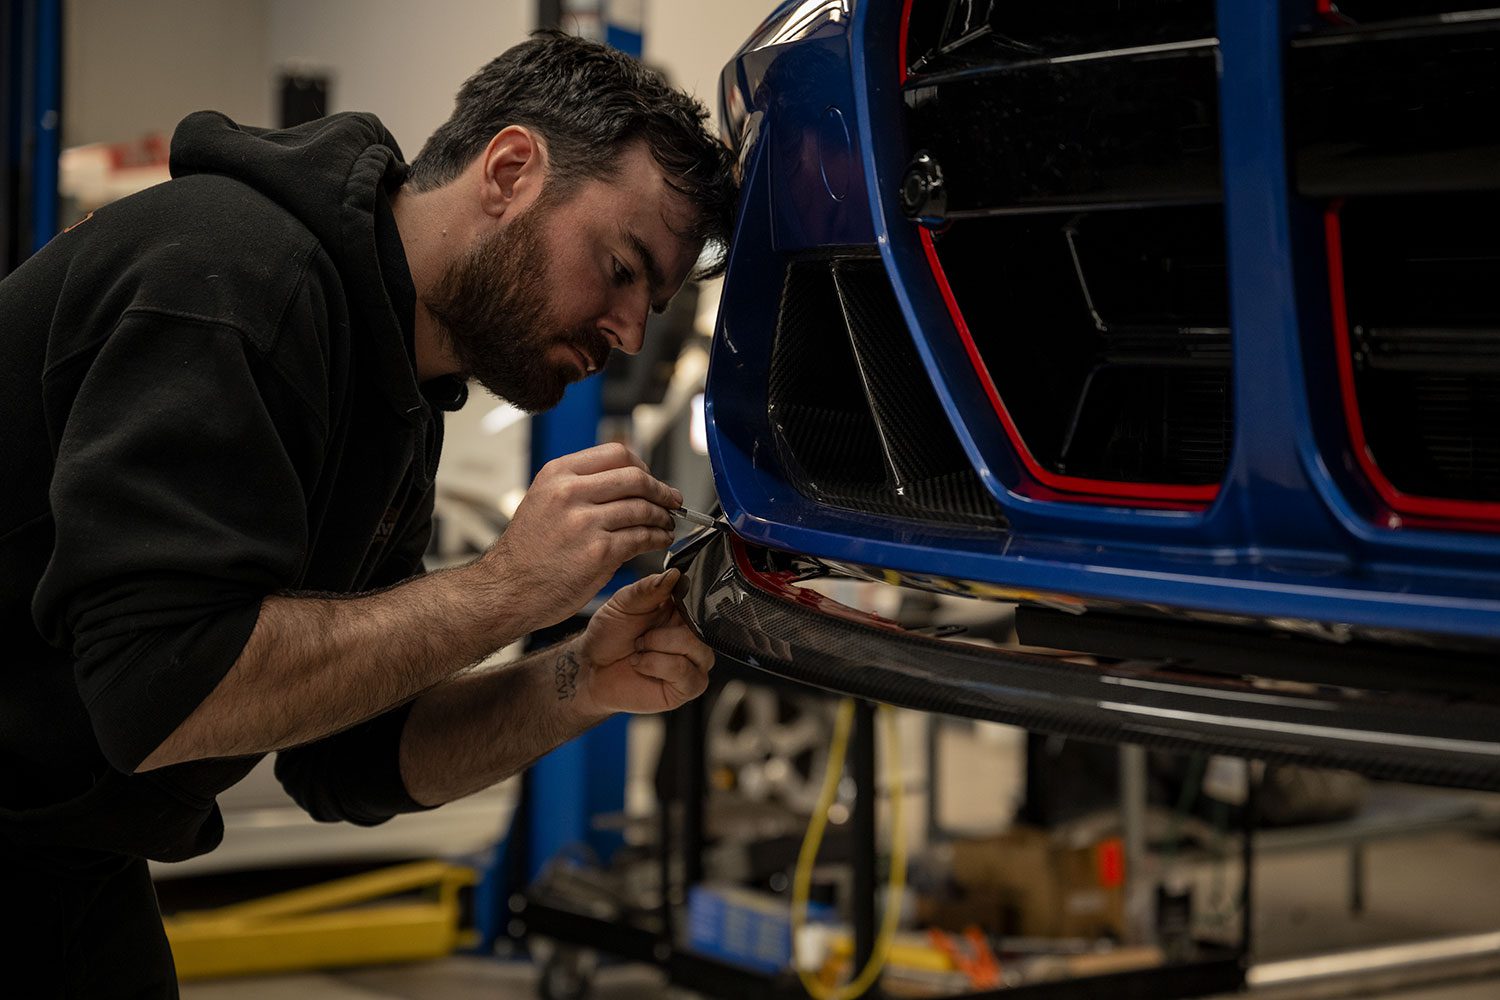
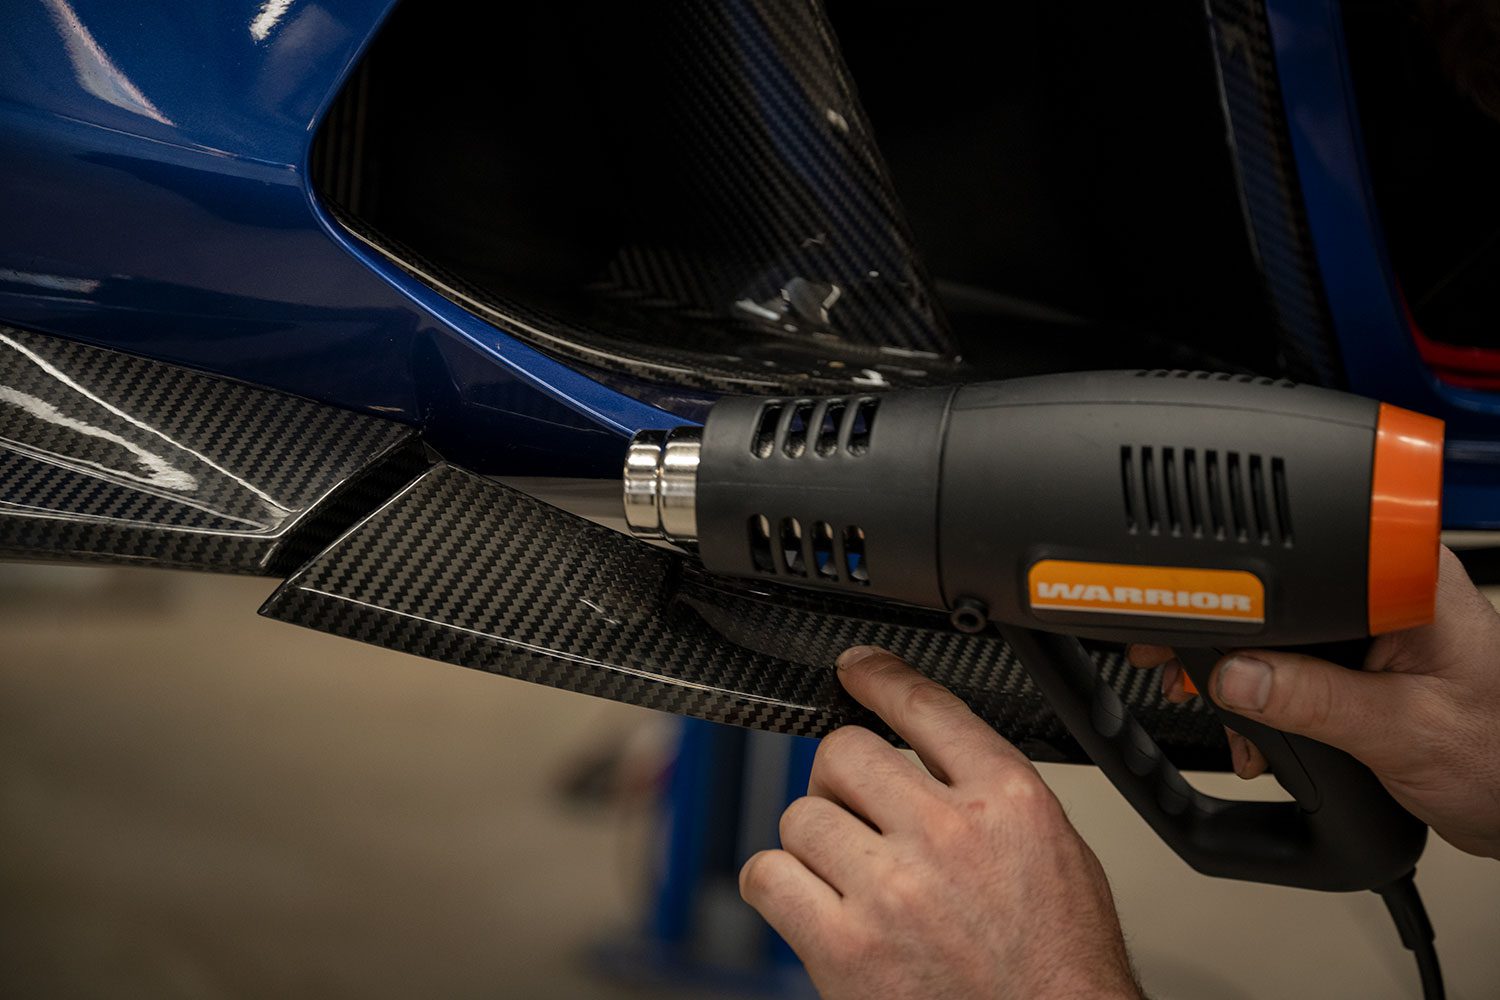
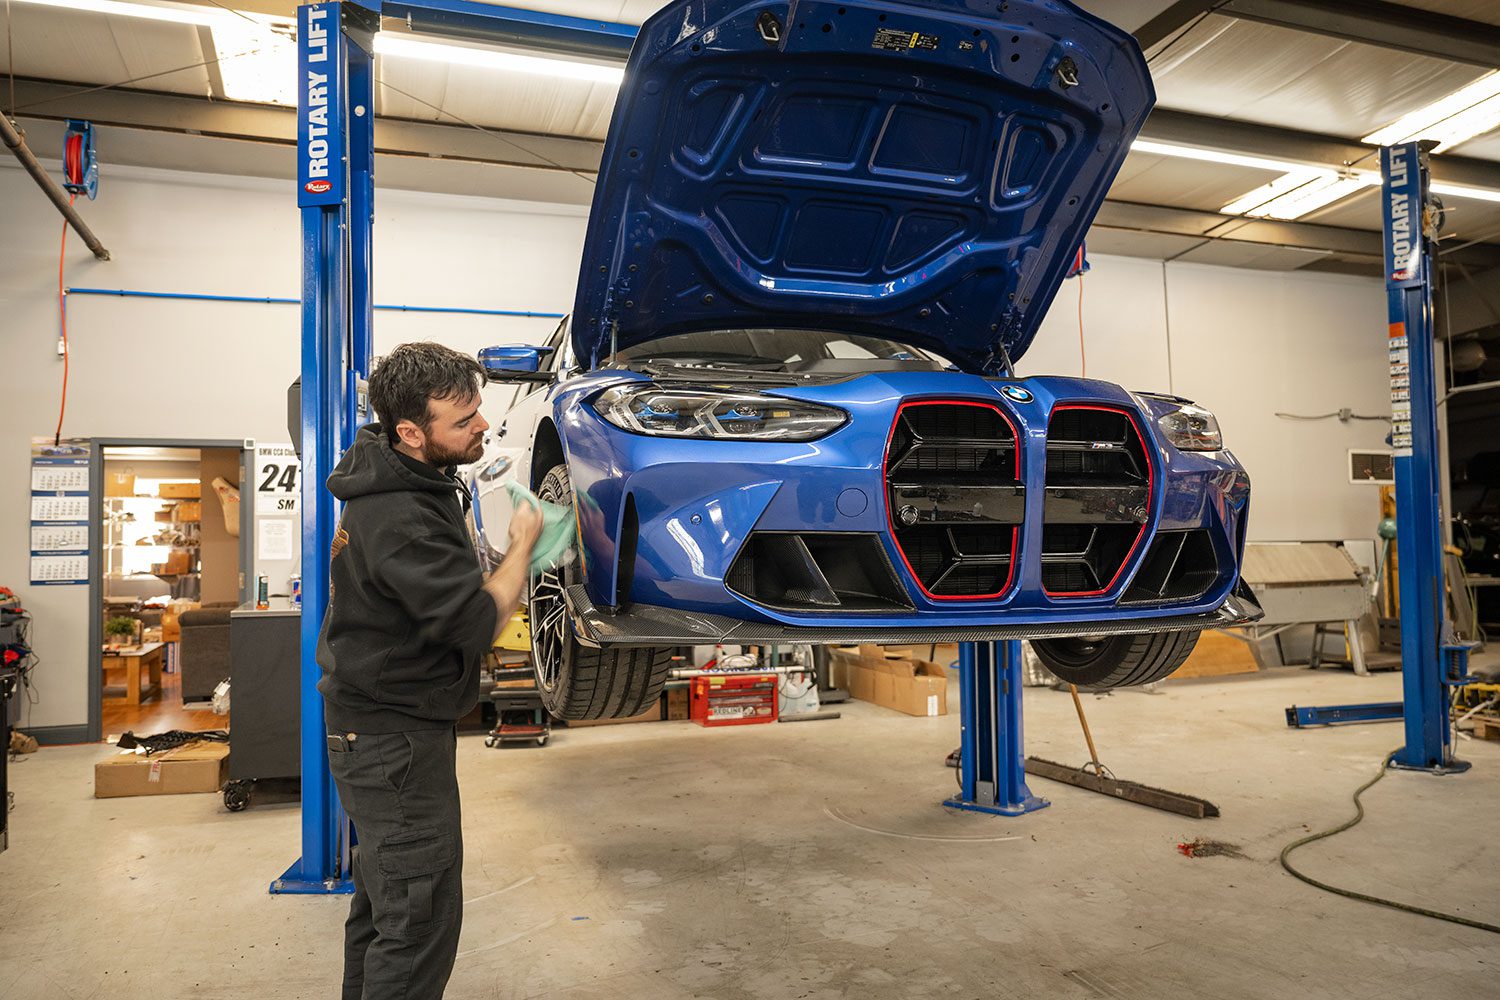
This is a job you may be able to do on your own. That said, I have much more piece of mind going to a pro. Tyler from TySpeed added additional reinforcements for adhesion, had access to heat guns, and expertly took everything apart and put it back together.
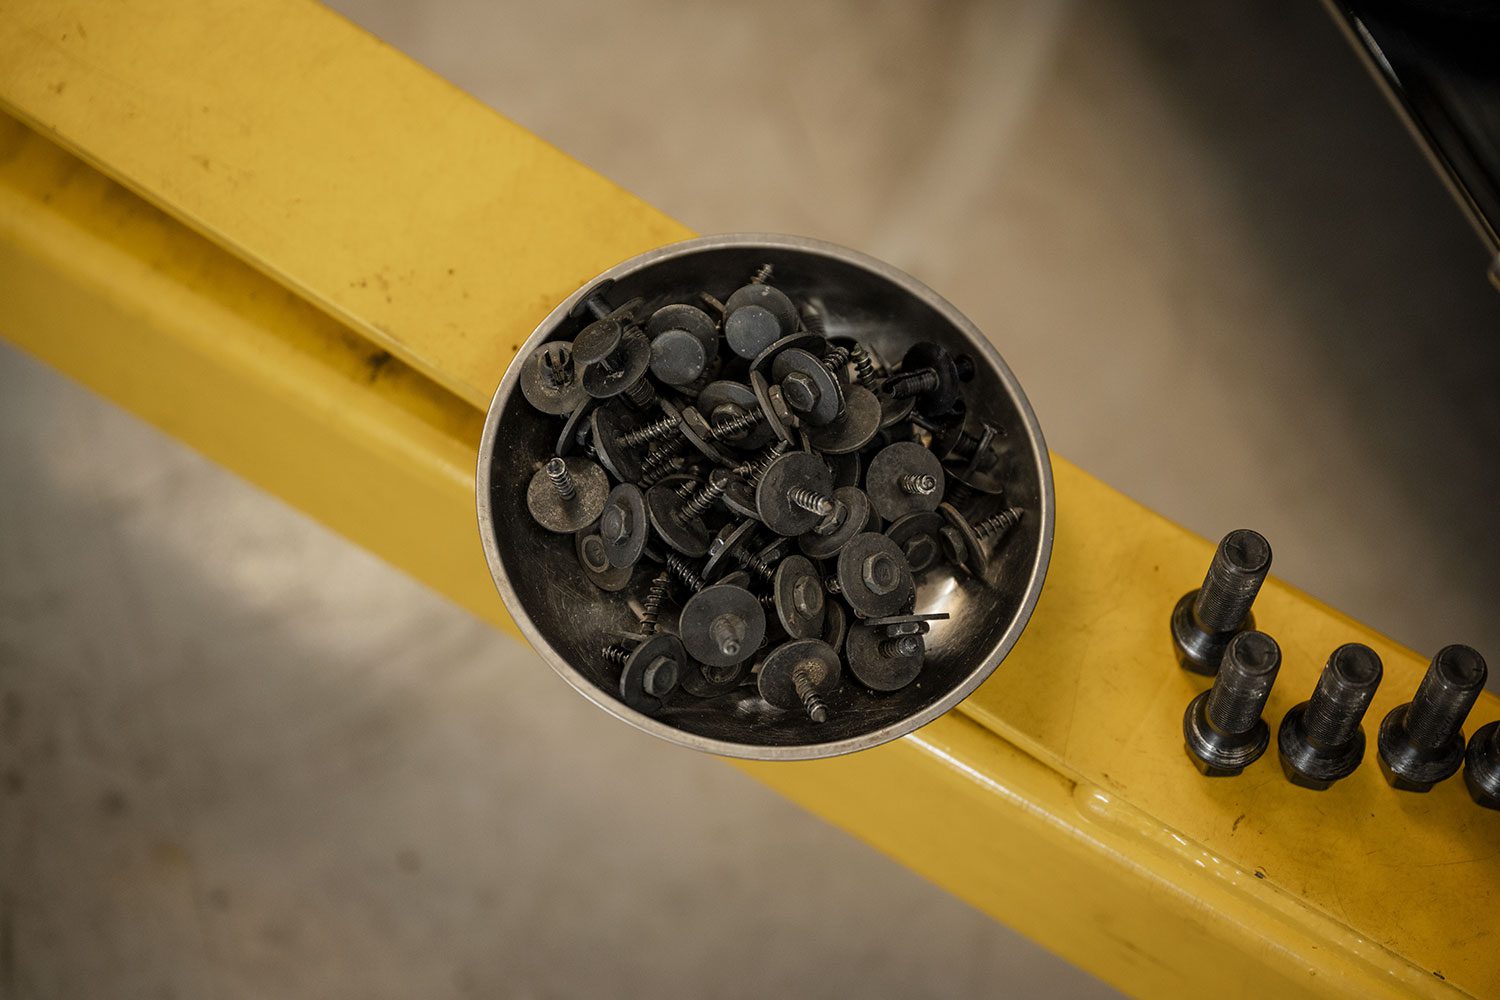
You know that moment where you finish working on your car and still have four bolts left over? That never happens here. It’s important to mention that I choose to go to TySpeed simply because they are the best. There is no special treatment or discount offered, though I think by now I should have my own VIP parking spot. I’ll bring it up the next time I’m there.
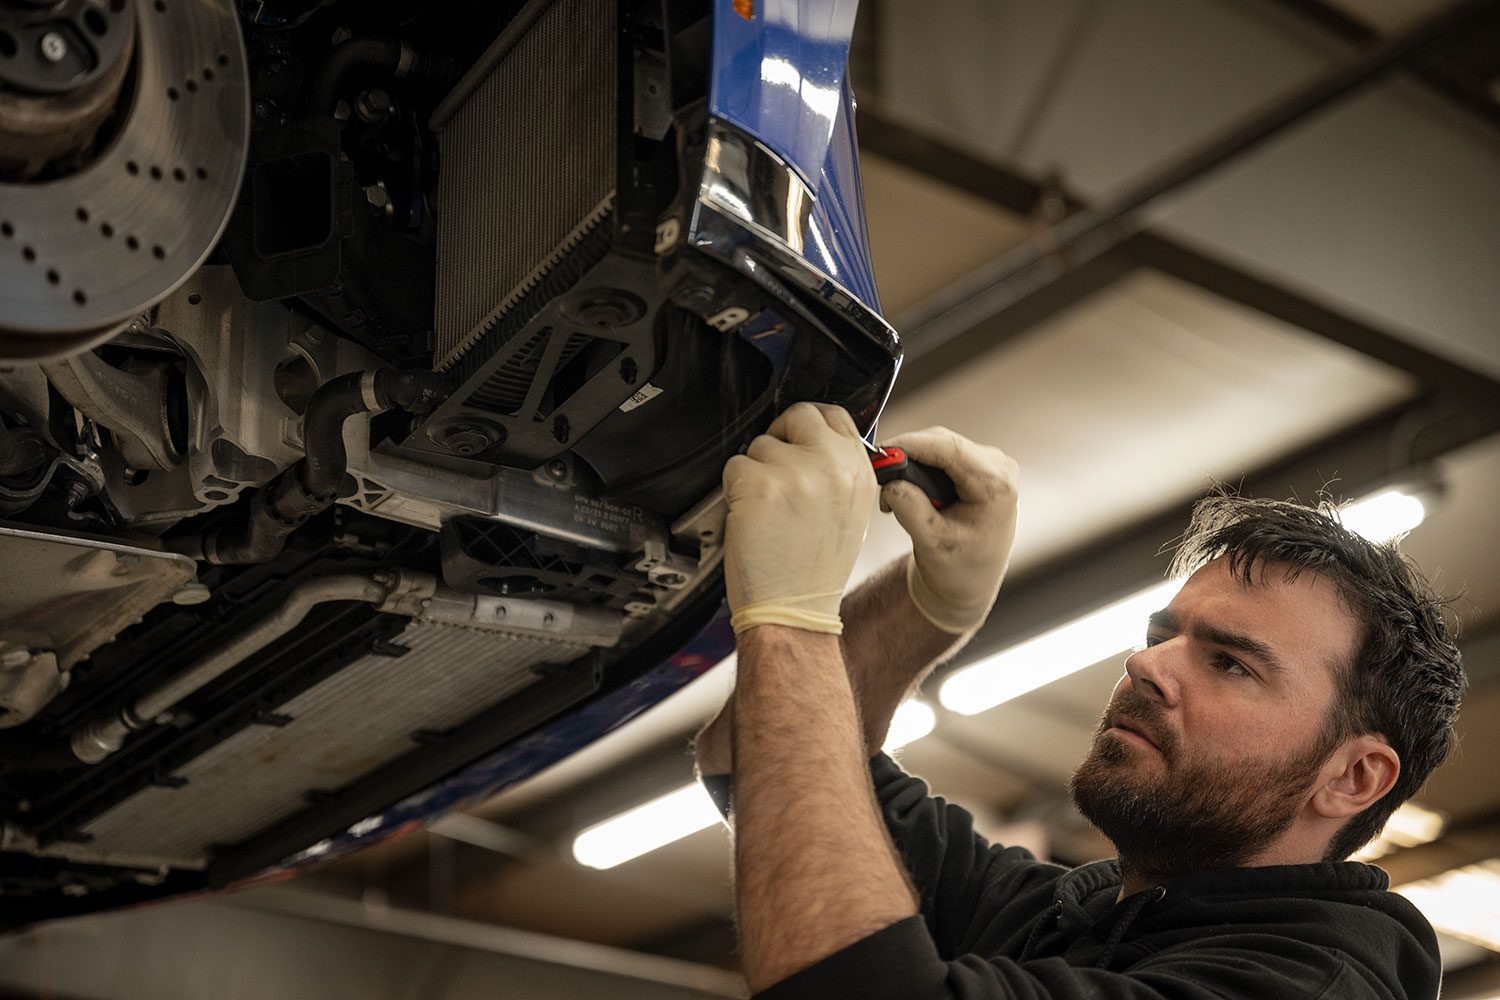
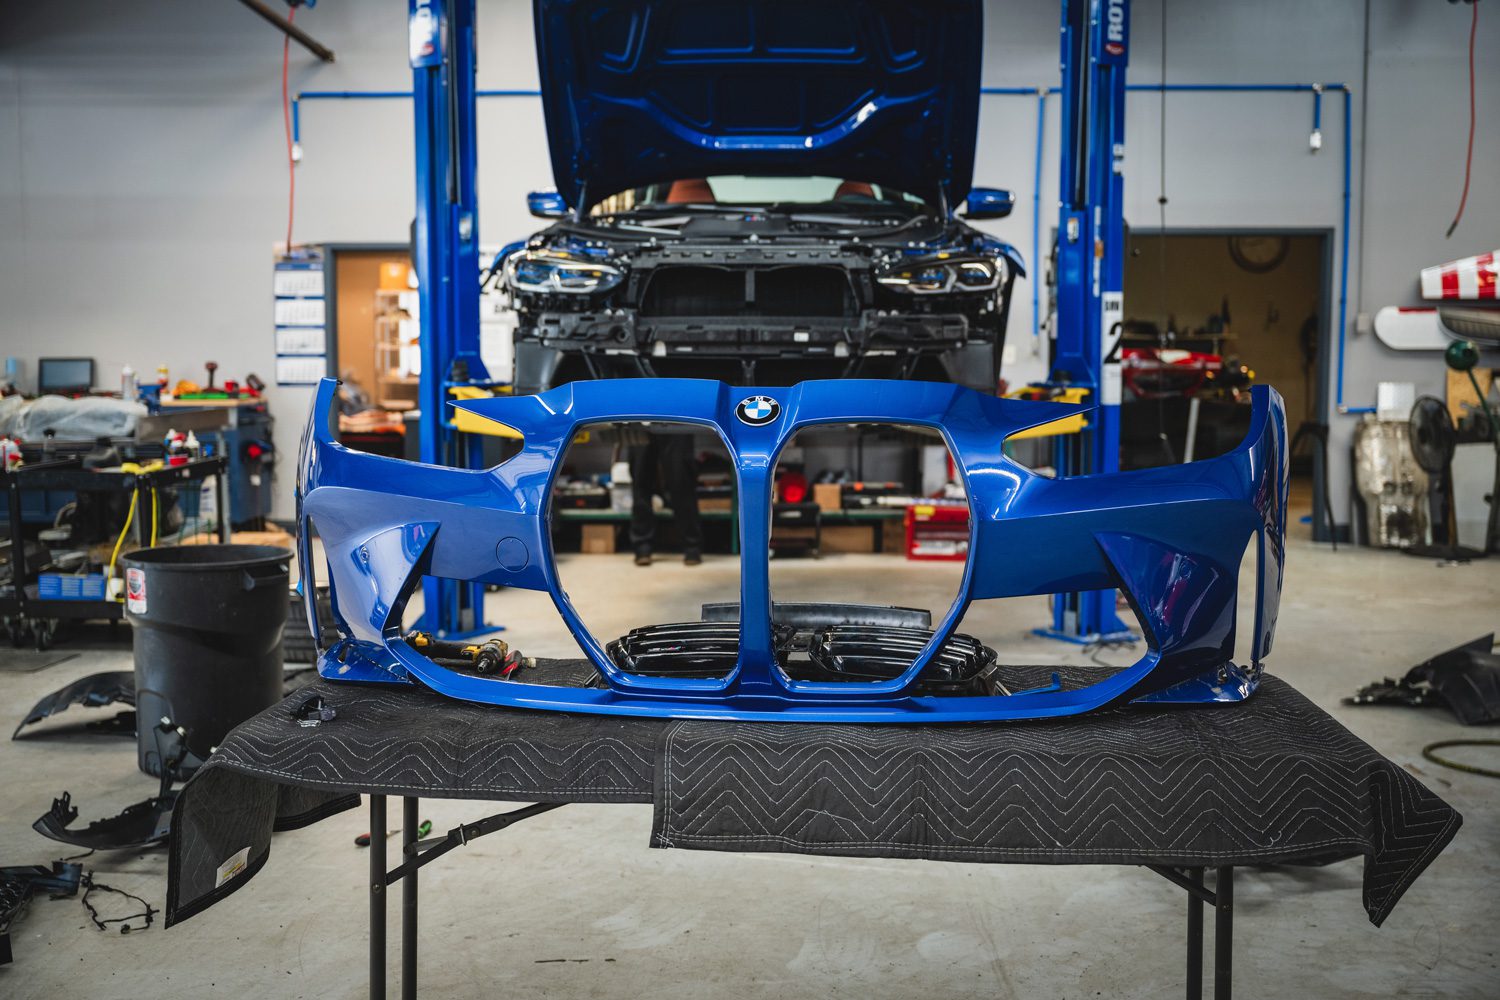
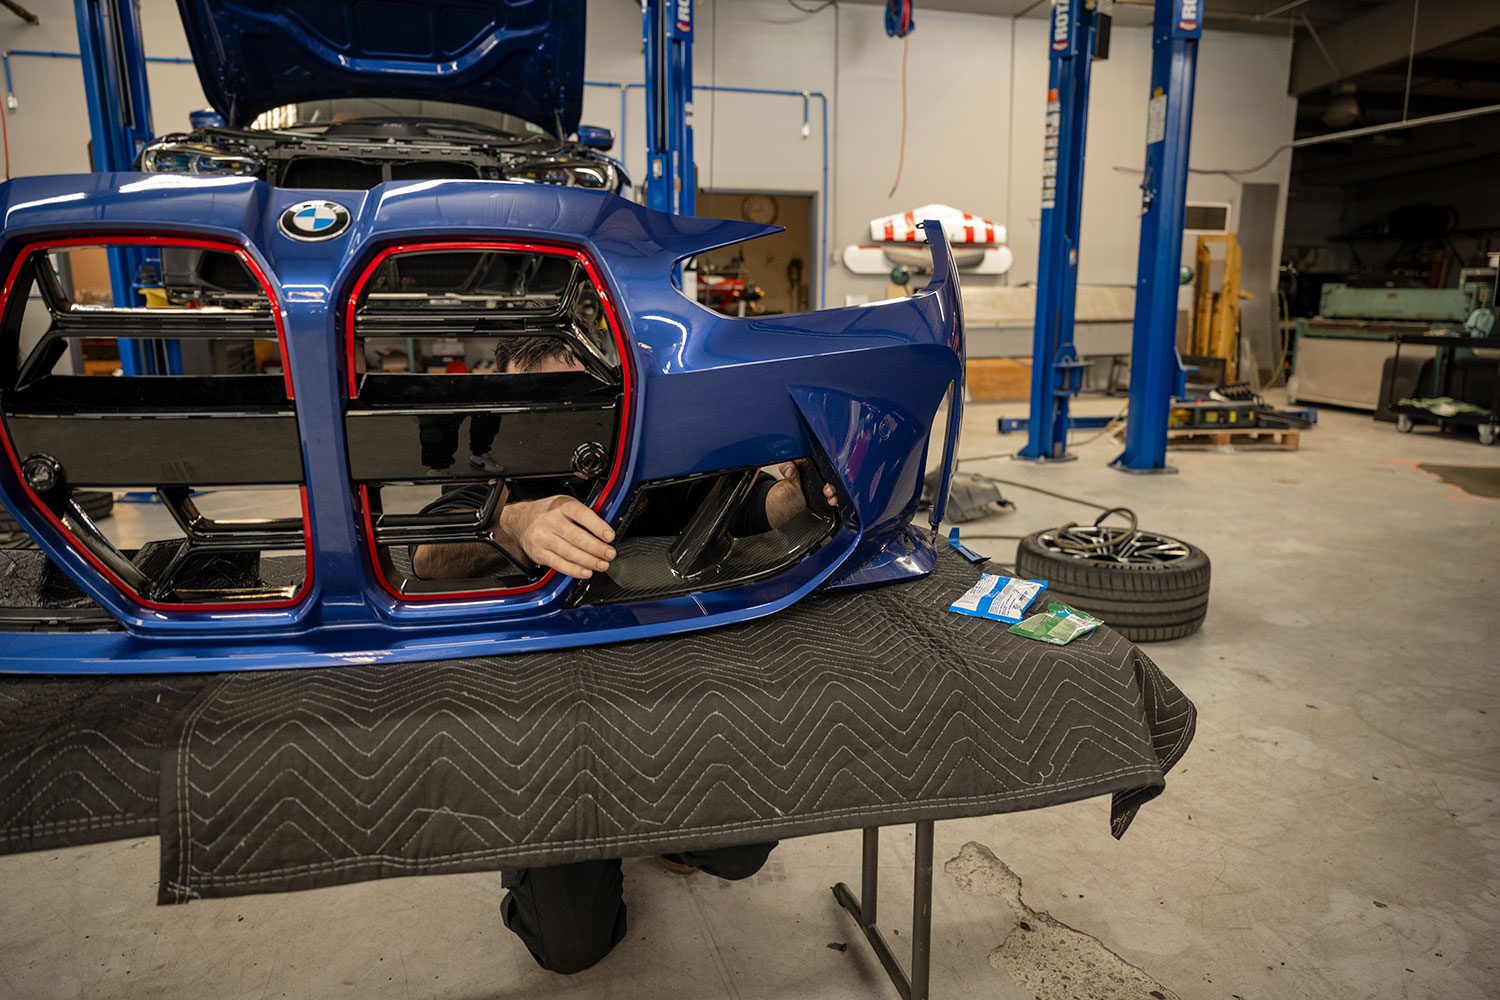
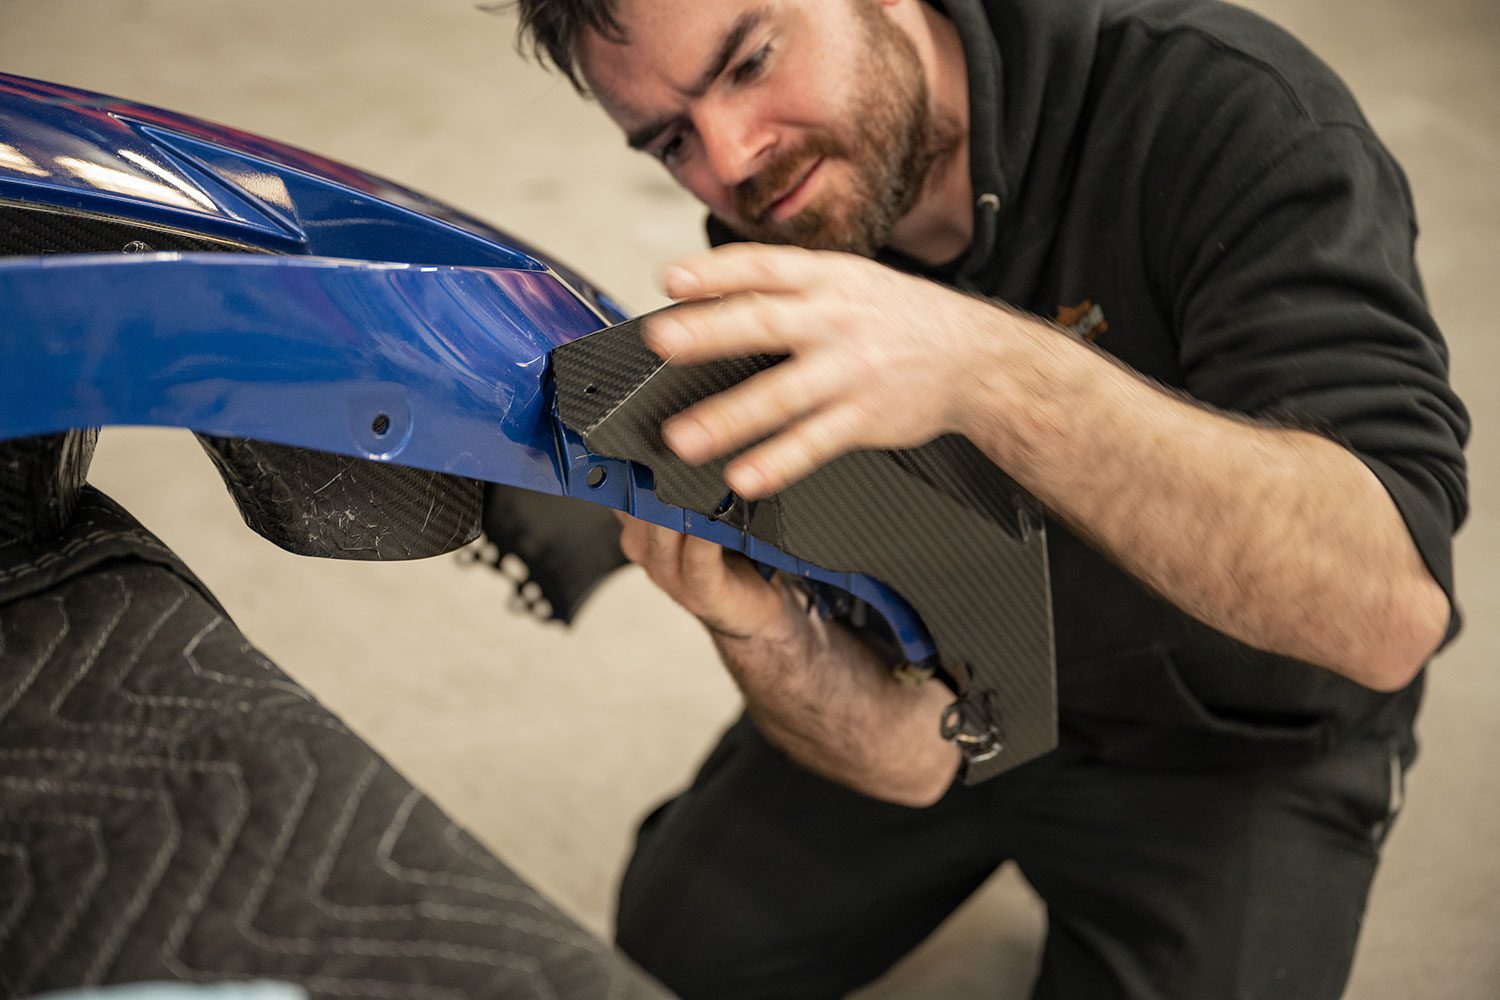
Installing the new G80 M3 nose
I’ll walk you through installation. The big reveal is at the bottom.
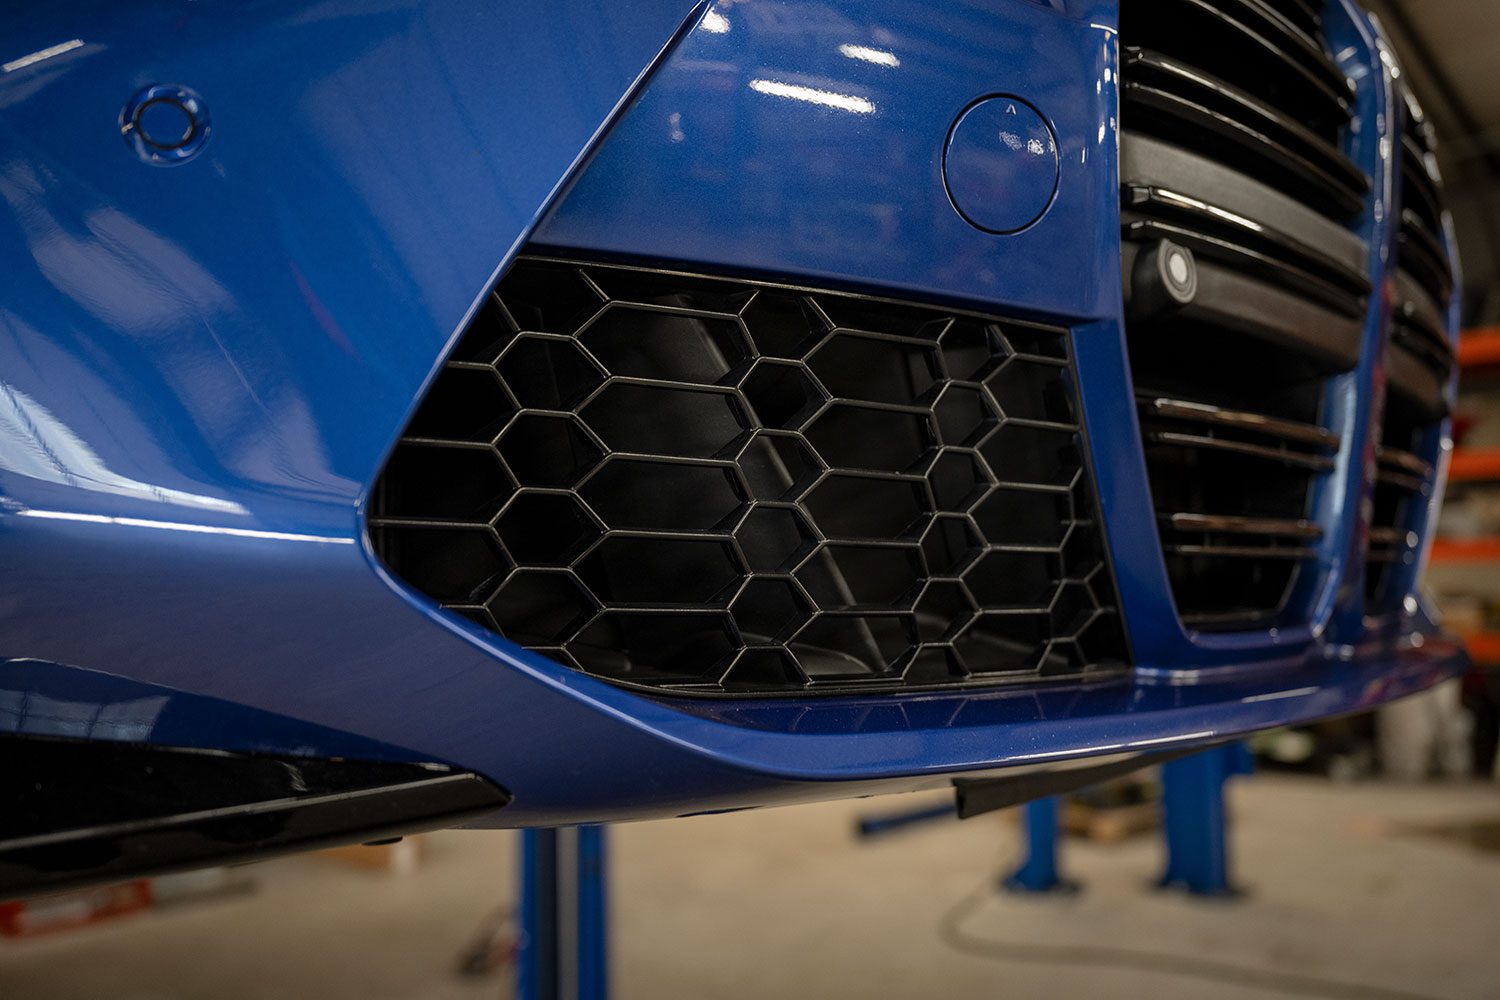

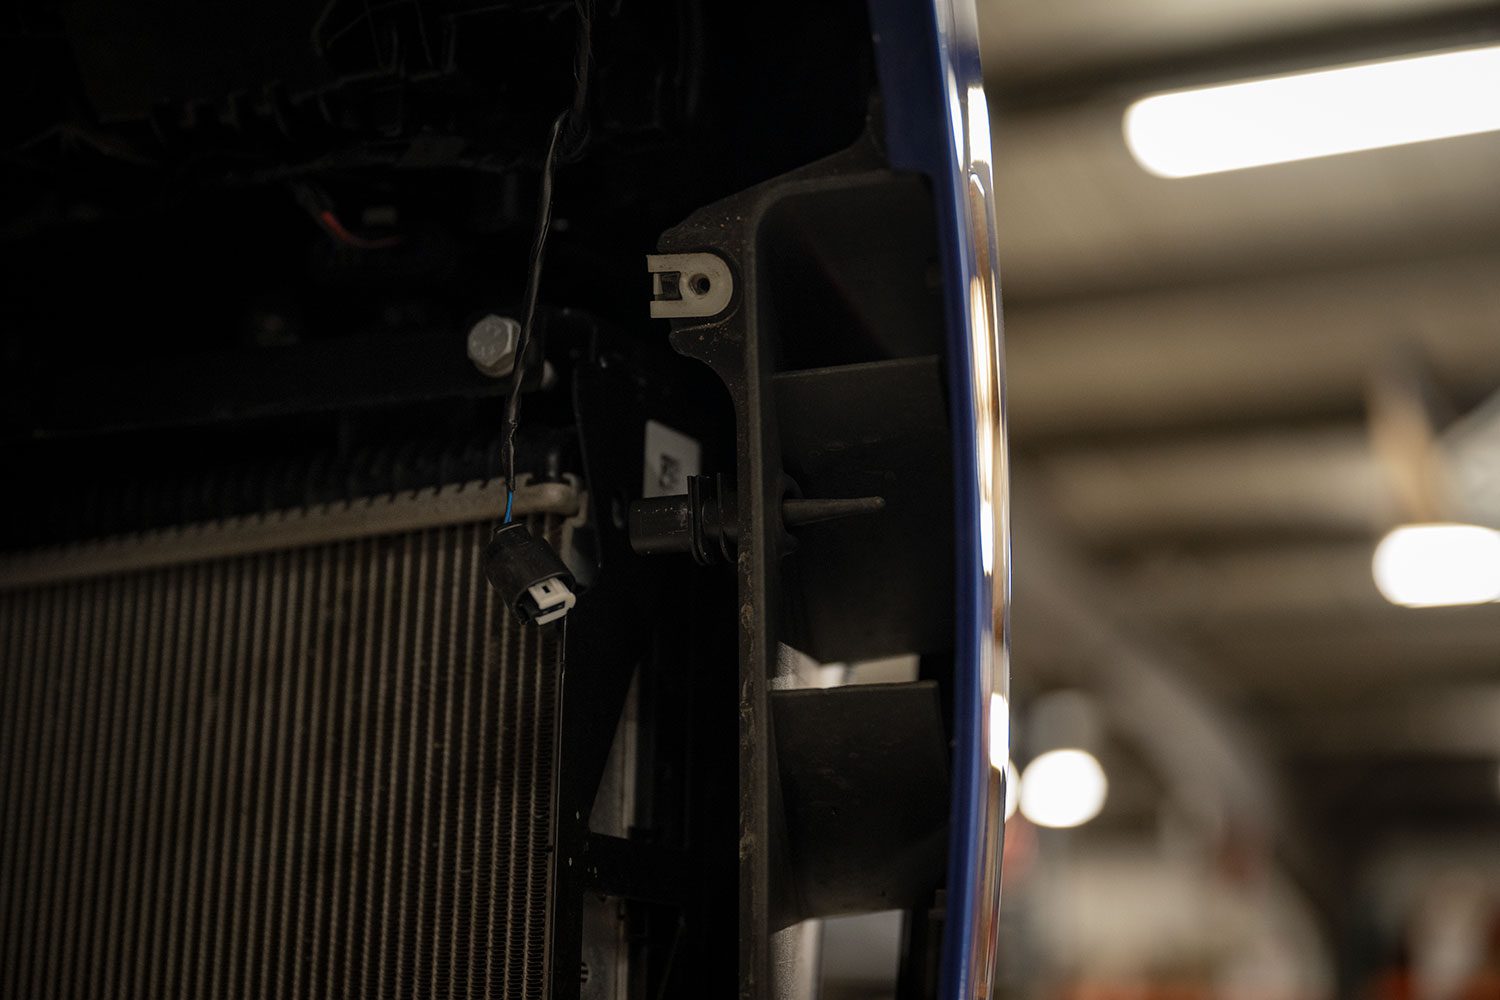
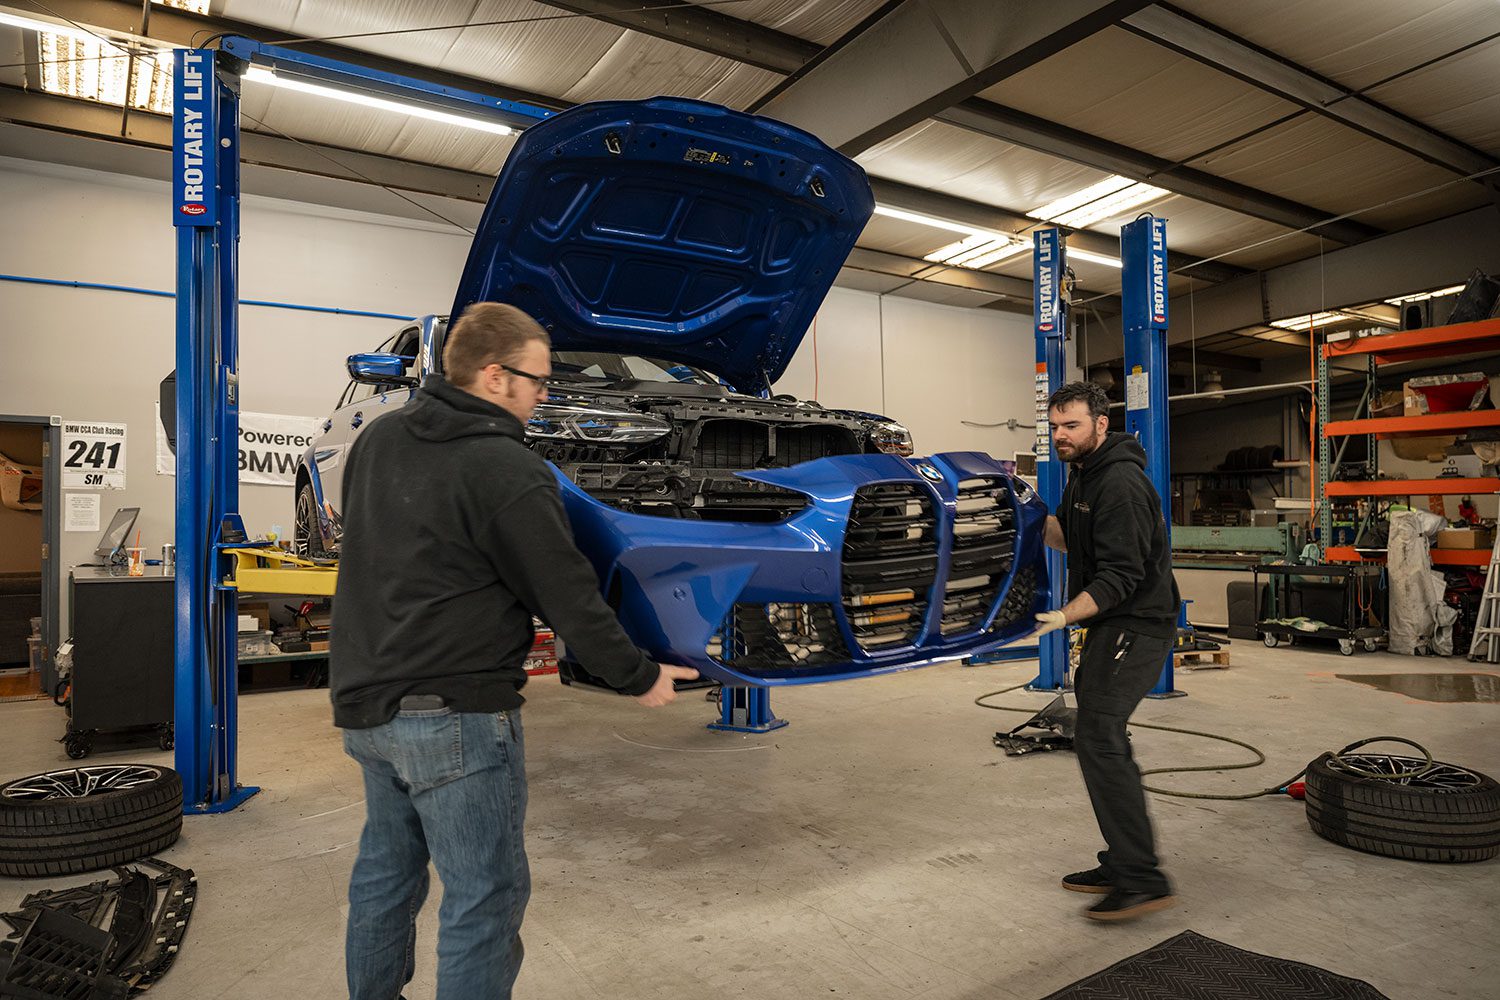
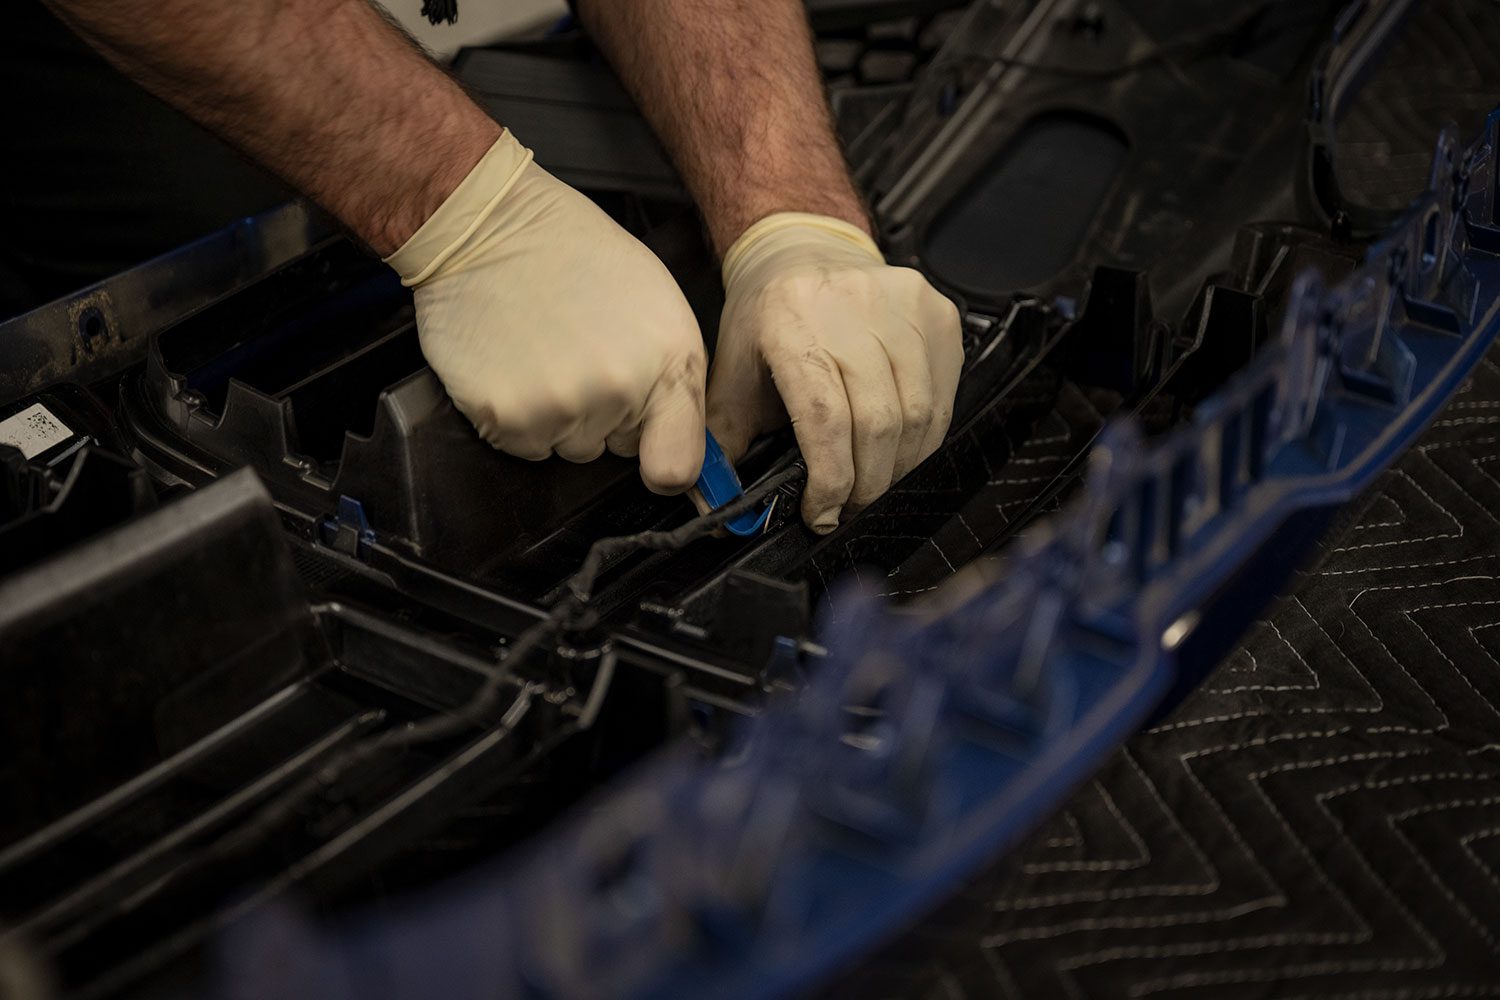
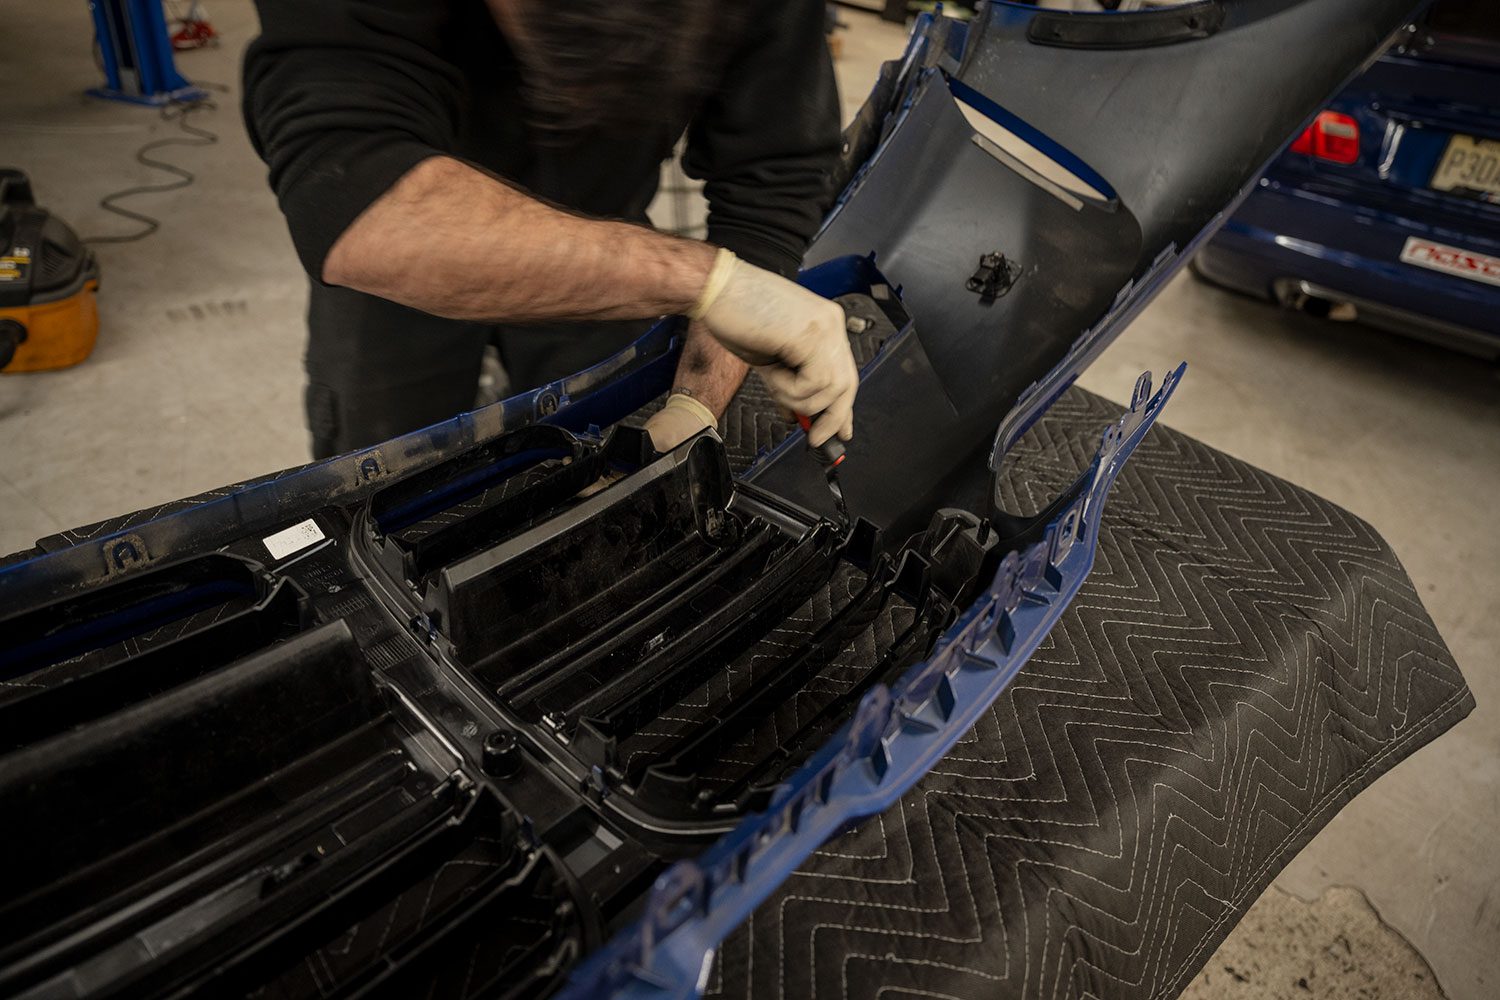
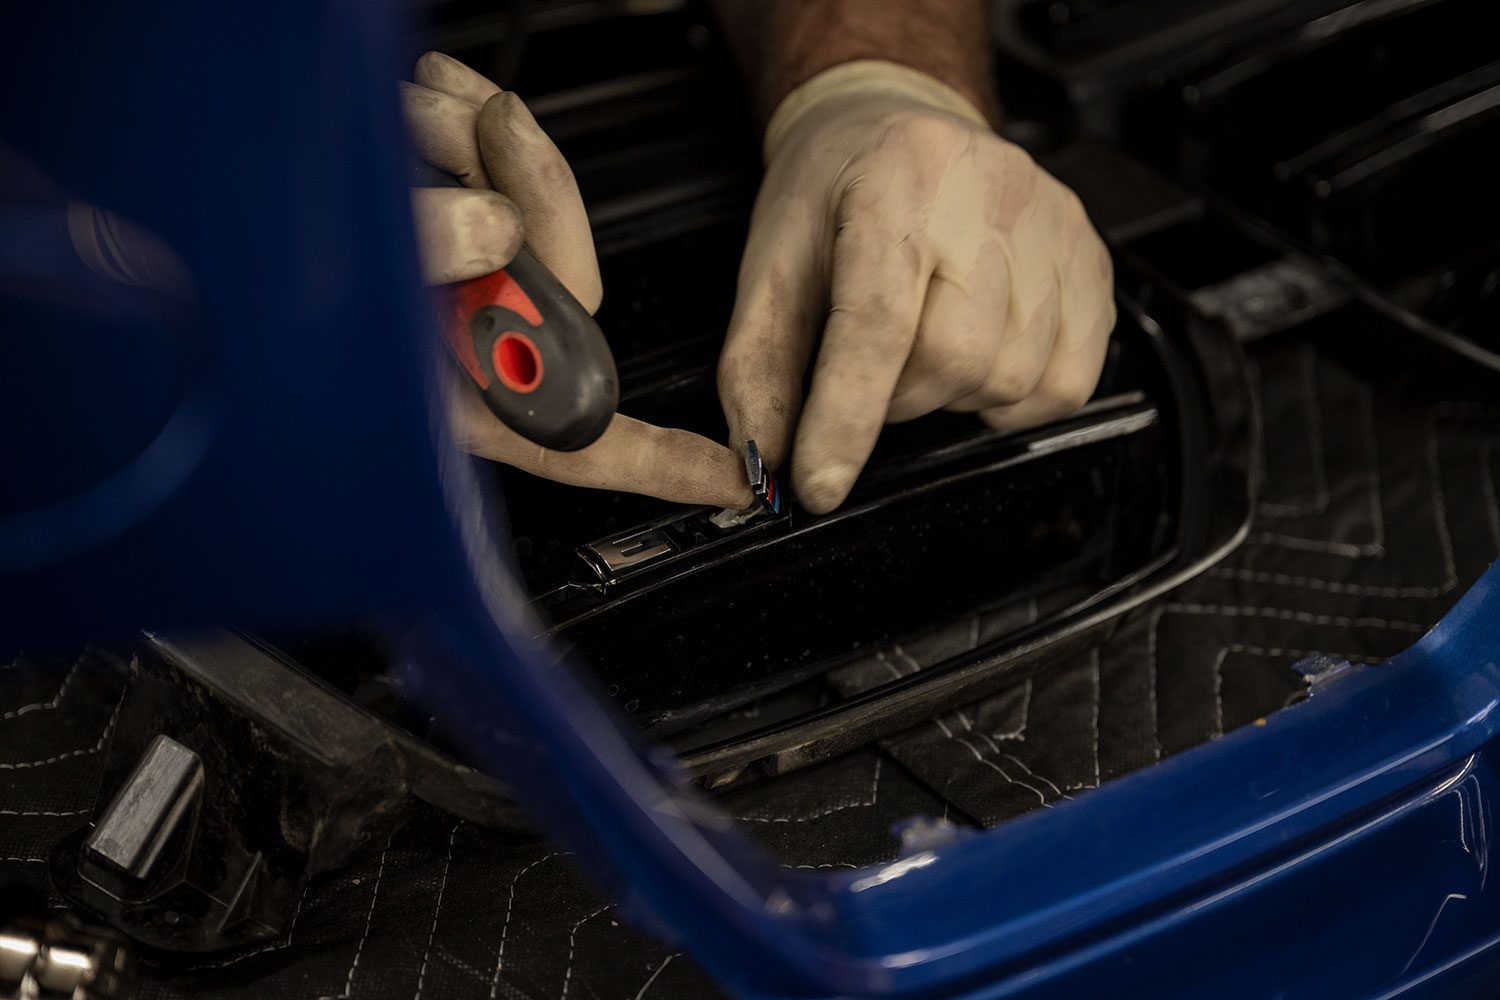
Adding the new pieces for the G80 M3 nose
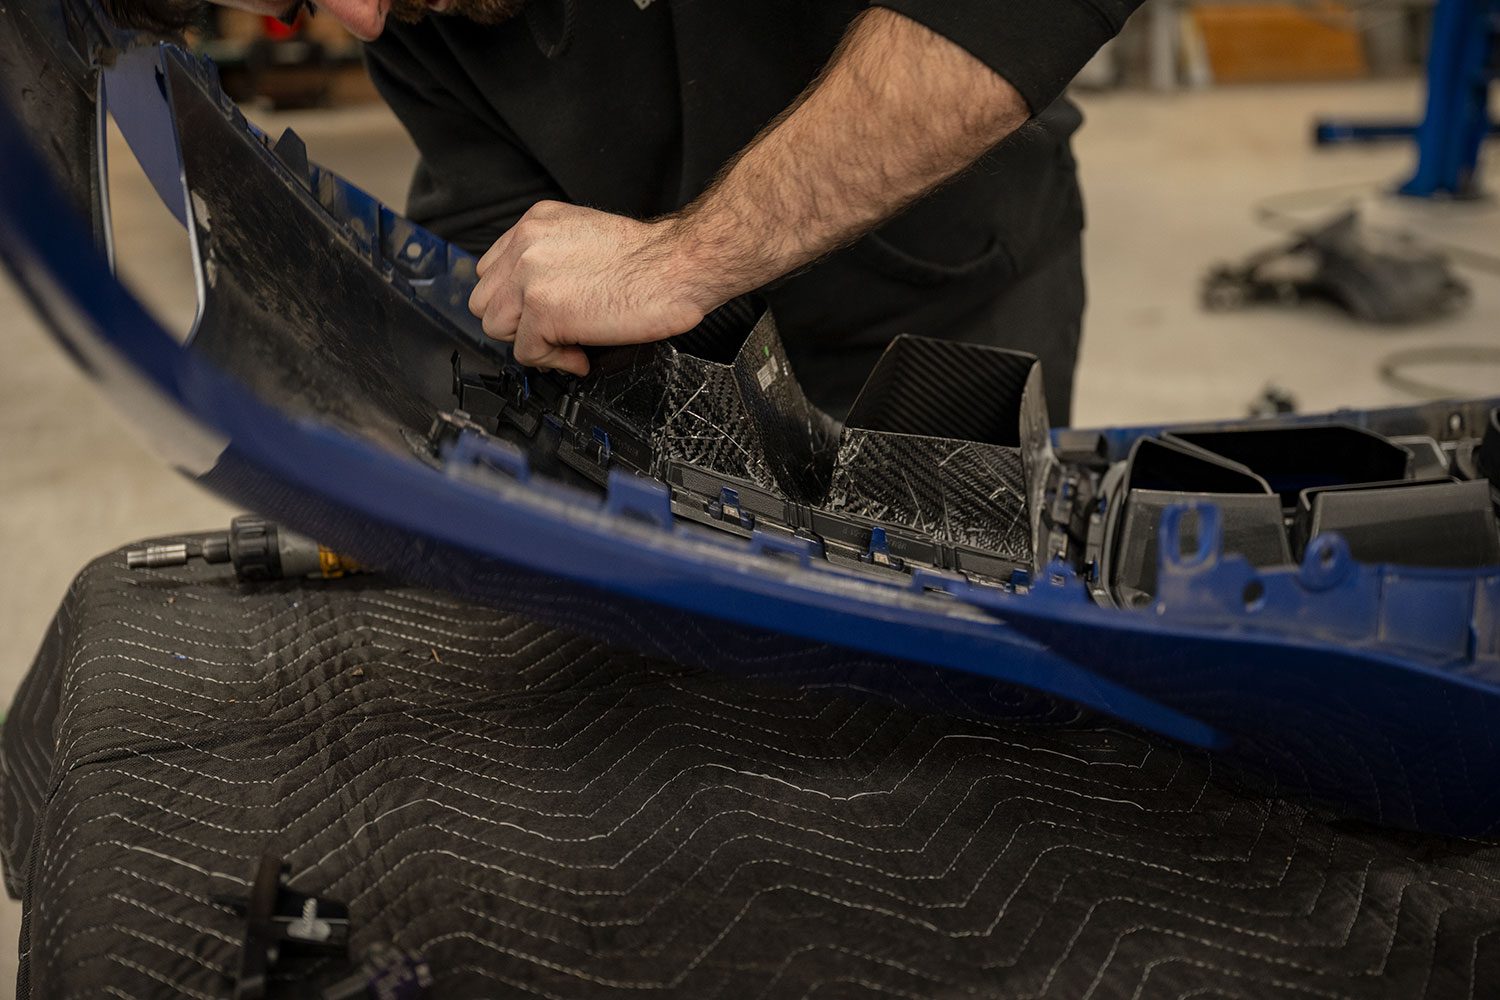
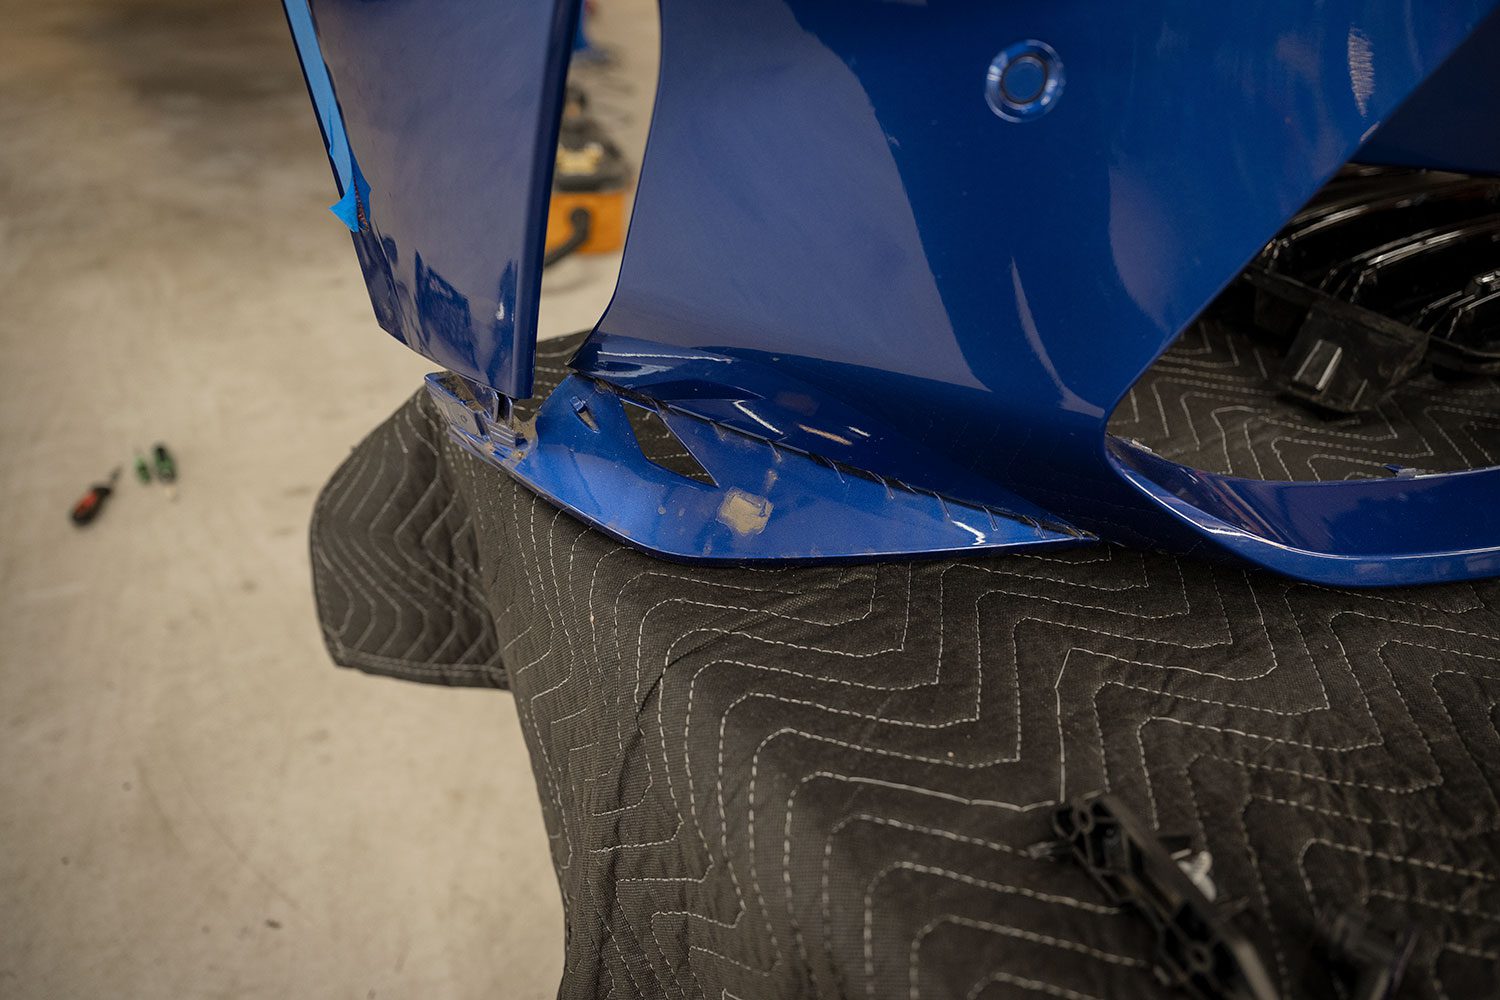
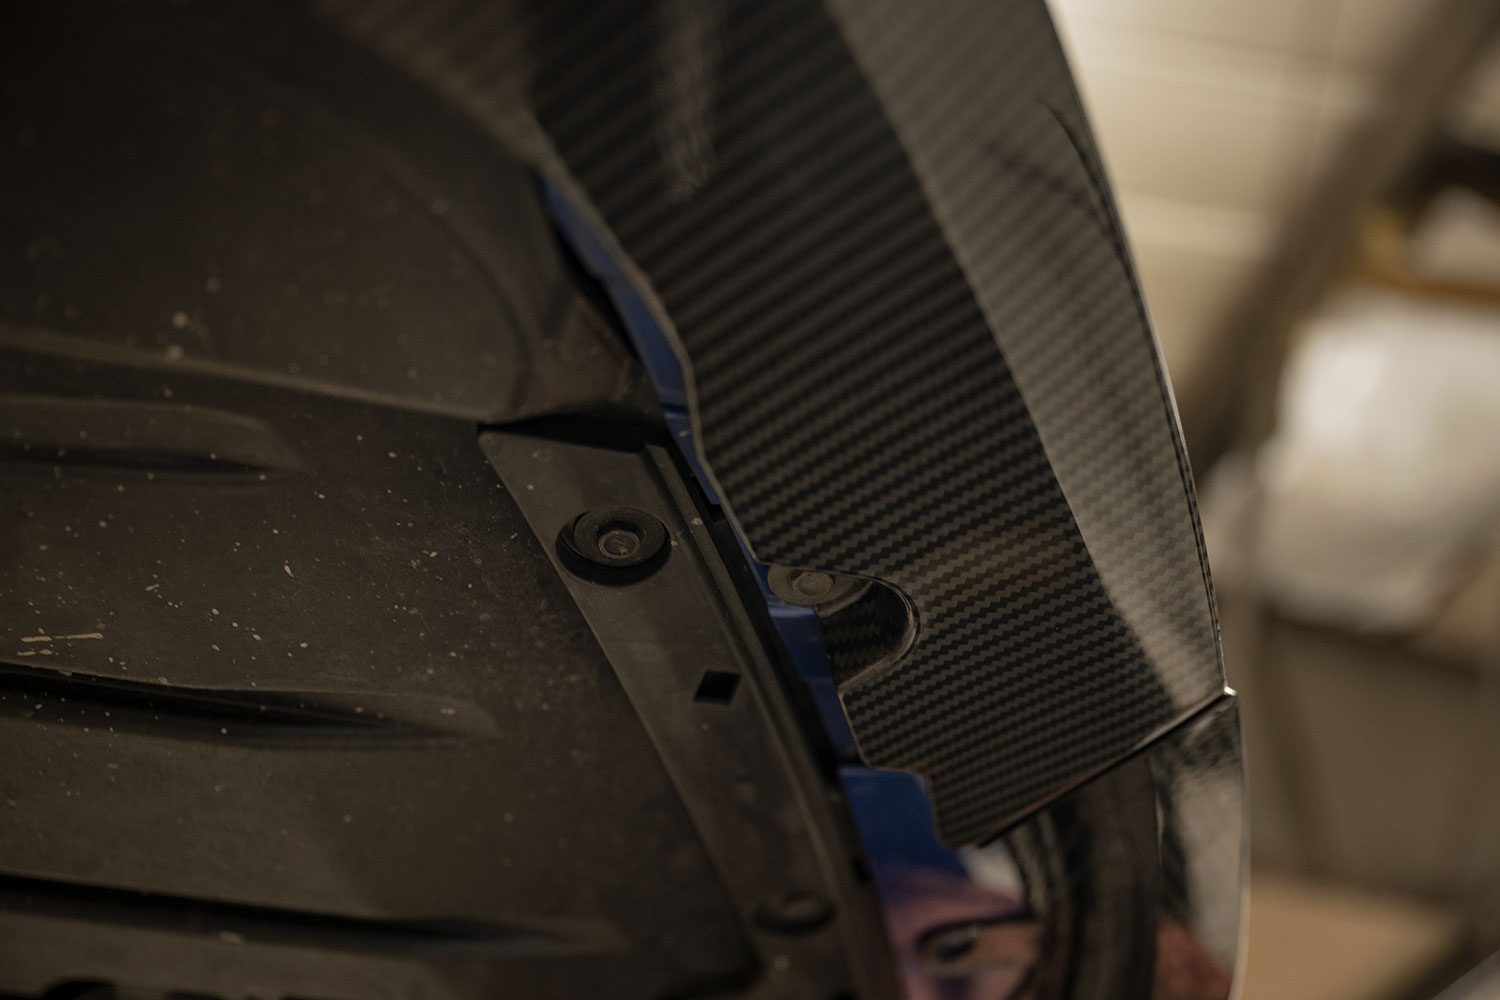
Installing the lip on the G80 M3 nose
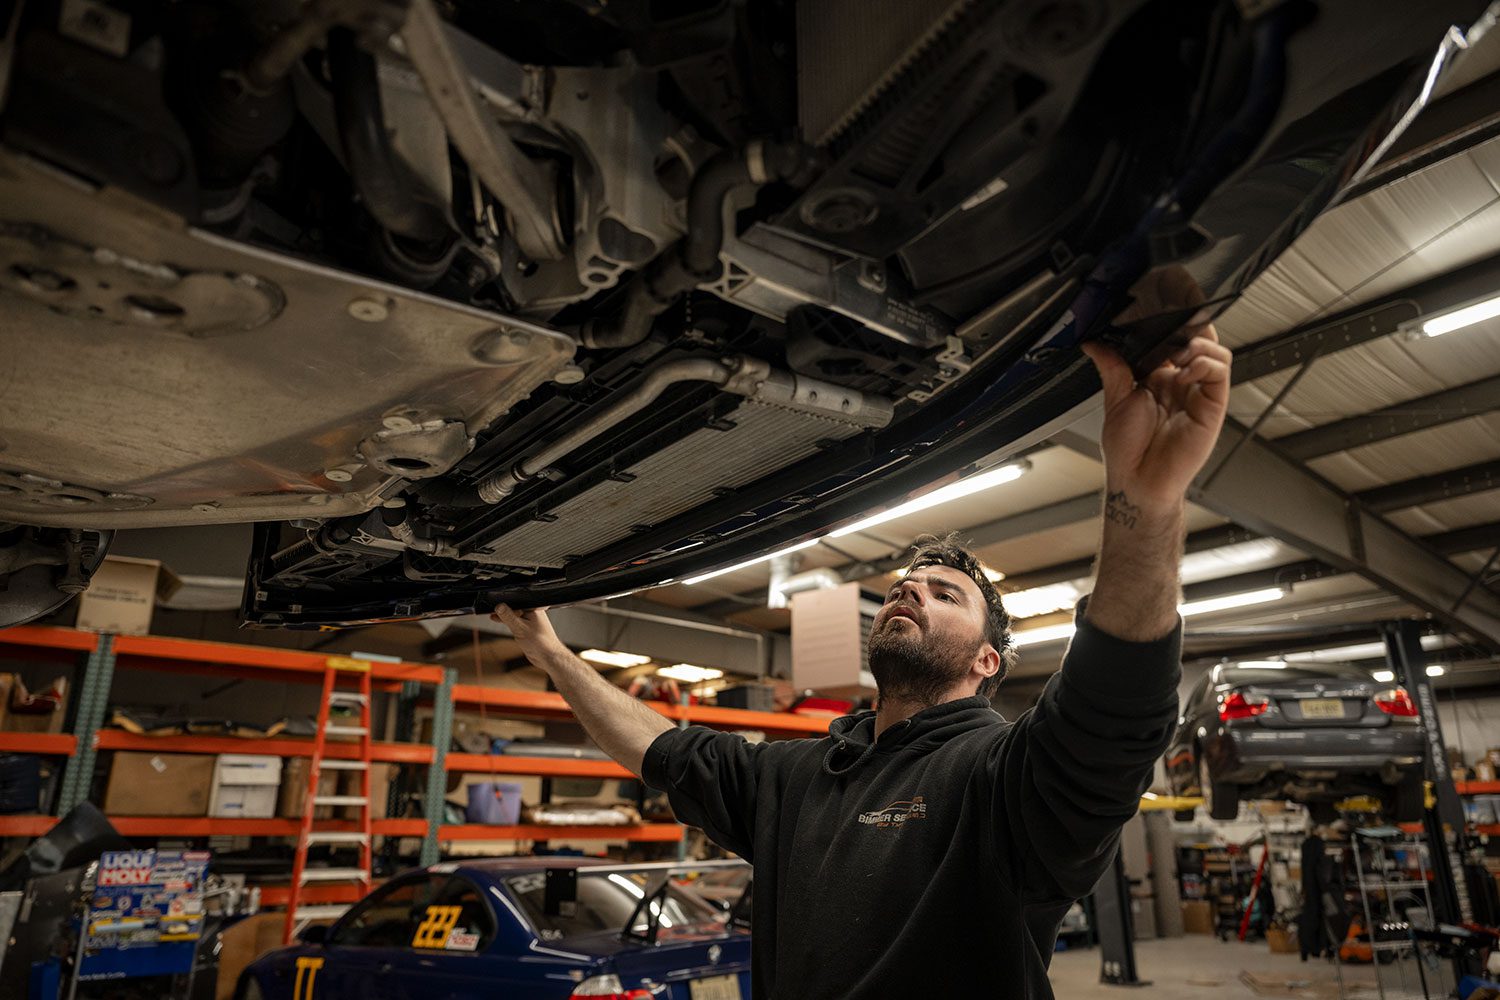
Fitment adjustments
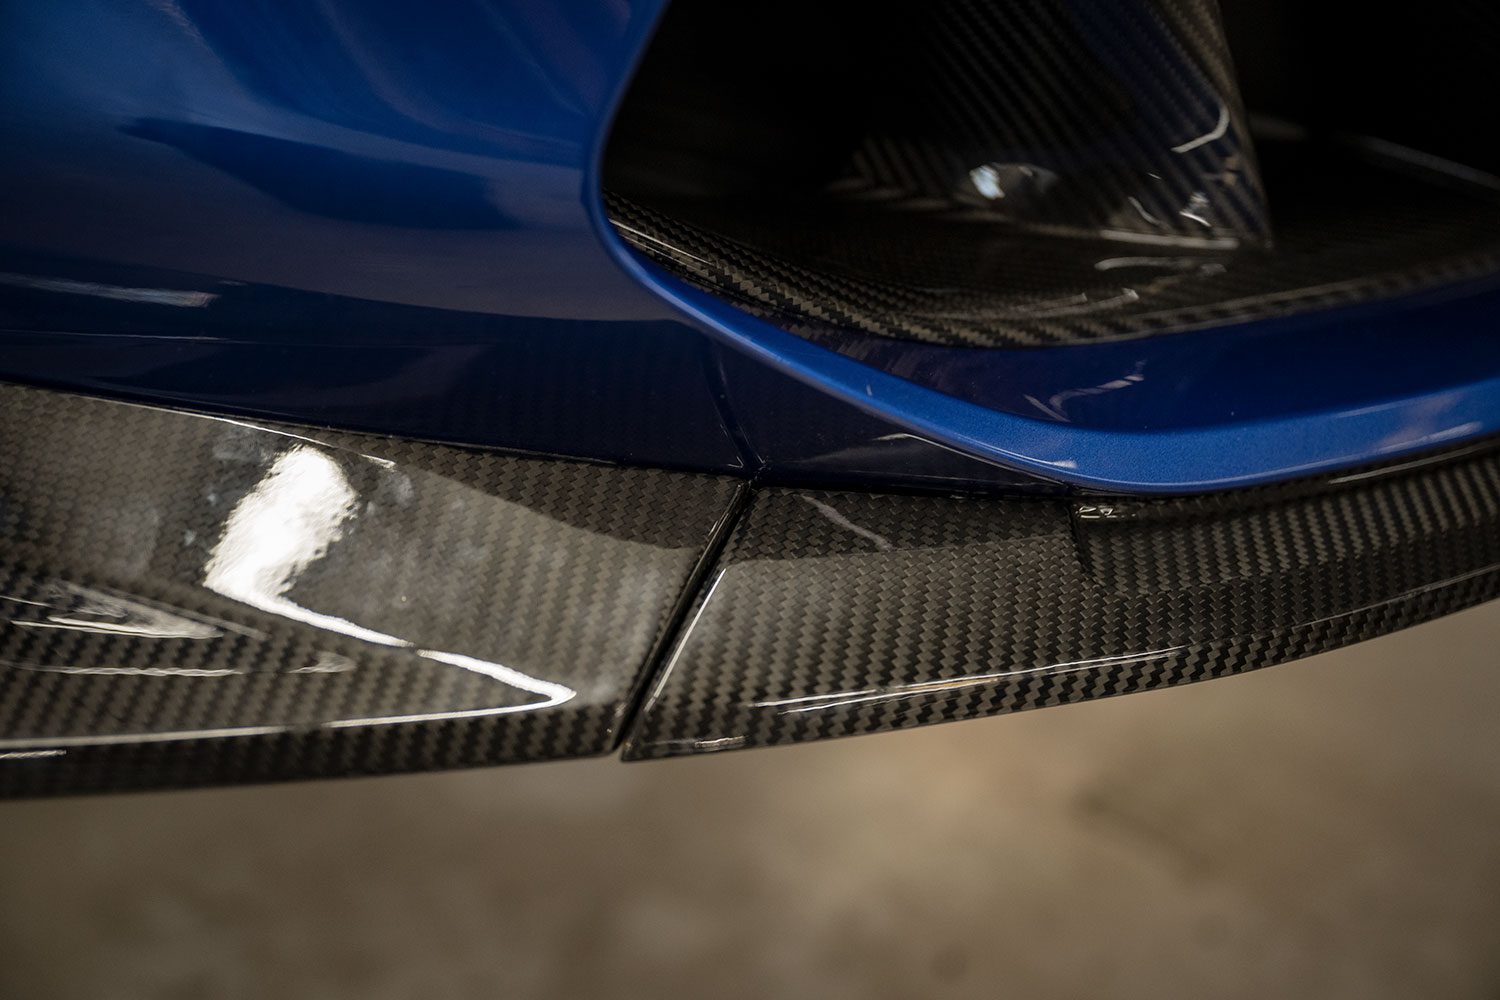
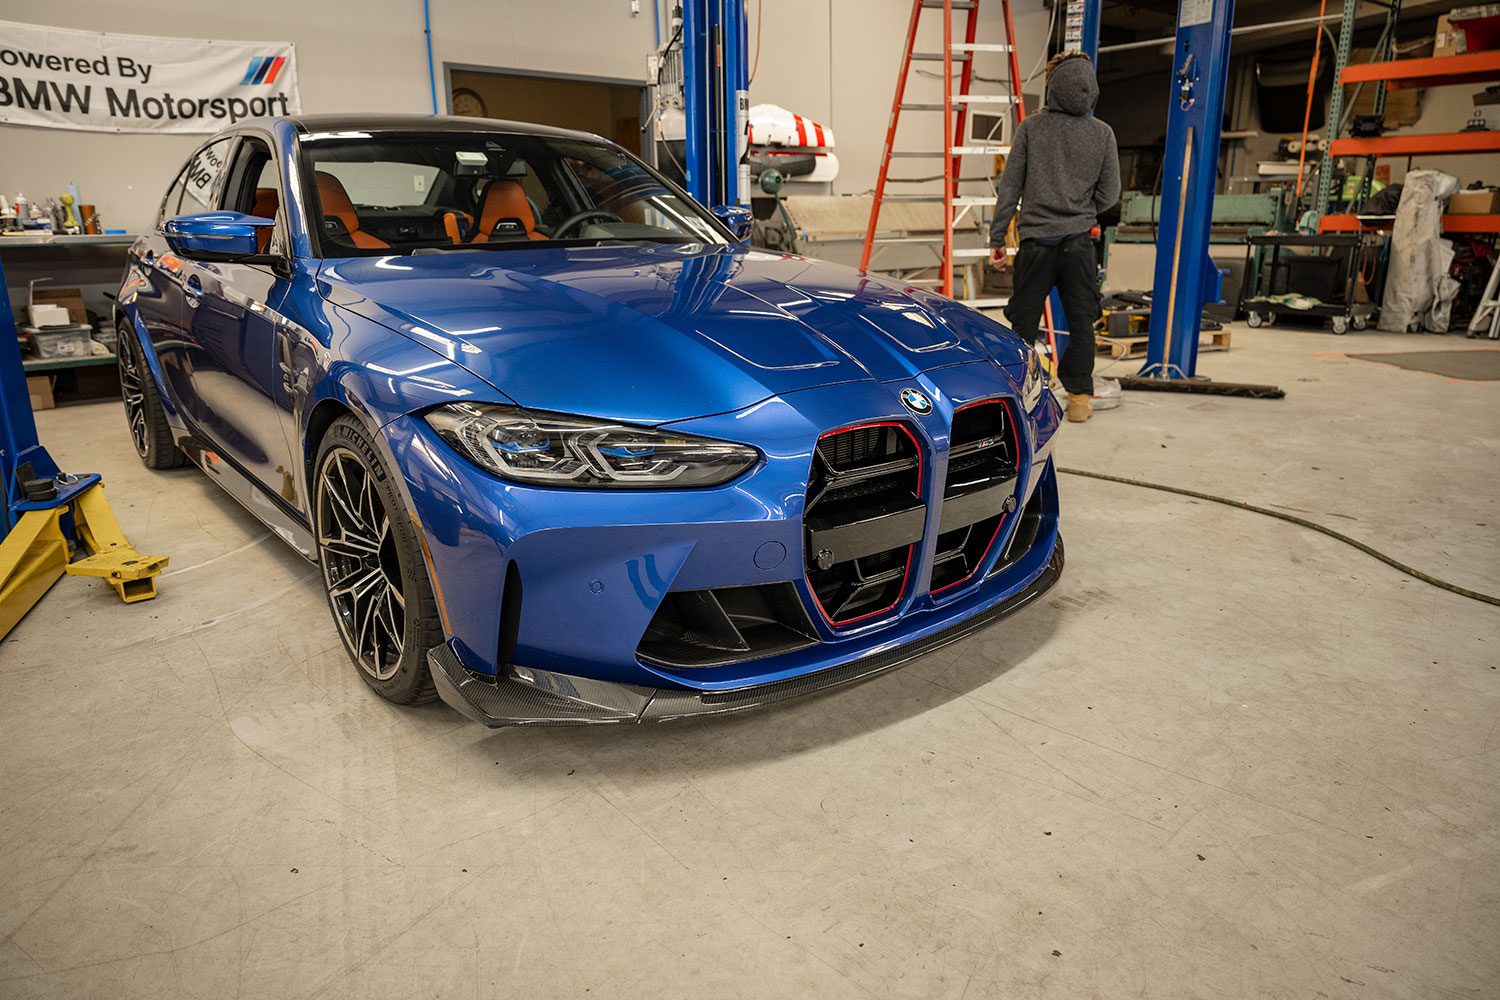
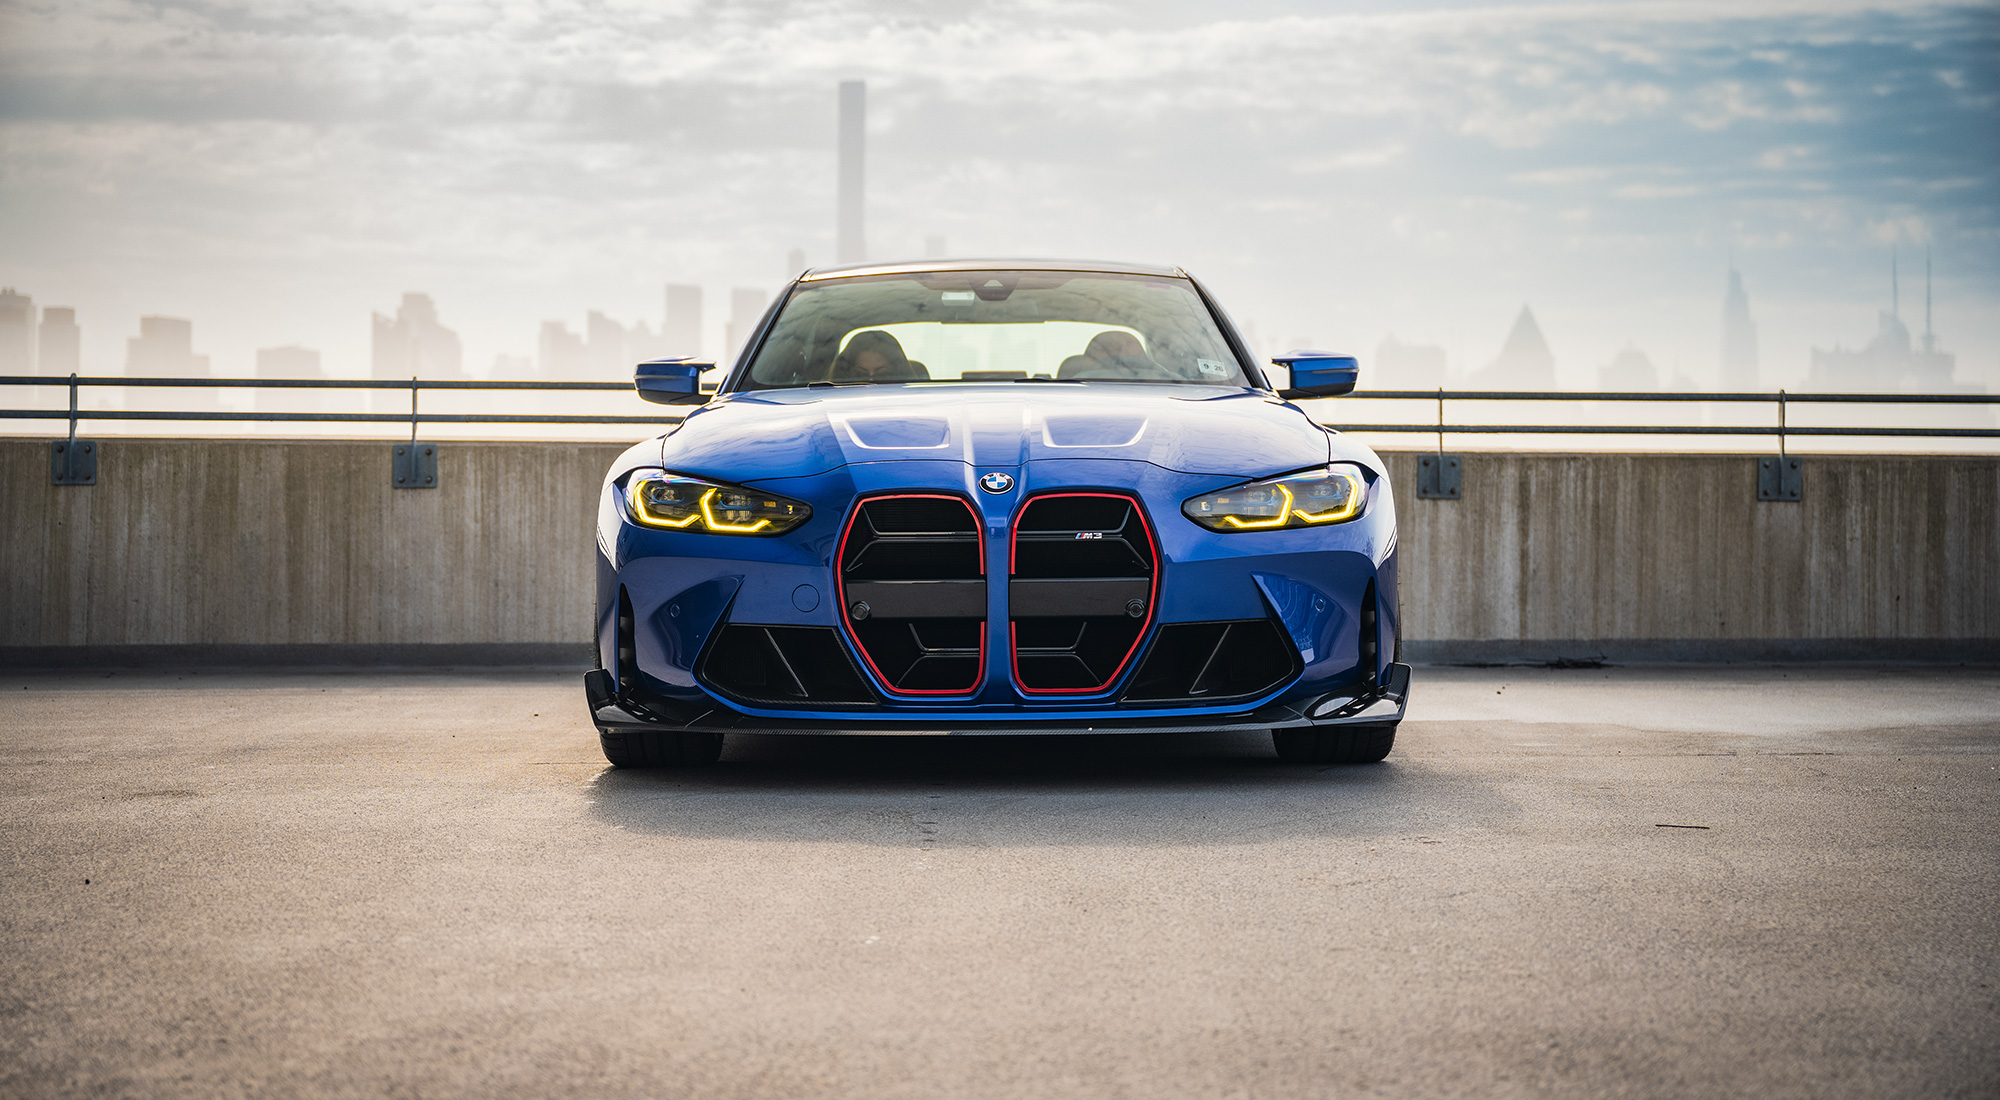
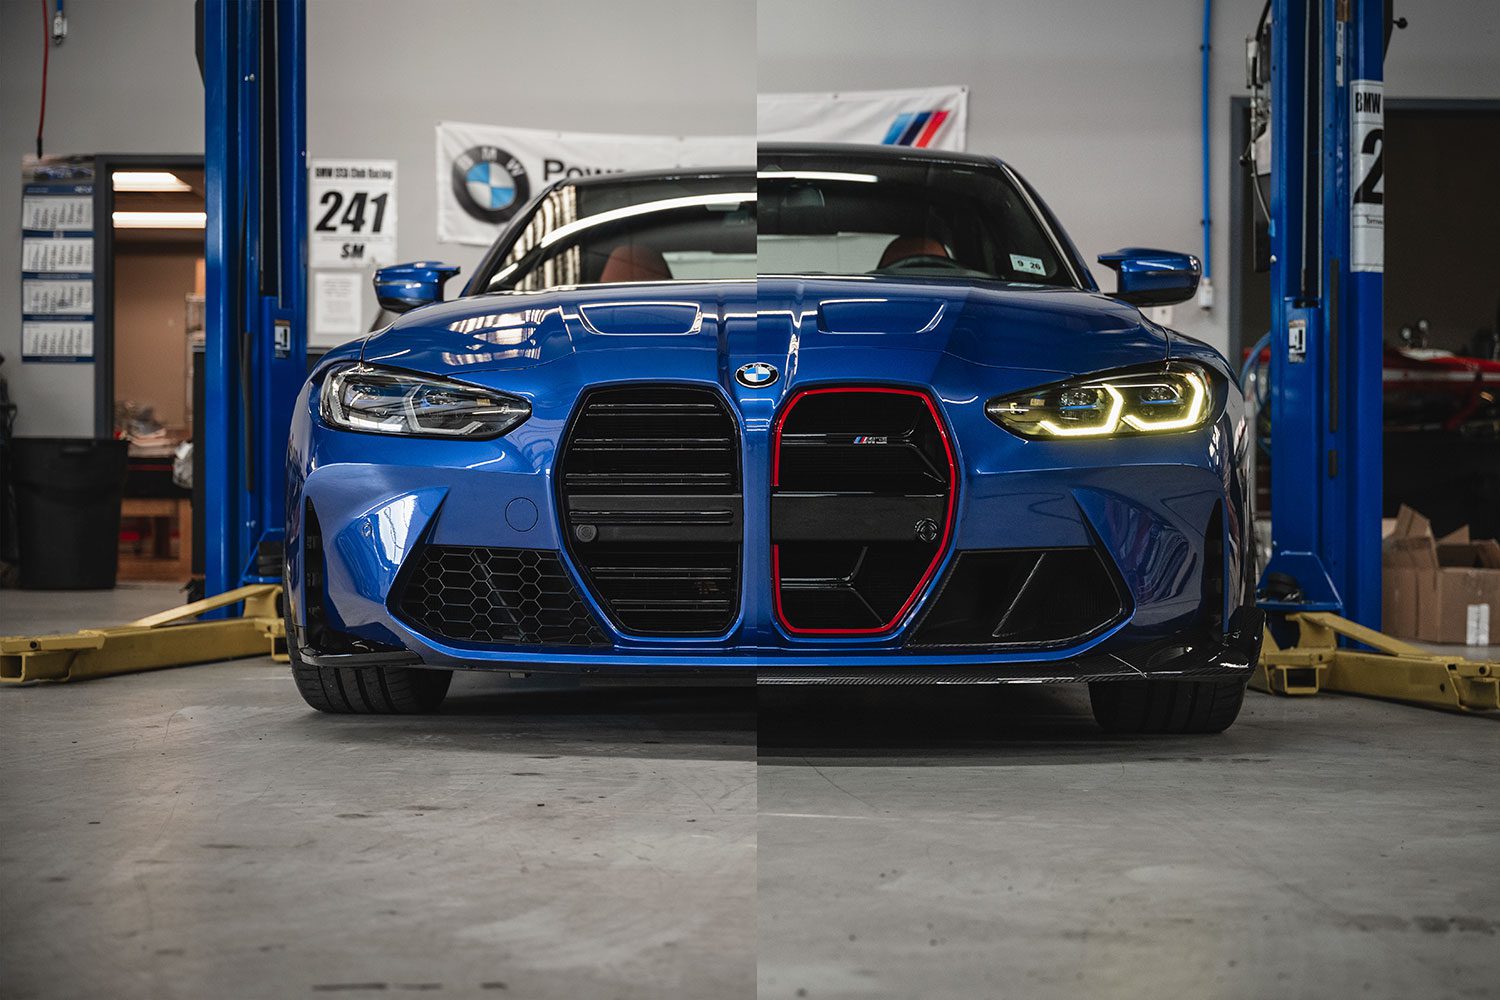
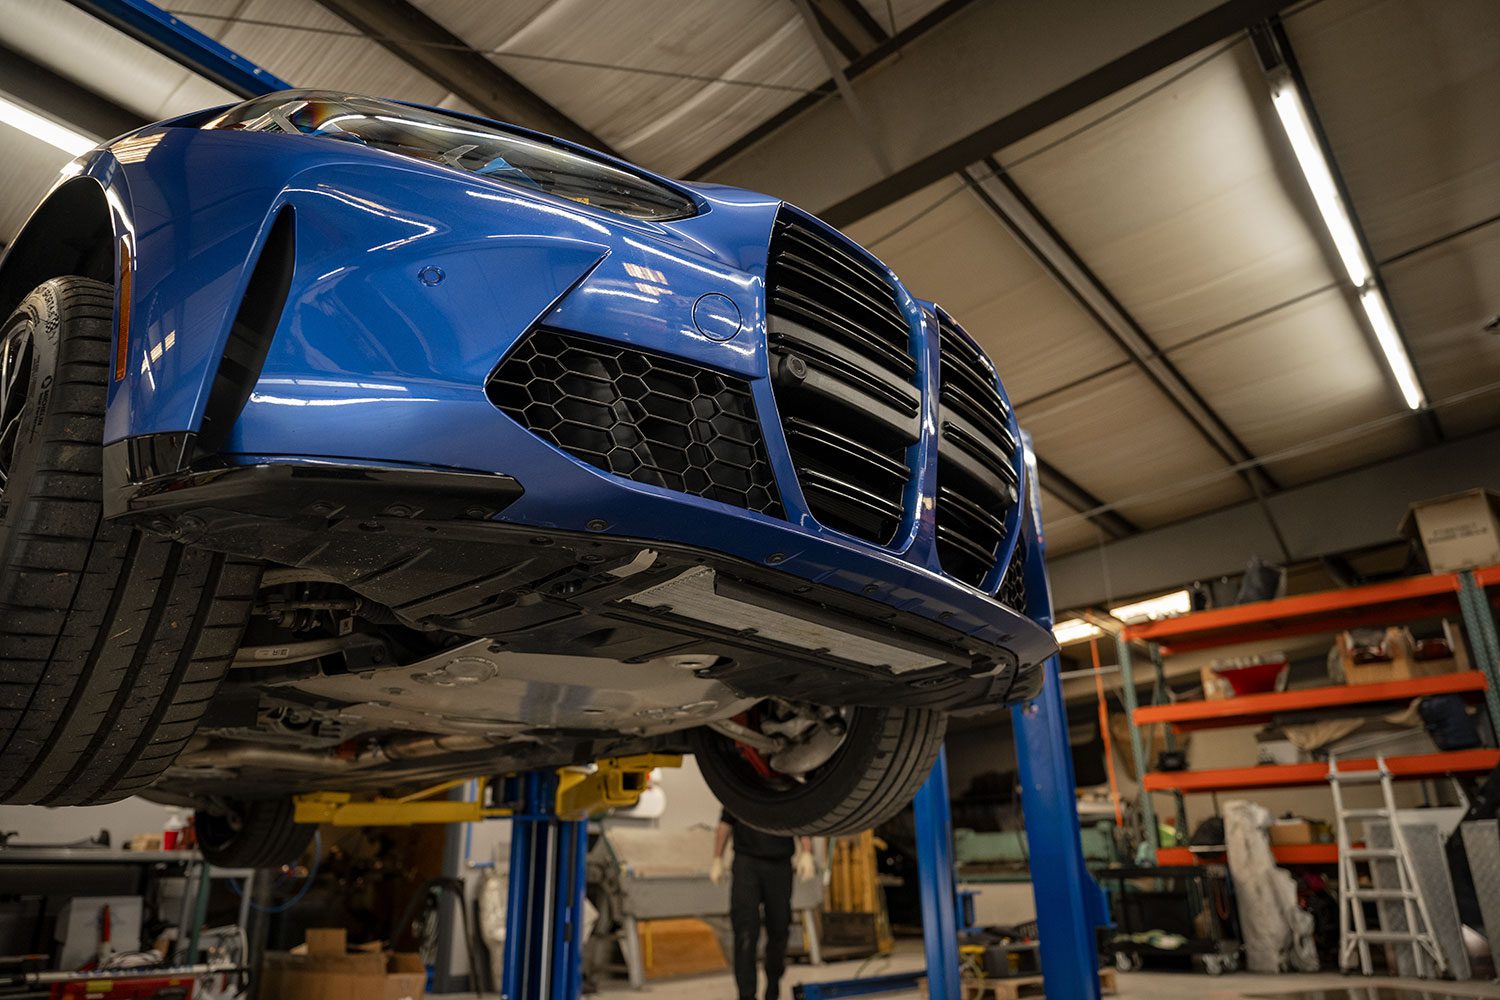
The big reveal

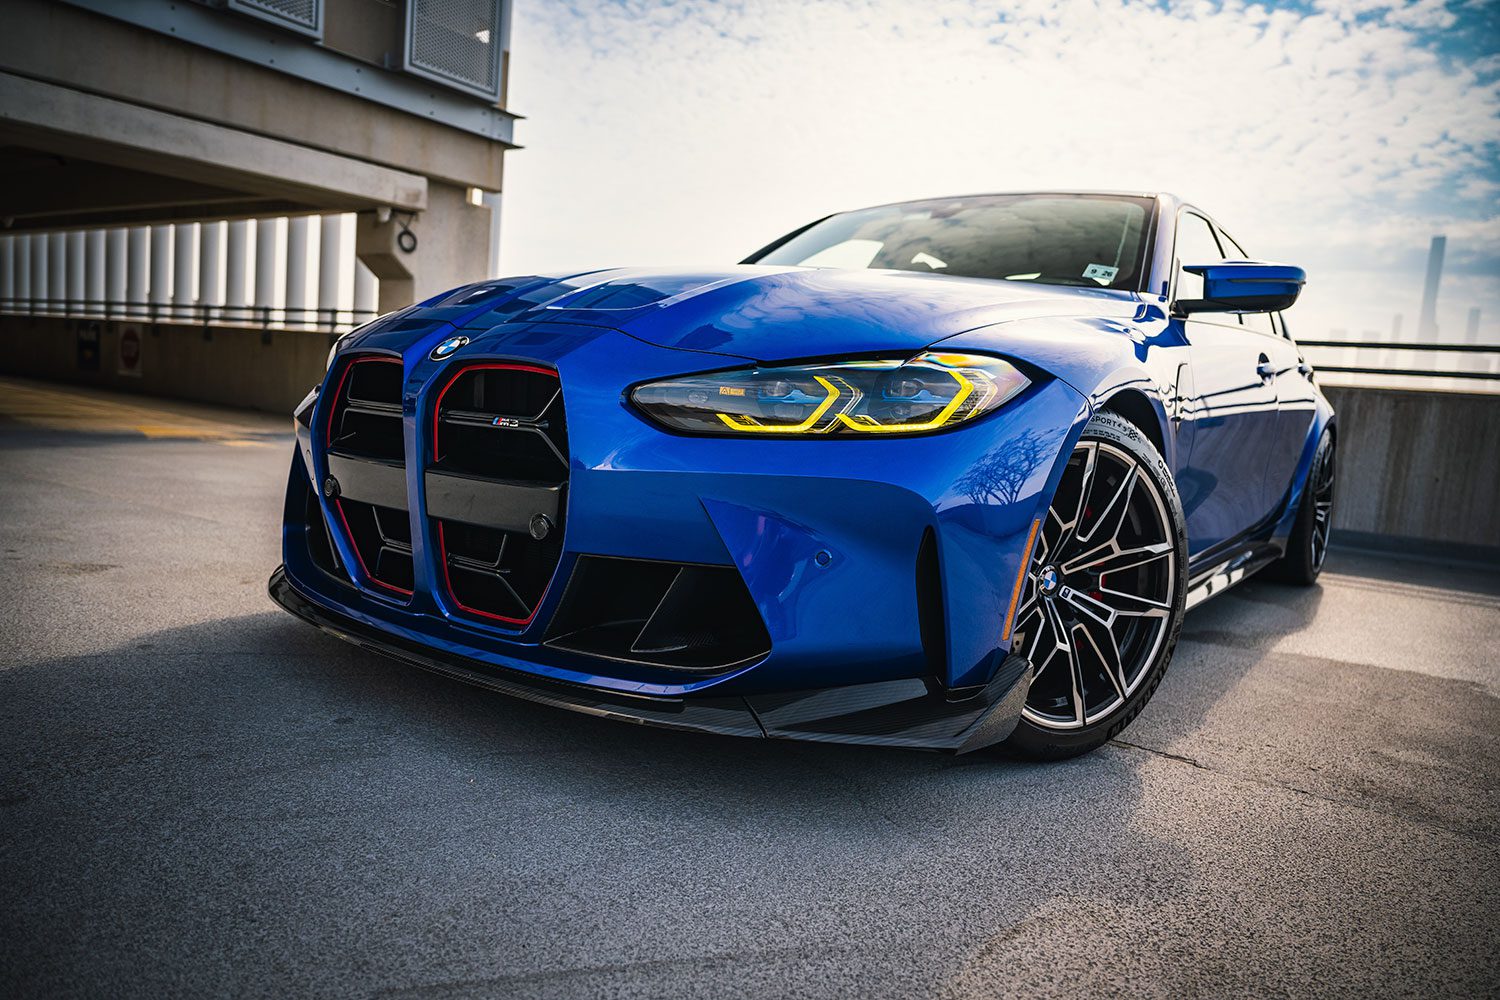

There was one small detail missing here, which are special black roundels from IND. It’s a 12 week wait.
You’ll notice that in my reviews, I never mention looks. I don’t feel it to be appropriate. I can’t tell you what you should like. So it is with modifying your own ride.
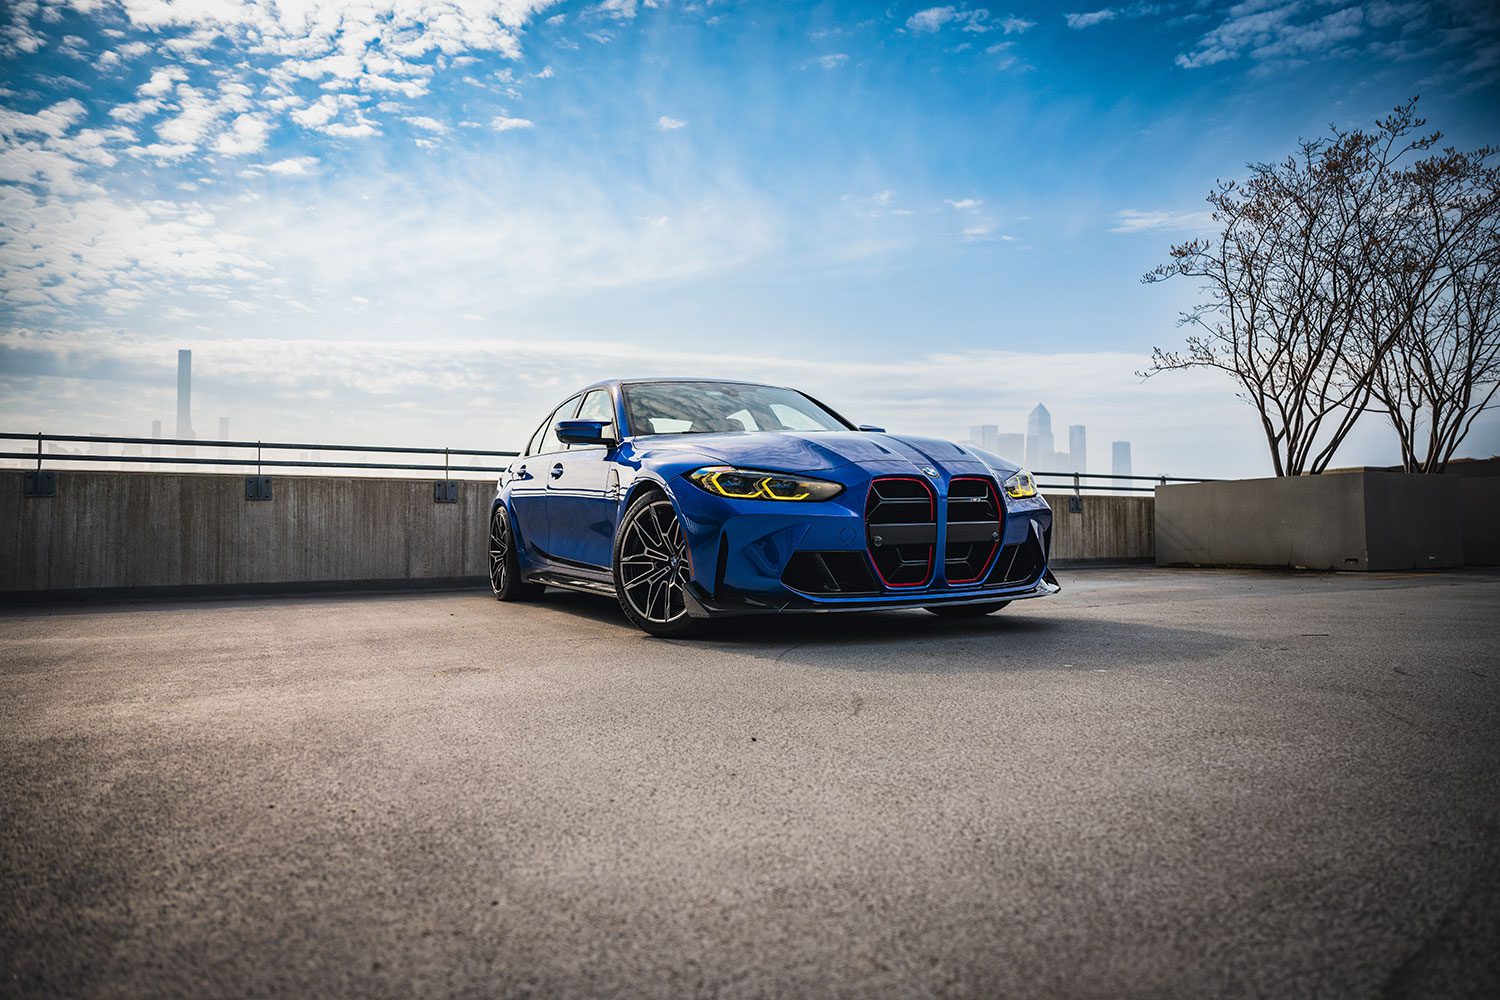
I’m very happy with the result here. I transformed the nose, especially with the yellow DRLs. It’s all very CS. Traffic now moves out of my way like Moses parting the seas. Here comes that nose!
I wonder what I’ll do next…
Thanks to TySpeed, AutoTecknic, and NWCarbonHaus for their support with this story.
Want your car reviewed?
If you live in the tri-state area and want me to check it out, send me an email!
Support the cause
Commissions may be received for product links on this site. Help out if you can.
I use Nikon camera bodies and lenses, a Westcott Ice Light 2, Manfrotto tripod, B + W filters and an iMac Pro to make the art you see here.
Follow along on Instagram @machineswithsouls
5 thoughts on “Fixing the G80 M3’s nose”