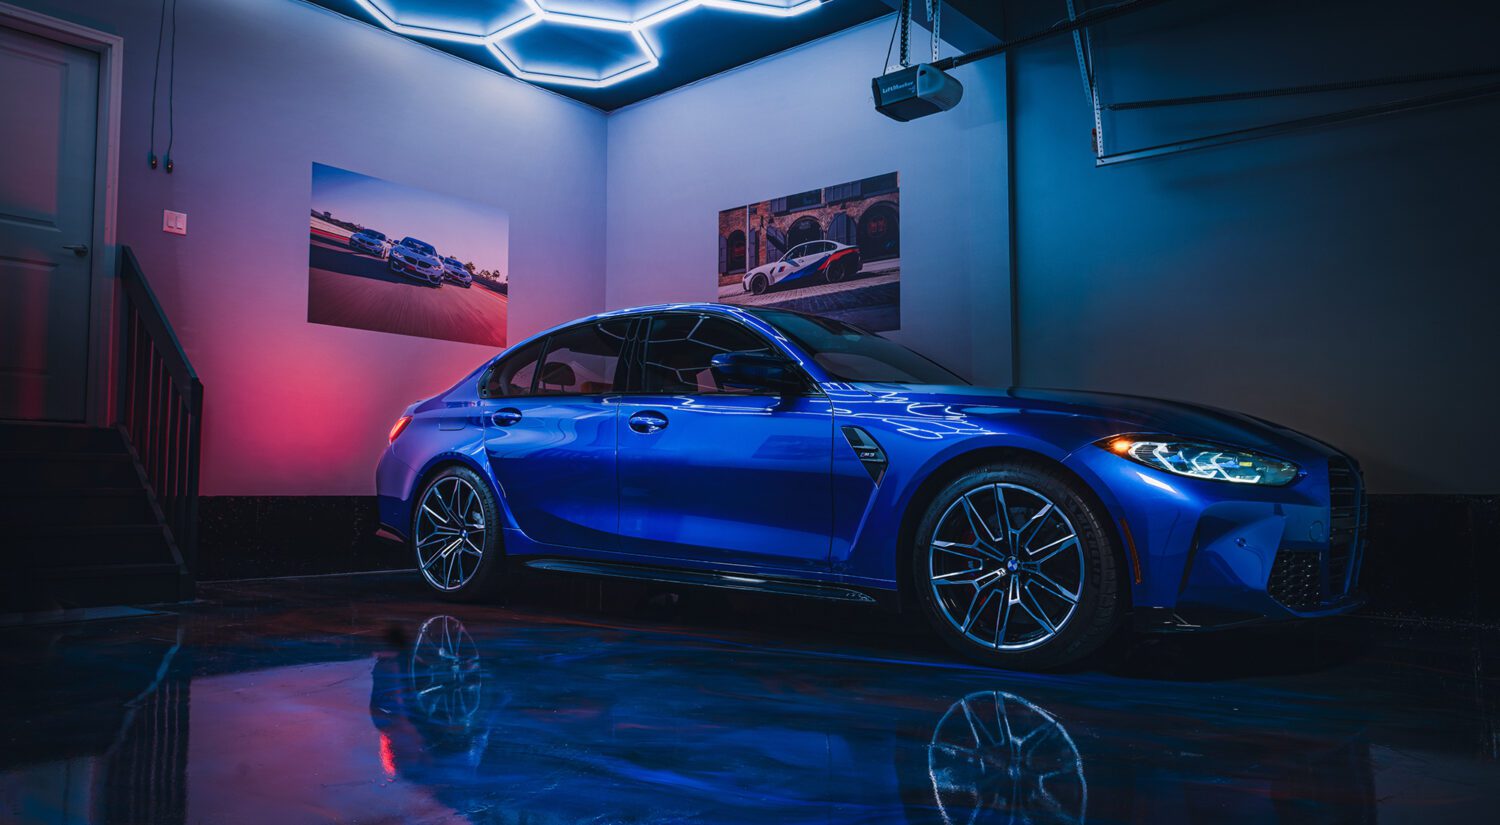
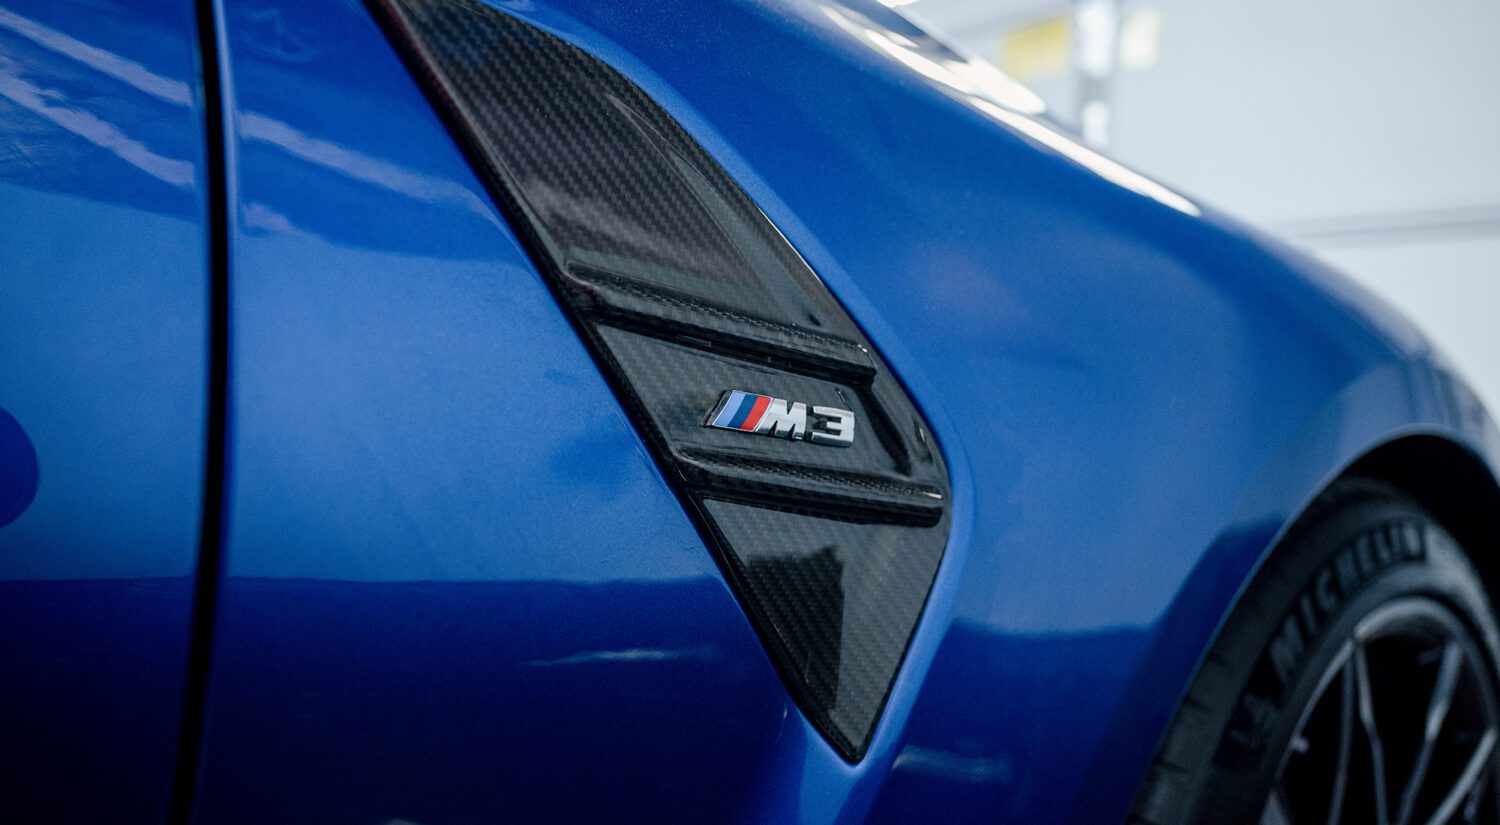
When it comes to modifying, we’re somewhat limited with the choices we have. Like I’ve said before – you have a carbon grille, I have a gloss one. You have an M Performance lip, I have a CSL one. When we all get together, our differences make us look the same. And simply adding carbon fiber to my beautiful Portimao Blue paint breaks it all up a bit too much.
Let’s see if I can change that just a bit…
The parts
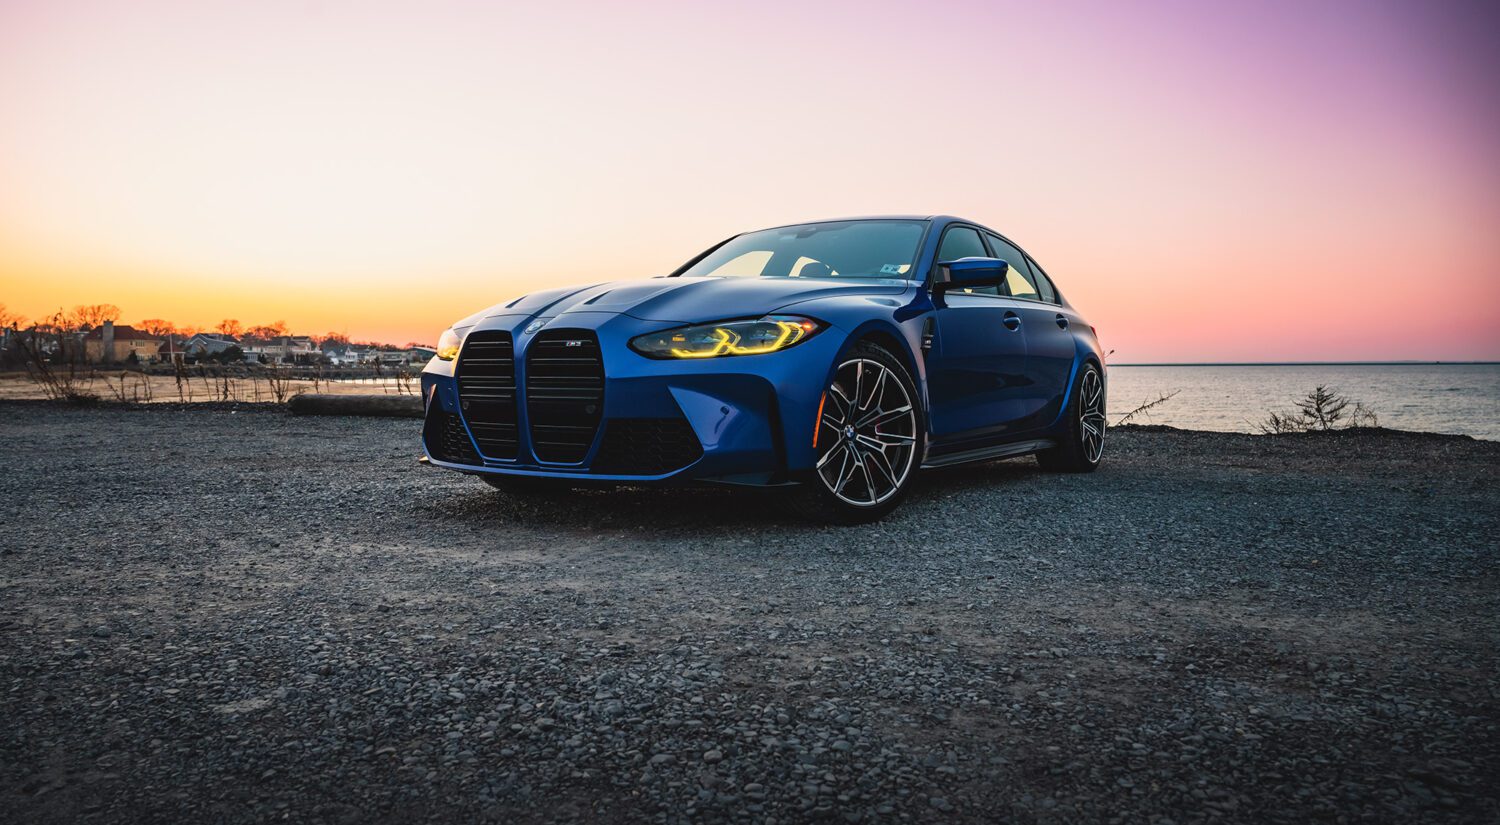
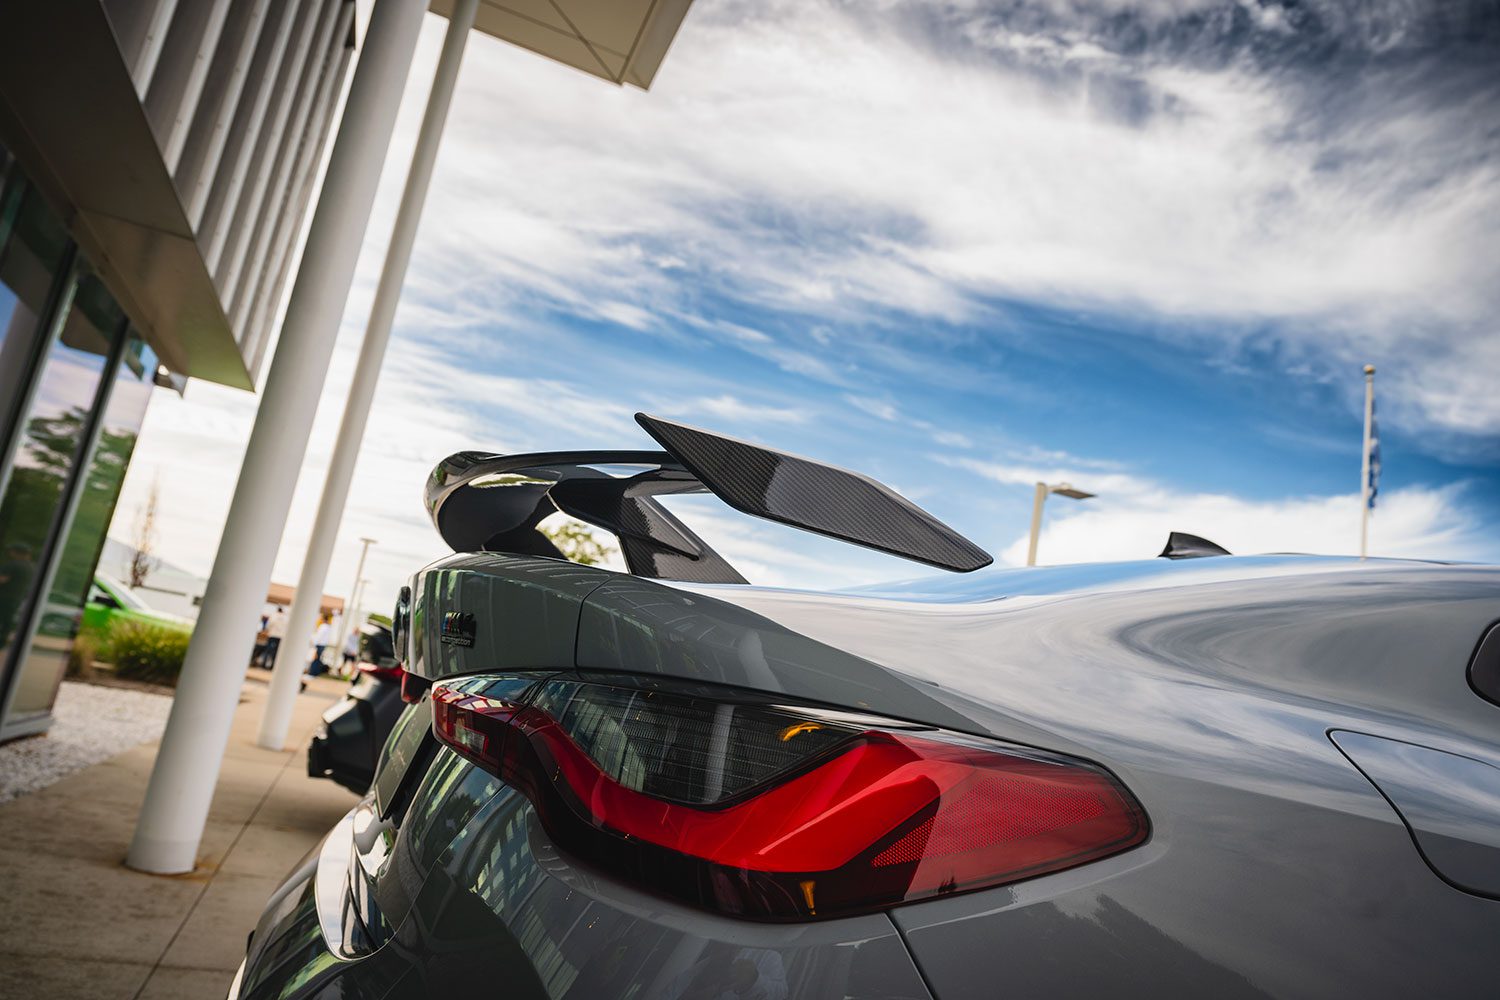
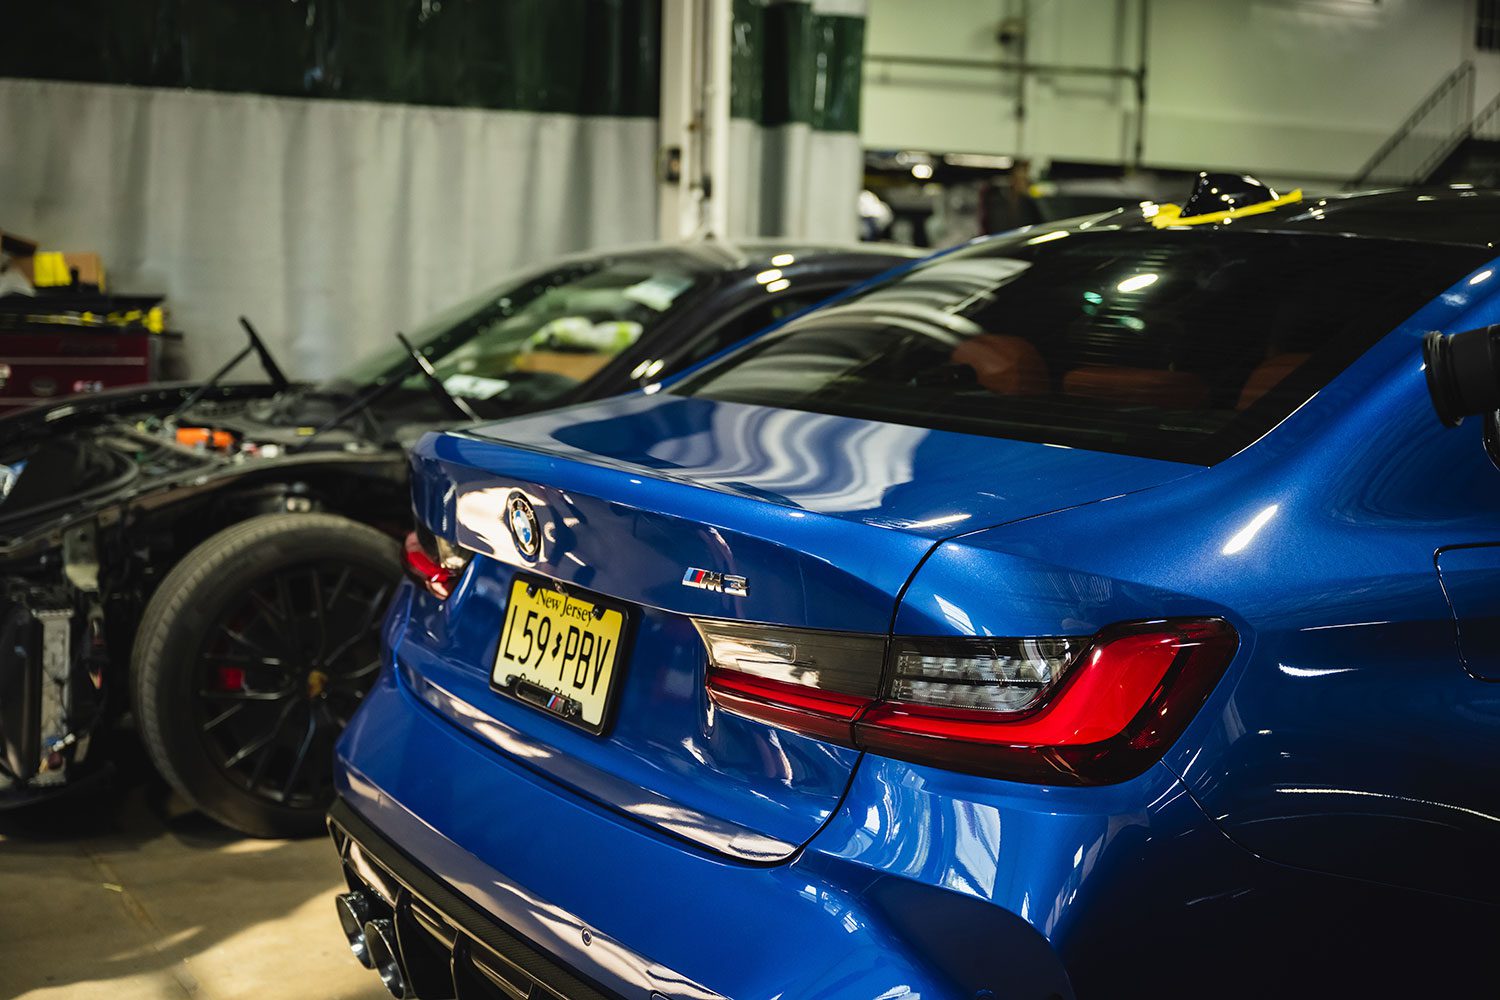
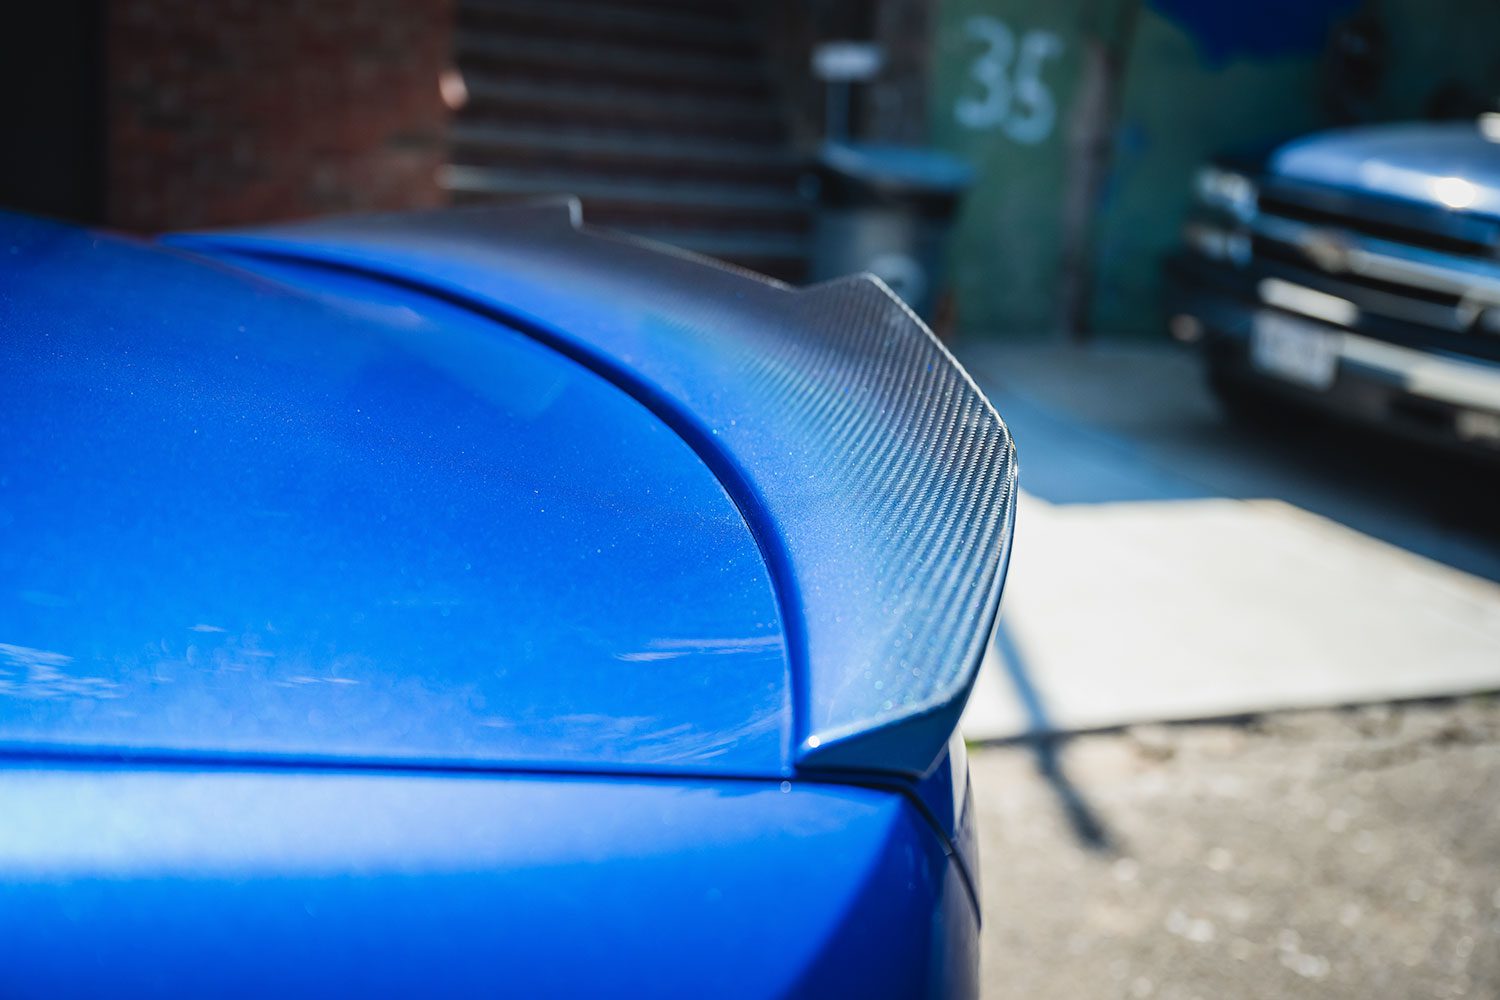
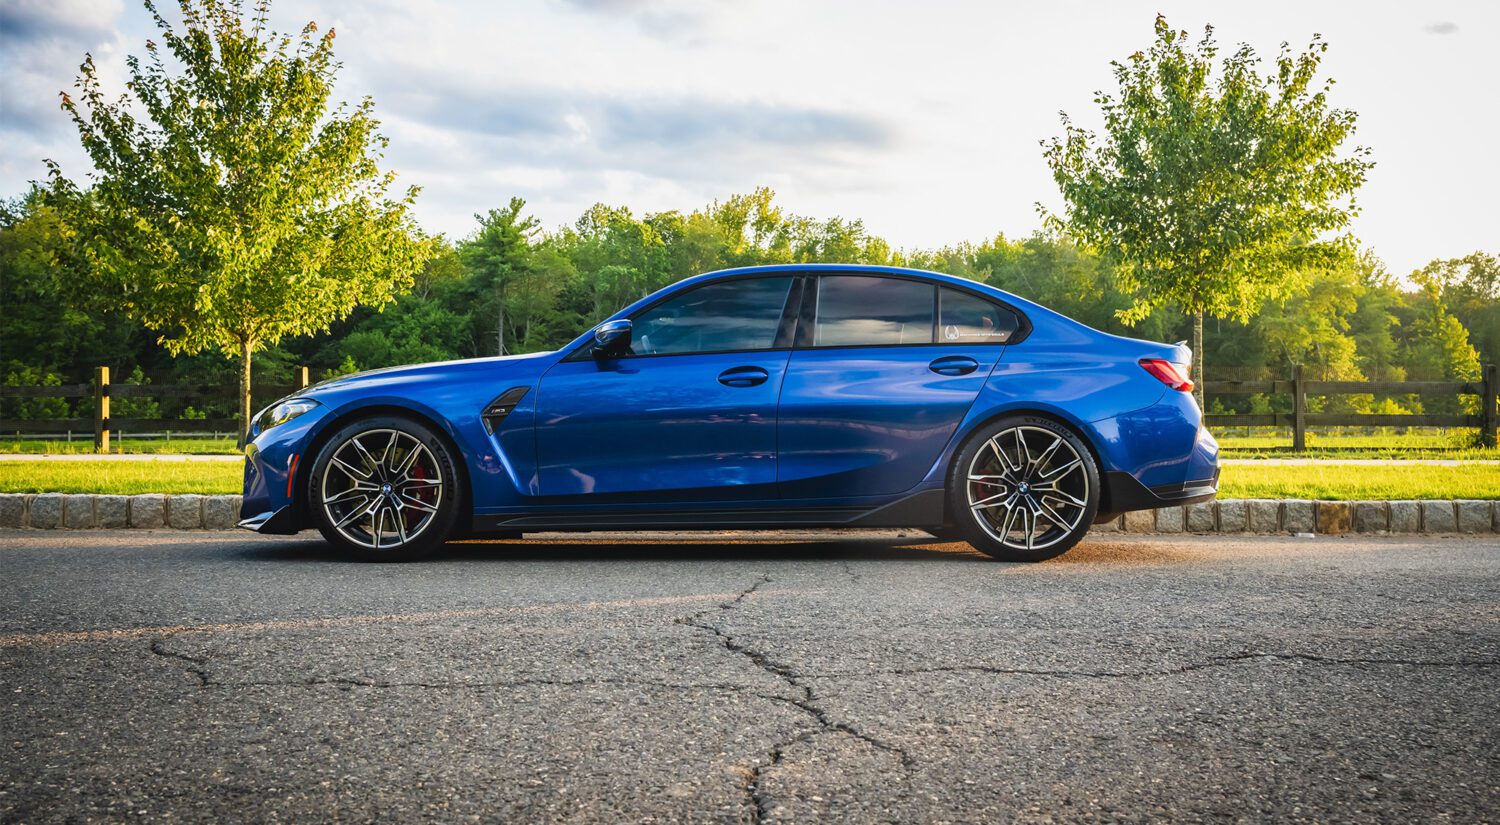
The car looks weird. My M3, that is.
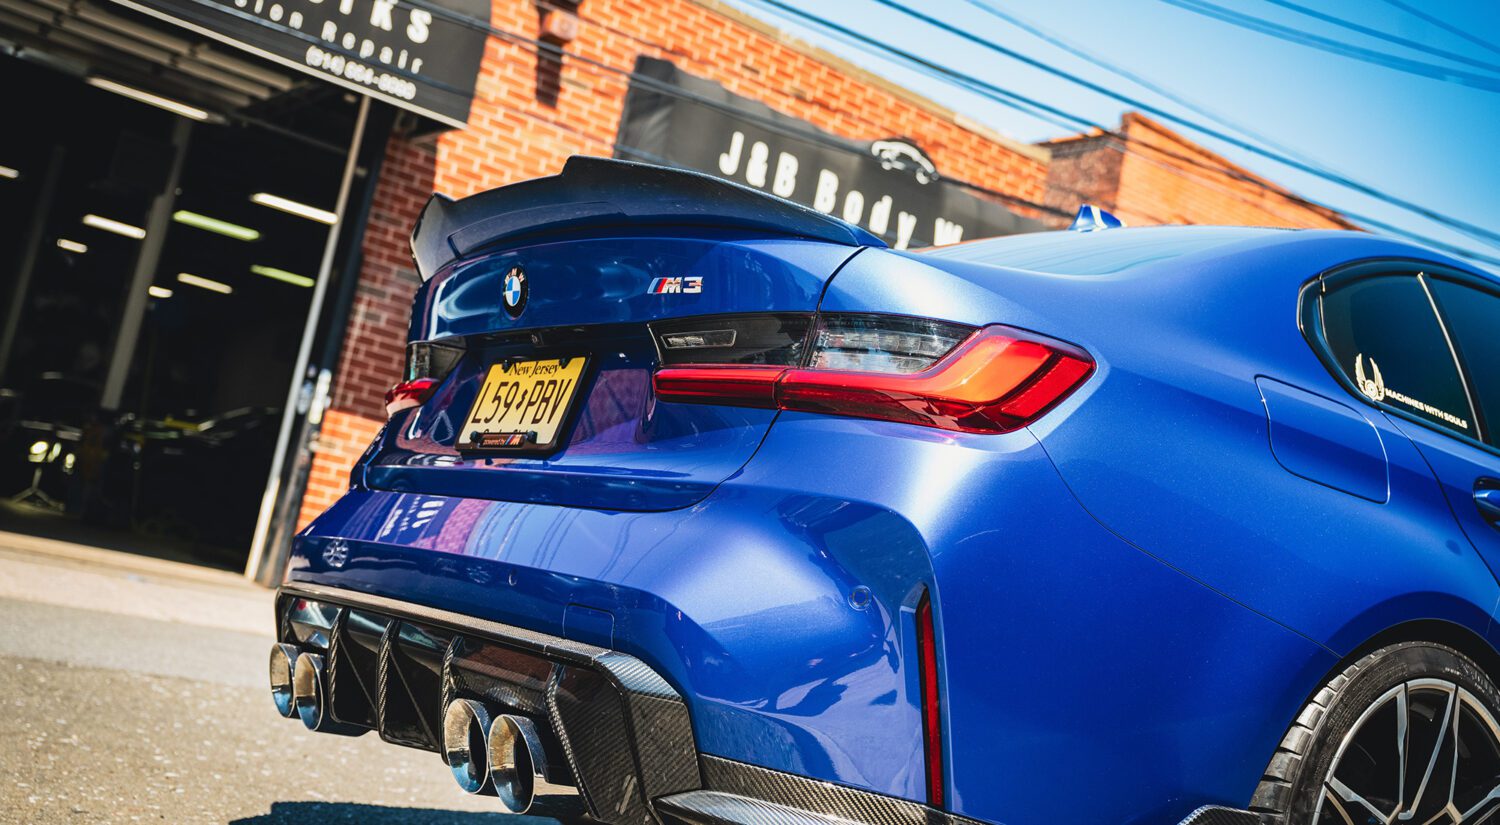
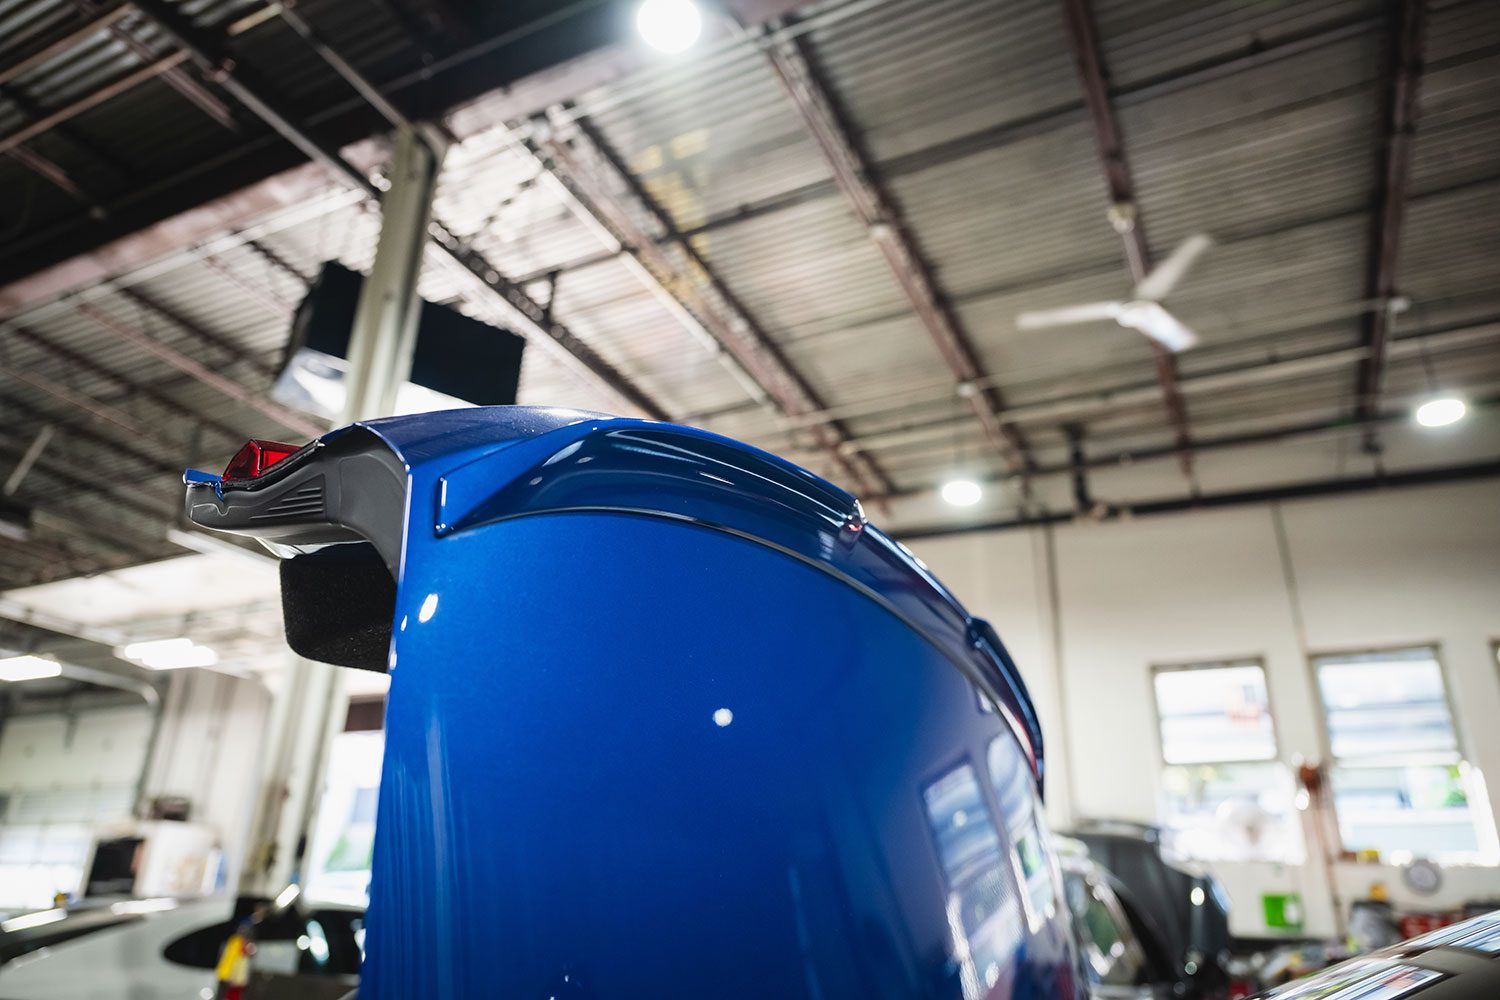
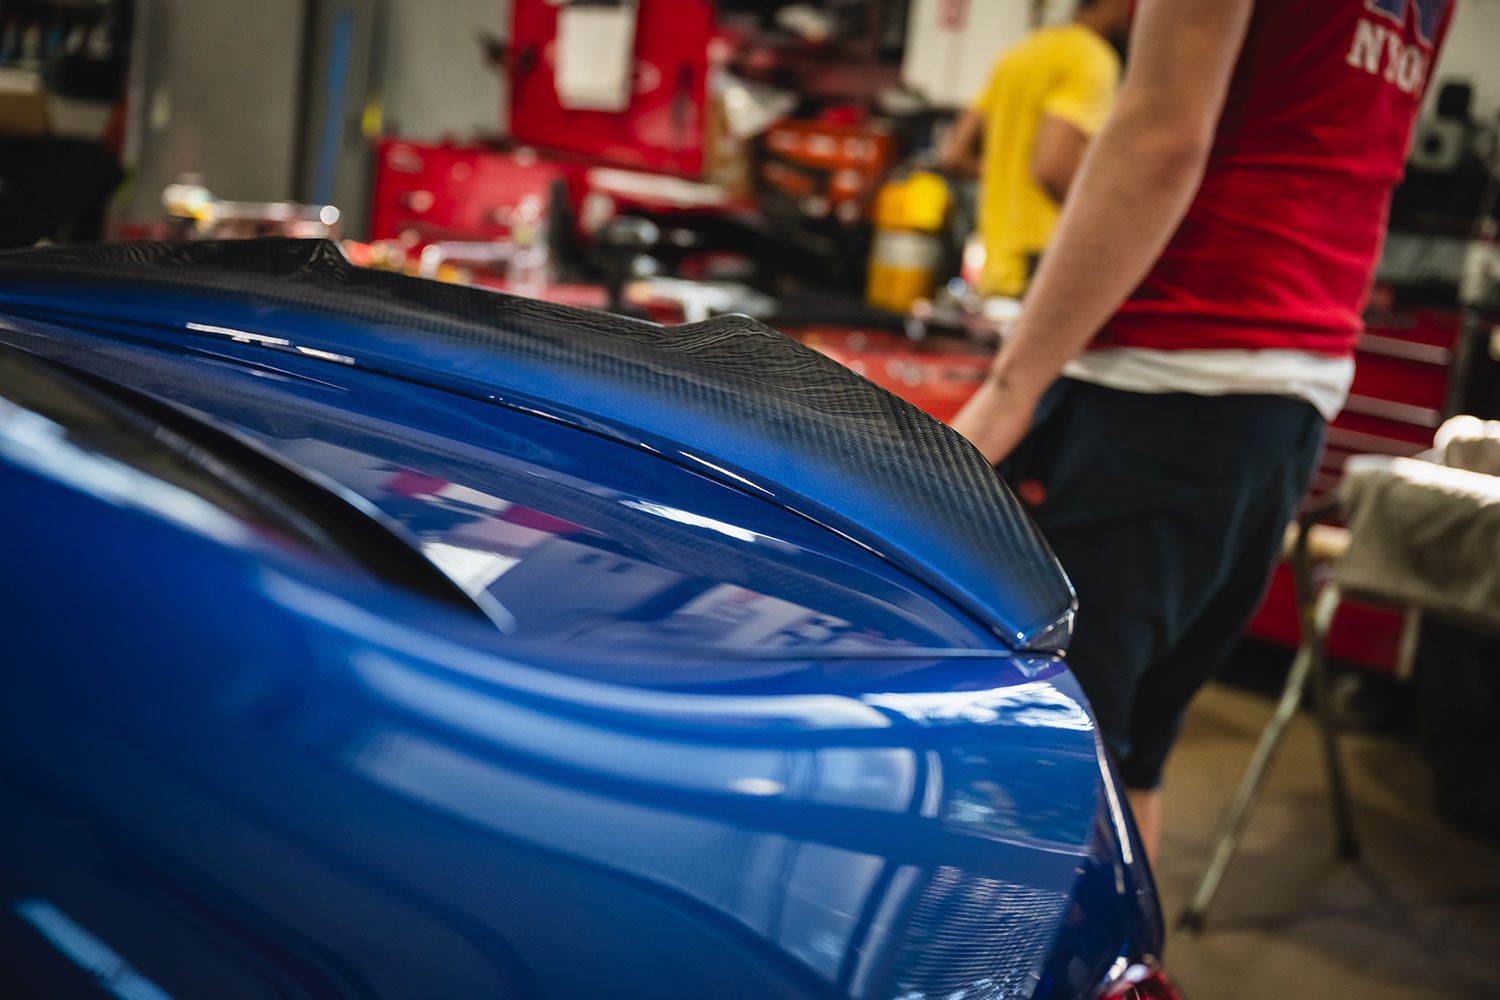
With all that aggressive carbon on the bottom of the car, the top looks a bit off. Unbalanced. Part of that is because of the stock trunk lip spoiler. Yes, it’s the largest it’s ever been coming from the factory, but it’s still sort of dainty.
Party on the bottom. But the top…
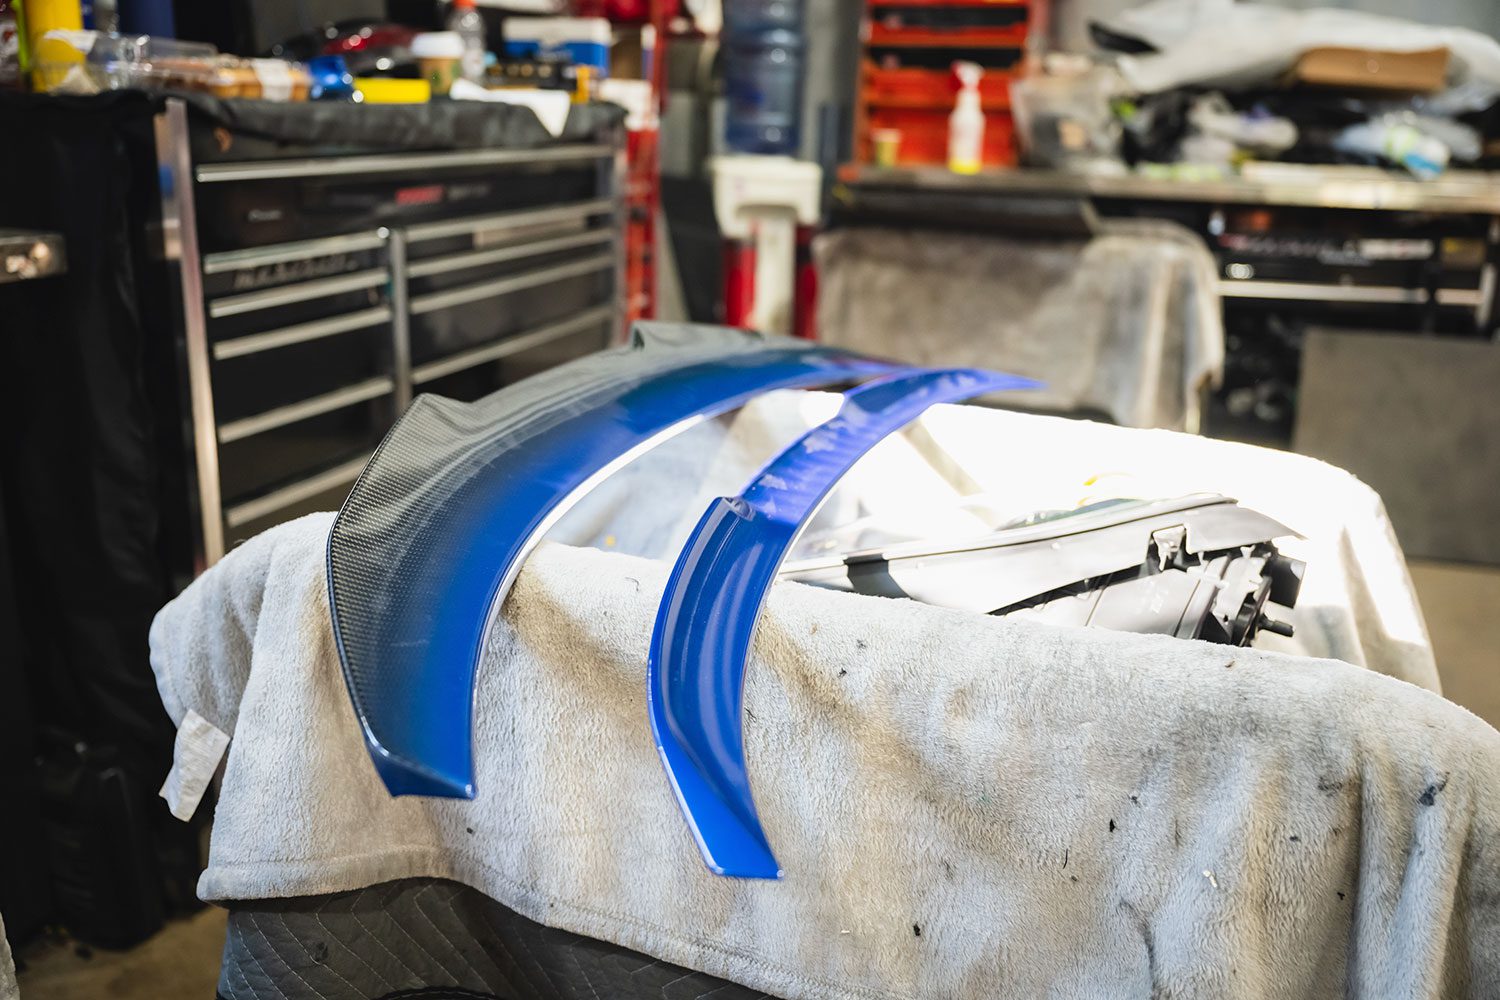
When it comes to aftermarket options, there are only two. We can do a larger carbon fiber lip, or the M Performance Carbon Fiber wing, which looks terrific on the M4 but less so on the M3 (and I’m not a fan of permanently drilling holes in my trunk). Instead, I’ve selected one from my friends at NWCarbonHaus. There currently is no ducktail carbon fiber trunk lid for the M3, in case you were wondering.
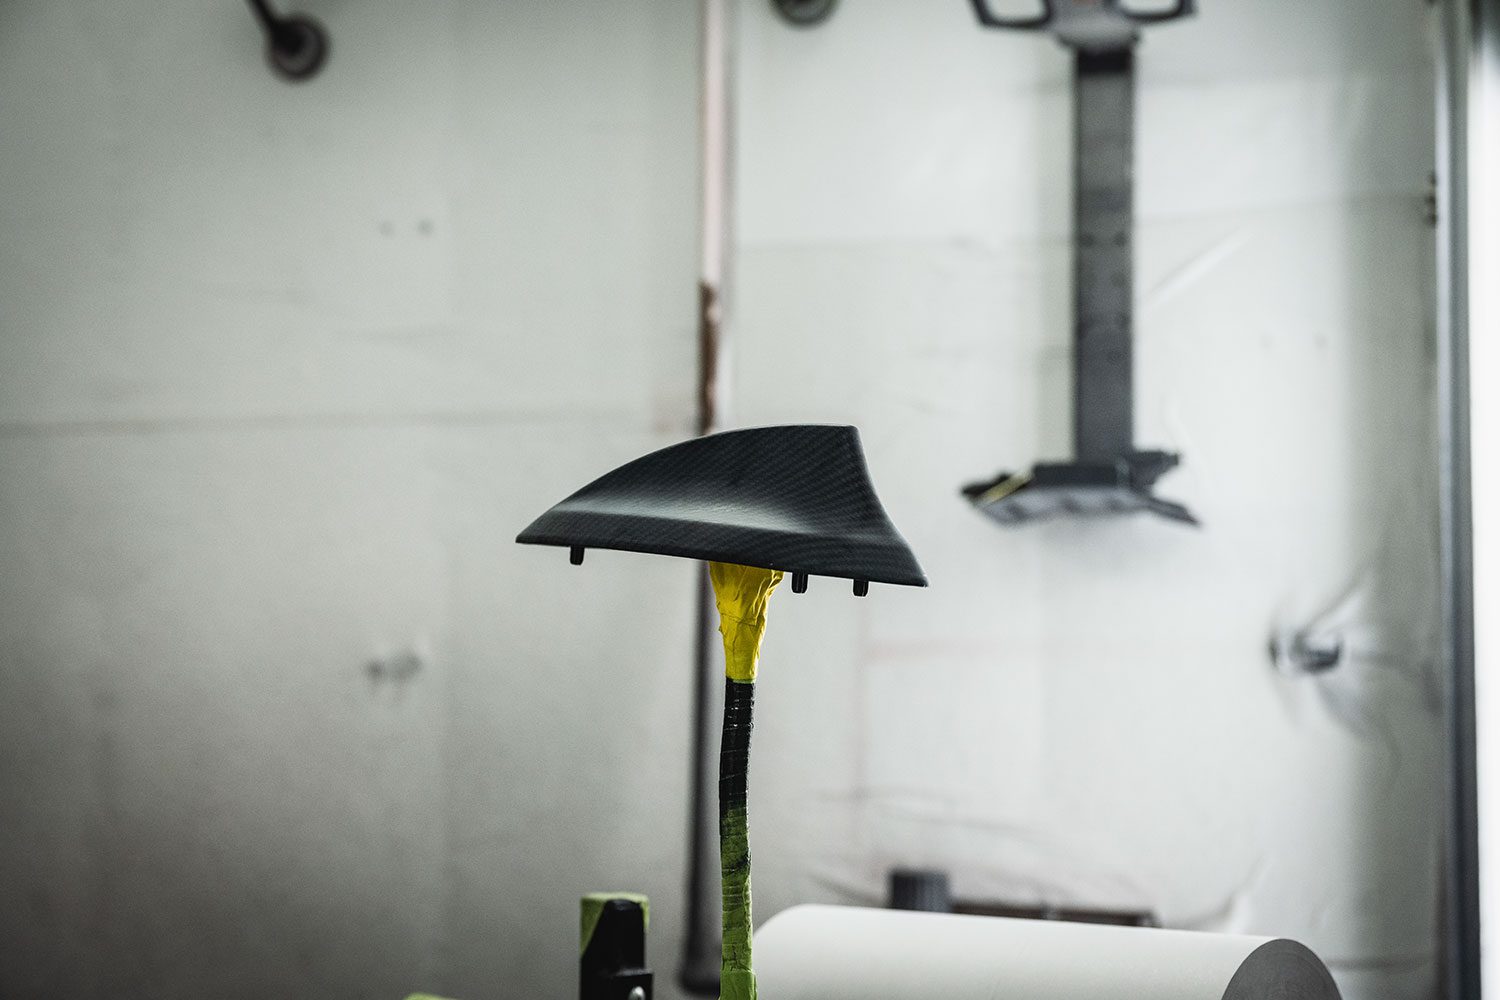
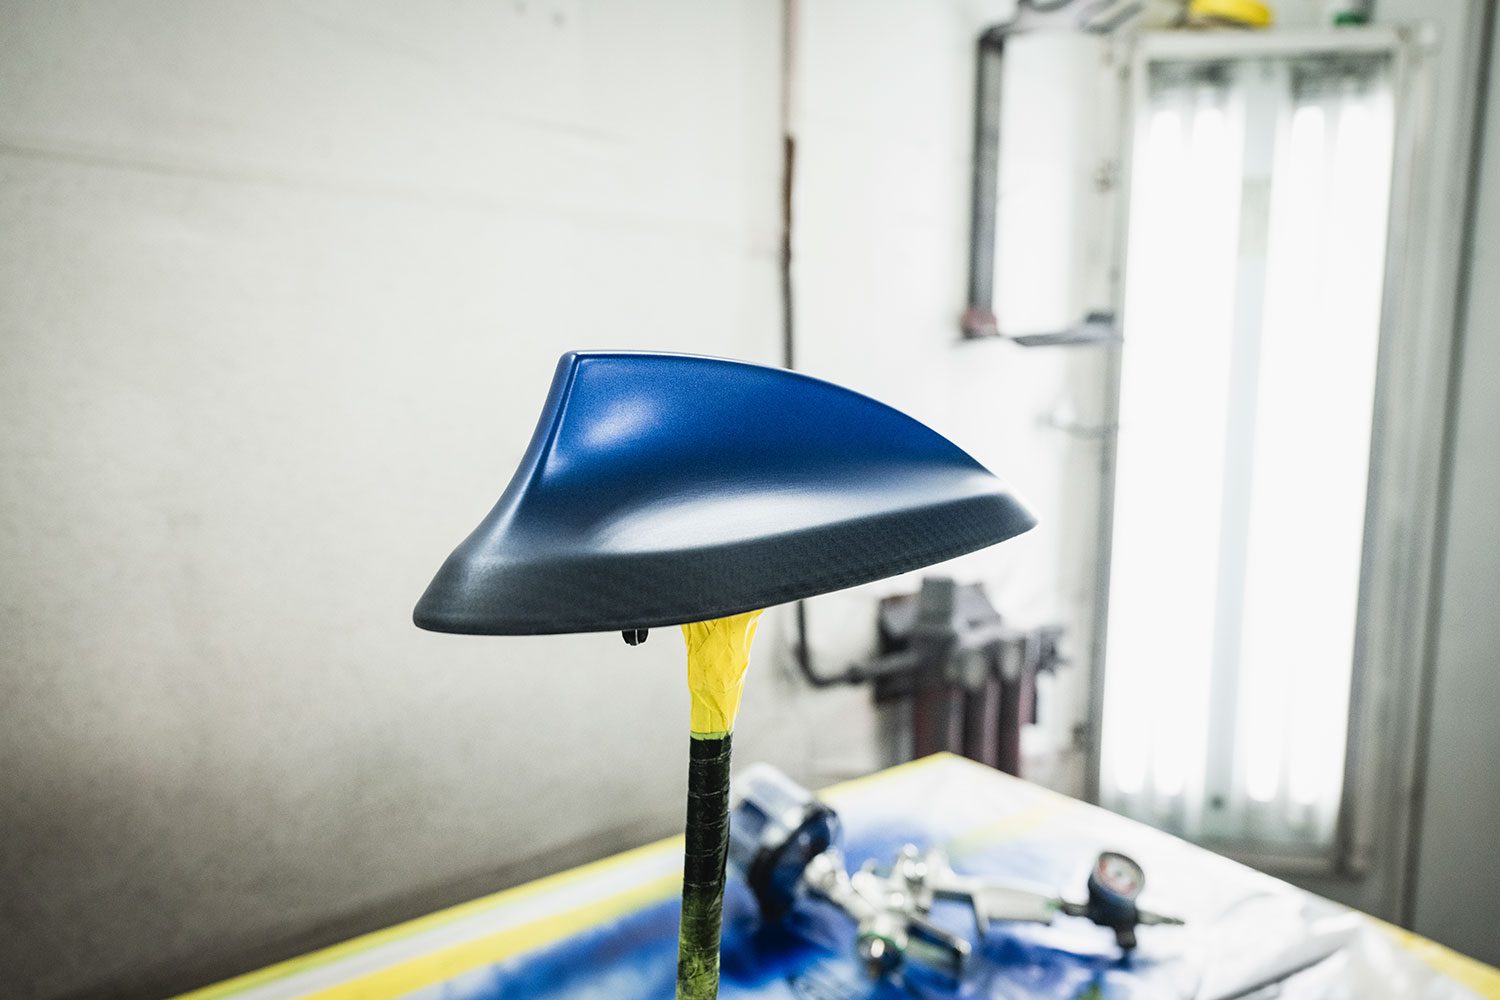
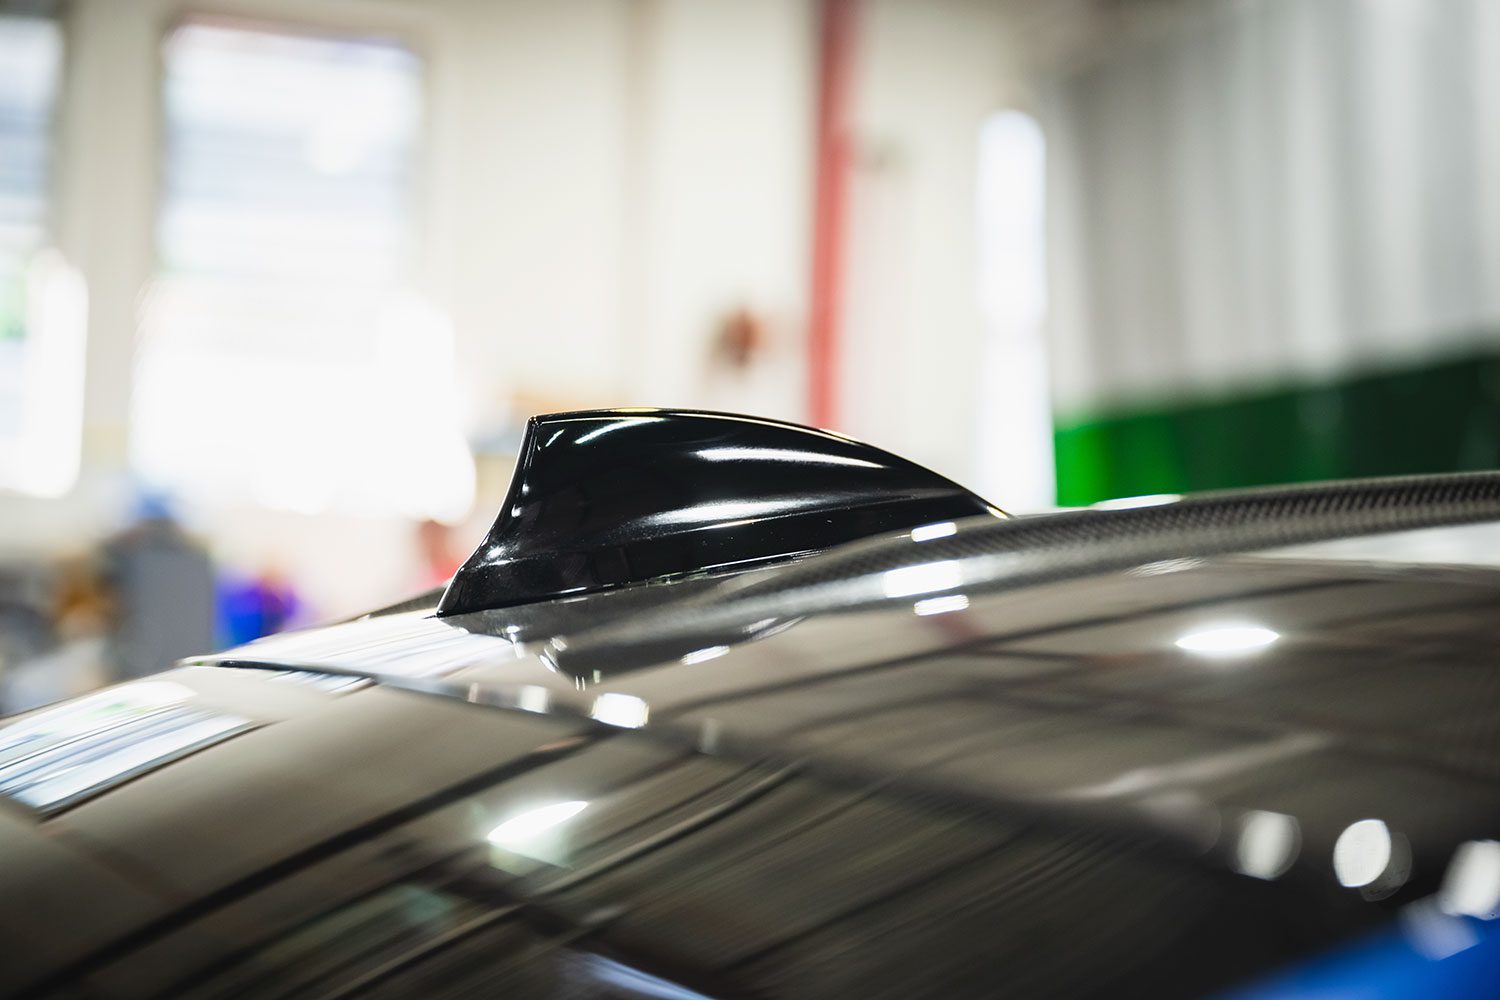
Another thing – the shark fin on the roof top. In my quest to kill all the gloss black shadow line trim, that has stayed. It’s an afterthought on every car, though BMW does give it a sporty shape.
This M Performance Spoiler looks better on the M4.
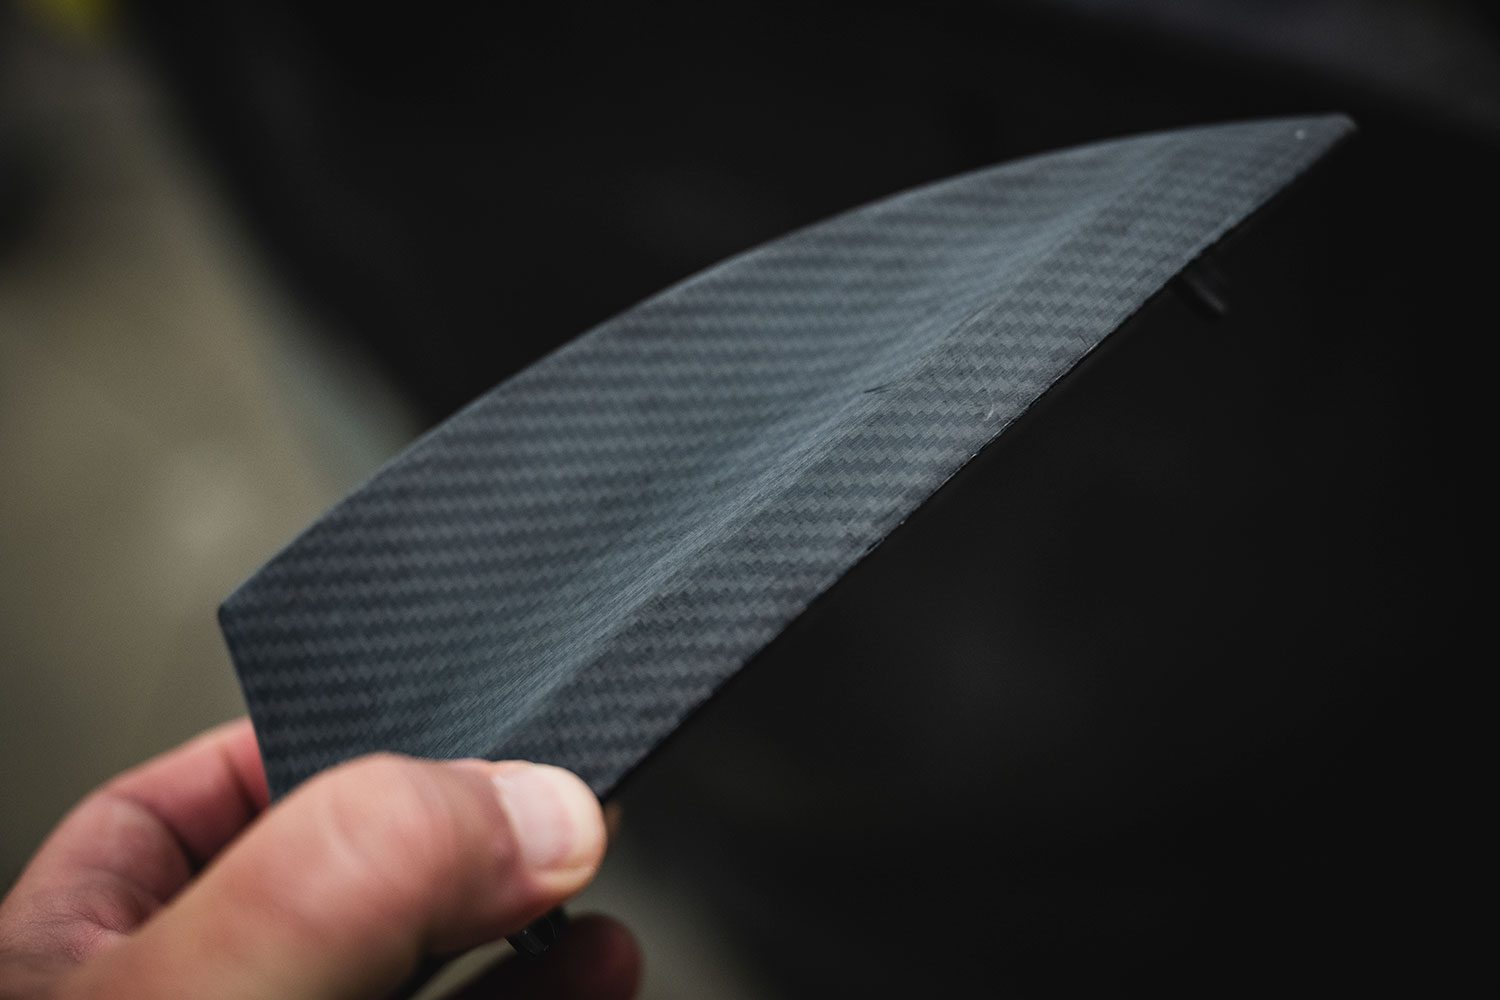
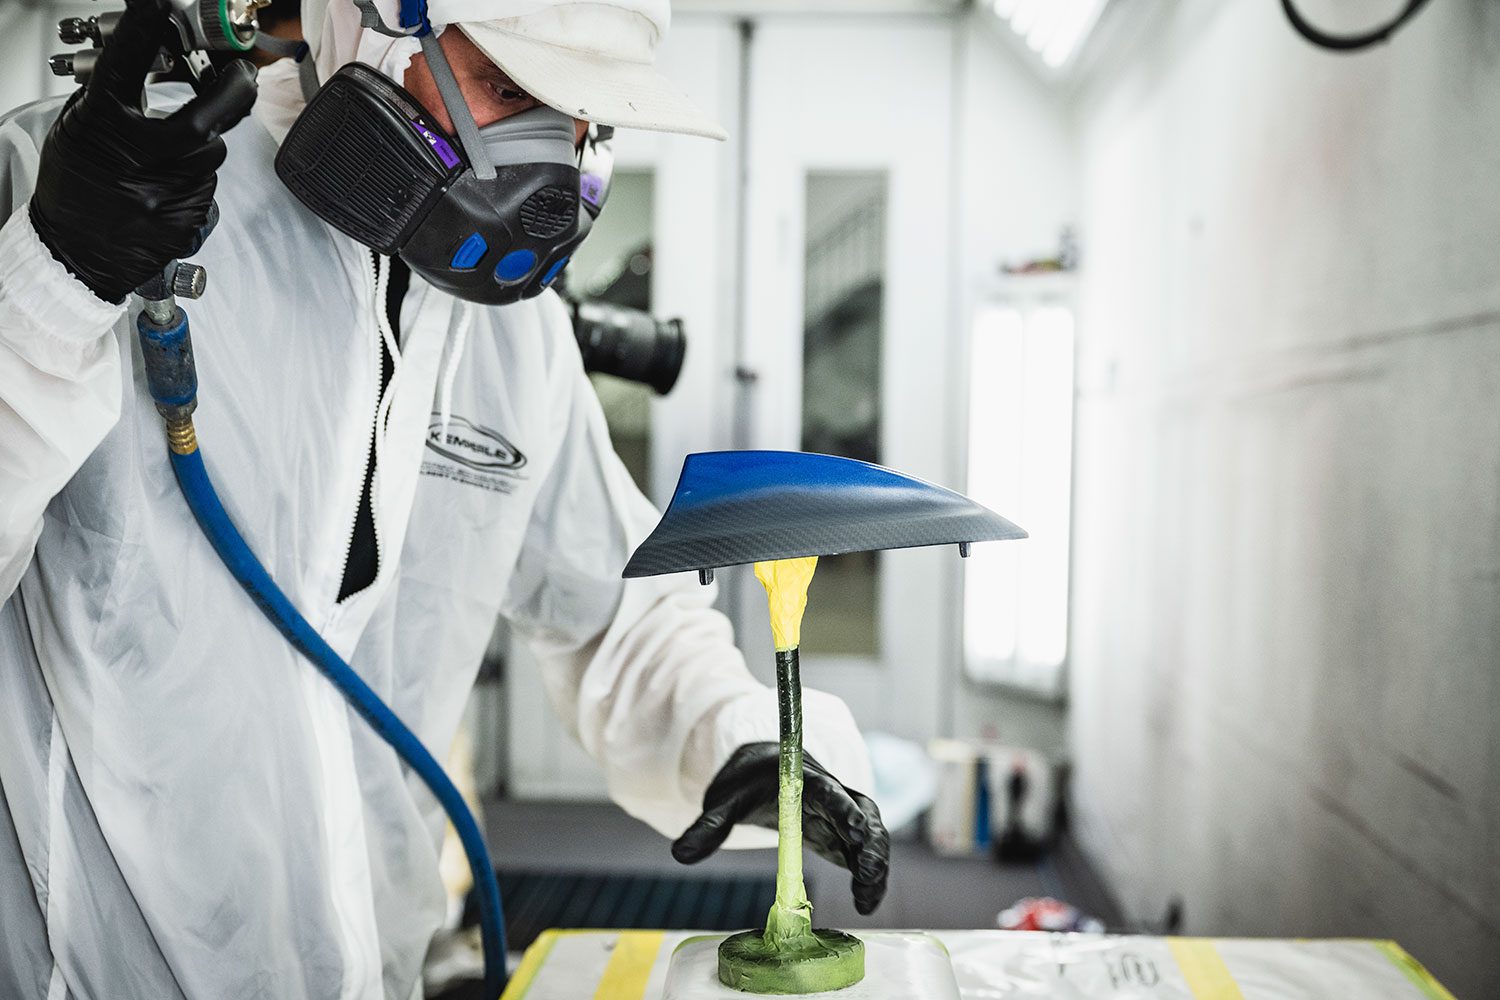
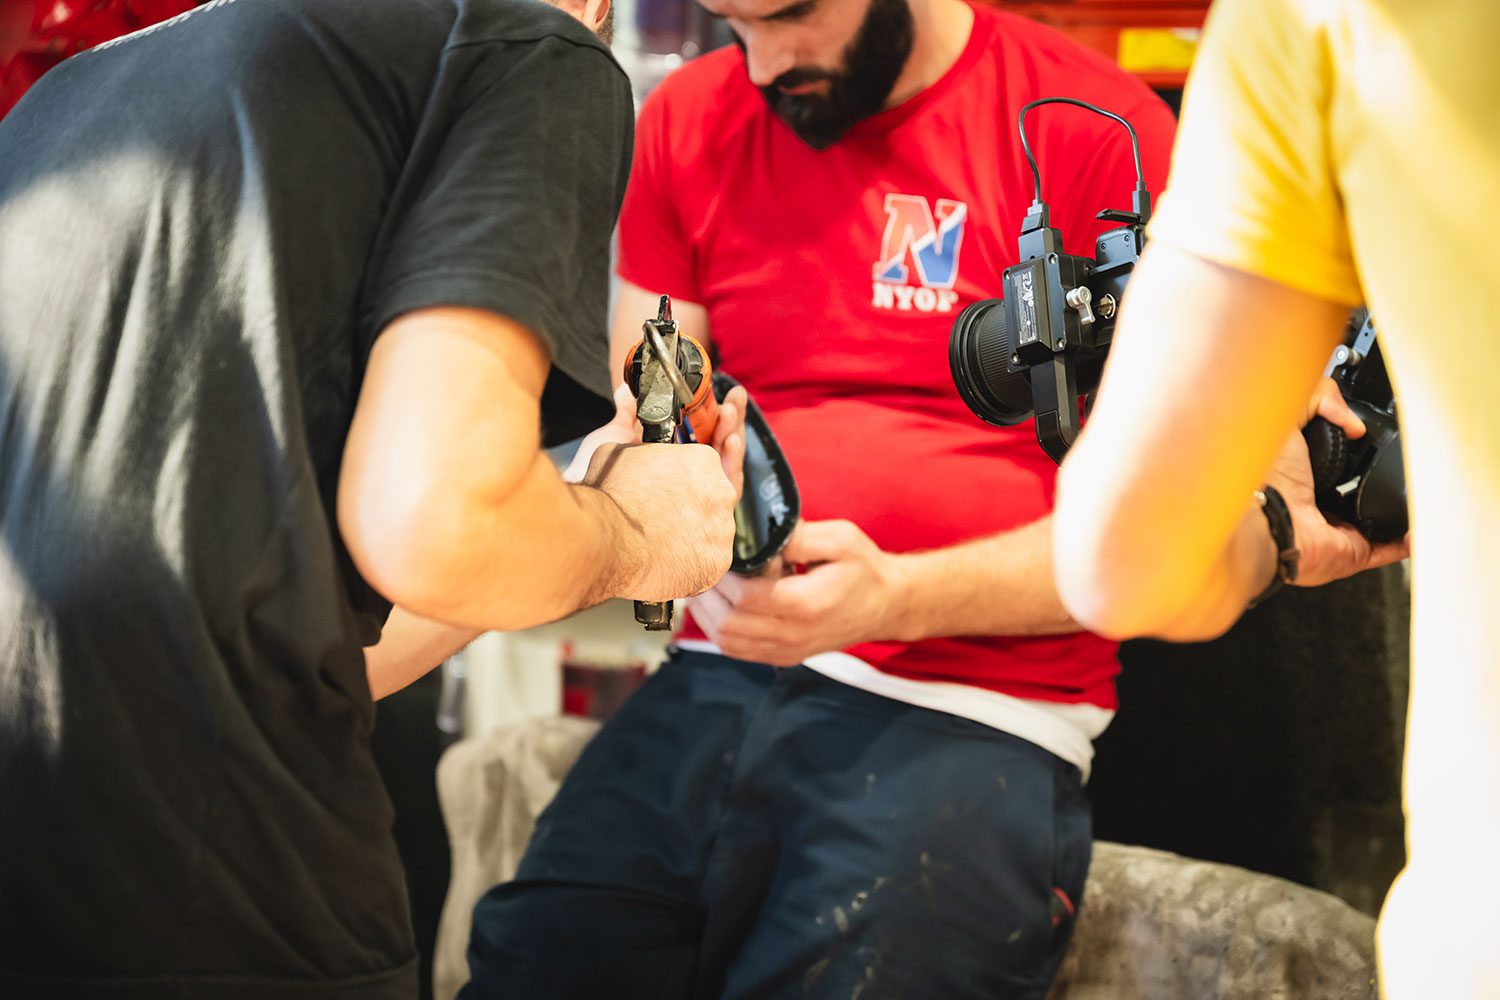
Carbon fiber does not transmit radio signals, so a new shark fin must be made of something called Aramid. It has a similar pattern to carbon fiber and is used on things like bullet proof vests and boat hulls. I purchased a genuine M Performance one – I wanted to be sure it worked.
Making a project out of it
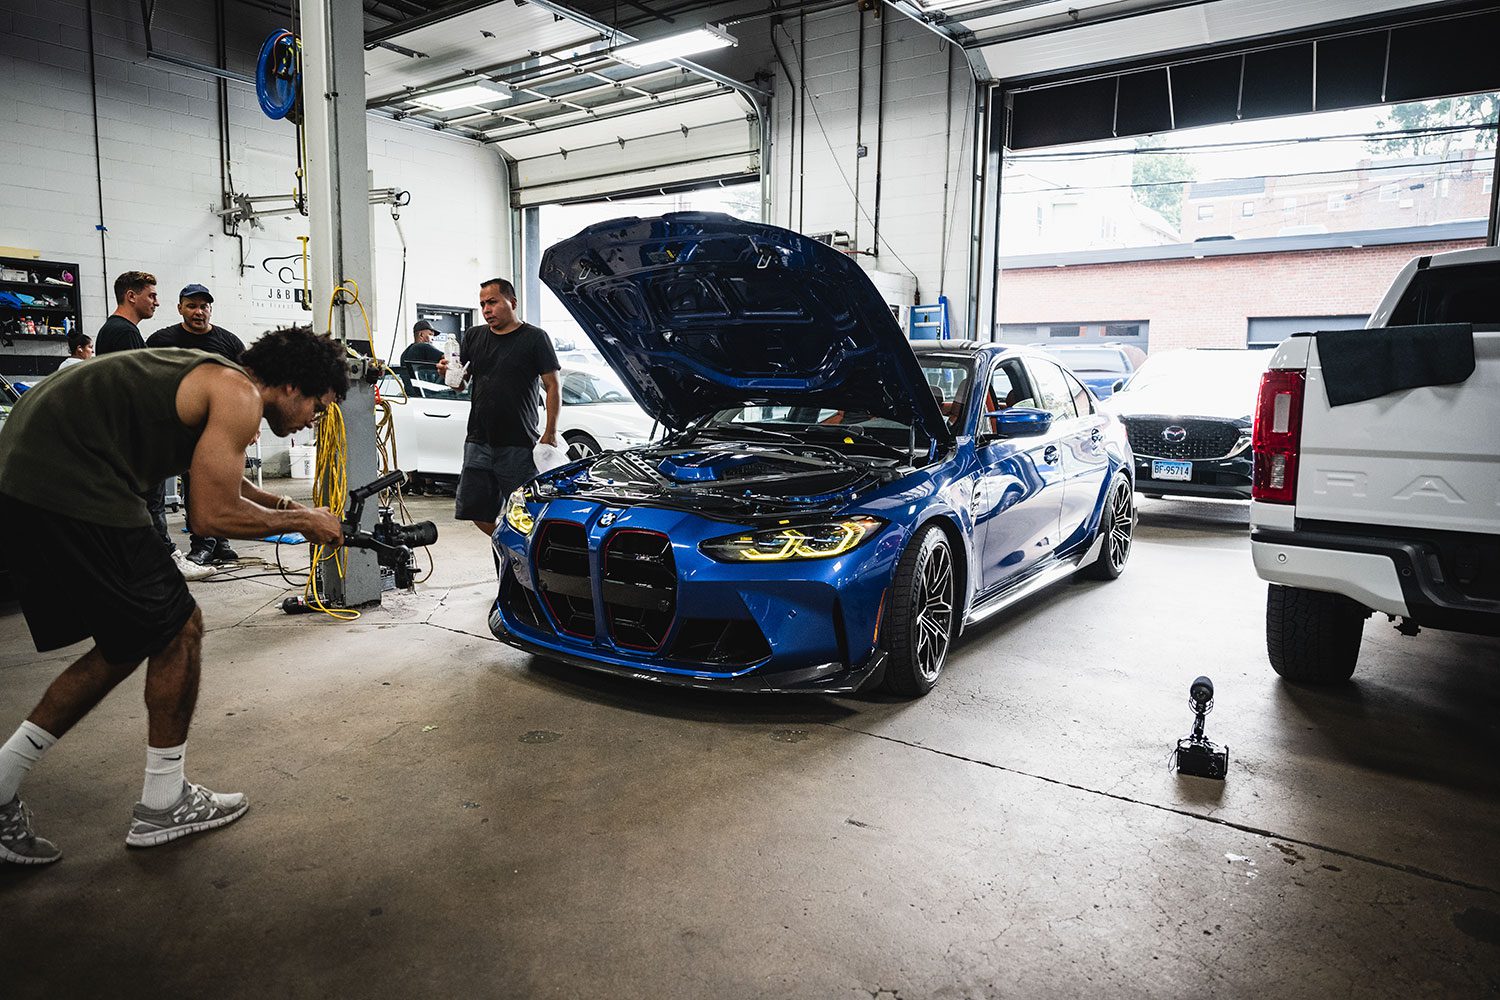
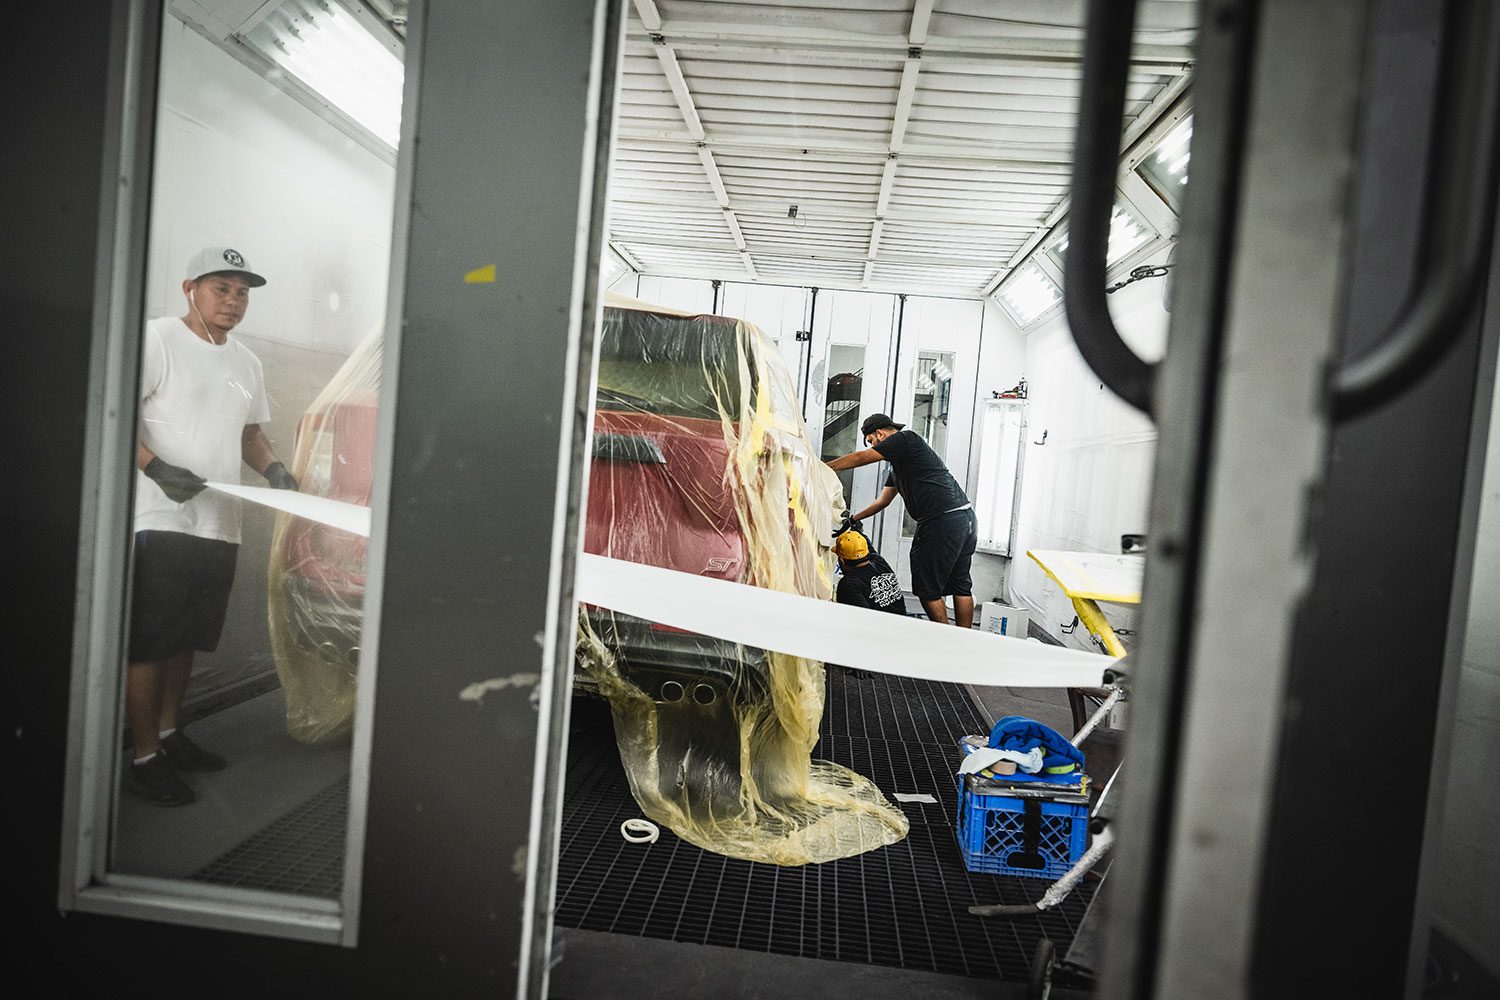
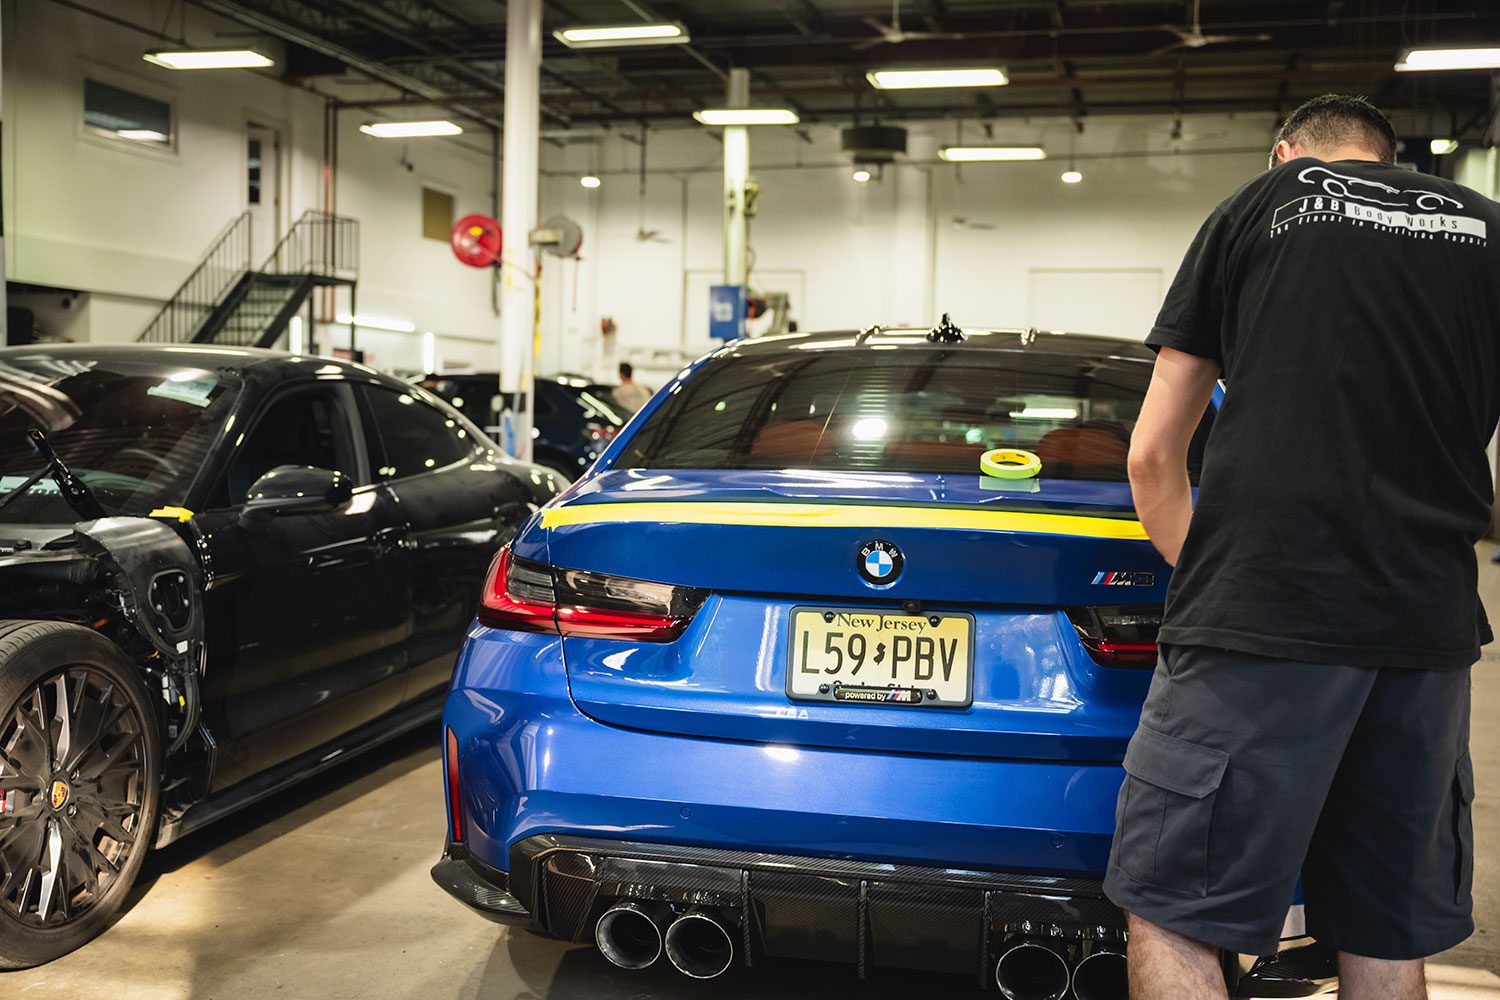
The car inside J&B’s shop.
I had thought of doing a gradient paint application last year, but wasn’t sure what shop could accomplish such a challenging task. The lip and fin seemed like perfect candidates.
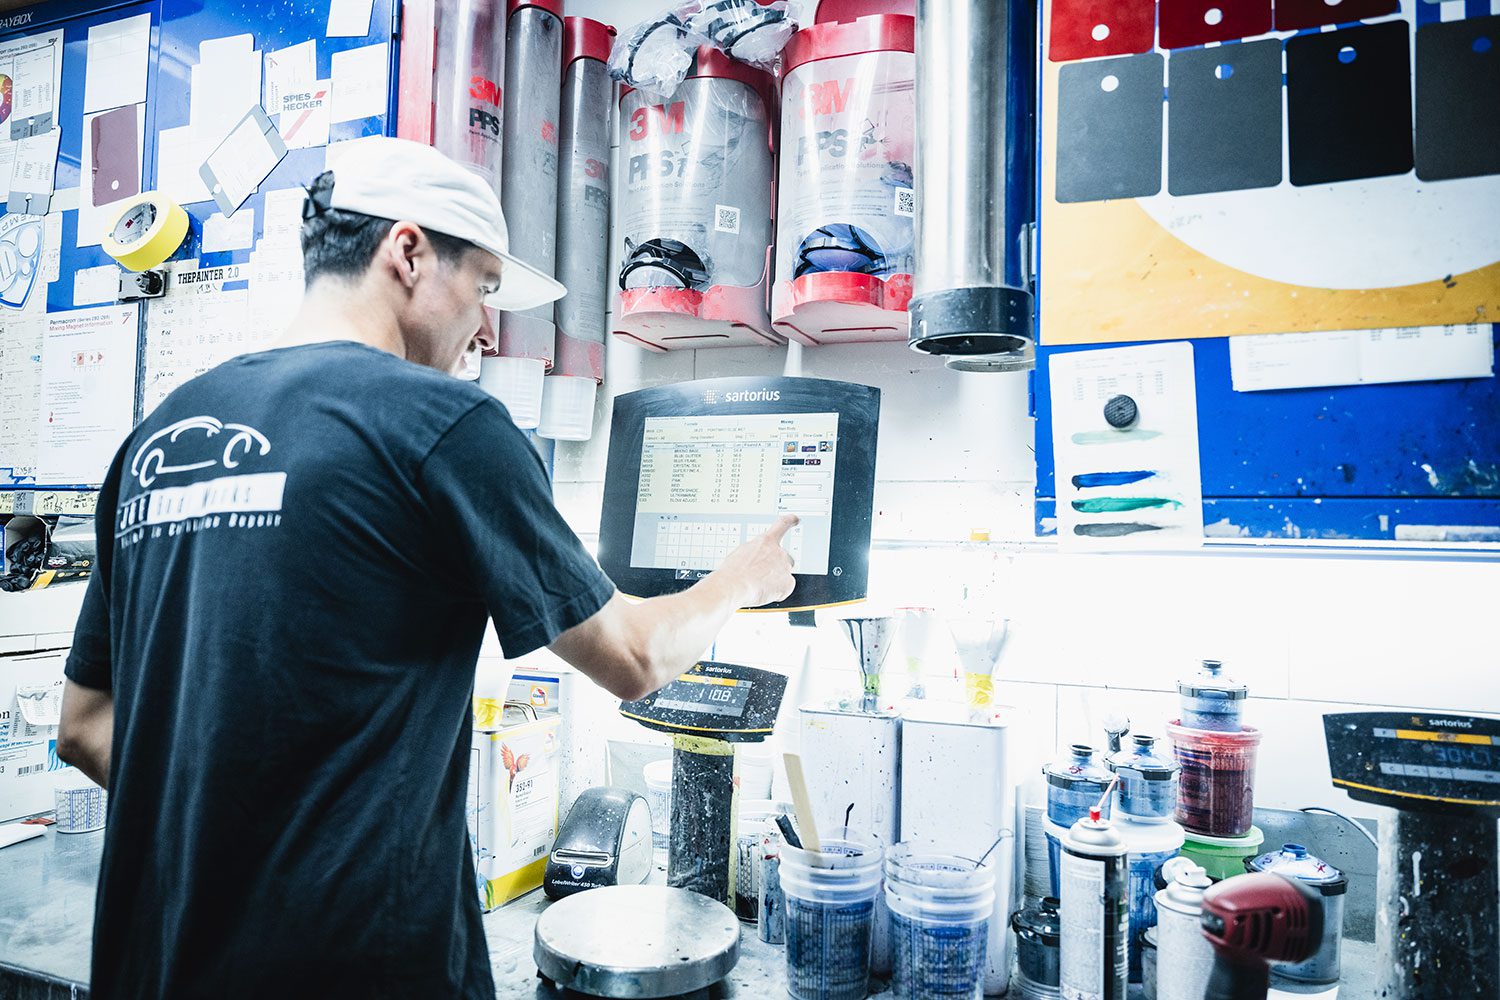
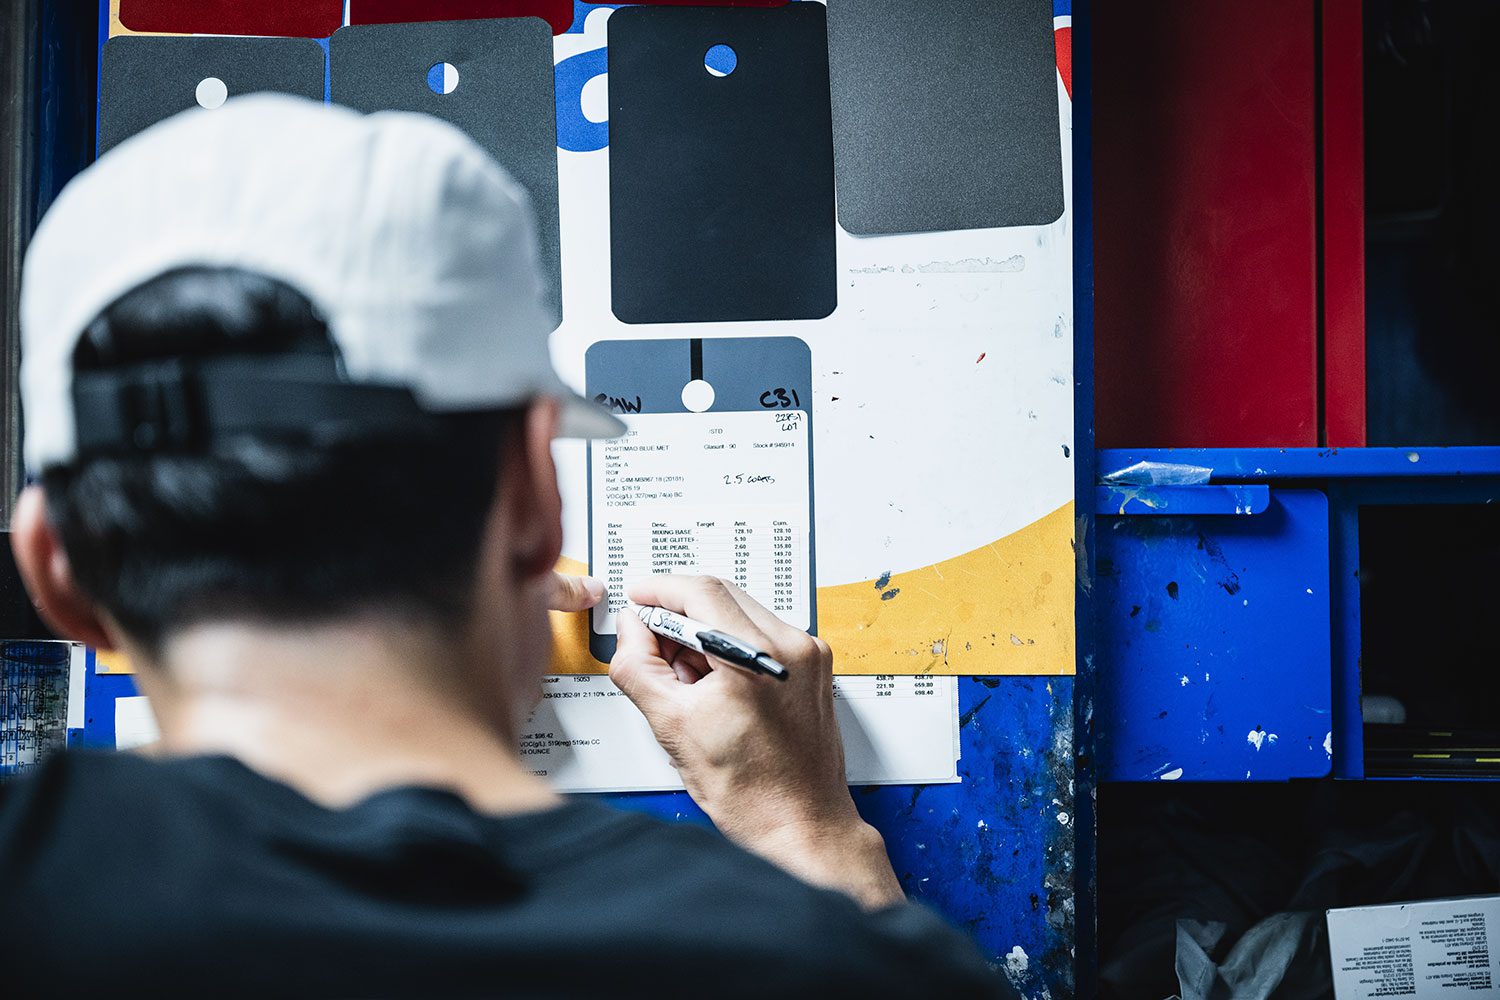
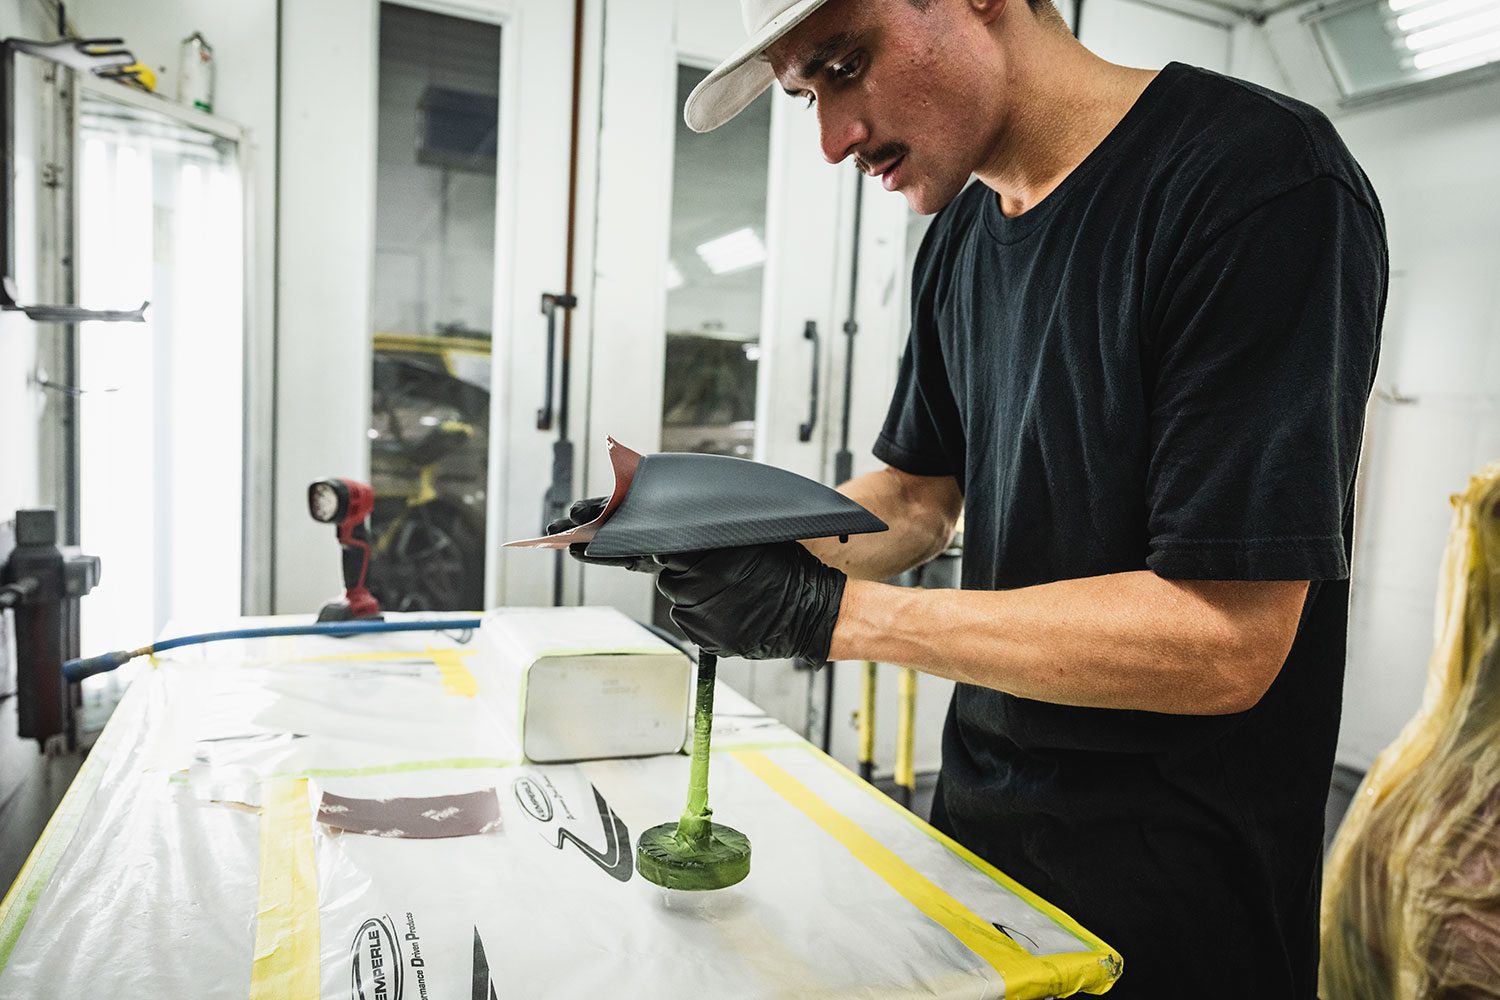
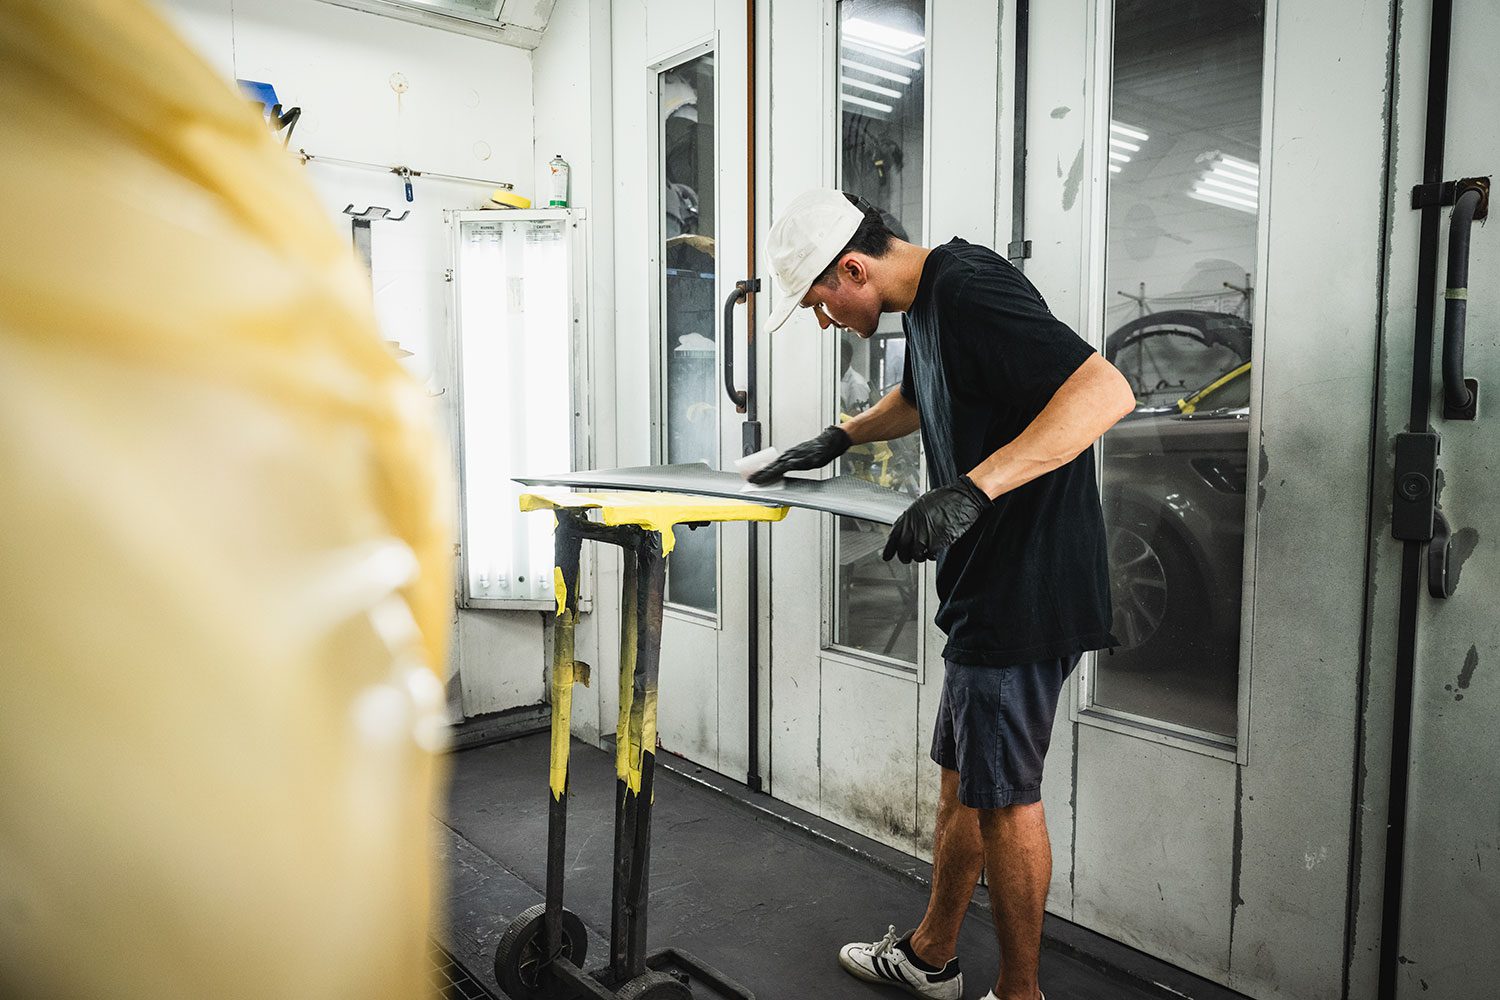
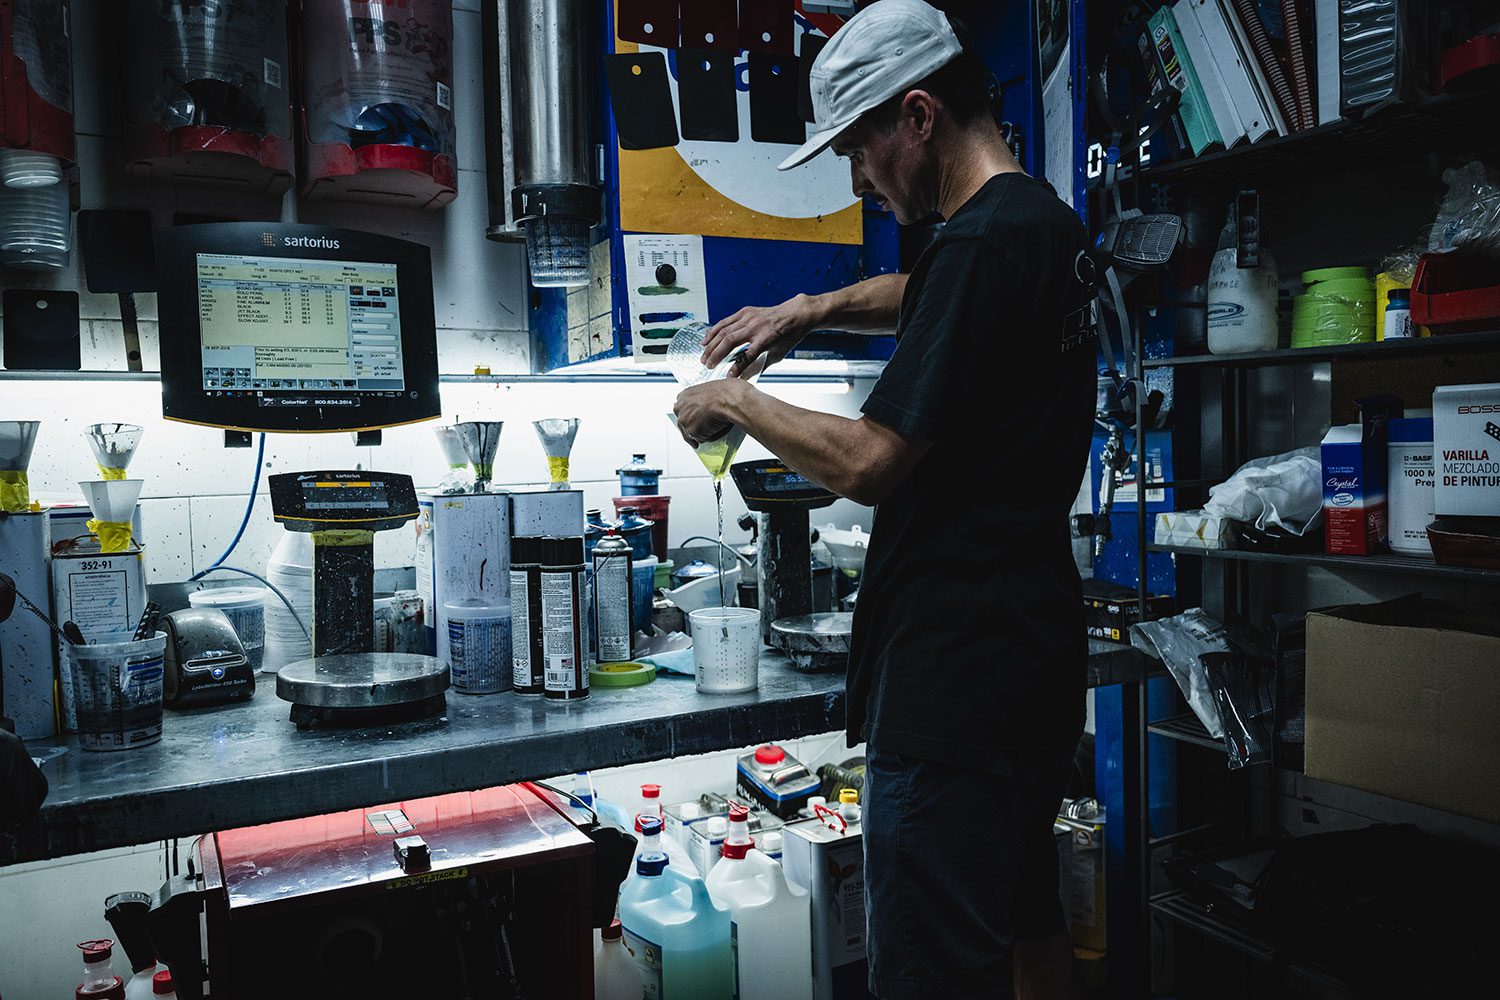
Our journey begins with John Quay, a painter at J&B. John is a 997 911 and BMW owner, so I immediately felt right at home. Prepare yourself, we’re going to nerd out about paint.
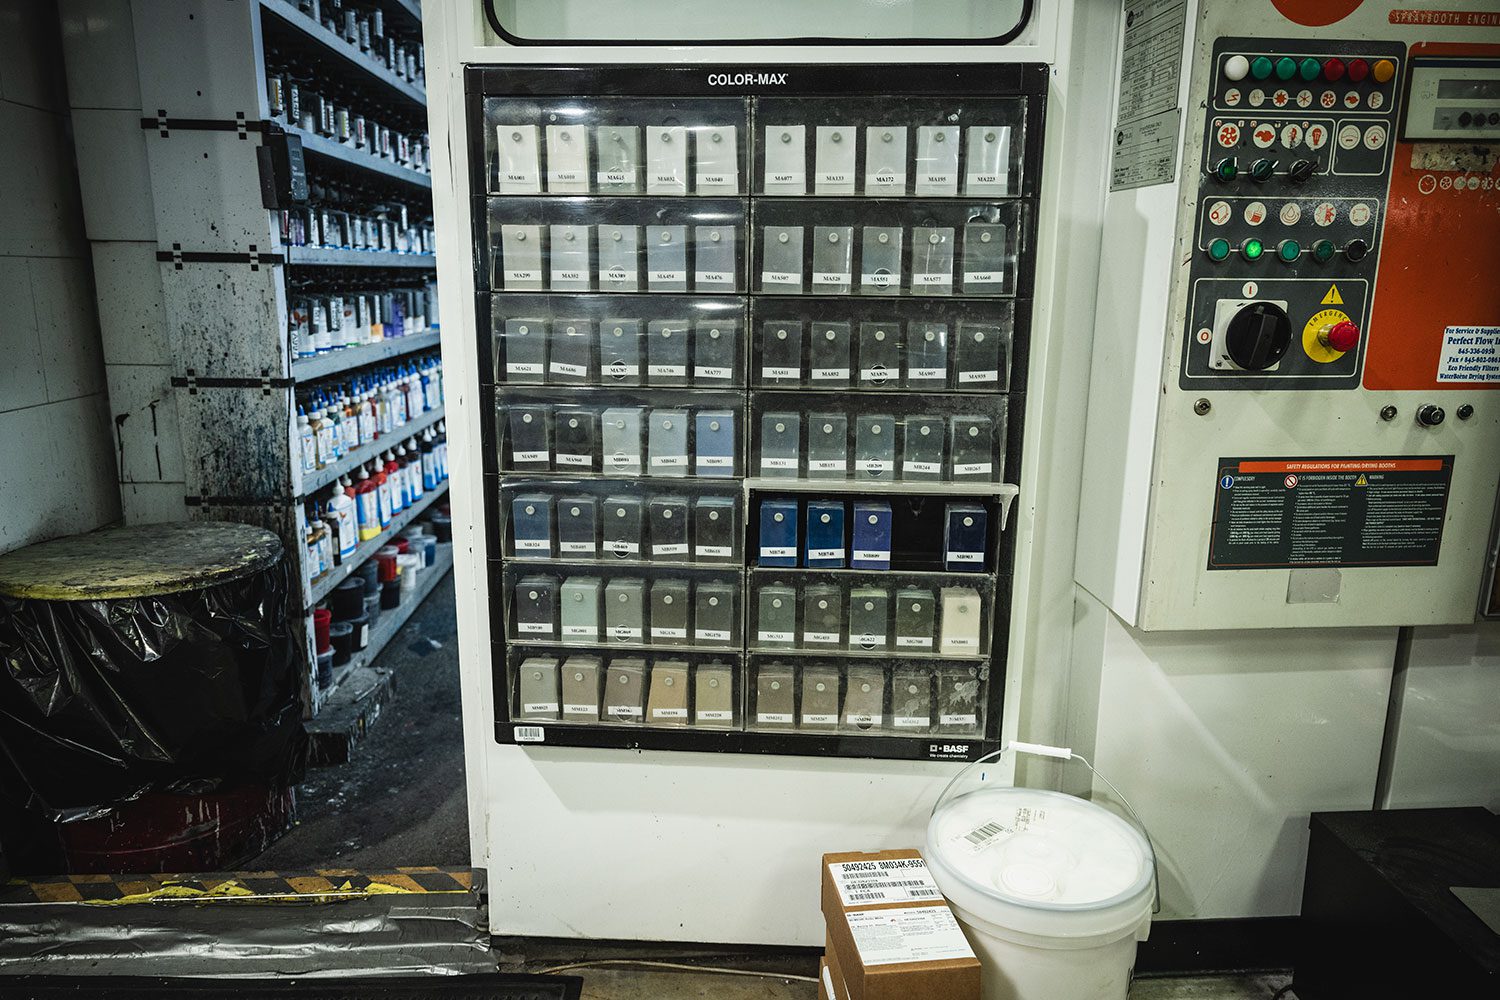
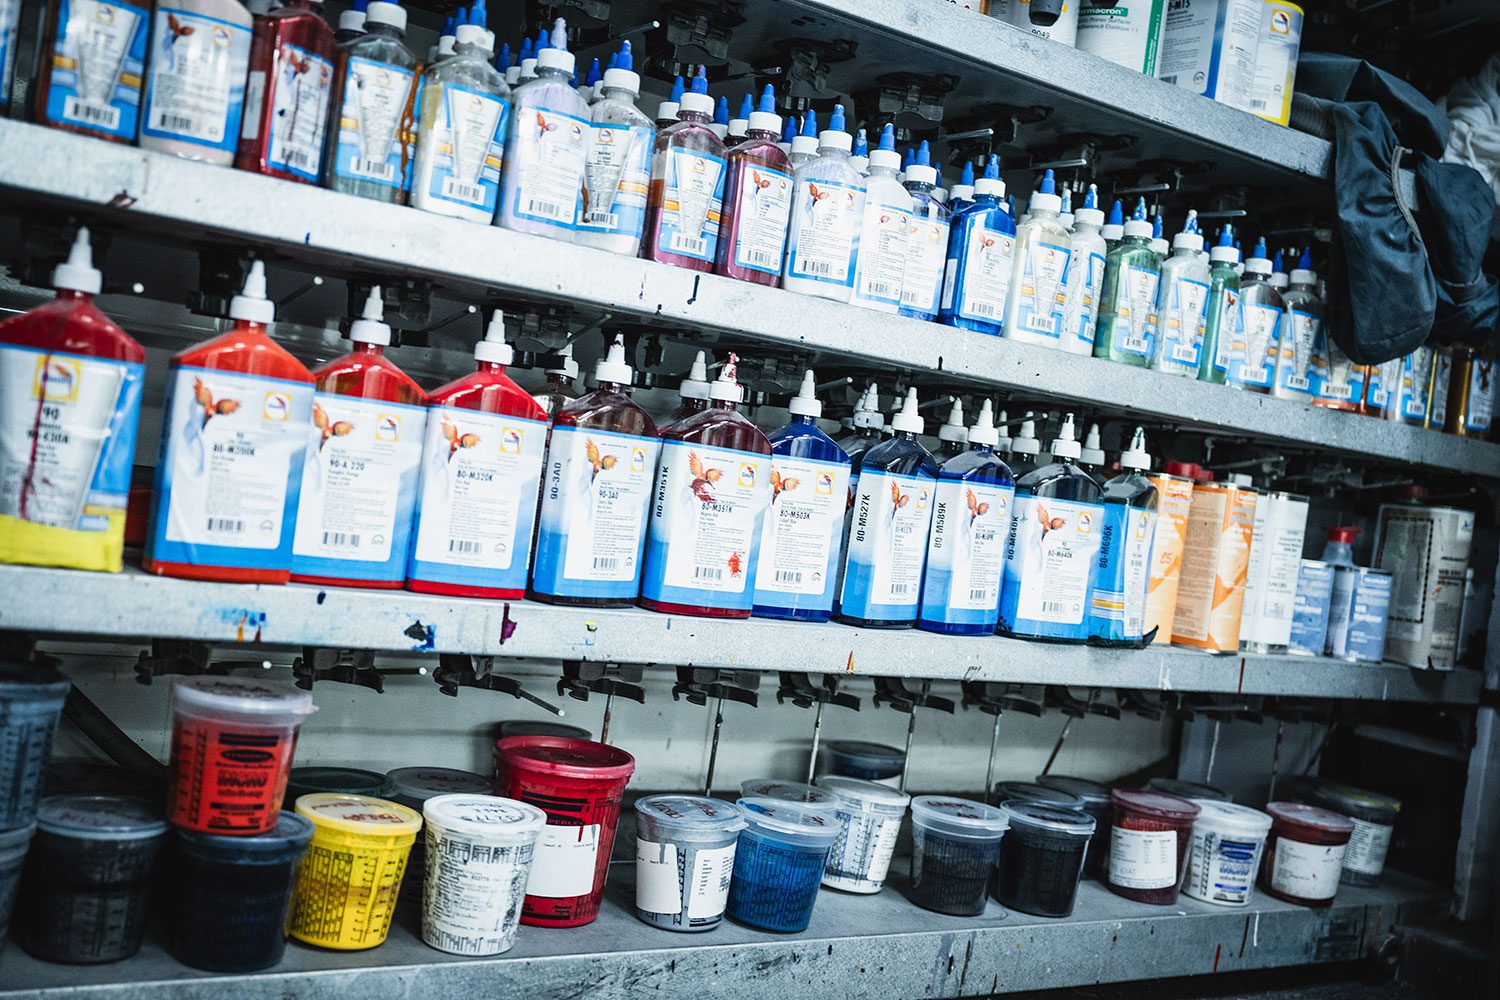
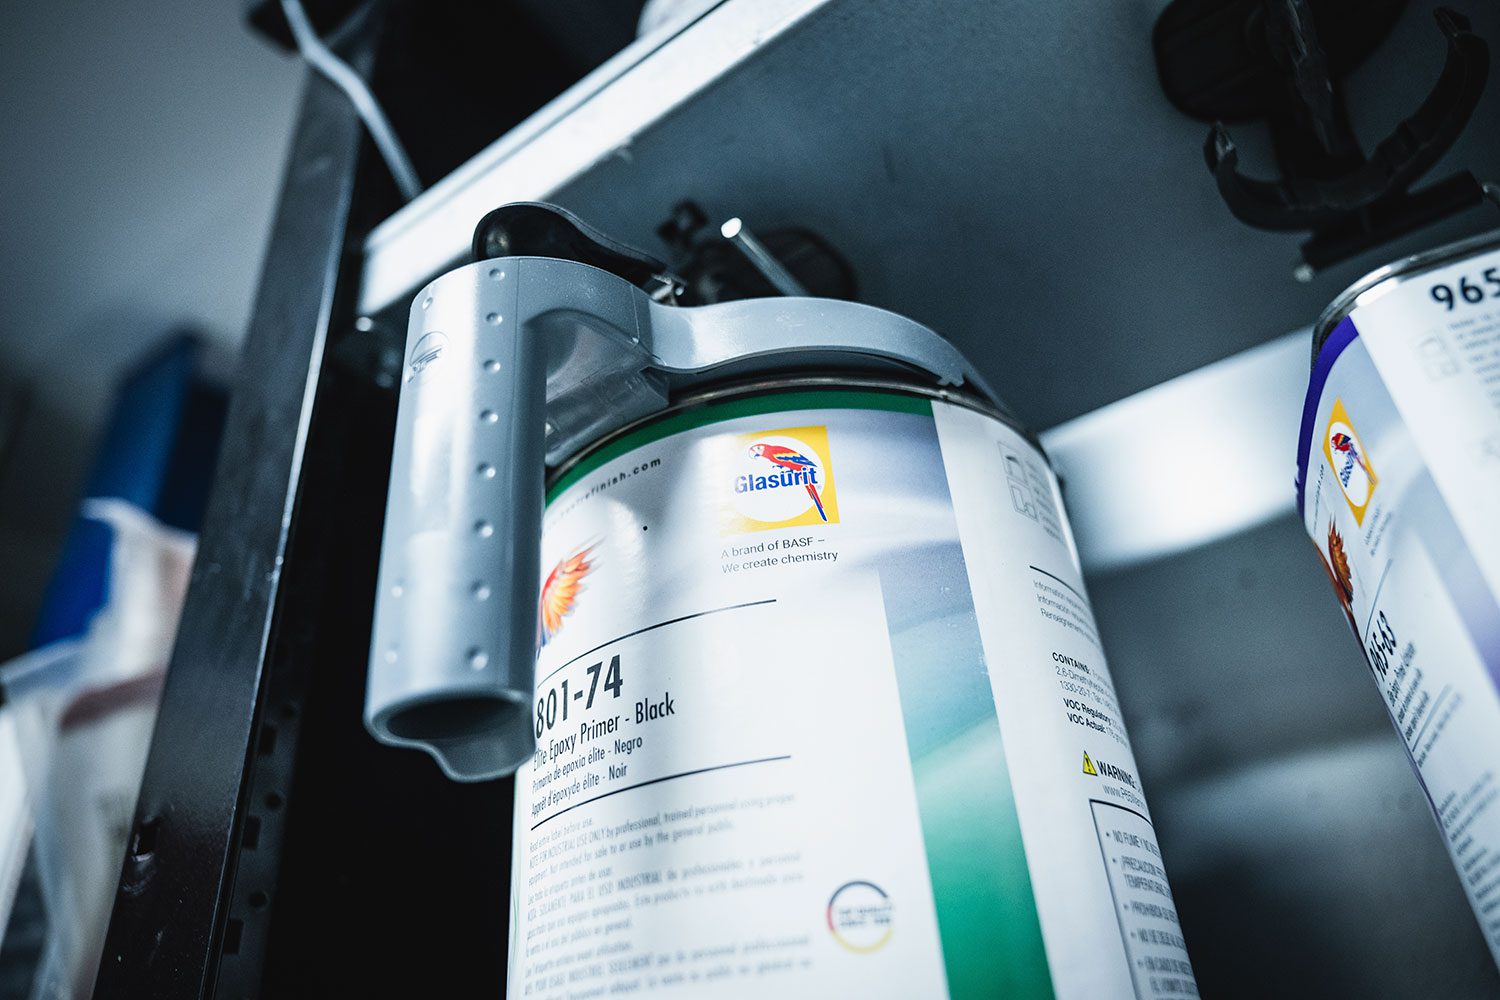
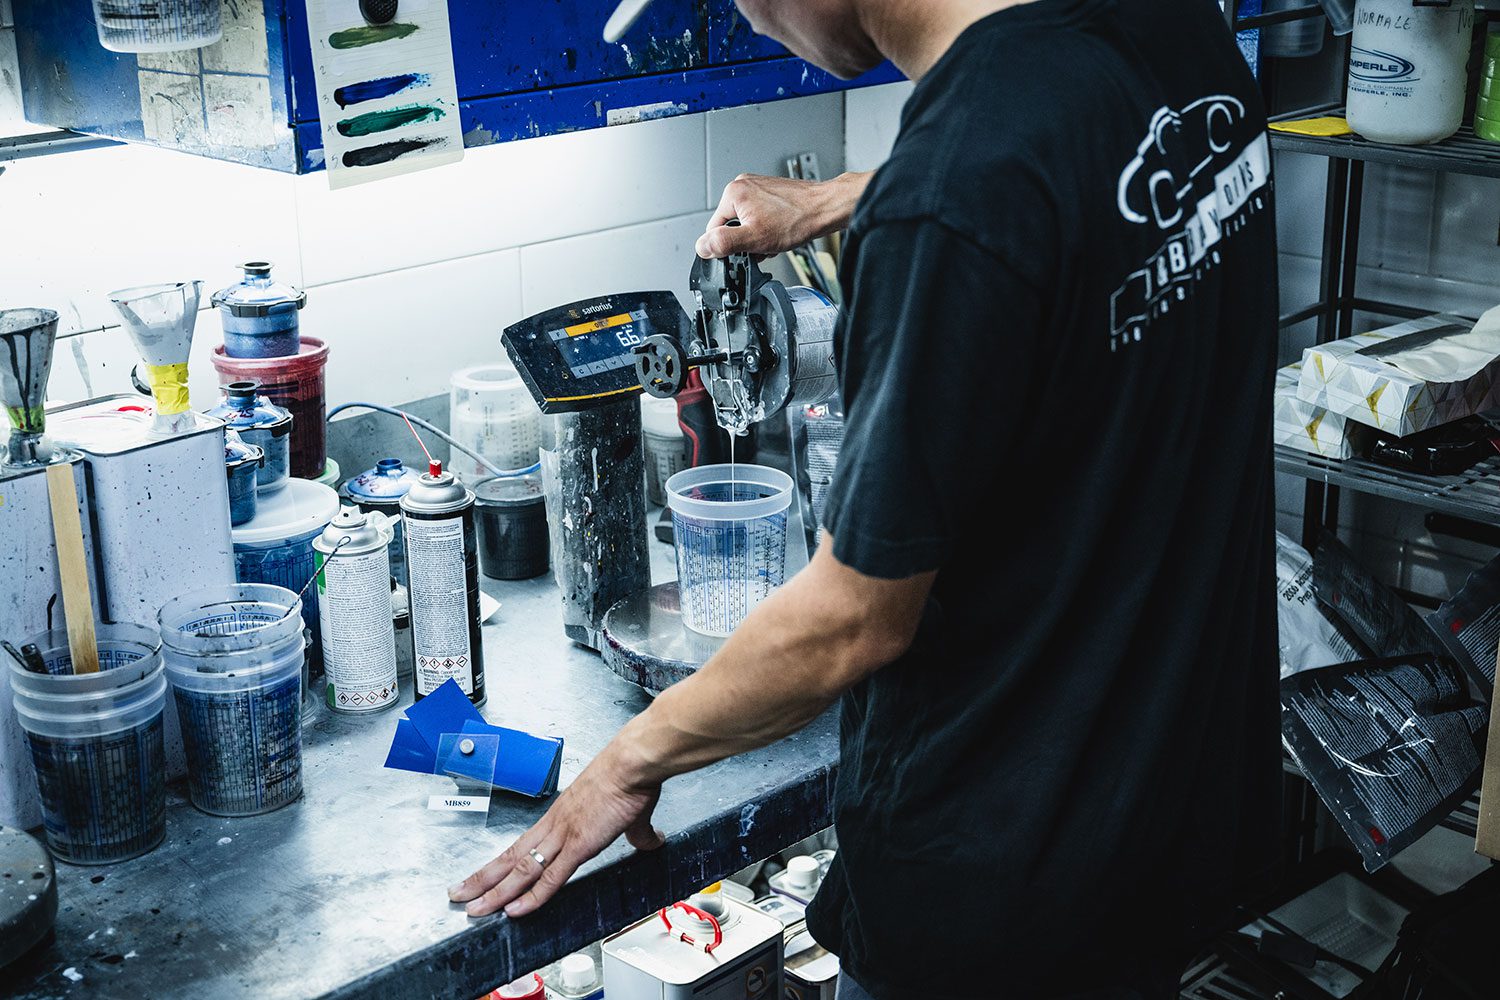
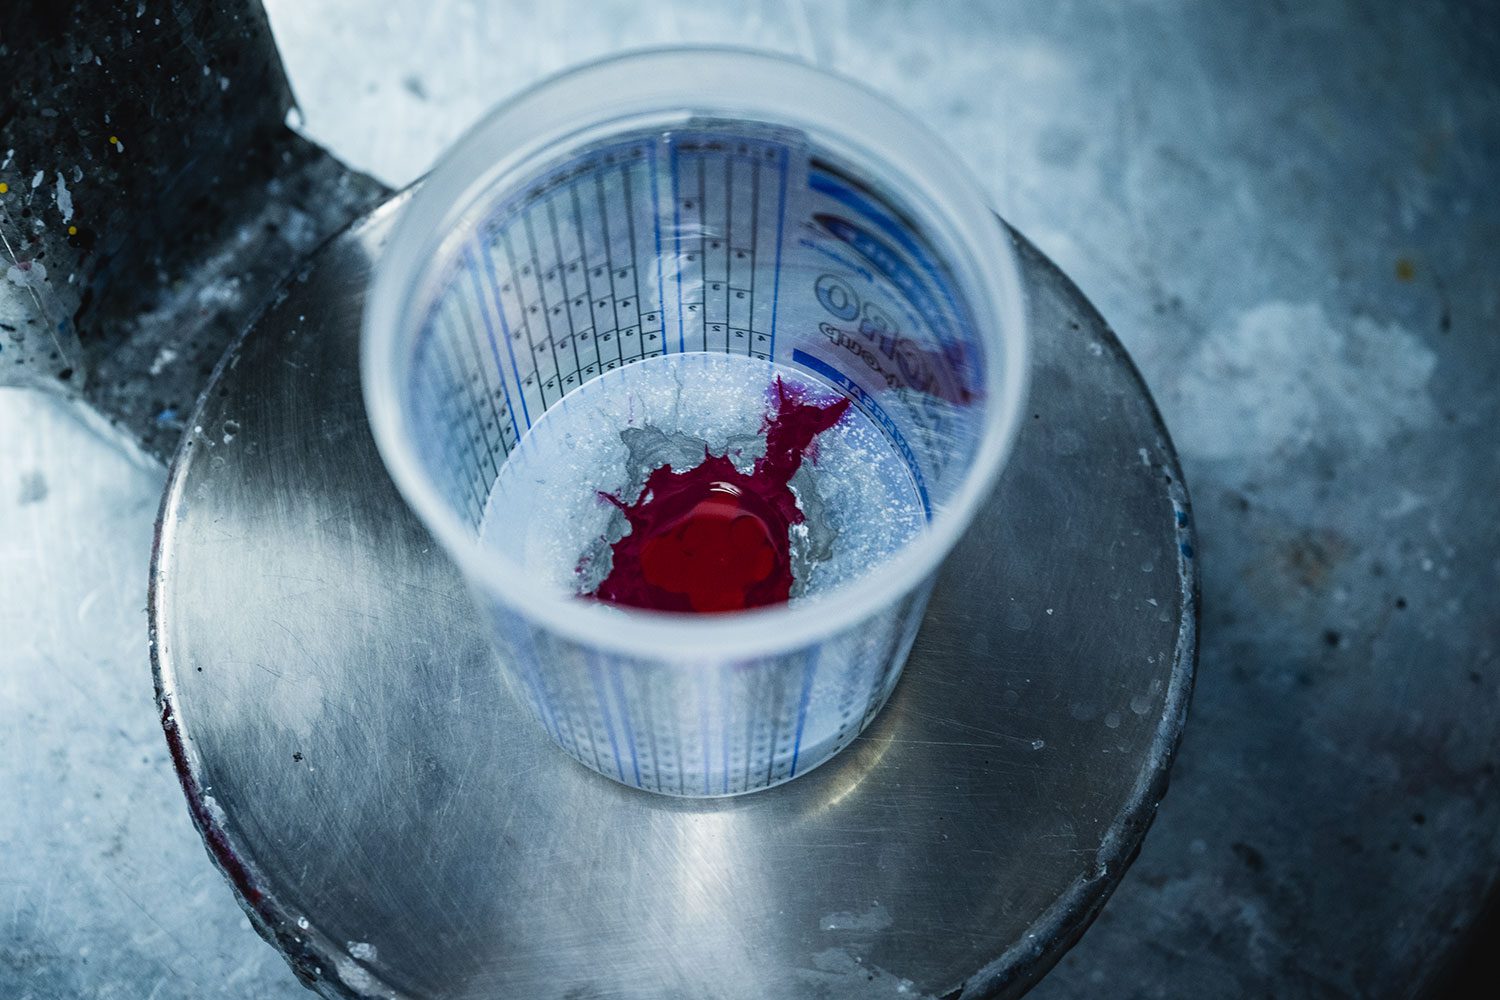
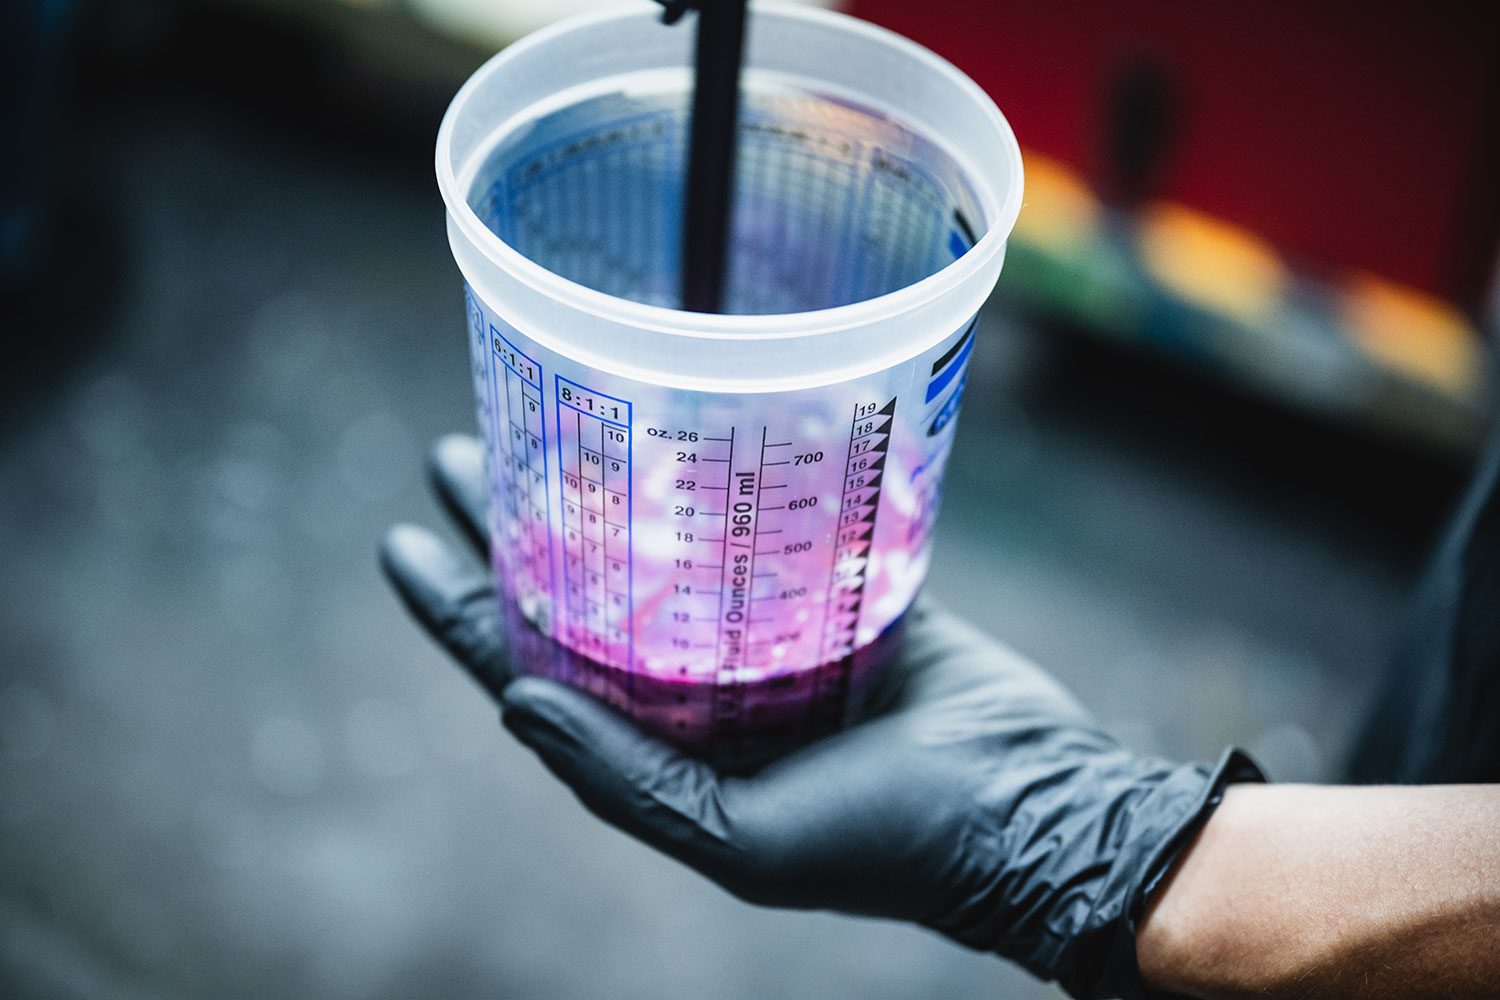
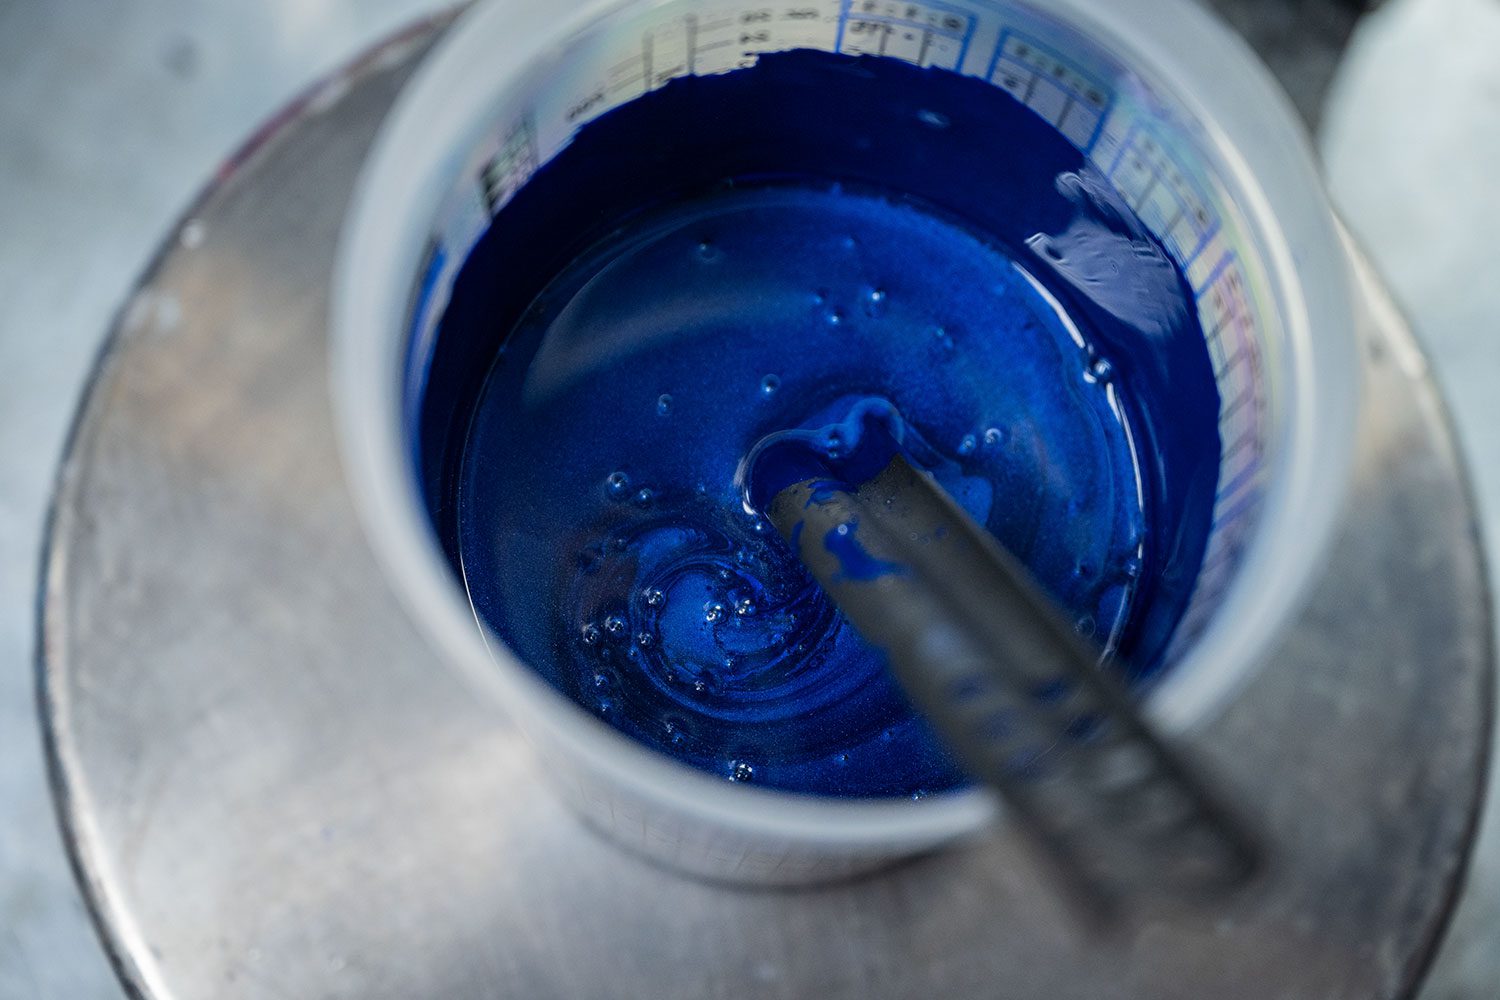
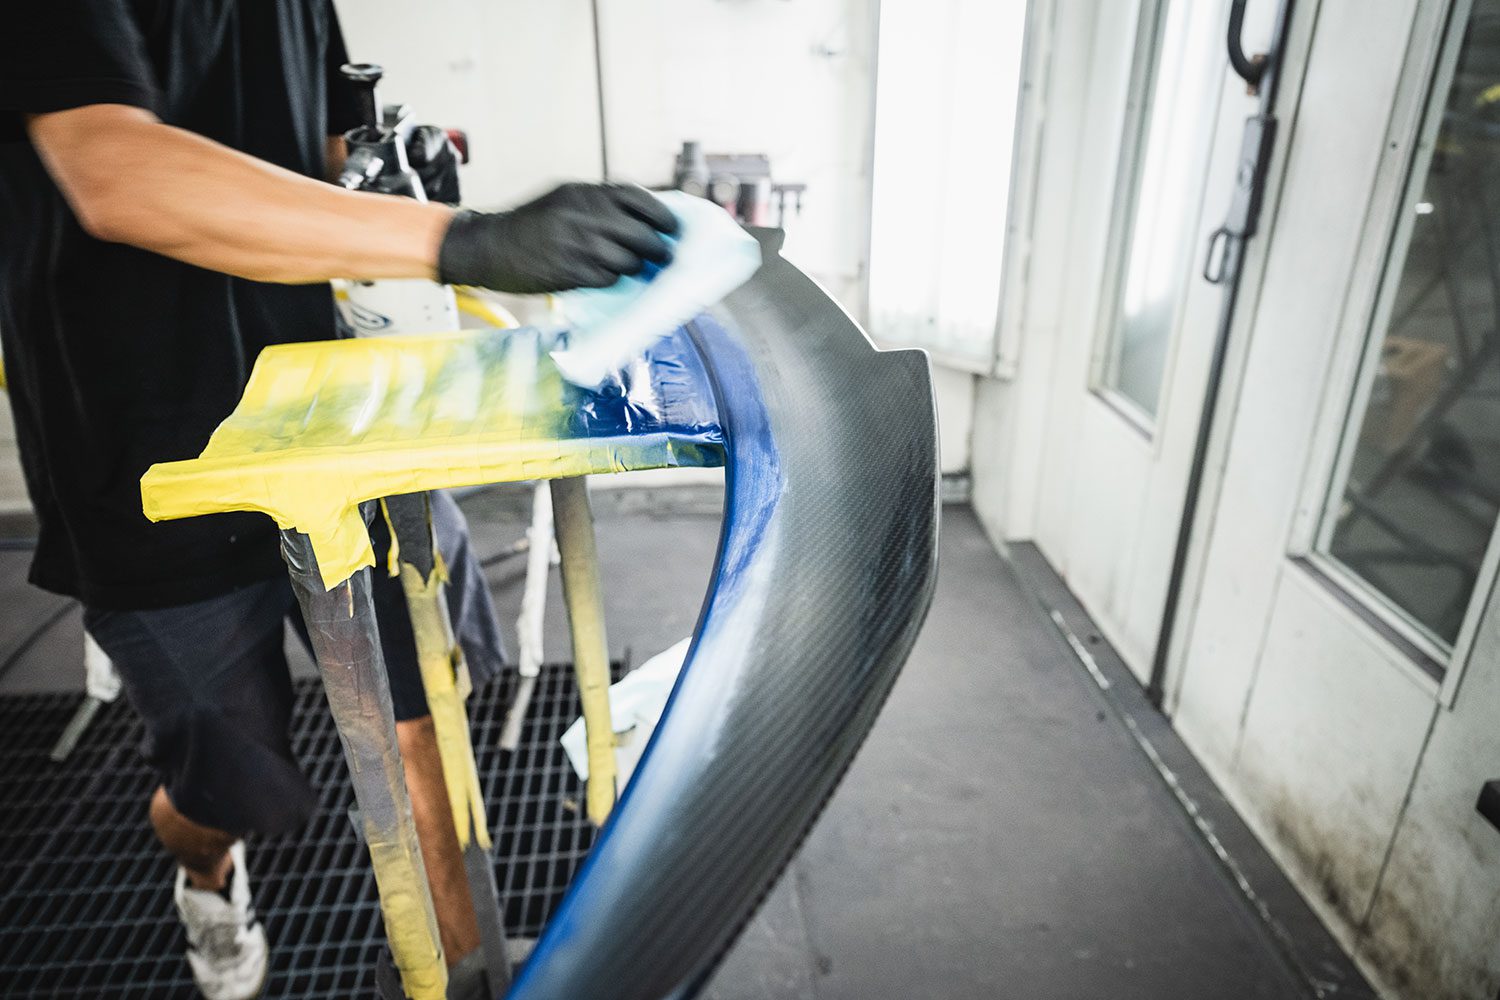
The lip and fin were prepped by sanding off the clear coat to allow the surface to “grip” the primer and paint better. We’ll return the gloss later on.There are actually two different versions of BMW Portimao Blue, usually depending on the factory. The other shades you see are from other brands, proving how close some colors are.This cabinet contains many swatch books. It’s more complex than it looks too – Rolls Royce can use the same paint color as a BMW, but call it a different name.Inside the prep area, there are hundreds of bottles to mix any color you can think of.Both BMW and Porsche spec Glasurit, a German paint brand made by BASF.The computer explains the exact measurements needed for any paint code.John will make a paint card that he can reference should he need to paint C31 again. A separate mixture is needed for both small and large paint guns.The mixing begins. The scale is so accurate that even the wind from a fan throws it off.Unsurprisingly, there is a fair amount of red in the color to bring out purple hues.There it is. C31.The last step here is picking out the correct primer – there are varying shades from light to dark. In our case, a darker primer is called for.
Checking it twice
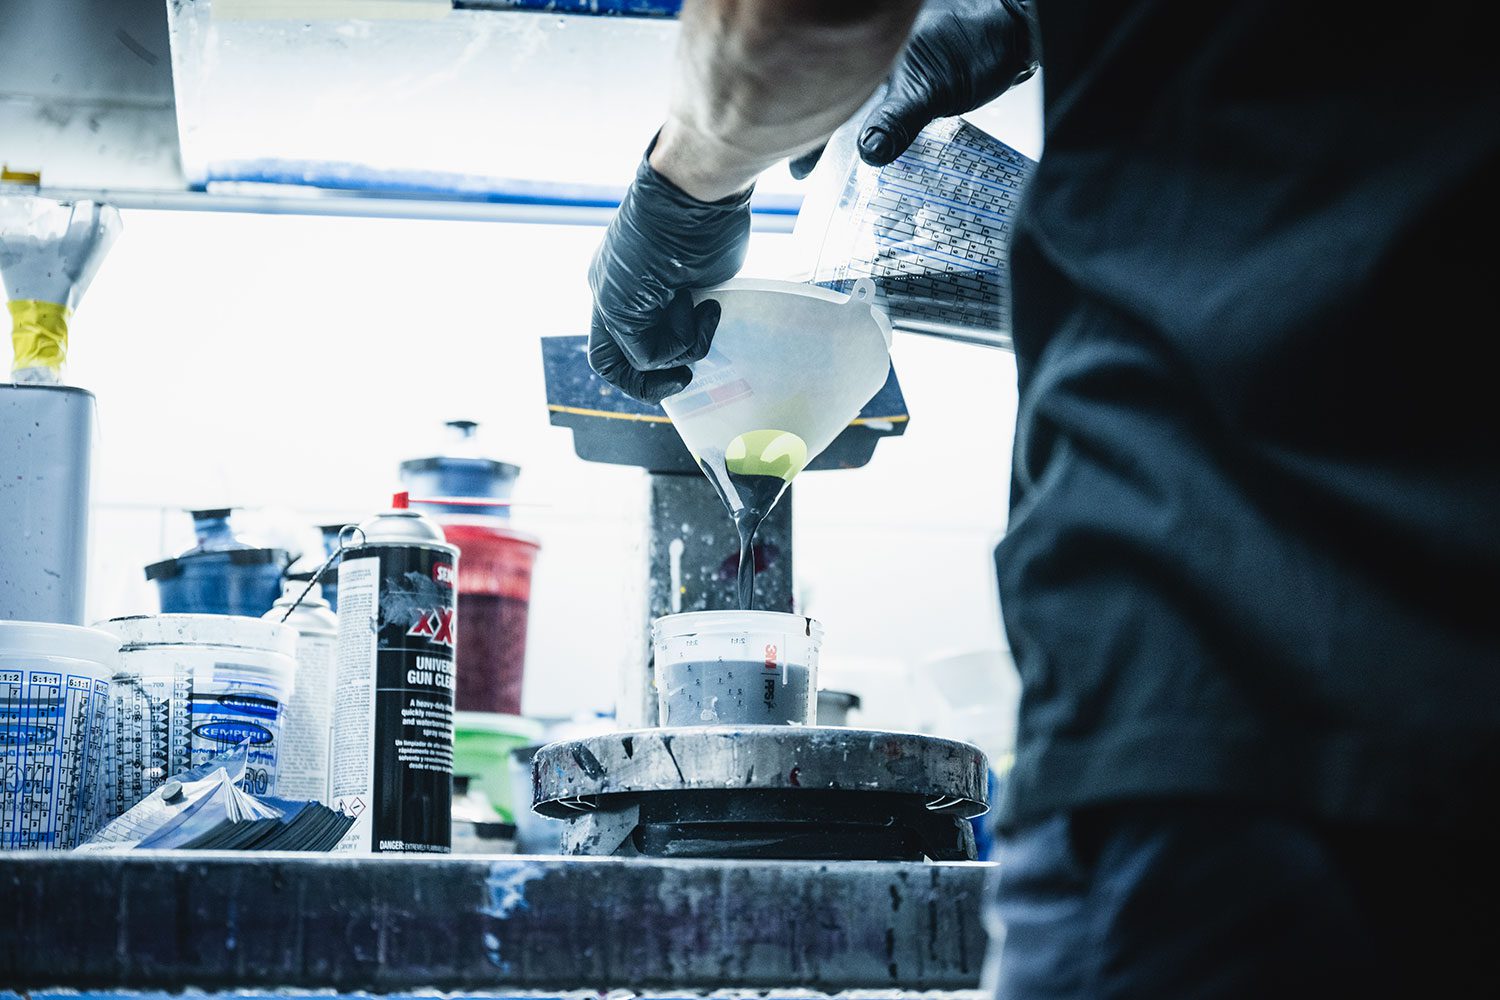
Before we touch the car, the mixed paint must be checked against the actual color.
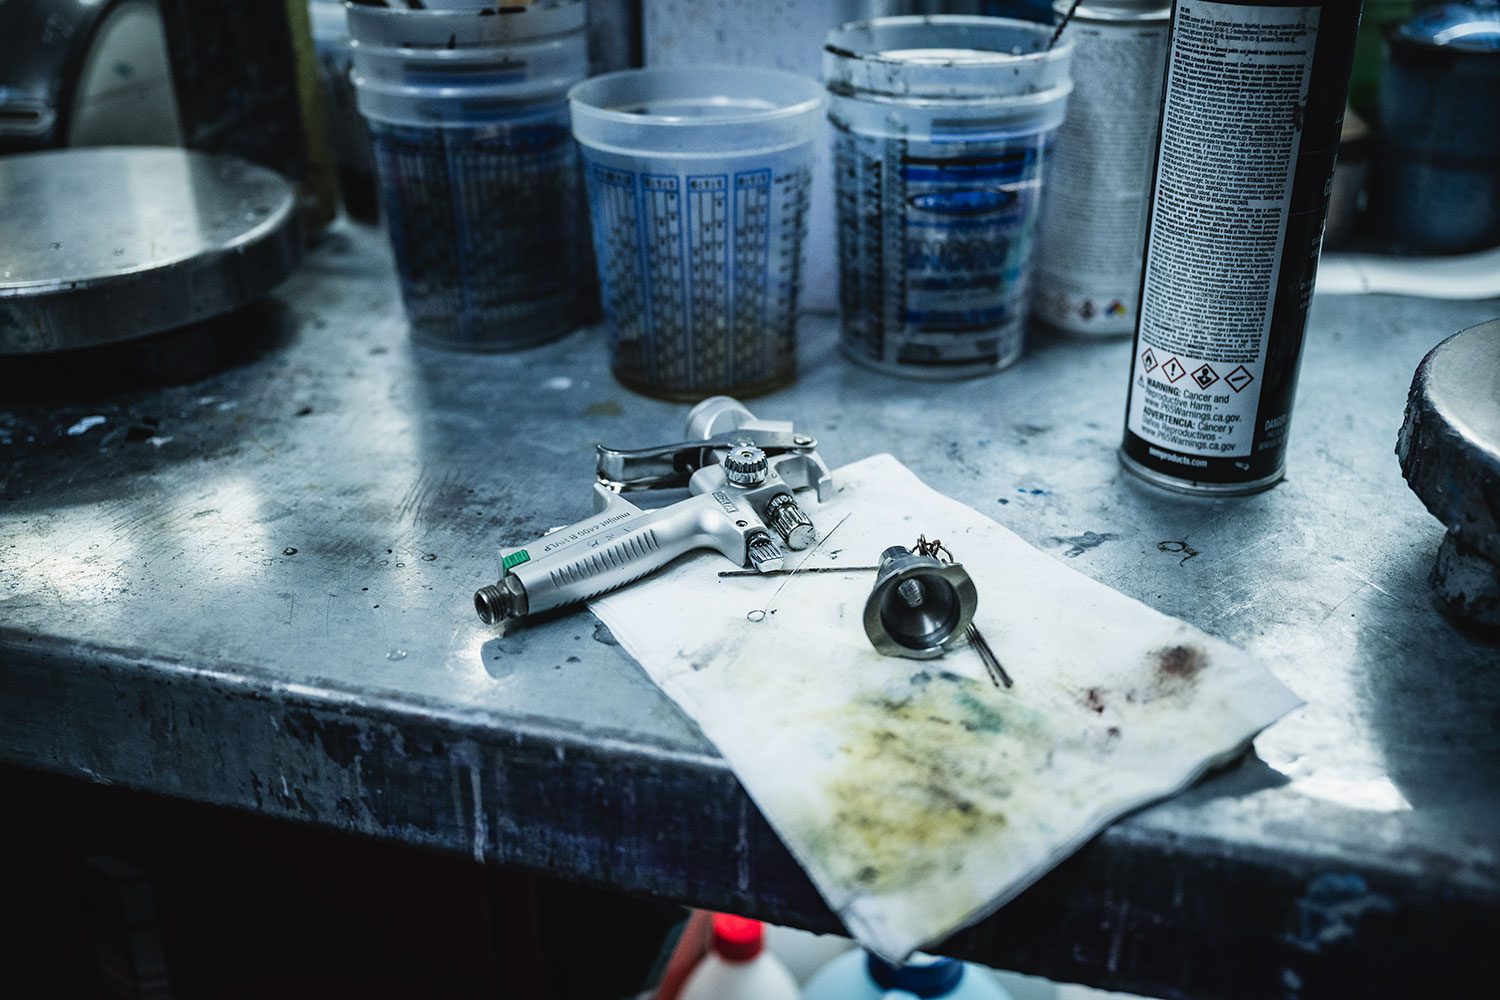
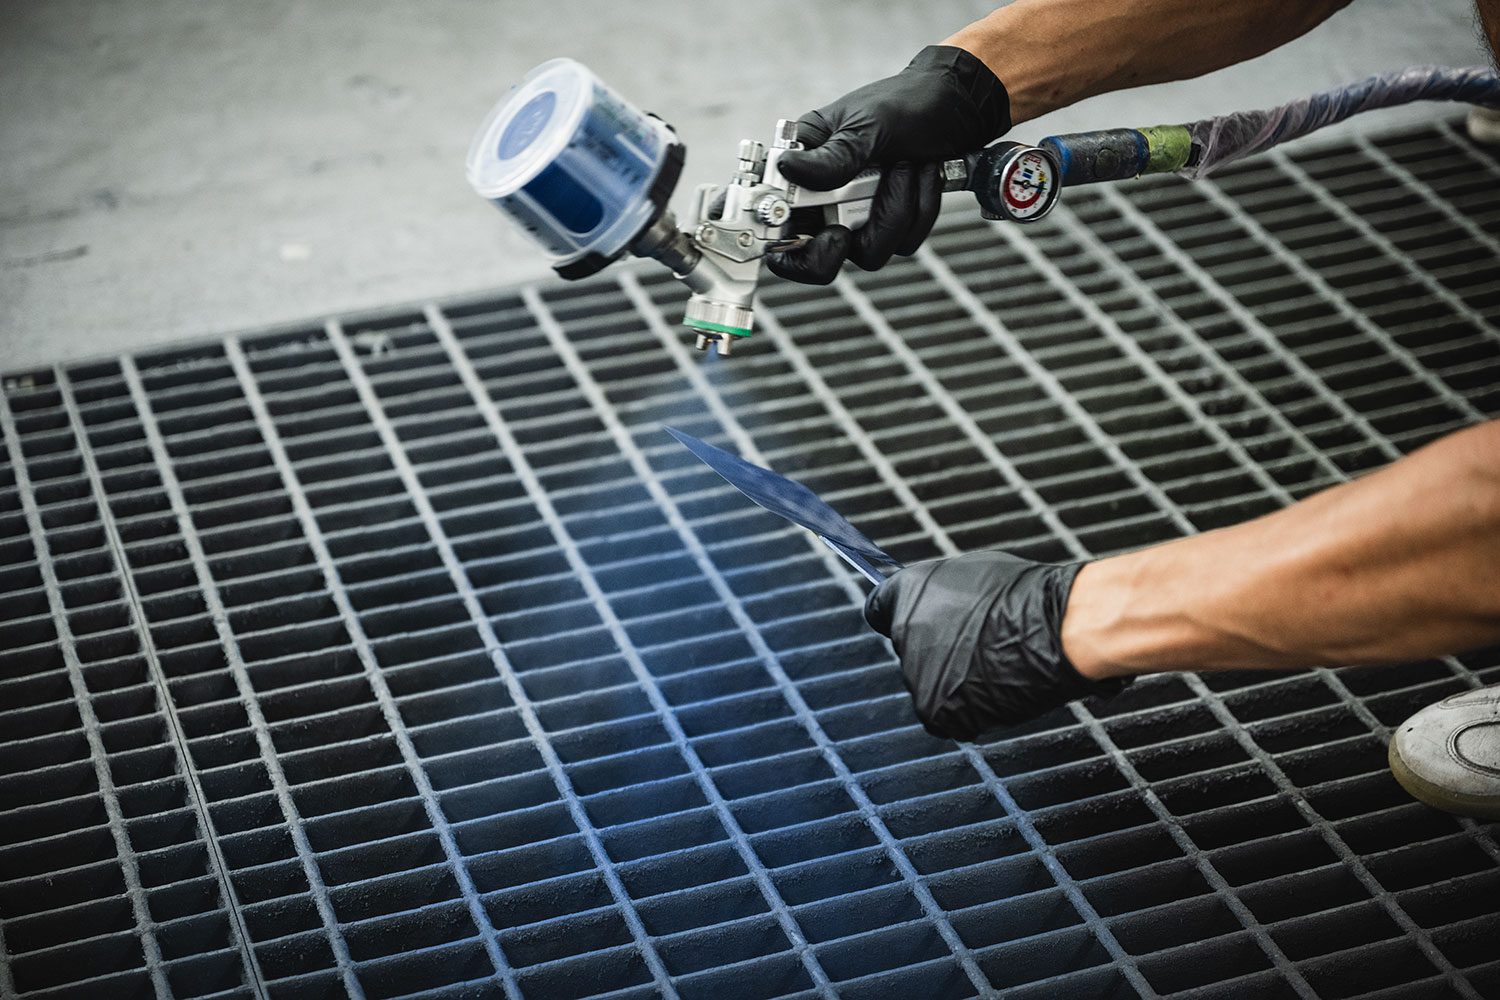
There are air brush guns of multiple sizes, but John will pick a small one due to the delicate nature of the work.Before touching the parts, John sprays a card with his mixture to ensure it’ll be color accurate.The card dries for a few minutes, then sprayed with clear coat. Without it, you have Frozen Portimao Blue.We bring the dried card over to the M3 and spray an area with a solution to bring out the car’s paint. The color is spot on.
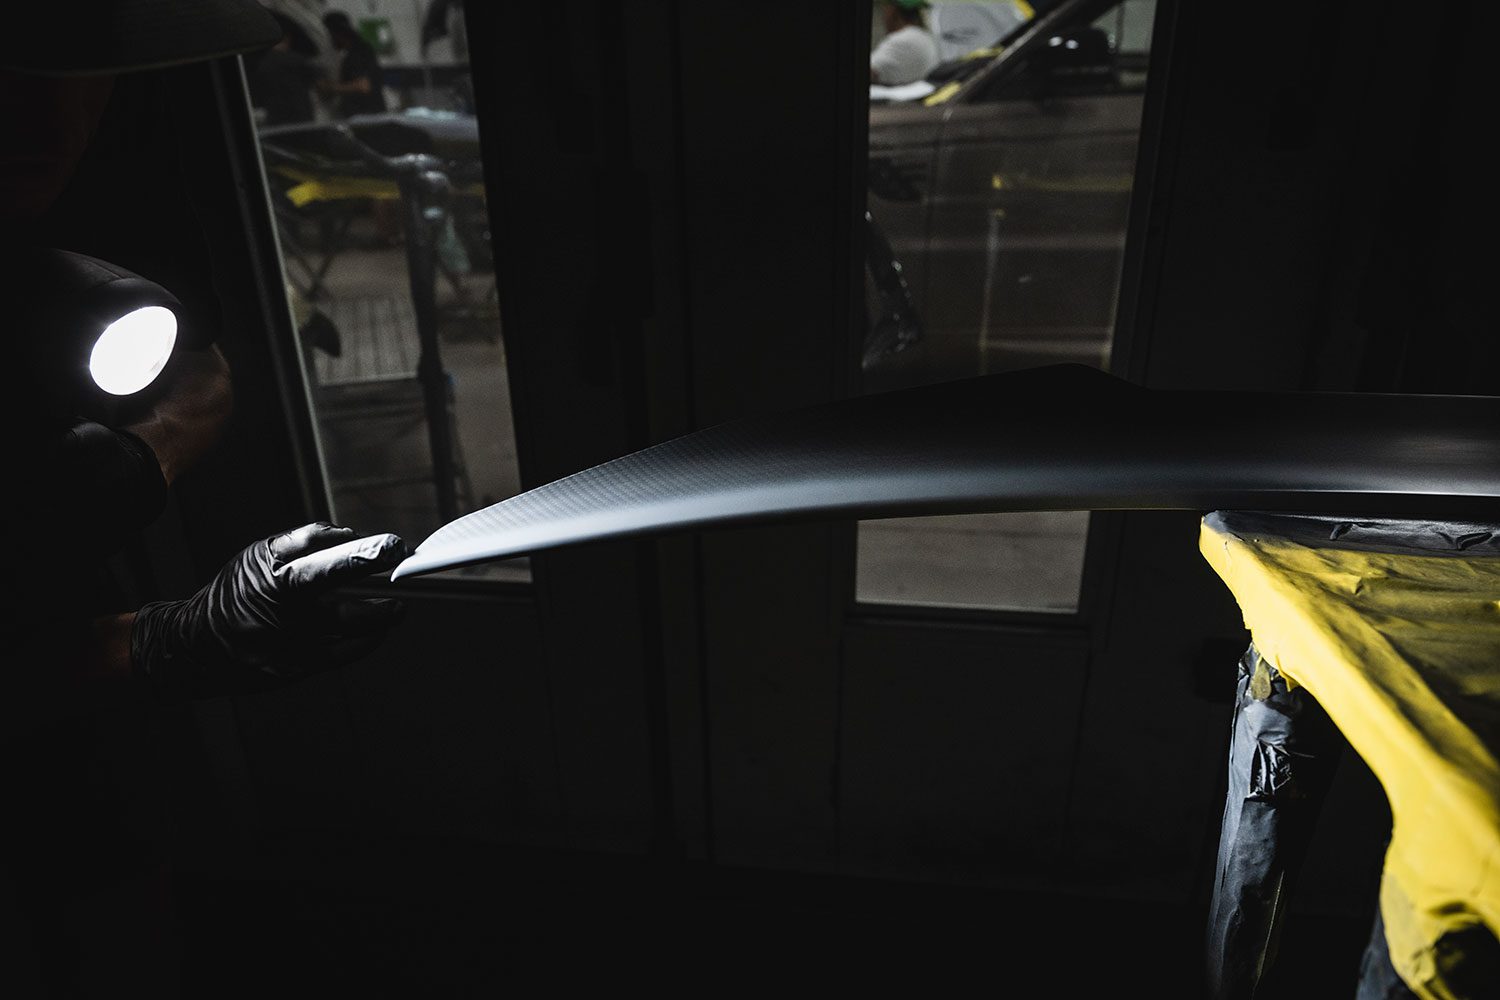
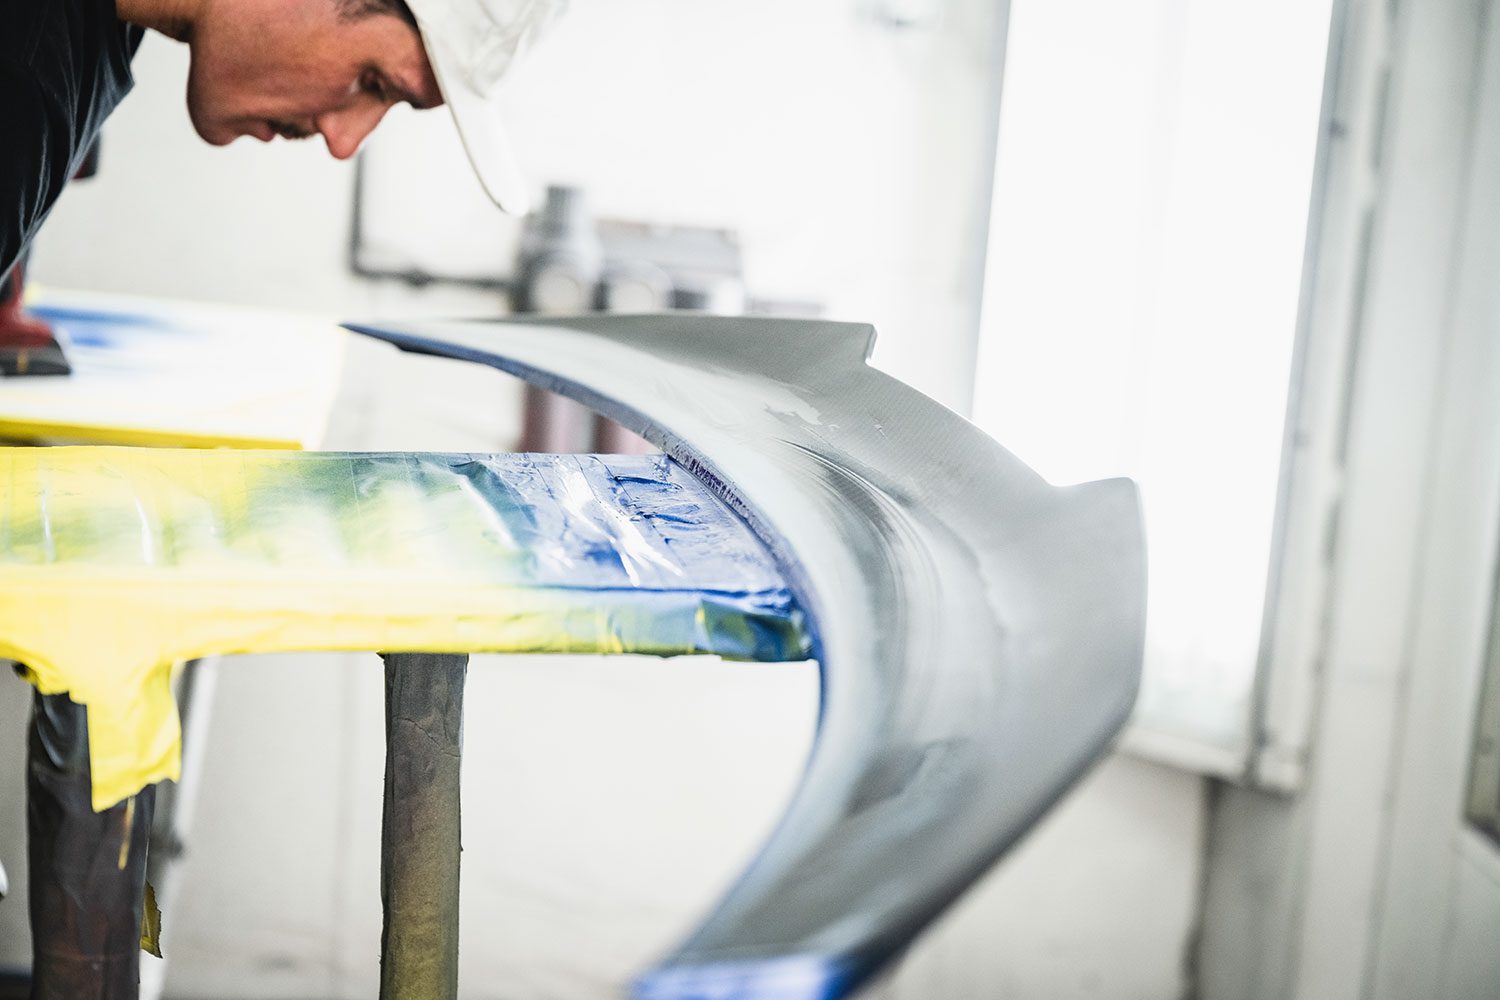
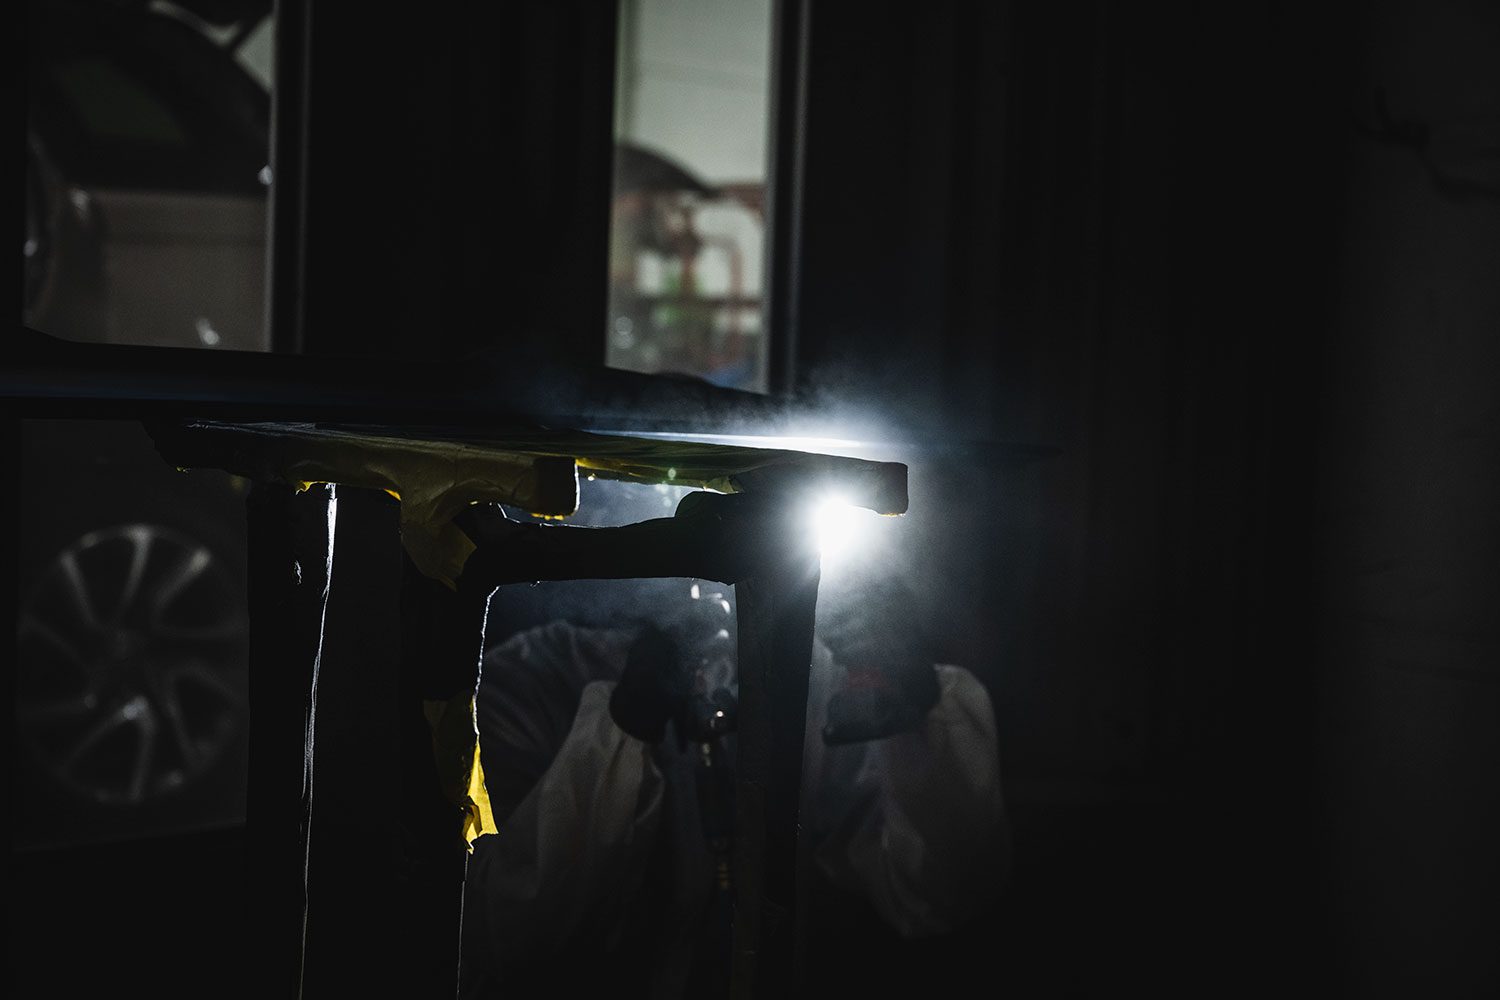
The Booth – Primer
Essentially a giant oven, the booth is vented and large enough to fit a car and multiple workers.
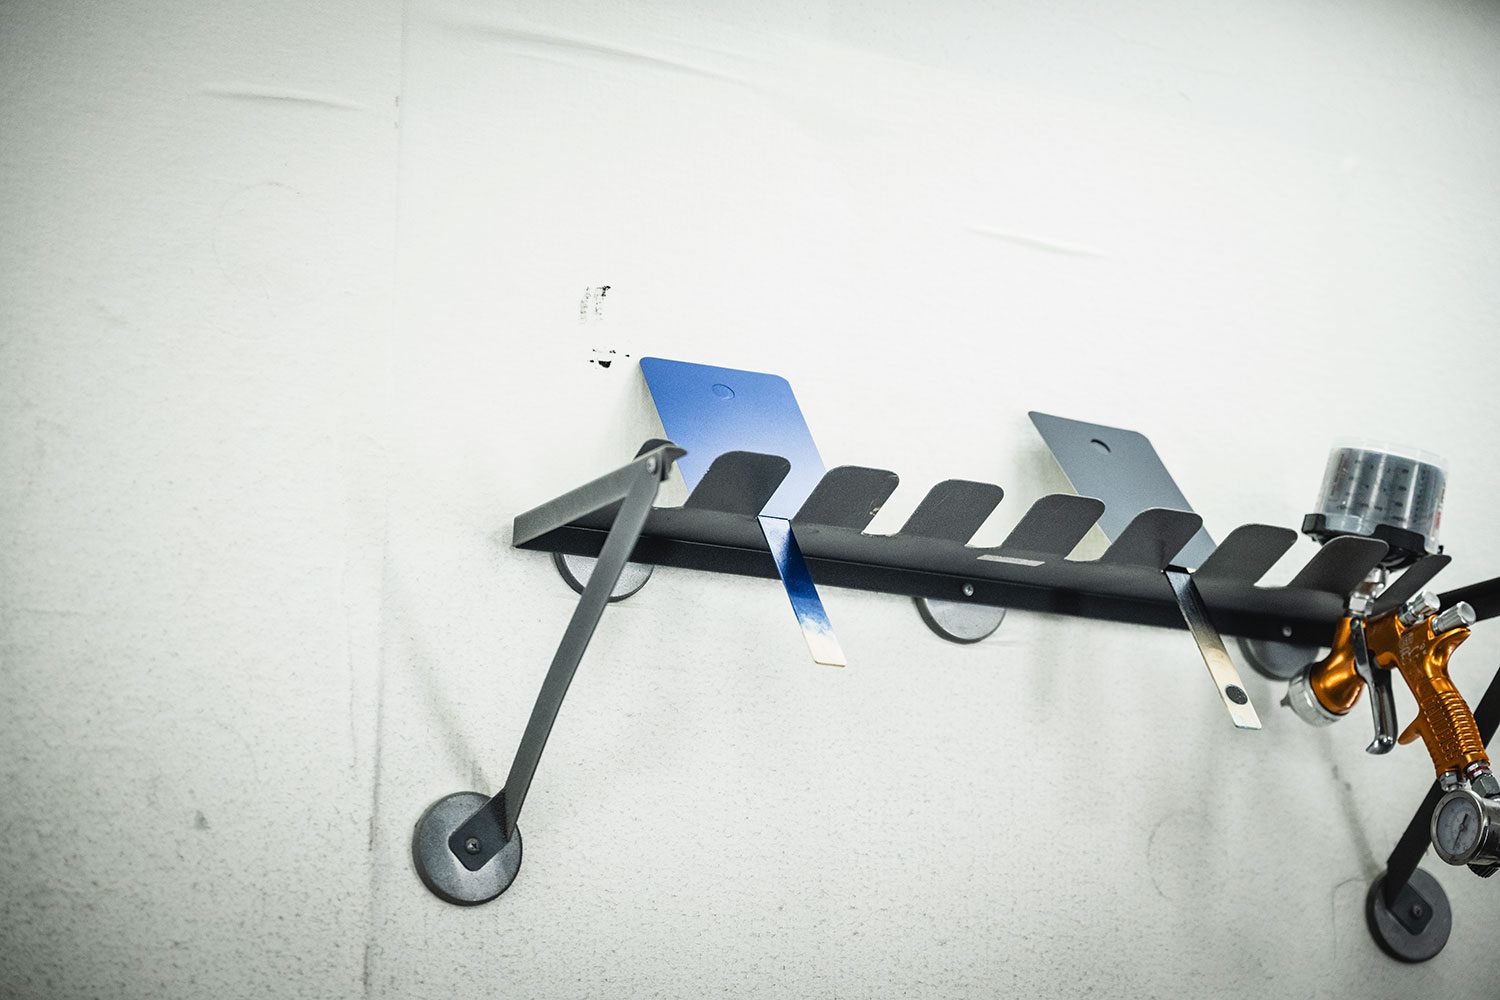
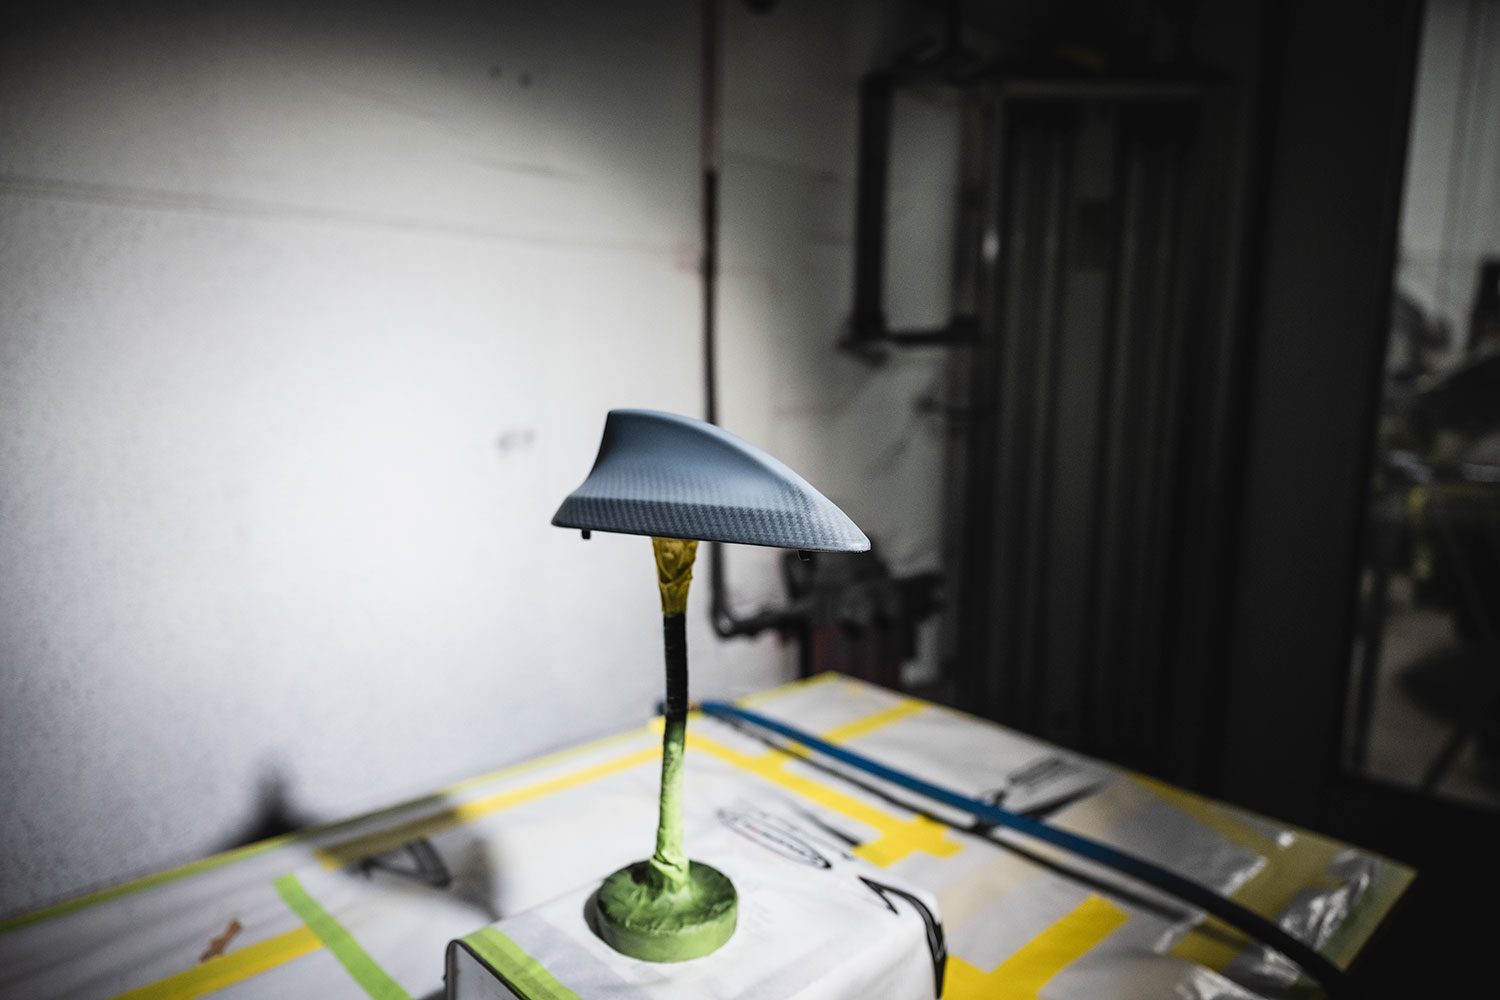
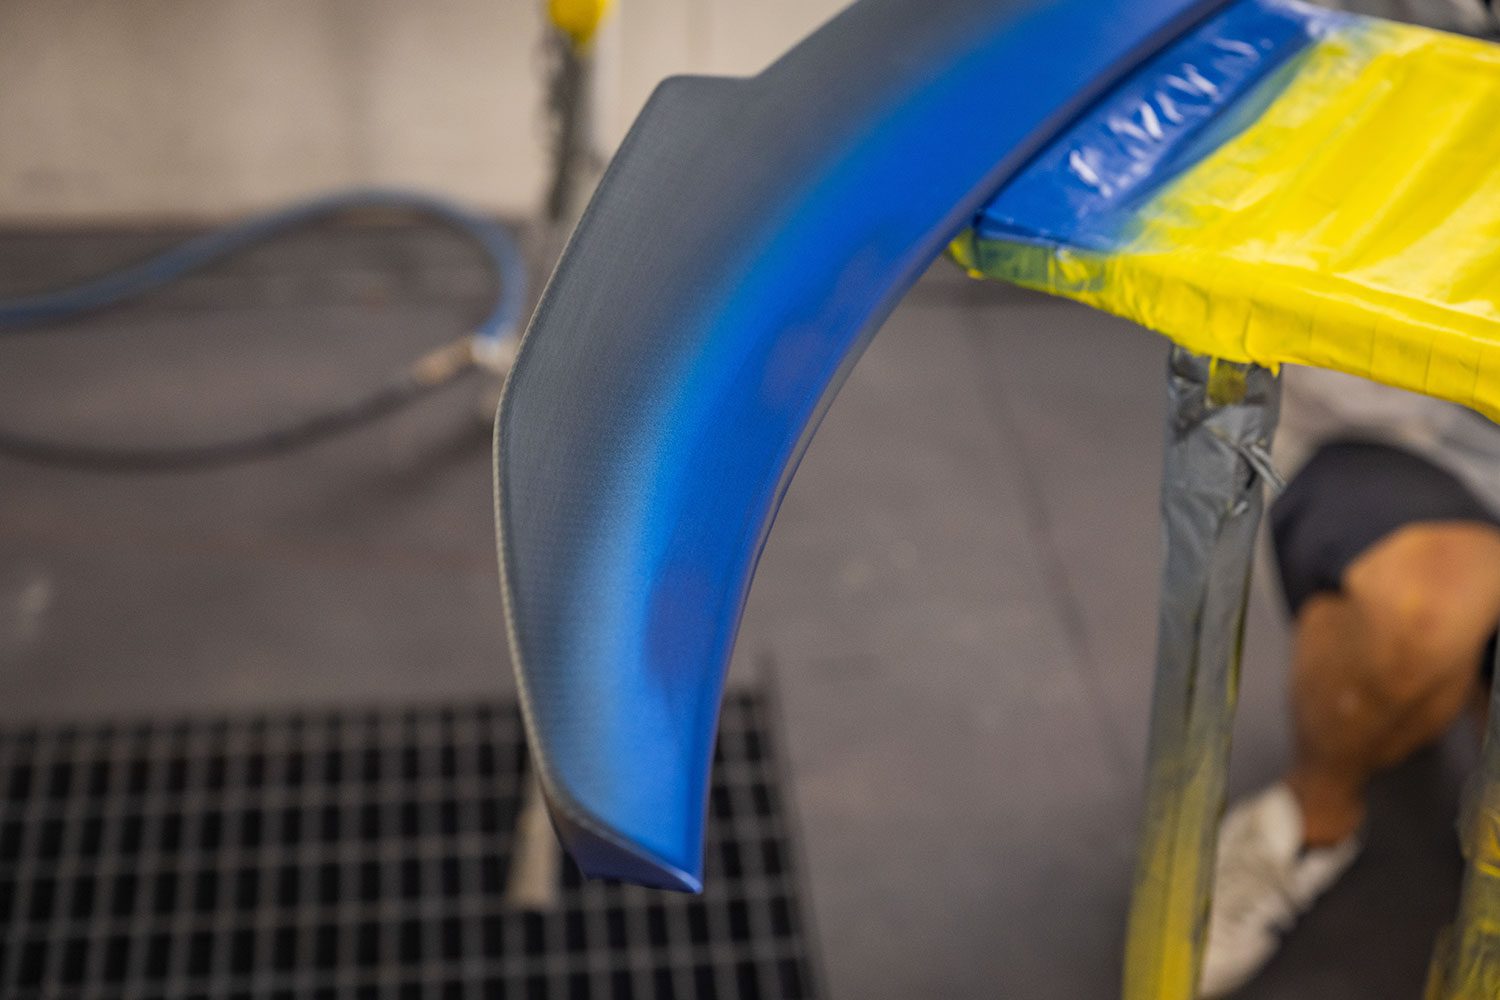
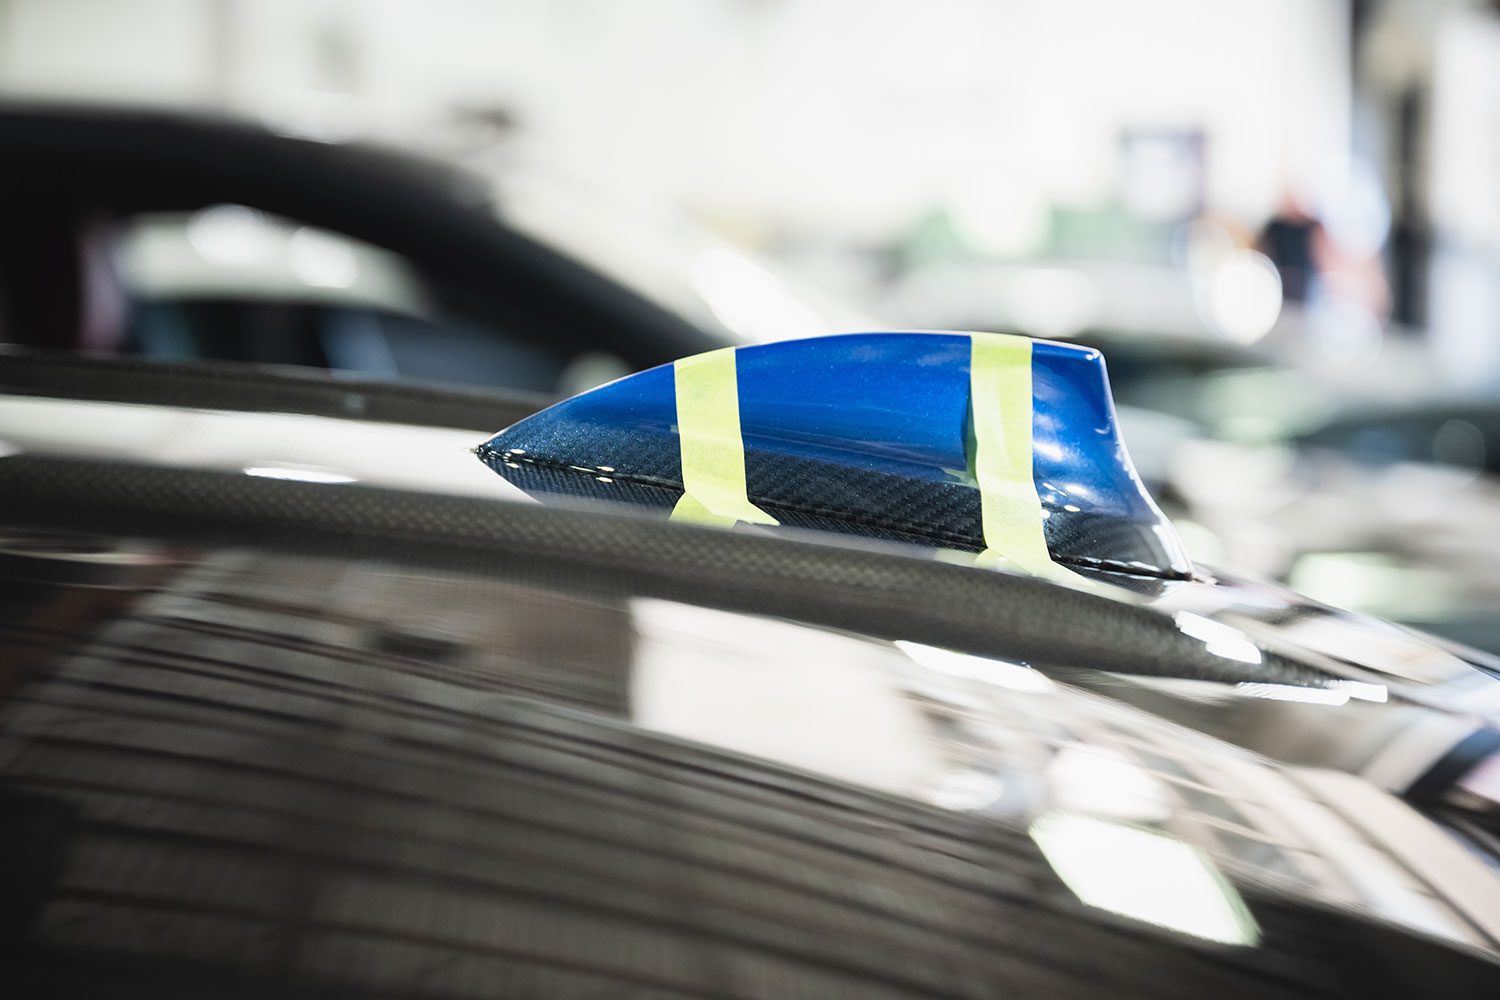
Space is always at a premium, so we’re sharing the booth with an Explorer that’s protected from over spray with a large wrap.My pieces are prepped on special stands that allow them to be easily accessed from all angles.The surfaces are prepped by blasting off dust with compressed air. This is essentially a clean room – the heavy doors are closed so prevent dust from landing on parts.We apply primer, but not over the entire part, as the carbon will be showing through the top.The primed fin – the fade is already noticeable.The lights go off and the pieces inspected to look for imperfections on the surface.John then sands down whatever he’s found with a very fine grit sand paper.
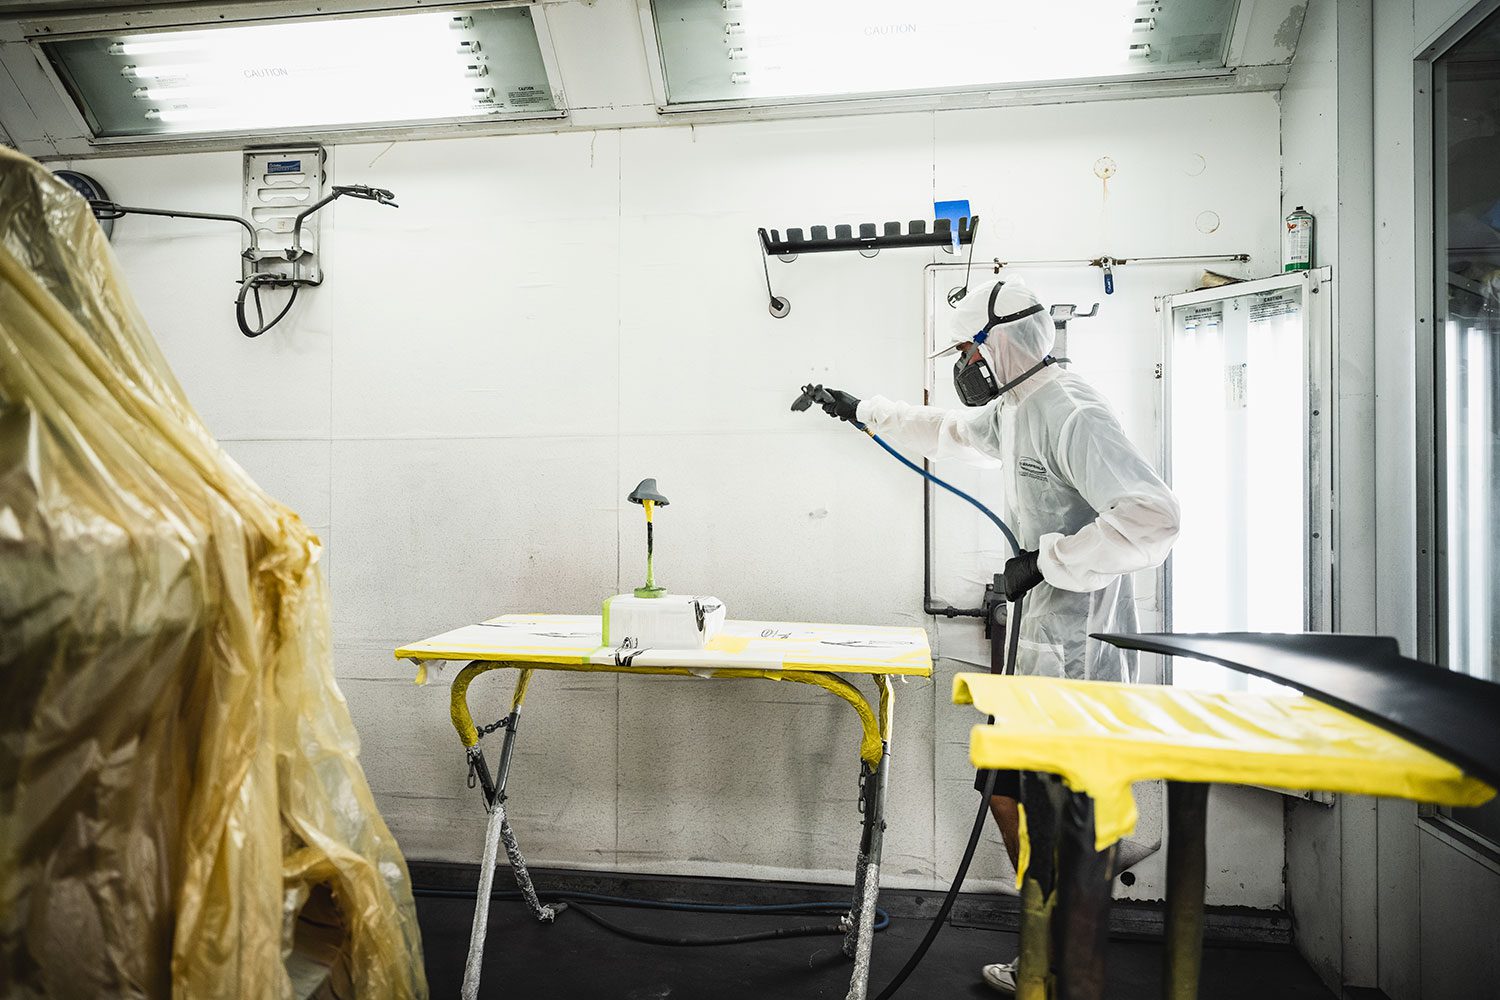
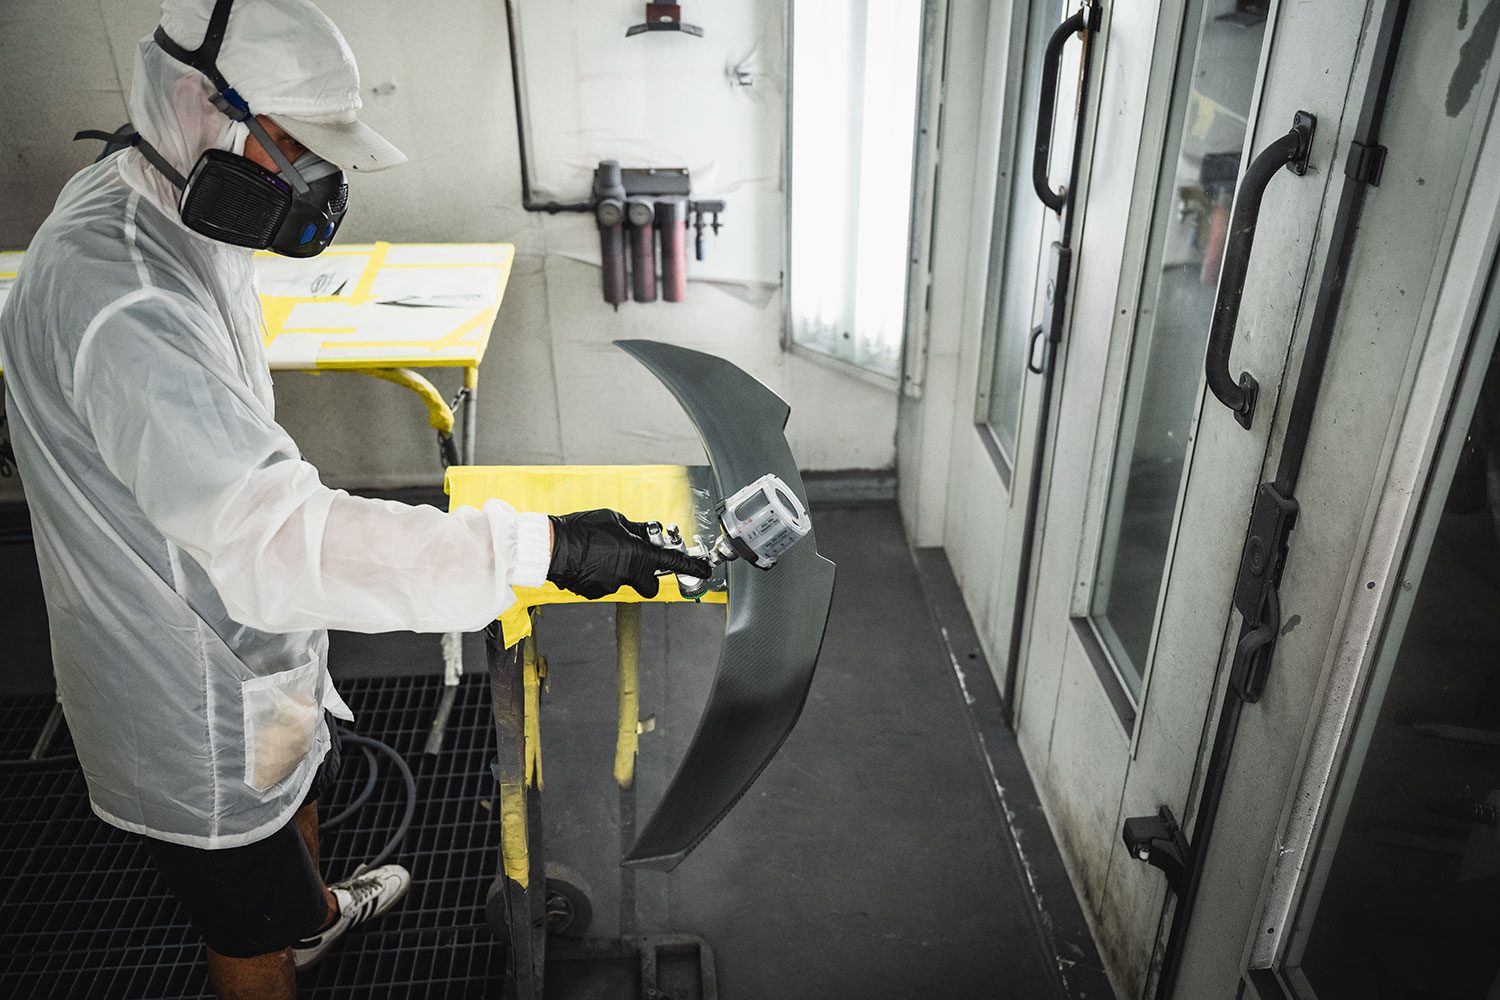
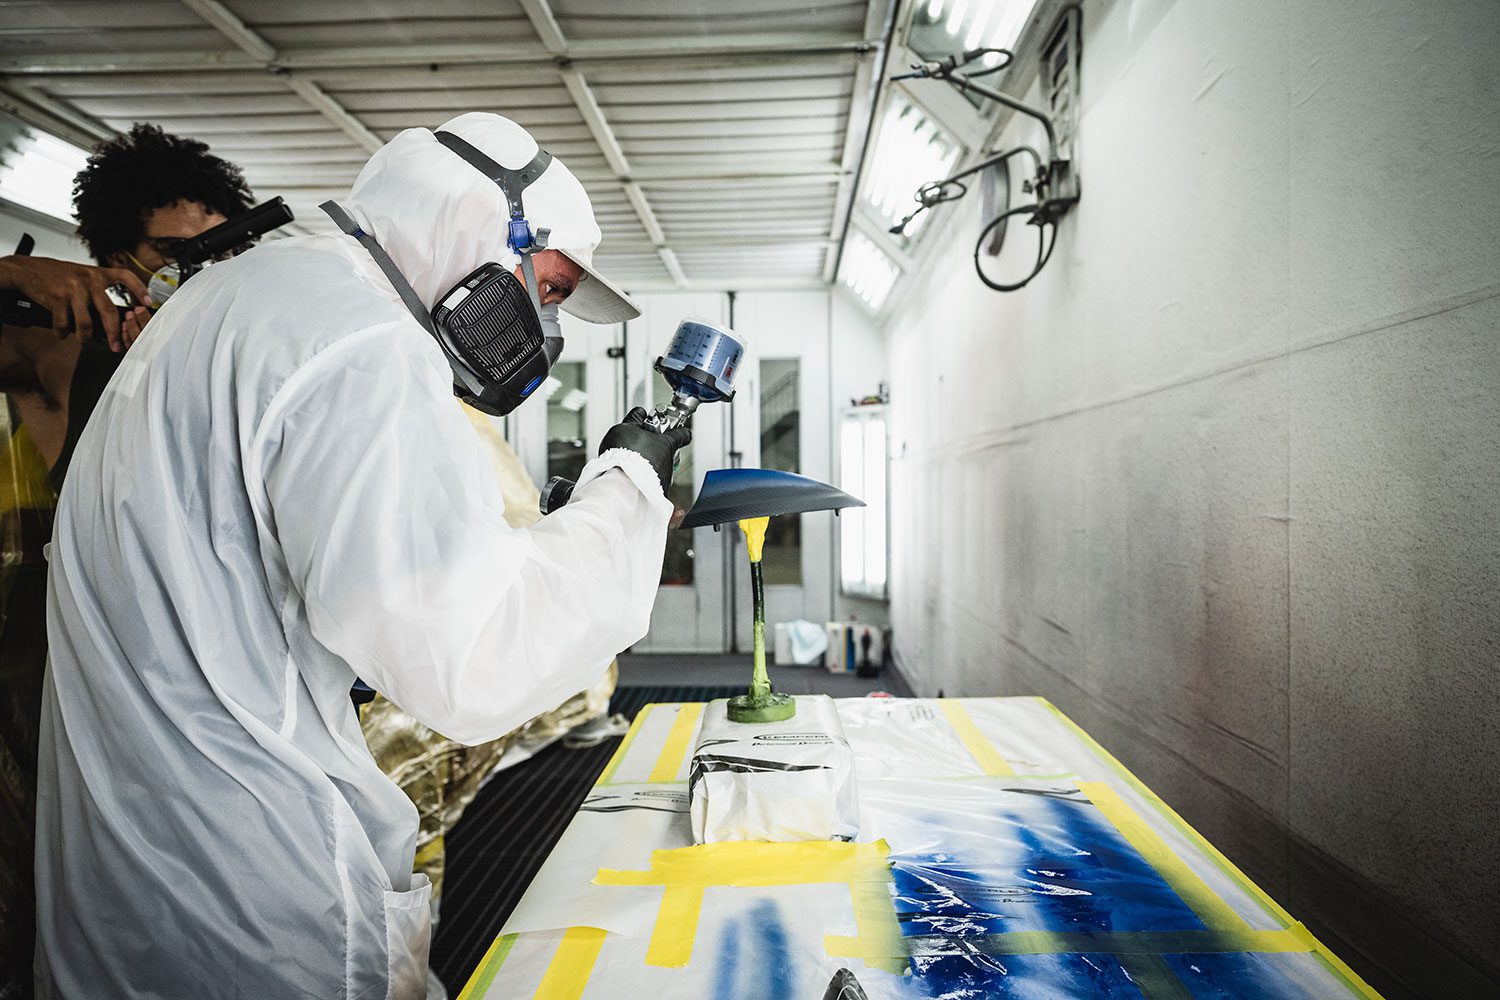
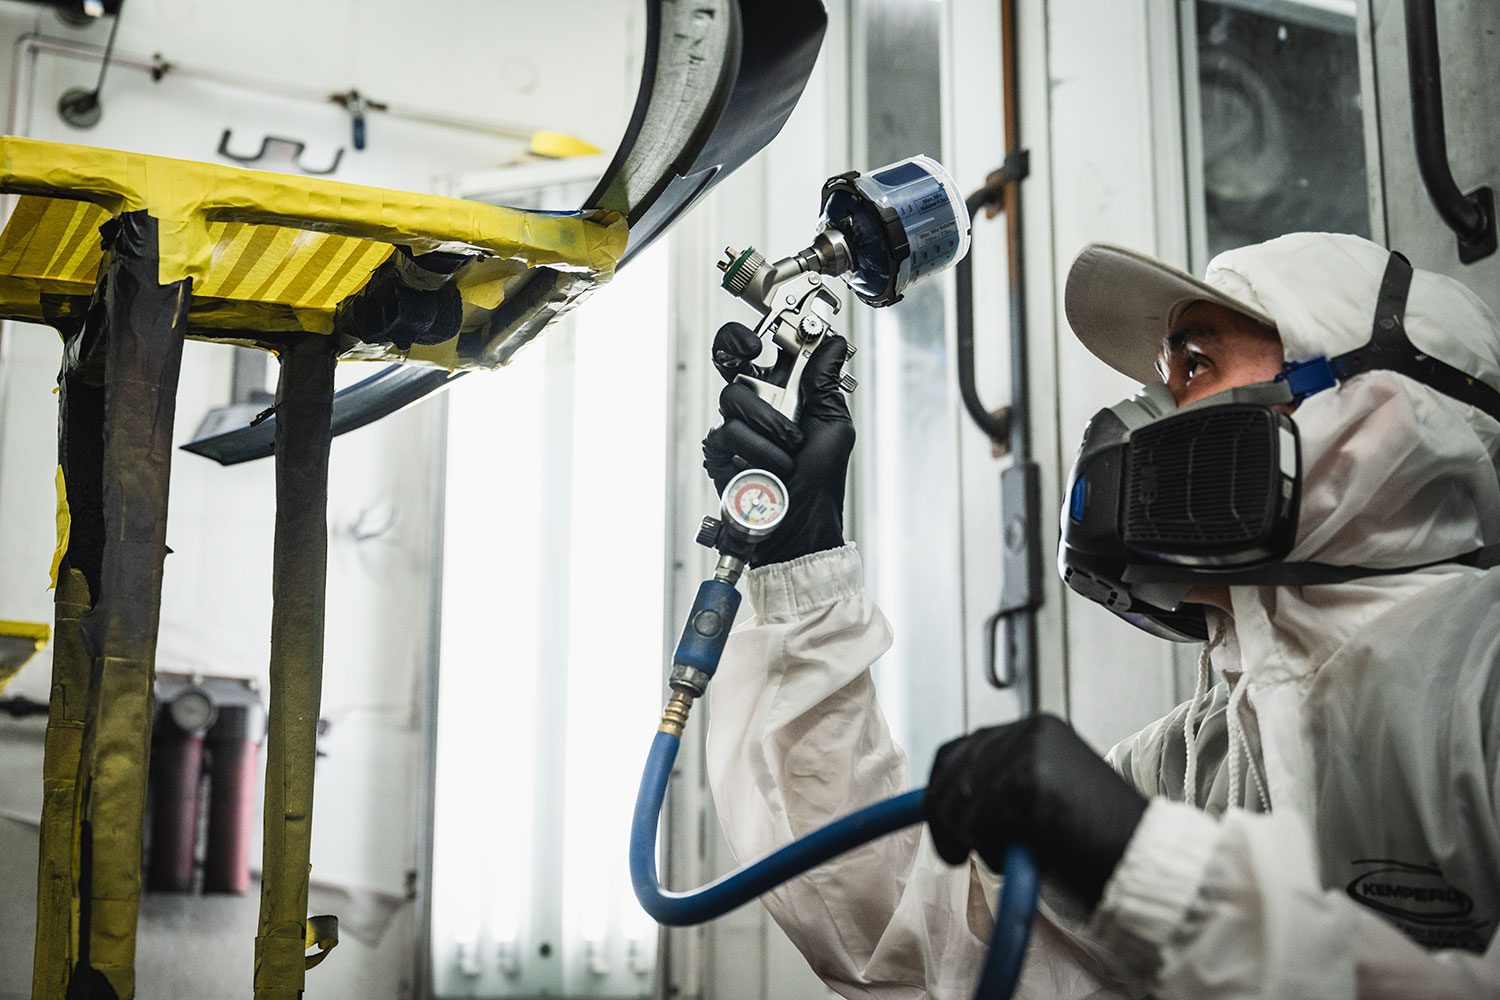
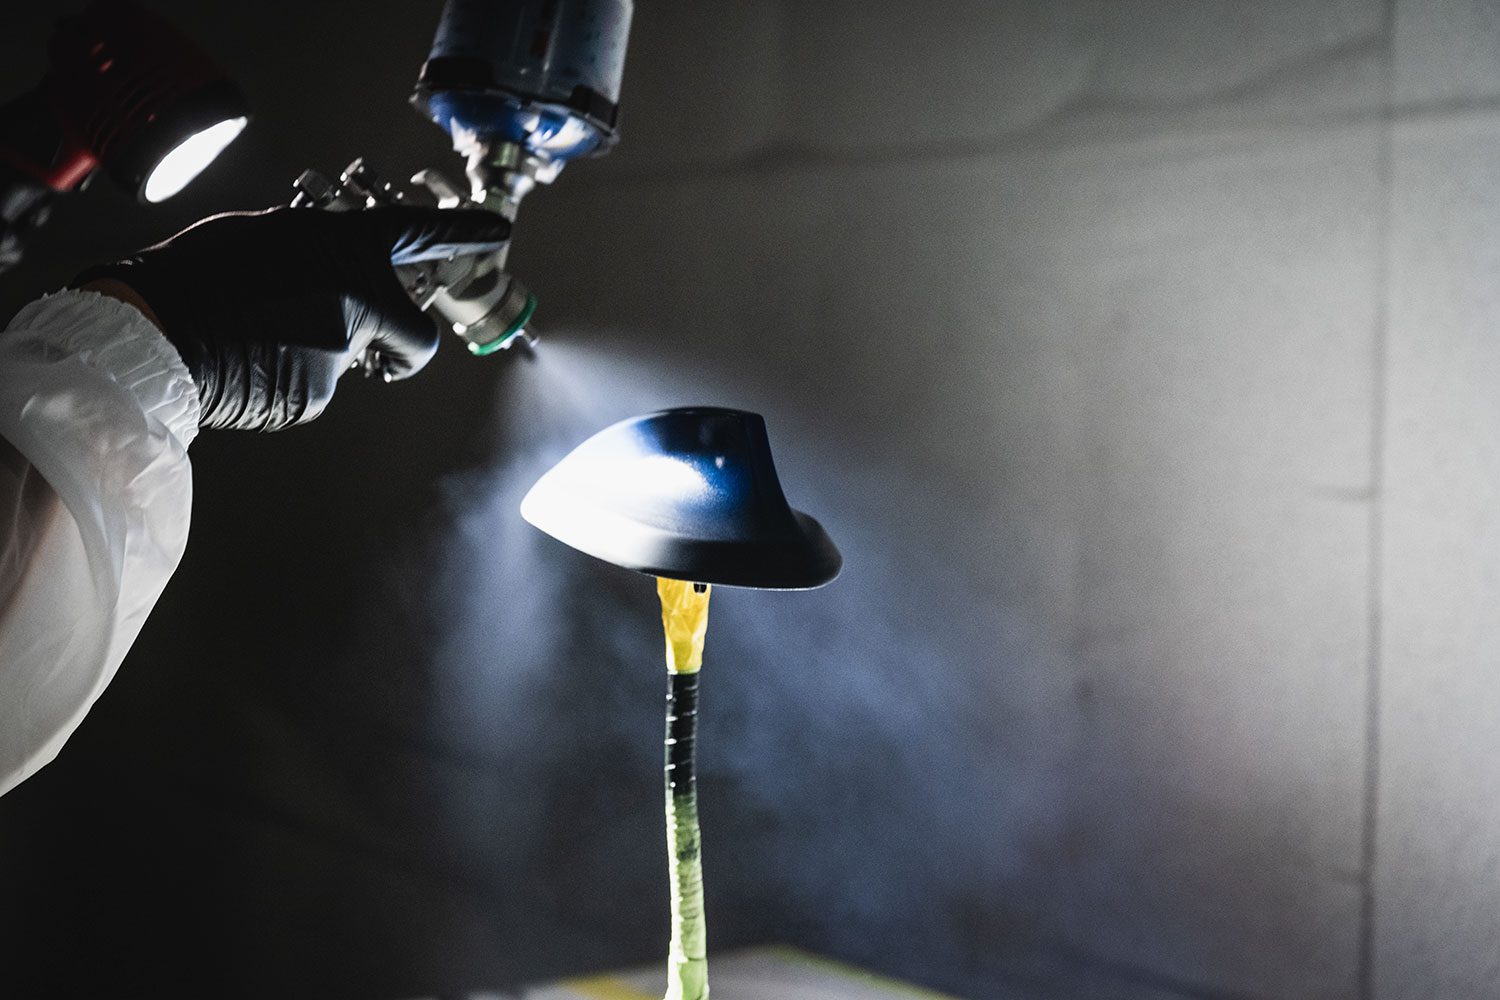
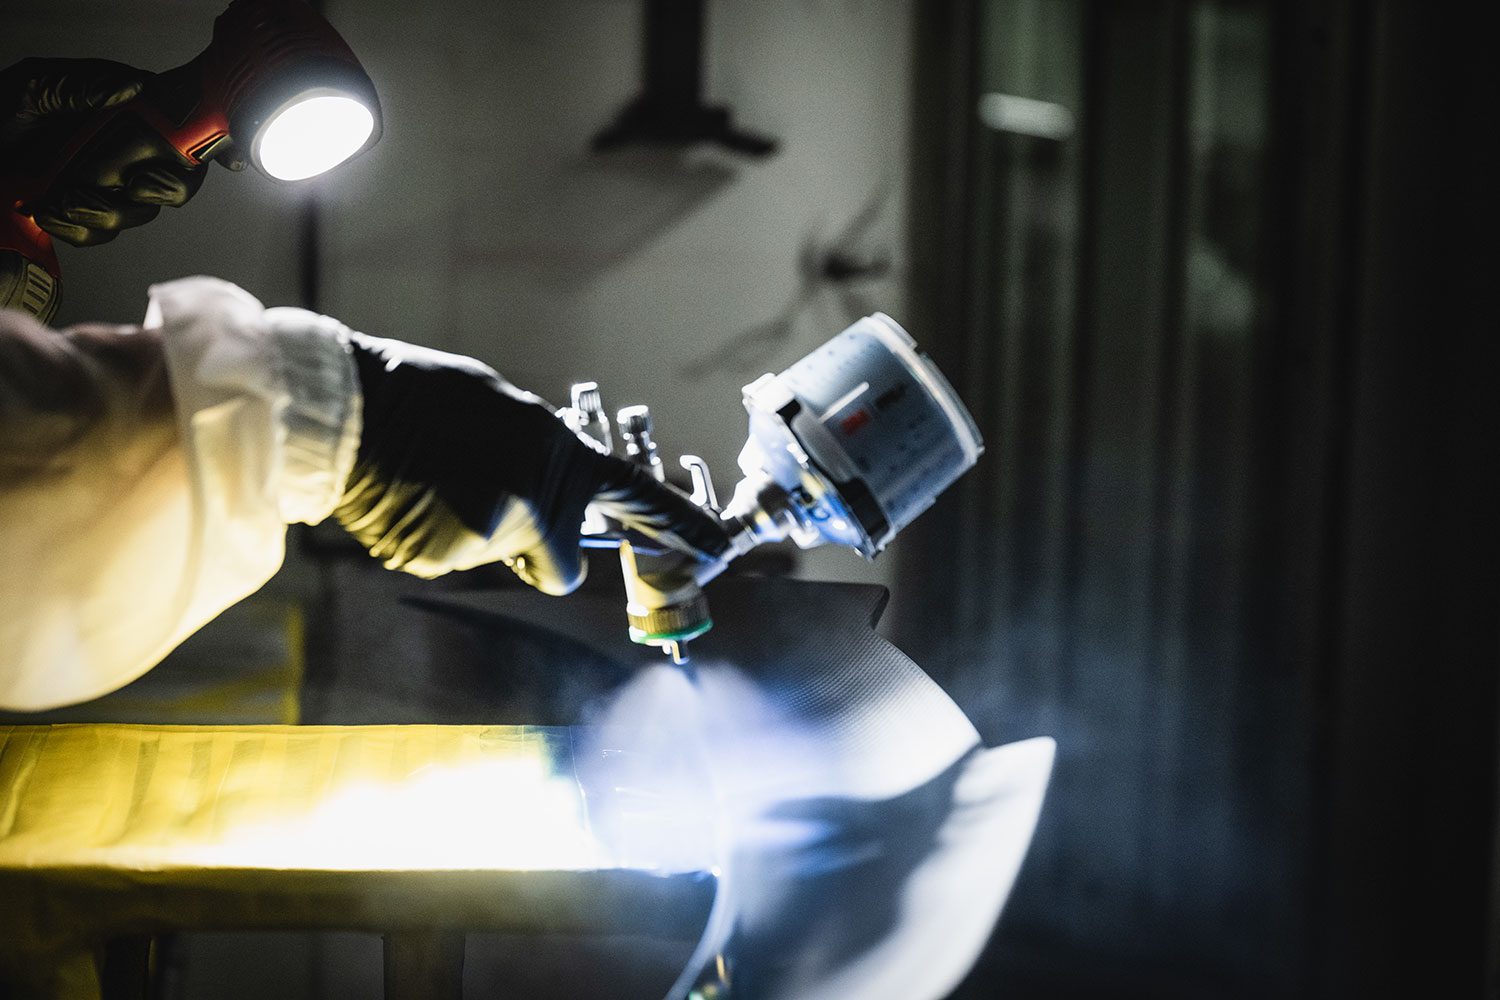
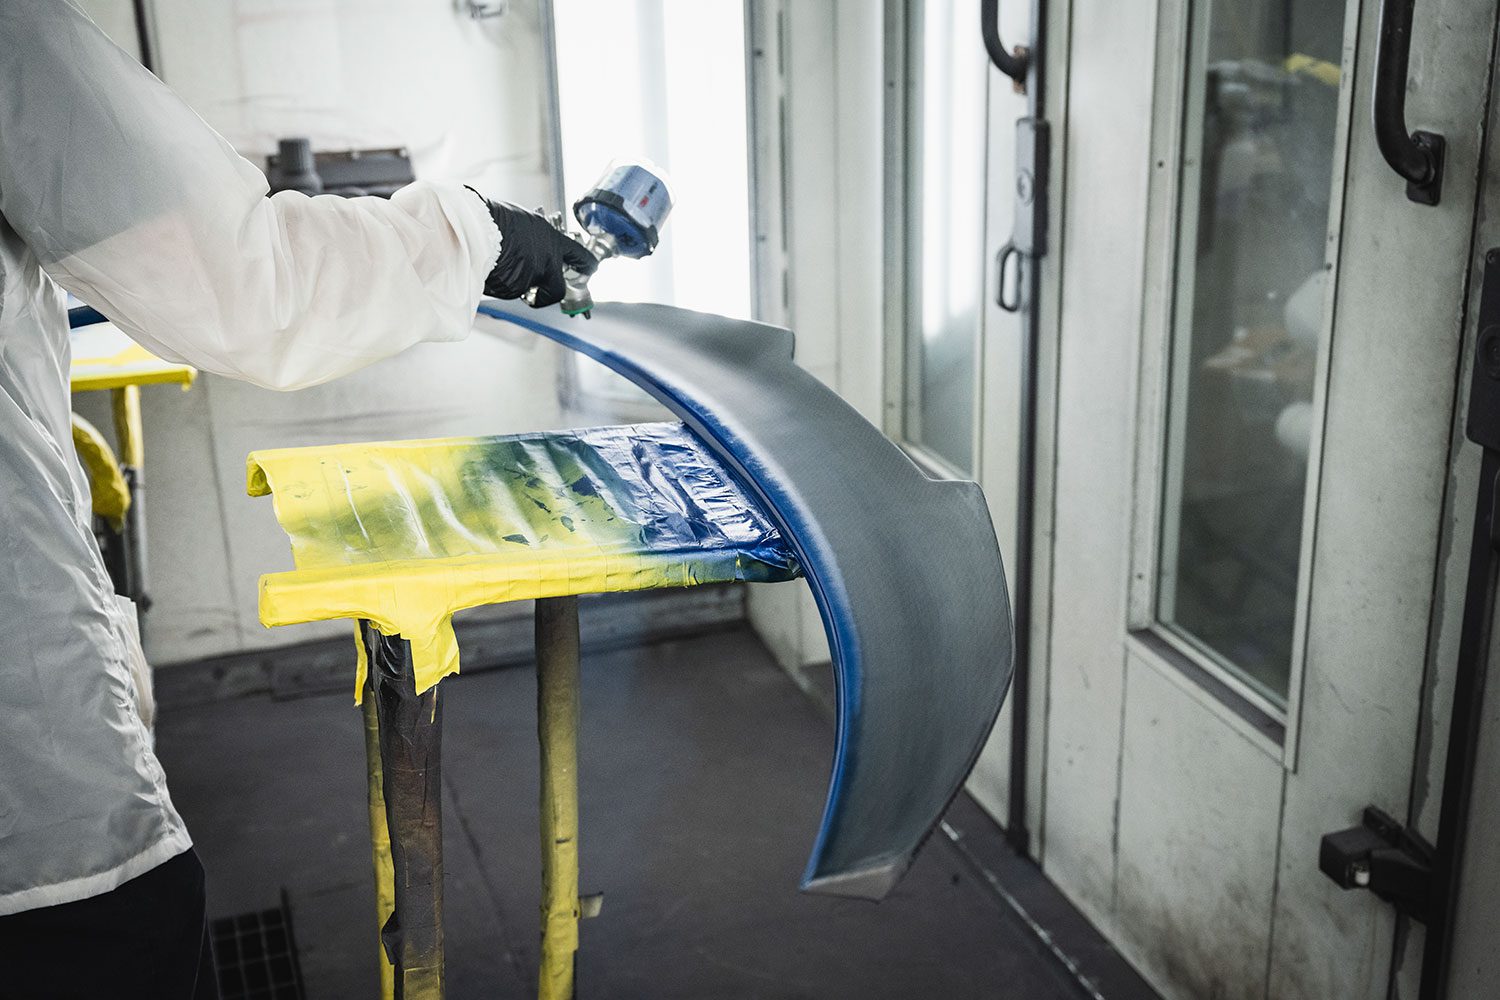
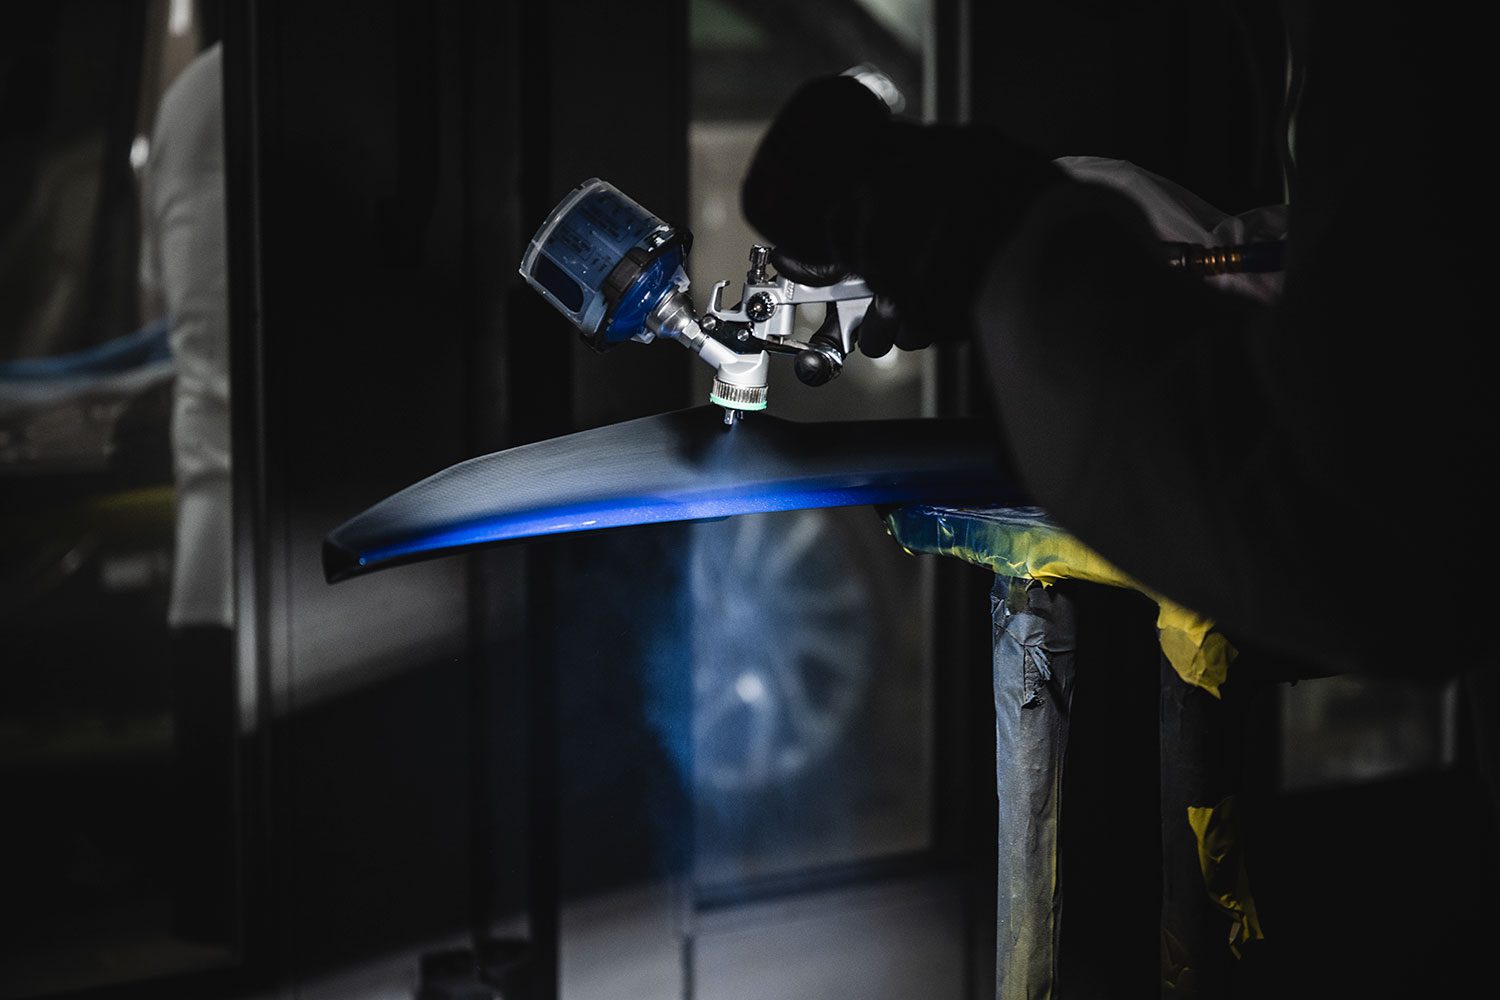
Painting Portimao Blue
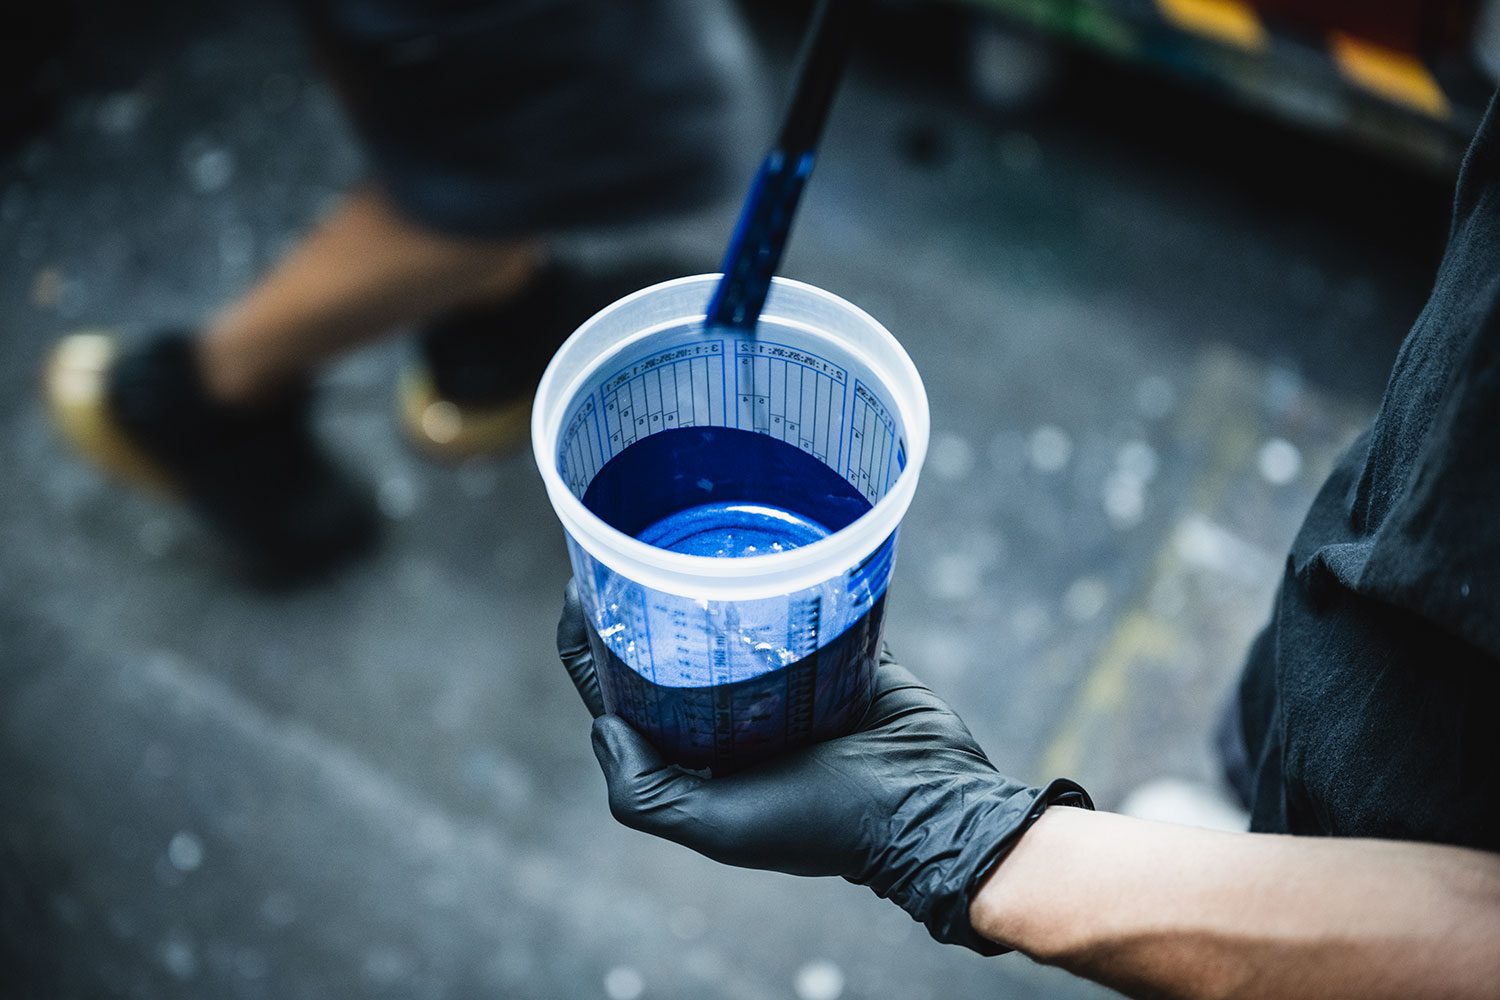
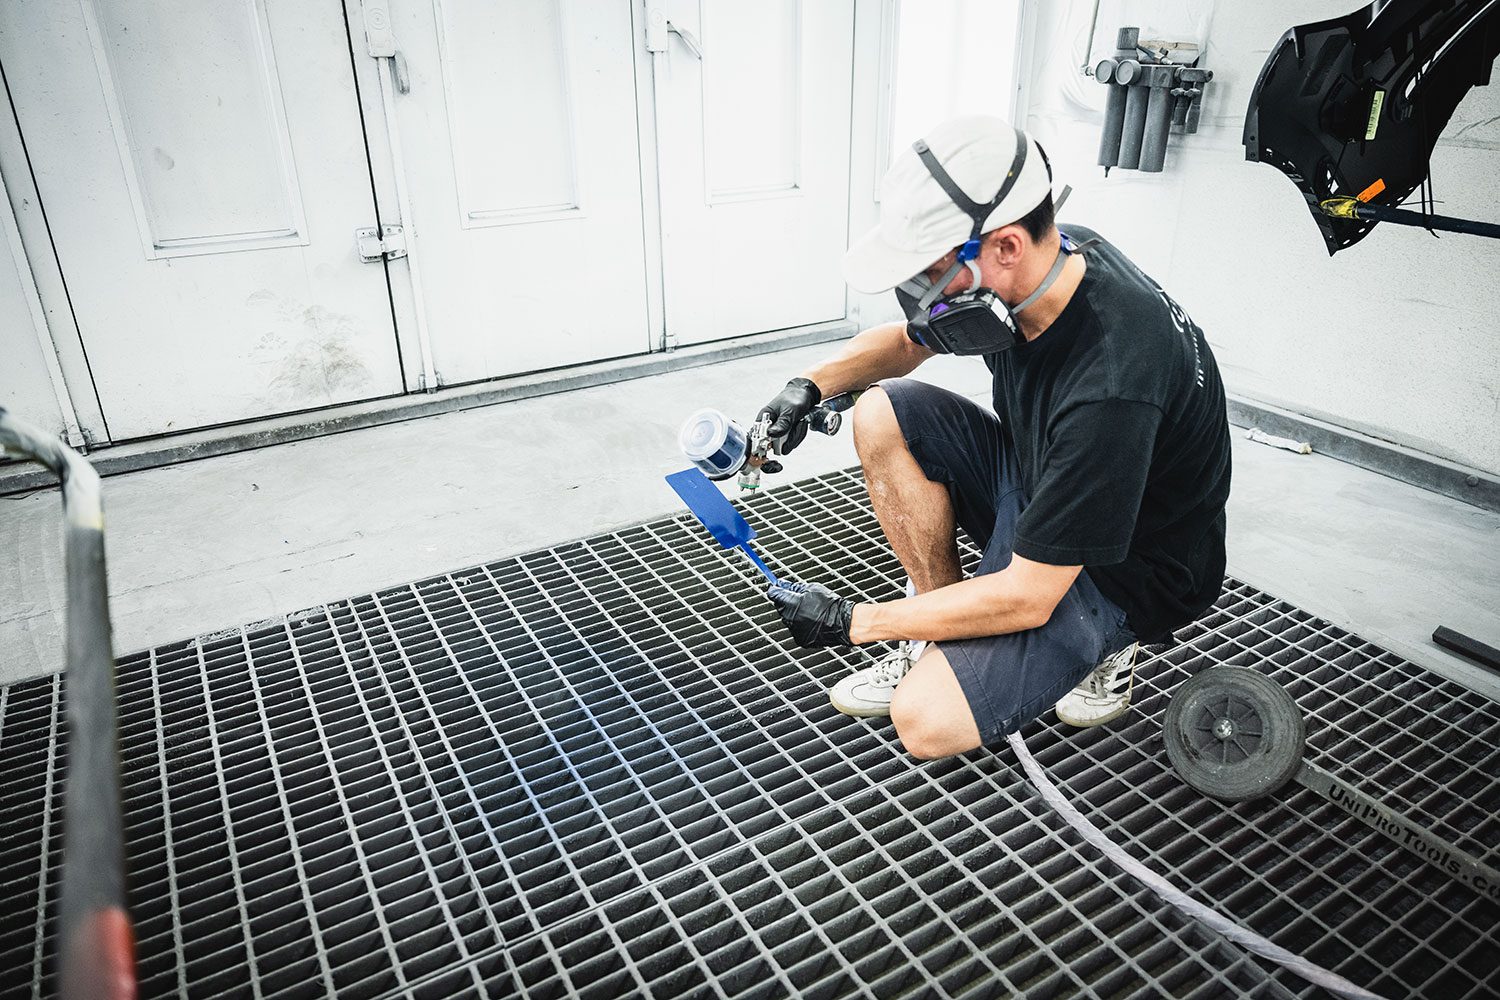
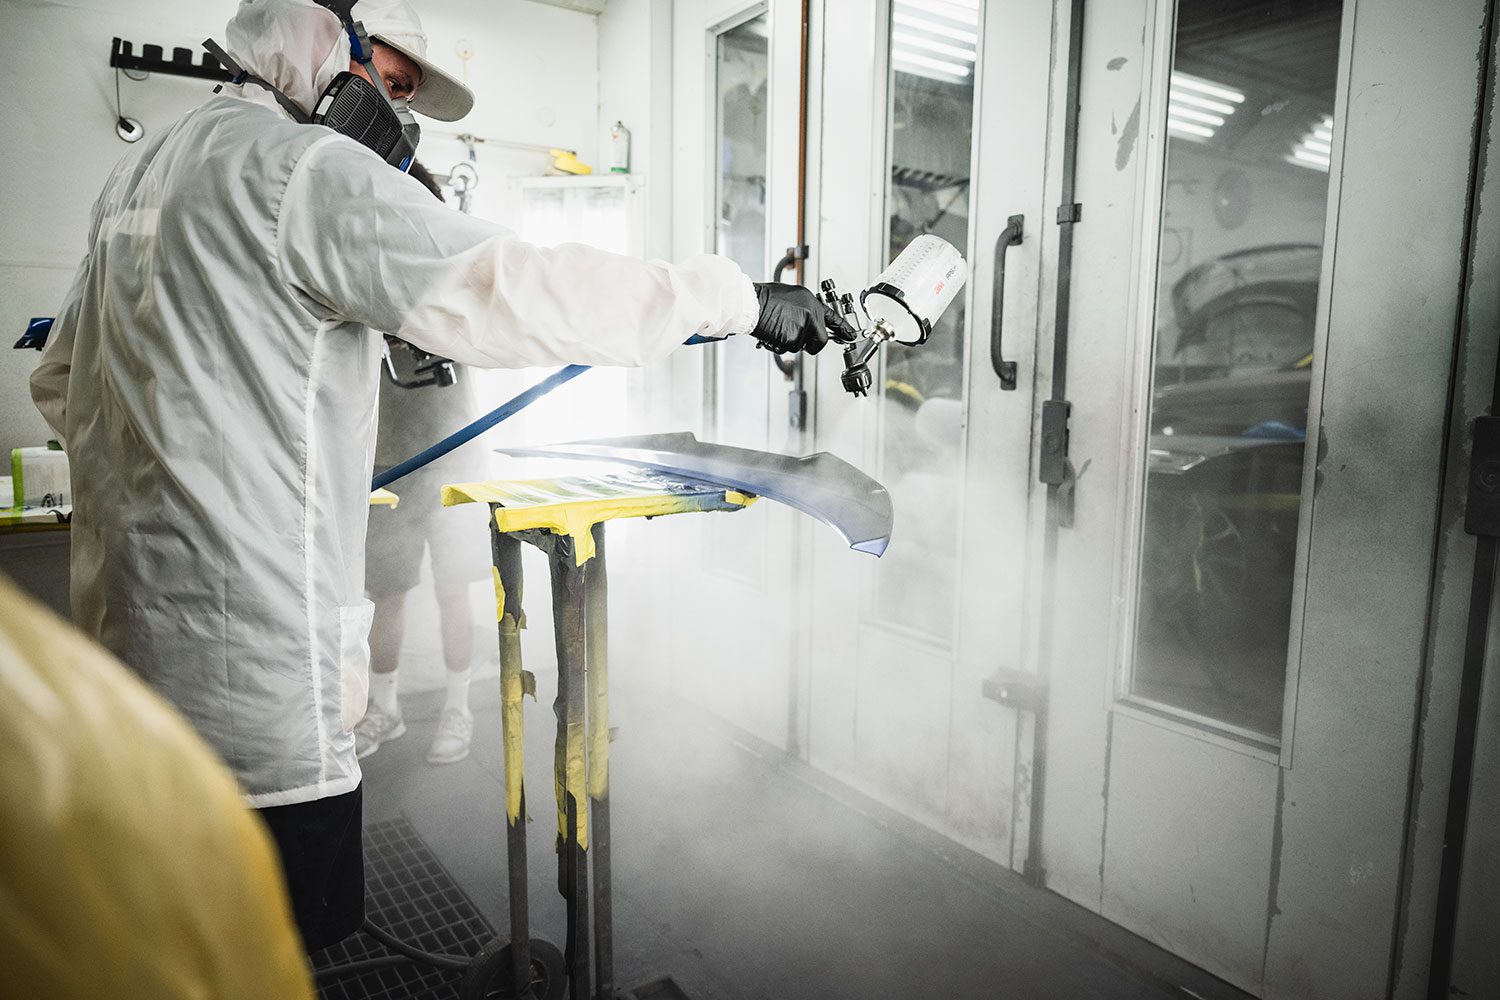
Once the primer has dried, it’s time to paint our pieces.
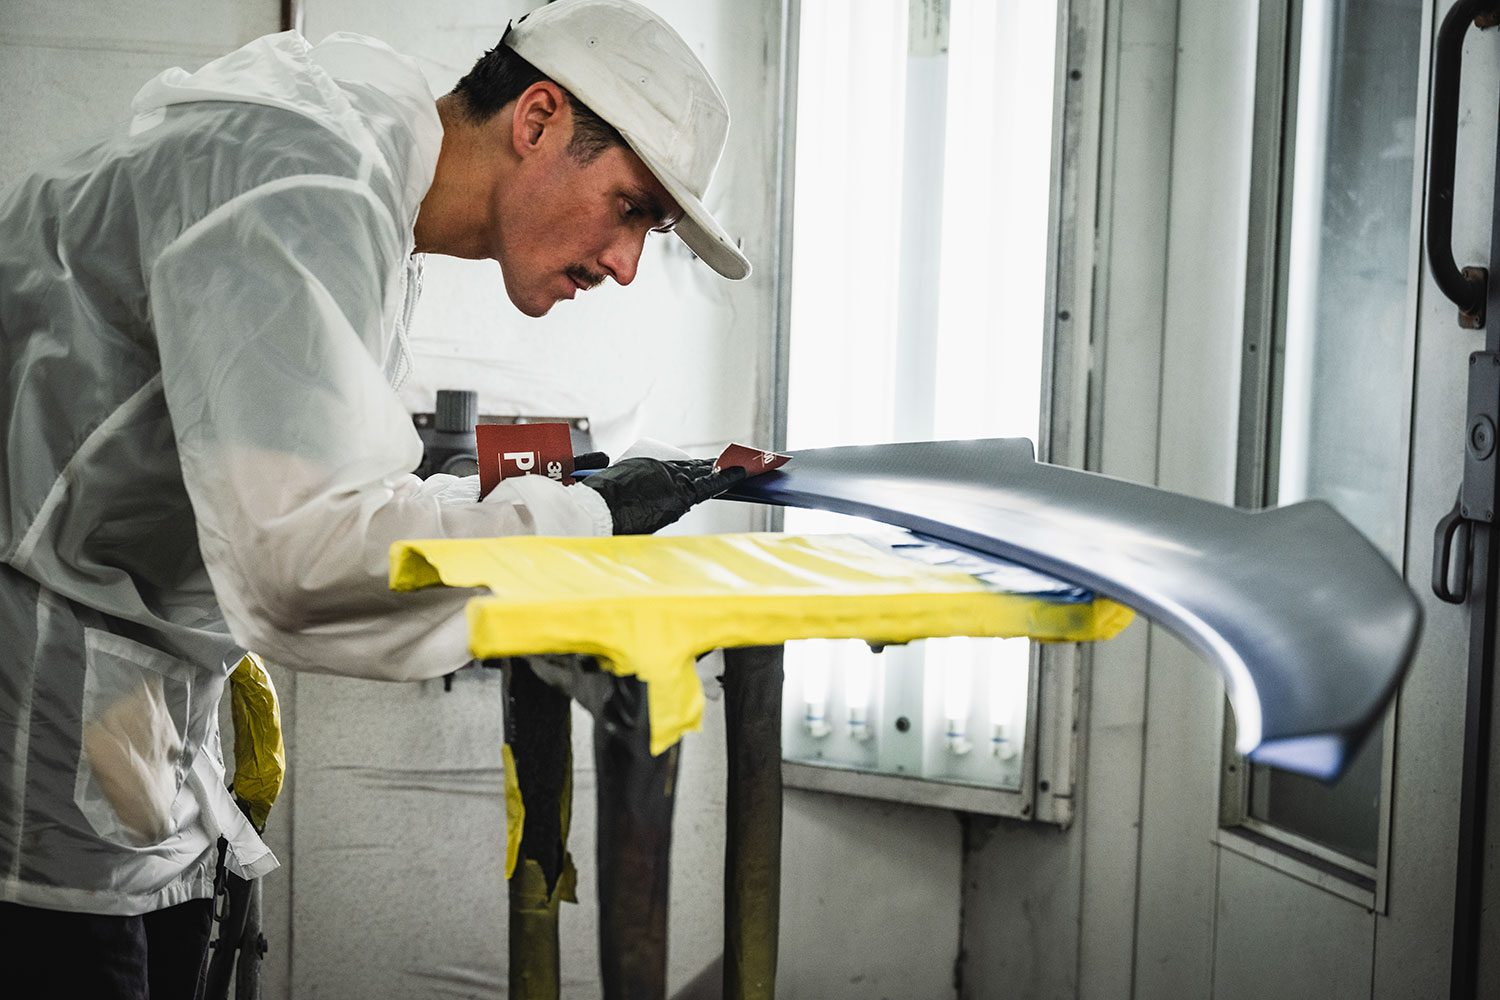
Everyone I’ve filmed working on the car has the same set of focused eyes.It’s difficult to tell through the lens, but the aerosolized paint has given the bare carbon a blue tint.Underneath is faded as well due to the high kick showing.Again we inspect for imperfections before another coat is applied.A second coat is applied to both pieces.The finalized shark fin, before clear coat.At this point, John asks if I’m happy with the parts, but we both wonder about the gradient on the lip being too high…So John takes a special paint thinner and wipes it all away to try again. It’s amazing how quickly the paint can be dissolved.We start over, bringing the gradient lower this time.Big shout out to John for making the vision become reality.
Seeing the clear coat clearly
Even here, there are options for a clear or “extra bright” clear that works well with metallic paints like Portimao Blue.
Briefly back to the mixing area for clear coat.Applying a coat to each part. John has a temperature gauge inside the booth that allows him to be precise during application. Humidity is kept low.Once the oven is turned off, the parts are brought out and allowed to air dry and “gas out” for a few days.
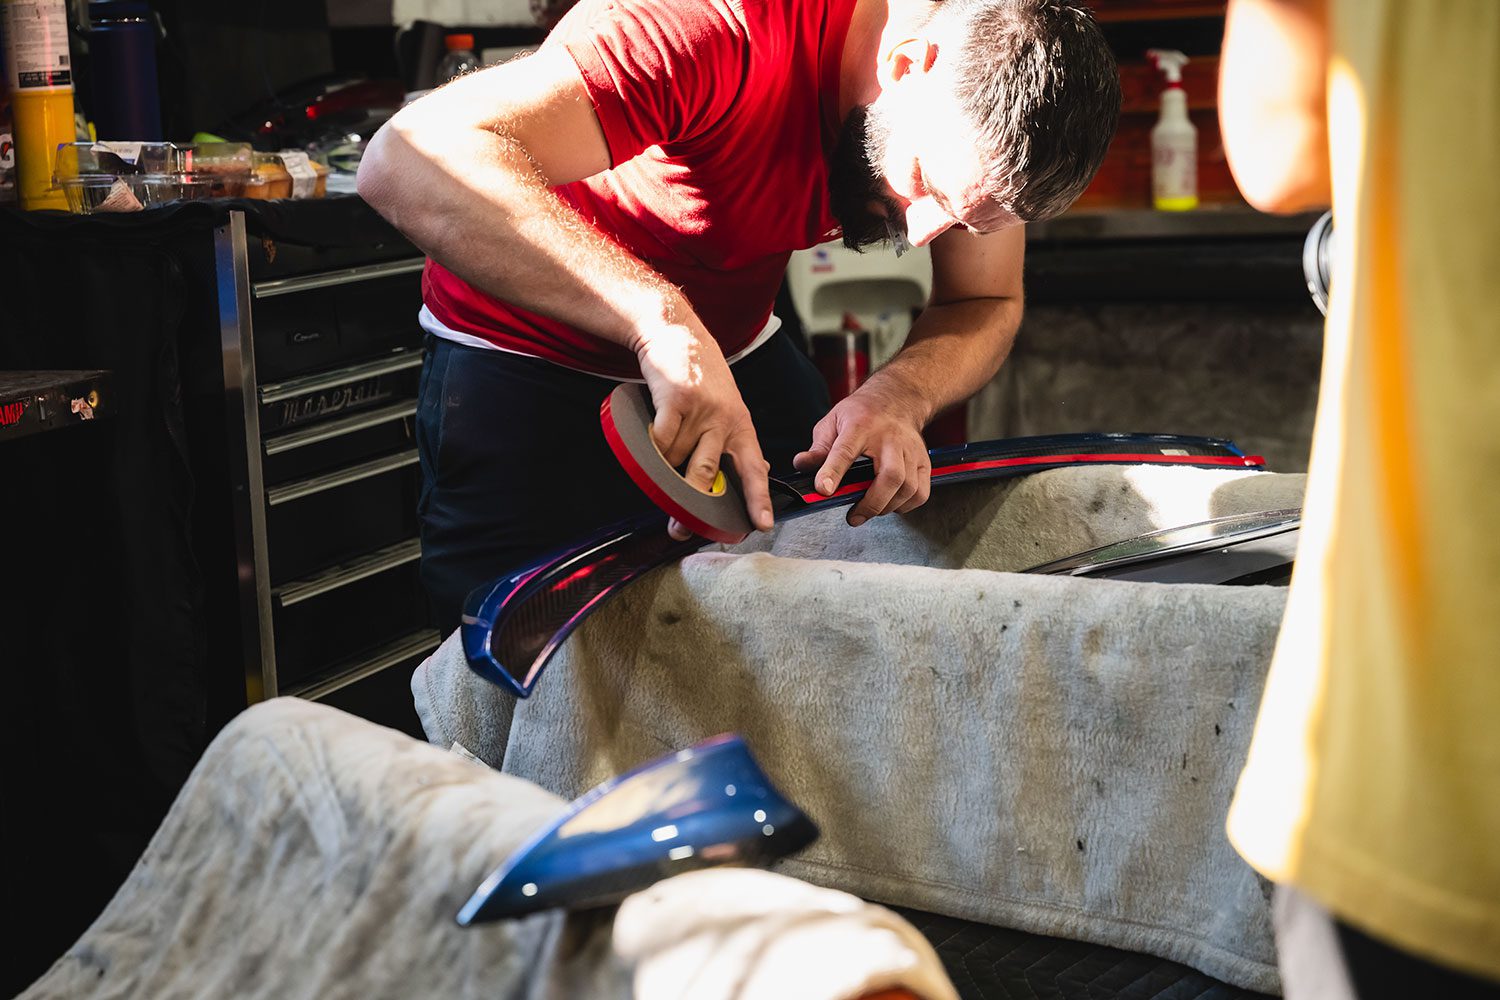
Subtraction and addition – installing the painted Carbon Fiber parts
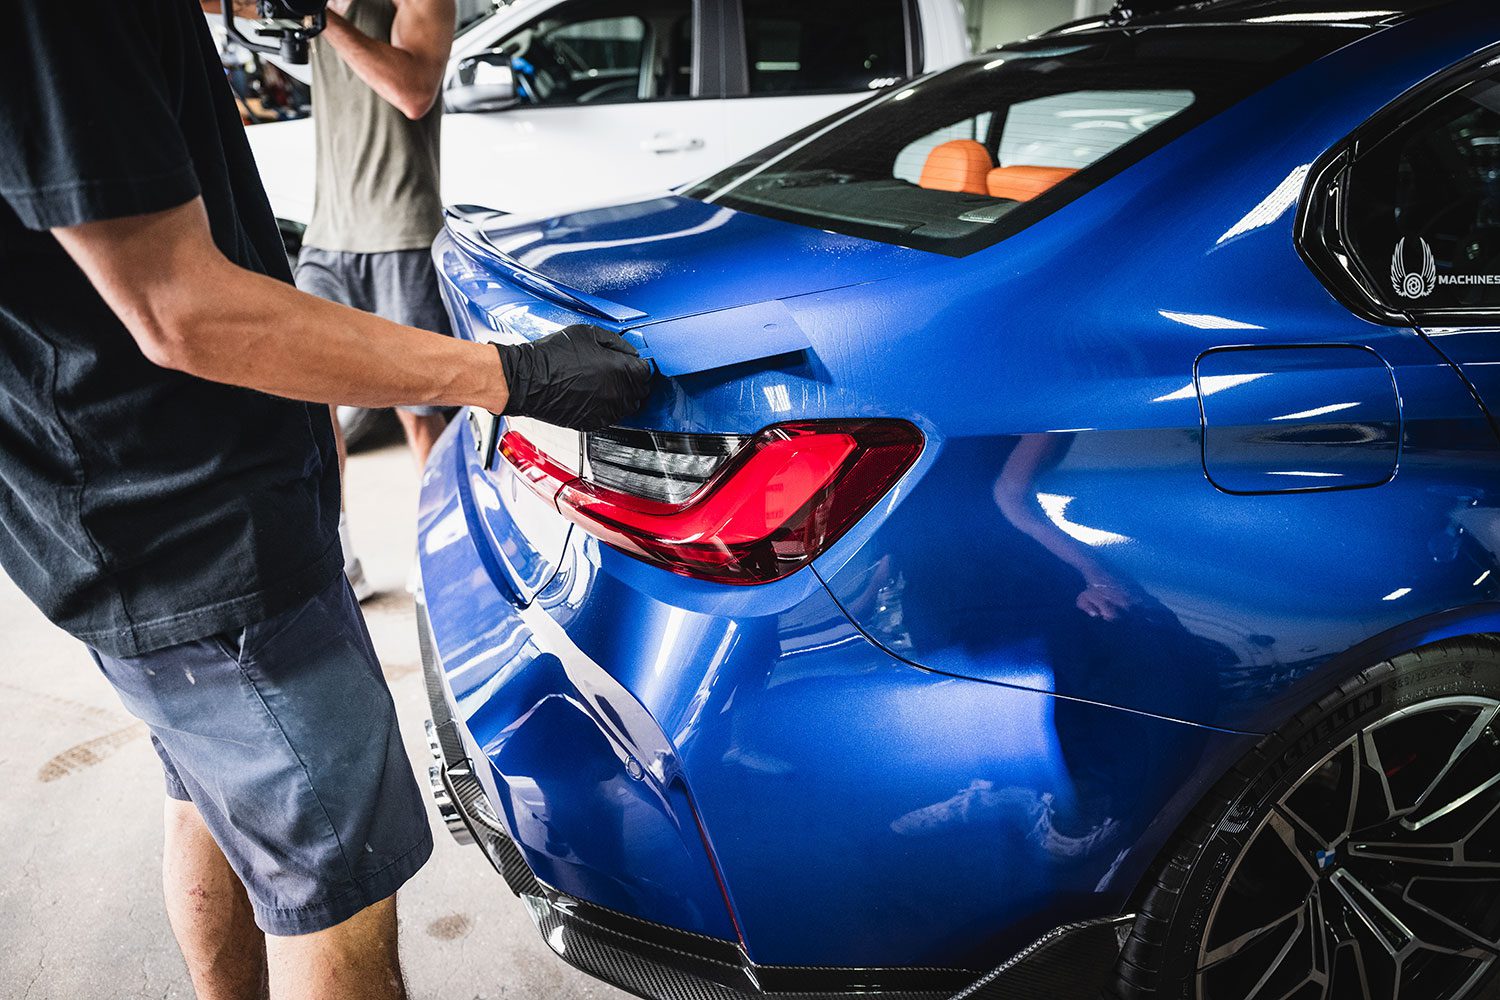
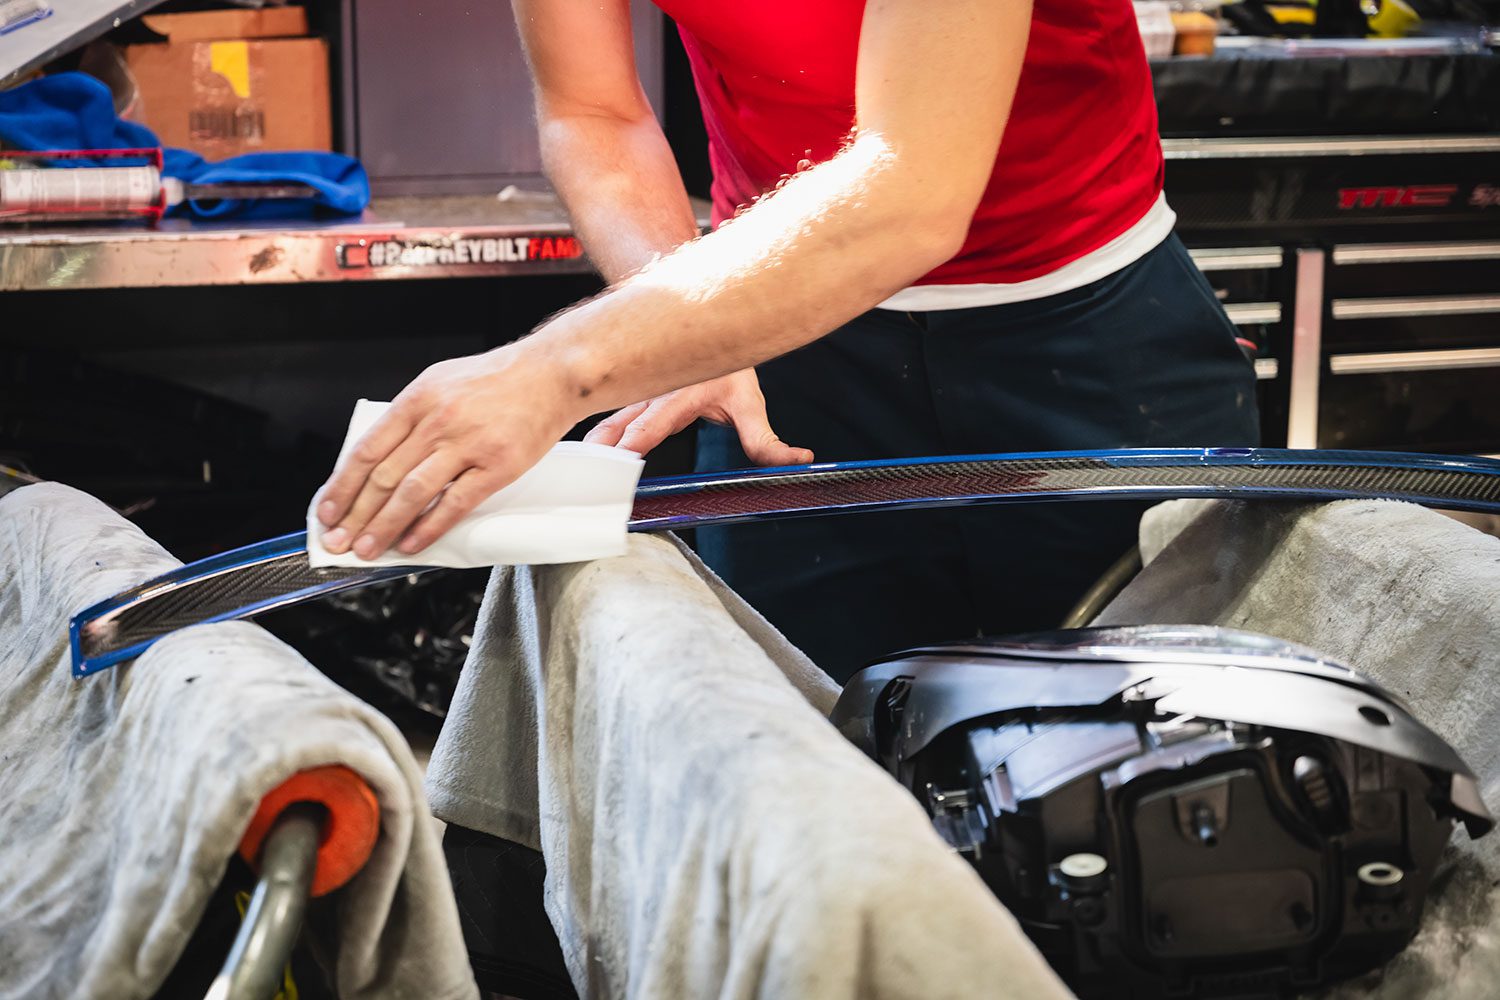
I return the next week to have the parts installed. This isn’t exactly like removing the badging, but it’s similar.
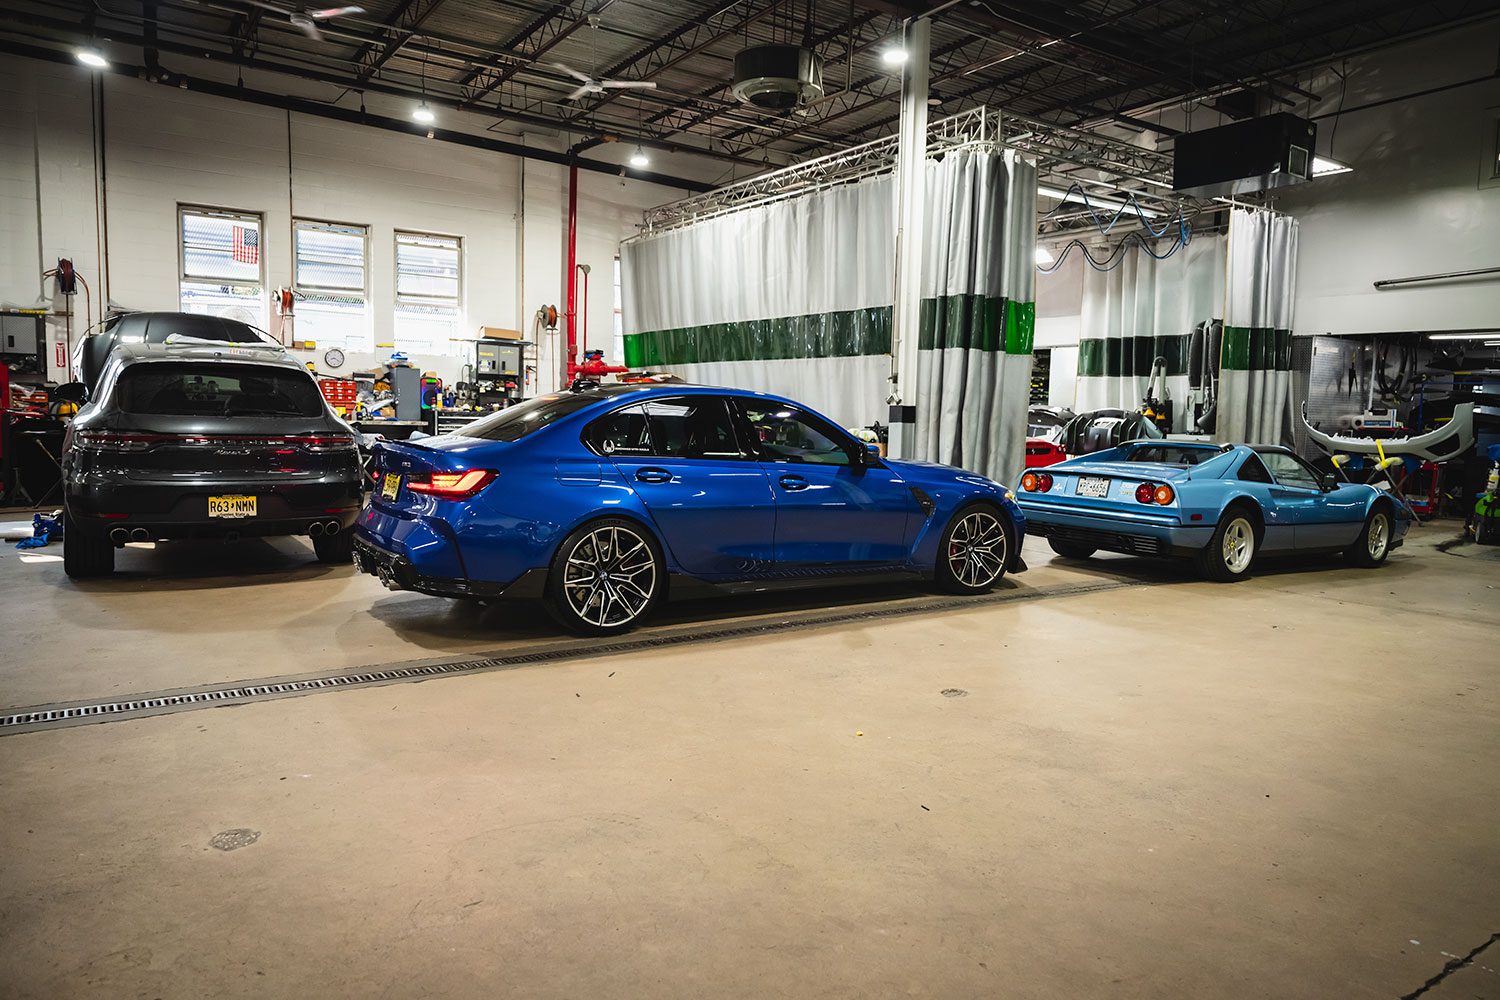
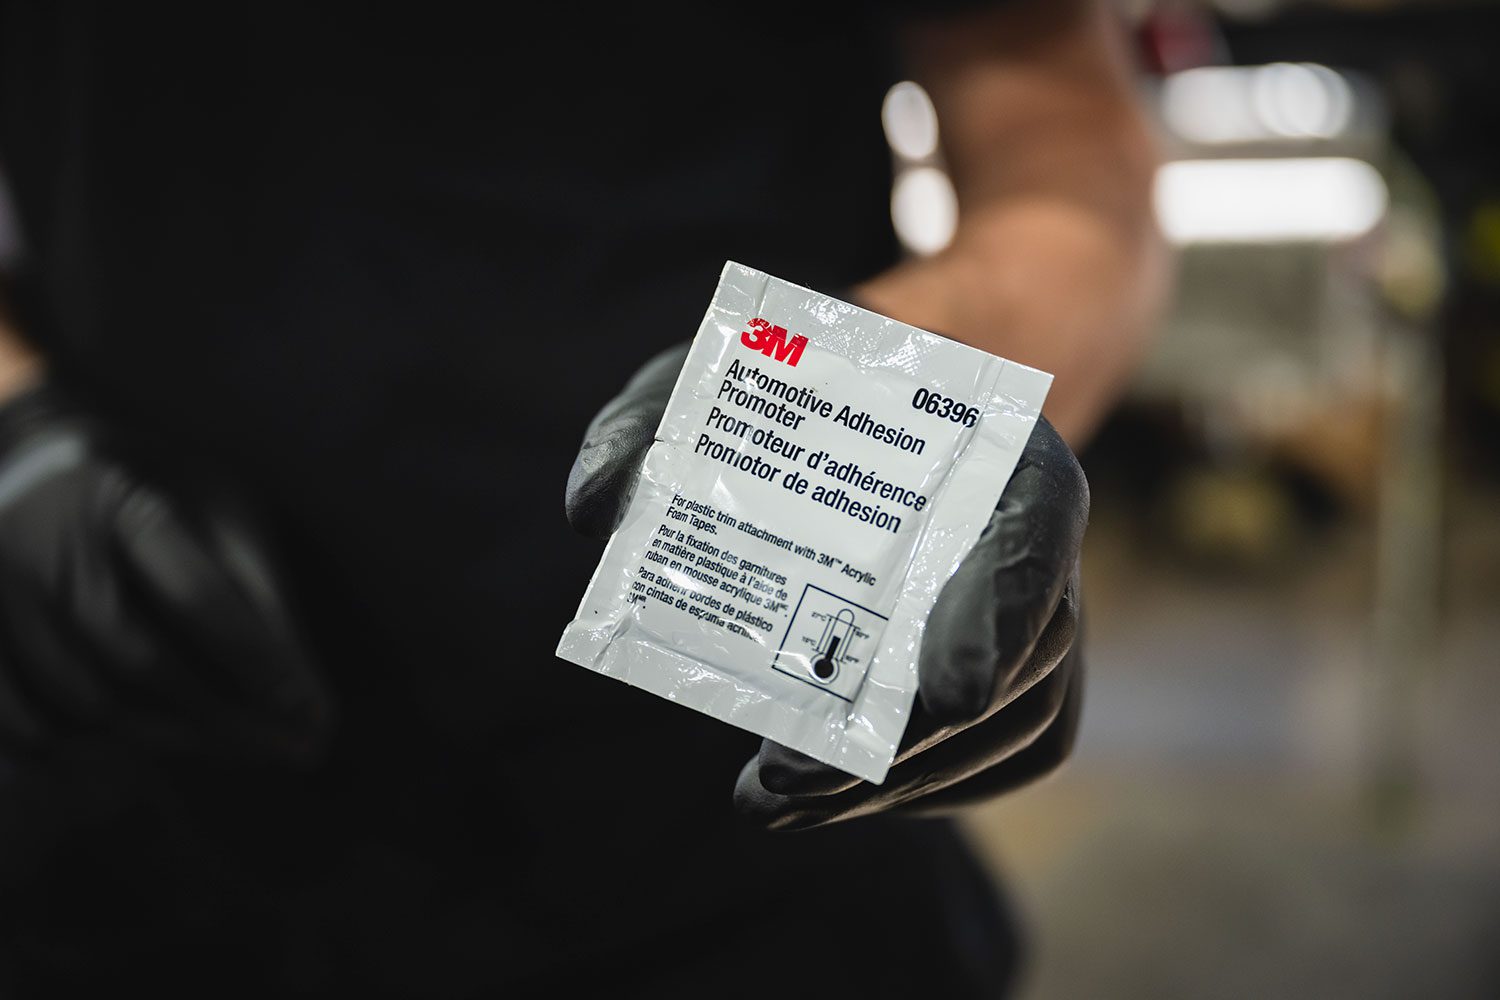
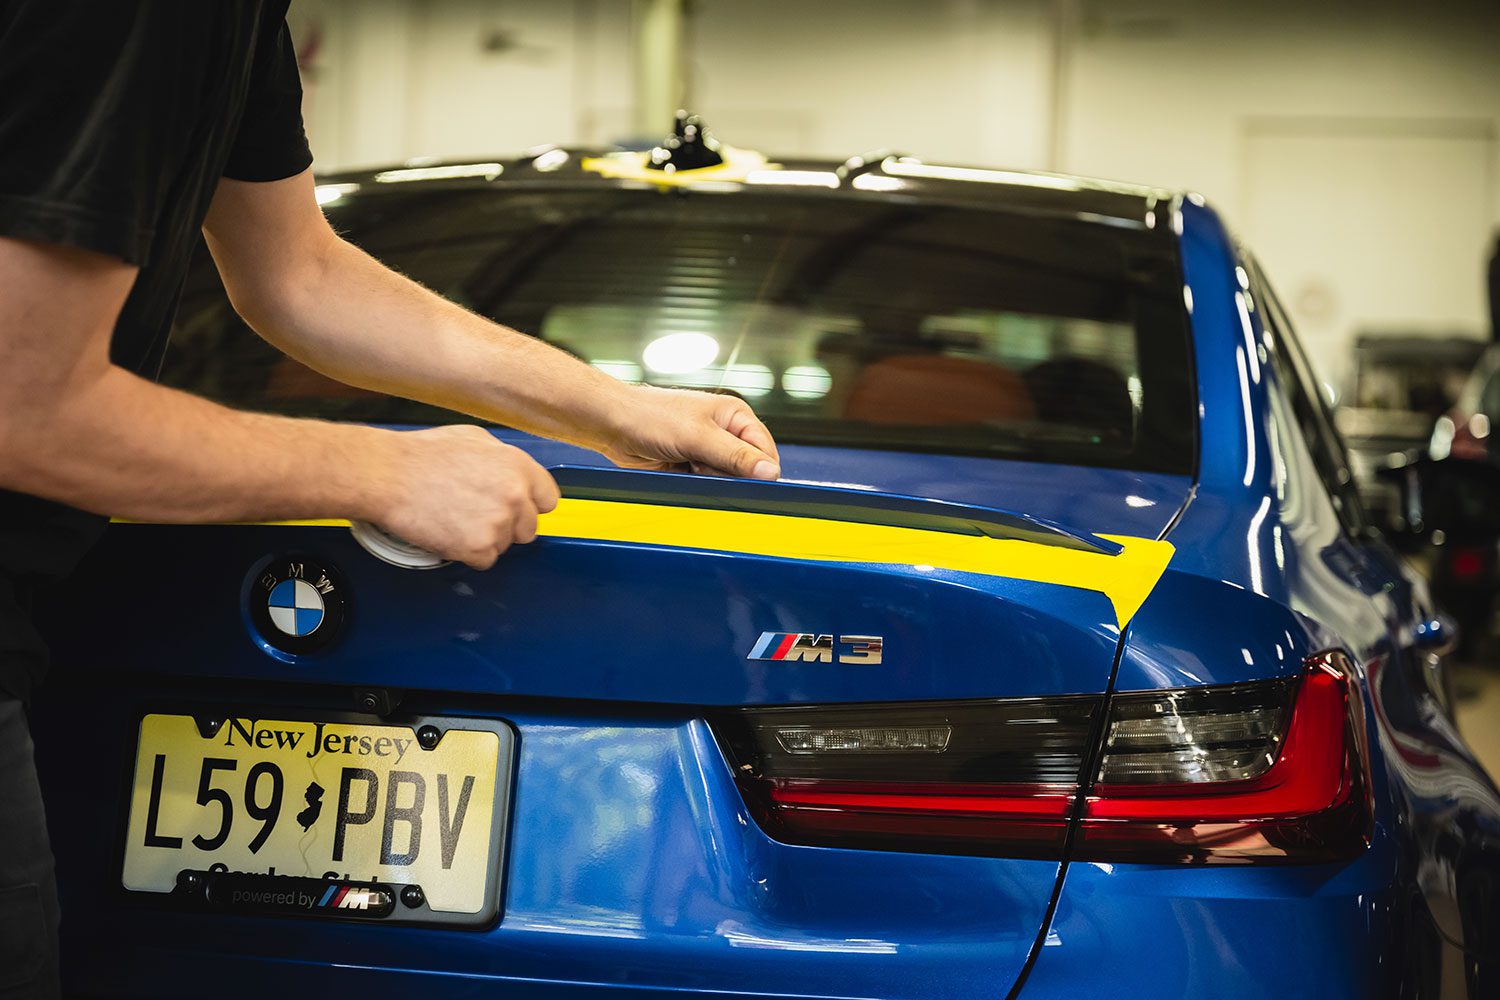
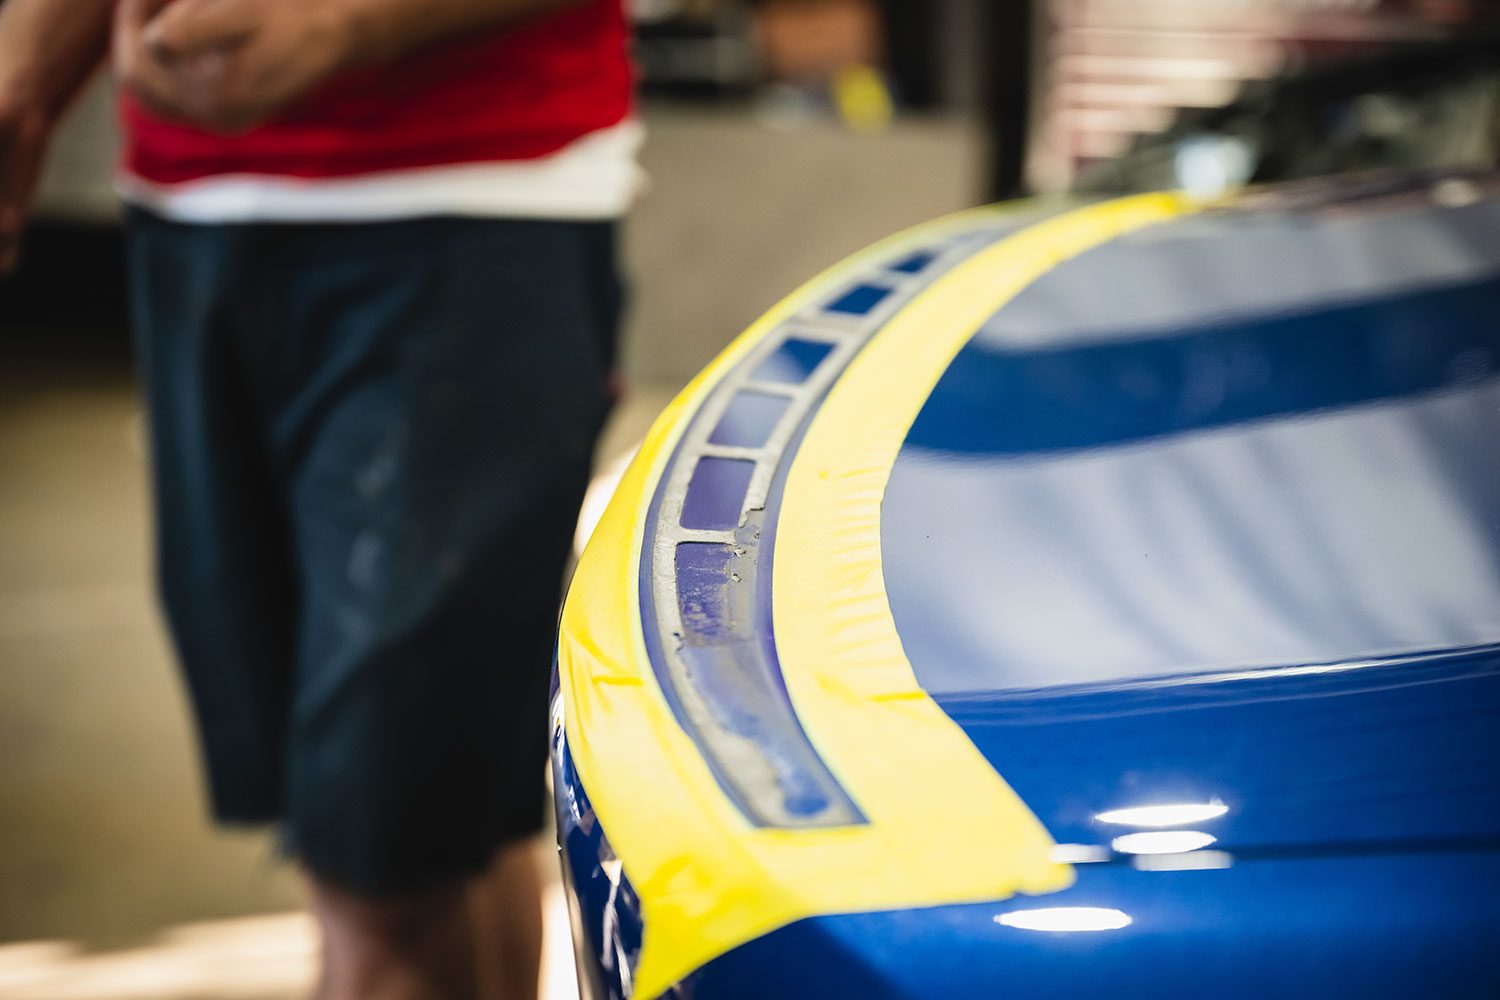
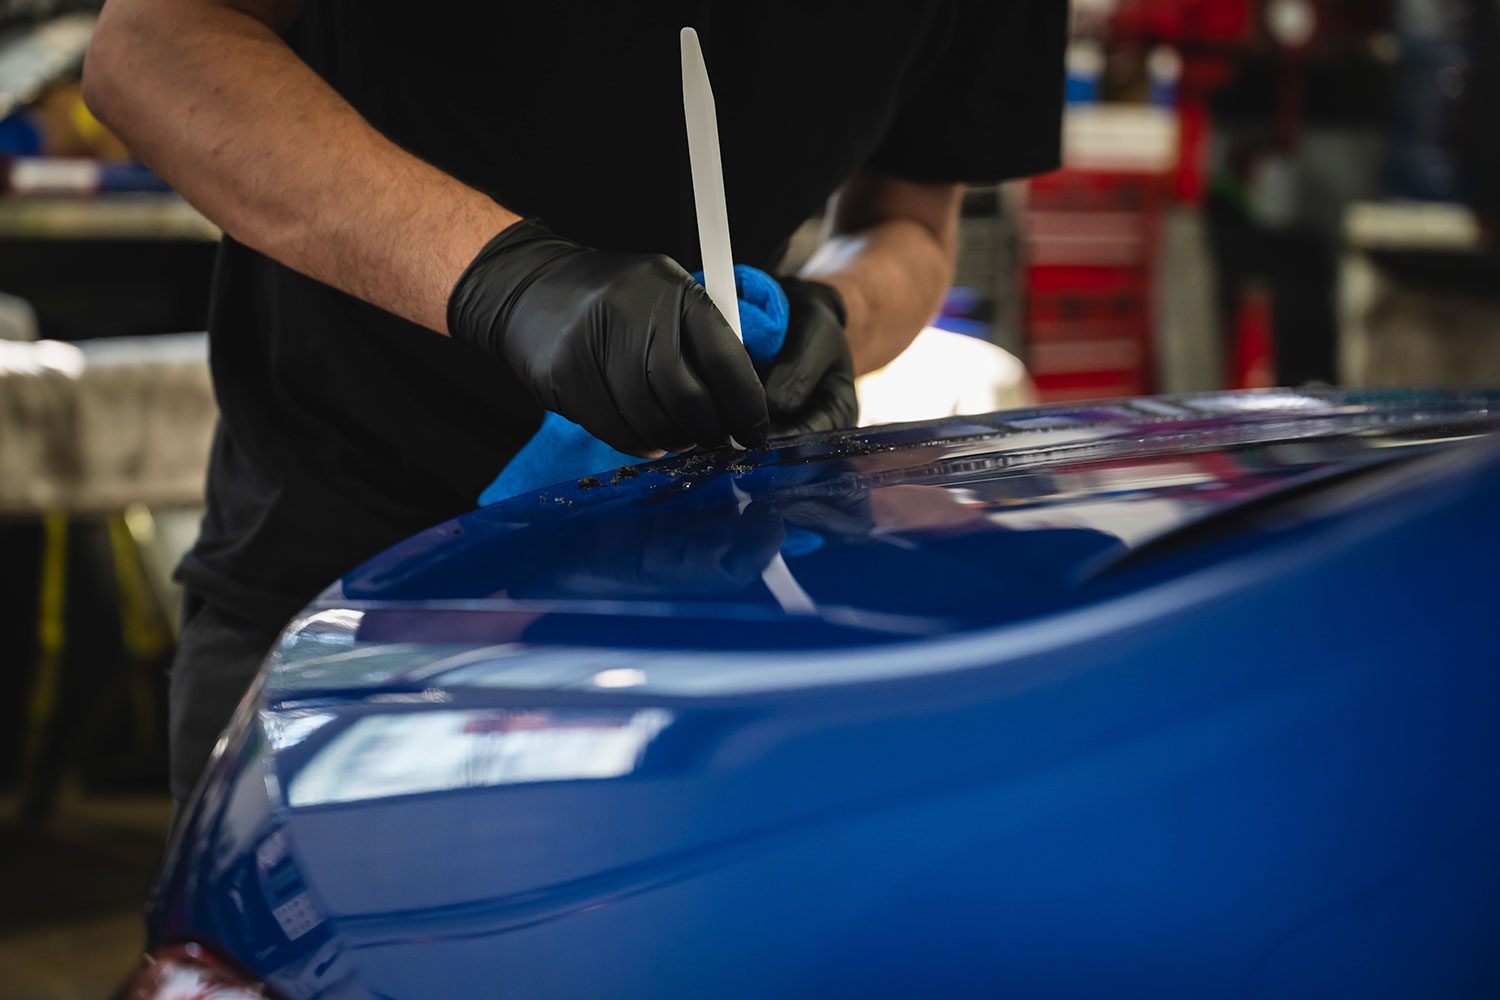
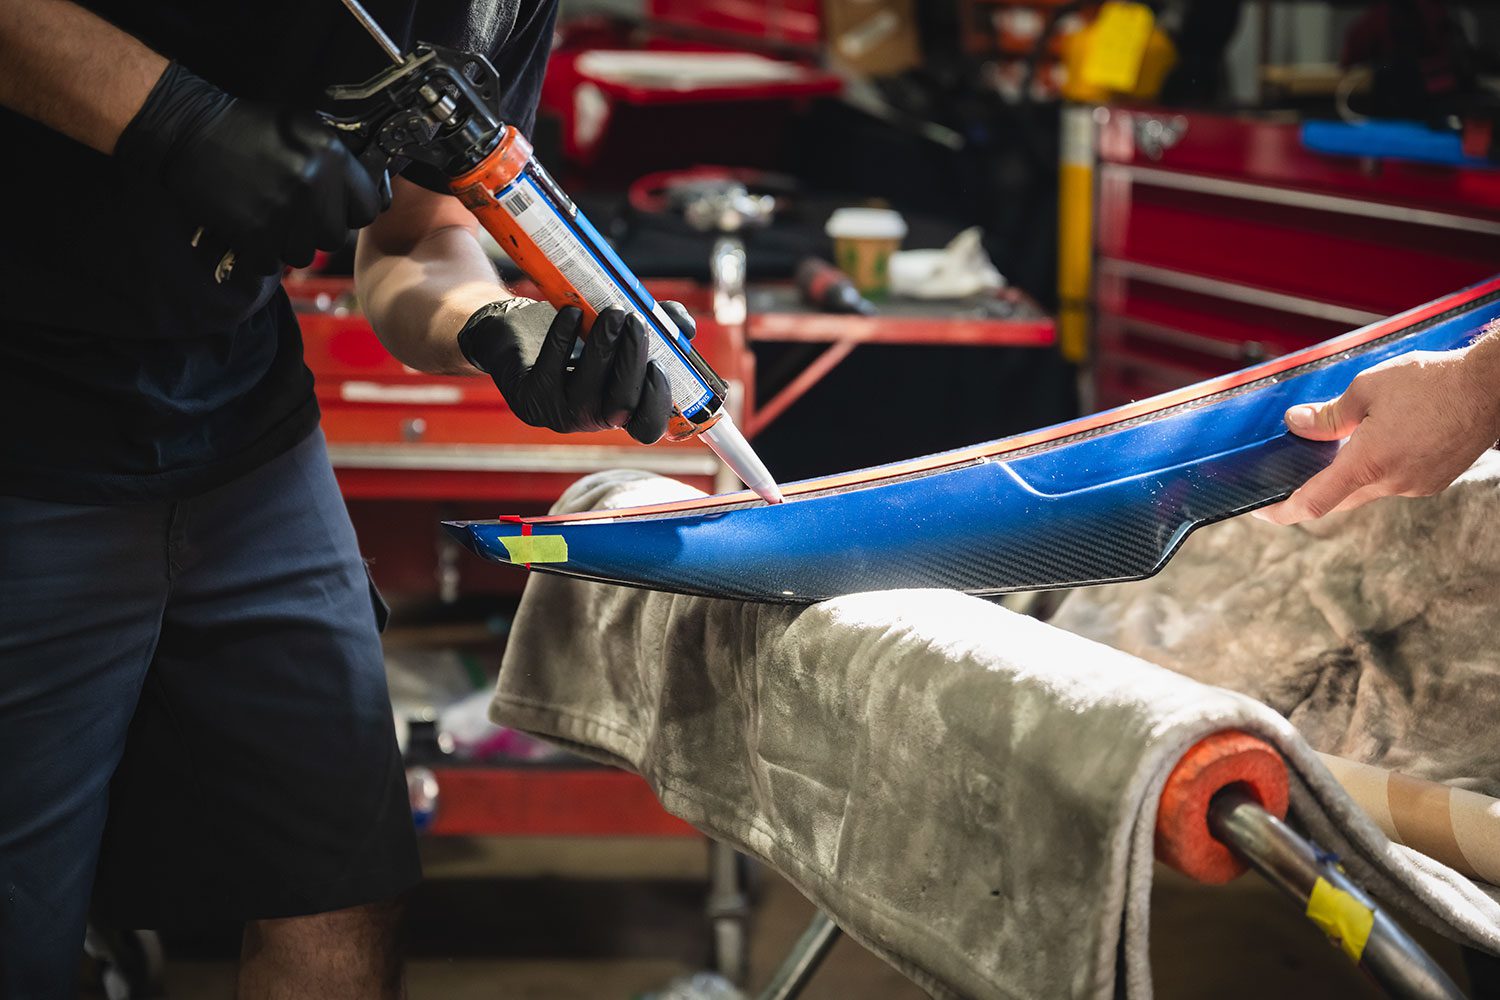
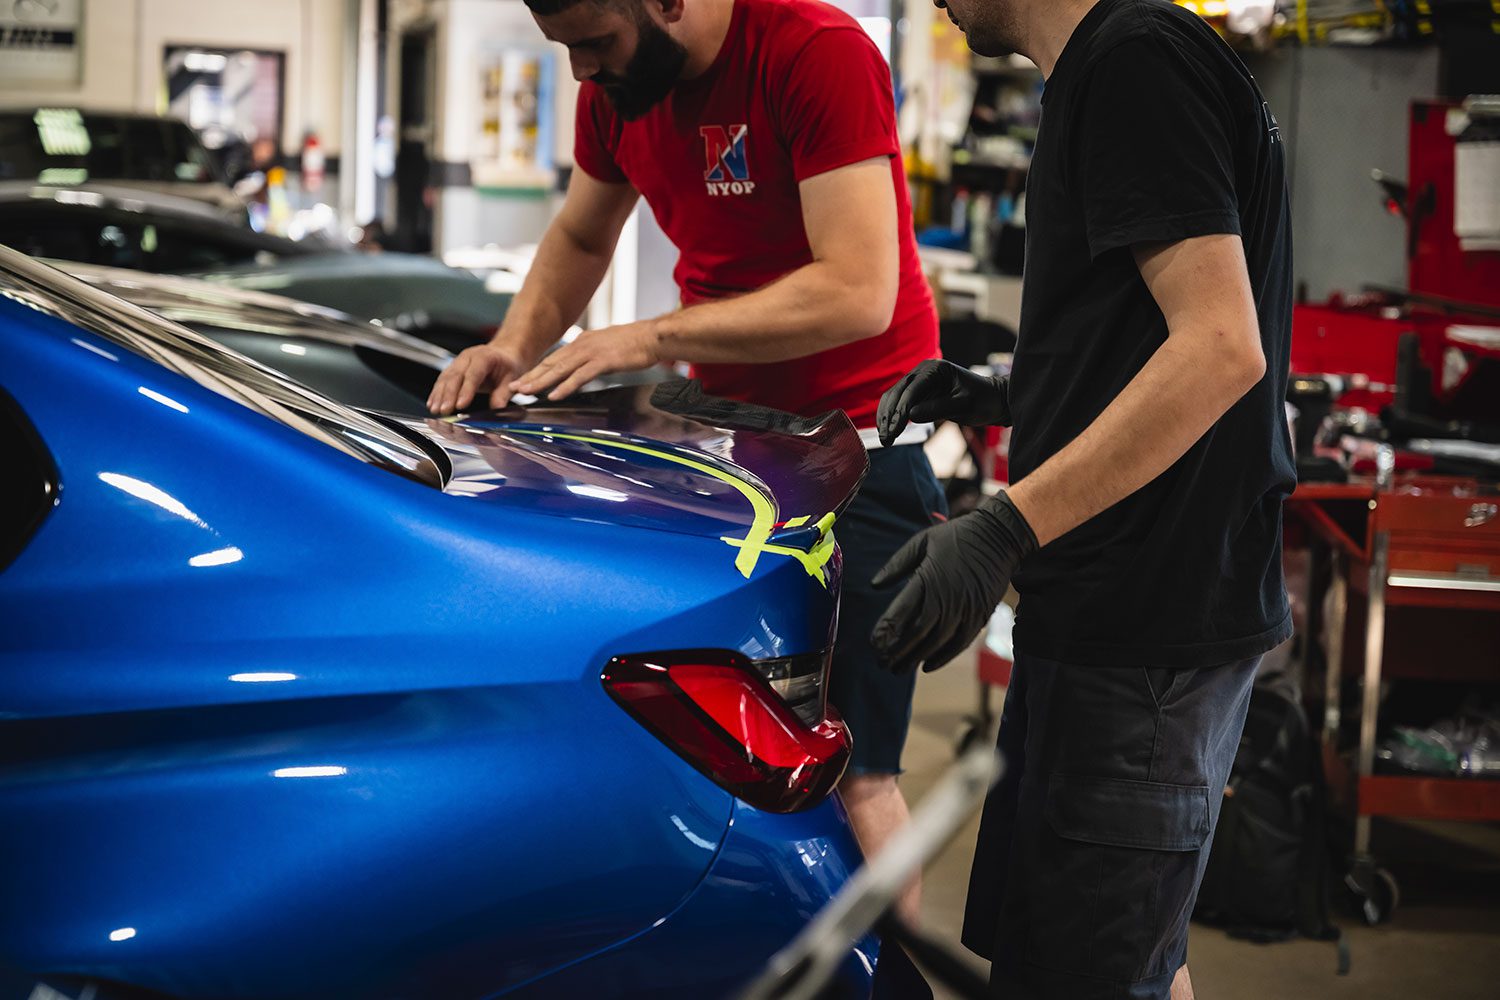
The M3 is brought inside next to some choice company.Stock spoiler for sale.Finally killing off the last of the black.The guys will be using 3M Adhesion promoter to prep the surfaces.3M tape is used on the edges of the spoiler.Meanwhile, tape is applied to the M3 to protect the surface prior to removal.Fishing line is used to break the glue bond.This is what’s left behind.Size does matter…The shark fin is also prepped while the OEM spoiler glue is removed.A special chemical is used to soften and dissolve the glue. Think Goo Gone on steroids.Trim tools are used to safely remove what’s left.After only about a half hour, no evidence remains.Looks weird naked.The new high-kick spoiler is test fitted.Glass glue is used to adhere the spoiler to the trunk, along with 3M tape.A small piece of tape backing it left out to peel off the entire strip once installed.All set!
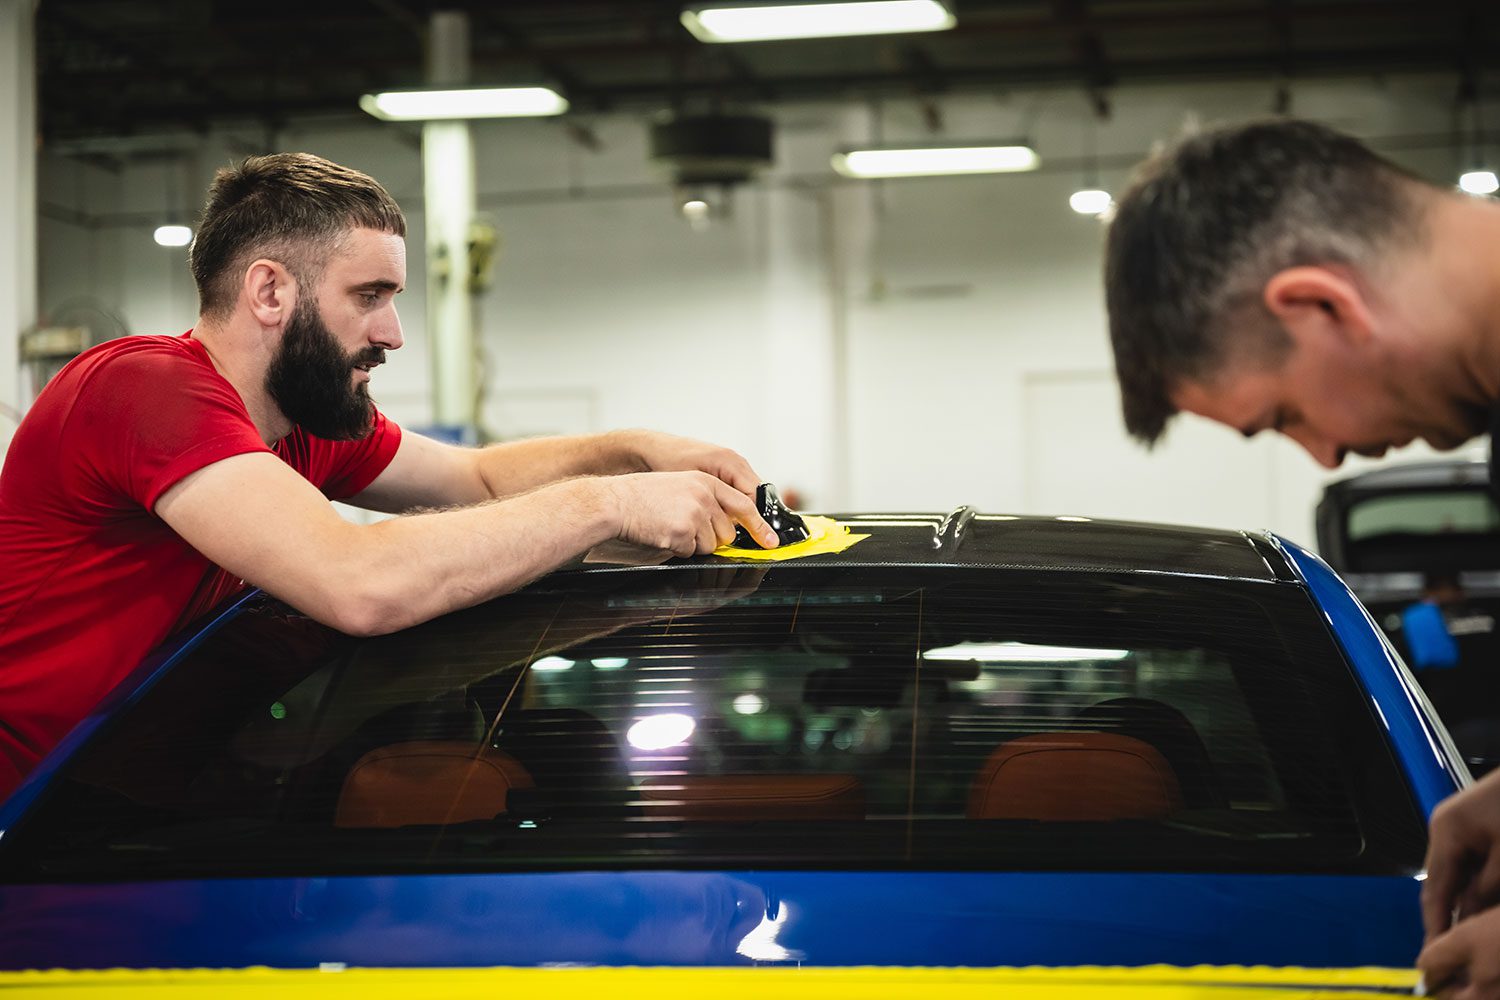
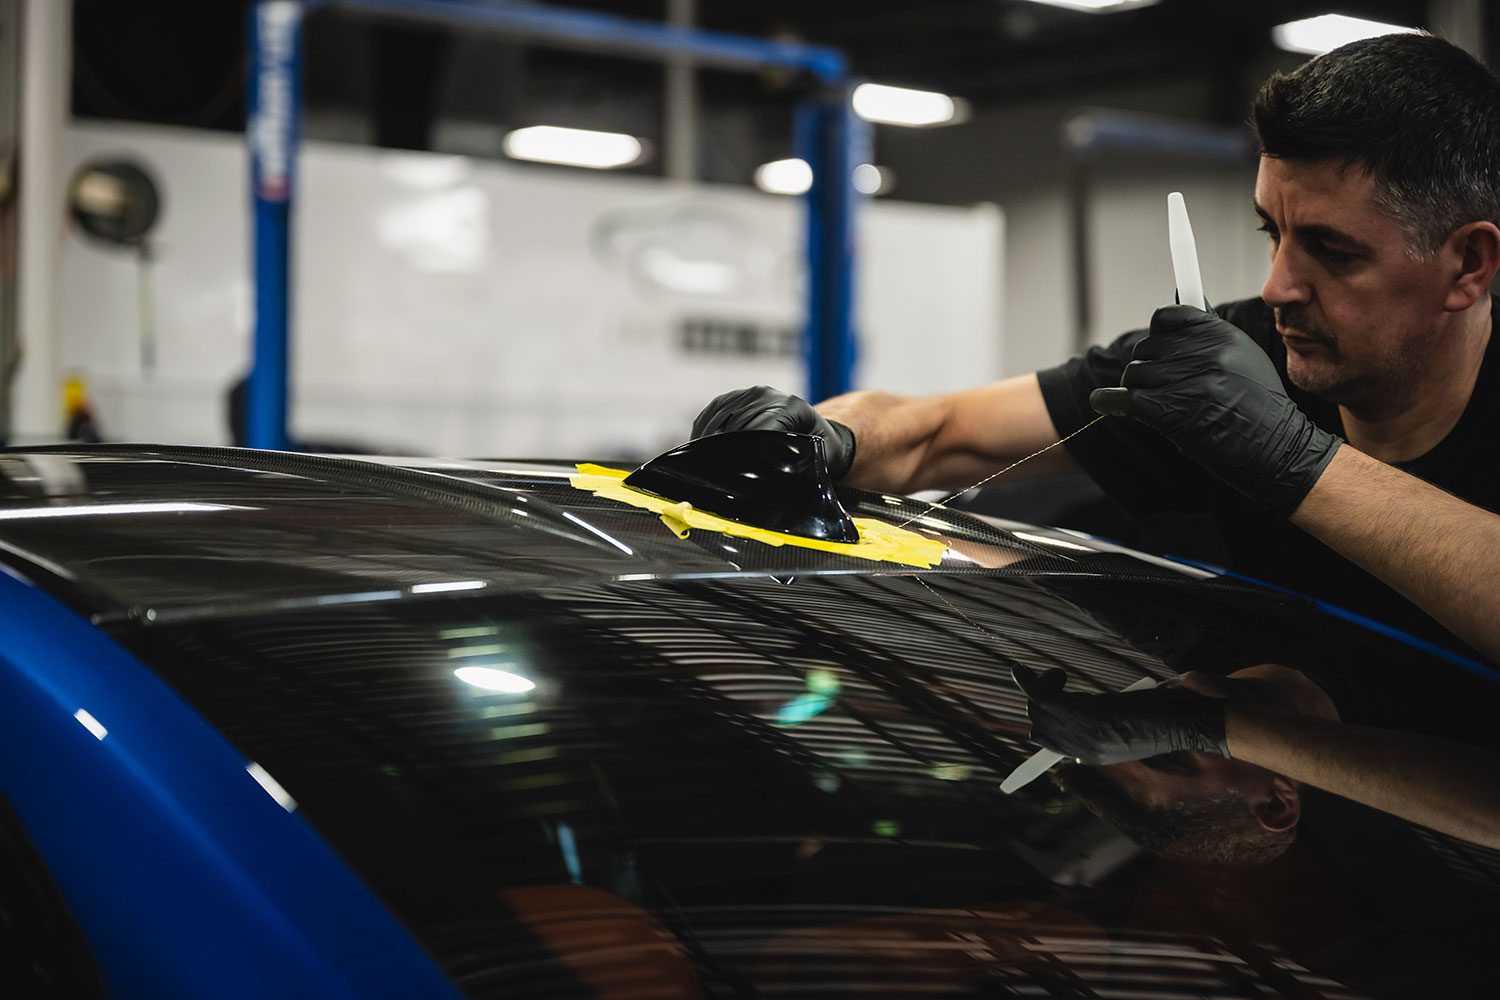
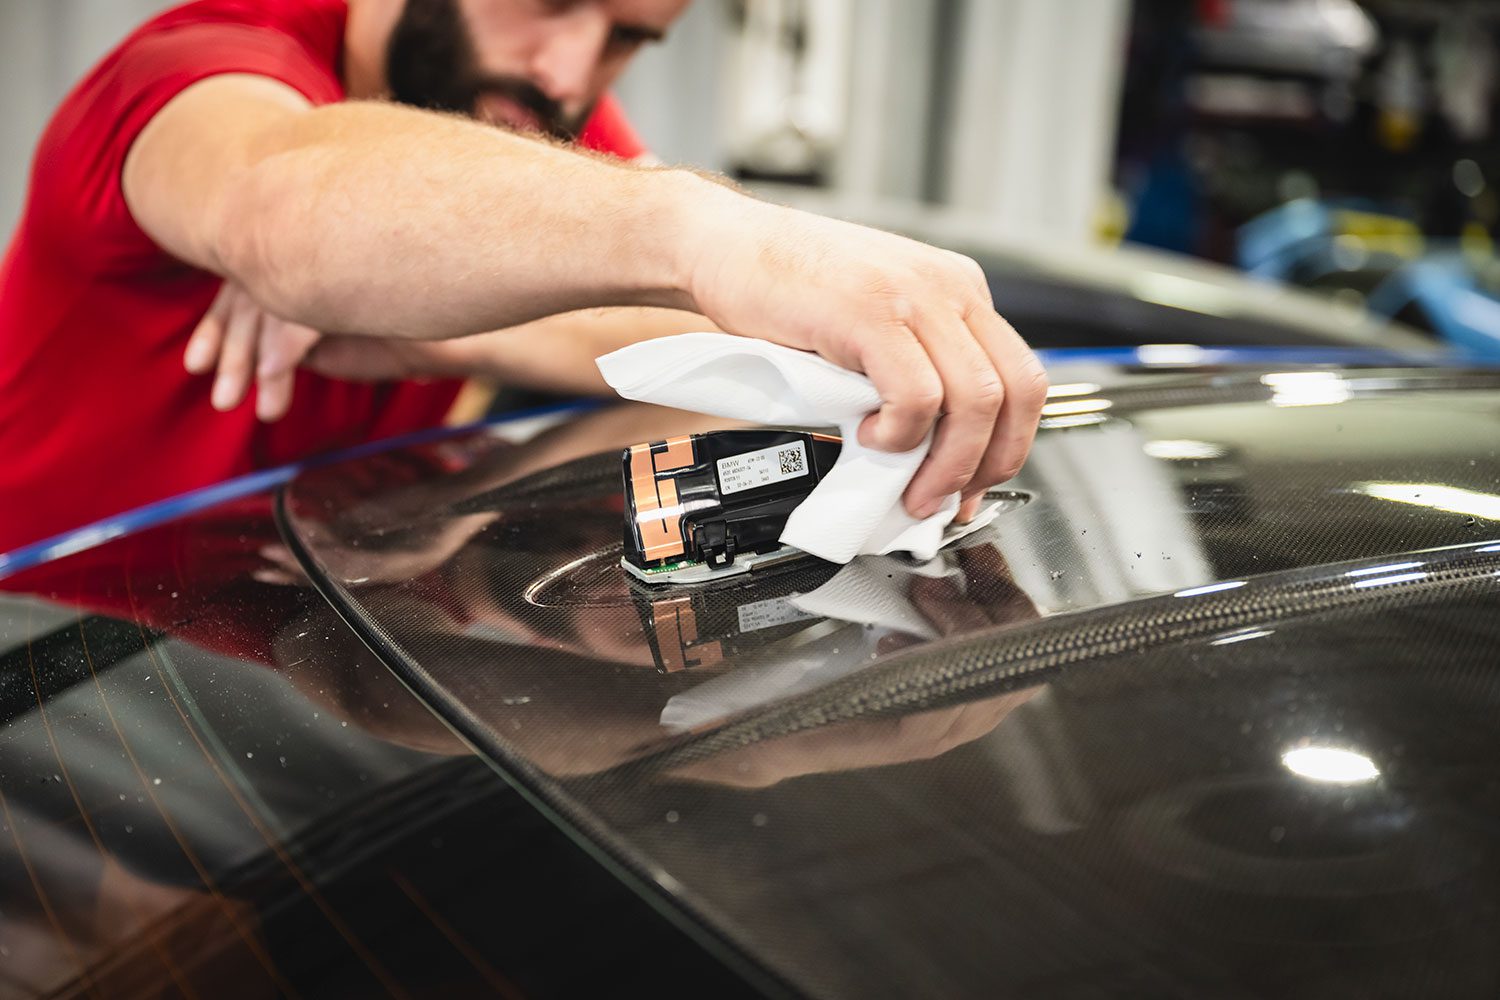
Installing the BMW shark fin
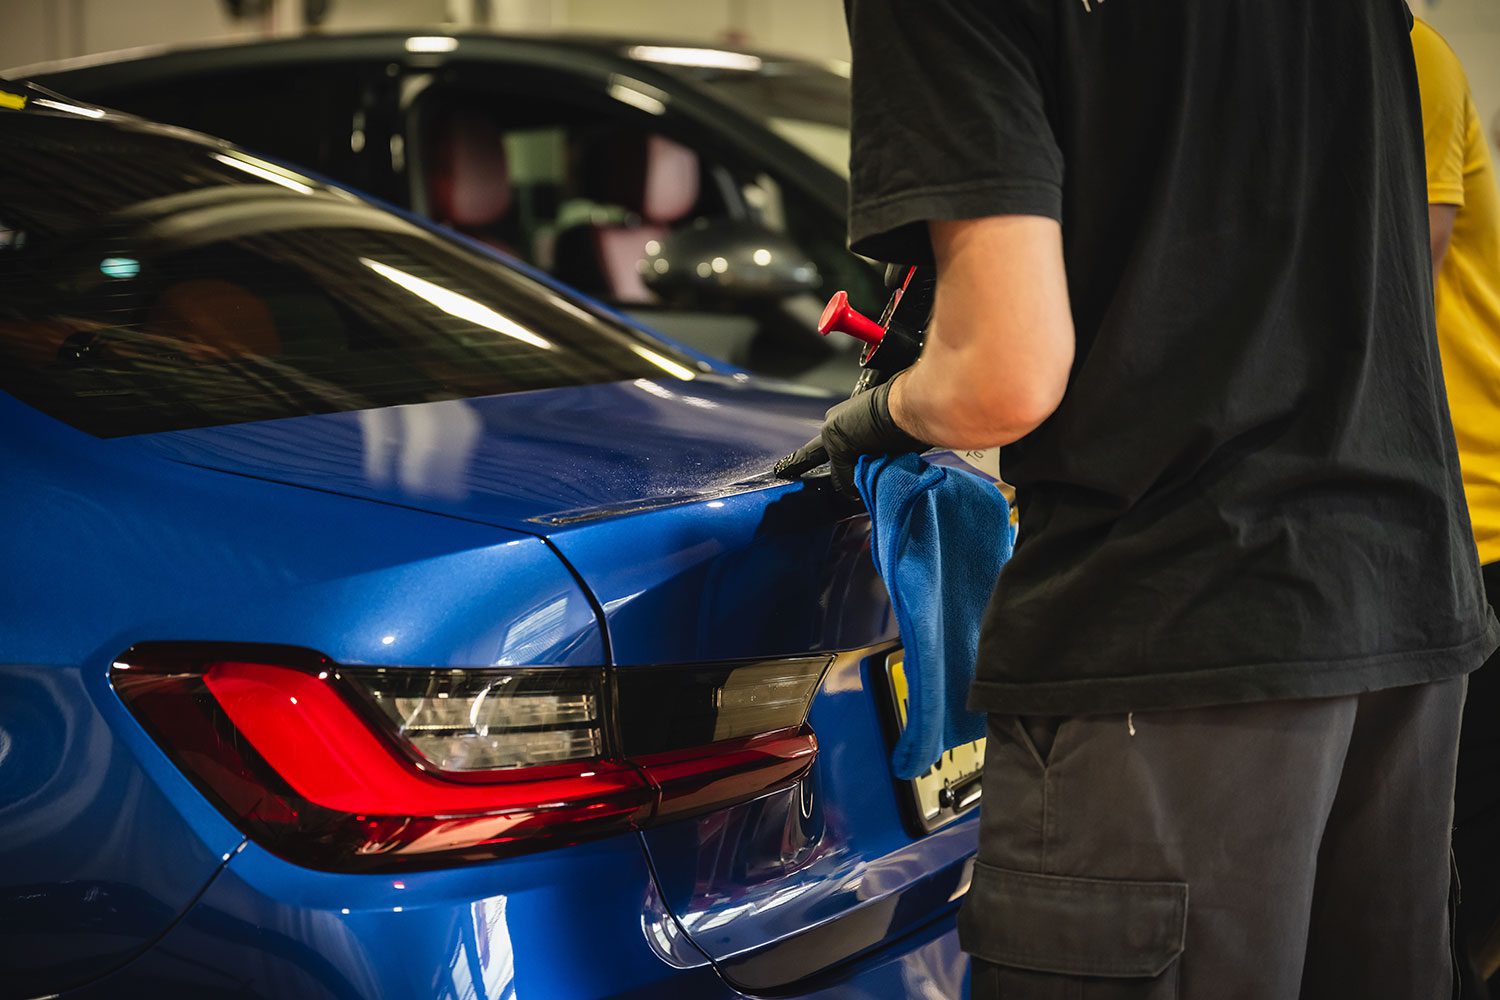
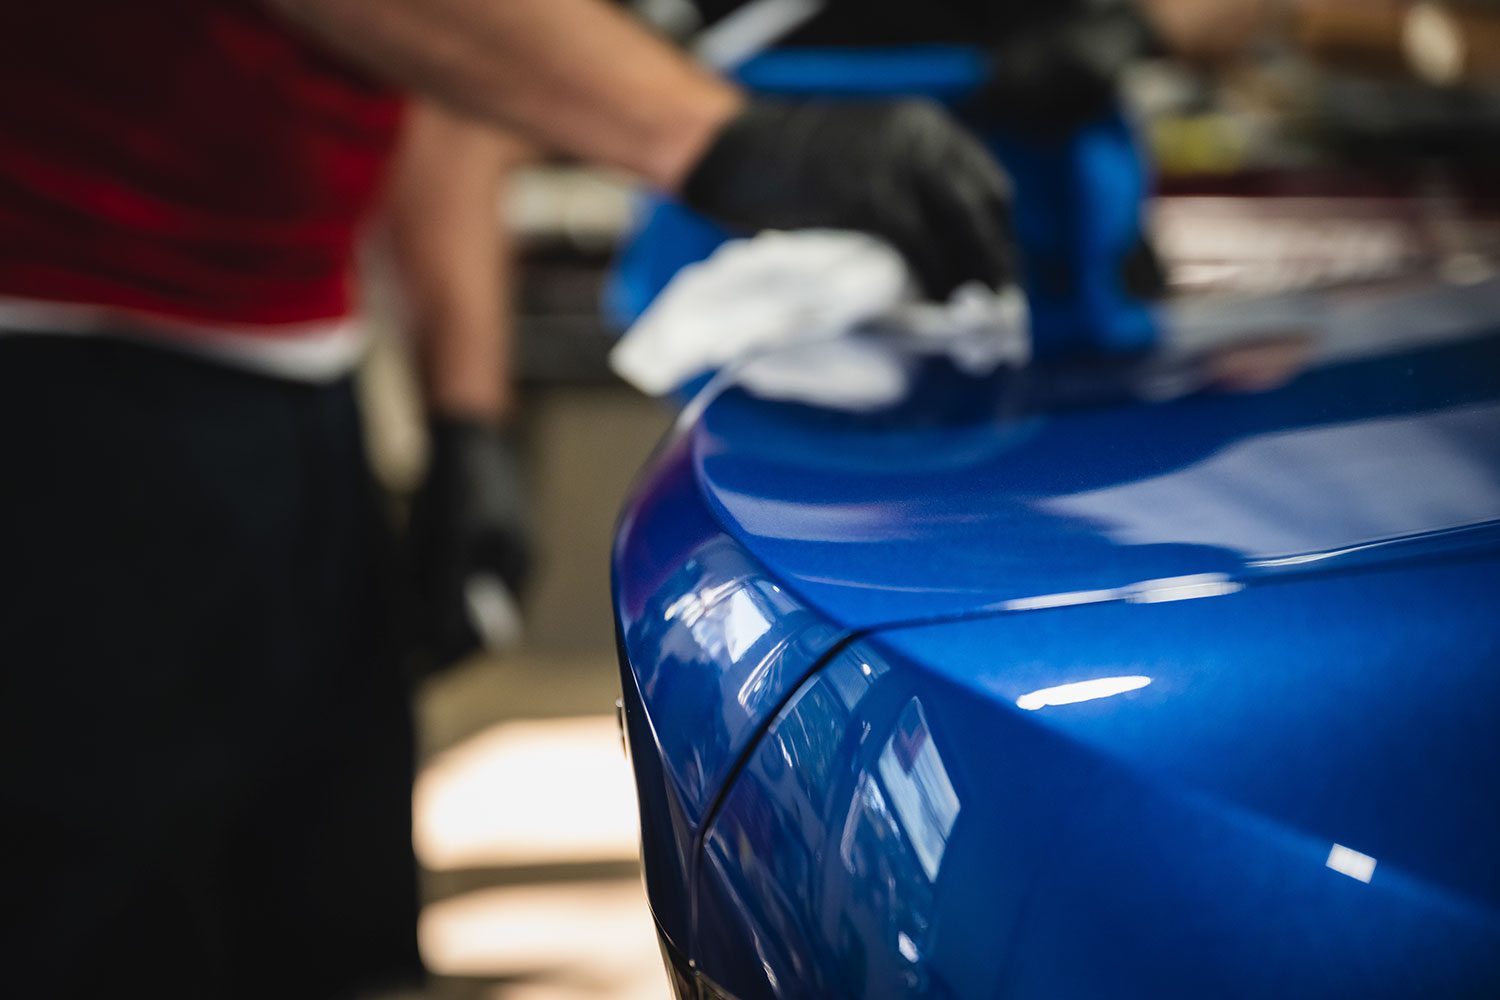
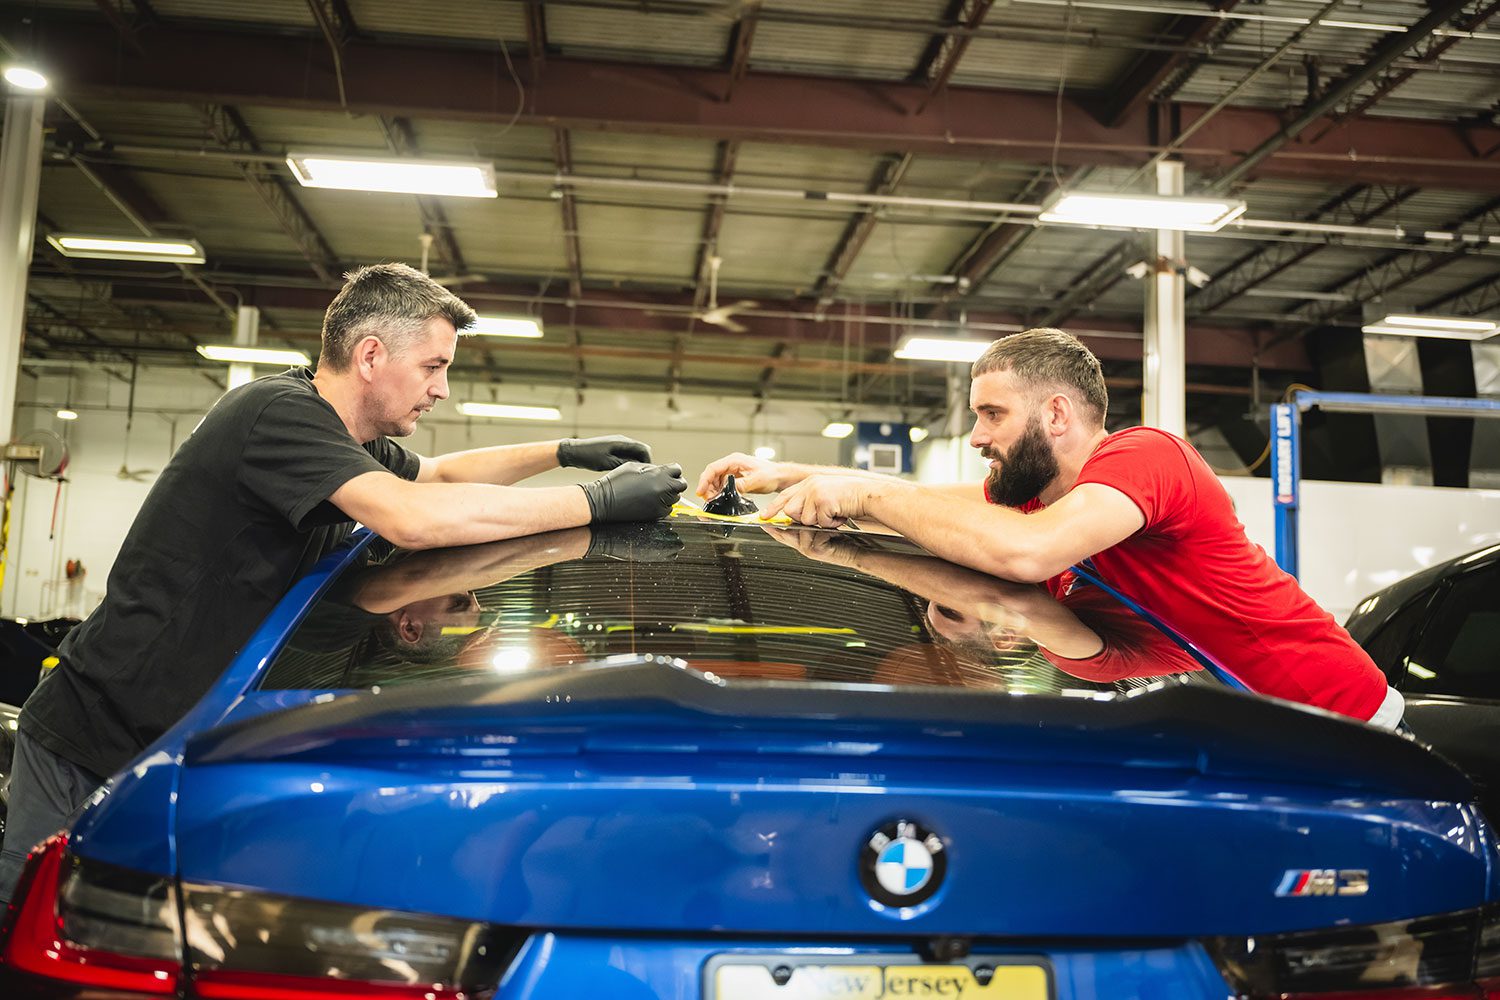
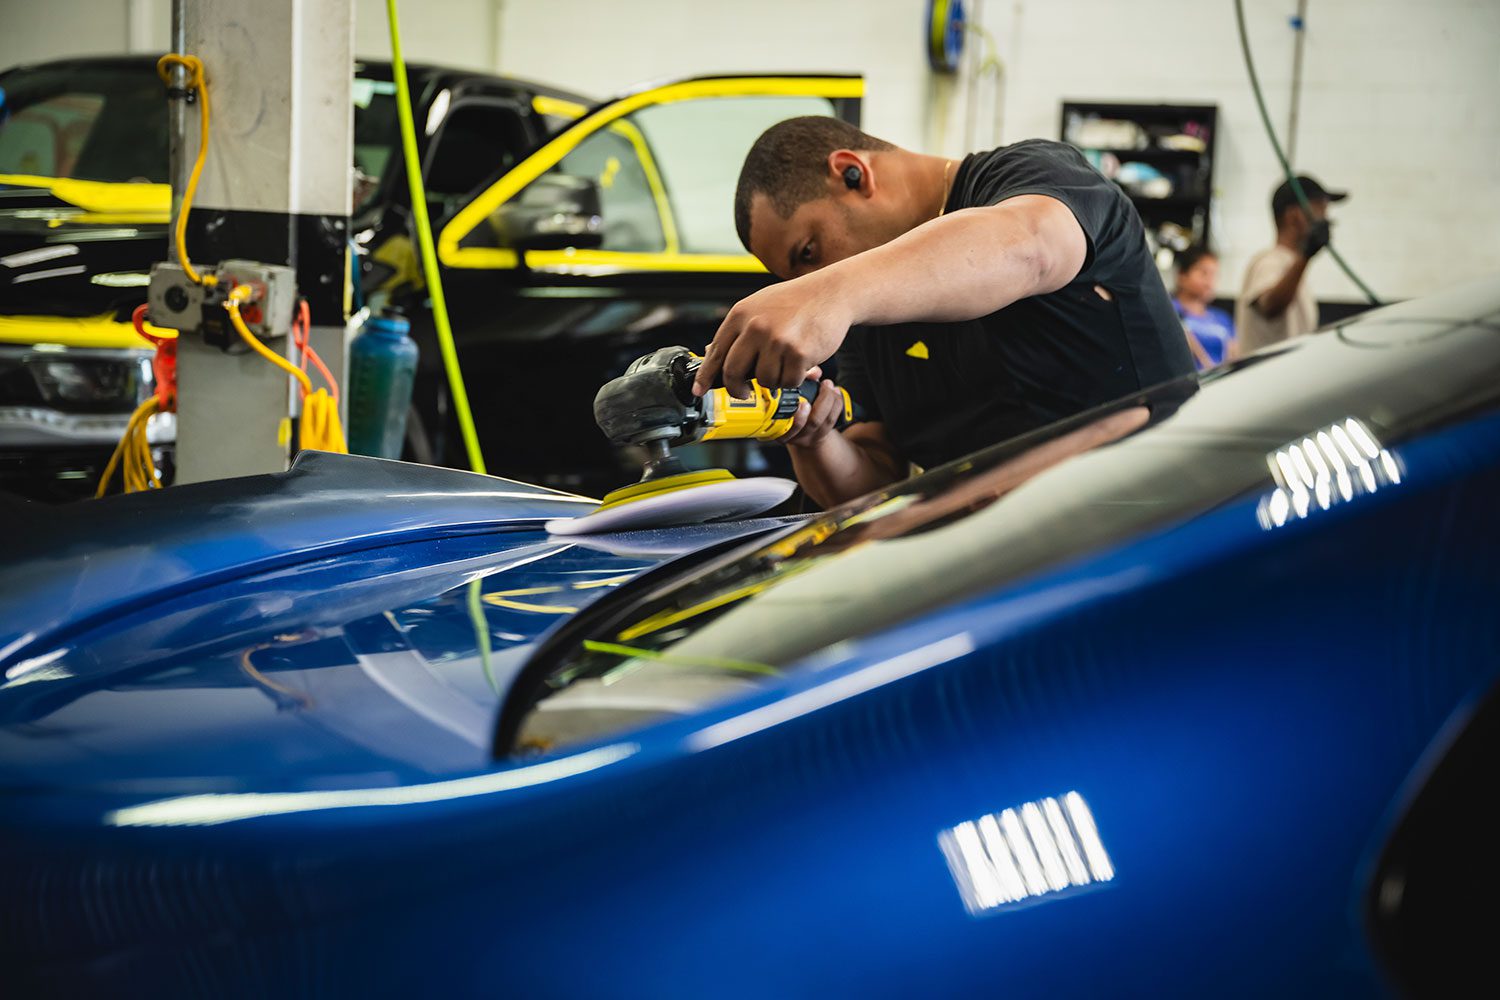
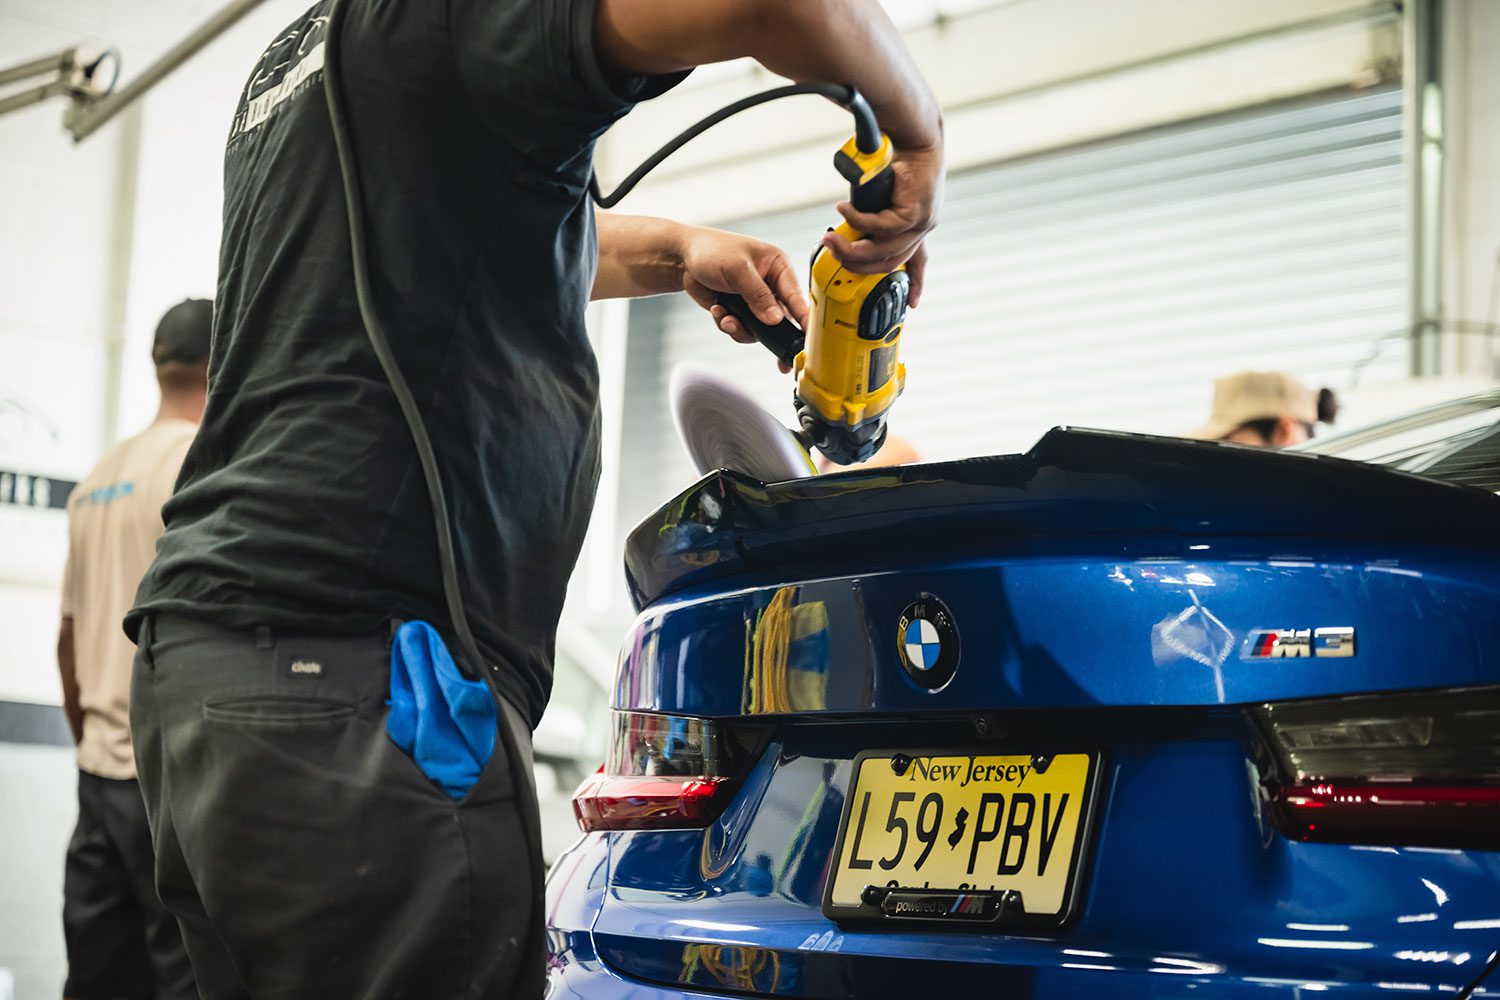
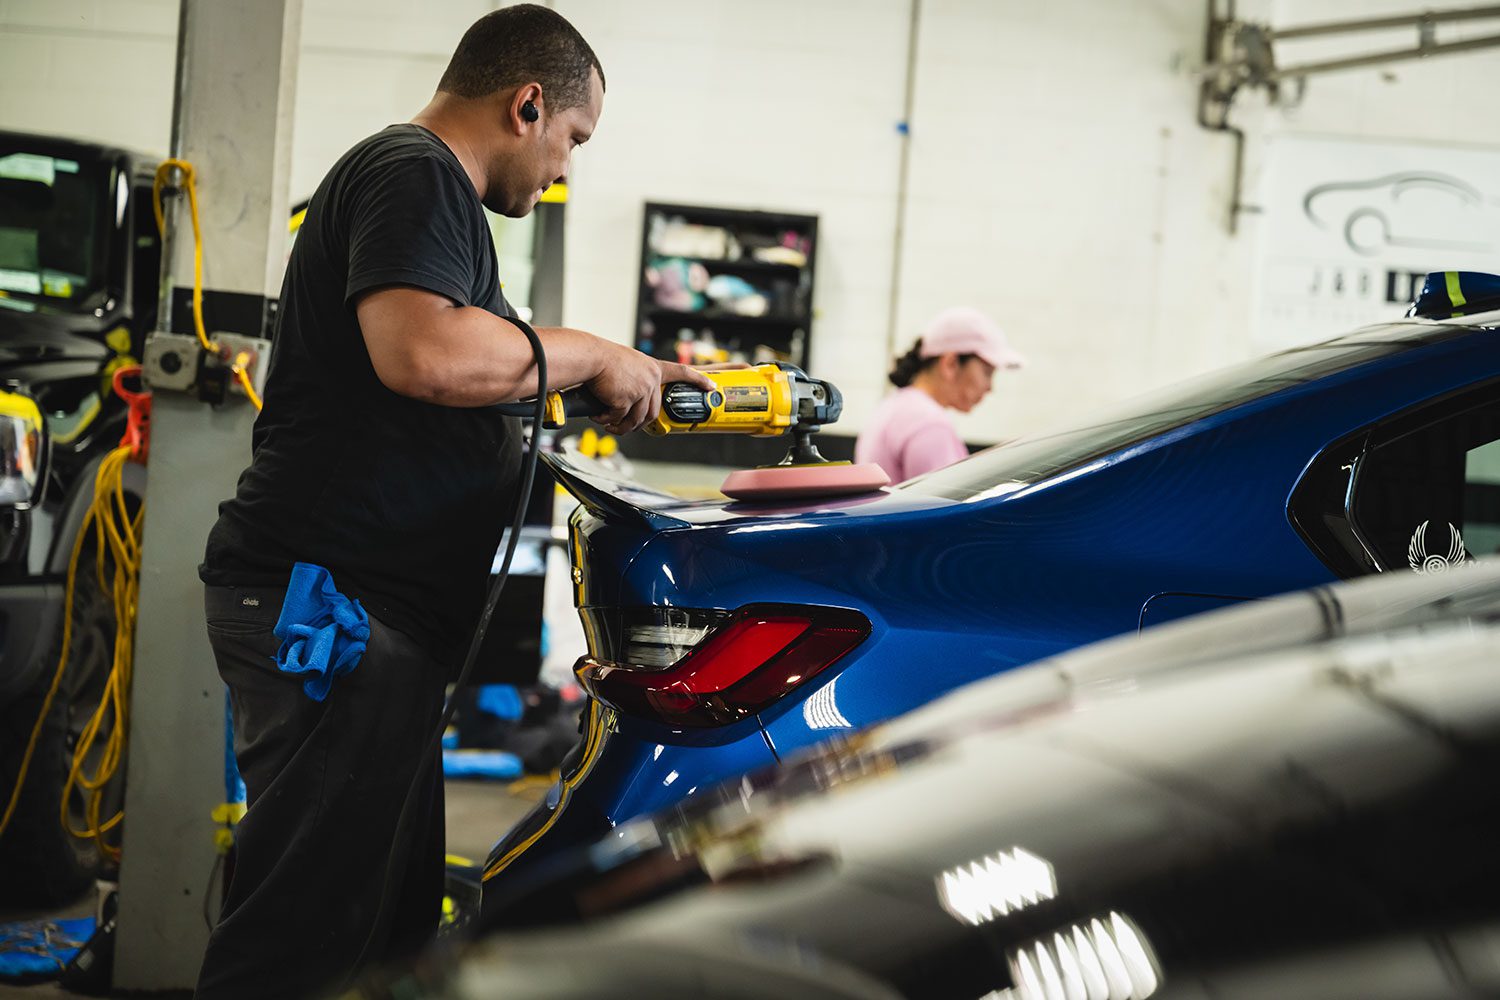
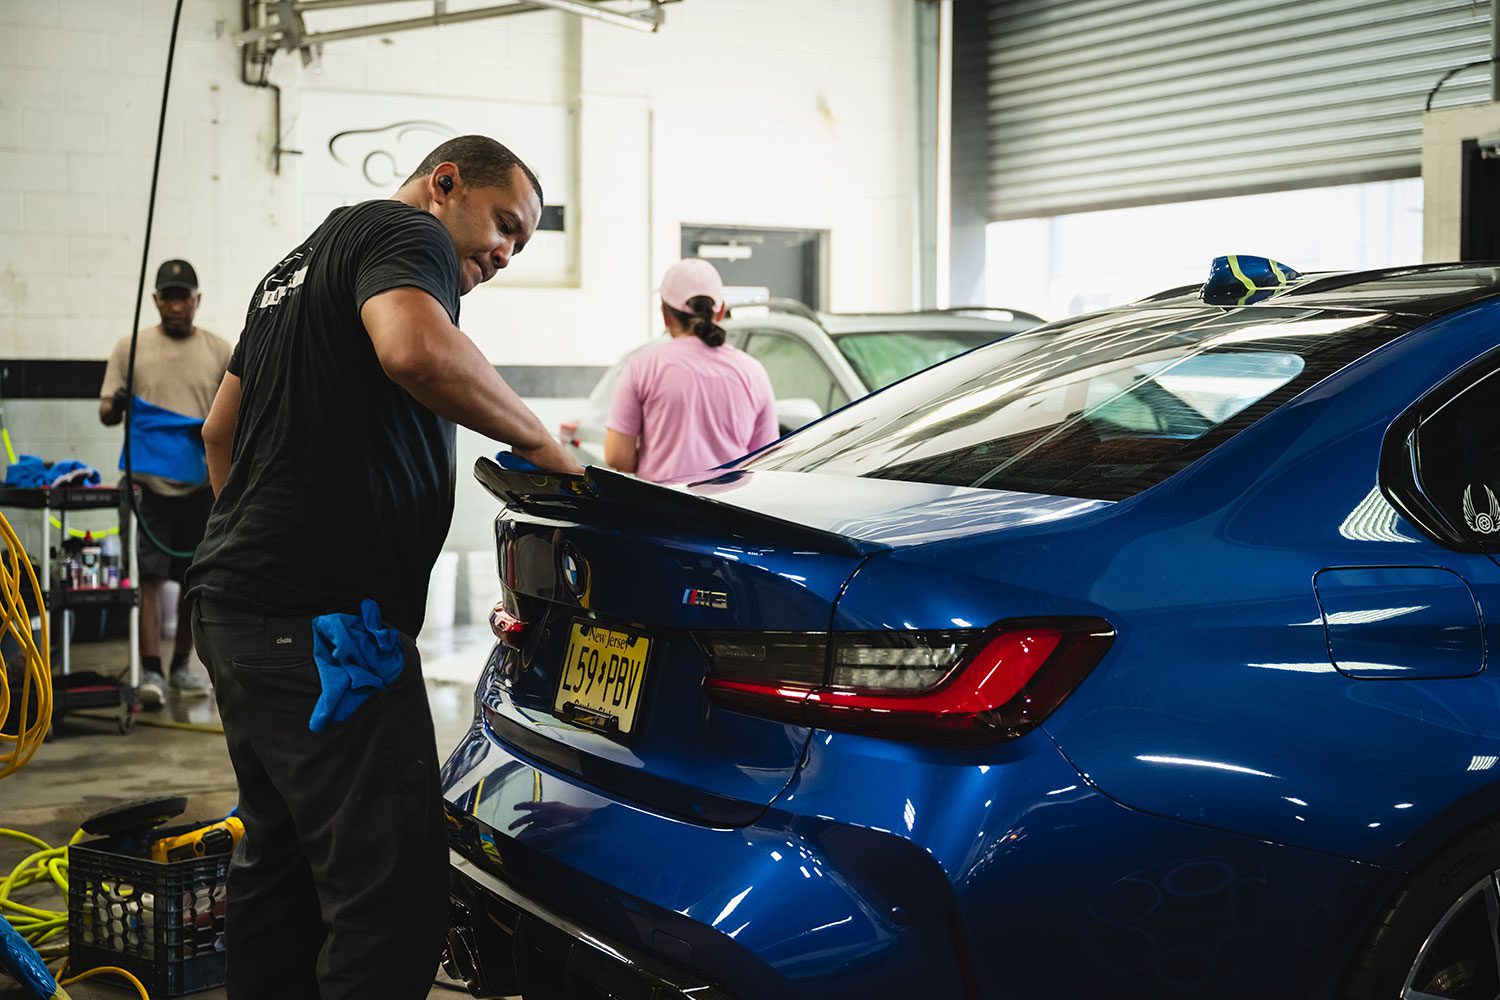
Again, fishing line is used to remove some of the factory adhesive.A trim tool is then used to pry it off.The exposed circuits and carbon fiber make cleanup delicate work.Don’t just use 3M tape to adhere the new fin! A weather seal must be maintained or the com system will get wet and go boom. Here, glass glue is used.Teeth guide the install.Done. Tape is used to hold down the fin for a few days to ensure a total dry fit.The car is then brought over to the polishing bay, where finishing touches are applied.Any small dust specs or imperfections are gone with a cutting pad.A foam polishing pad is them used on the entire trunk – it’s been an active area the last few days.The car is wiped clean, and ready.
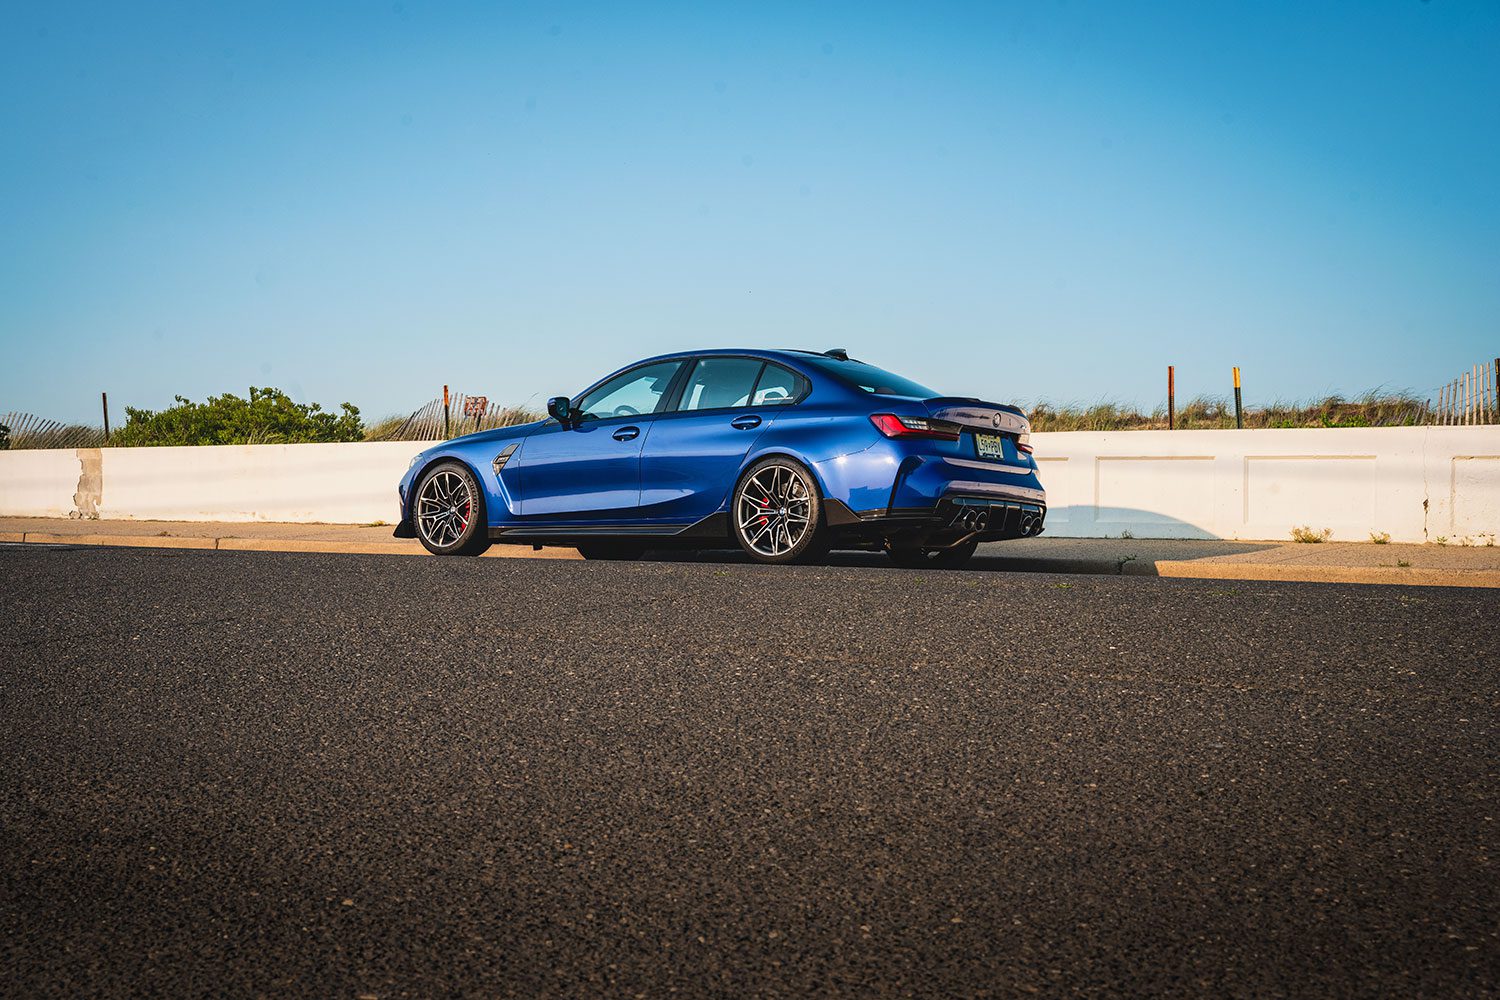
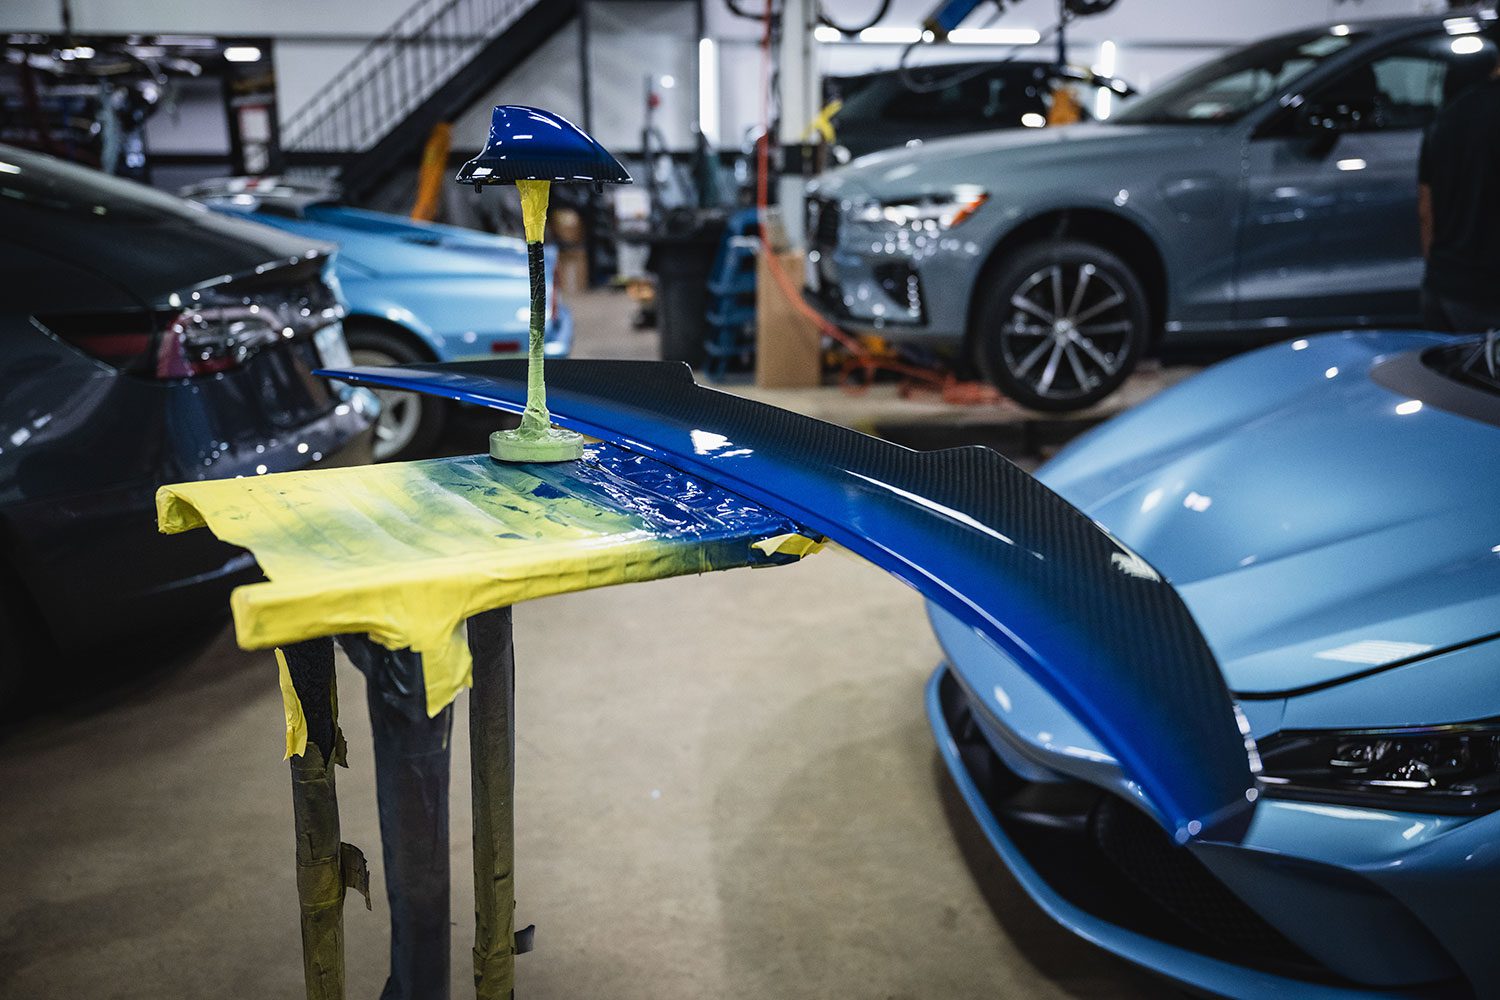
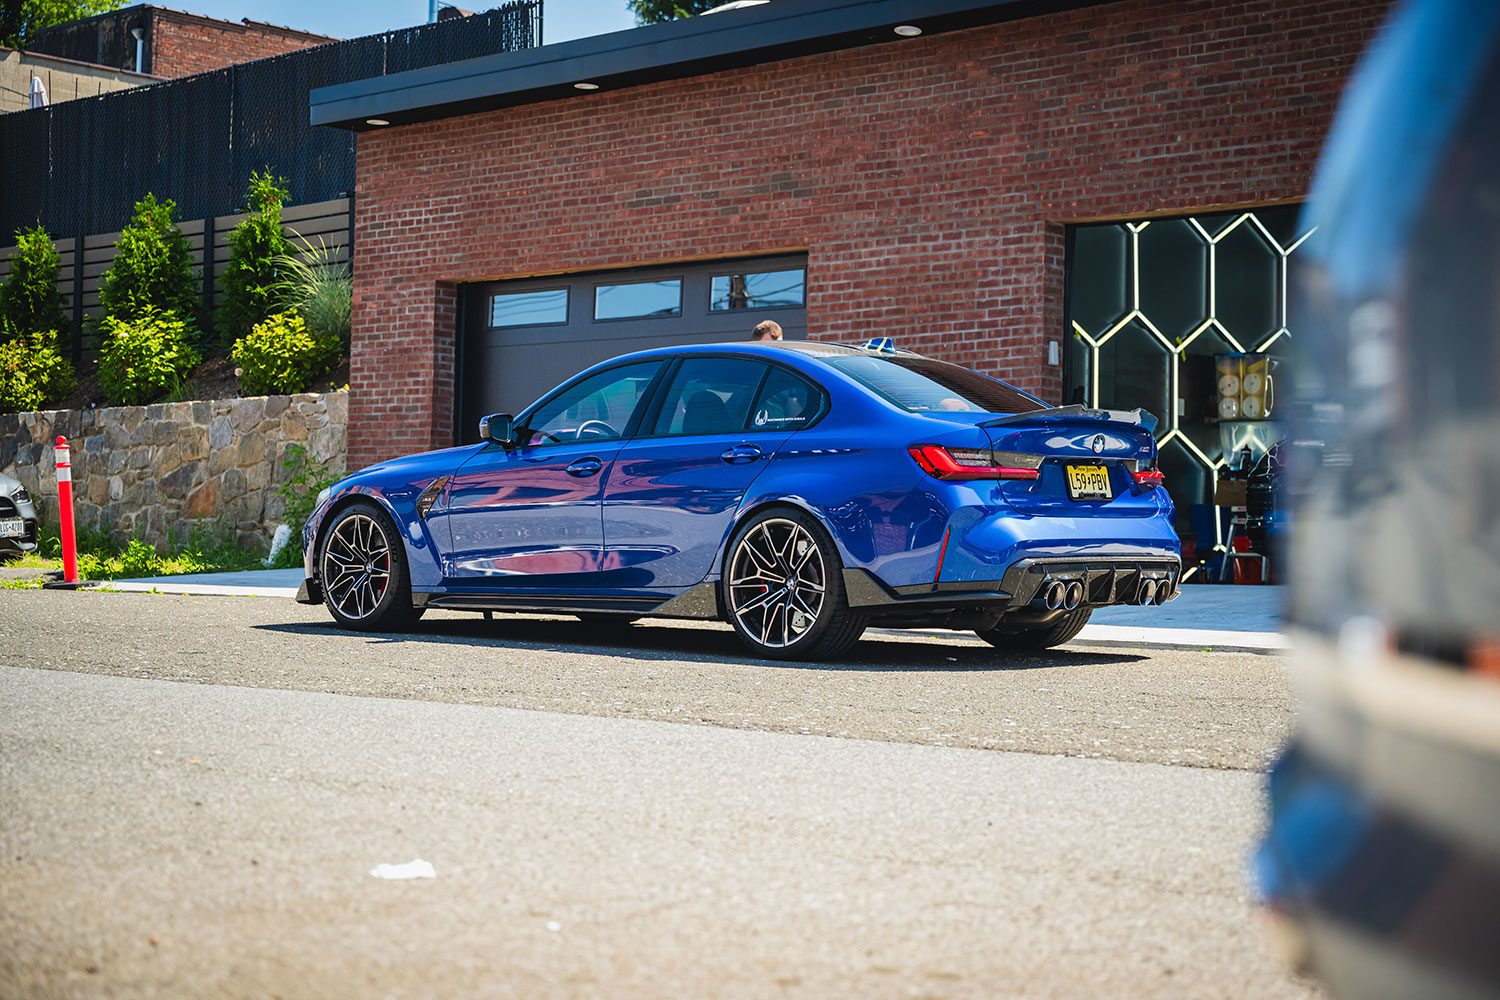
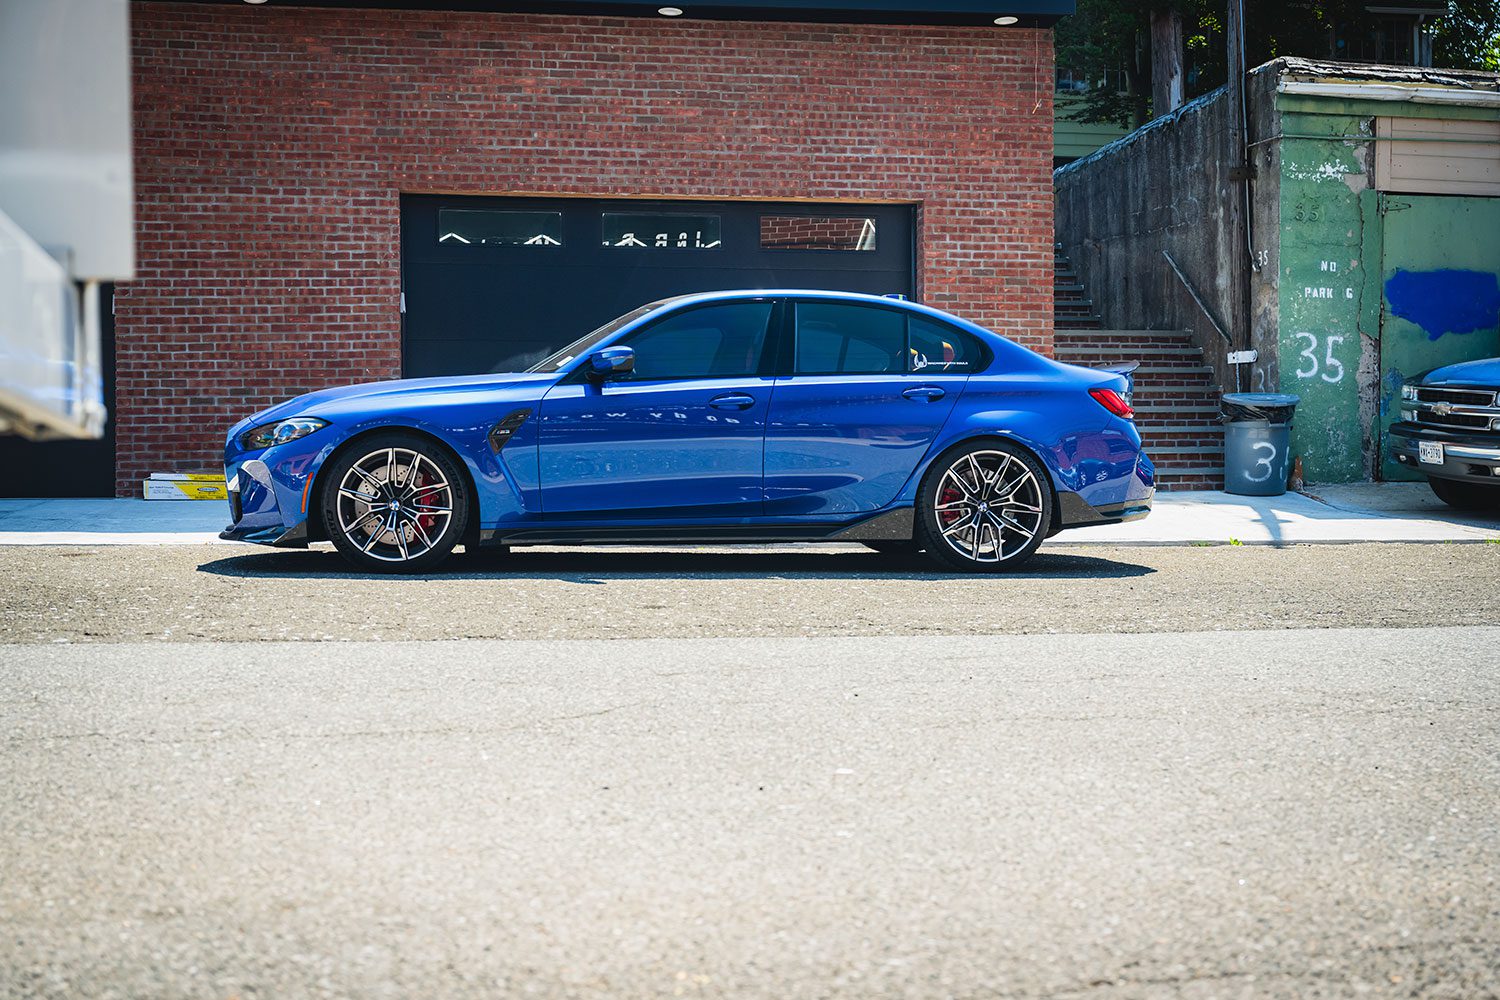
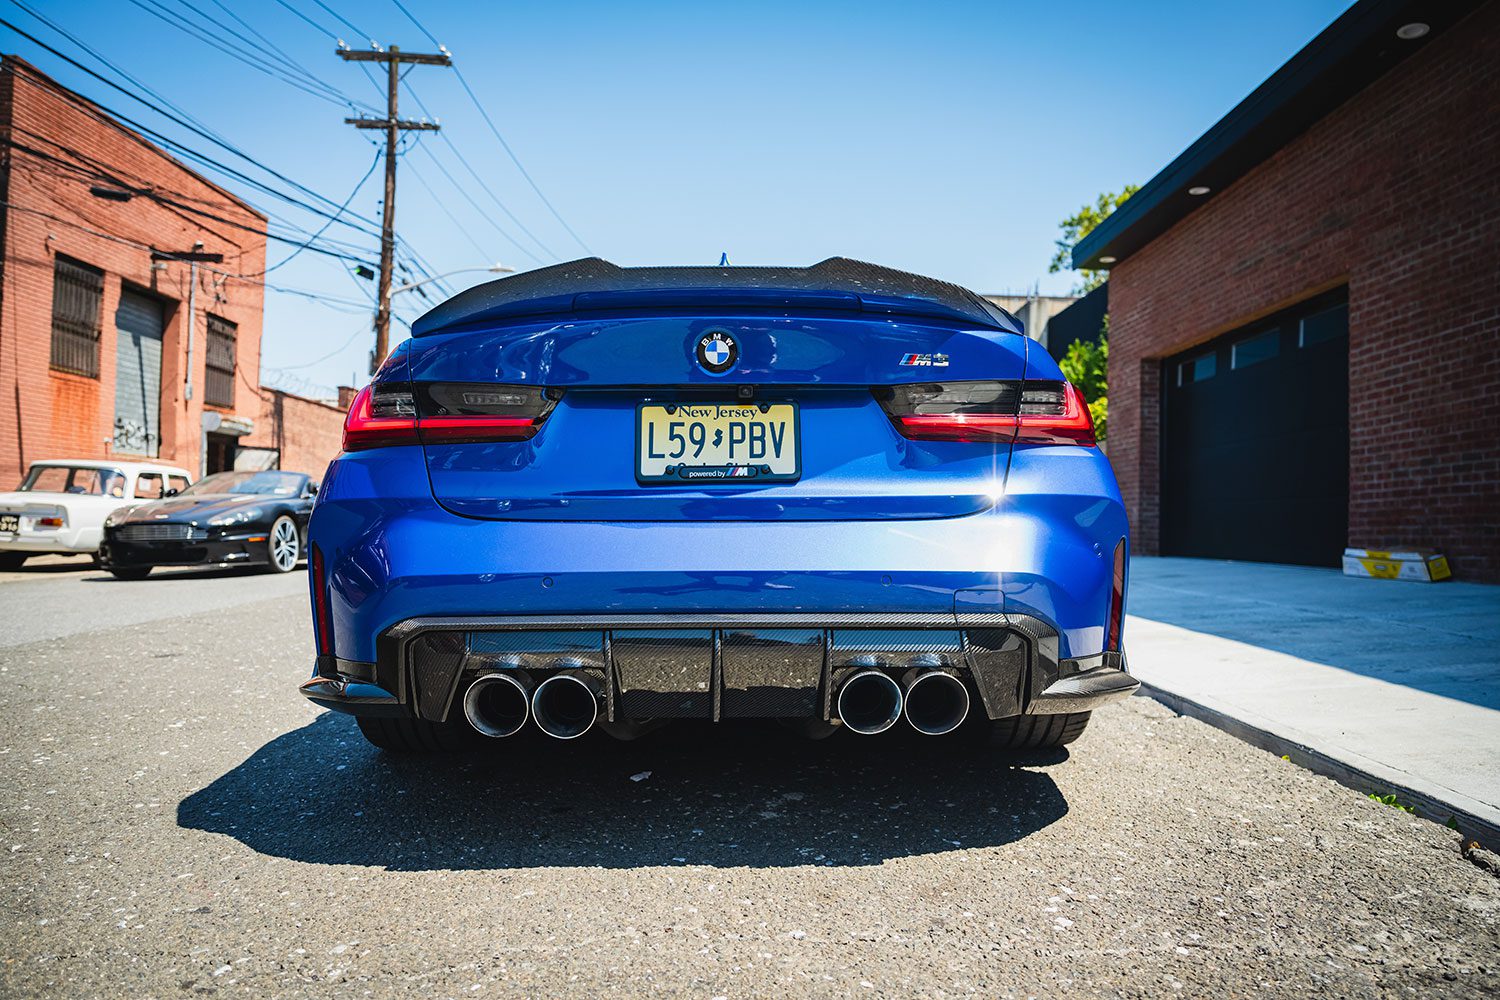
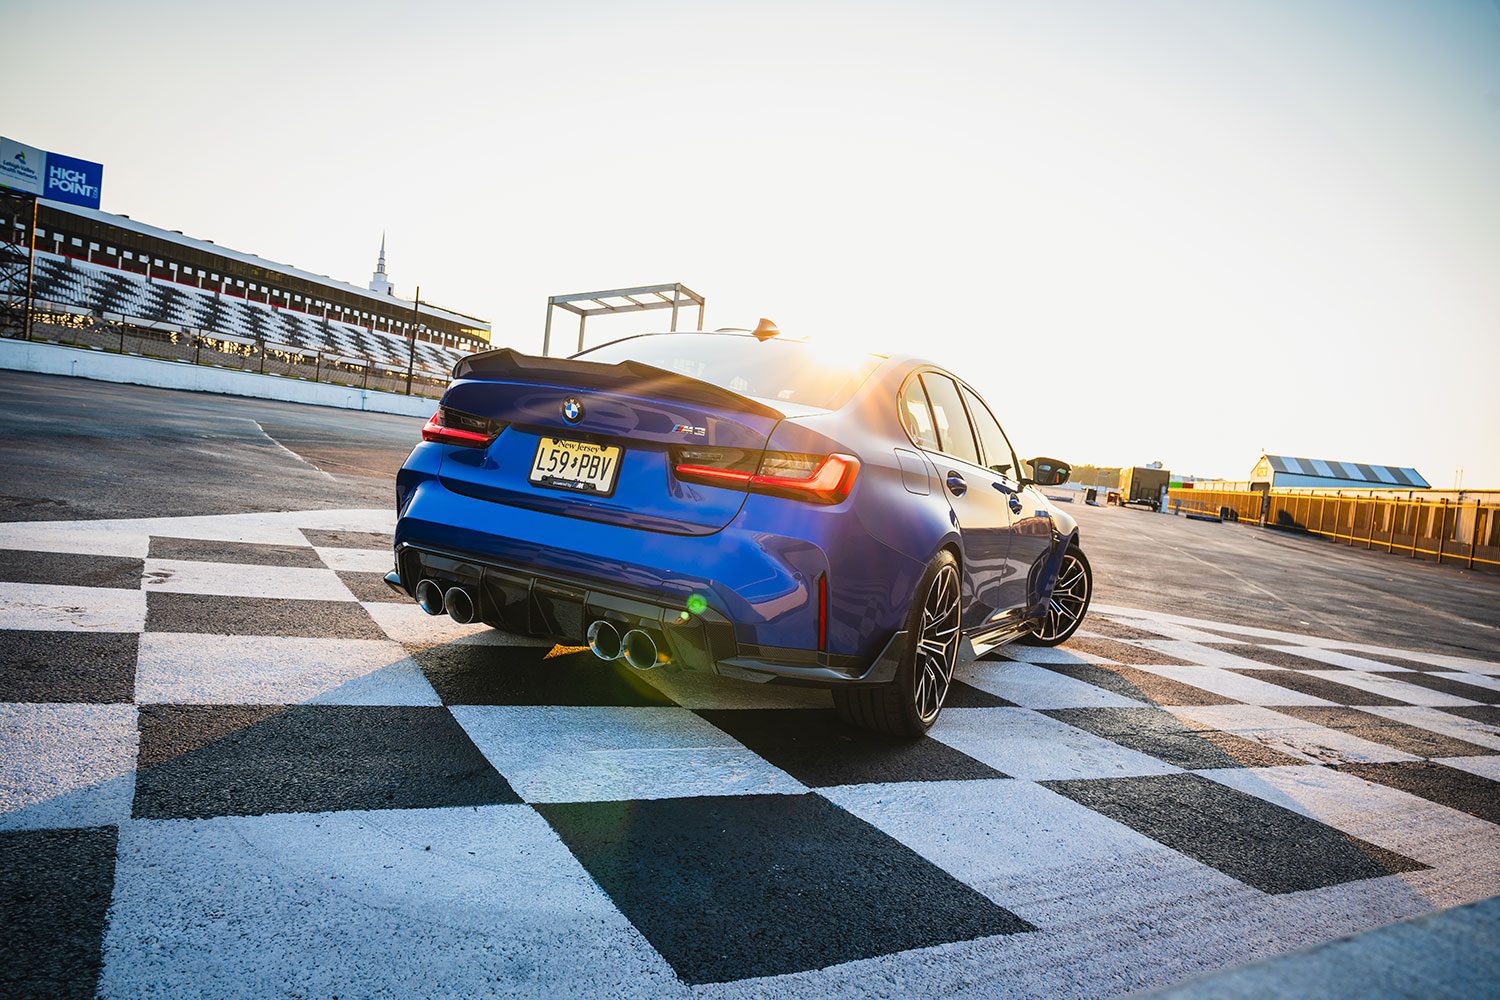
The final result
I really want to give a big thank you to Joe and Mike Izzo, John Quay, Elvis and everyone else at J&B. Their professionalism and perfection made filming here an incredible experience, and they were nothing but kind as I filmed over their shoulders while they performed their work. I can’t recommend them enough, especially if you have a car that’s special, or simply special to you.
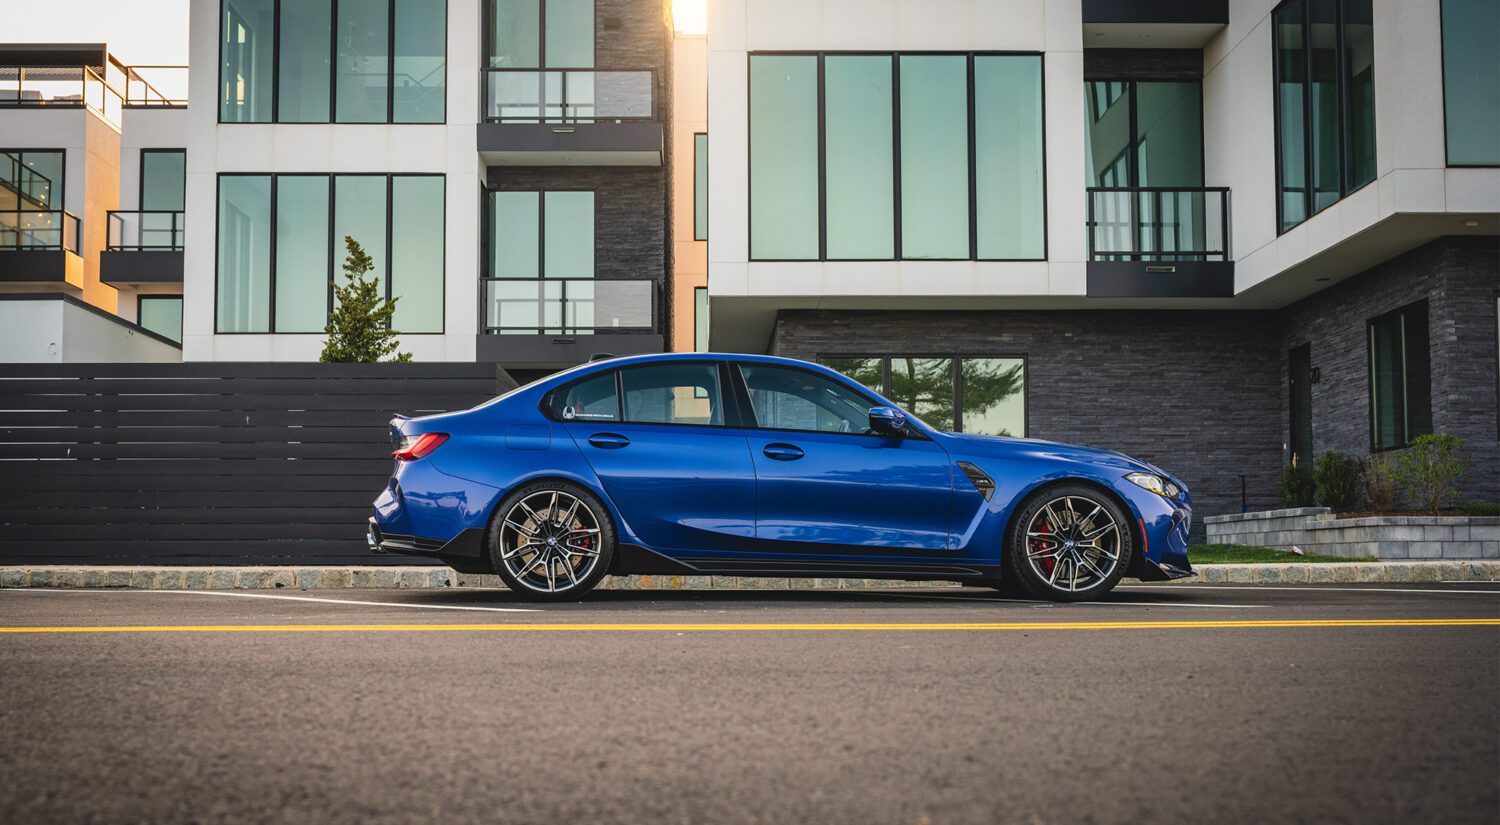
I know, right?!
As for my G80, the concept works in bringing some aggression to the top half of the car. In the month I’ve had it, everyone that’s seen it has done a double take, and I can now say there is no other M3 like mine. I hope the M3 I’ve put together with the help of multiple shops reflects my meticulous personality.
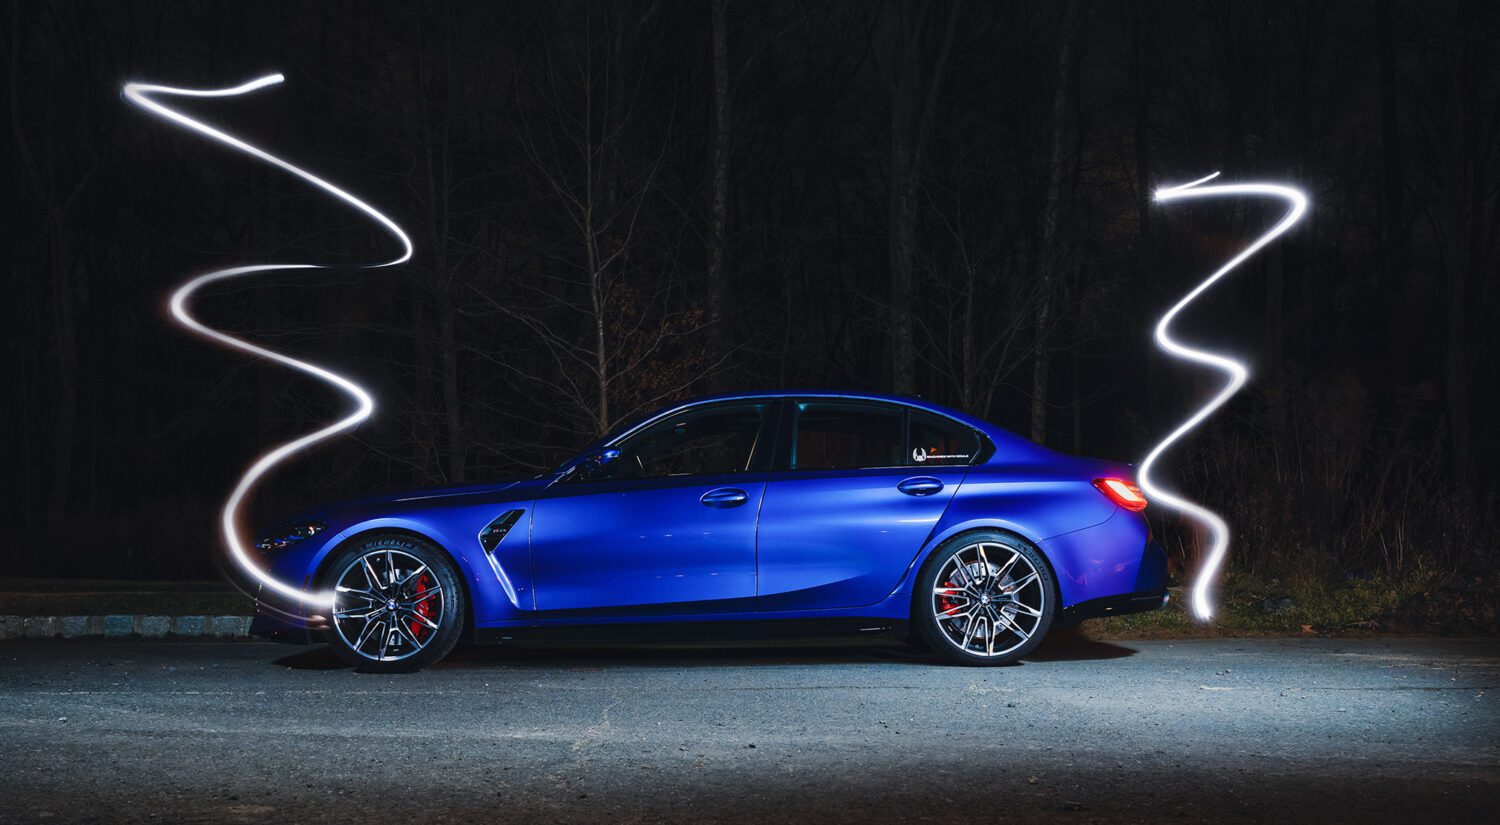
But most important, driving this car makes me feel good – the point of this entire build process. There are a few projects that remain, perhaps even something else for J&B, but for now it’s done.
Nah – I couldn’t even type that with a straight face.
Thank you everyone at J&B!
Want your car reviewed?
If you live in the tri-state area and want me to check it out, send me an email!
Support the cause
Commissions may be received for product links on this site. Help out if you can.


One thought on “Giving my G80 M3 some Portimao Blue Flair”