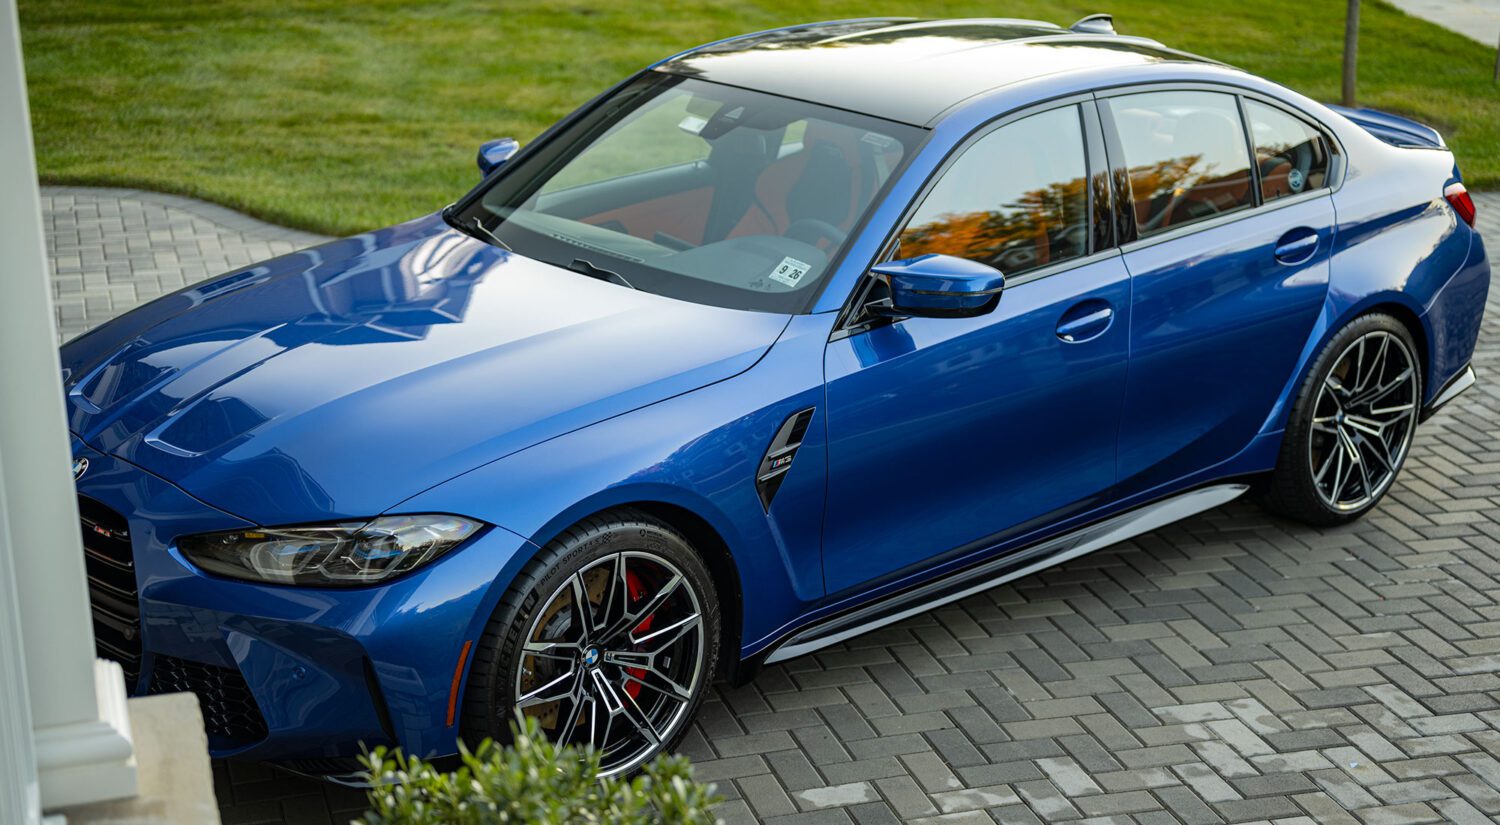
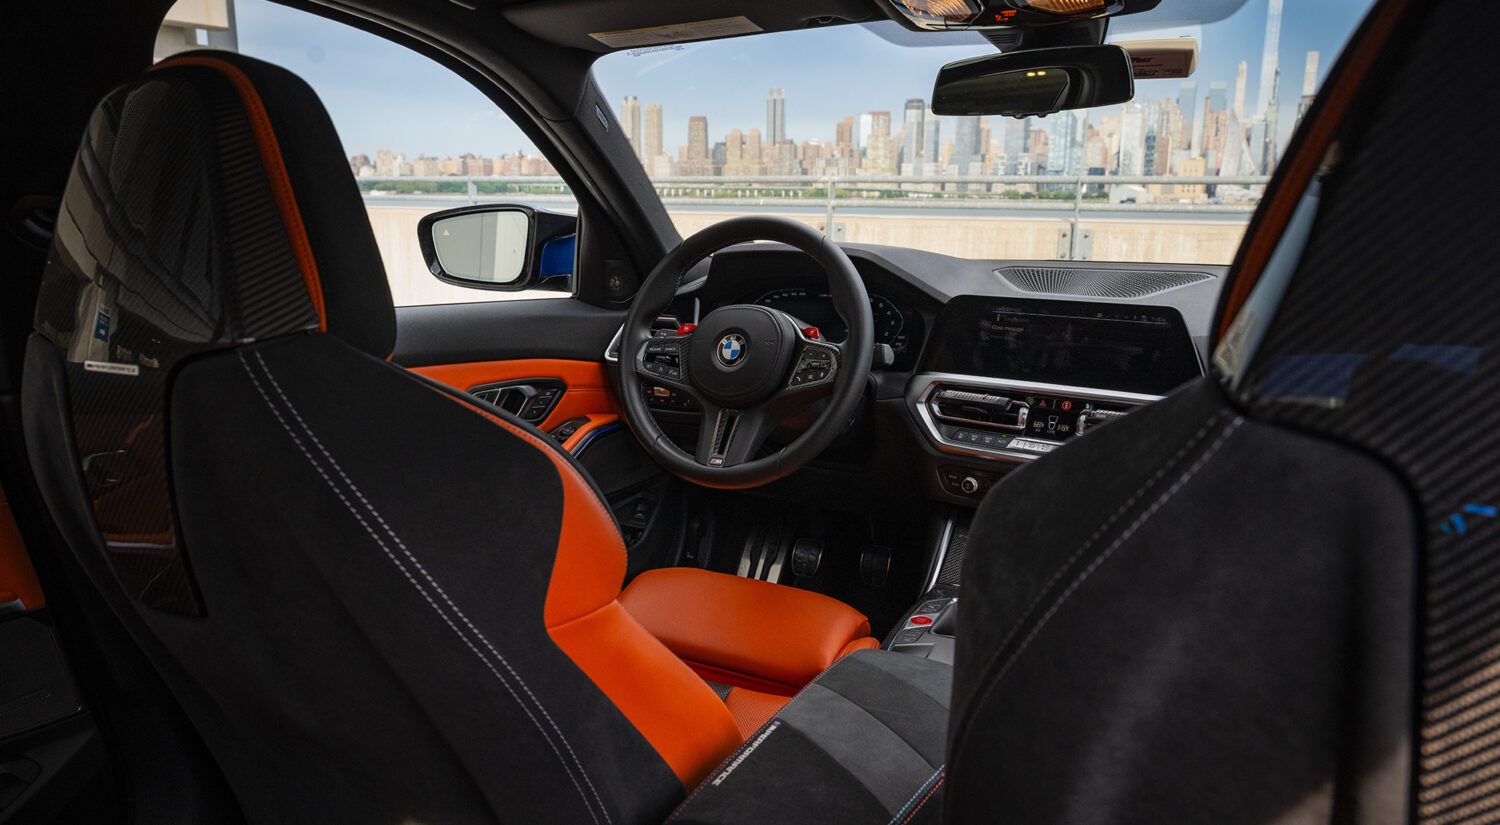

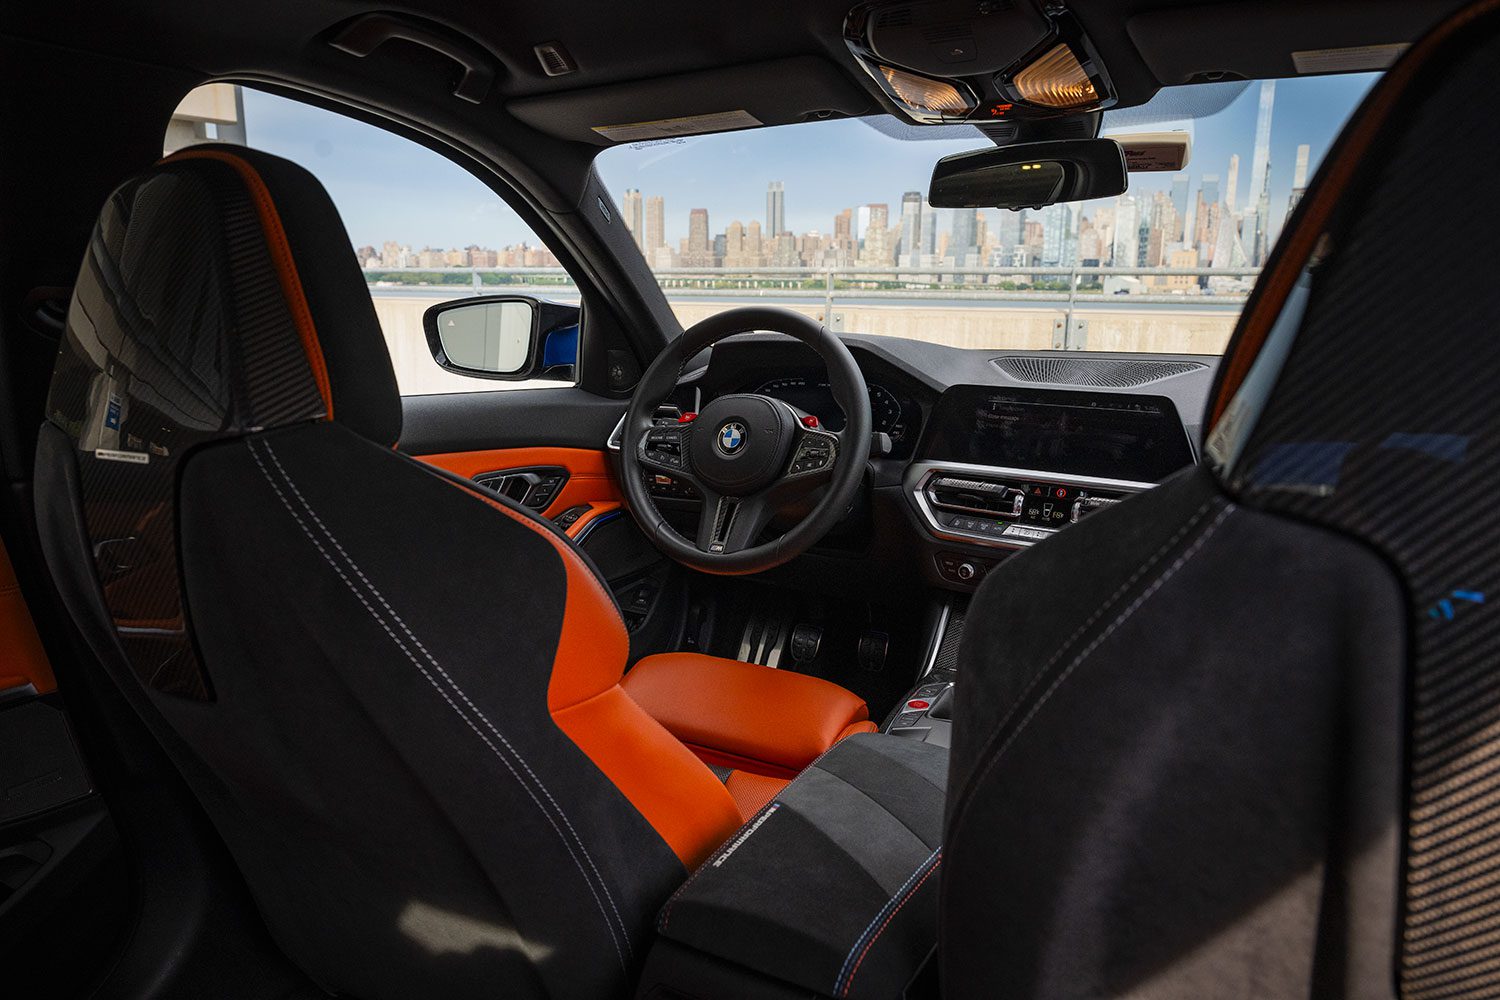
One of the biggest improvements of the G generation M3 is its interior. It’s on par with the F90, and miles ahead of anything from Cadillac, Lexus, perhaps even Porsche (though not Mercedes). Still, since this is a build story, surely we can improve upon it. Let’s upgrade the G8X interior.
I’ll go through the process of adding BMW M door pins, an M Performance Center armrest, and M Performance seat backs. Everything here is pretty easy to do yourself, if you feel mechanically inclined.
First, the least favorite item…
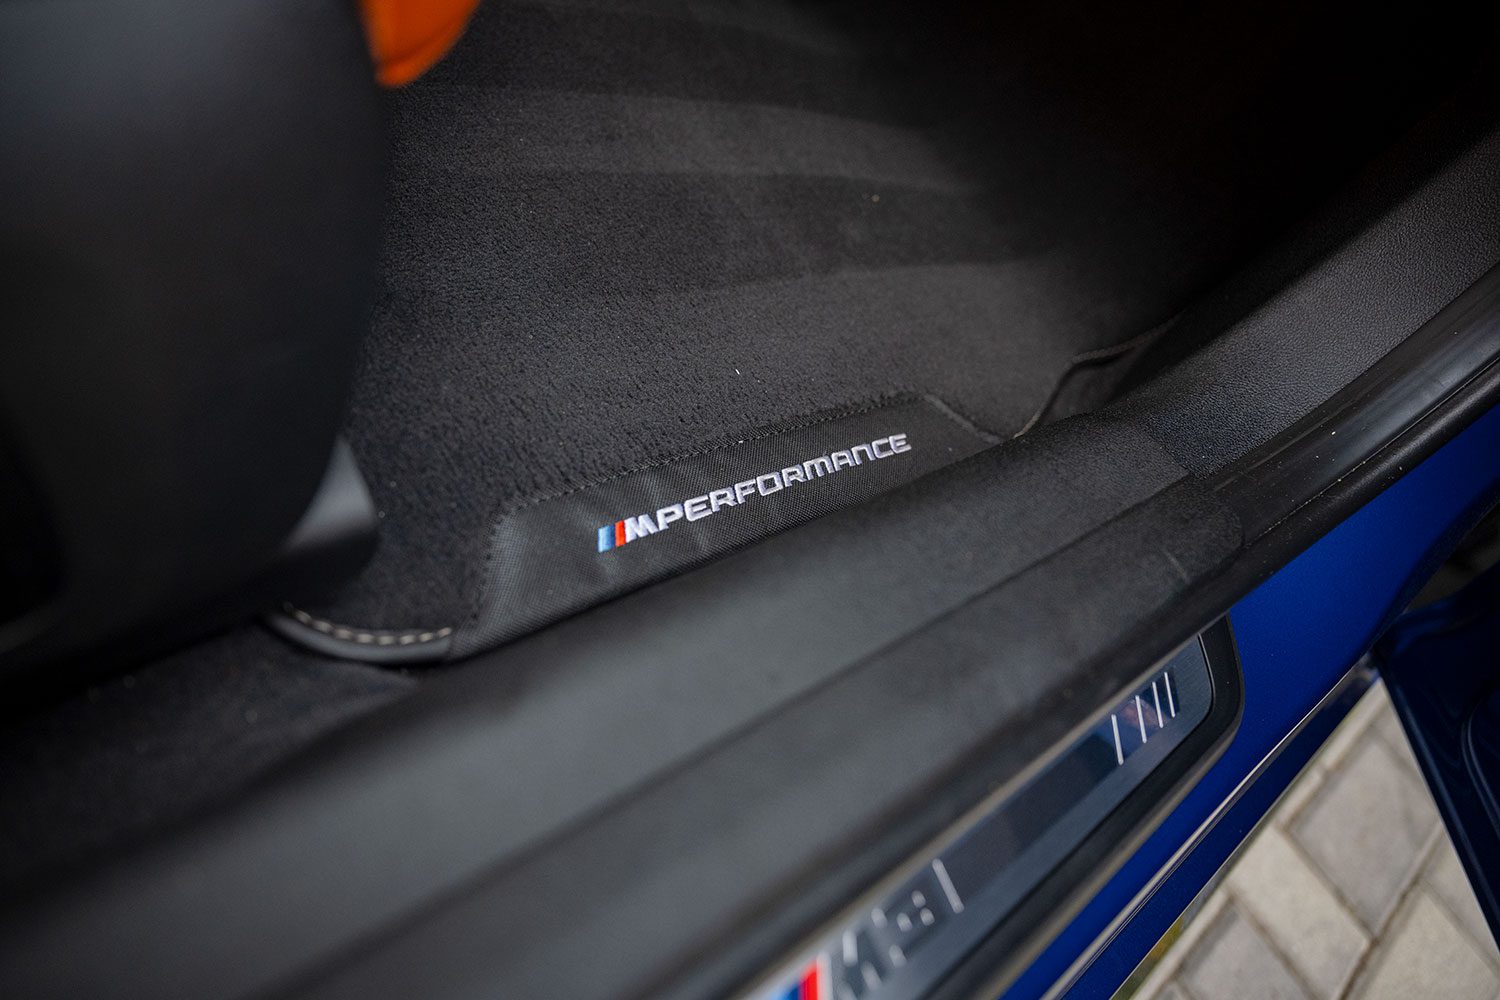
The BMW M Performance Floor mats
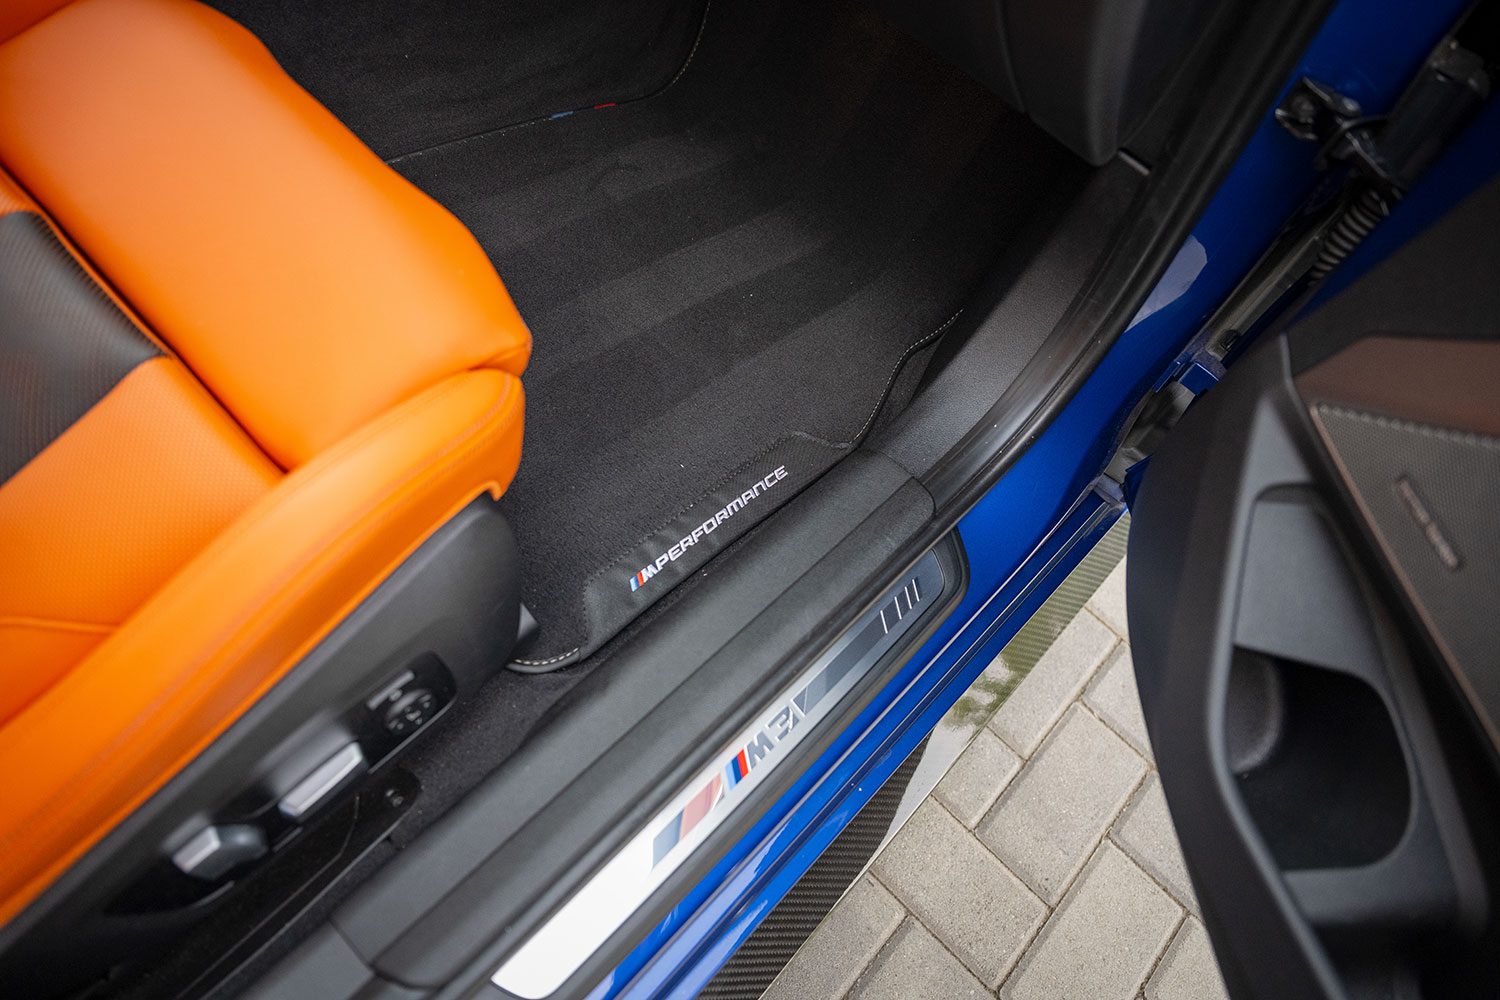
These were the very first thing I changed on the car, and with good reason. Even my X3 M40i had little M stripes on the floor mats. But the M3 gets nothing – same as every other 3 Series.
Older M3s used to have an embroidered badge on them, along with a heel section that could better withstand your footsies. The M Performance mats of the previous F generation were made of a sort of rubber that held up well.
Current M Performance mats get none of that – simply a label and a little M stripe. Hardly worth $250 in my opinion, but at least they match the rest of my G8X interior.
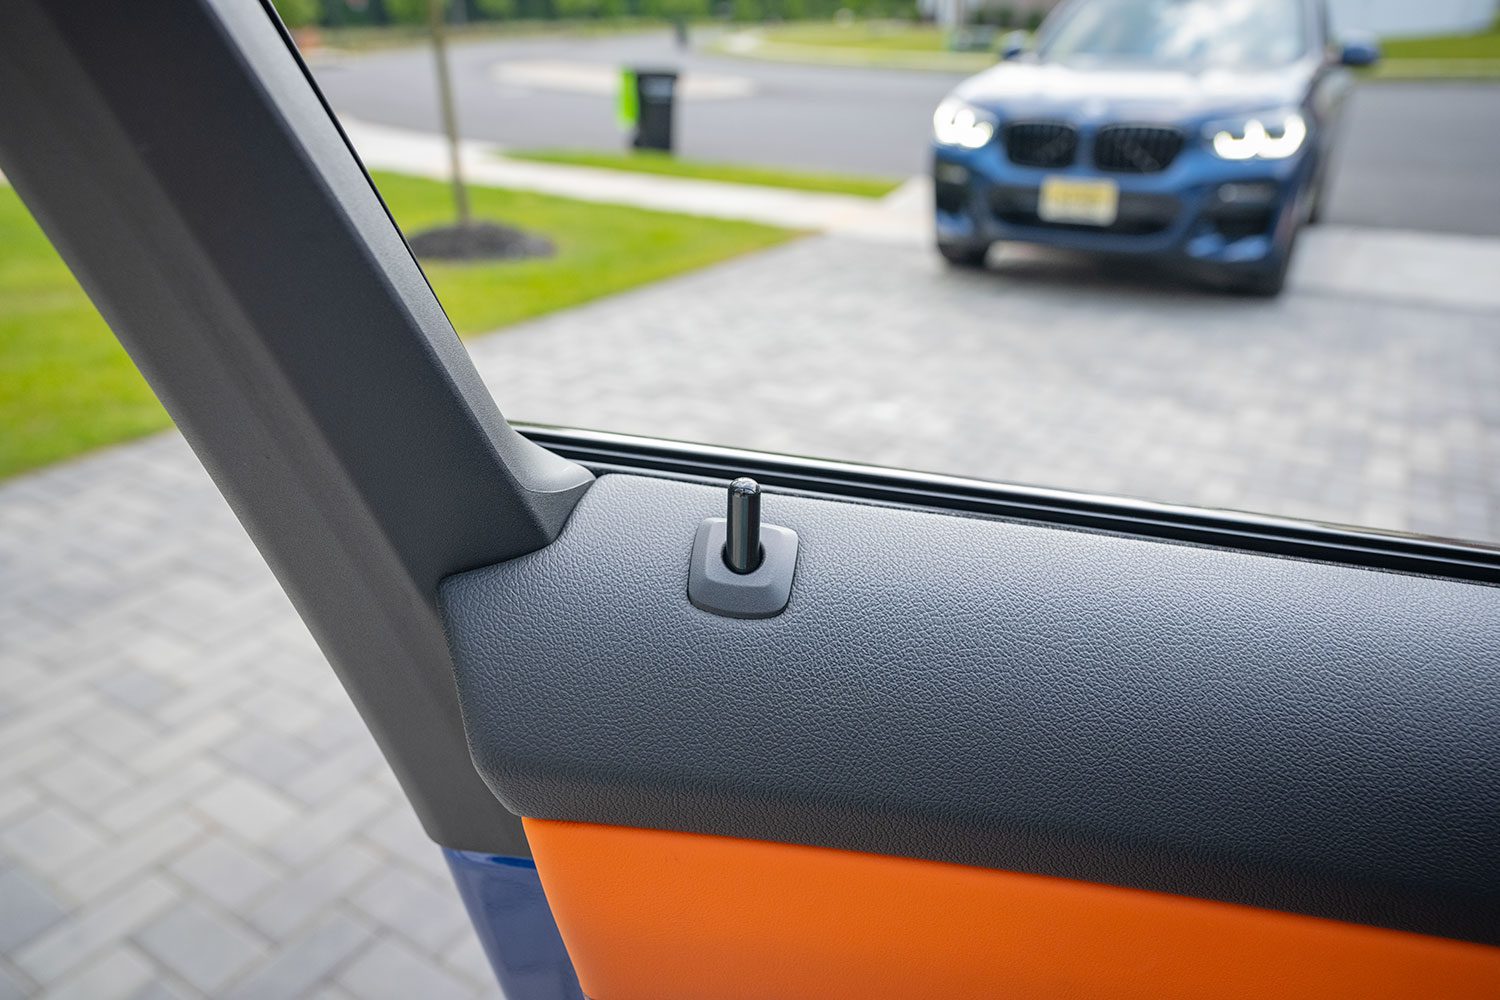
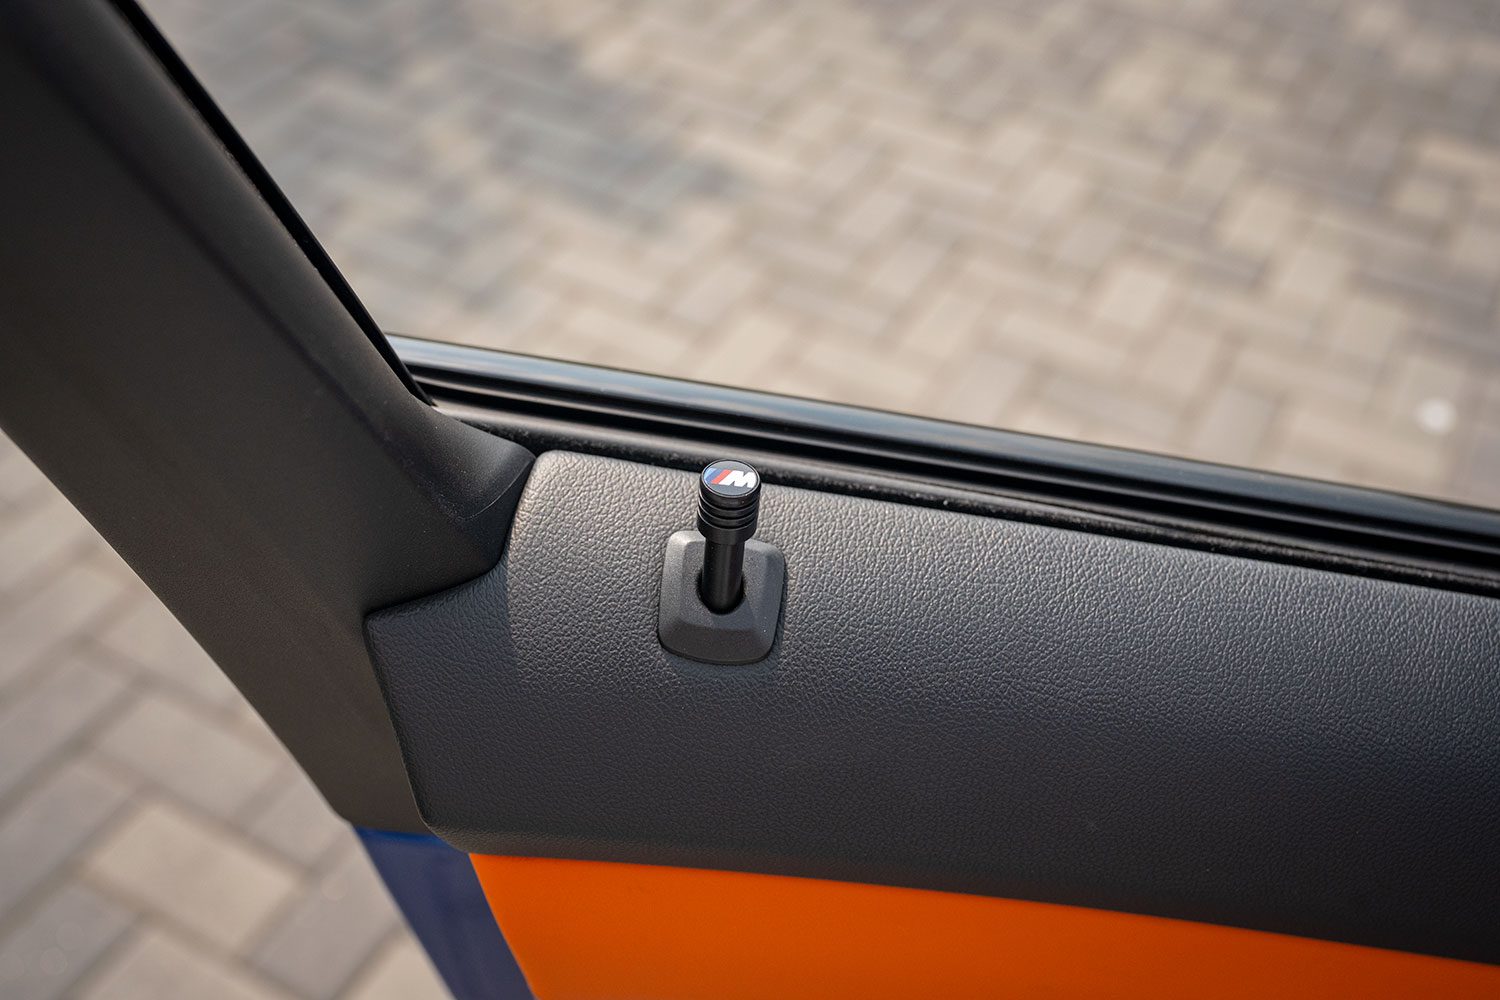
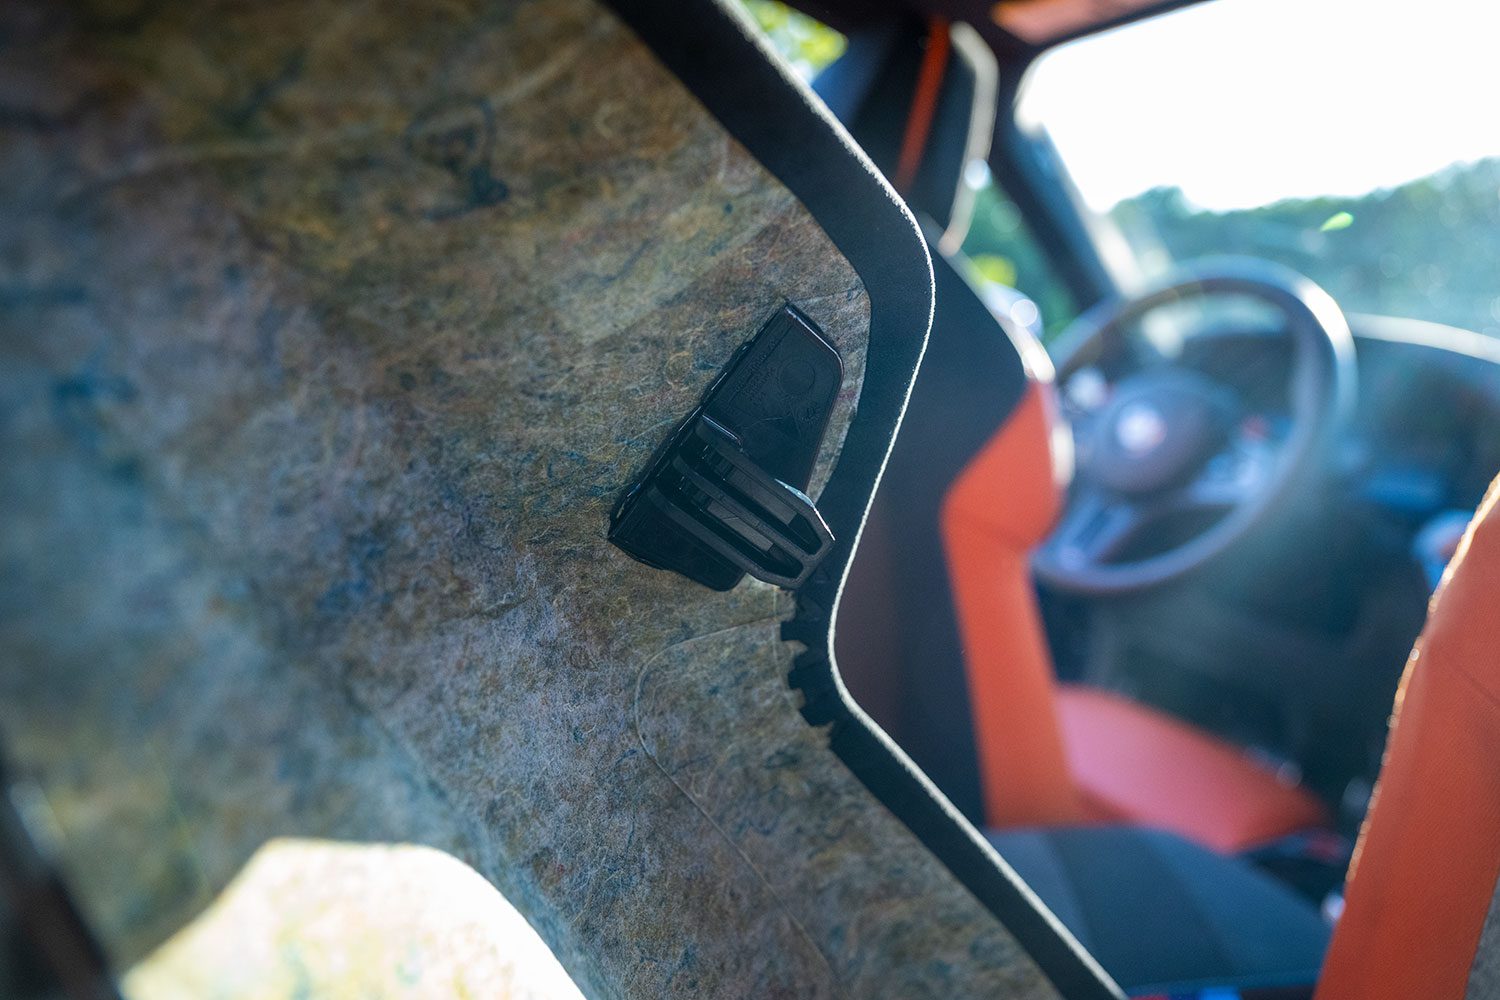
BMW M Door Pin installation
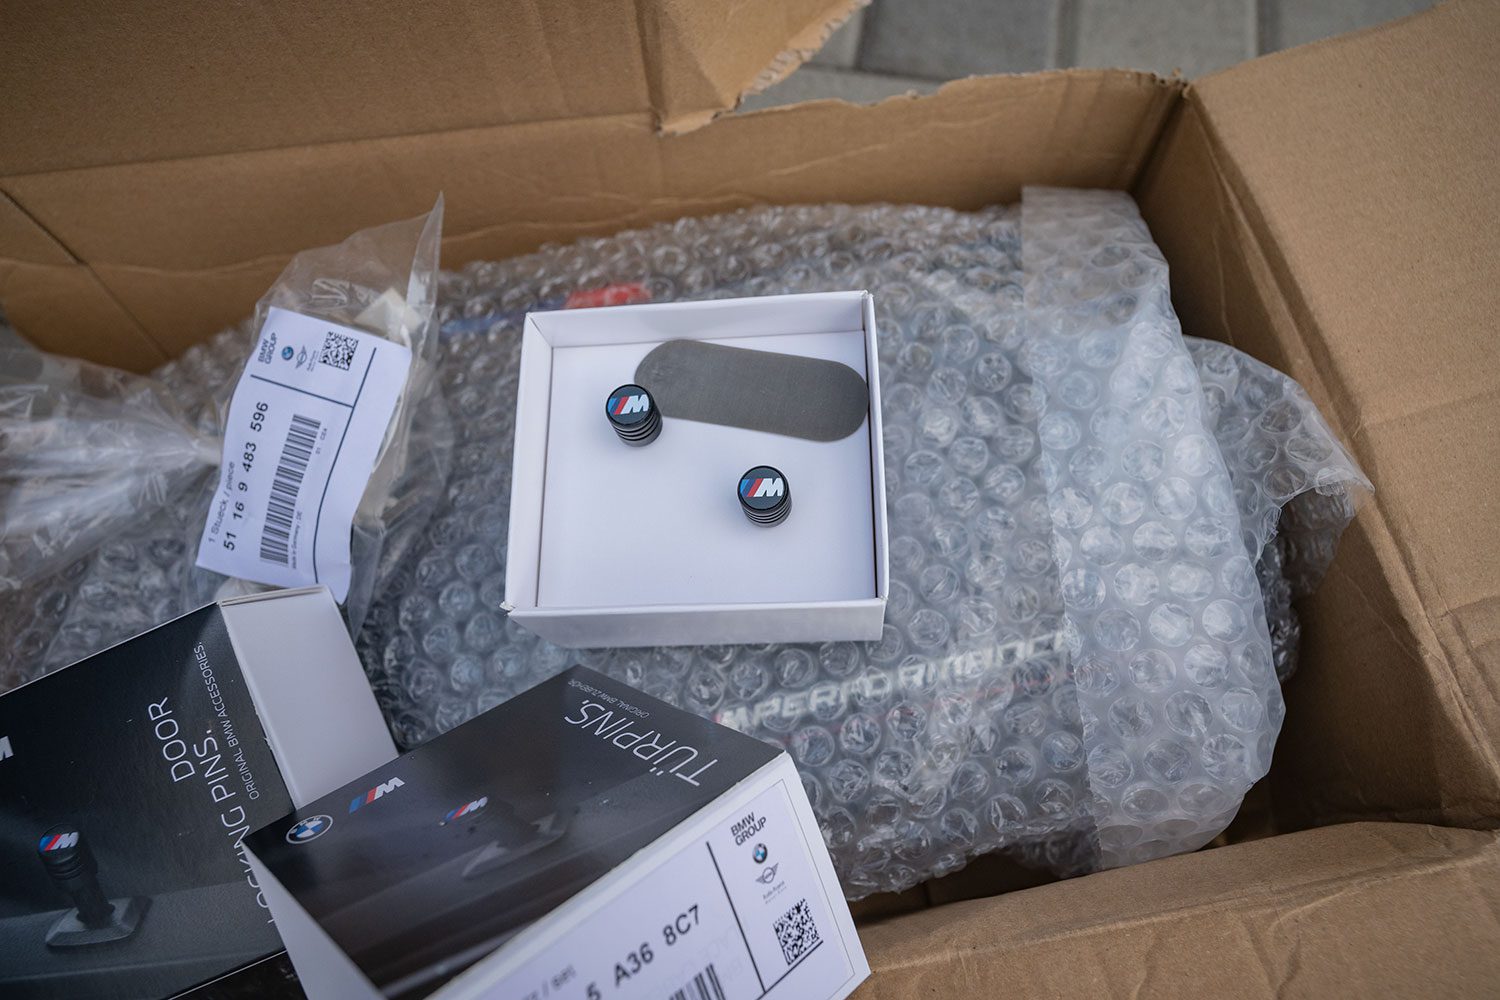
I’m not sure if this is “cheesy” – It gives a little pop to the interior. Your opinion may vary.
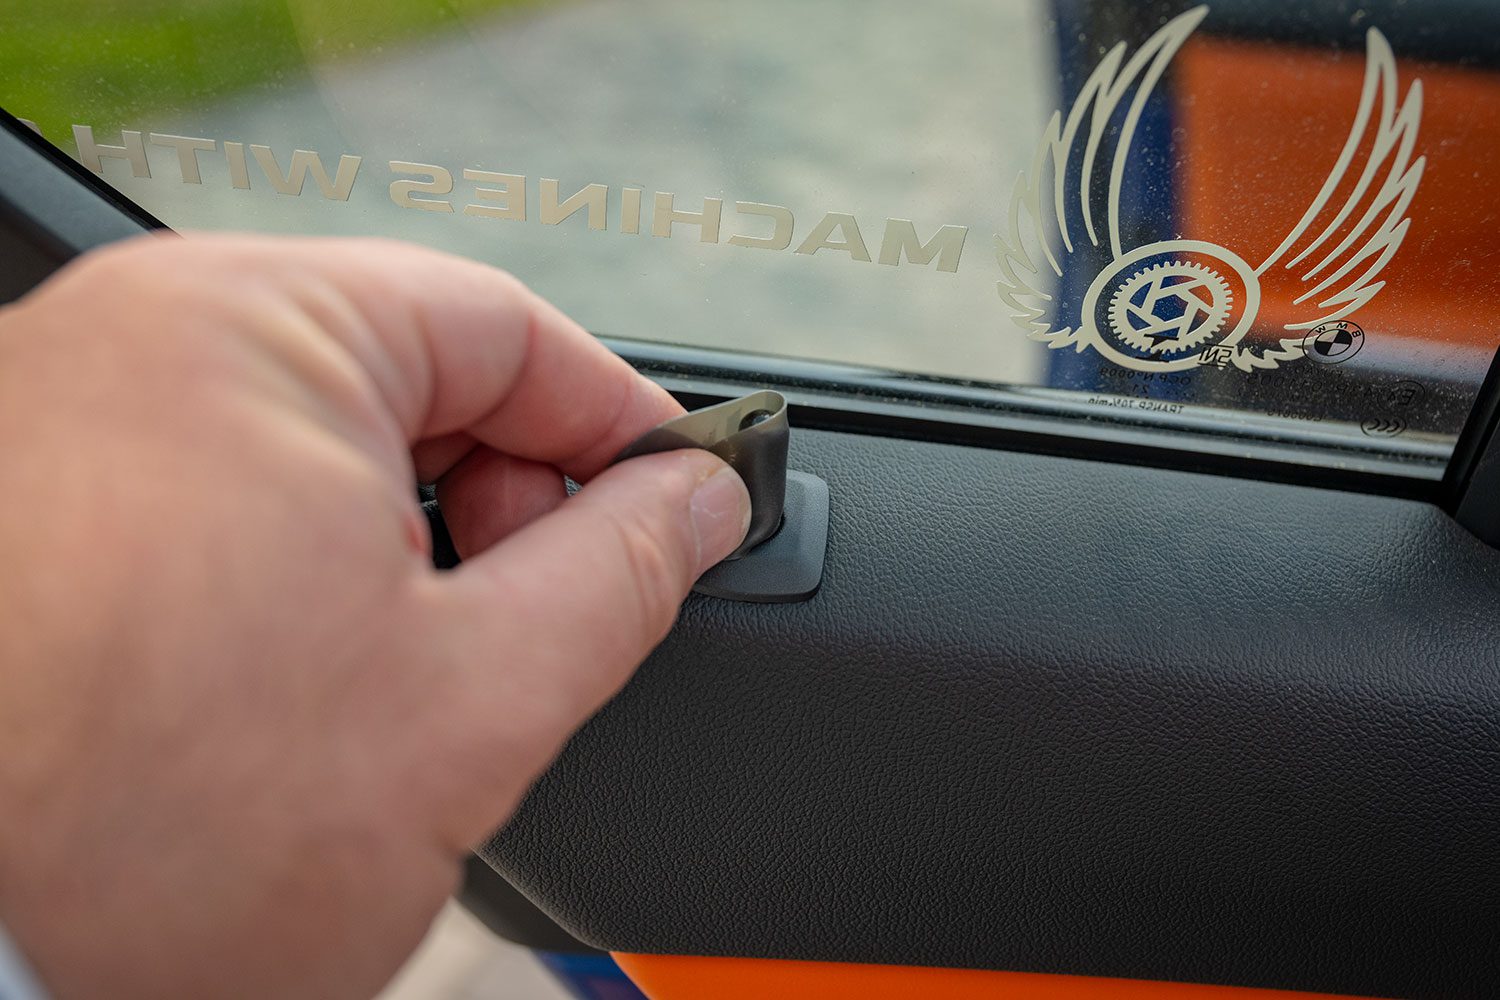
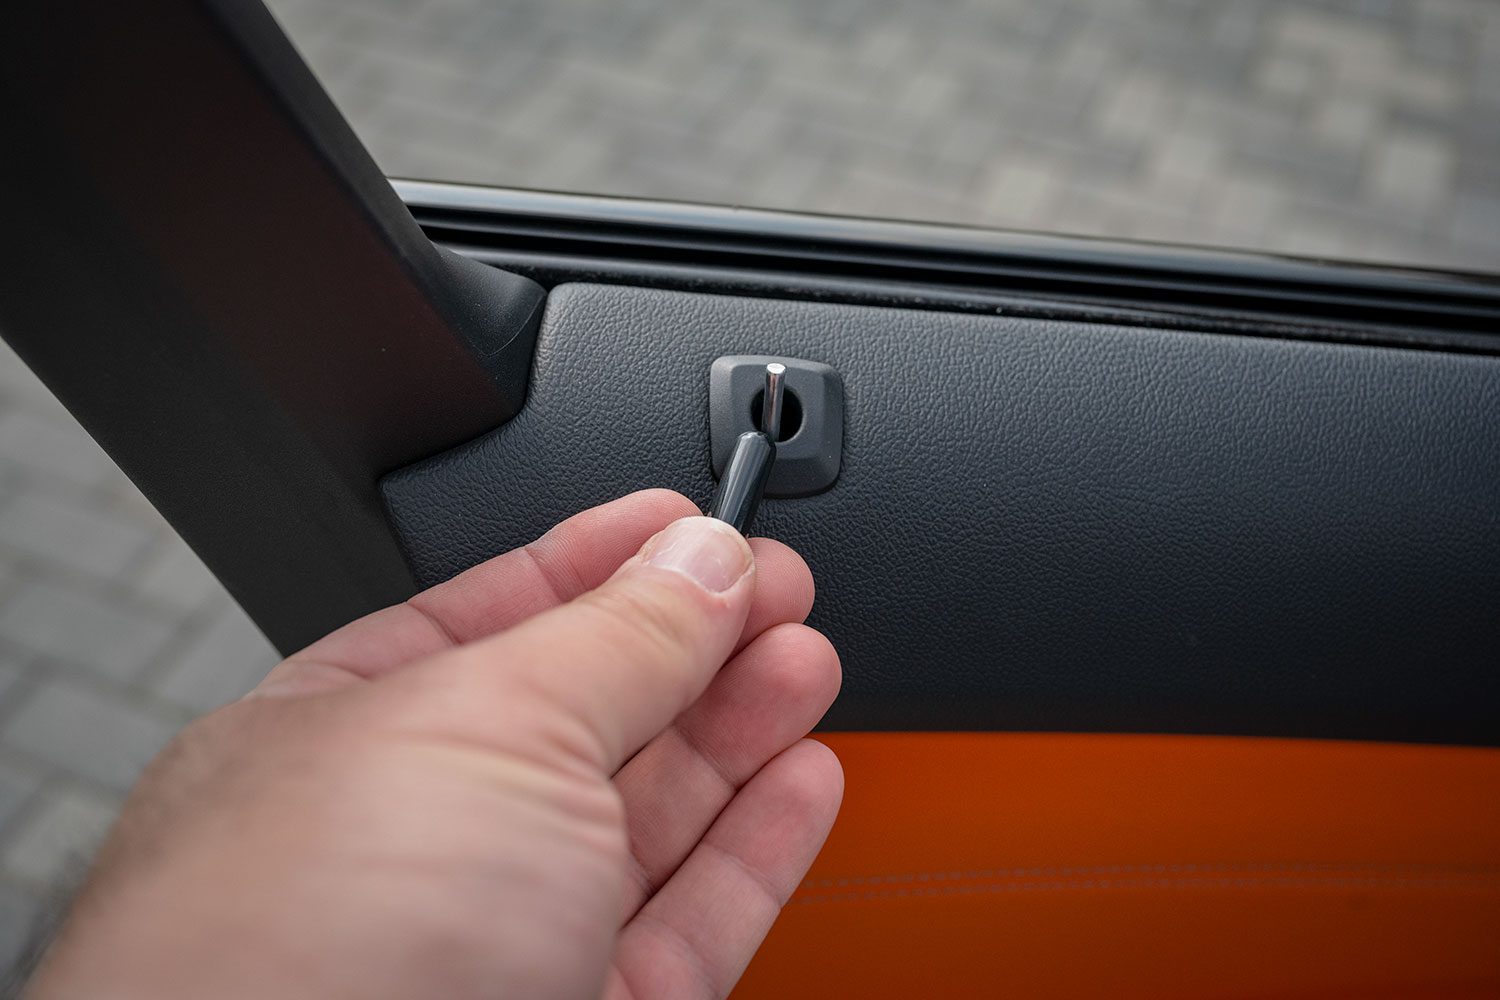
To install, BMW gives you a rubber/gummy sleeve. Wrap this sleeve around each door pin and pull with your fingers. Lower the windows when you attempt this, or you could smack your hand against the glass.
If you have an M4, you need one box of these. M3s will need two sets.
You should not need pliers to pull the pins out, but if you can’t do it with your fingers, make sure to still use the gummy for protection.
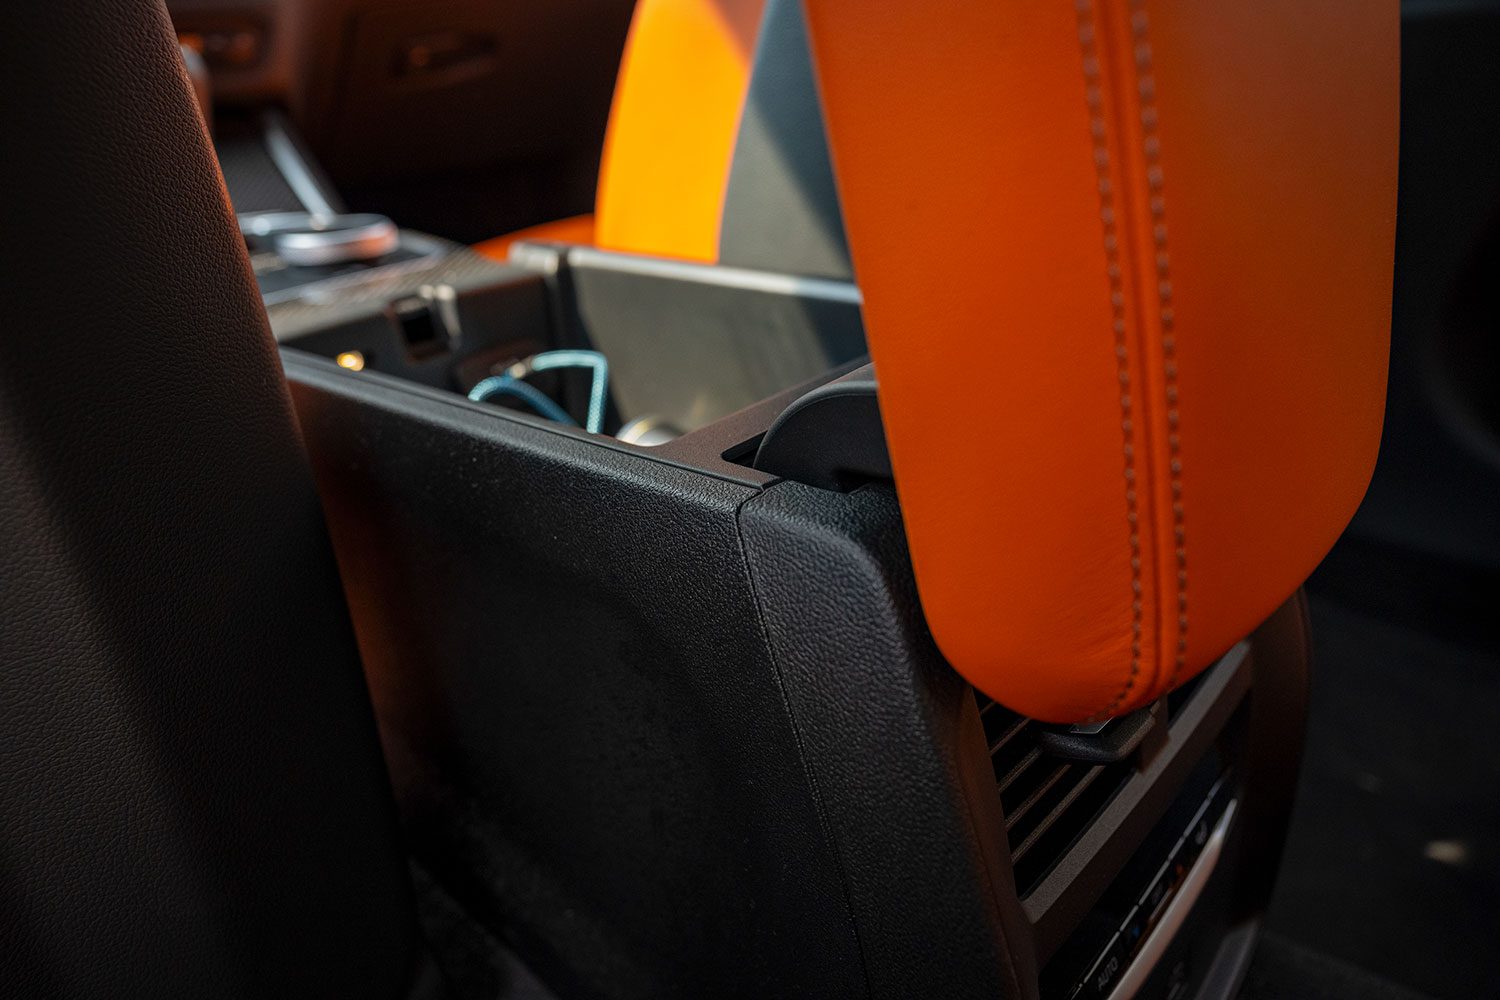
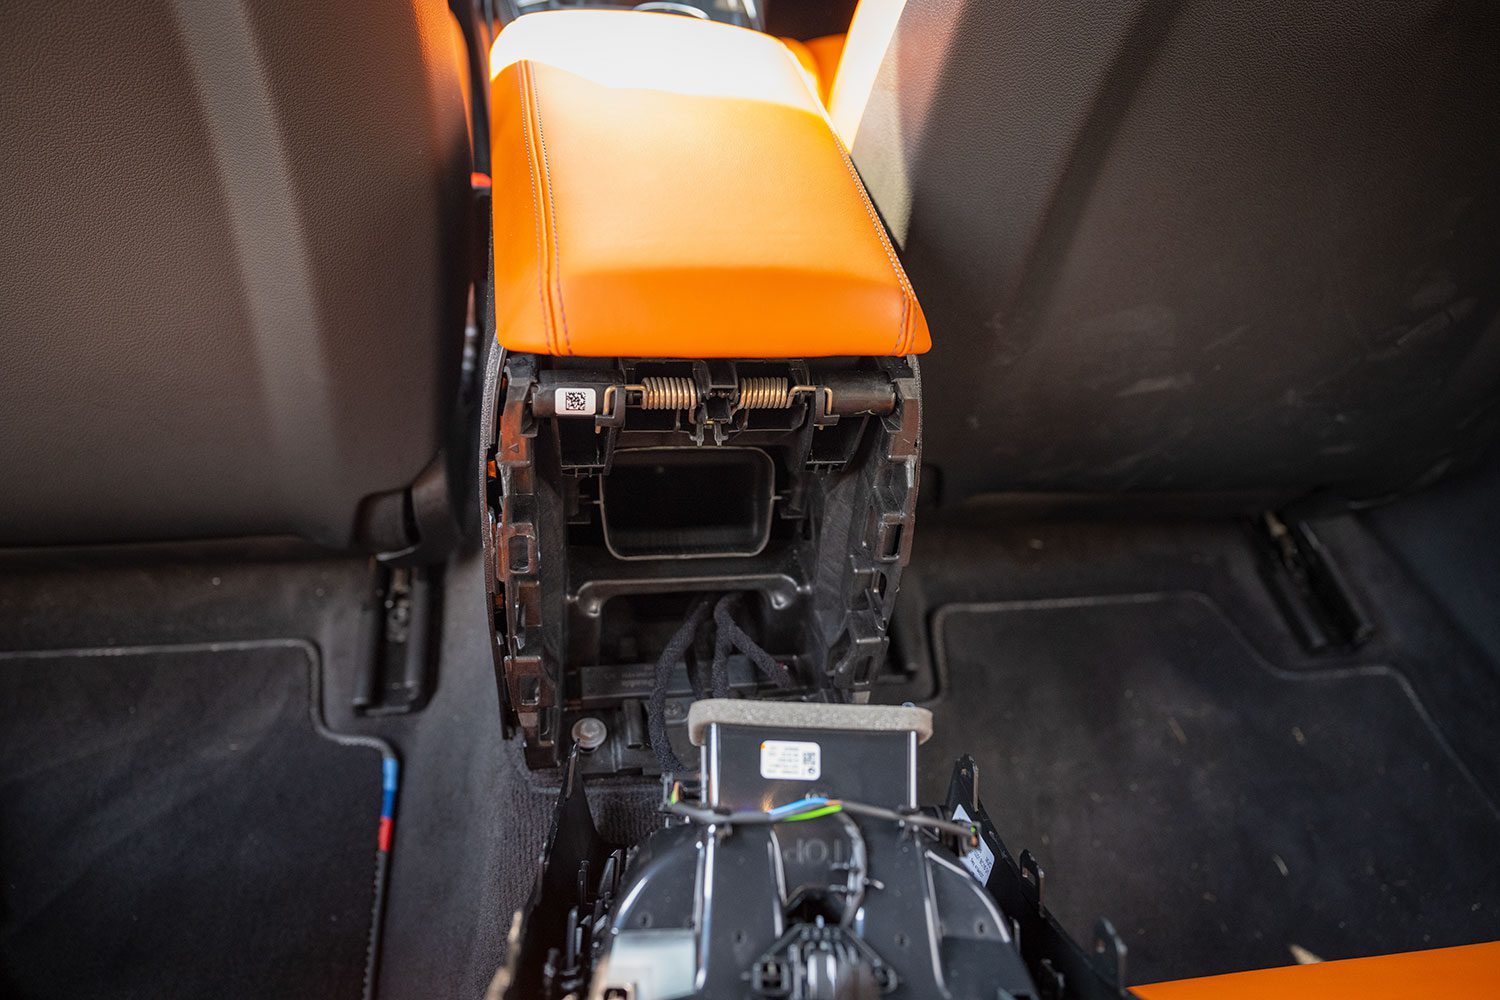
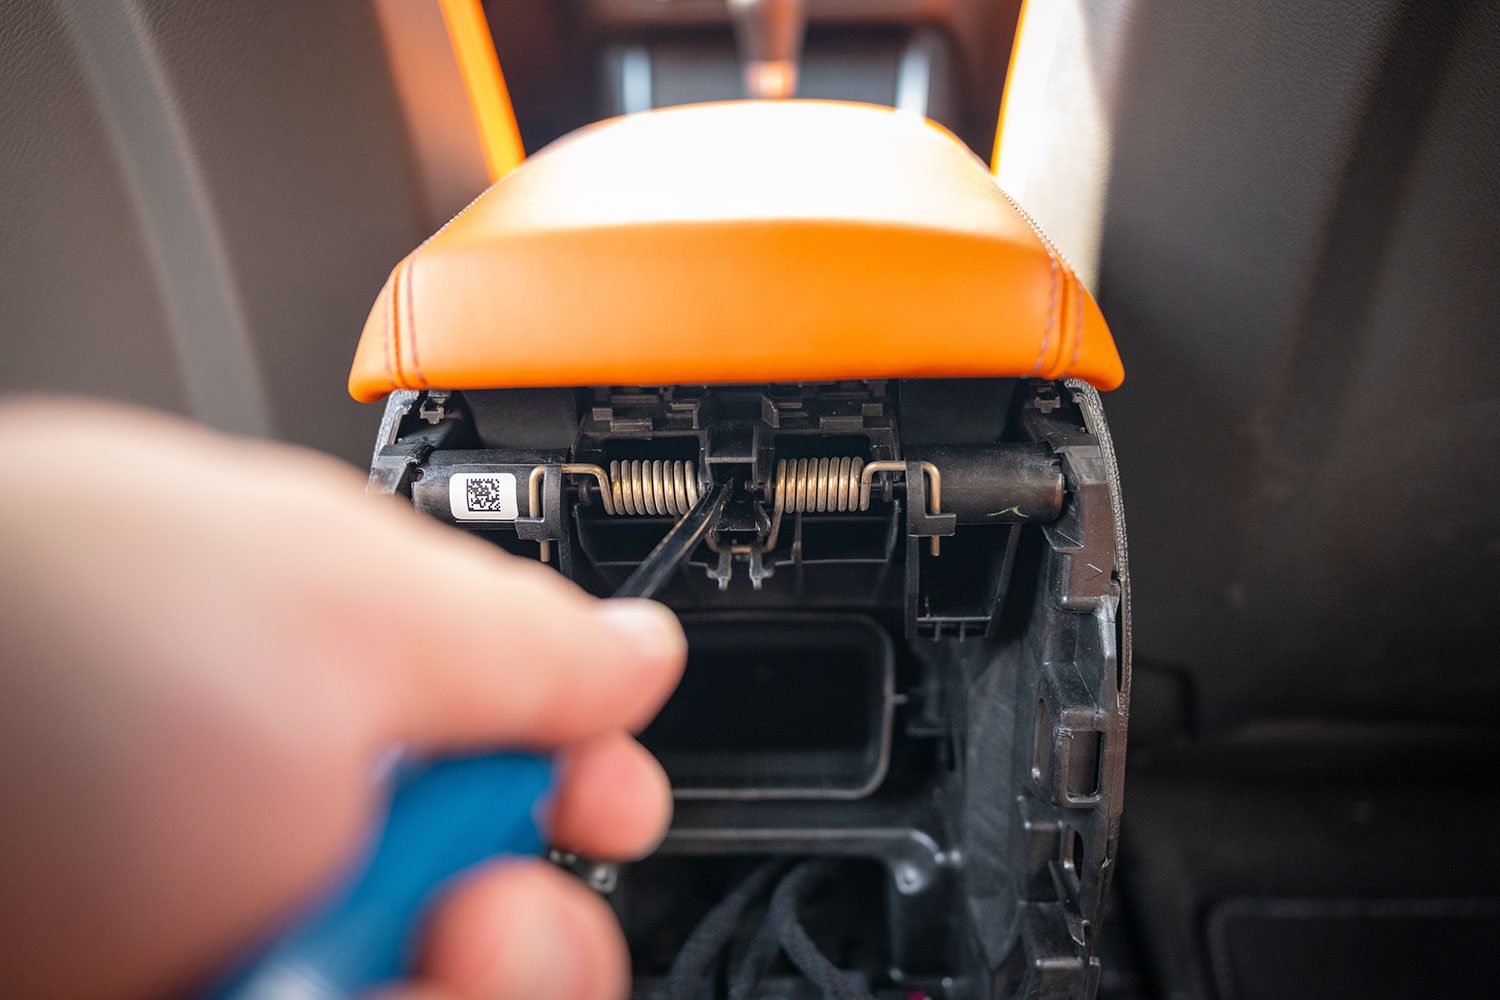
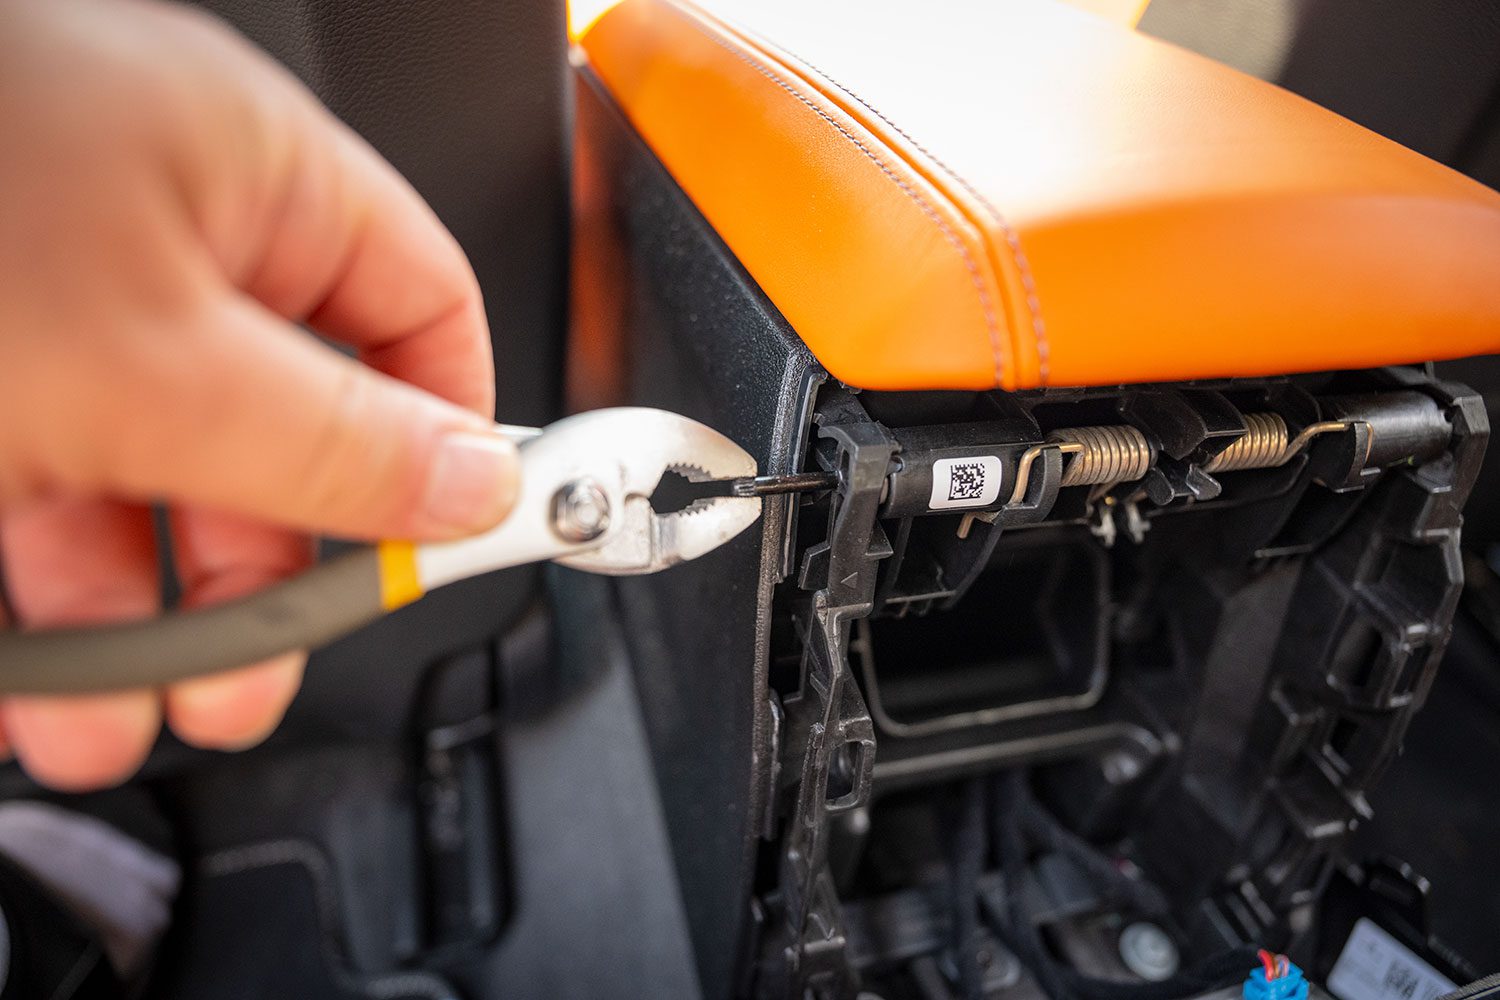
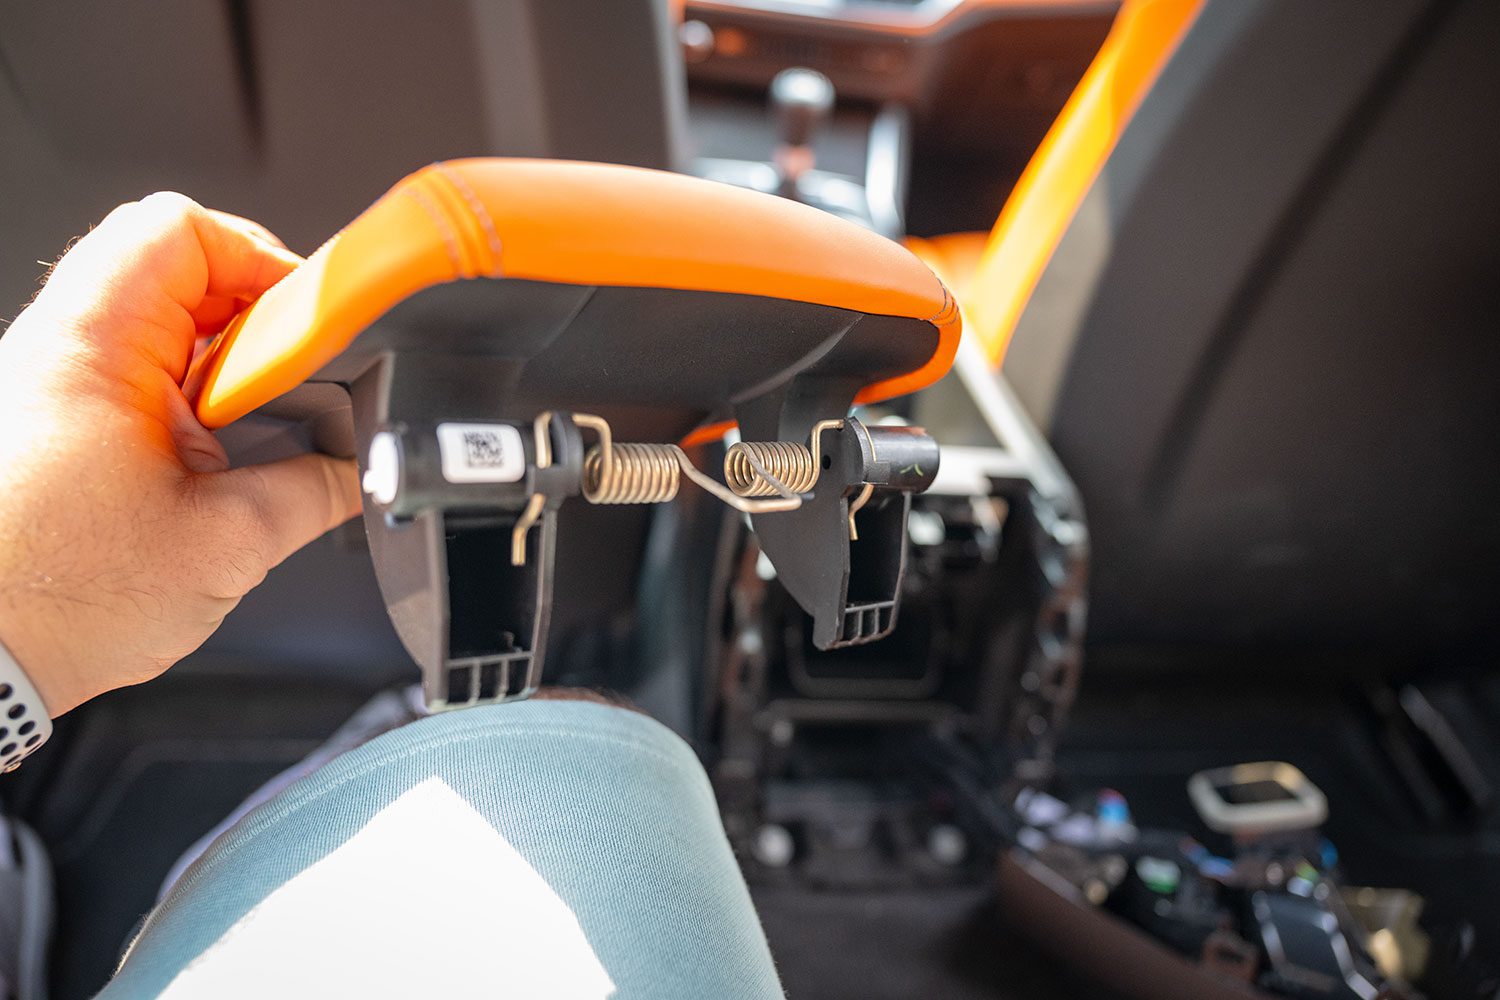
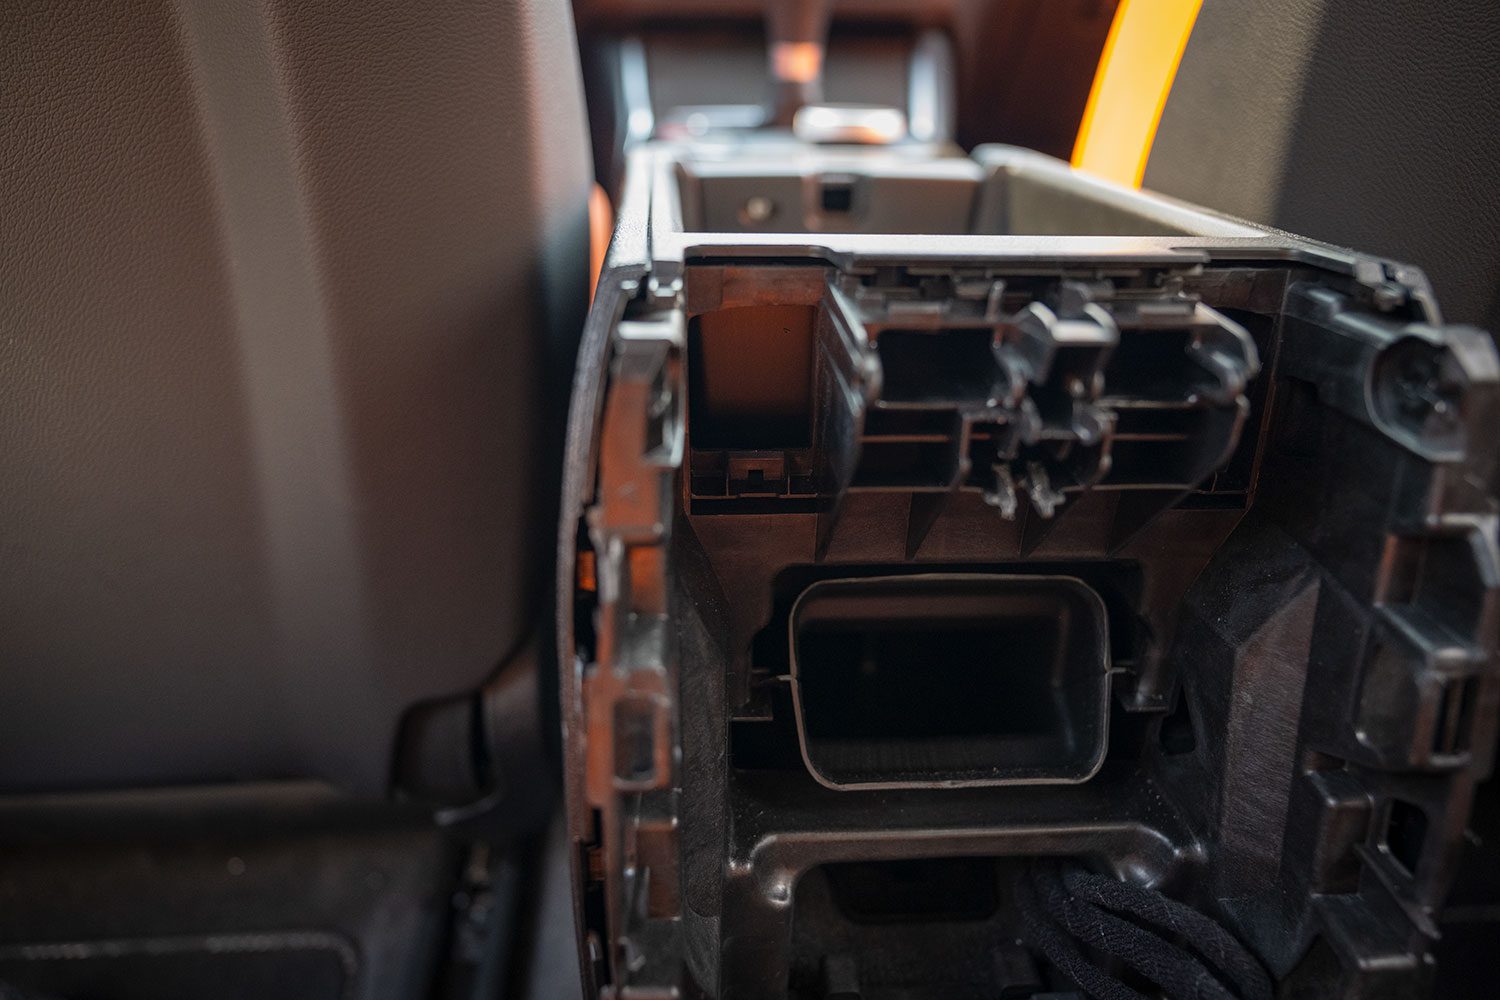
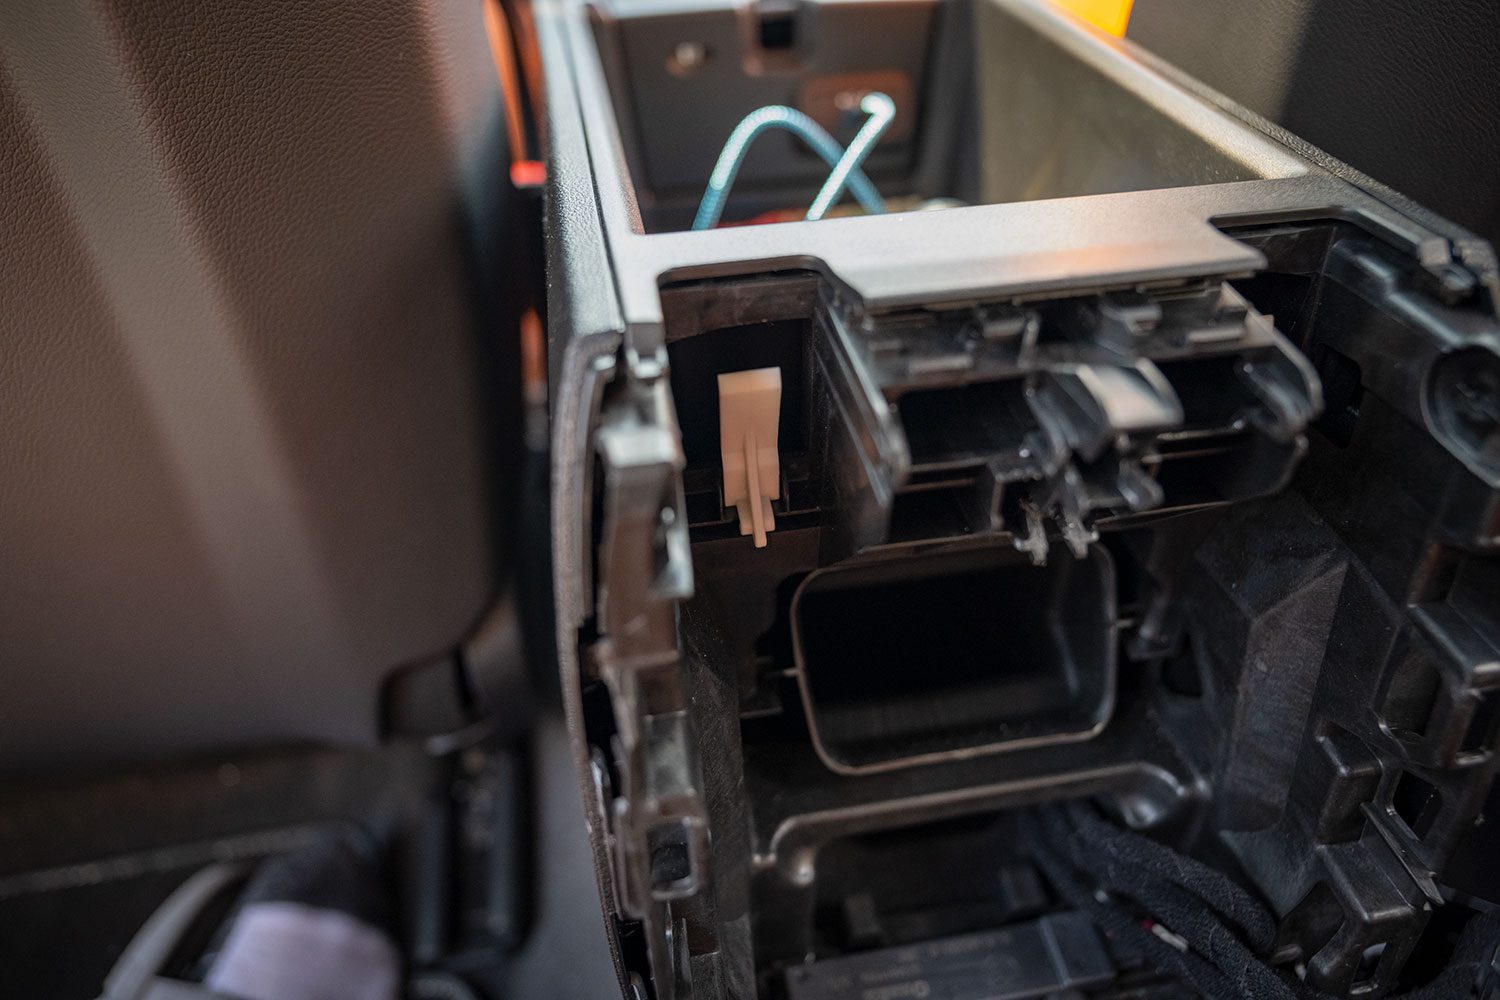
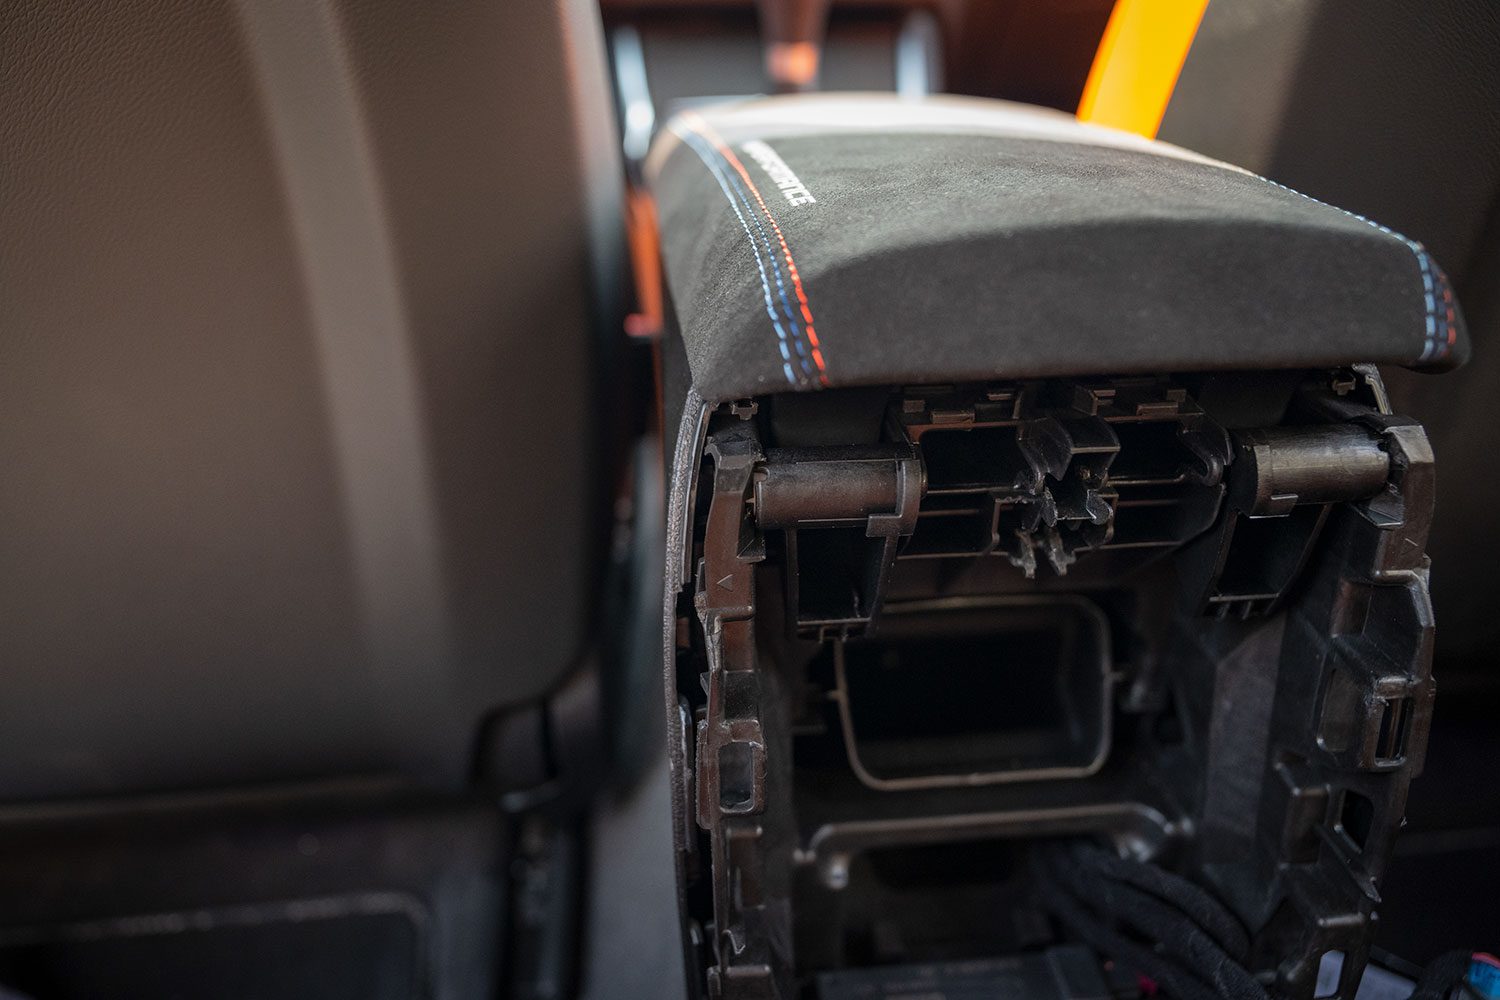
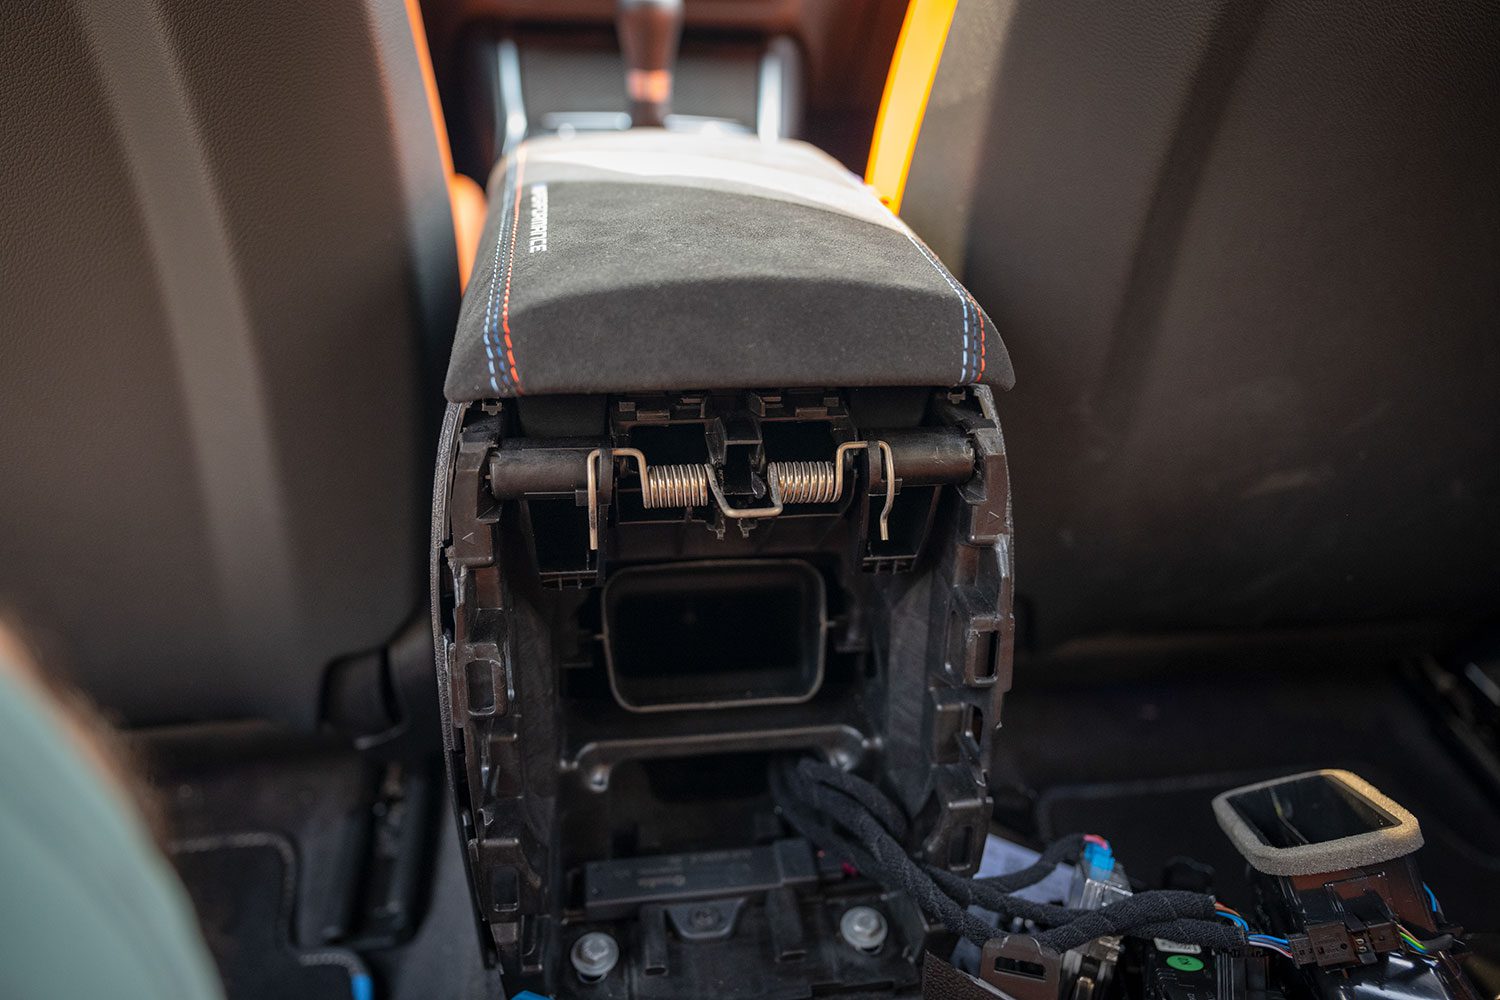
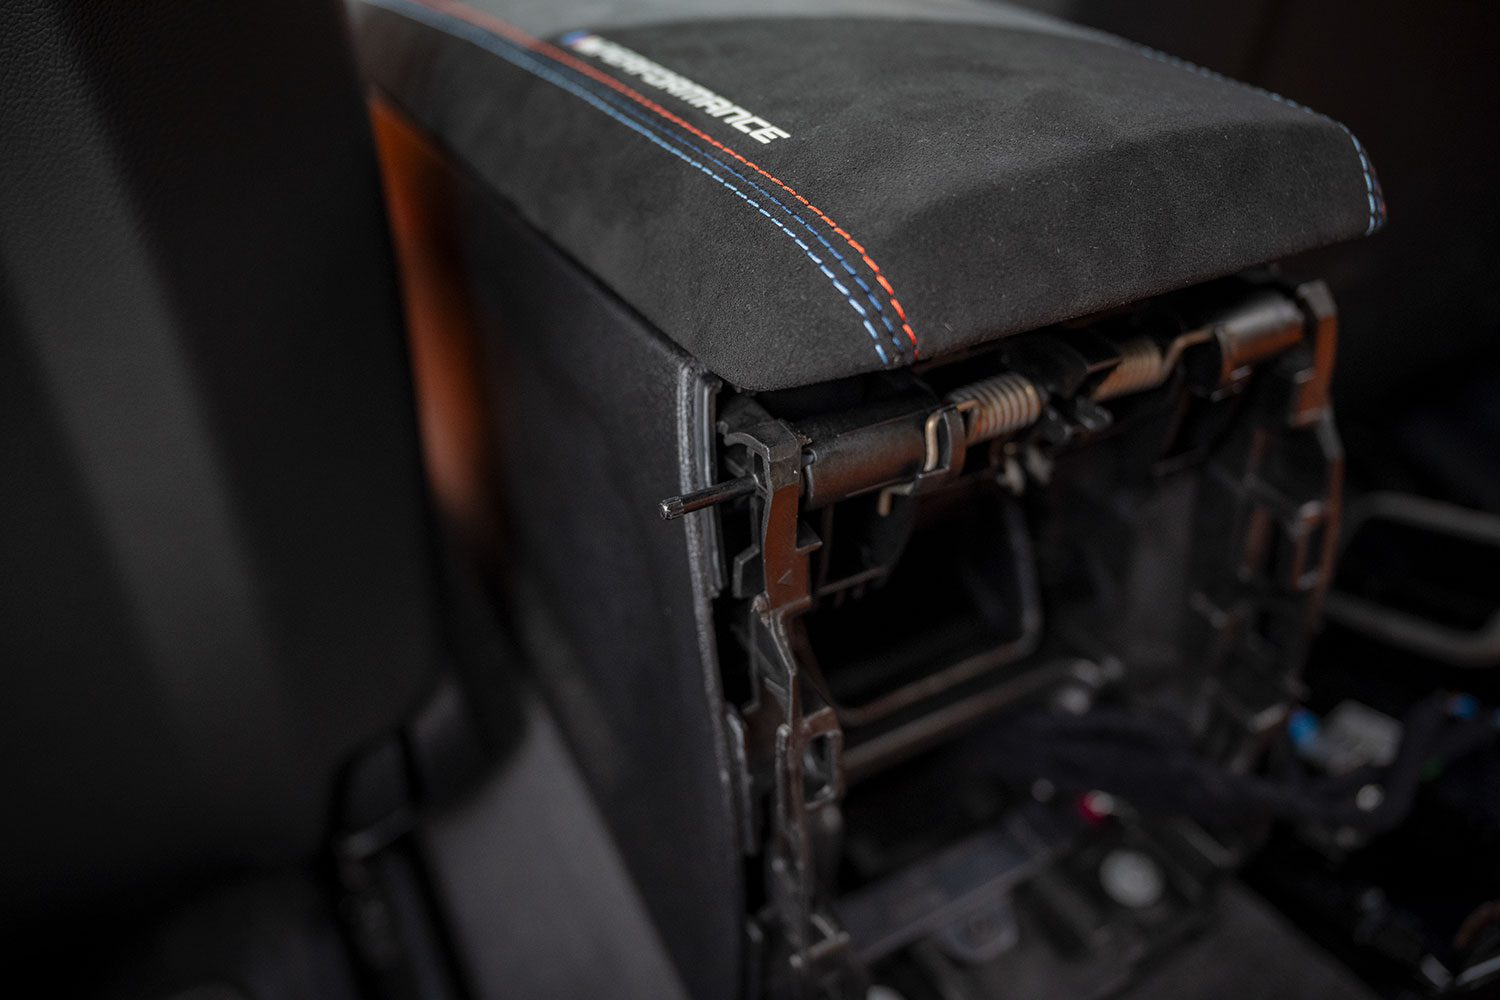
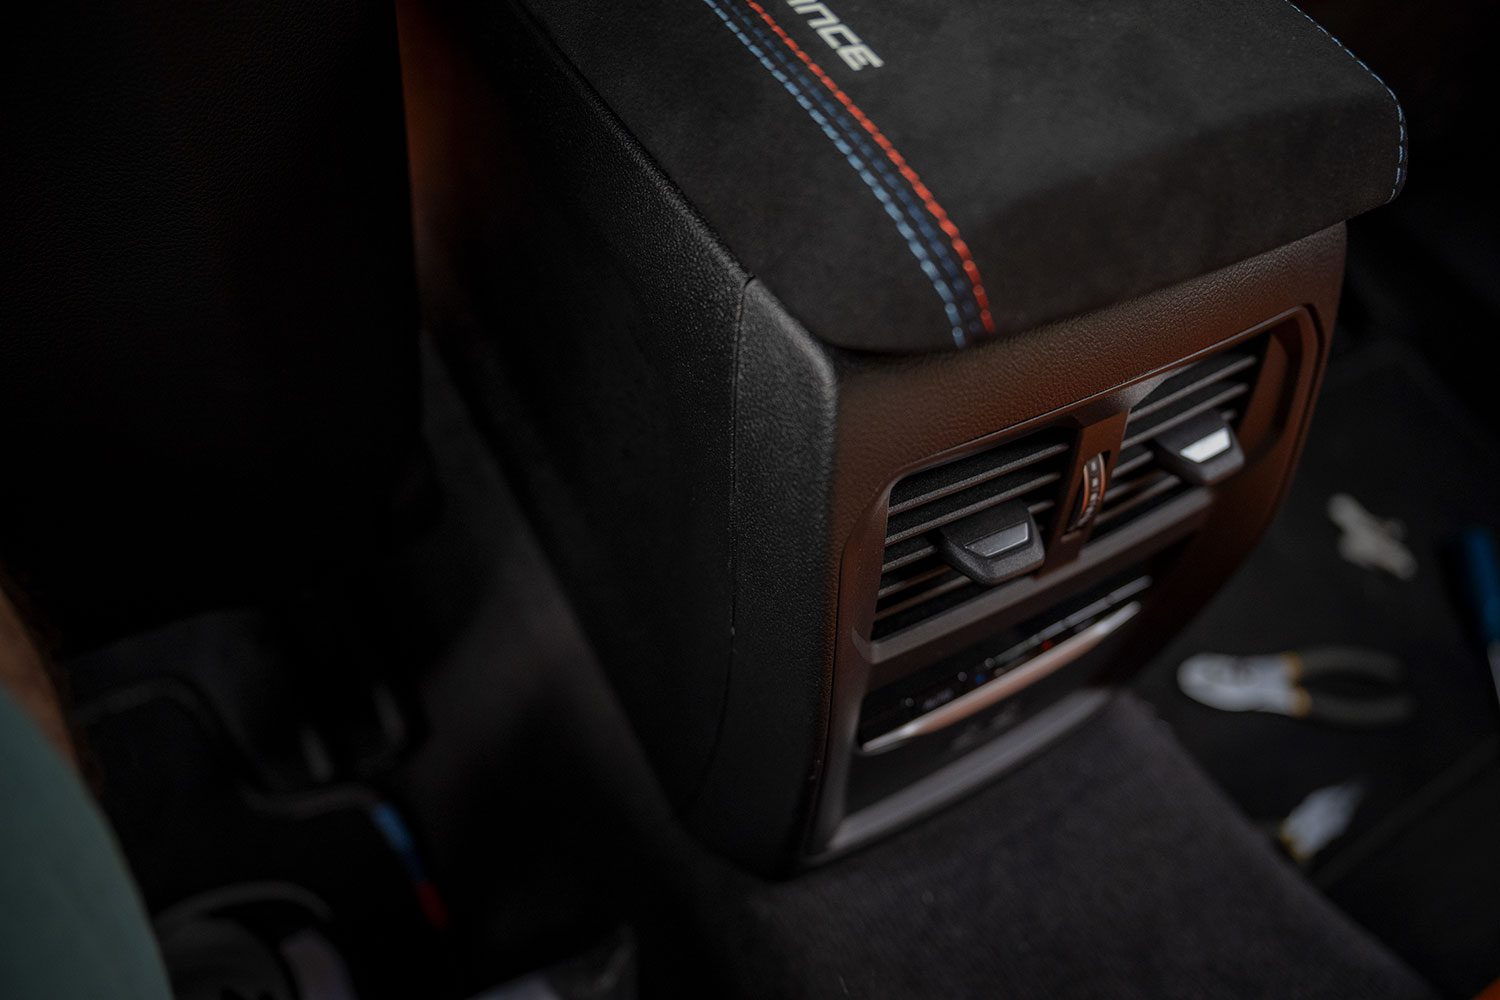
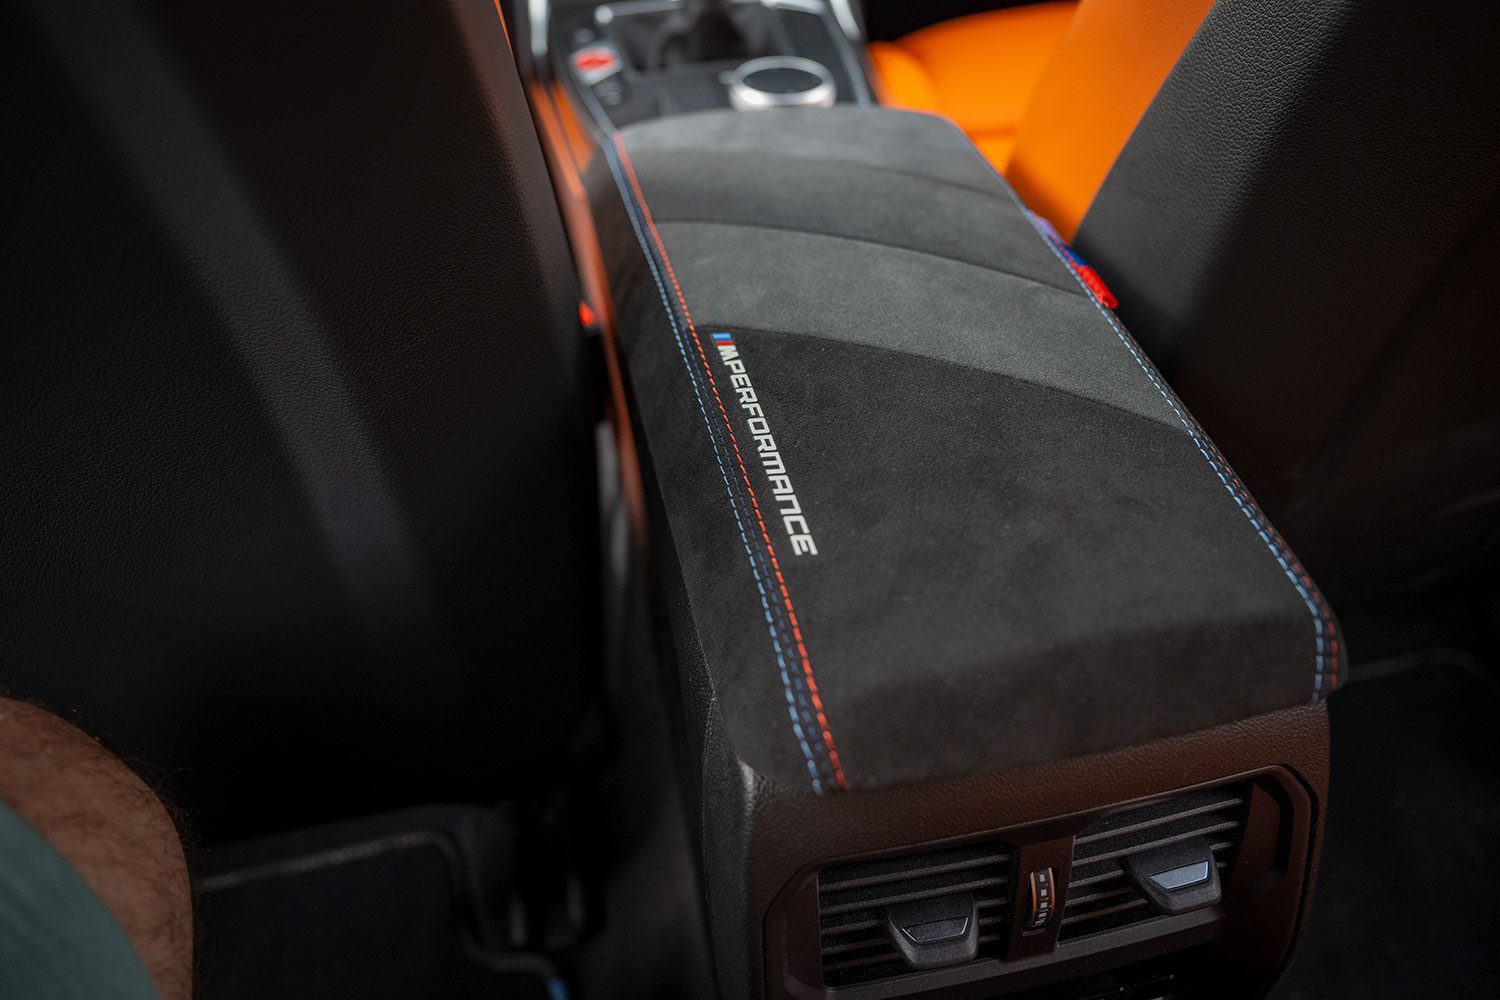
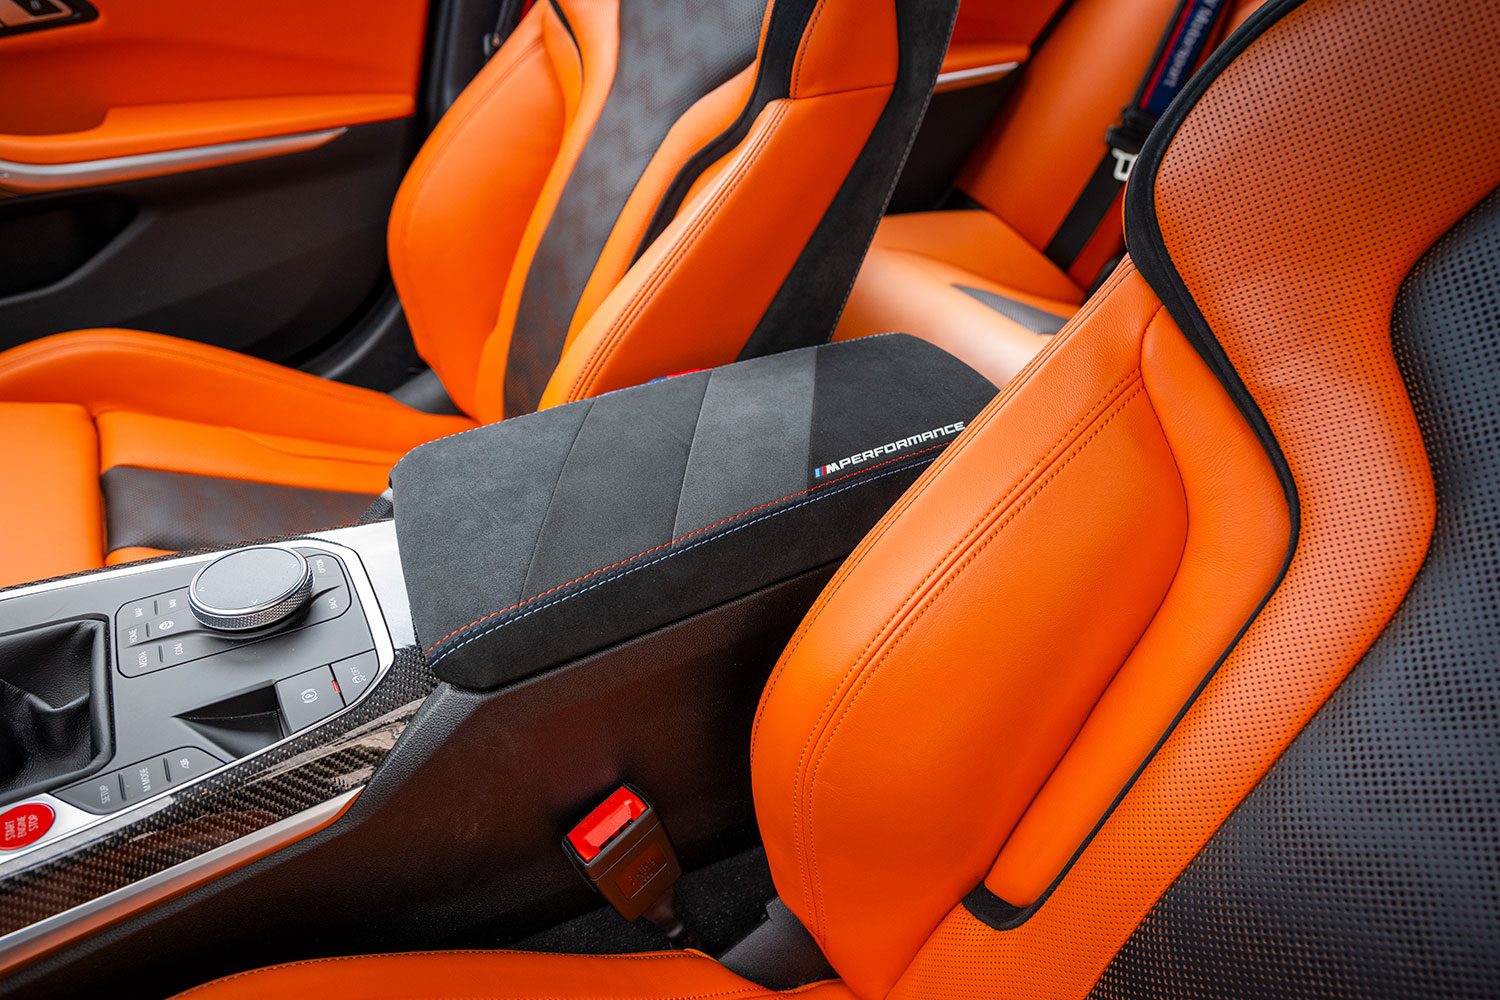
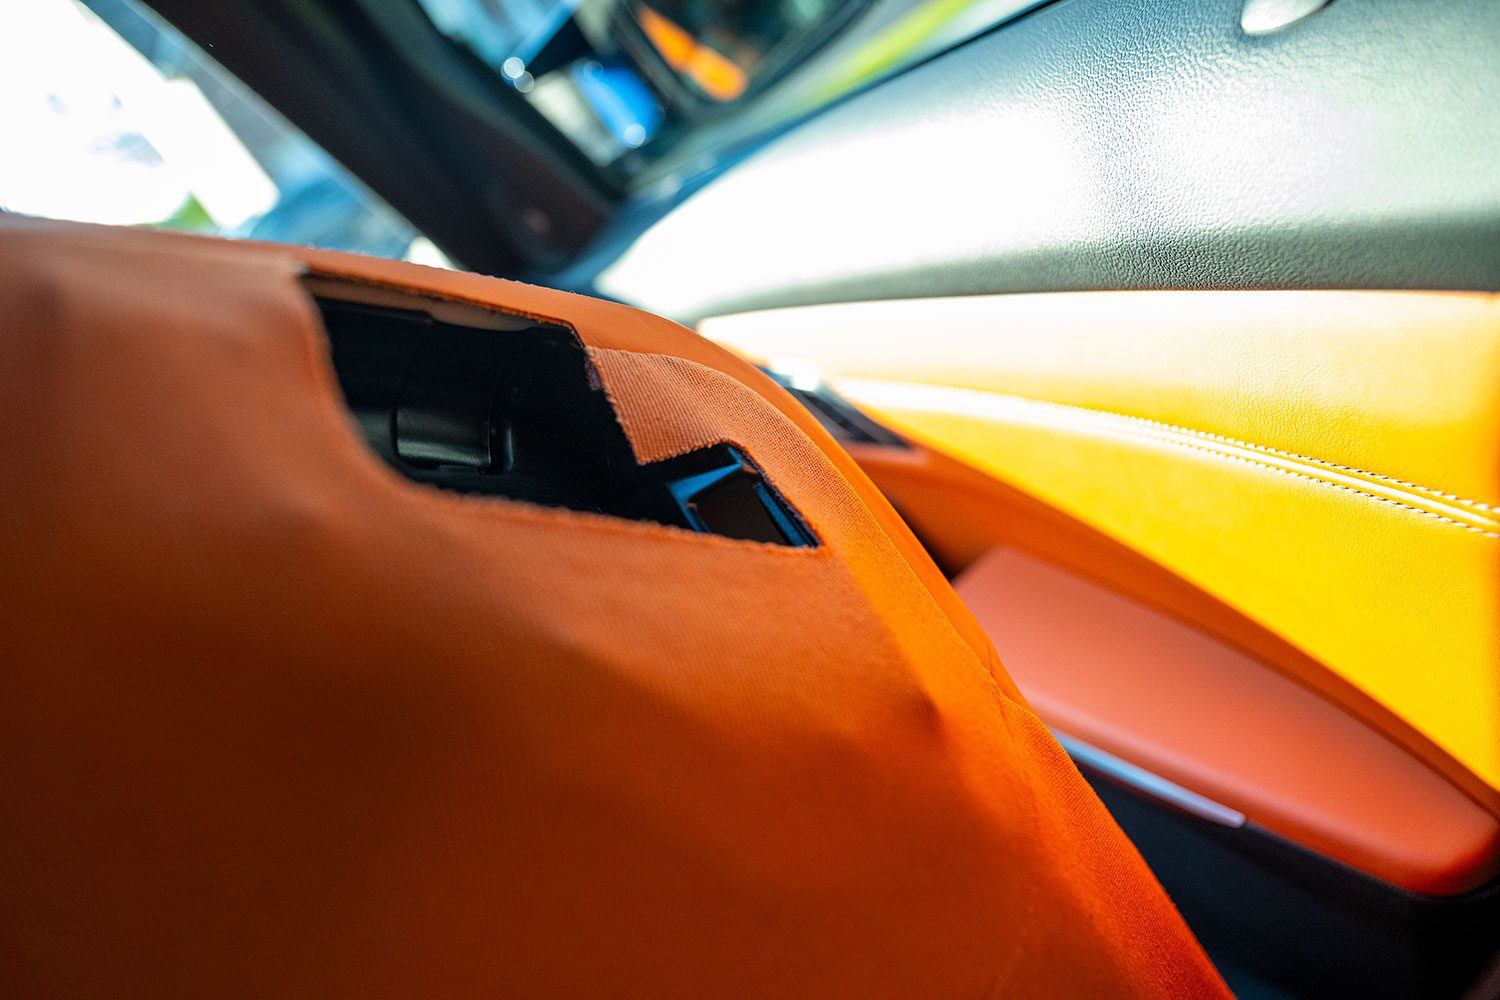
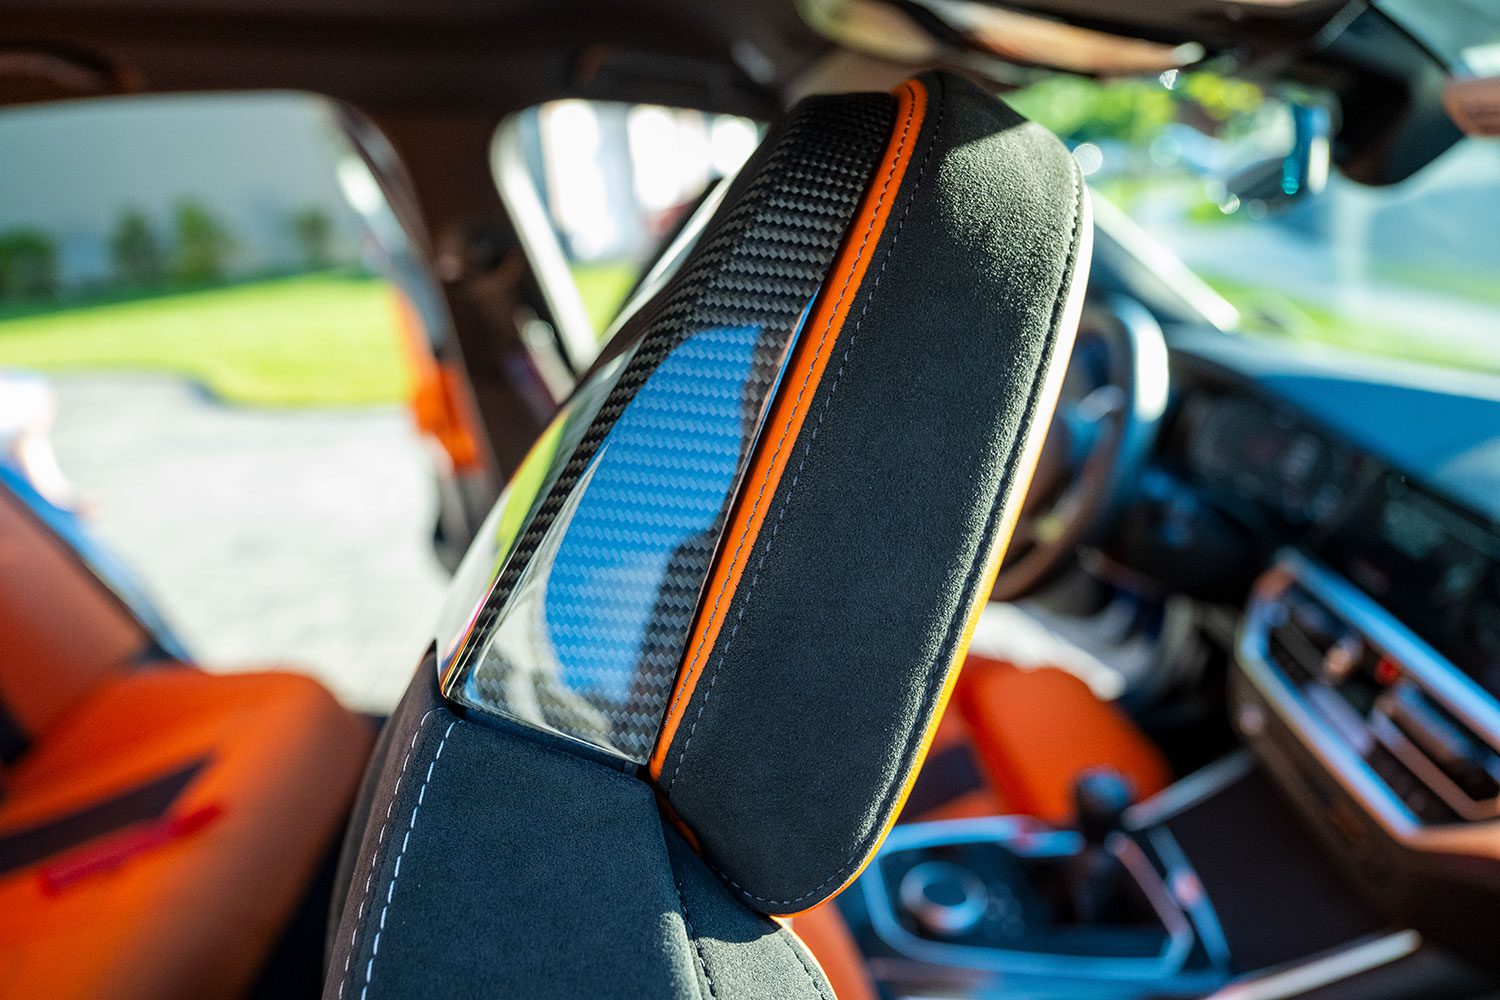
The BMW M Performance armrest installation
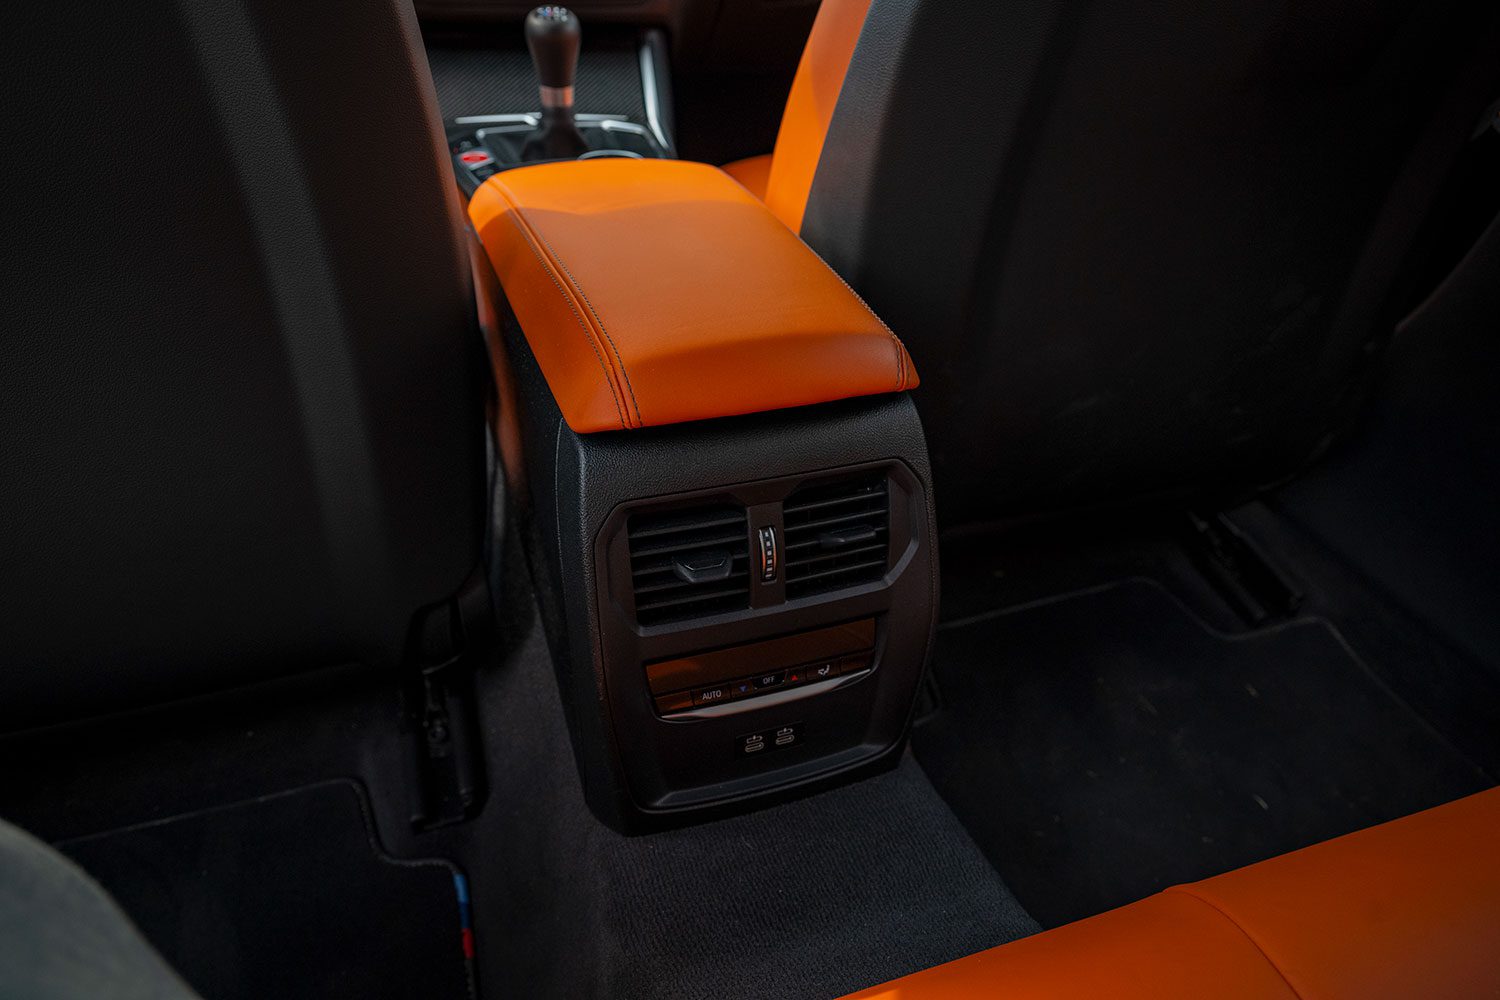
There’s nothing wrong with the Kyalami Orange leather armrest in the car, but we can tie it together with the seat backs and add some M colors.
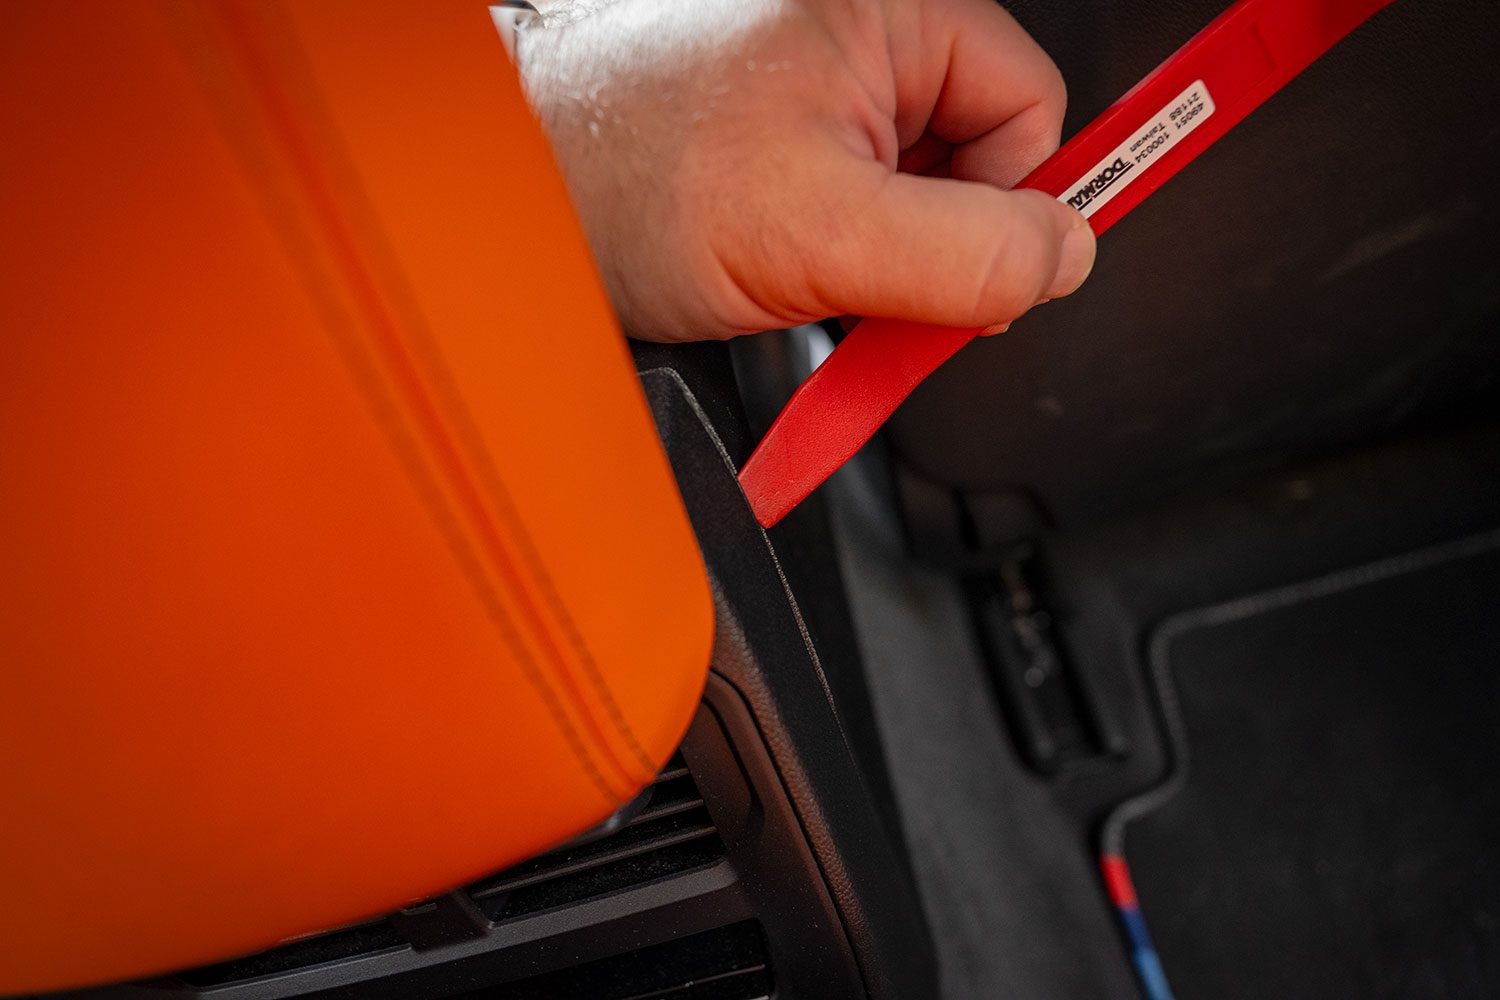
You’ll need a pair of pliers, a flat head screw driver, and a plastic trim tool. Before you start, move both front seats all the way up, it’ll make it much easier.
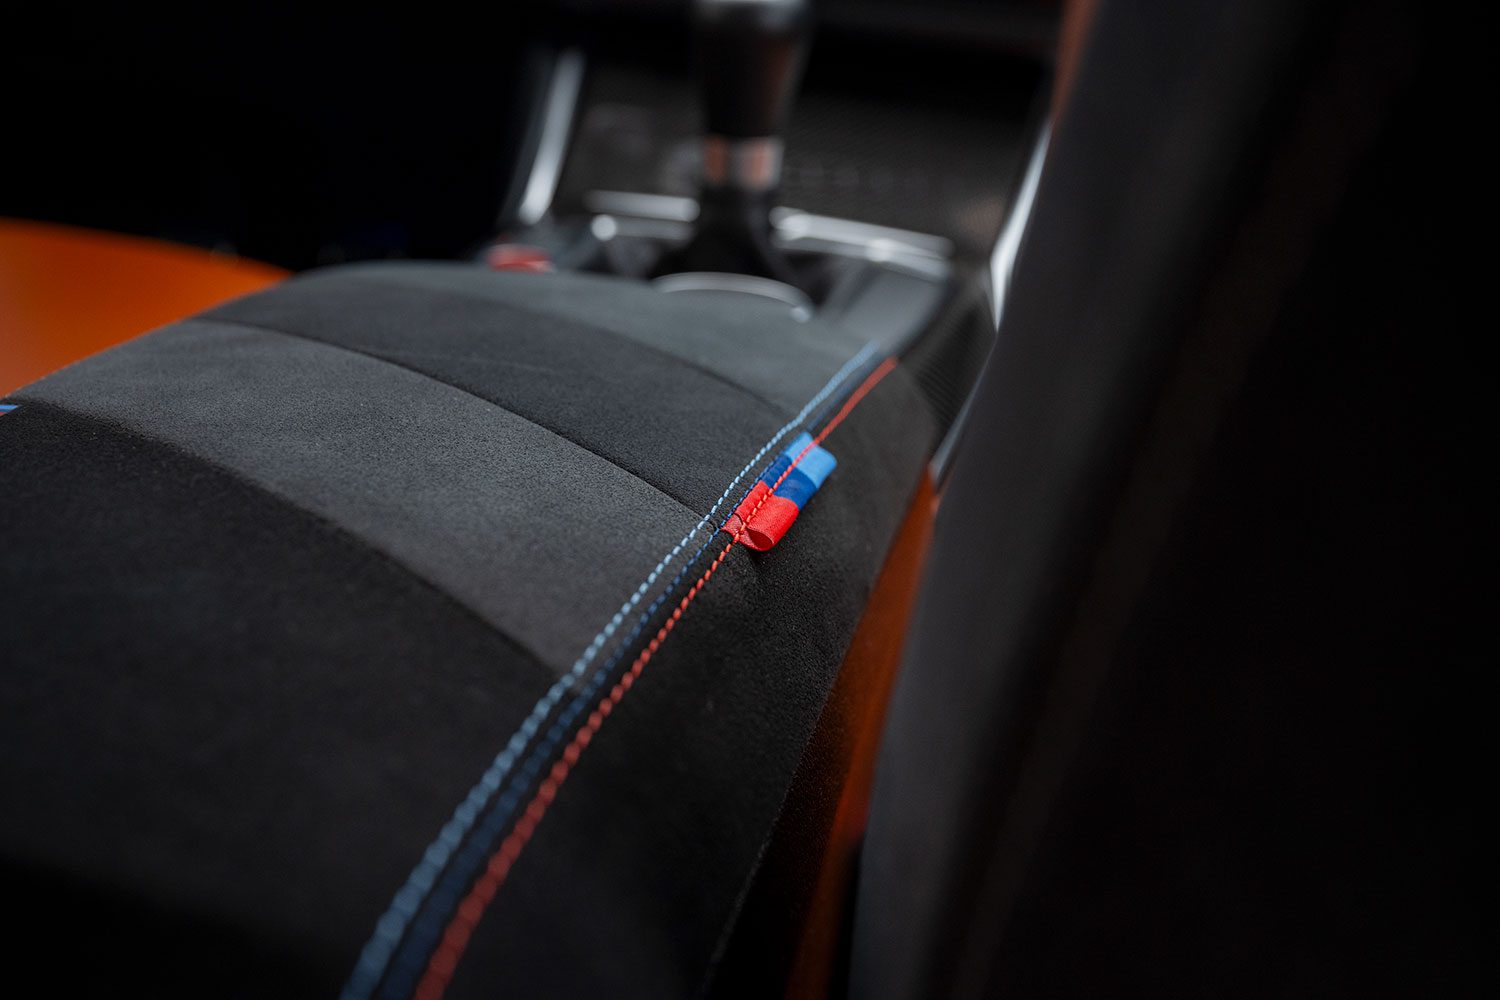
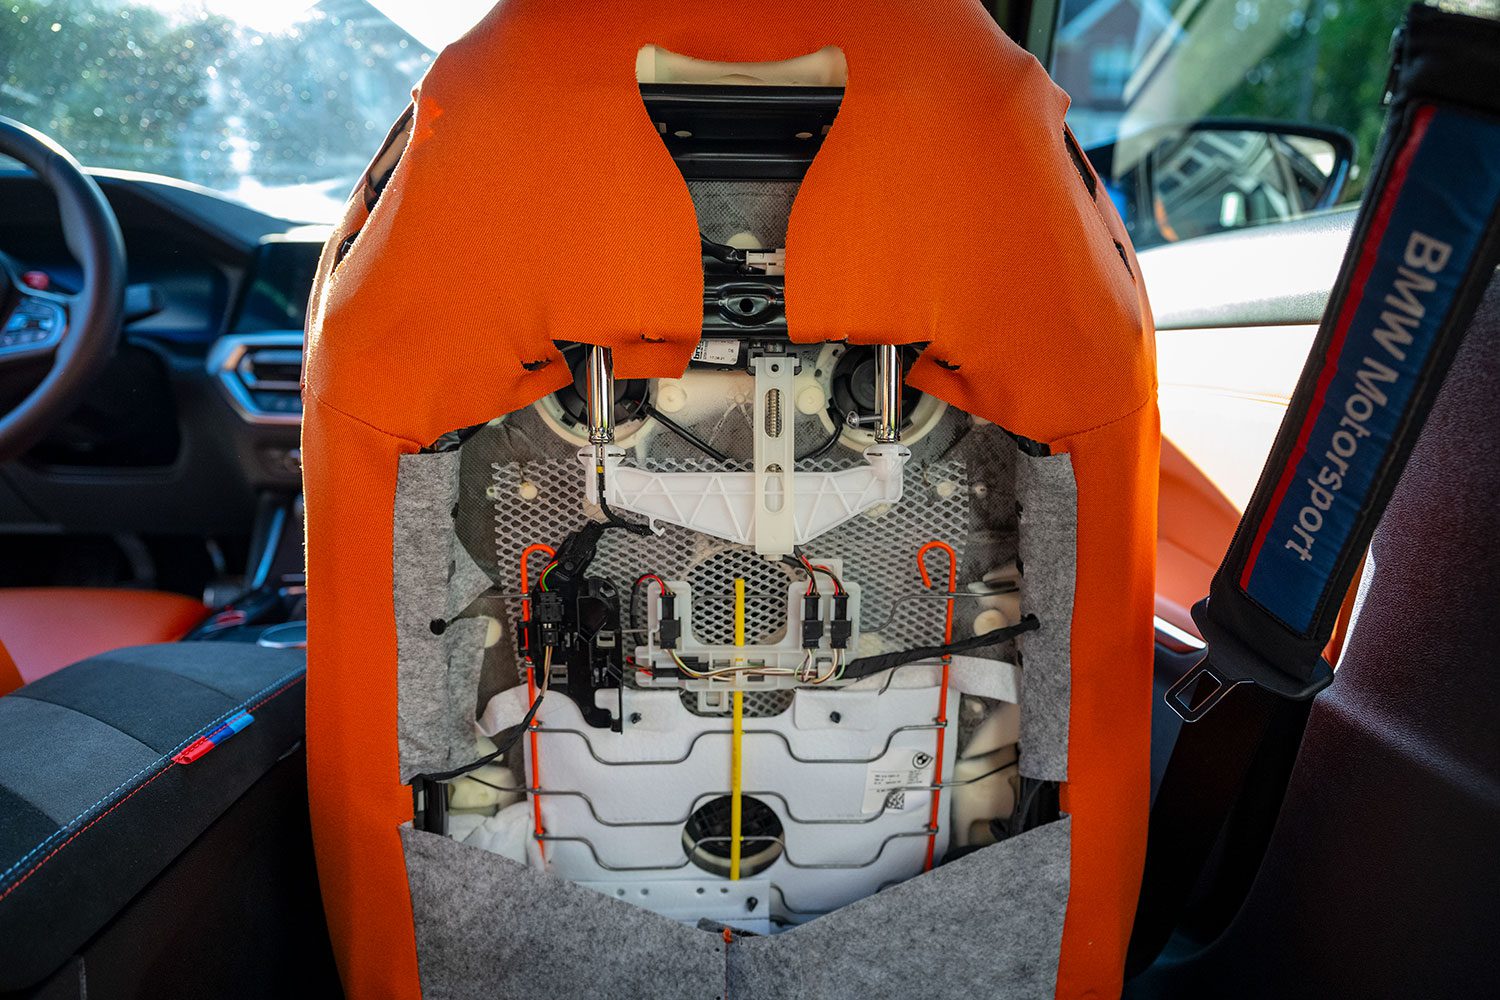
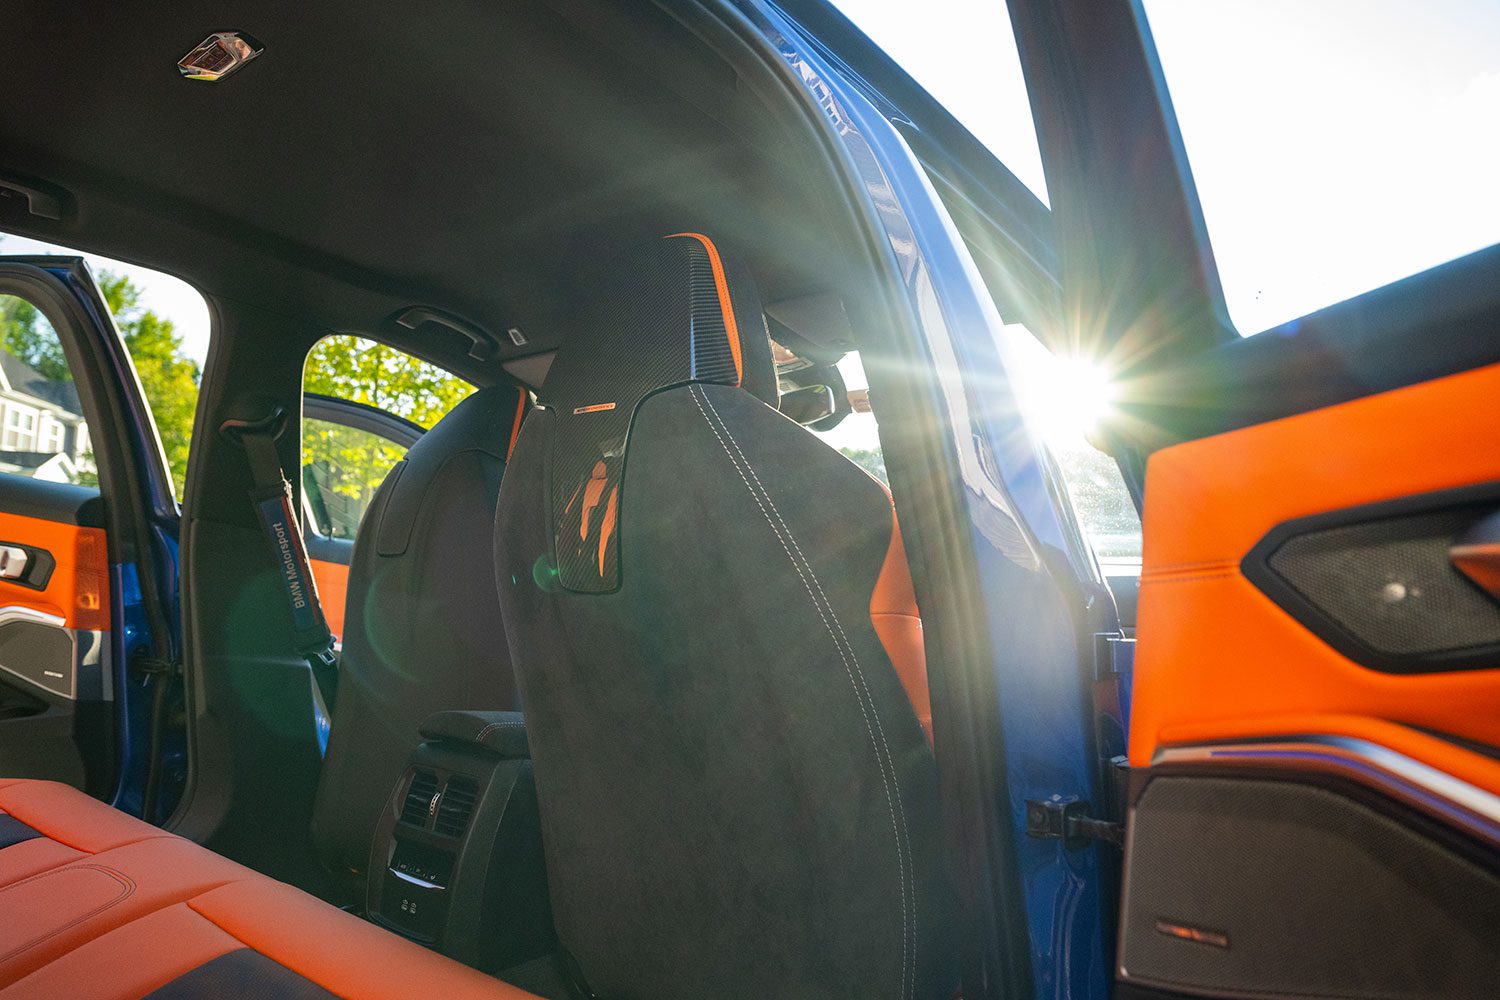
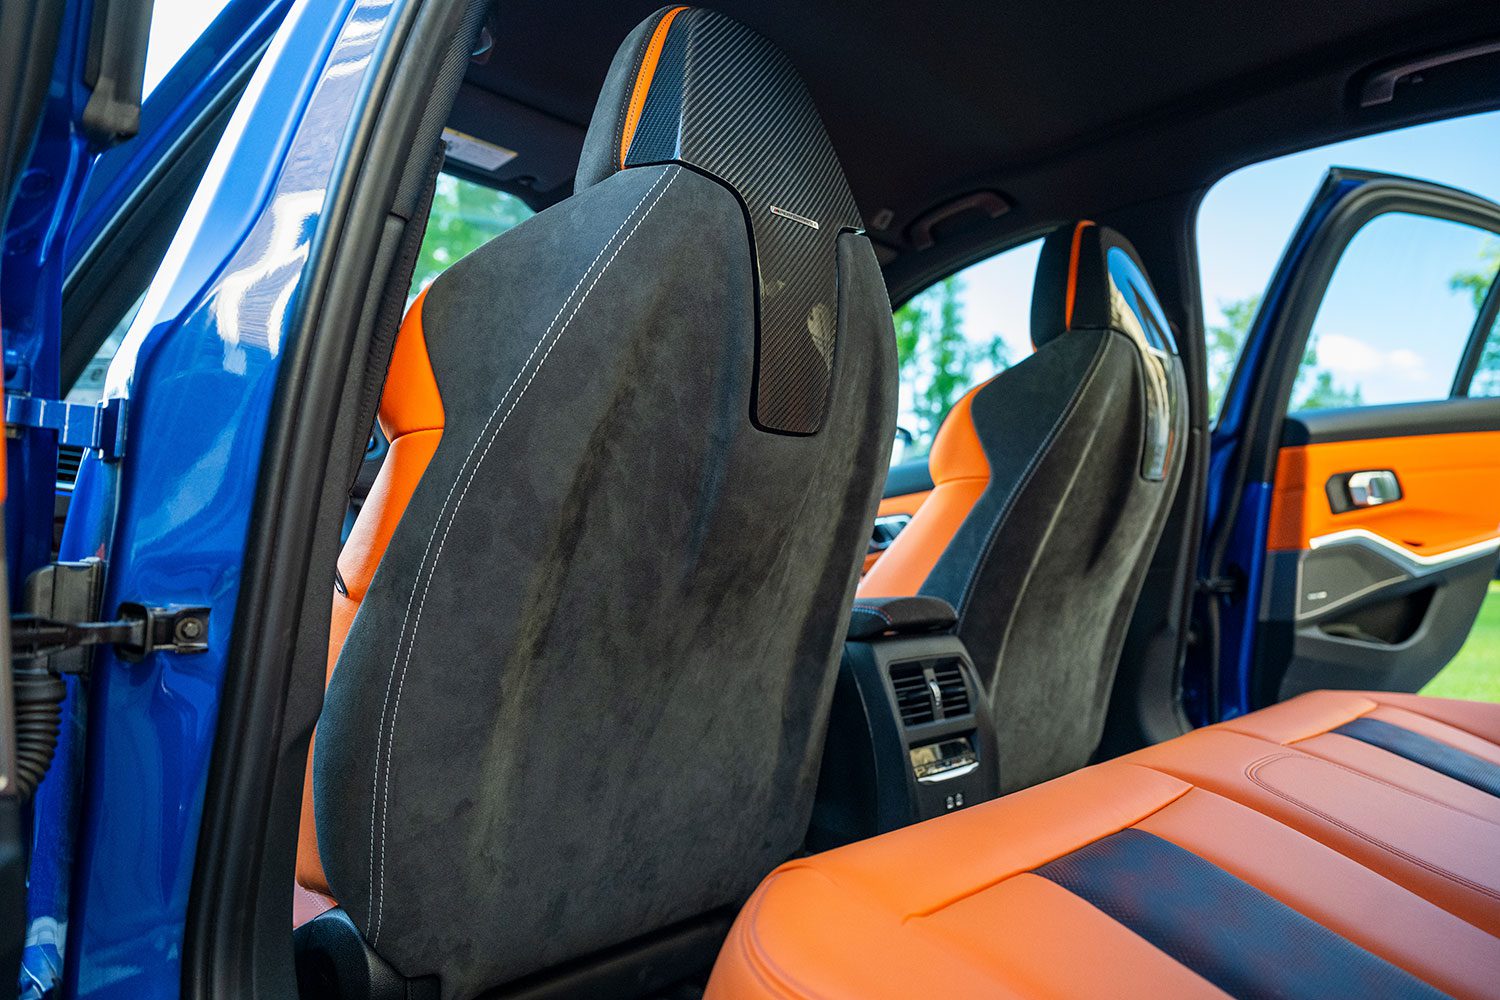
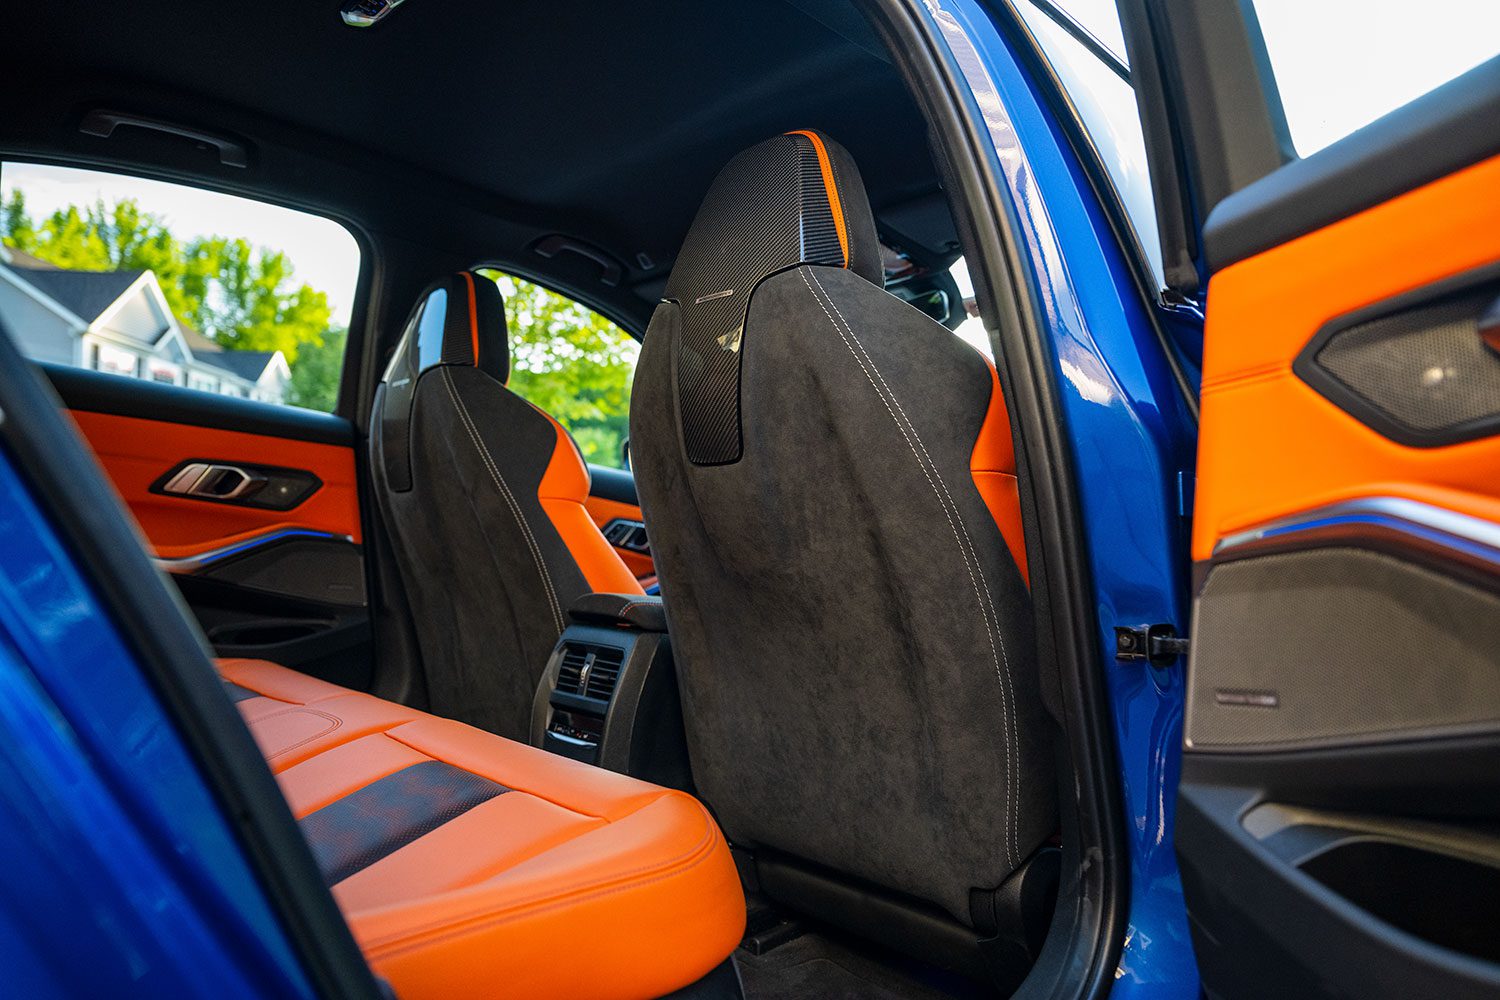
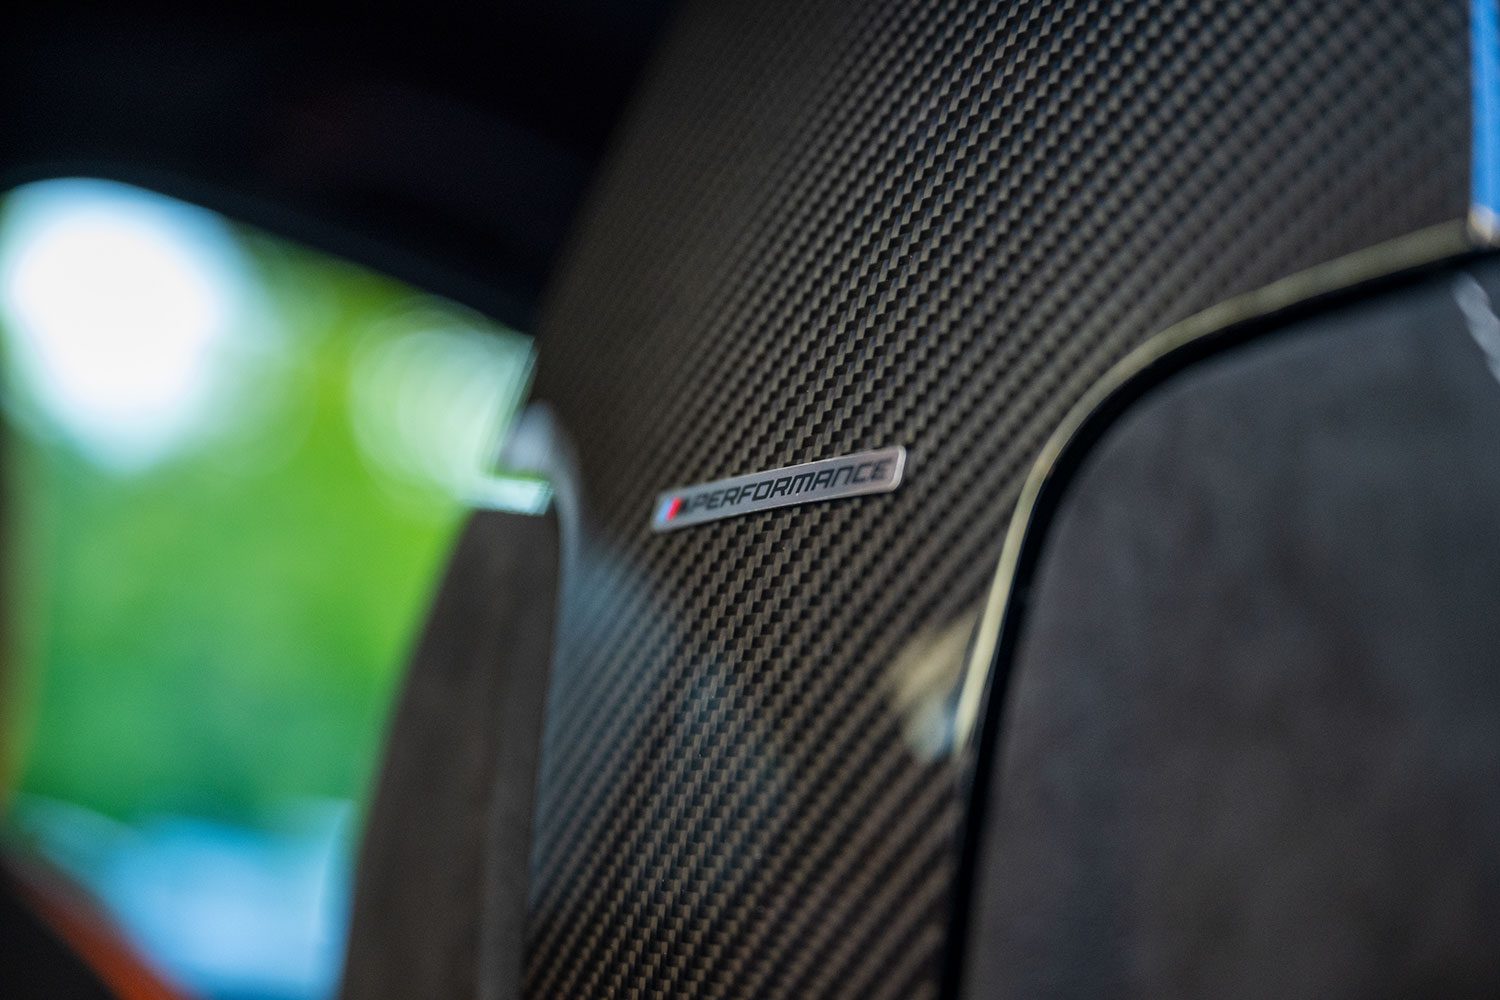
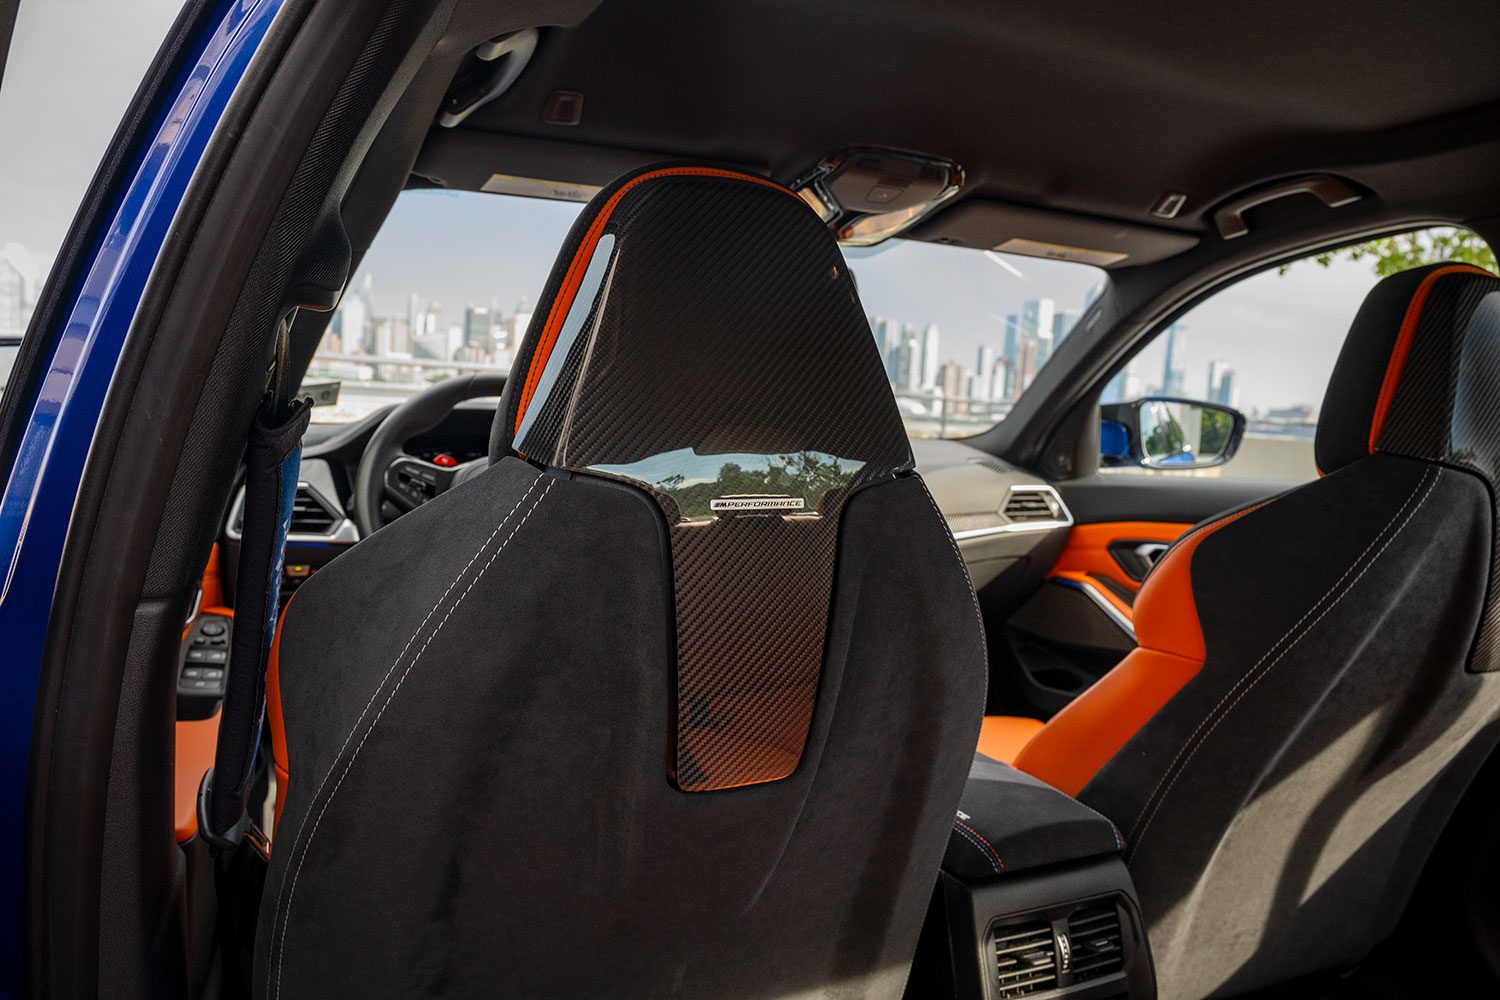
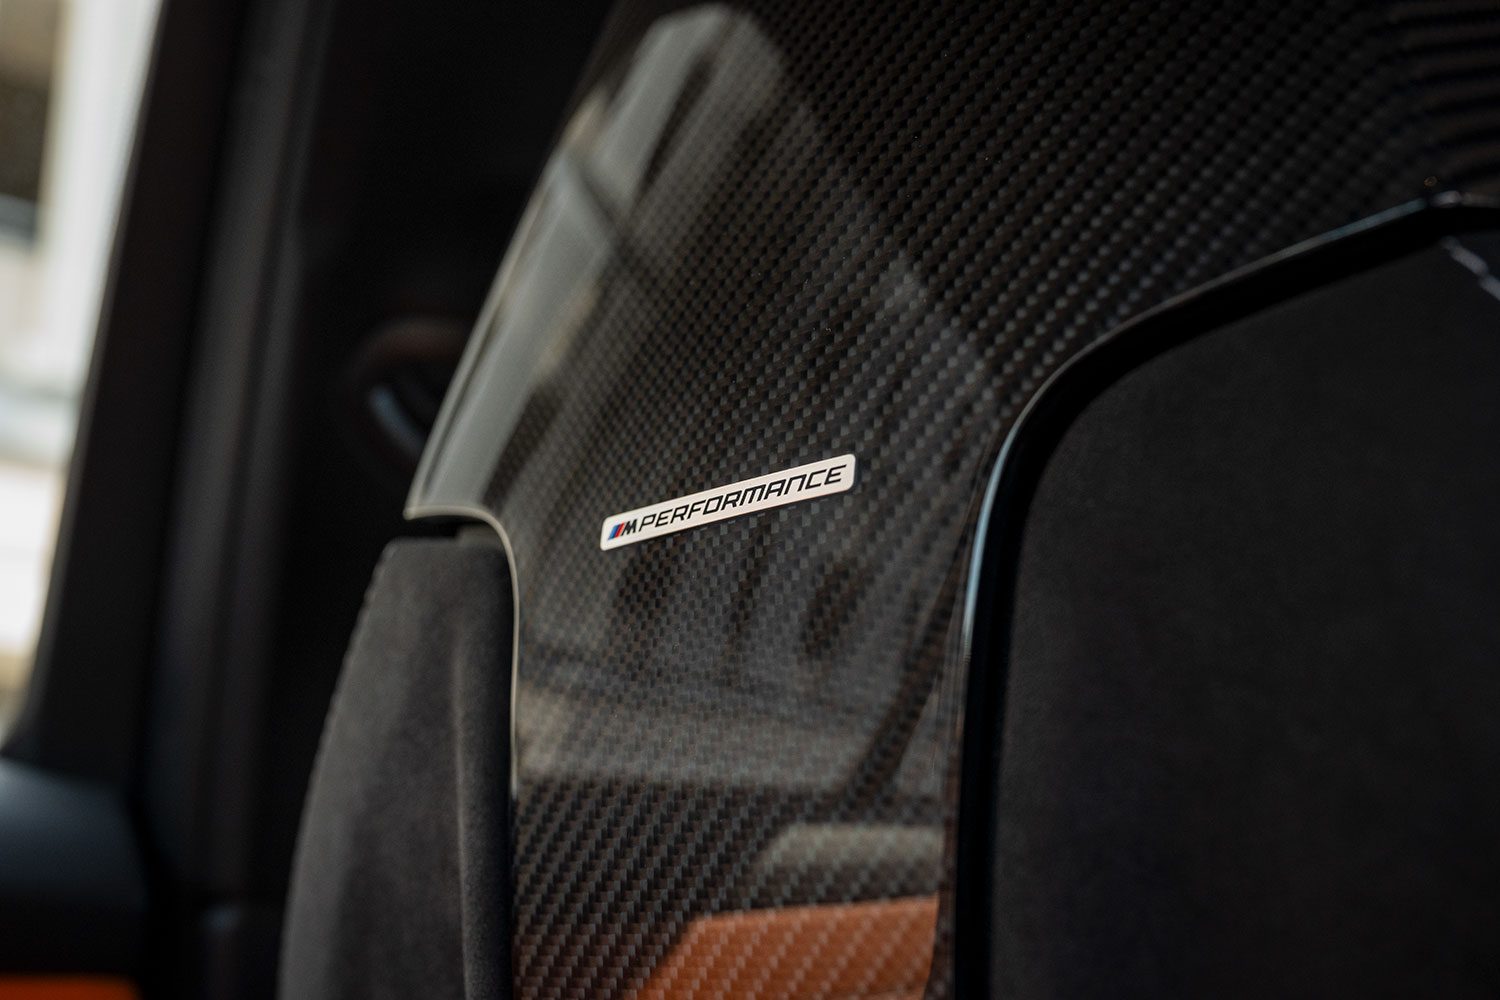
BMW M Performance seat backs with gloss carbon fiber installation
The biggest change to the G8X interior can be found in these seat backs. If you did not choose the carbon fiber bucket option for whatever reason, this is a nice way to make your interior just as special.
You can choose from open pore (matte) or gloss carbon fiber. I chose gloss to match the rest of the car.
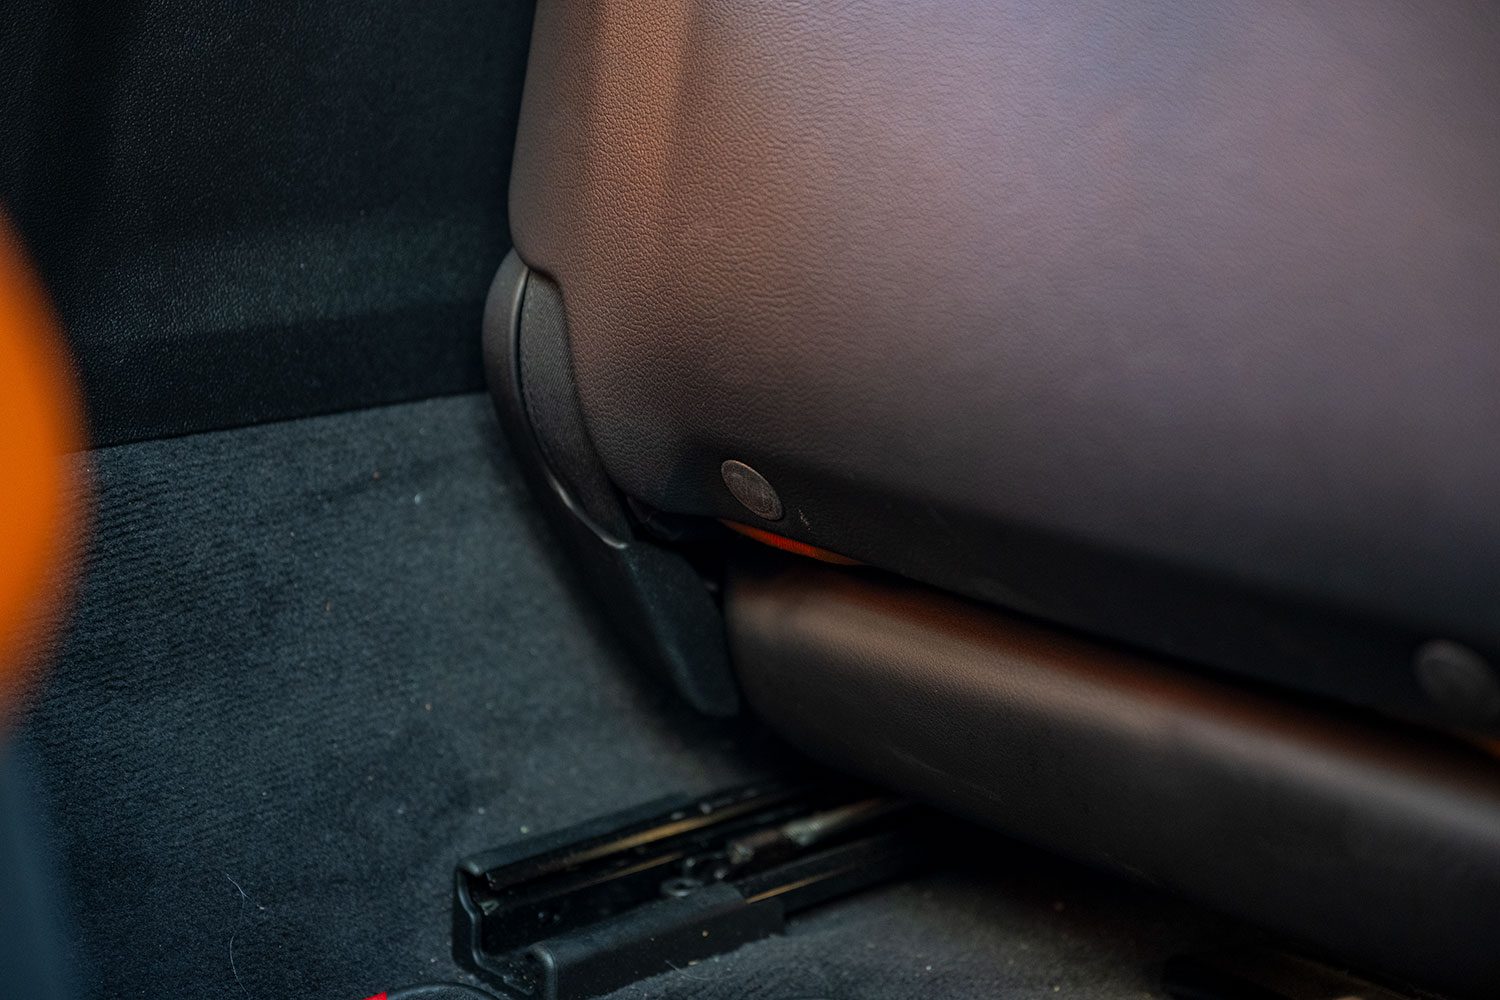
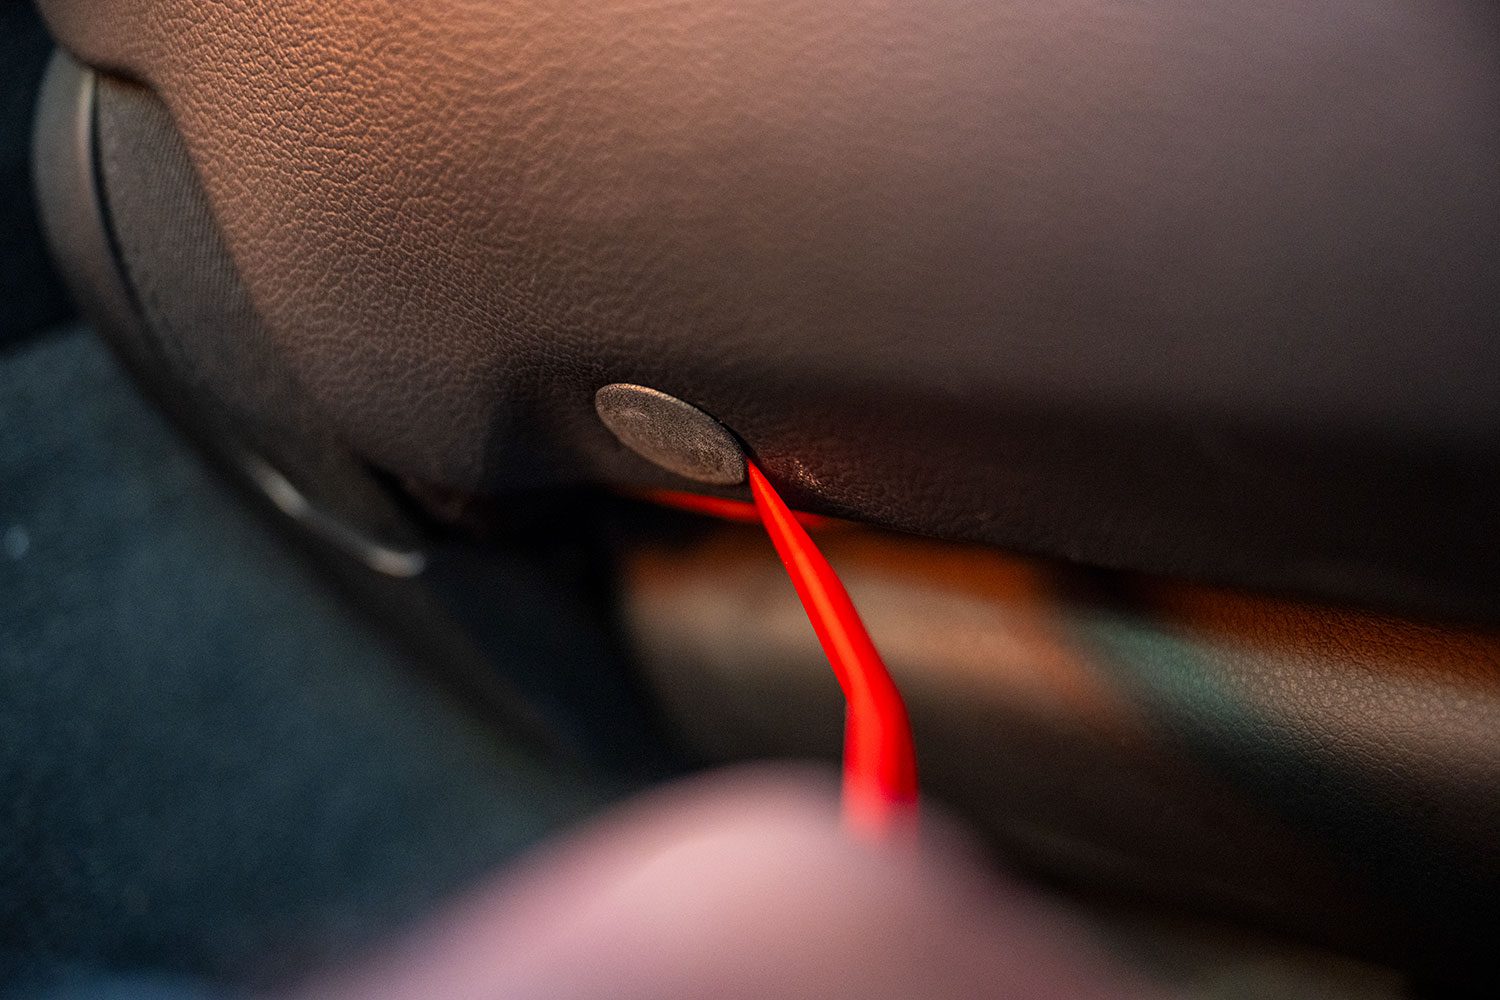
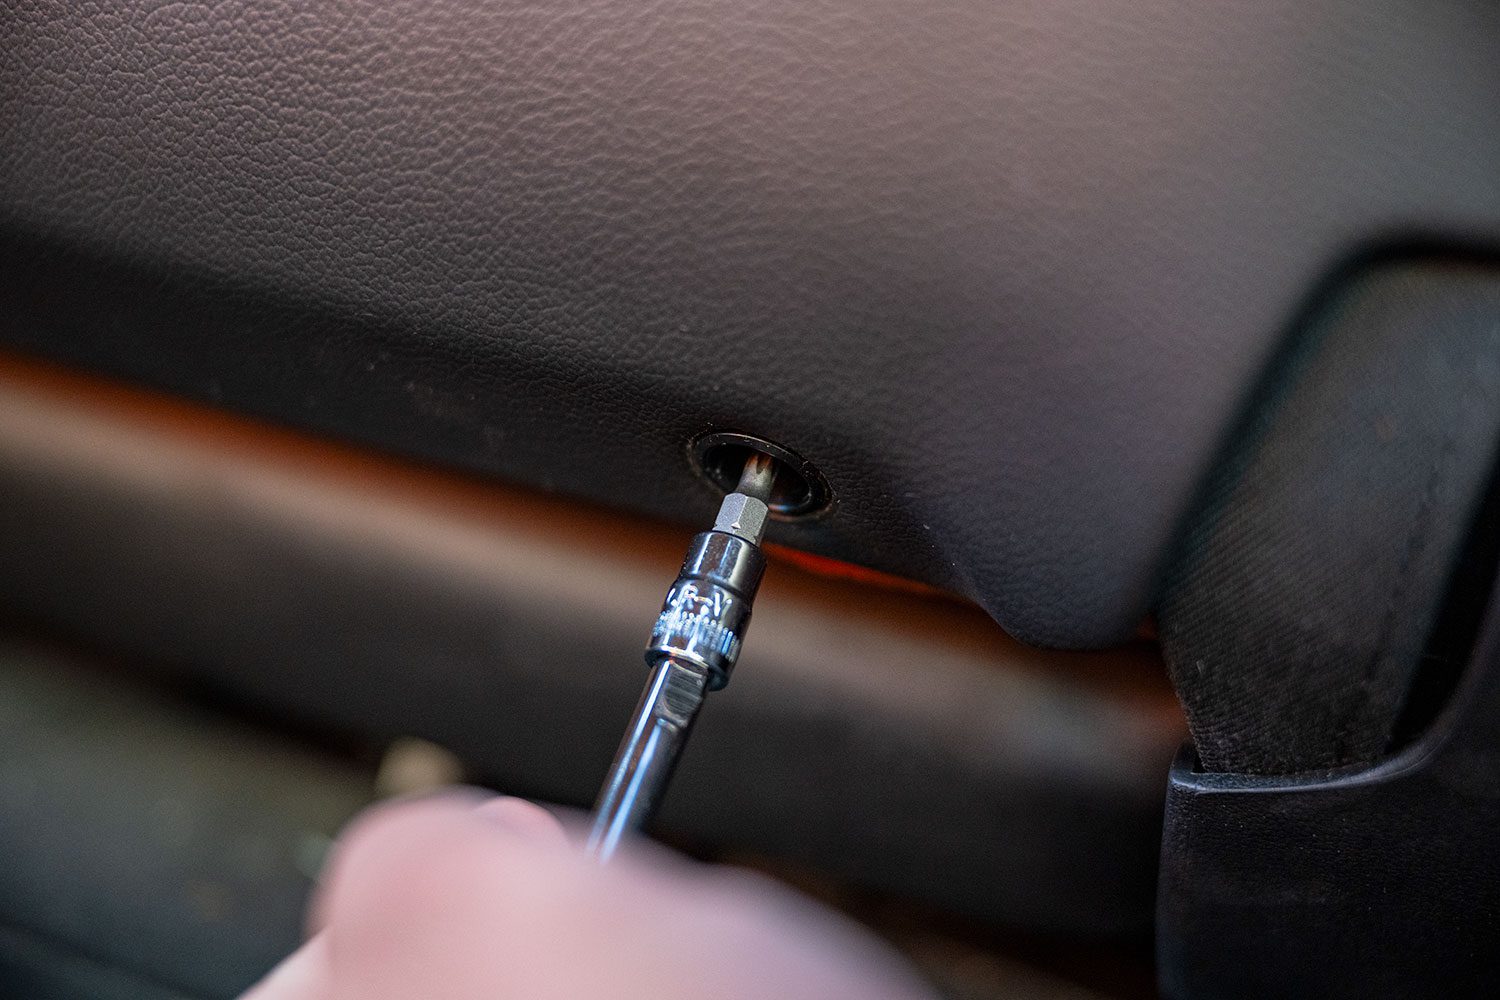
These are very easy to install. You’ll need a plastic trim tool and a T25 Torx bit.


What about kids?
My daughter really is excellent when it comes to how careful she is getting in and out of my car. Remember that she must first dodge those carbon fiber fins as well.
If you’re concerned about dirt, I recommend using AMMO Shag to keep them clean. It’s a better option than pure carbon backs, because marks and scratches are a lot harder to get out of that.
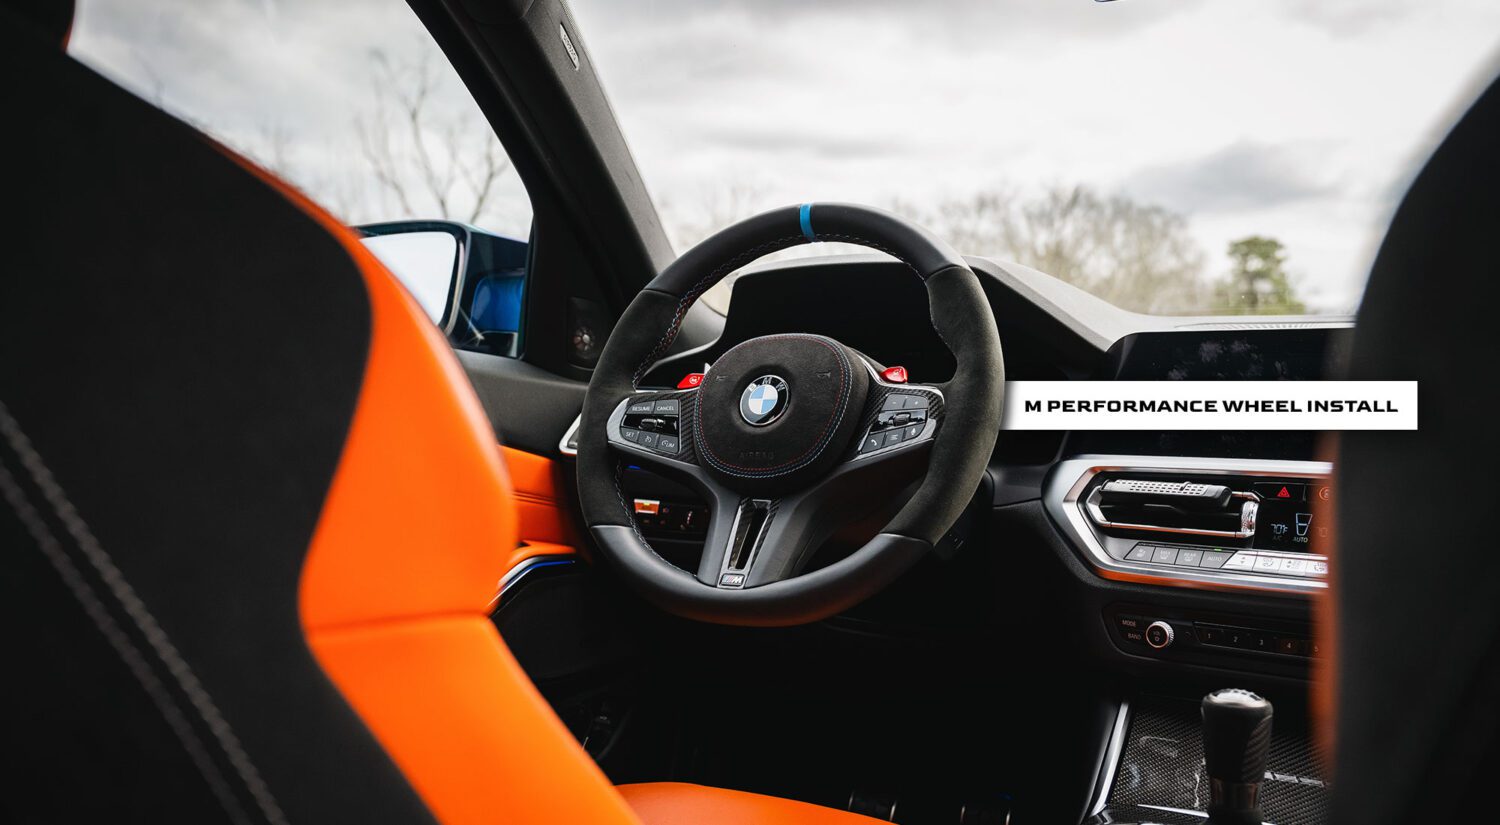
What’s left to upgrade the G8X interior?
BMW makes an Alcantara steering wheel, but I’m not sure about how it’ll hold up. Even with frequent cleaning, Alcantara can get gross. They also make carbon fiber rimmed versions, but I believe the things you come in contact with inside should be soft. When you opt for carbon fiber trim in the G8X, it includes the wheel, so I don’t see anything offering a huge change.
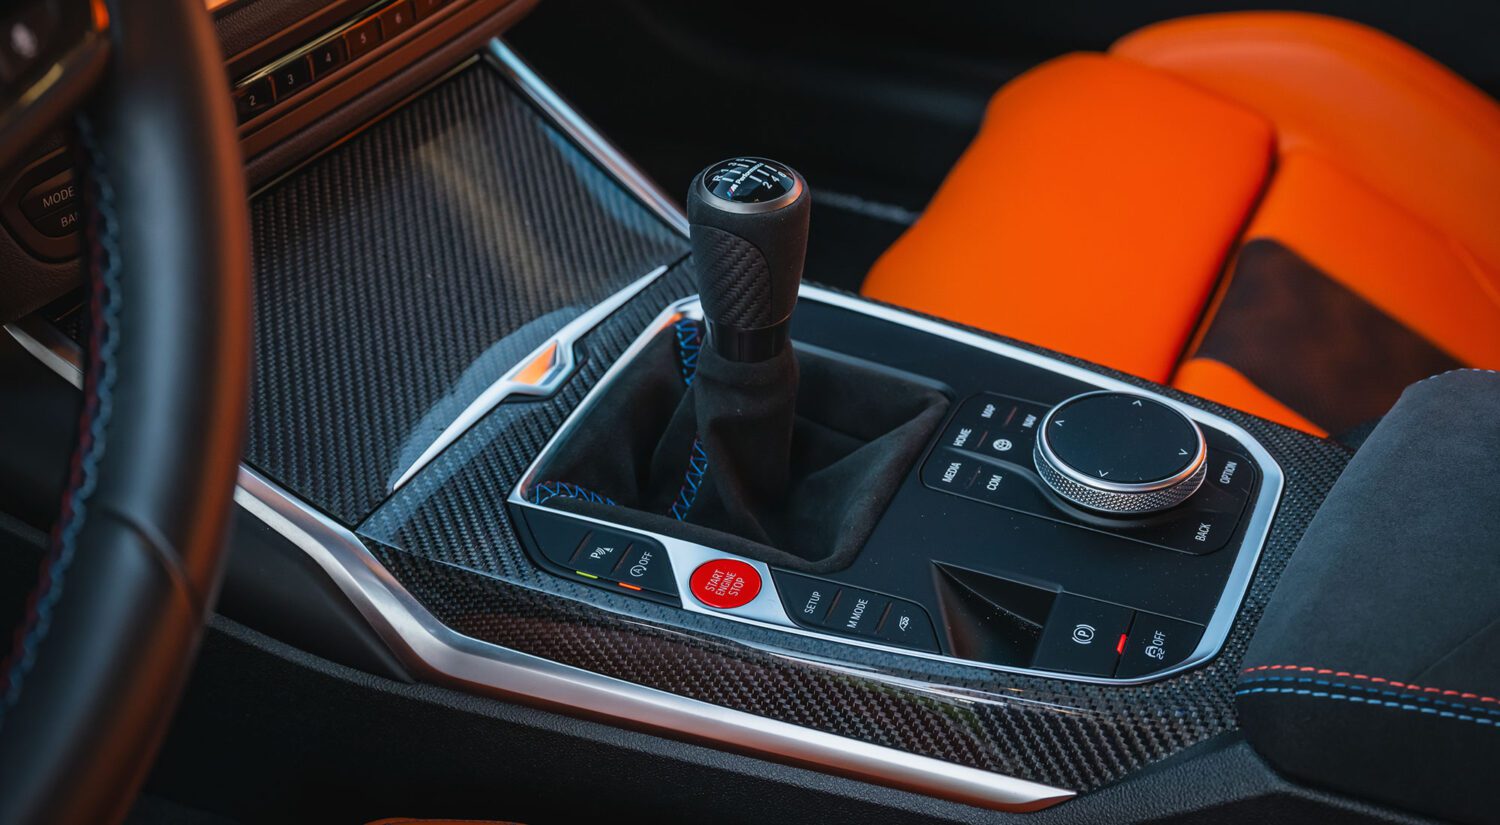
Elsewhere, the manual shifter has limited options. There is an M Performance shifter from the previous F8X generation, but to get it to fit will take come customization. I believe the best time to do that upgrade would be if I go with a short shift kit.
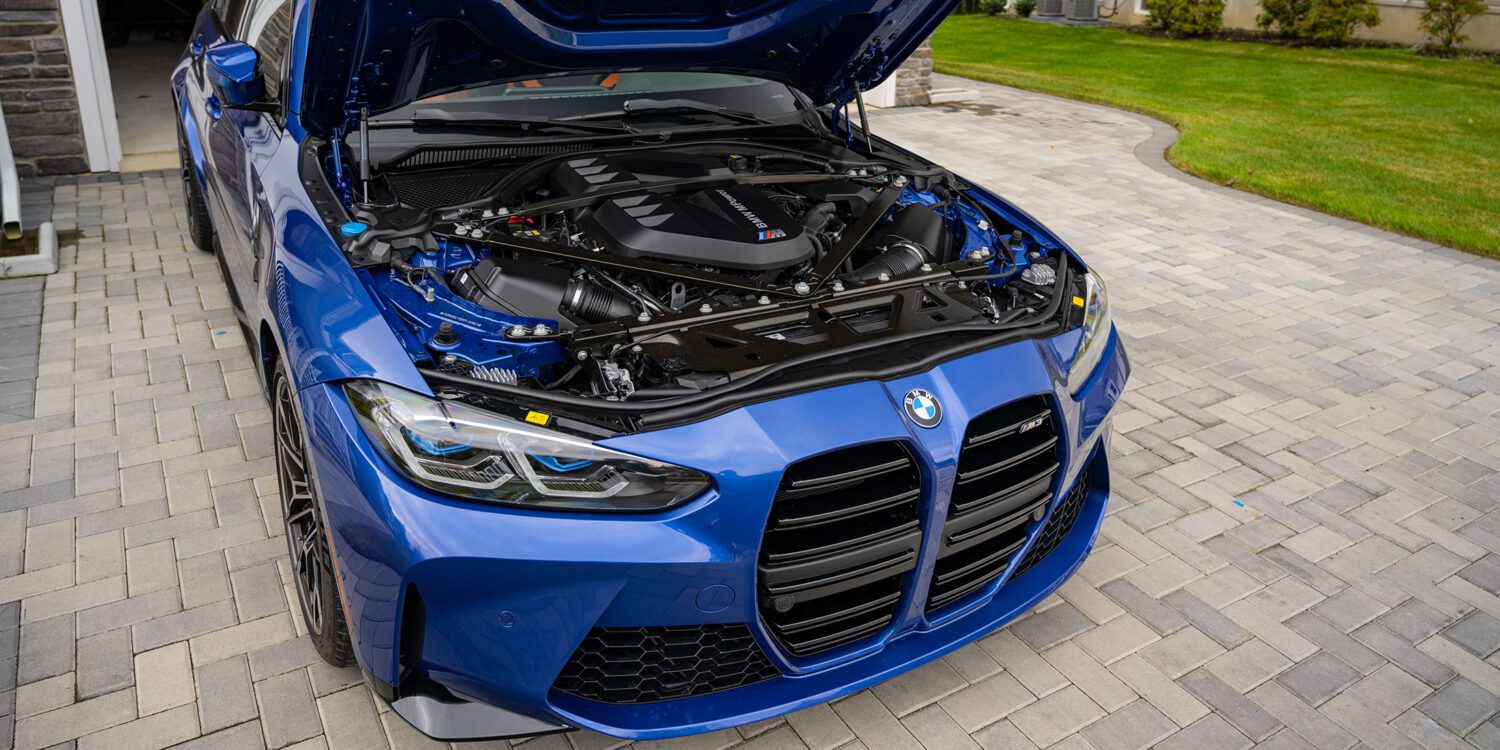
For now, it’s time to turn my attention to the next step in this build – under the hood.
Want your car reviewed?
If you live in the tri-state area and want me to check it out, send me an email!
Support the cause
Commissions may be received for product links on this site. Help out if you can.
I use Nikon camera bodies and lenses, a Westcott Ice Light 2, Manfrotto tripod, B + W filters and an iMac Pro to make the art you see here.
Follow along on Instagram @machineswithsouls