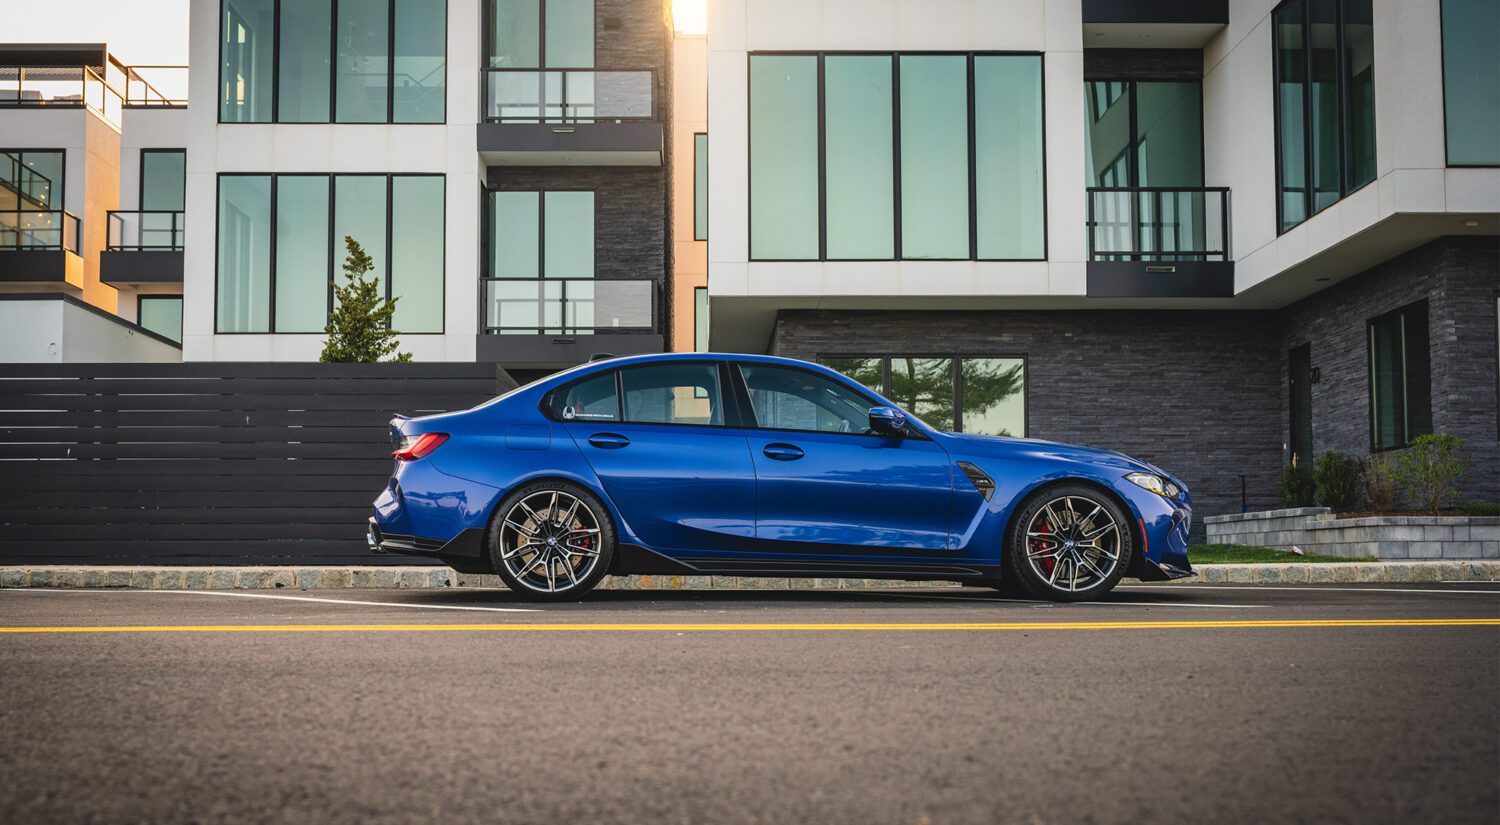

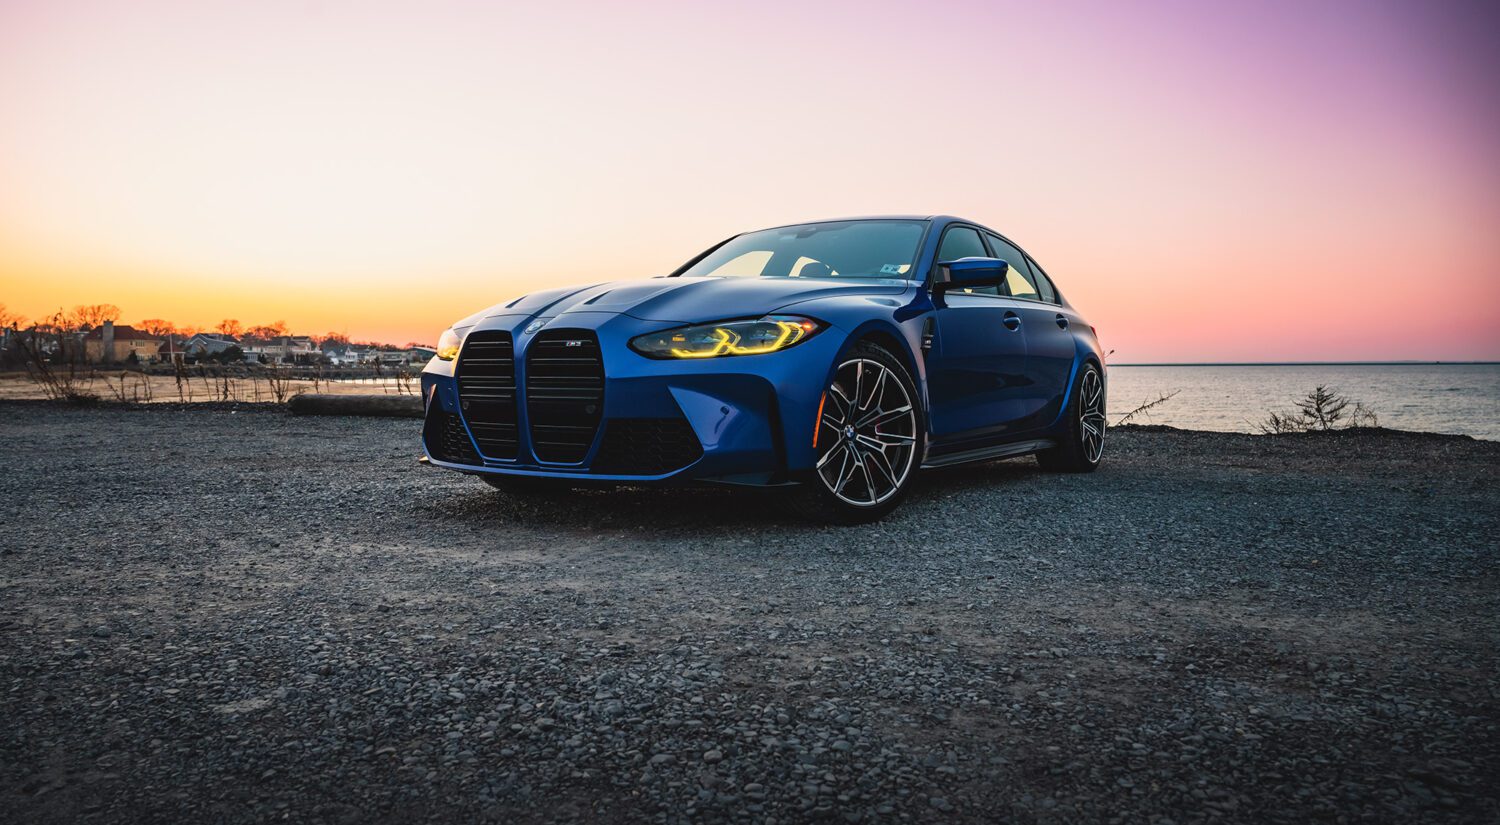
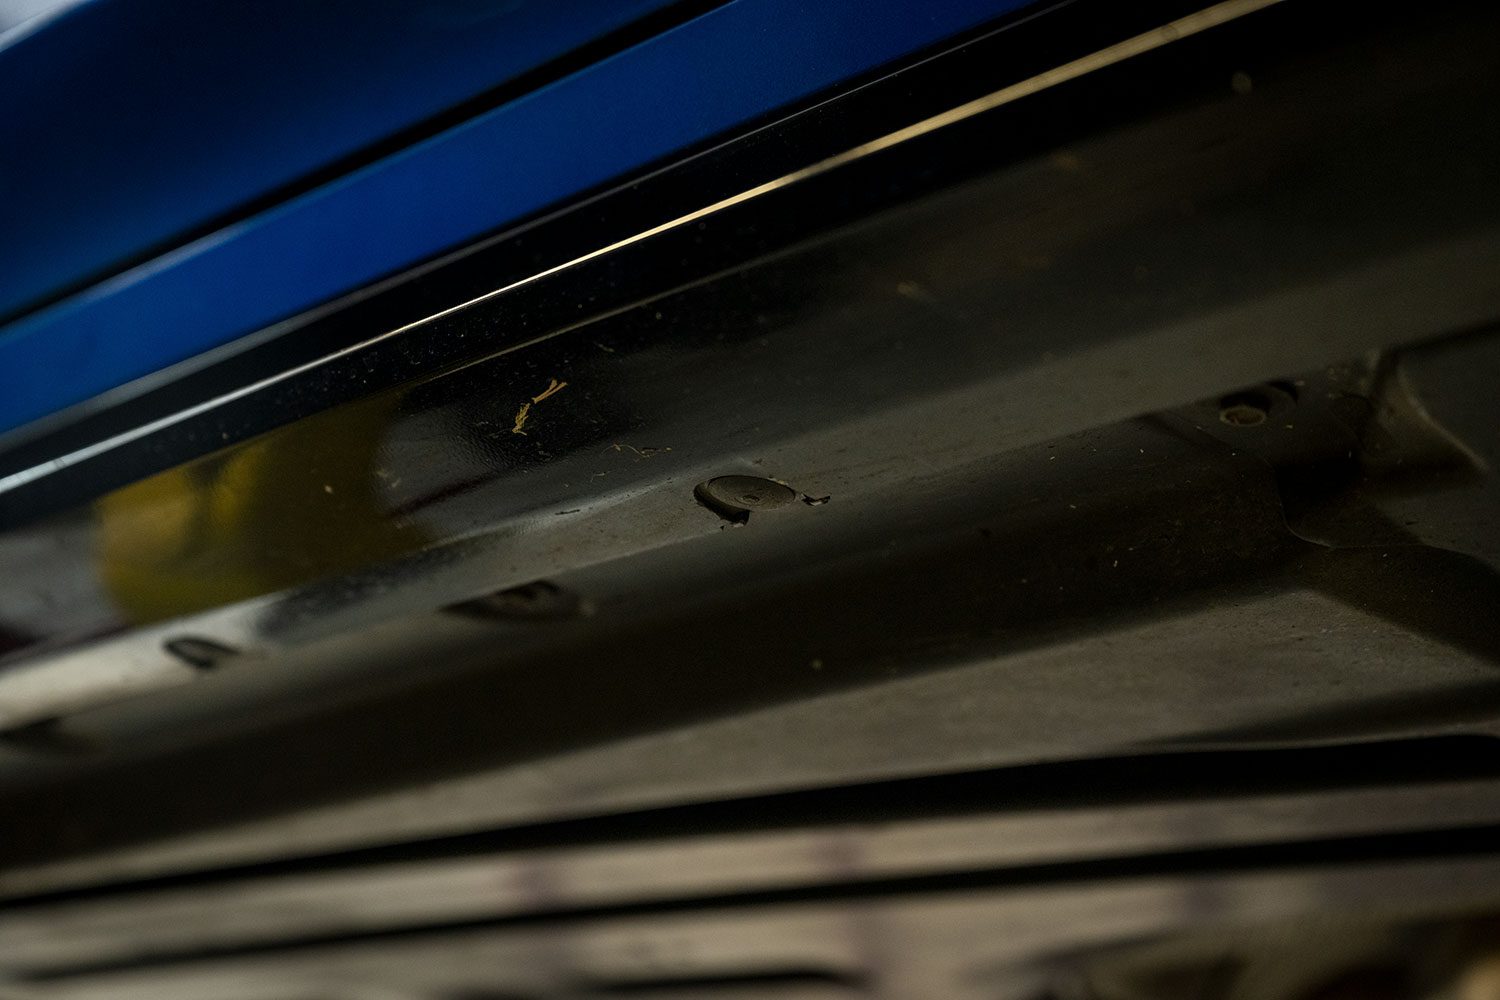
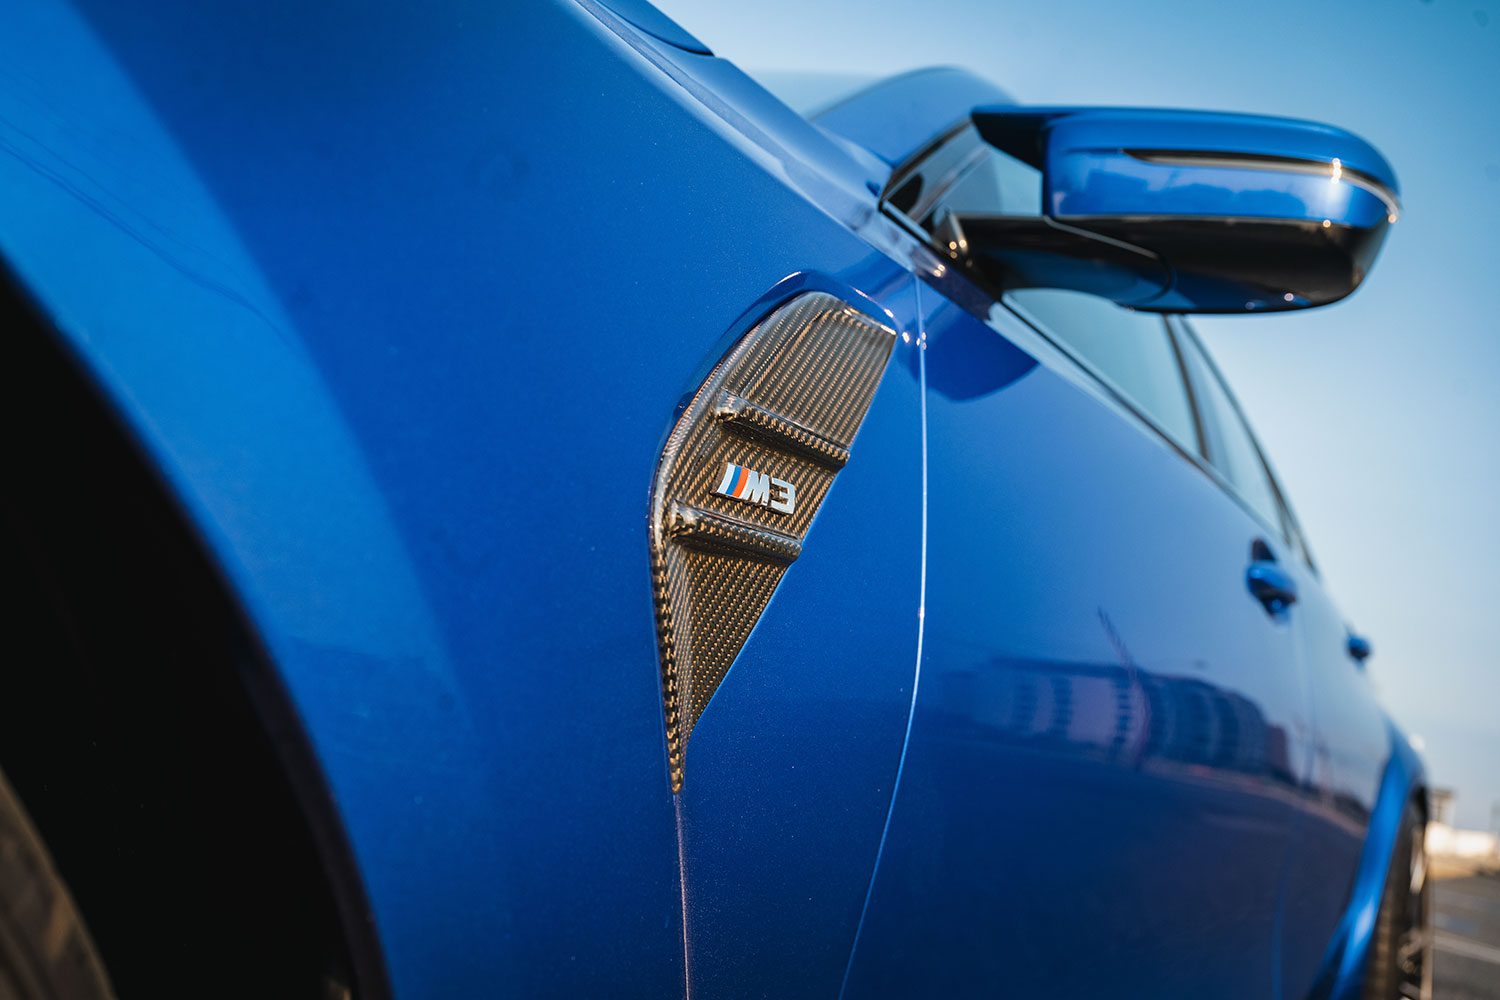
Perhaps the biggest sin of the G8X M3’s design isn’t the front-end, but the entire lower portion of the car. Painted Jet Black, BMW calls it Shadowline Trim, and when you order the car you can spec even more of it in terms of a rear lip spoiler and mirror caps in black.
Well, I hate it. BMW does it as a way to save production costs and ultimately hide the visual heft of the car from the side, but to me it looks cheap on a car that costs upwards of $80,000. The M2, M5, X3 M…no one else gets it. Just us.
No more. I’m going to get rid of it. To do so, I’m heading to Tyspeed. Again.
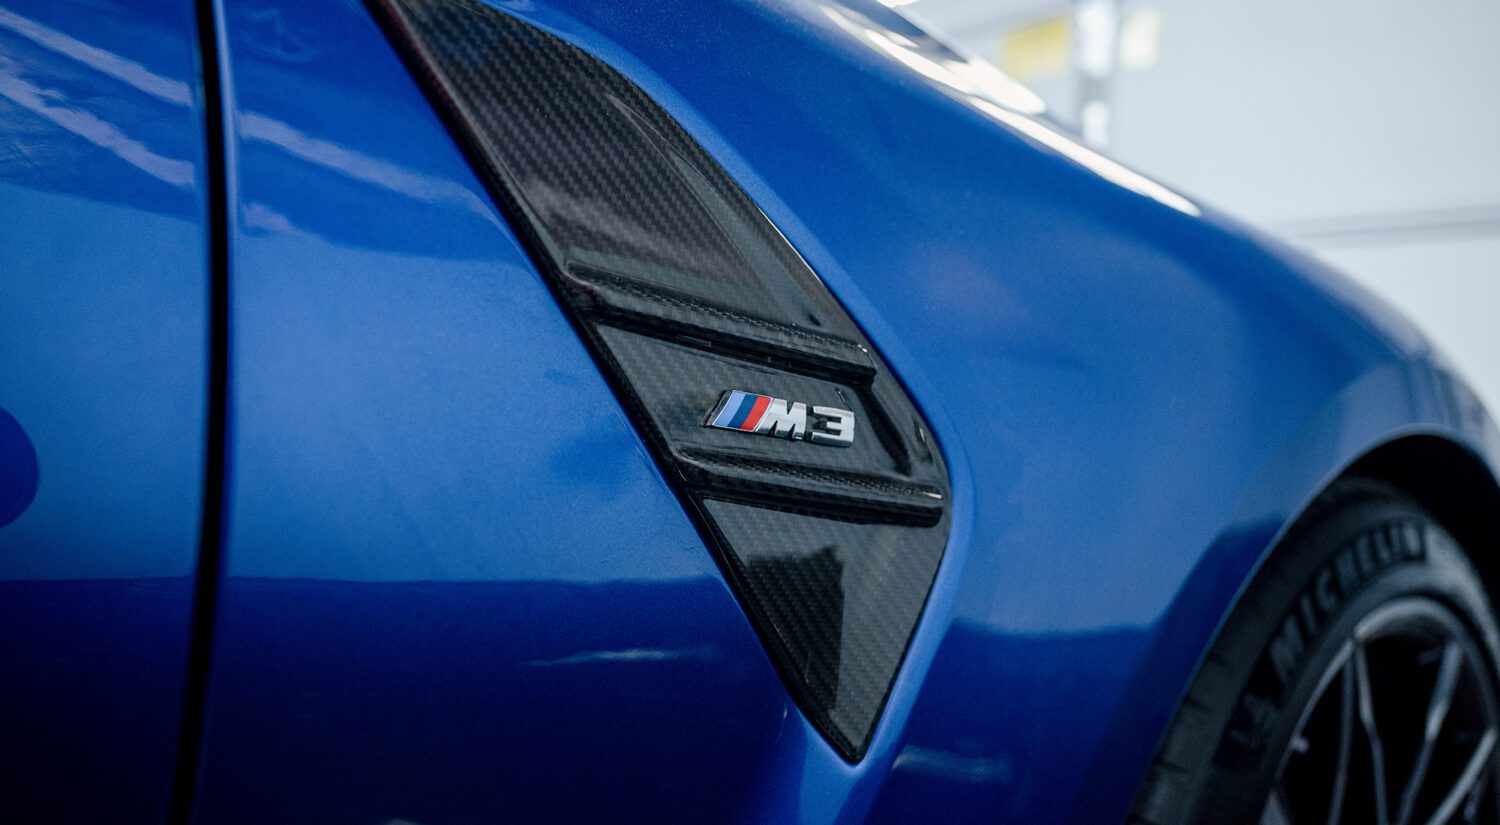
Before we start, yes, I know that includes the black gloss trim around the windows. That’s fine and is staying. Also, I’ve done the fender trim myself, and you can find the tutorial for that here.
Options for removing Shadowline trim
There are two routes you can go. The first is to simply paint them, as you can see on this example.
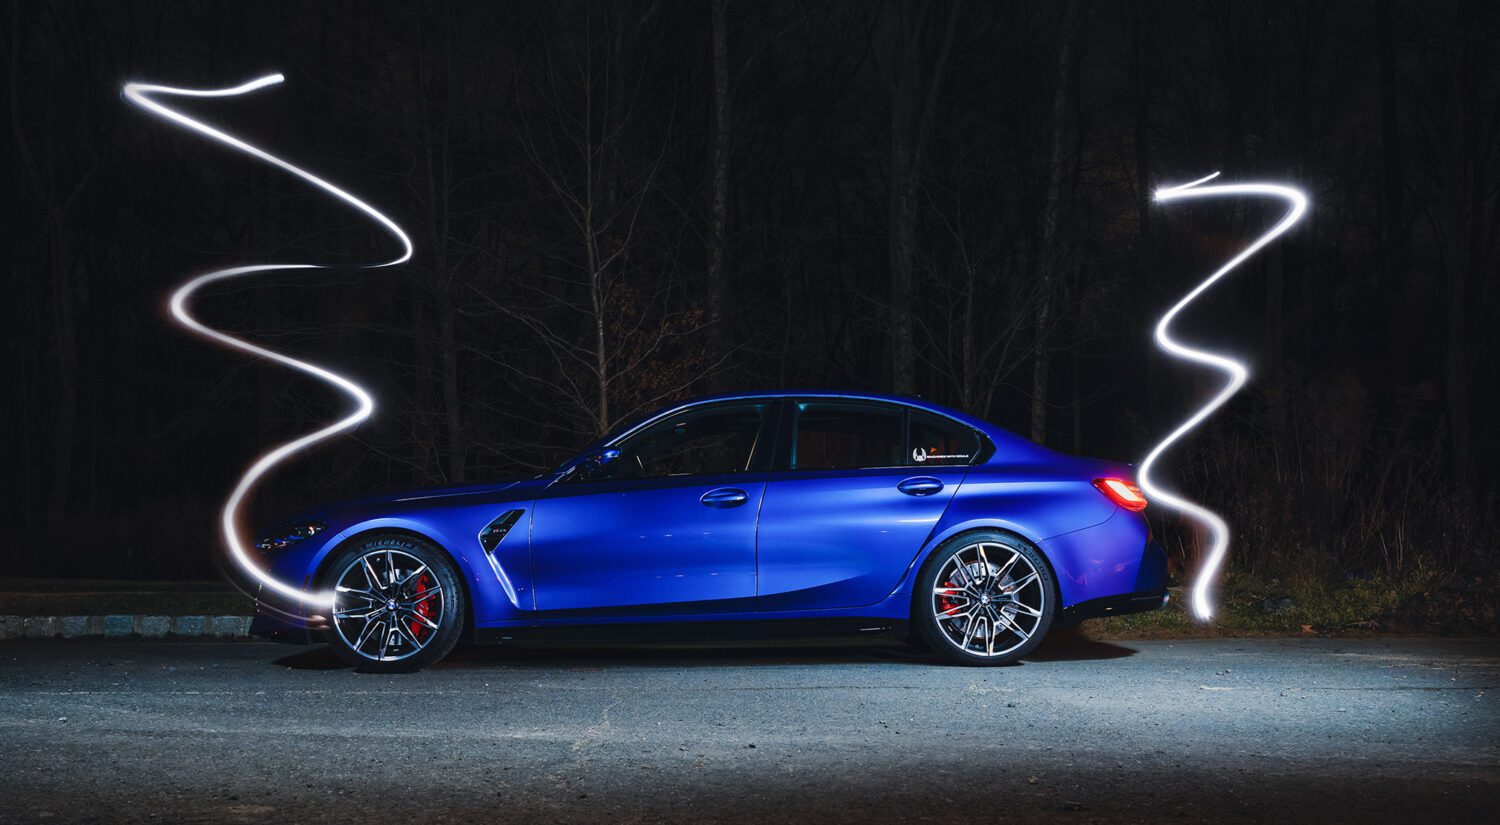
Looks great. But the more I thought about it, the more I realized what the issue is: the G8X is a big car. This adds to the heft and makes it look slab-sided when uniform in color. Also makes it look a bit like an M340i from the side, especially in Portimao Blue. Still, I almost went this route.
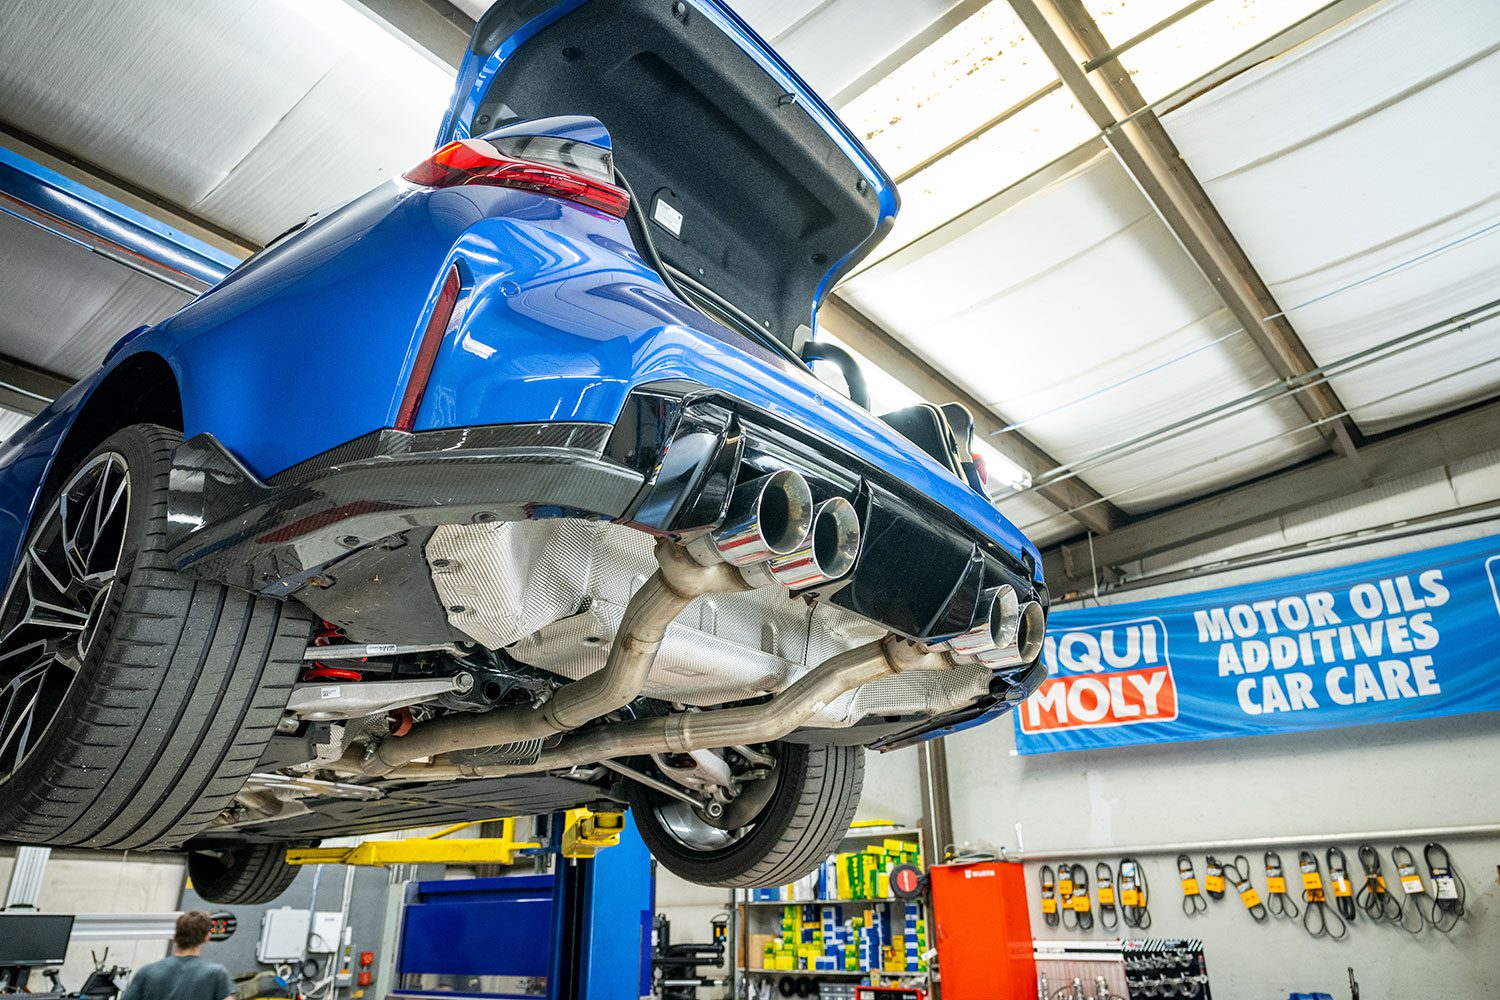
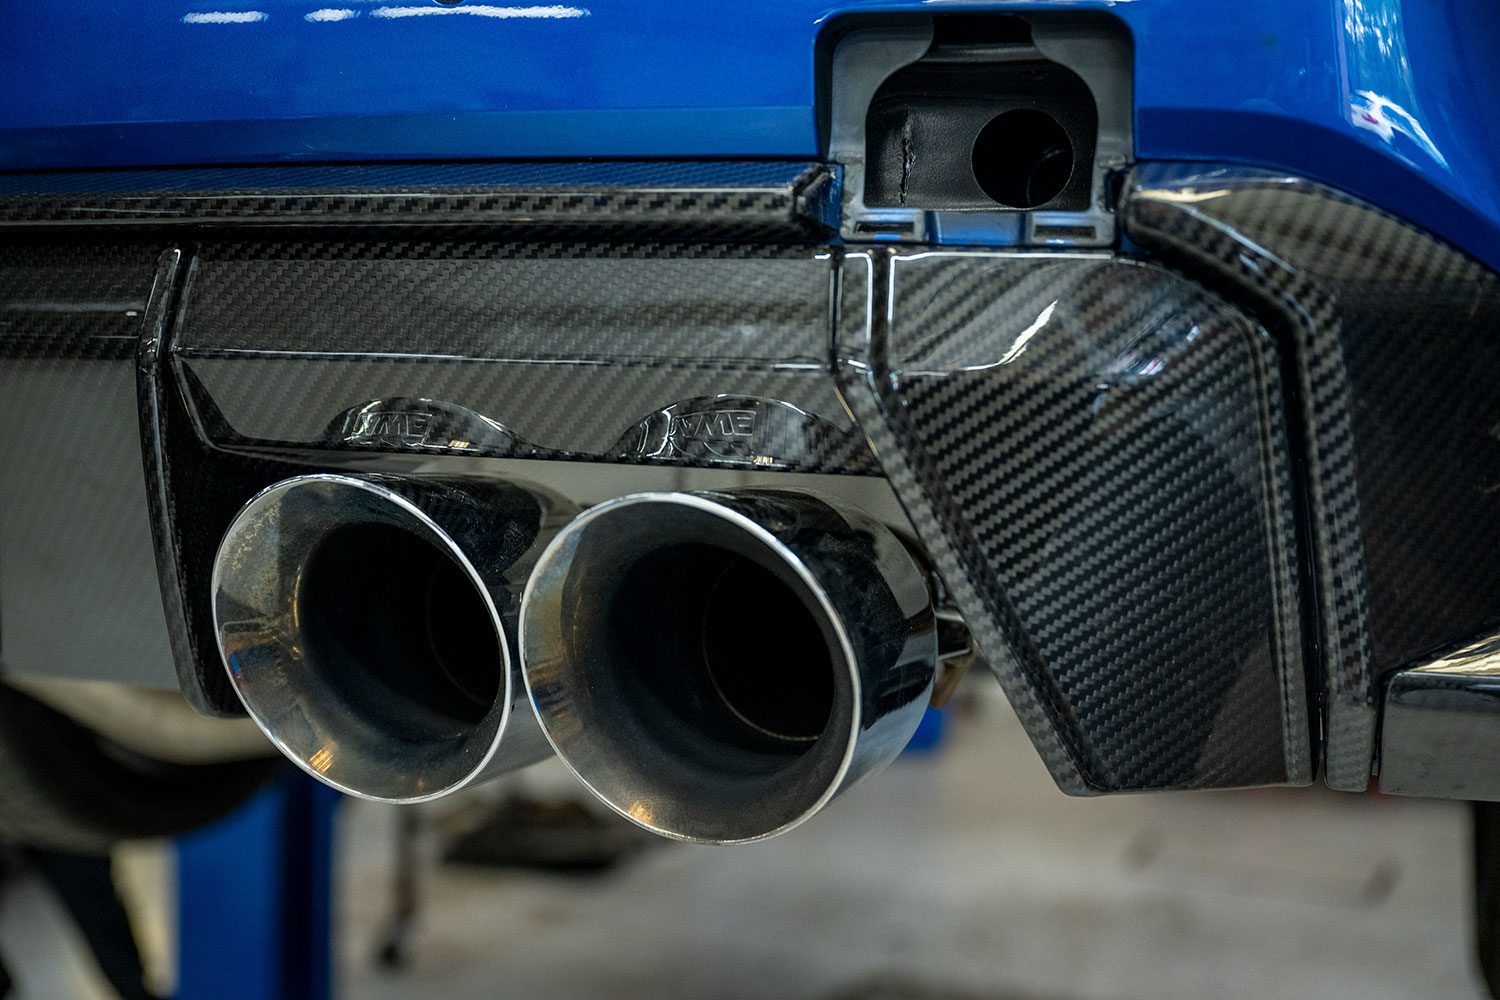
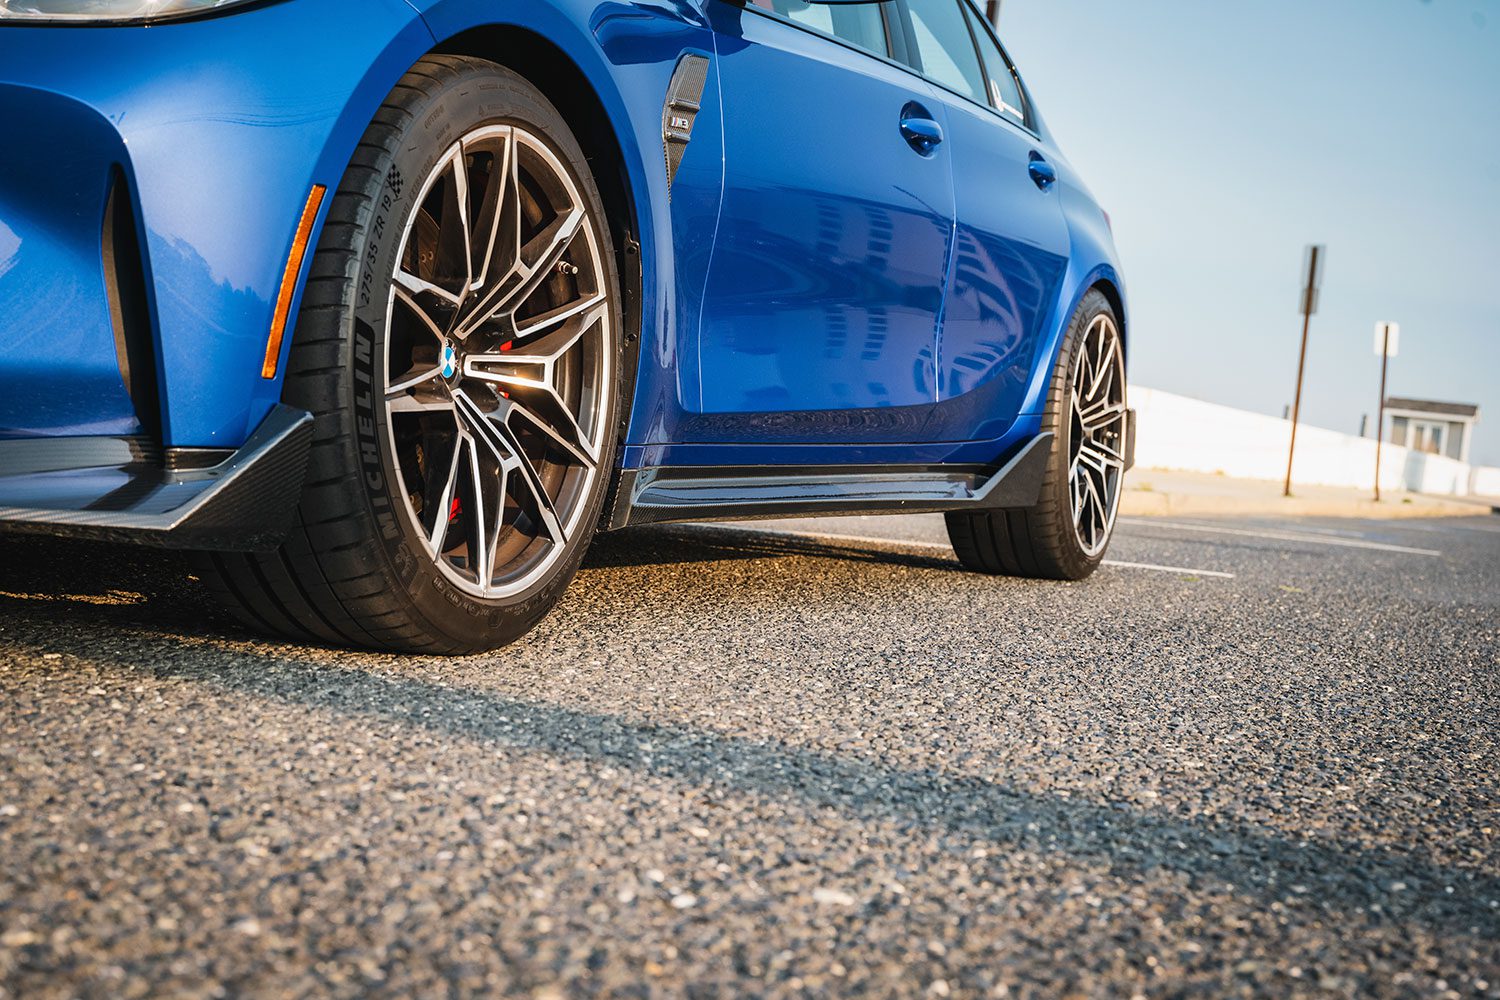
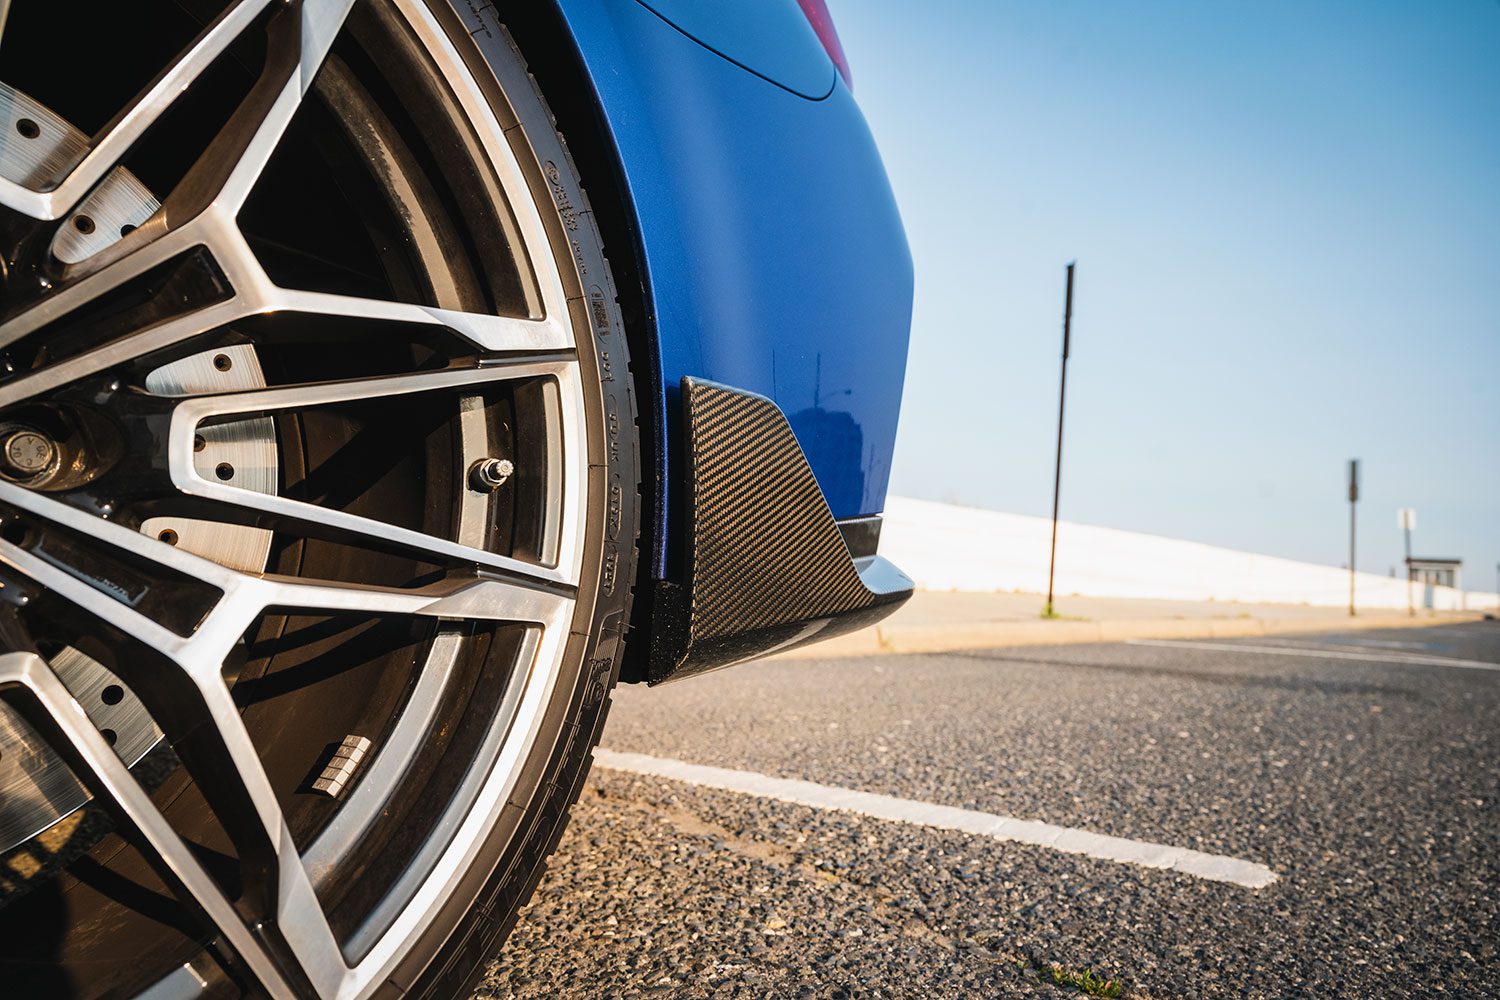
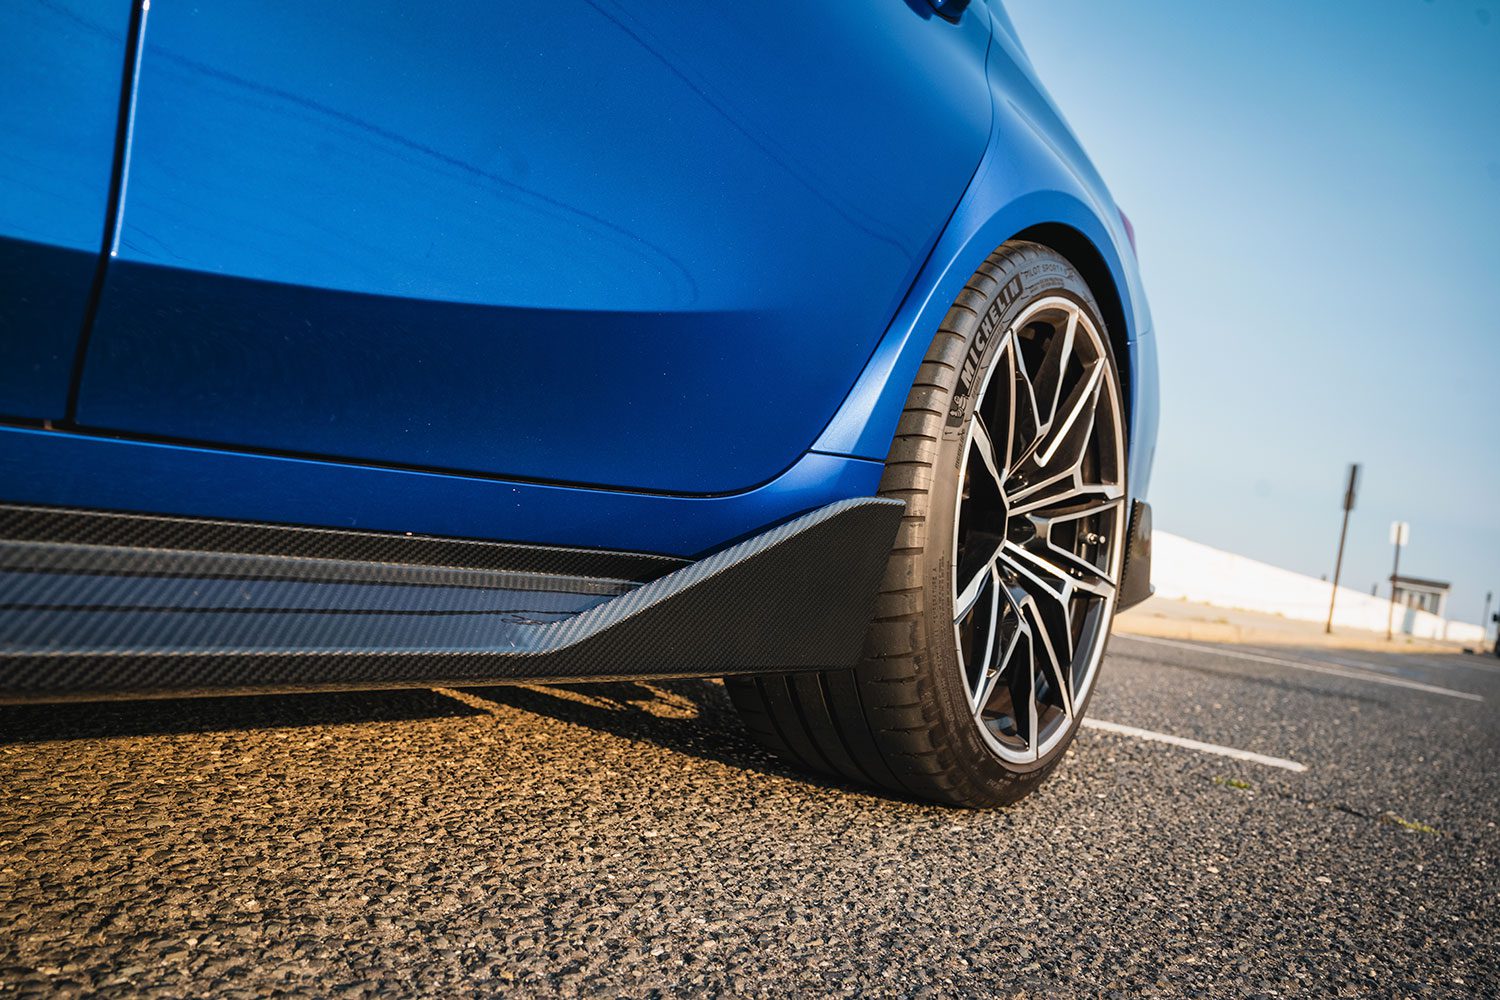
I’ve already explained why I don’t want to choose an Adro kit, so that leaves replacing the rocker panels and rear diffuser with carbon fiber. We can go with the shape of the original panels, or go with the M Performance variant, which has cool little tailplanes like an F-16.
The car already looks like an angry puffer fish, so let’s make it even meaner.
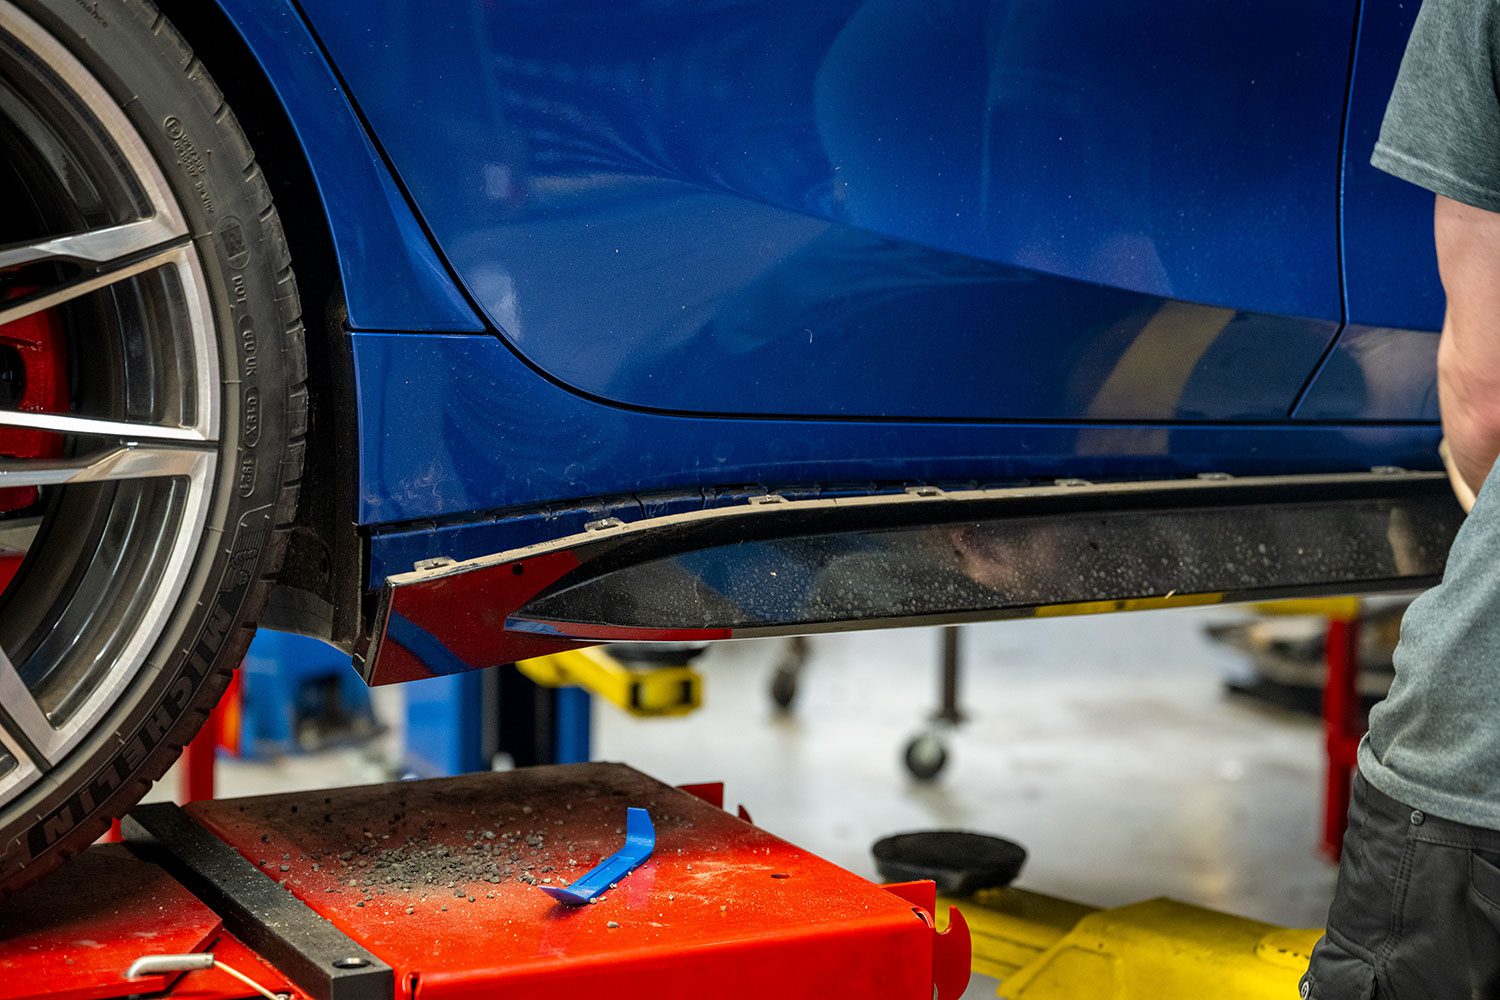
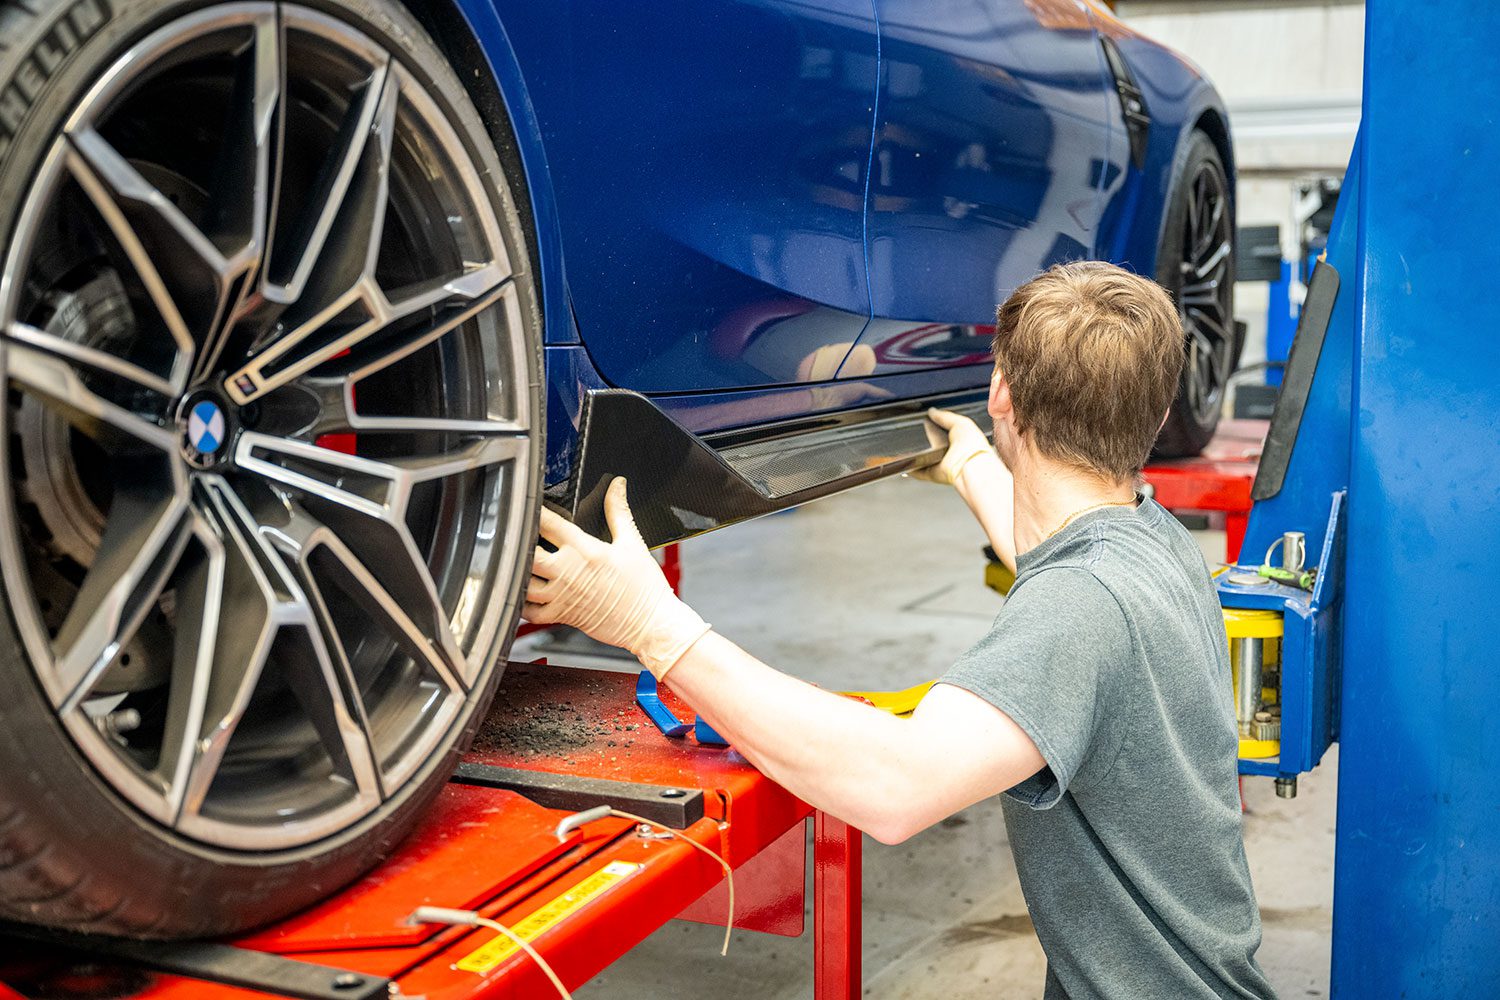
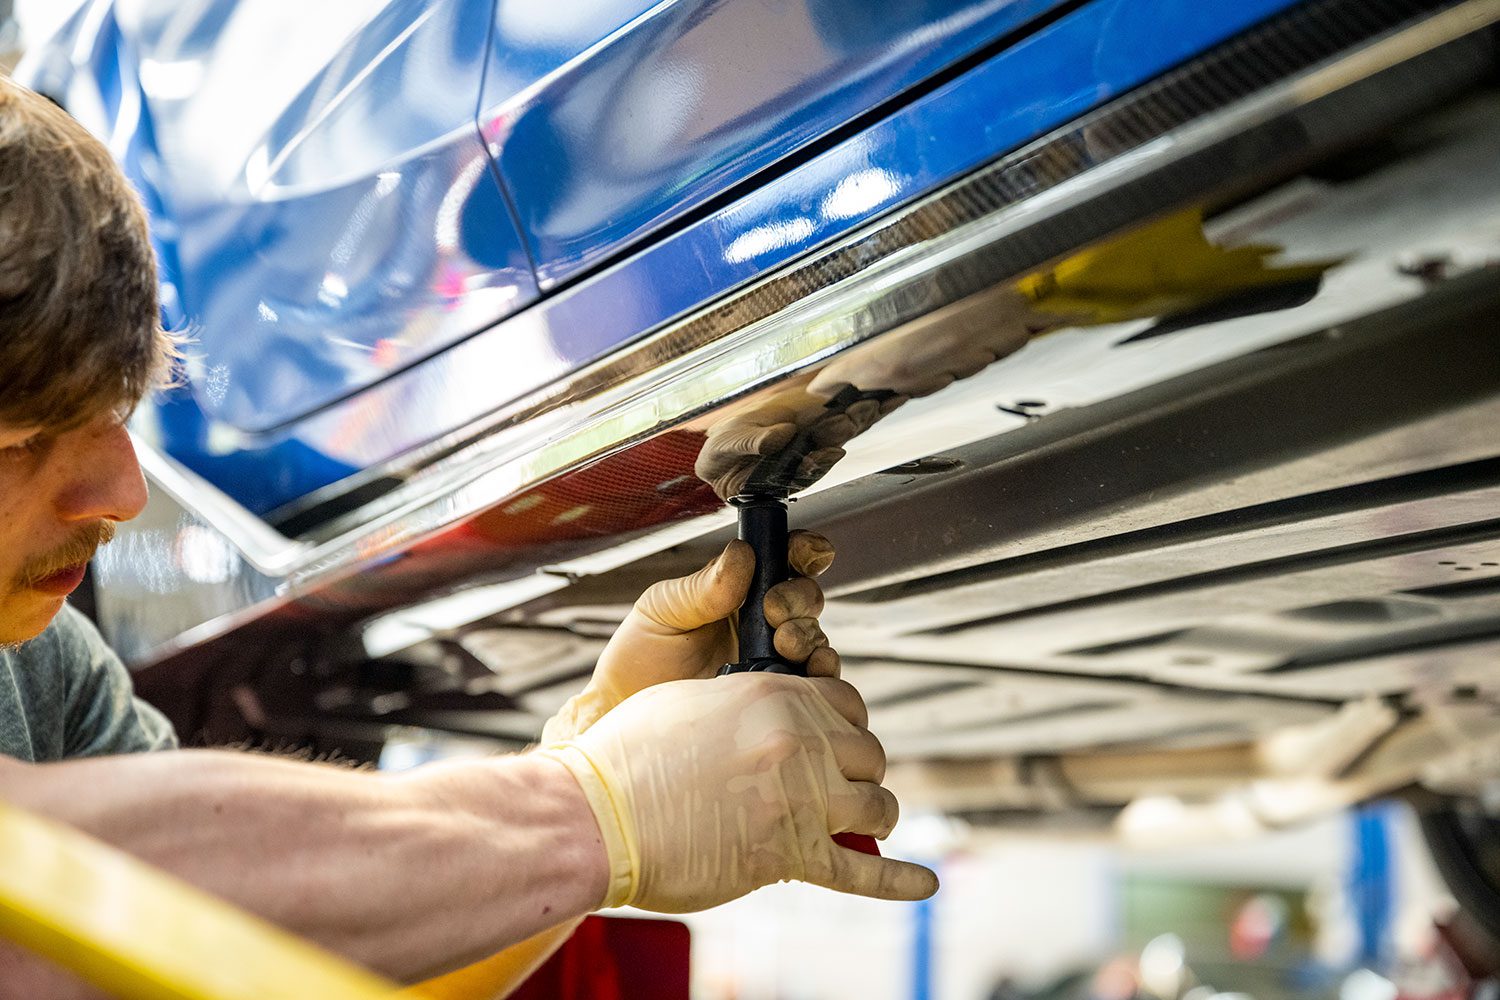
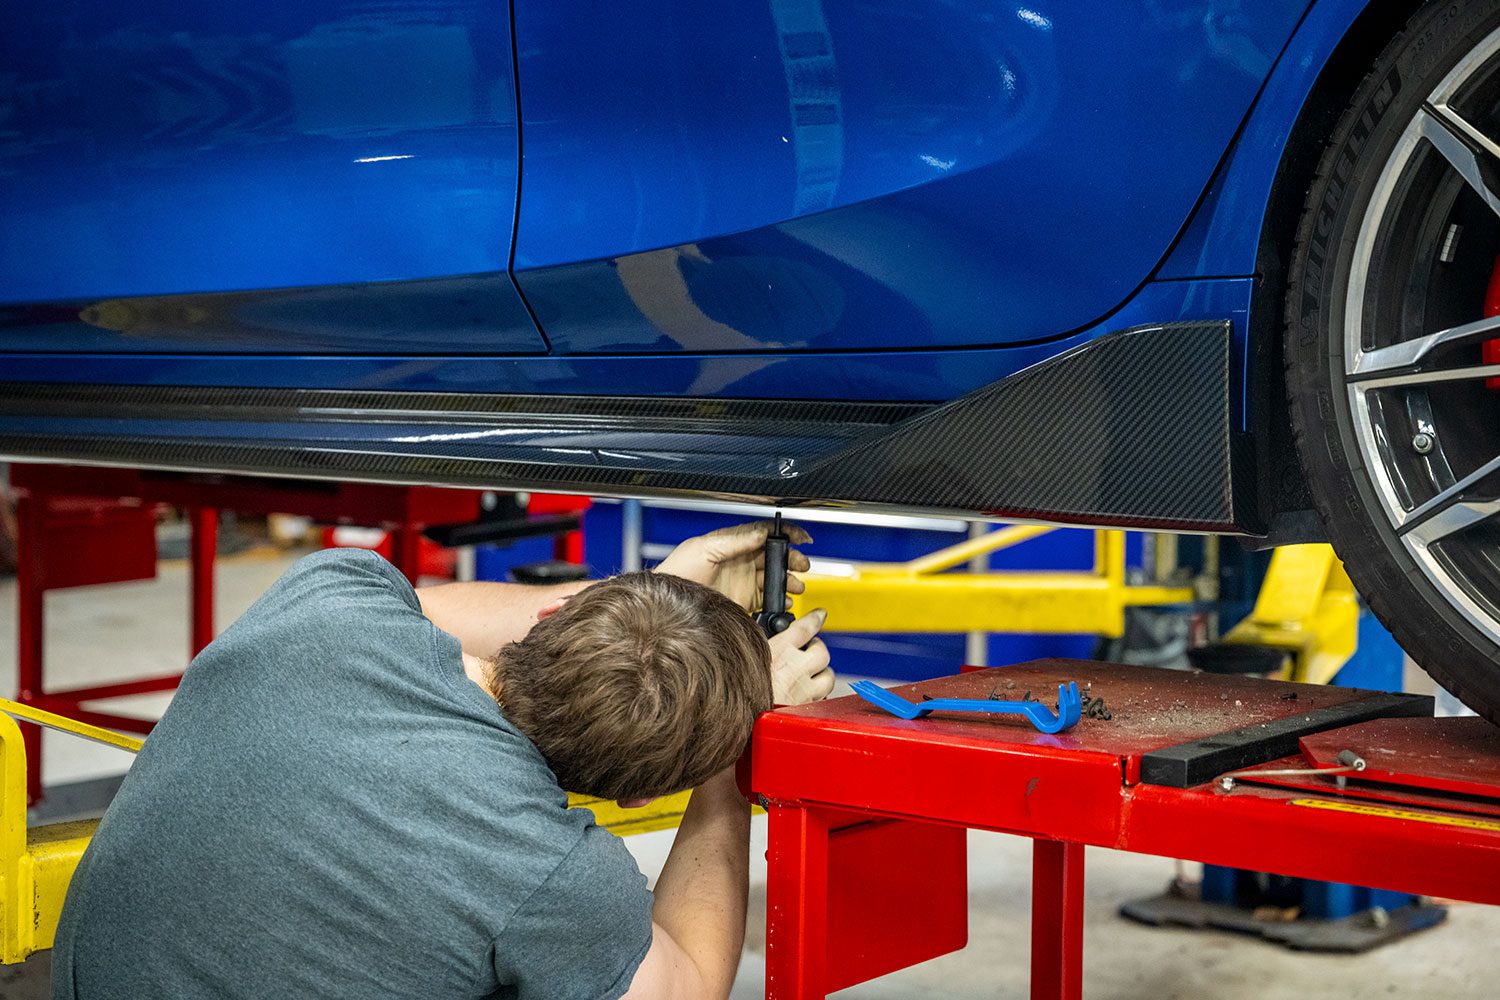
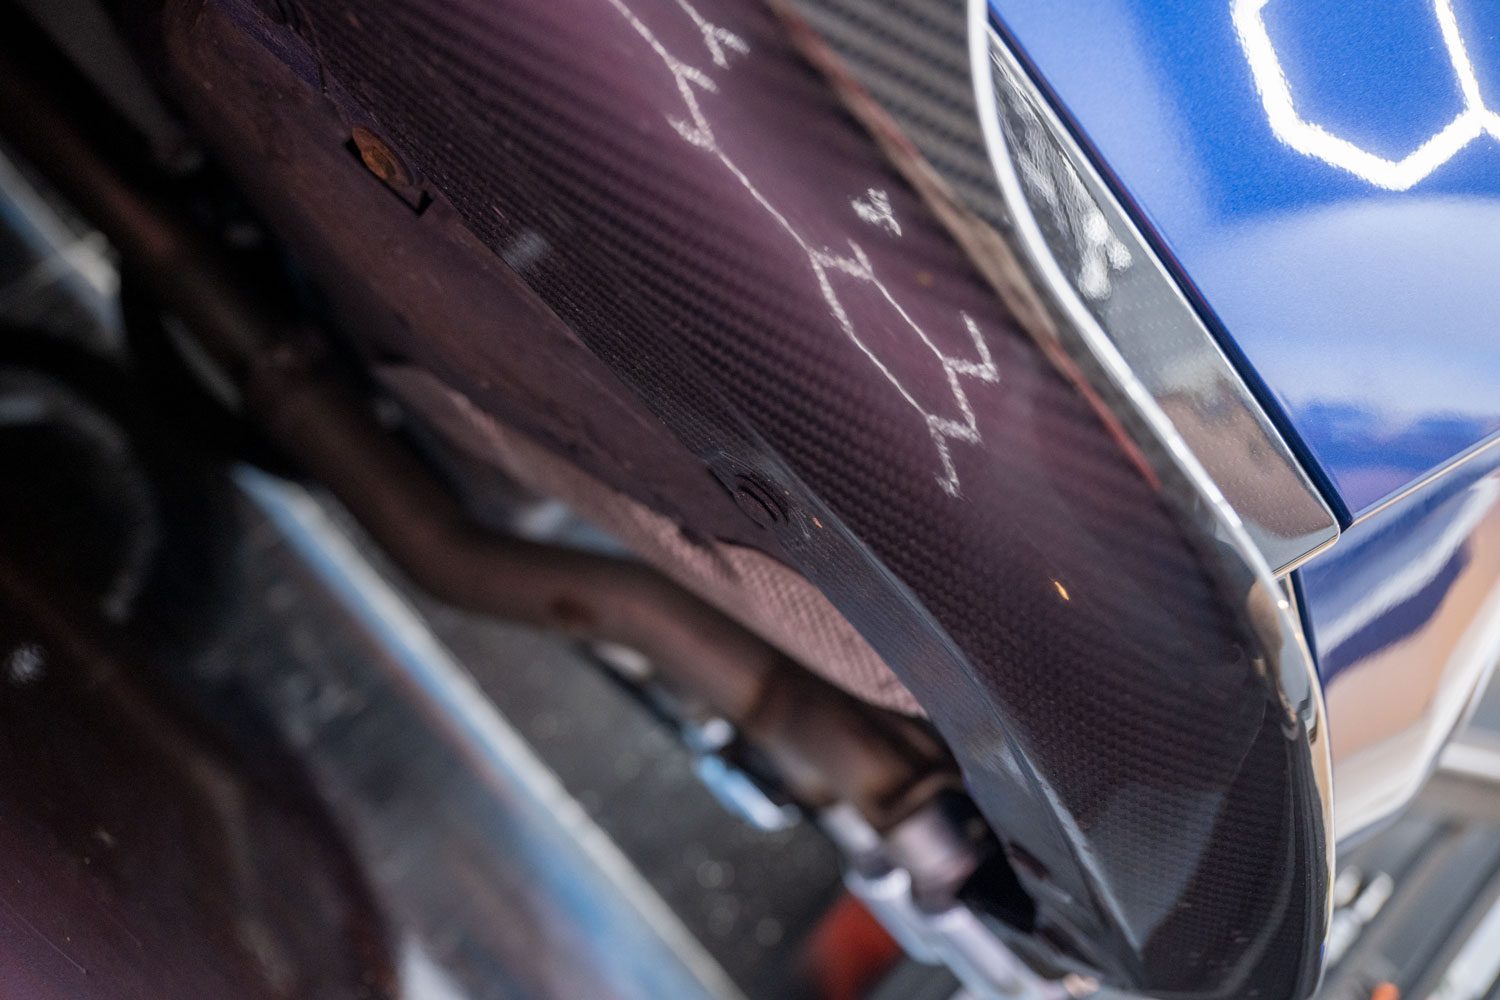
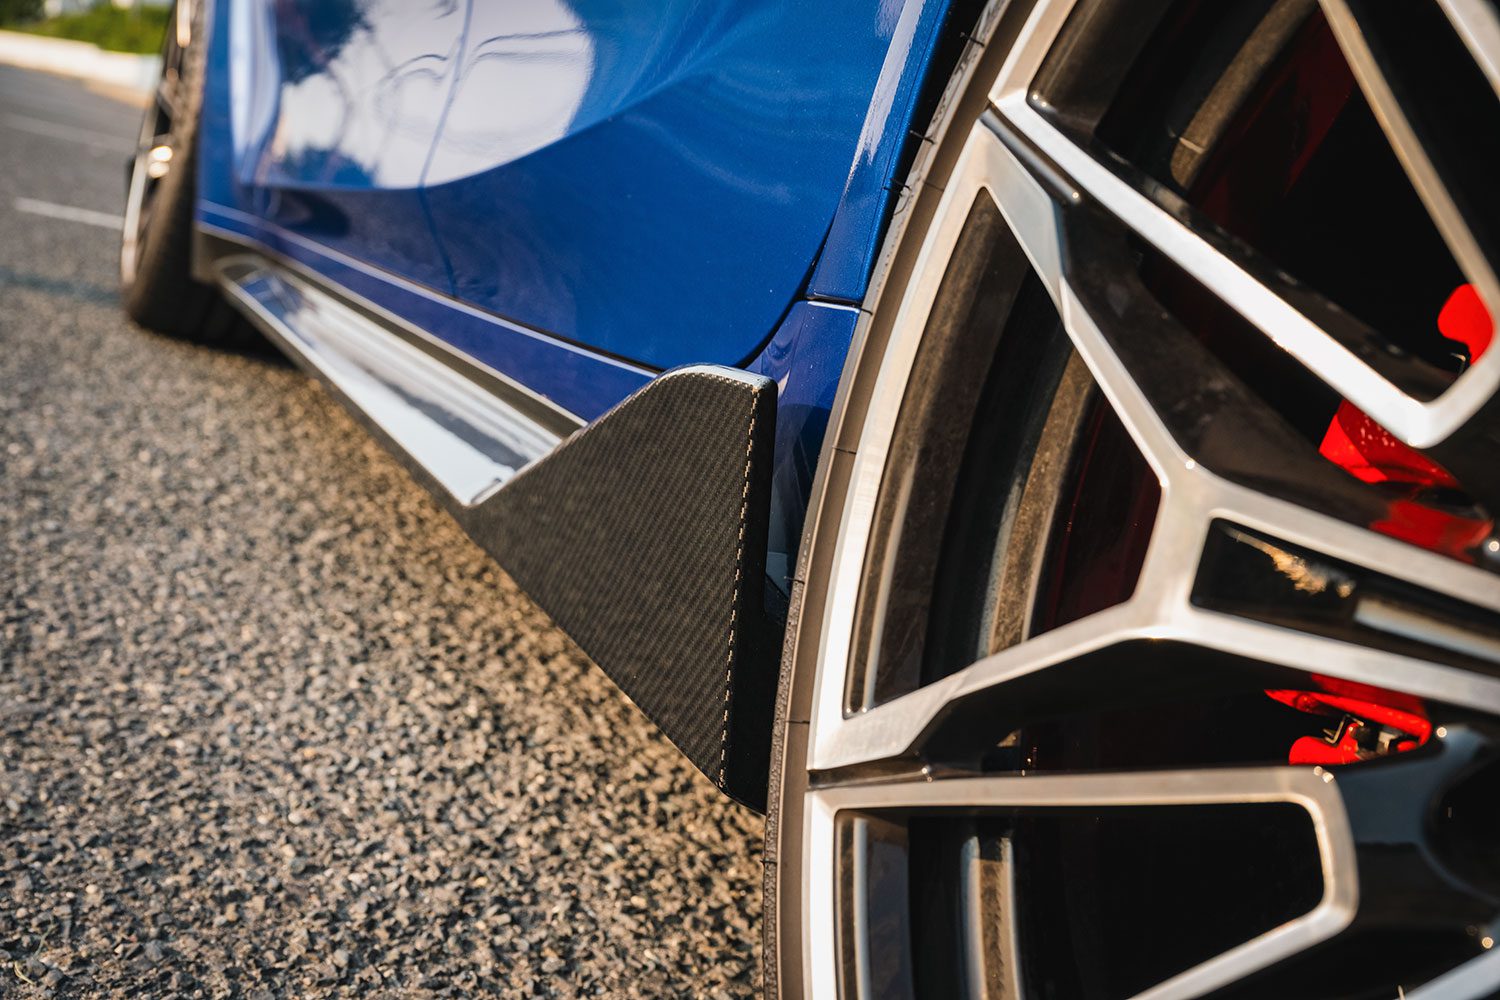
Installing the carbon fiber rocker panels
I’m getting this entire setup from NW Carbon Haus. Opting for true BMW parts here will triple the price for no substantial increase in quality. And since these are all going to get beat up over the course of driving, replacing them won’t be as painful an experience.
NW also gives you all the rivets you need for installation – these are a one-time use element.
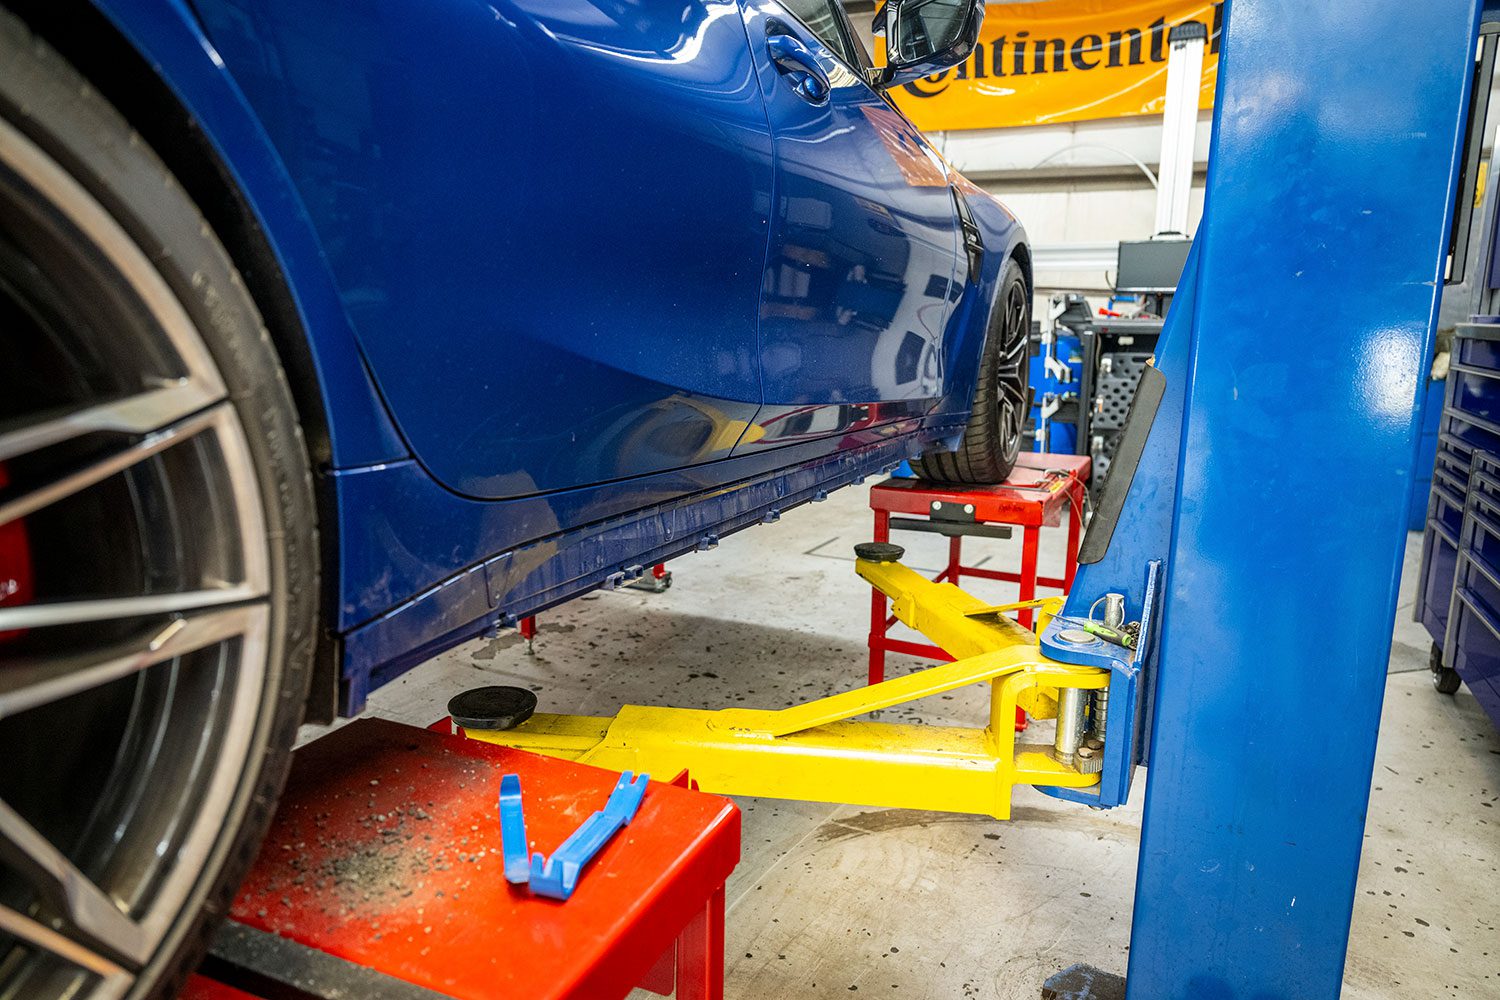
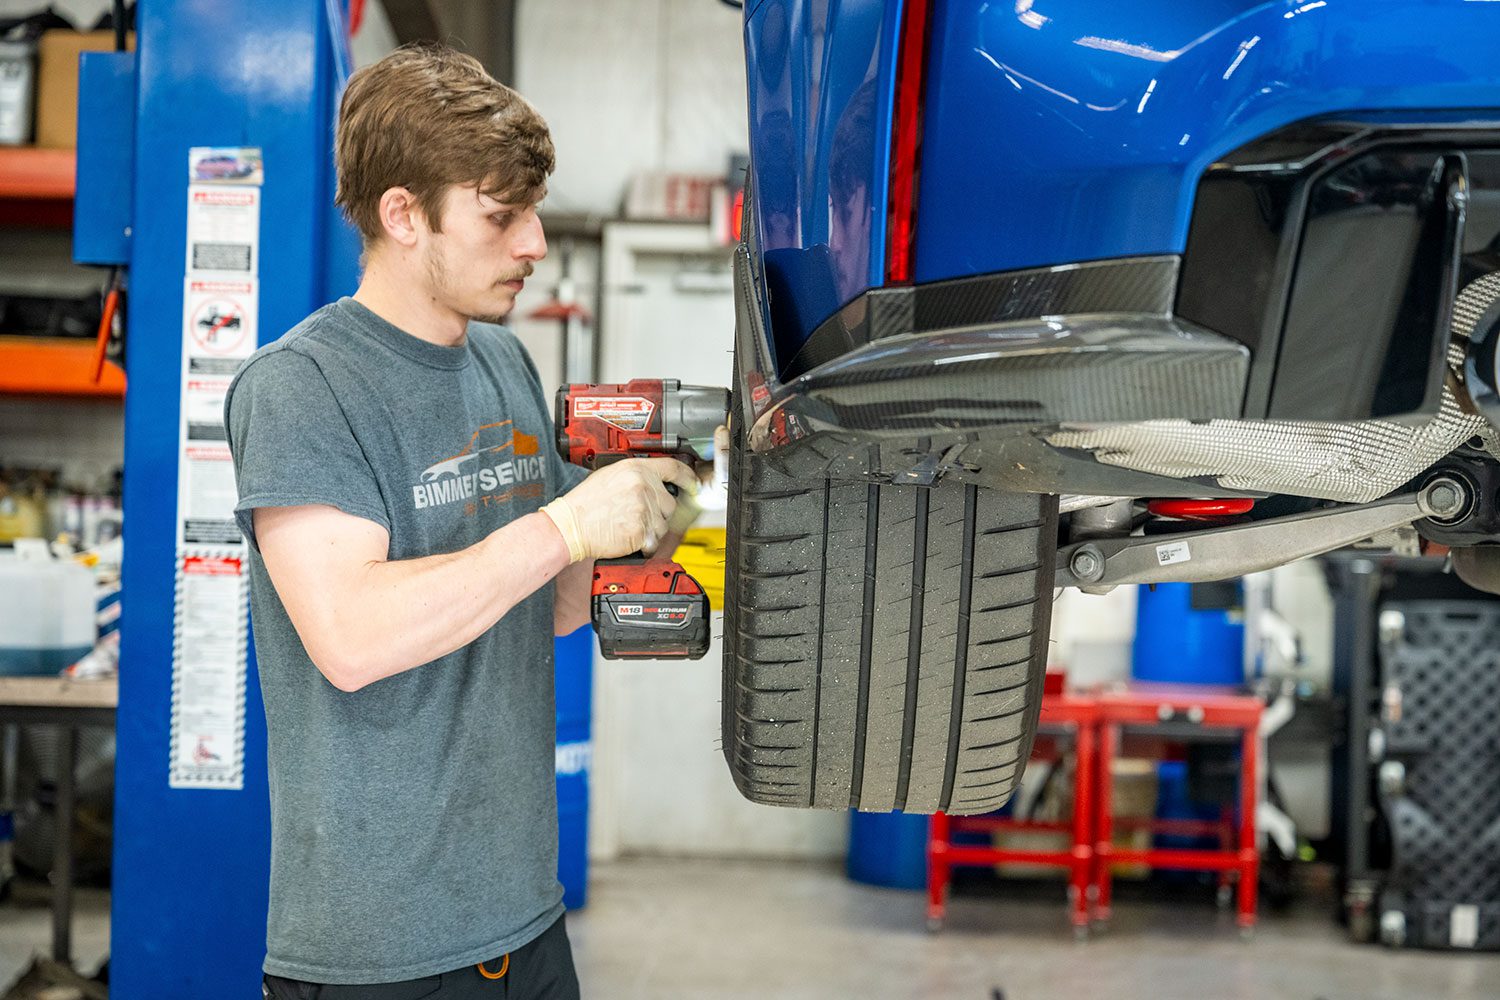
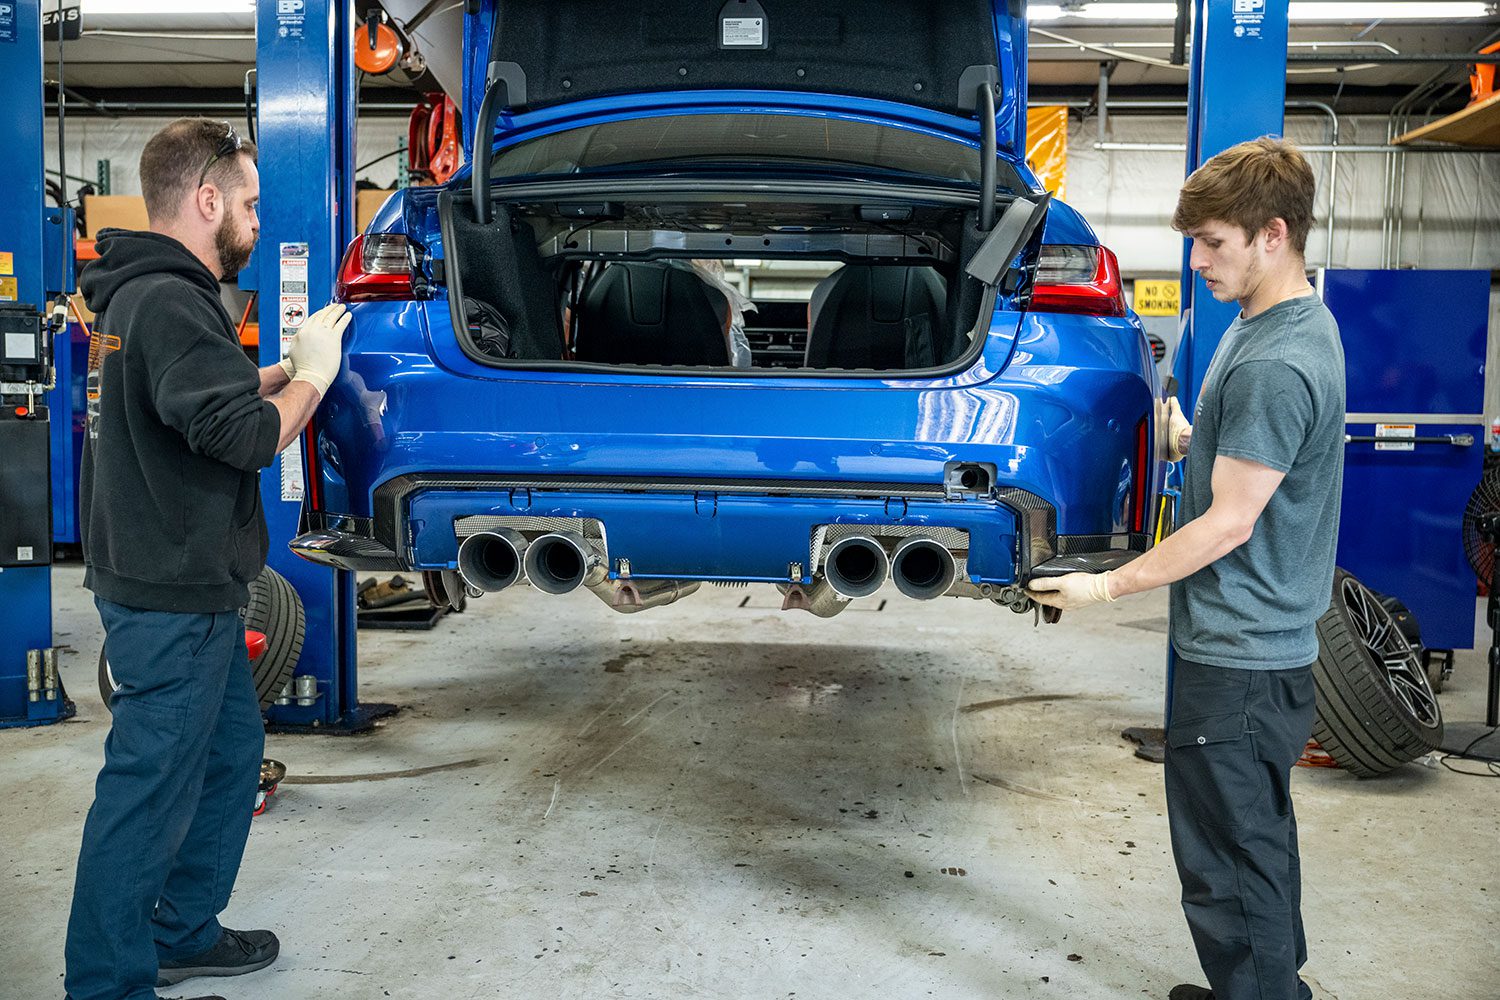
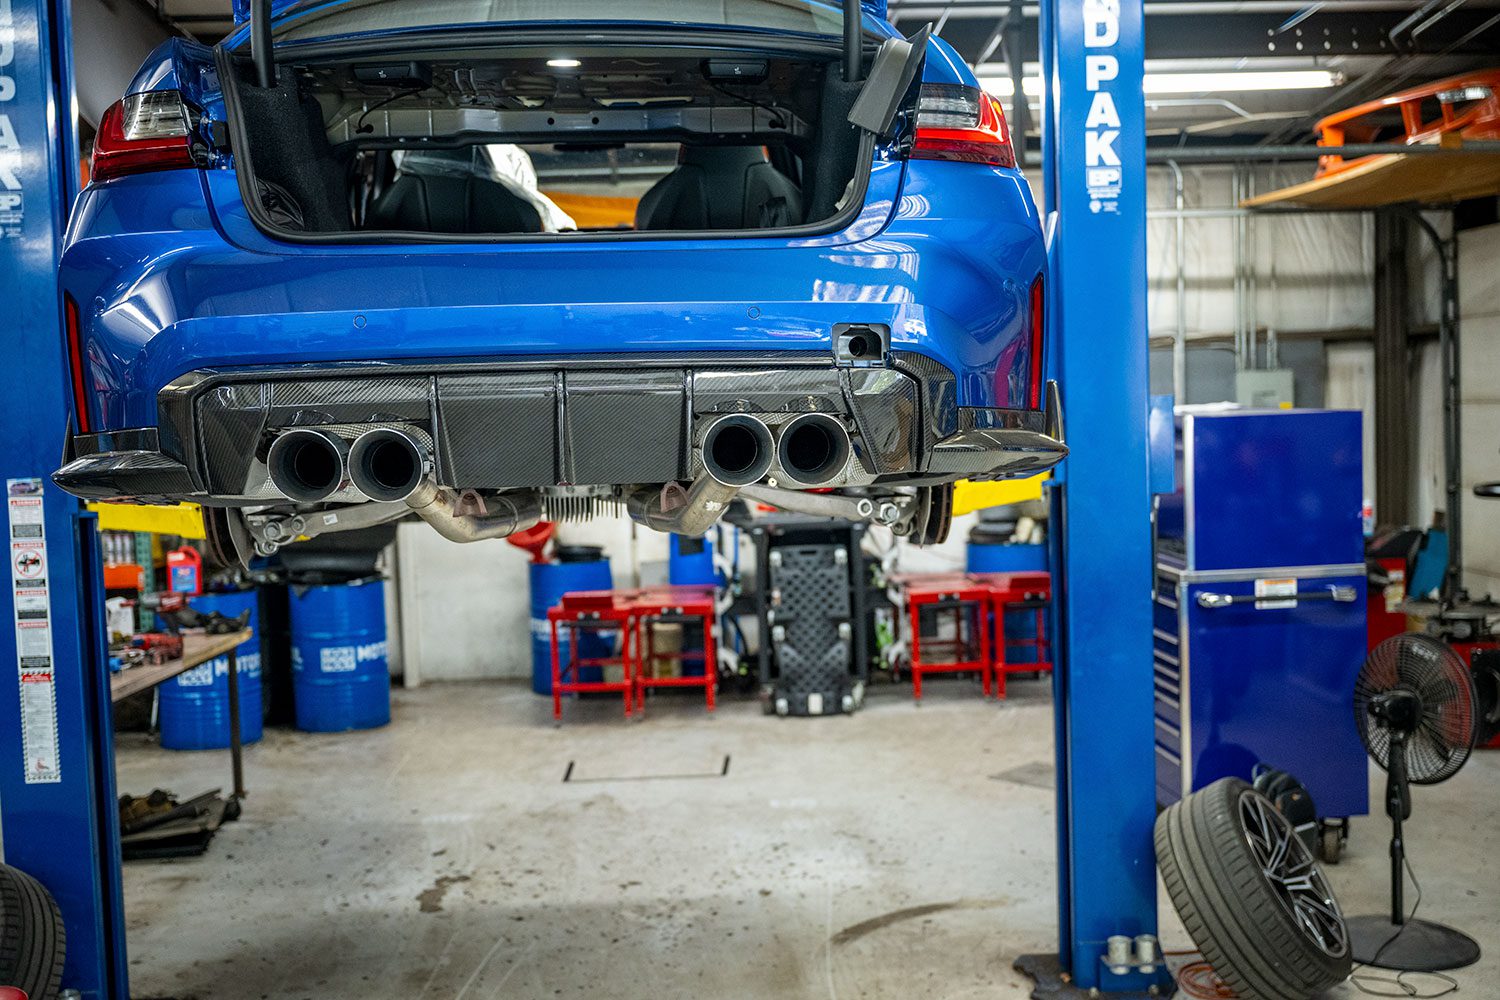
We’ll be working with Tim at Tyspeed today (thanks Tim!). The car cannot be on a regular lift here, as we would block access to the rocker panels. Instead, we put it on the alignment rack.

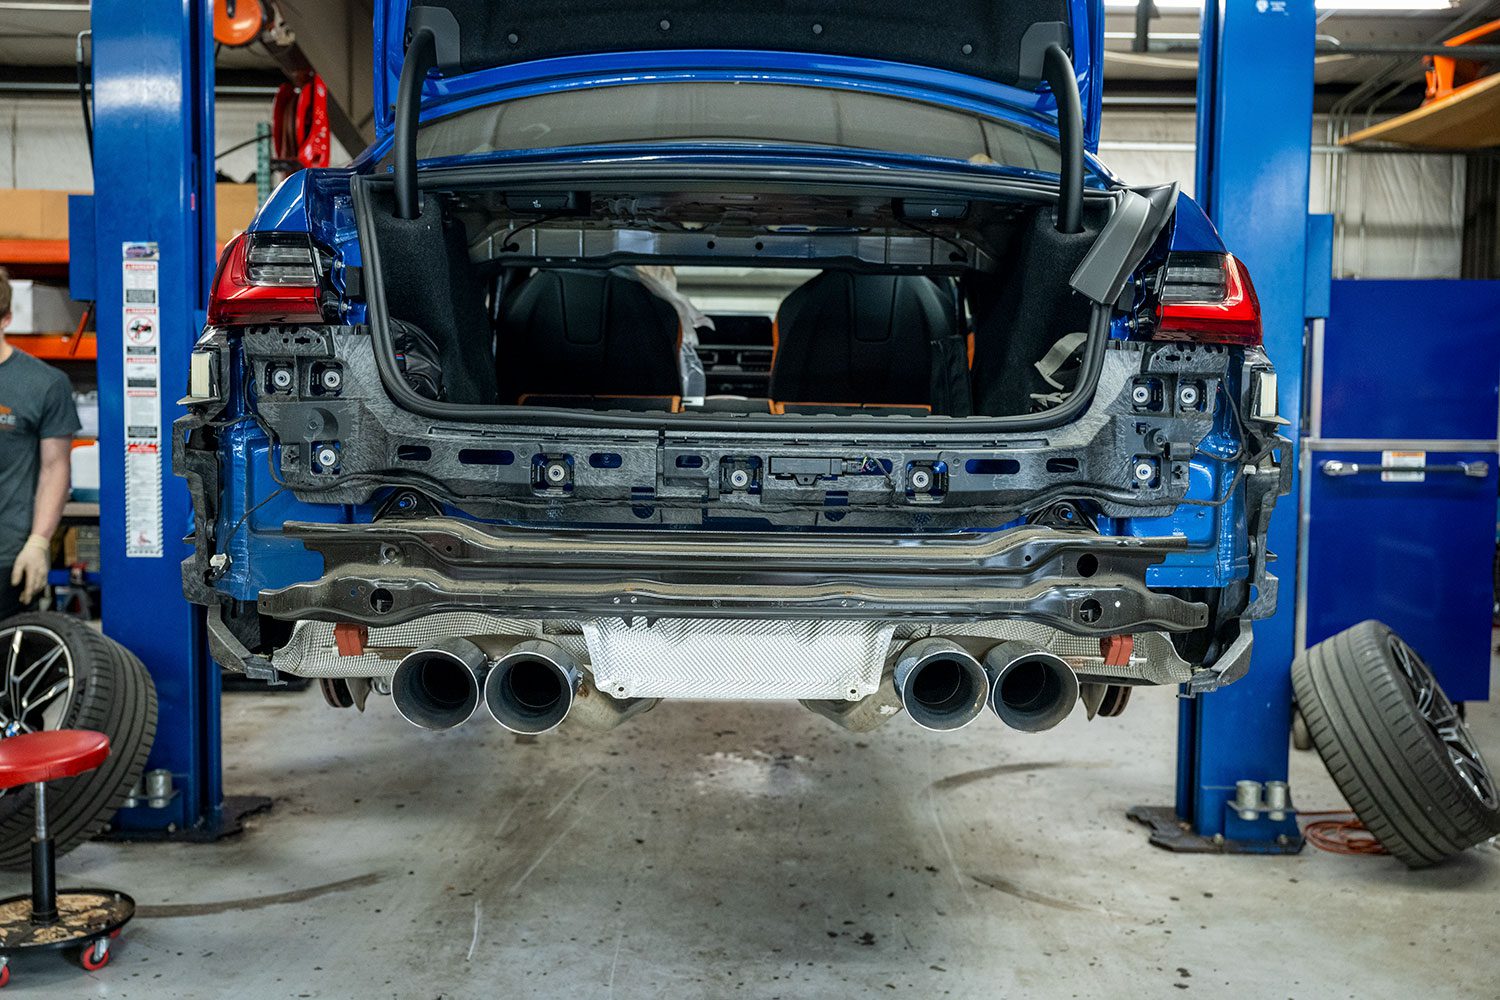
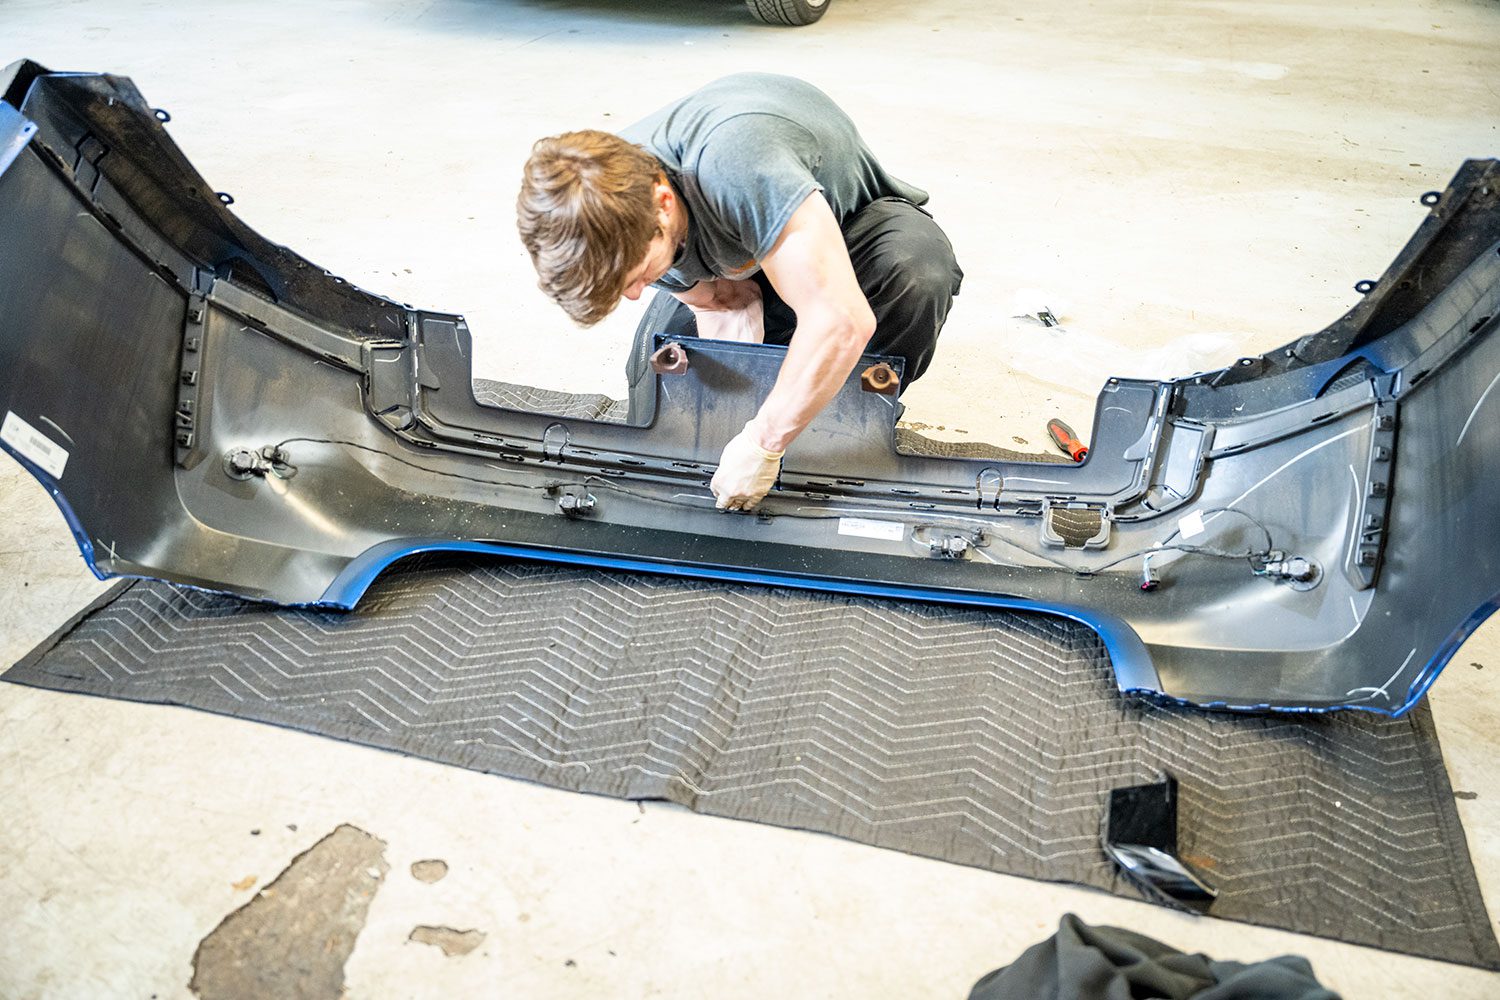
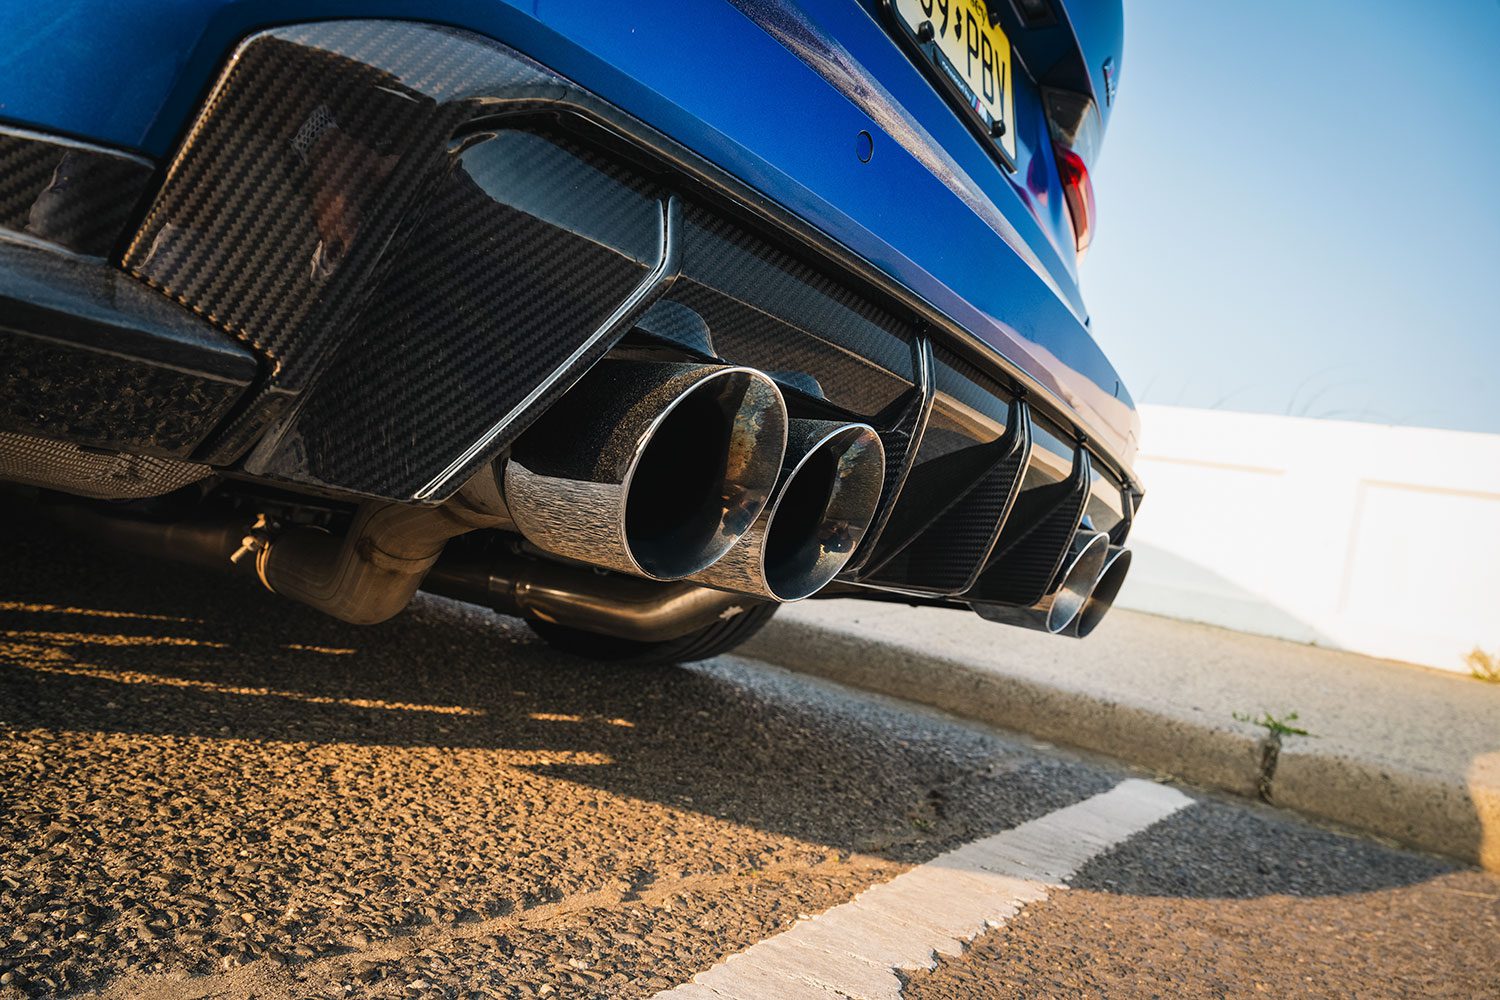
Installing the rear diffuser and trim
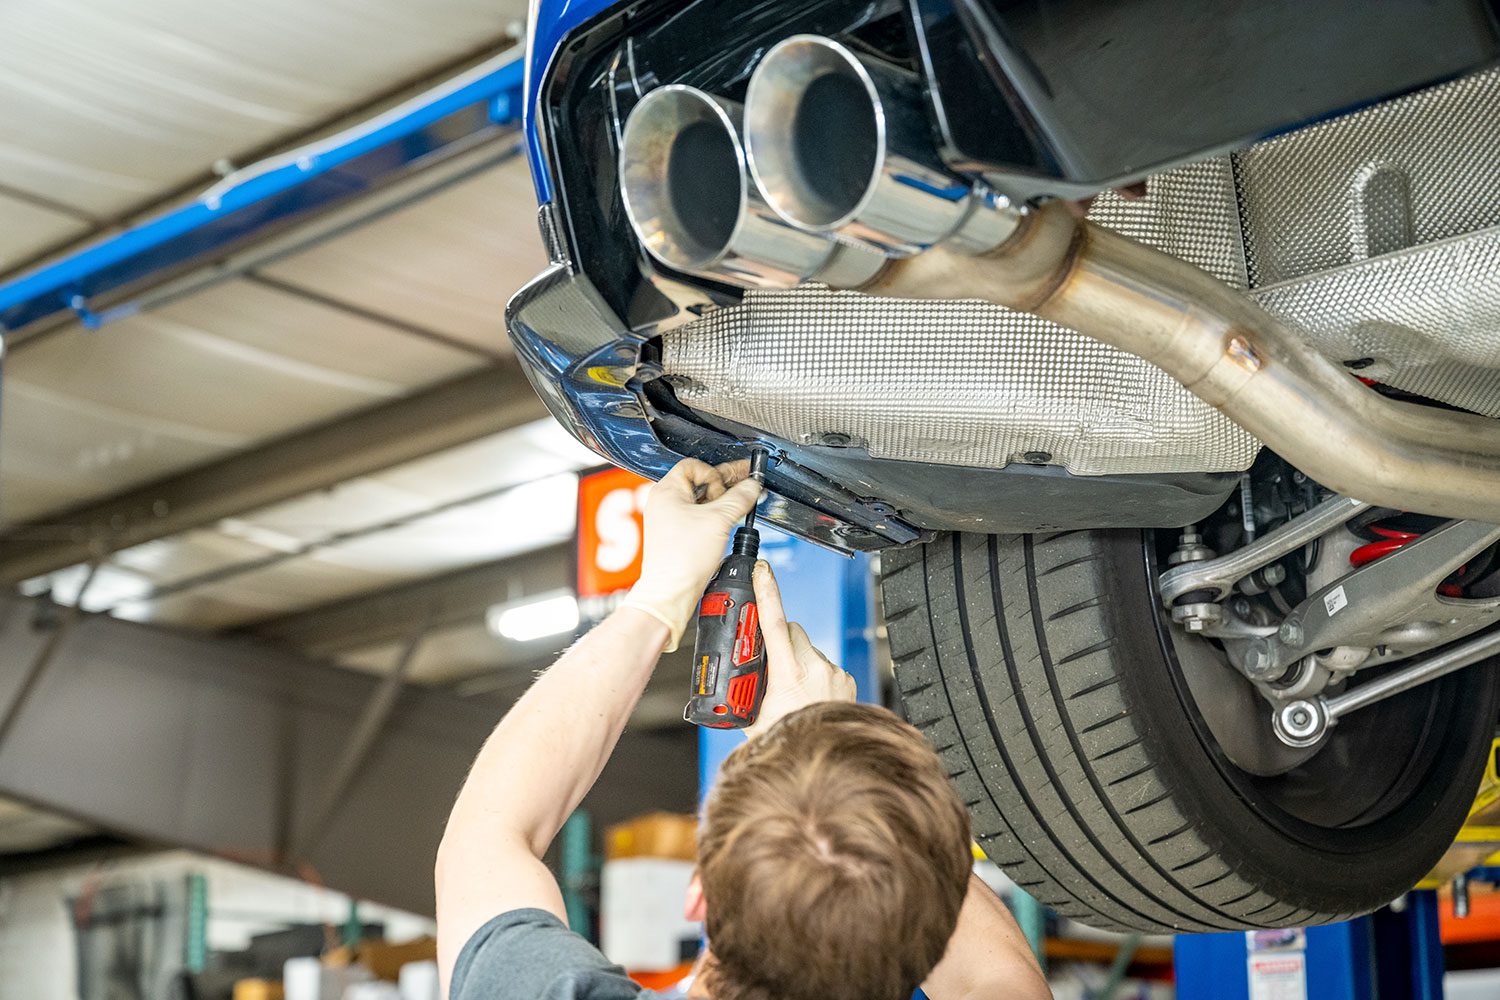
Initially, I thought that the rear bumper could stay on the car, and if you’re simply replacing the diffuser, it can. But the Shadowline Trim around the edges can only be released from the inside. Luckily, taking off the rear is much easier than taking off the front end.


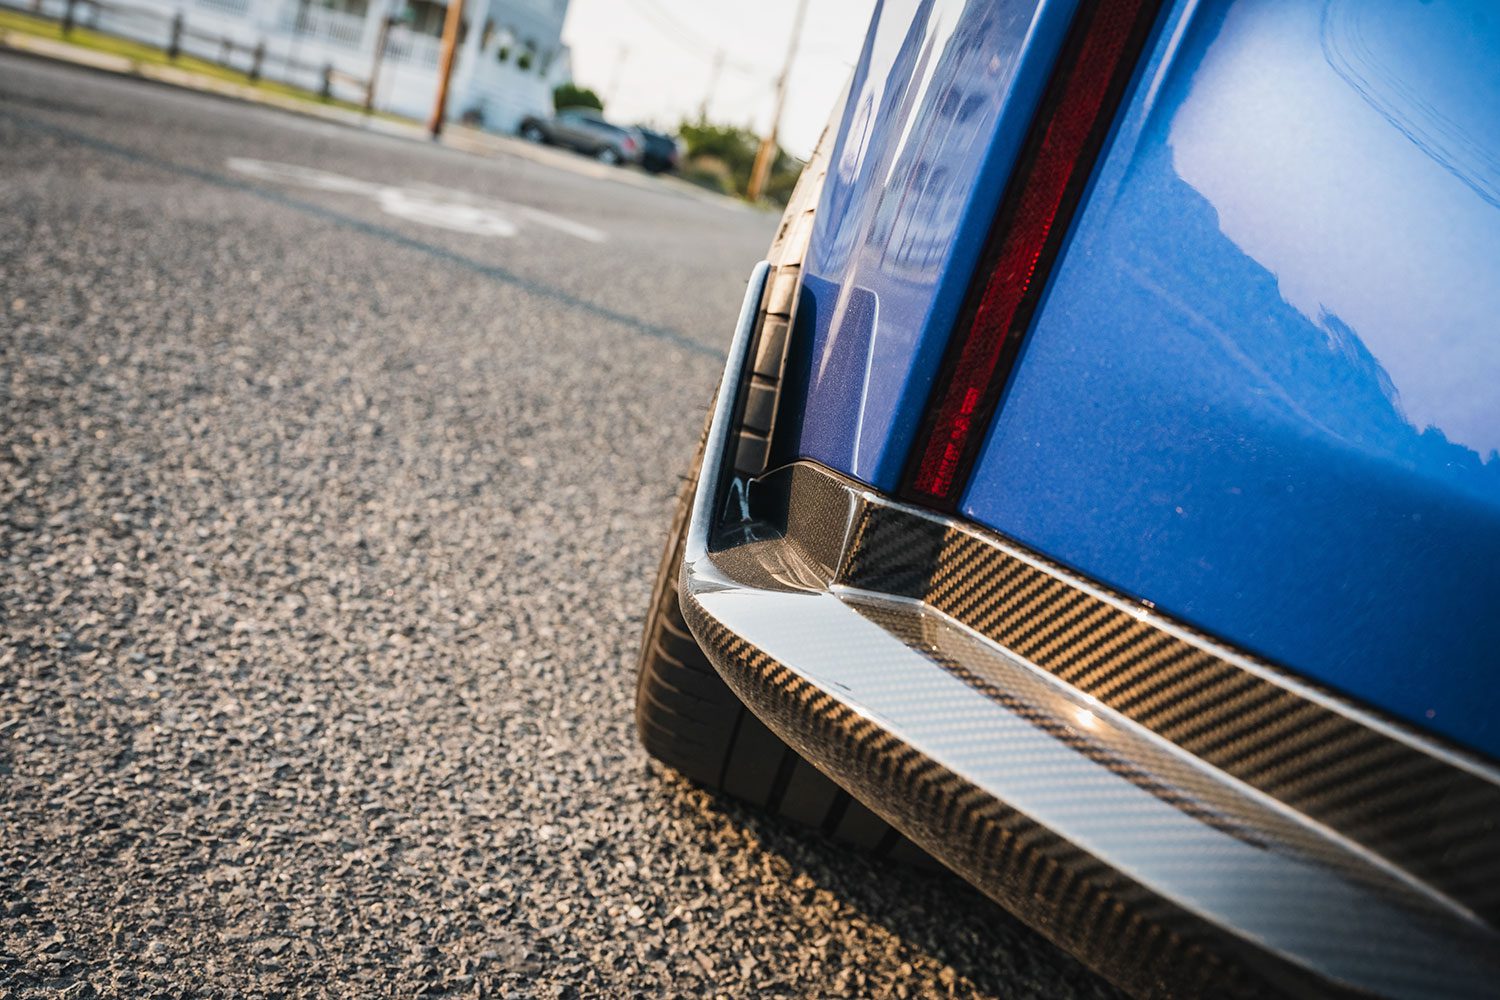
Installing the NW Carbon Haus rear winglets
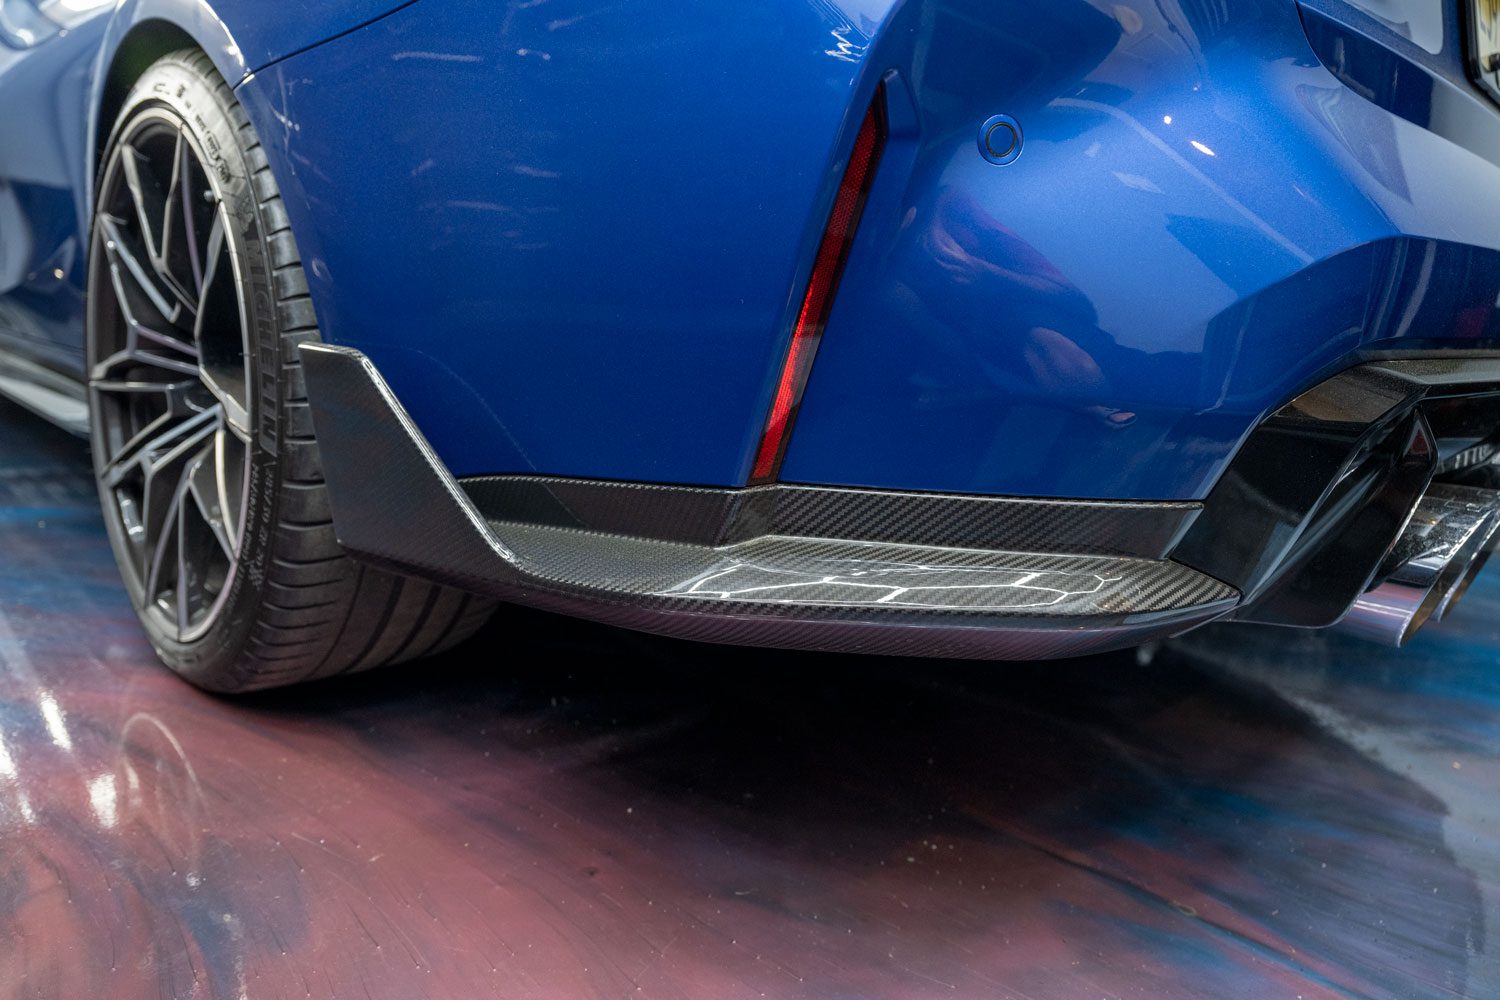
I had planned on doing a separate tutorial for the small rear winglets, but they are so easy to install that I did not deem it necessary. You can put these on without a lift, and they take about 20 minutes.
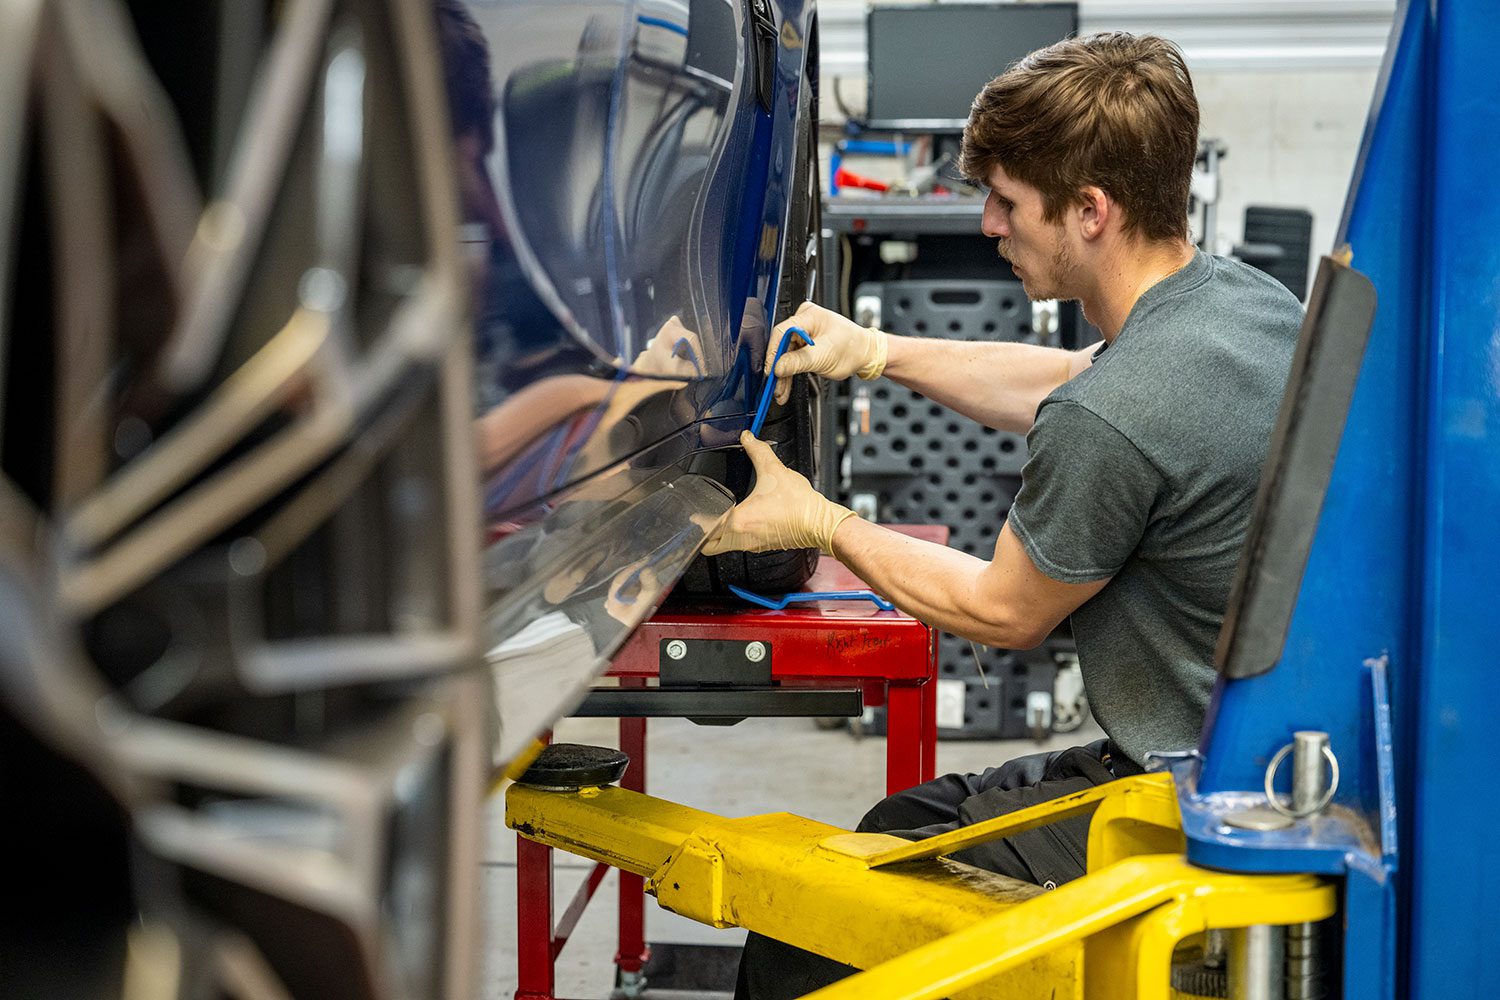
- Release the six plastic rivets (three on each side) with a trim tool. Unlike the side rocker panels, these rivets can be reused.
- Place painters tape along the top edge to prevent scratches, then pry with a trim tool along the top edge, from front to back. It might require a little muscle.
- Clip in the new carbon fiber winglet, pressing in along the top edge, again front-to-back. It’s ok to use a bit of force.
- Reinstall the plastic rivets. You’re all done.
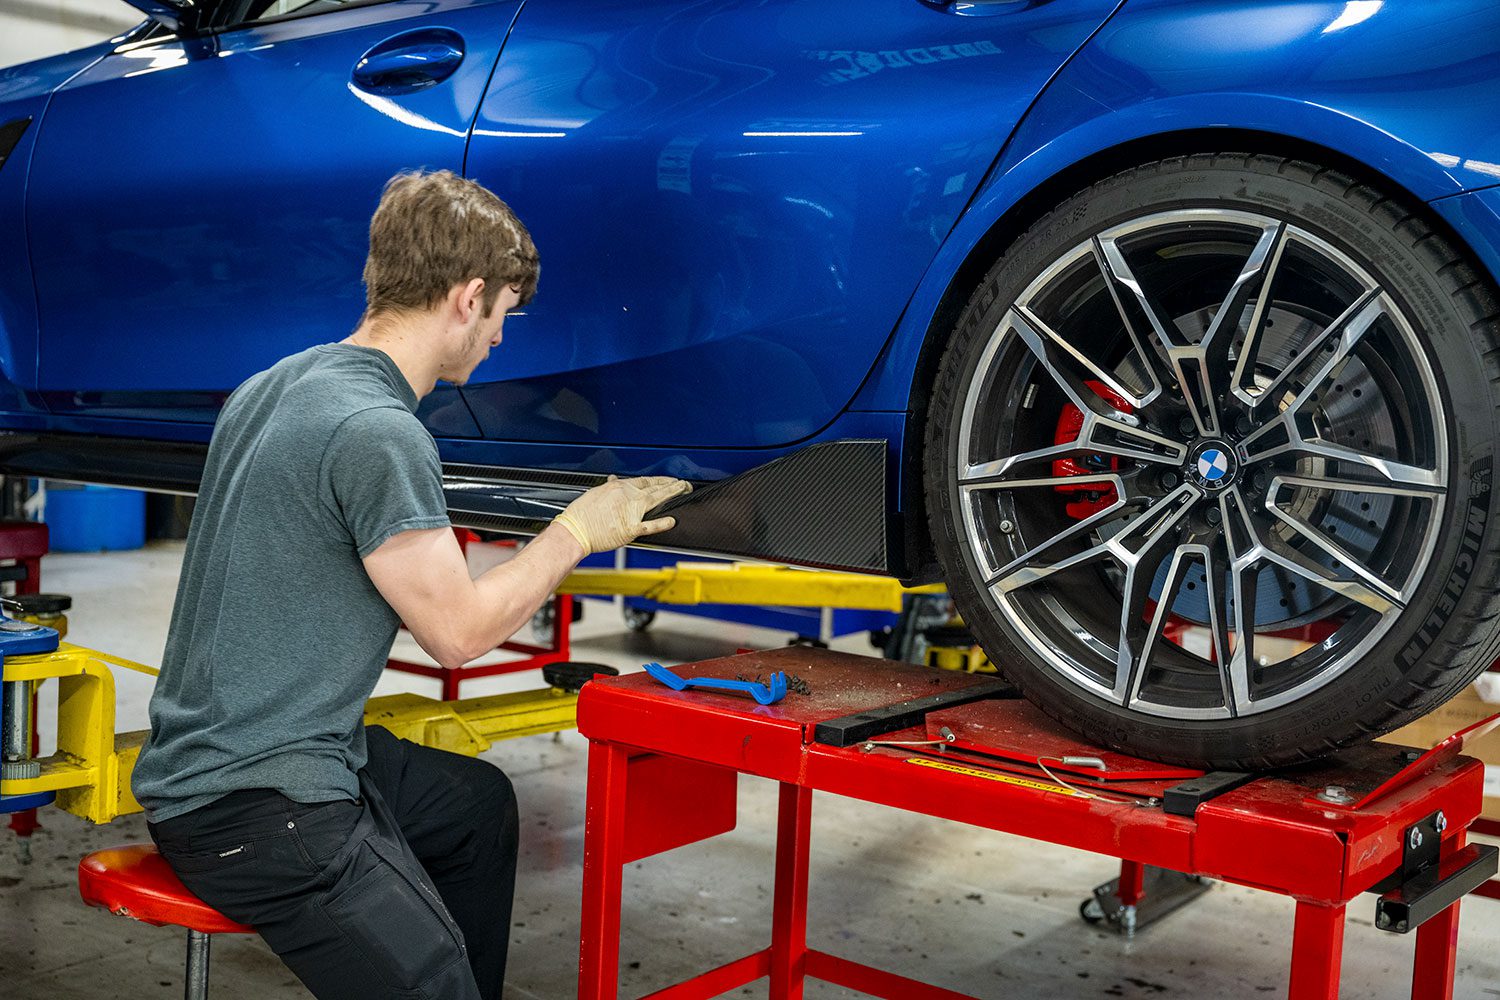
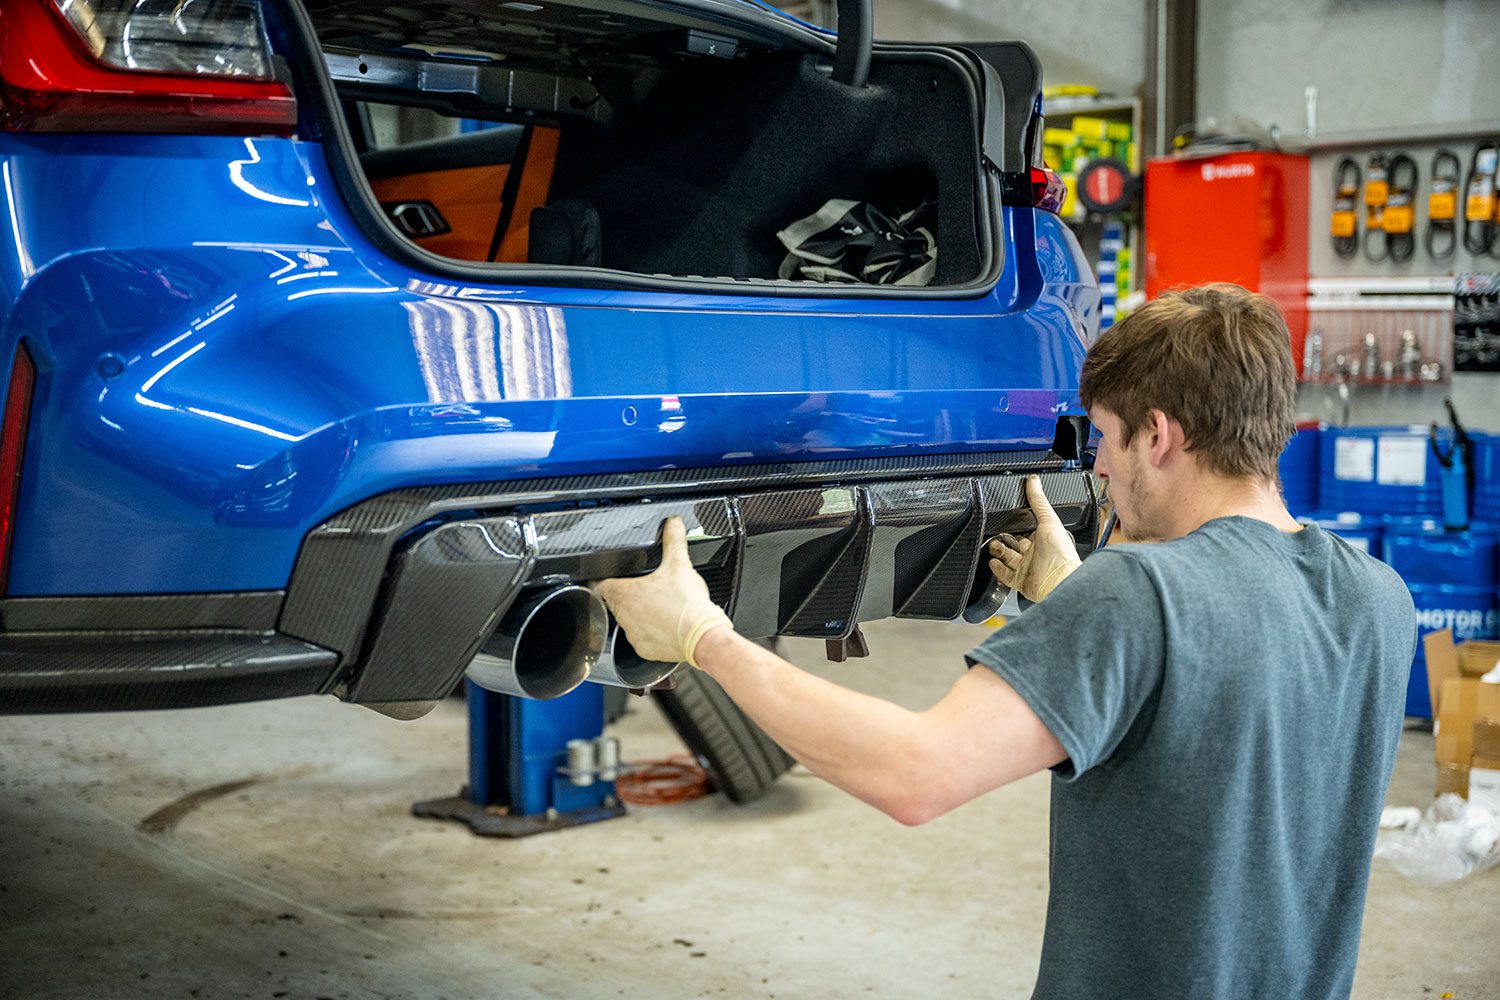
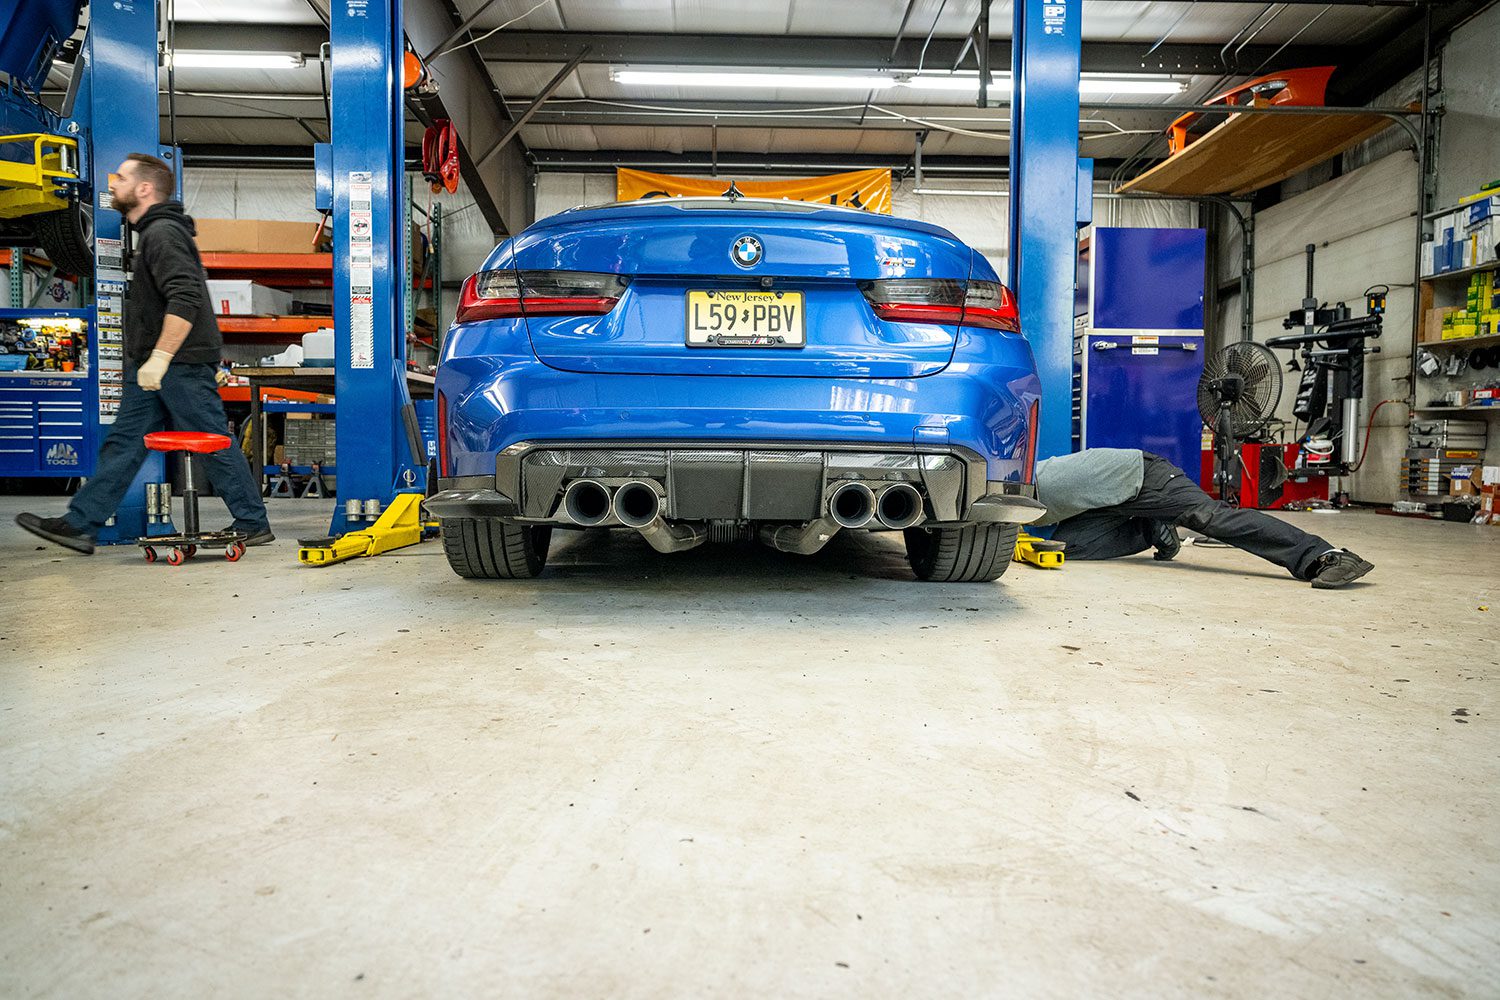
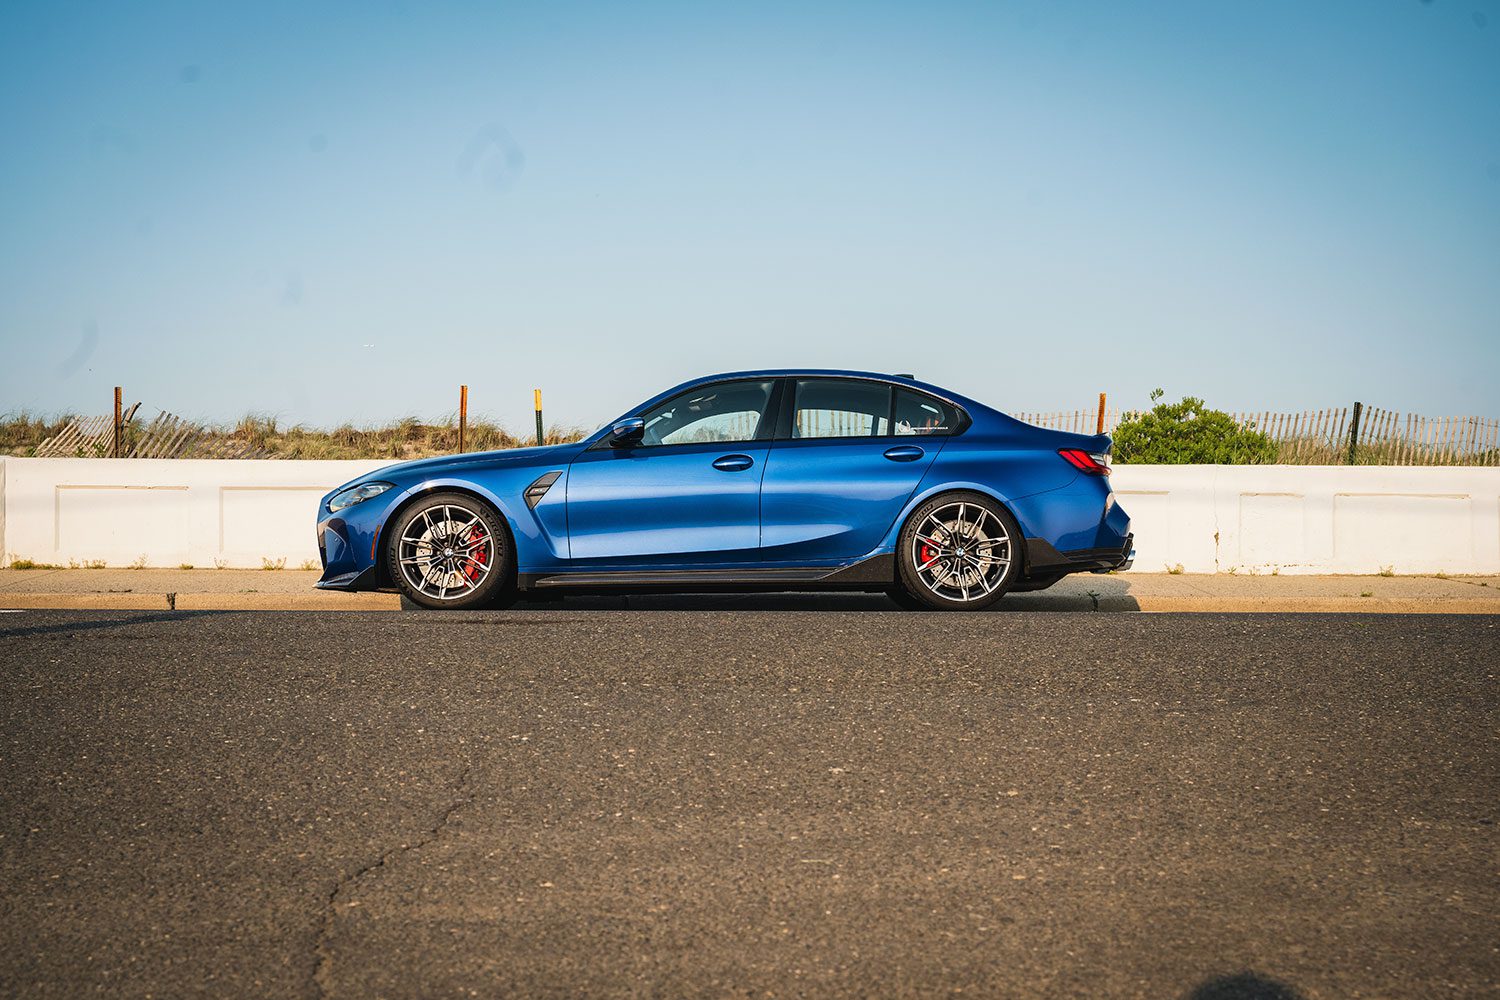
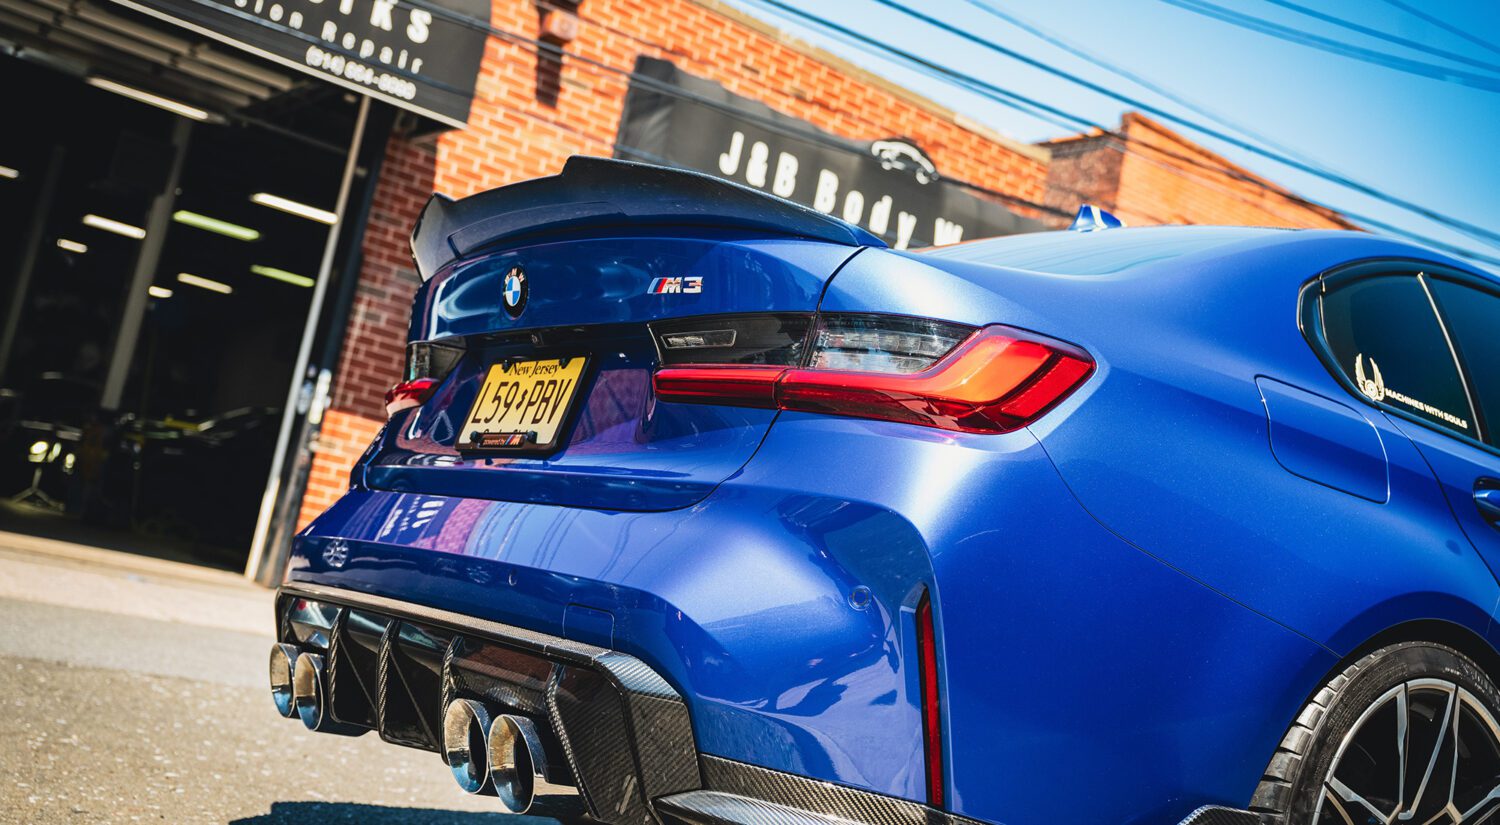
The big reveal

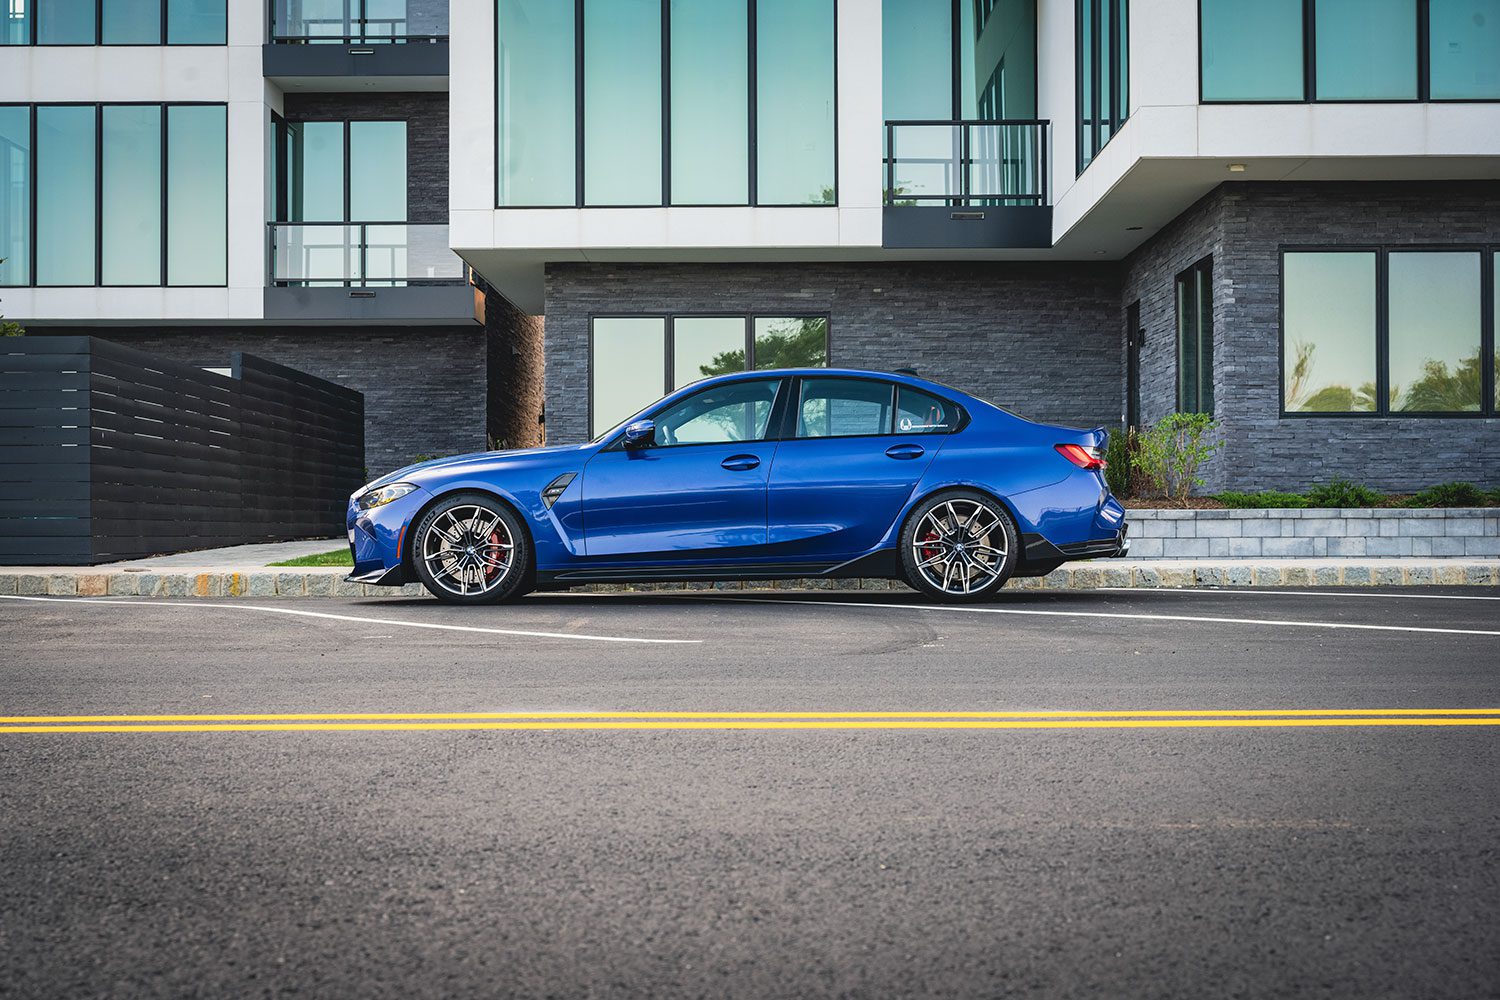
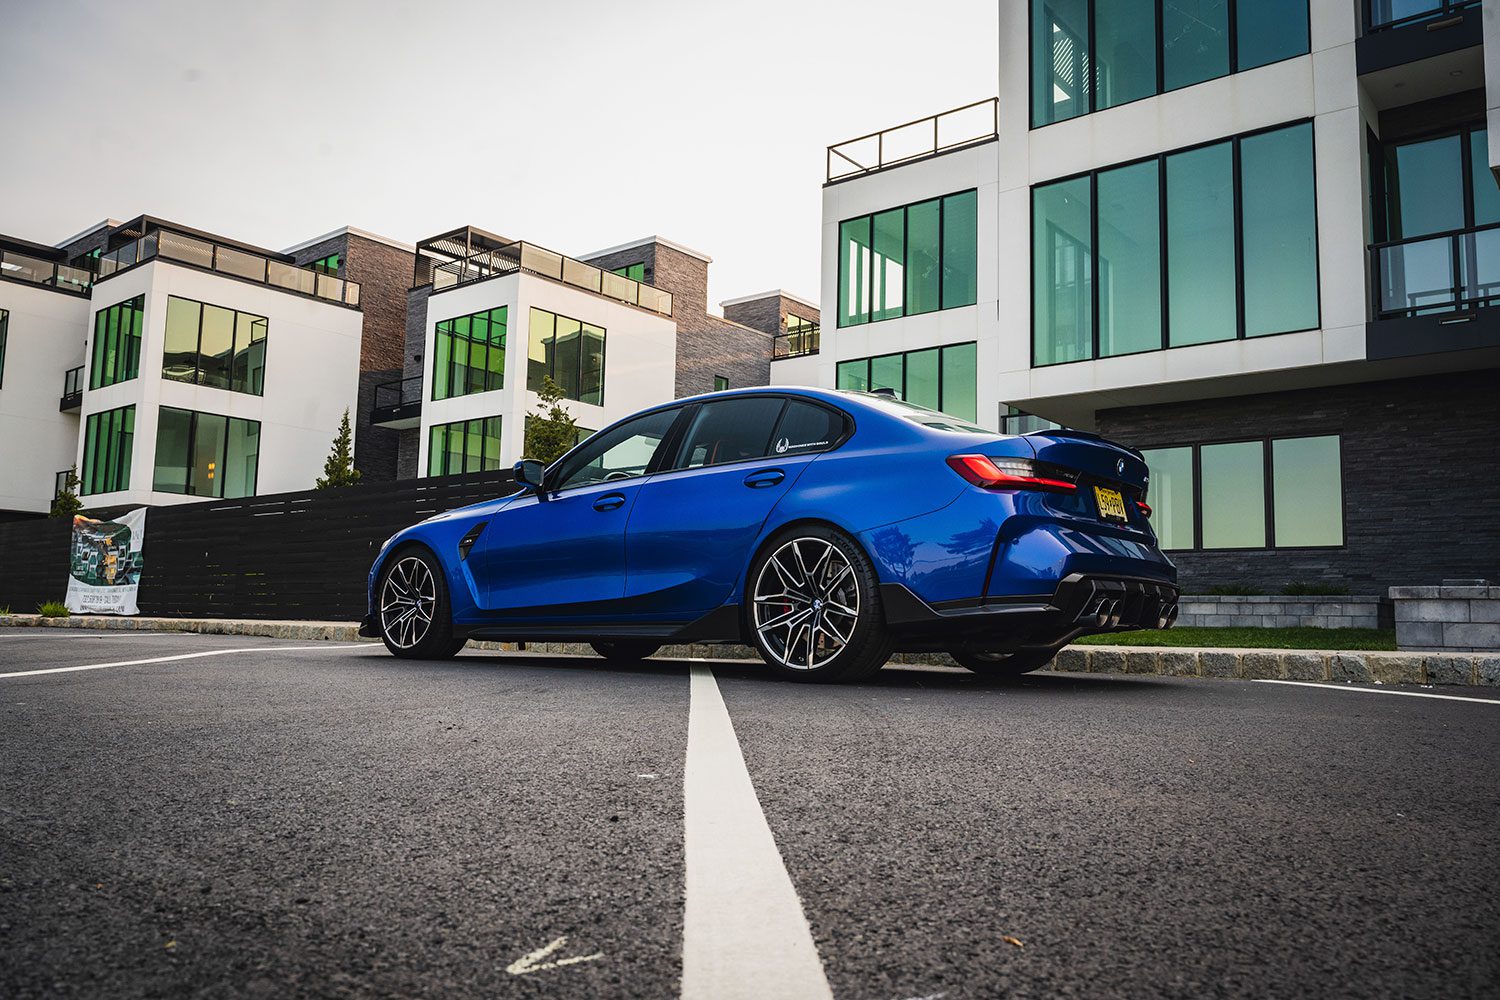
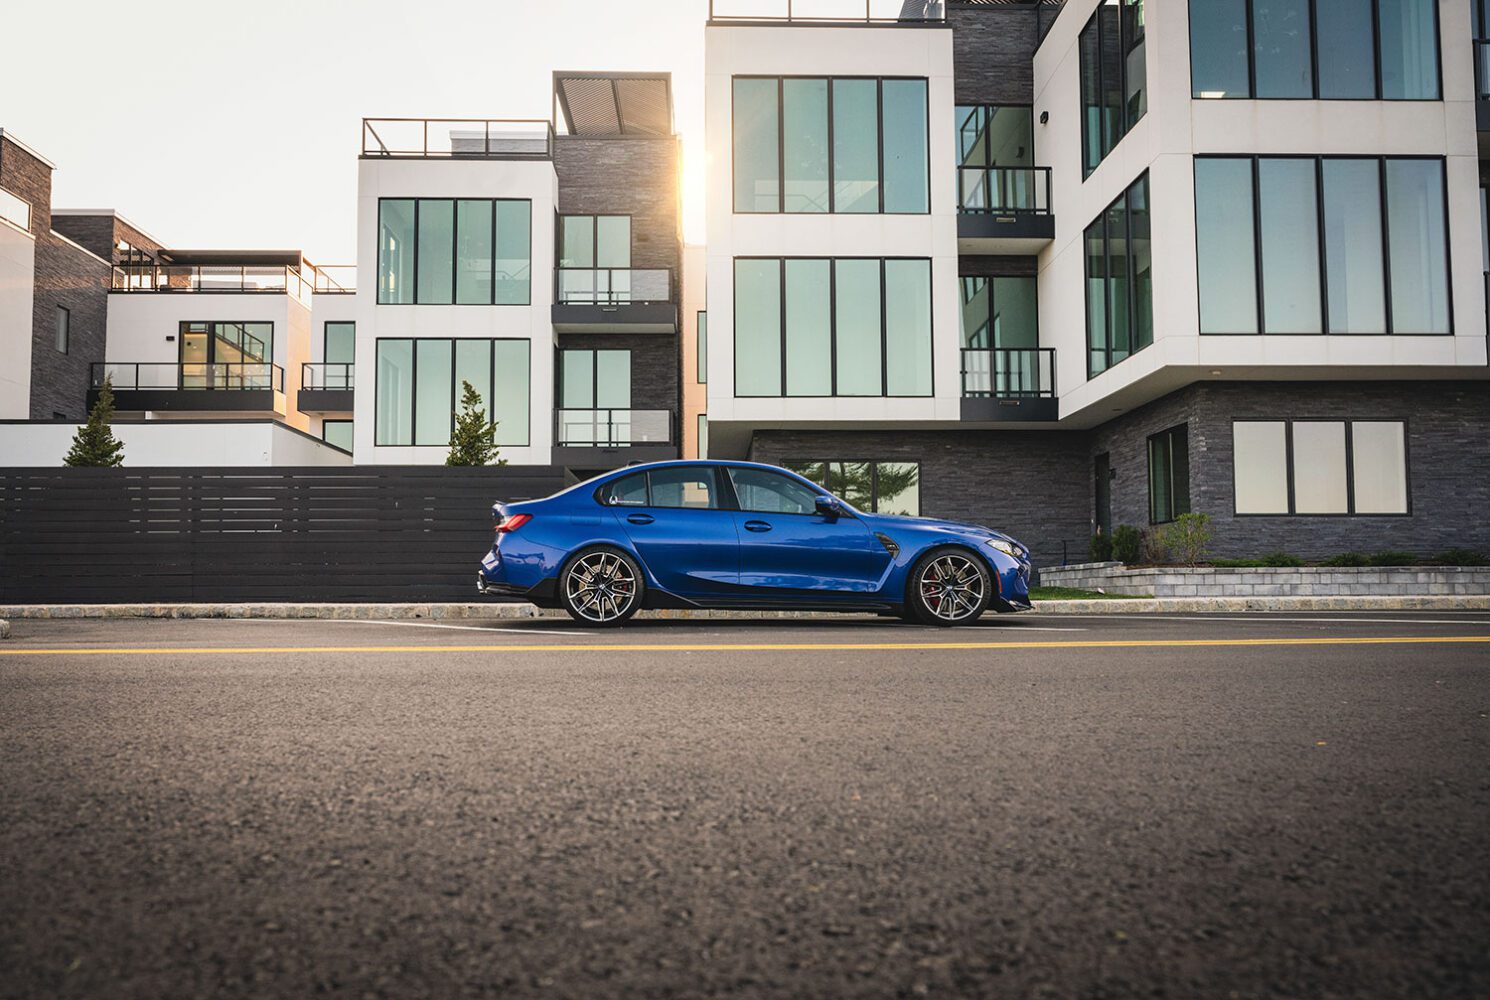
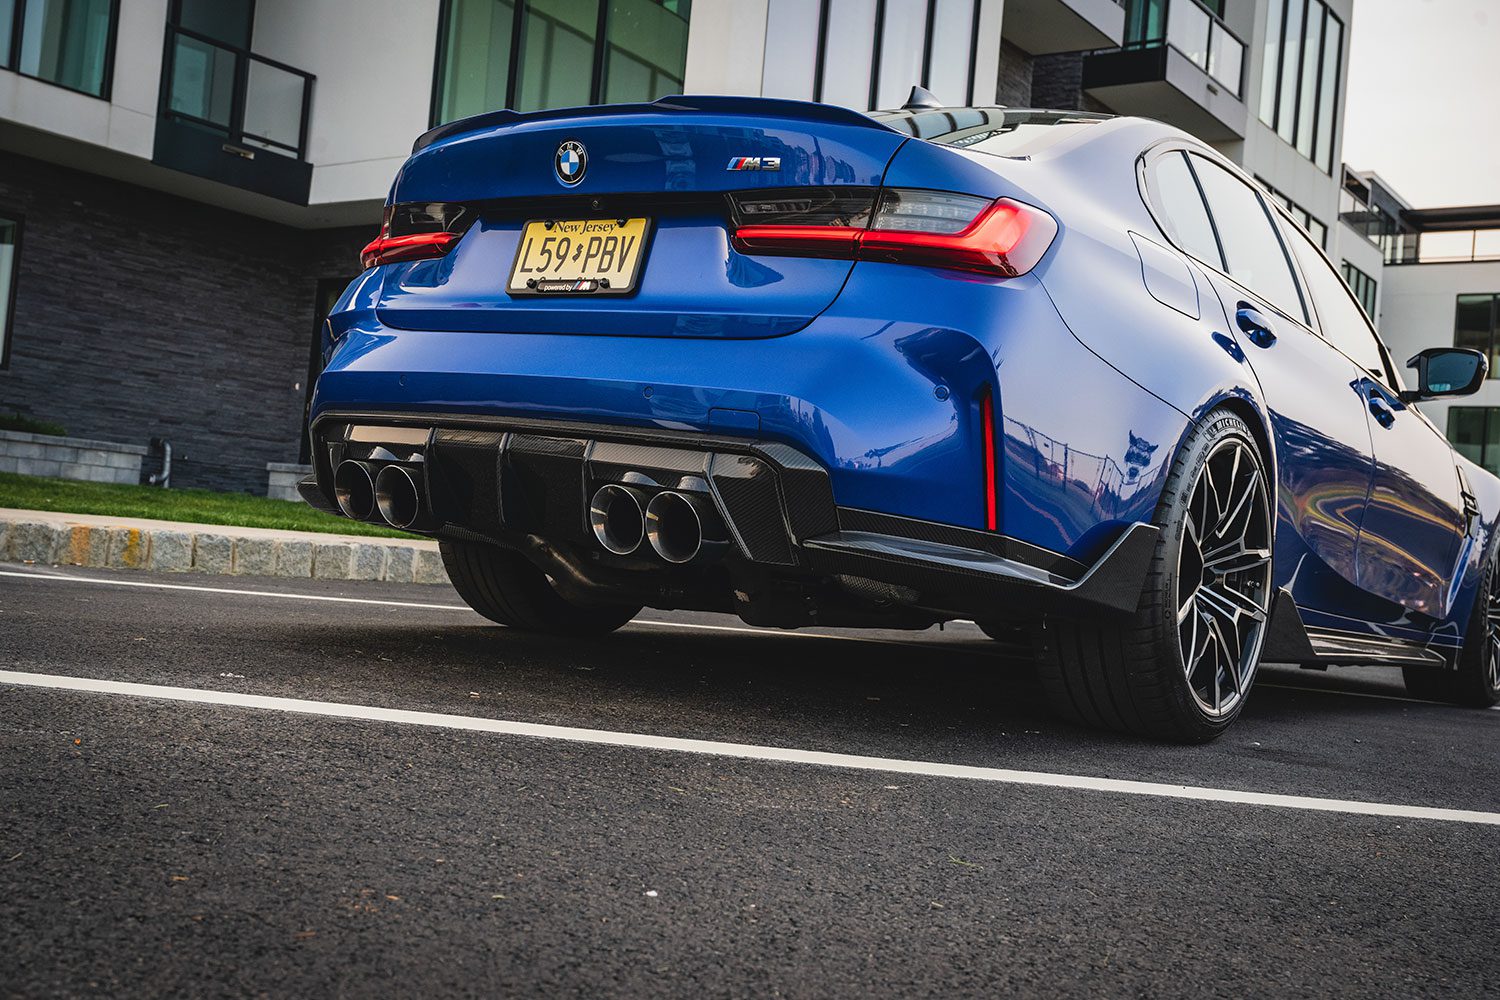

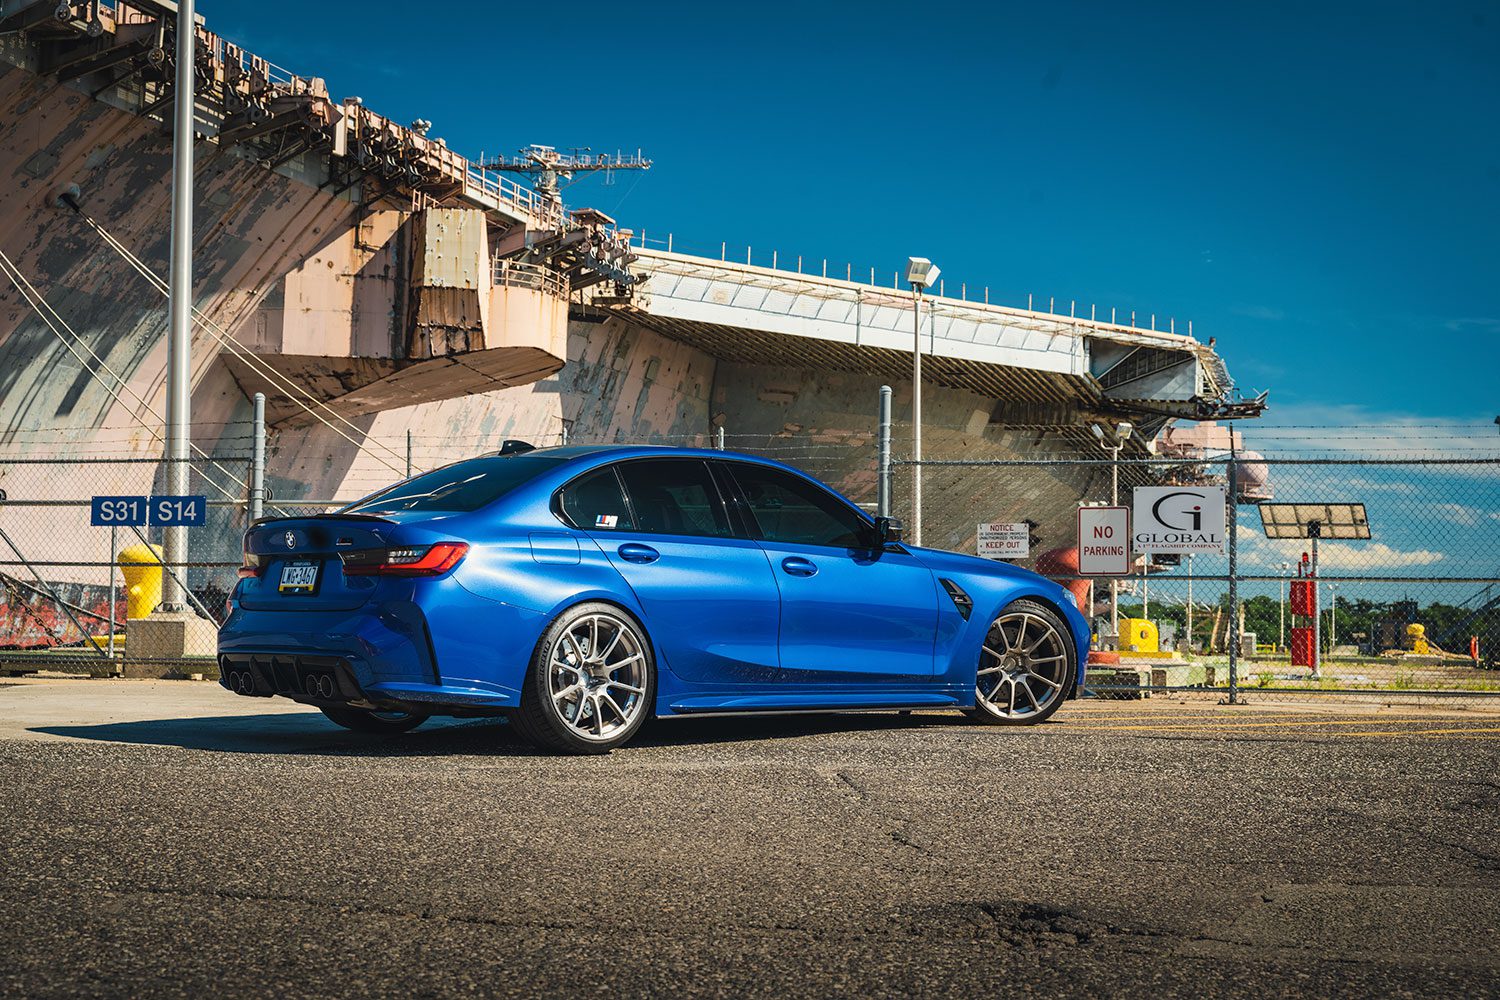
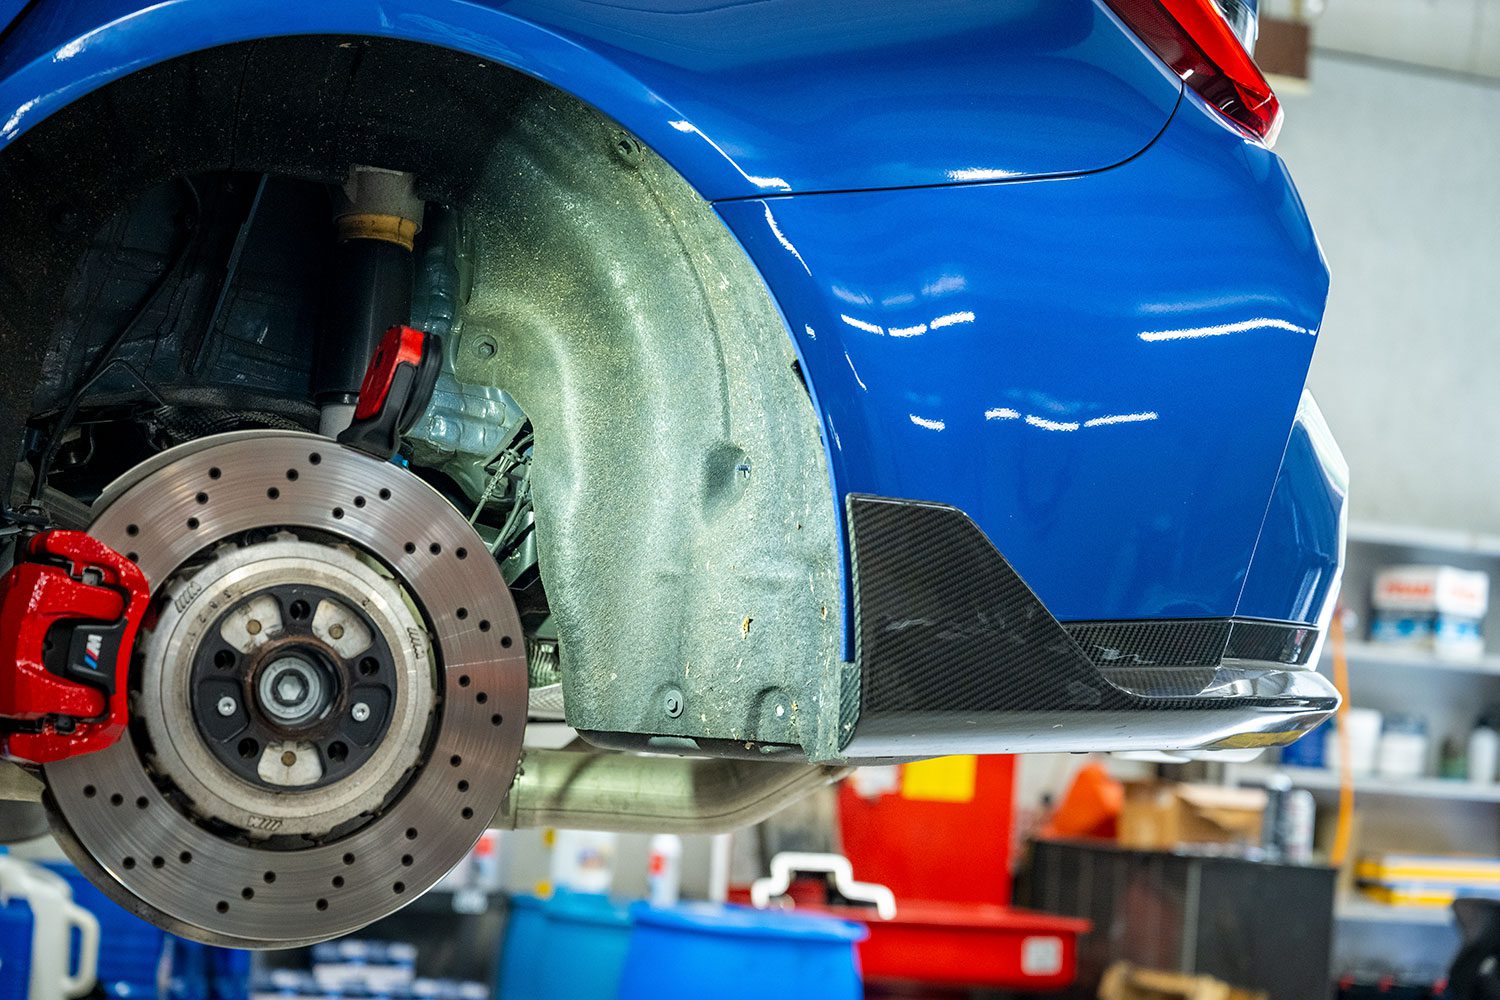
This kit ties everything from the front-end together nicely, and it looks much better without all that pointless Shadowline Trim.
I think the rear diffuser’s minor misalignment is a non-issue. You may only see it in person because I point it out here. Perhaps staying with a “V1” stock shape is better. But for a third of the price, NW Carbon Haus has products that look as good as actual M Performance Parts and save weight (I’d guess, between all the modifications, the car is about 20 lbs lighter).
What’s next? New parts are already inbound. Stay tuned.
I will tell you this. A Tesla Model 3 Performance pulled up next to me at a red light and proceeded to vanish into the distance. I didn’t even try to keep up. My big nose, stick shifting, dino-burning, straight-piped, carbon-finned M3 never stood a chance.
Who do you think had the bigger smile on their face?
Want your car reviewed?
If you live in the tri-state area and want me to check it out, send me an email!
Support the cause
Commissions may be received for product links on this site. Help out if you can.
I use Nikon camera bodies and lenses, a Westcott Ice Light 2, Manfrotto tripod, B + W filters and an iMac Pro to make the art you see here.
Follow along on Instagram @machineswithsouls
4 thoughts on “Deleting Shadowline Trim on the G8X M3”