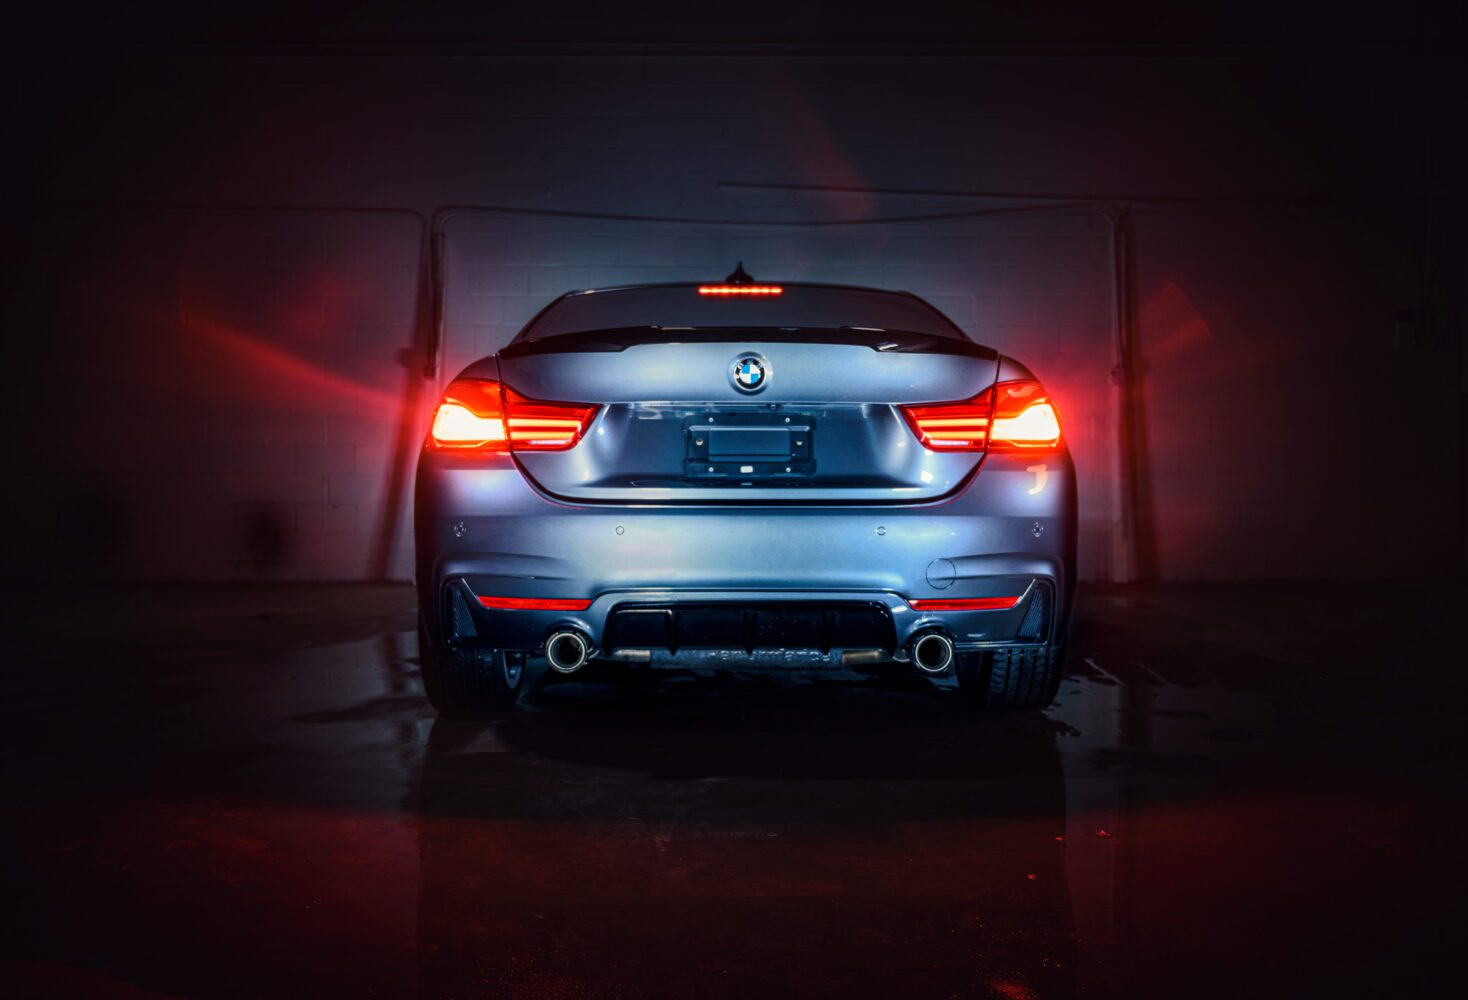
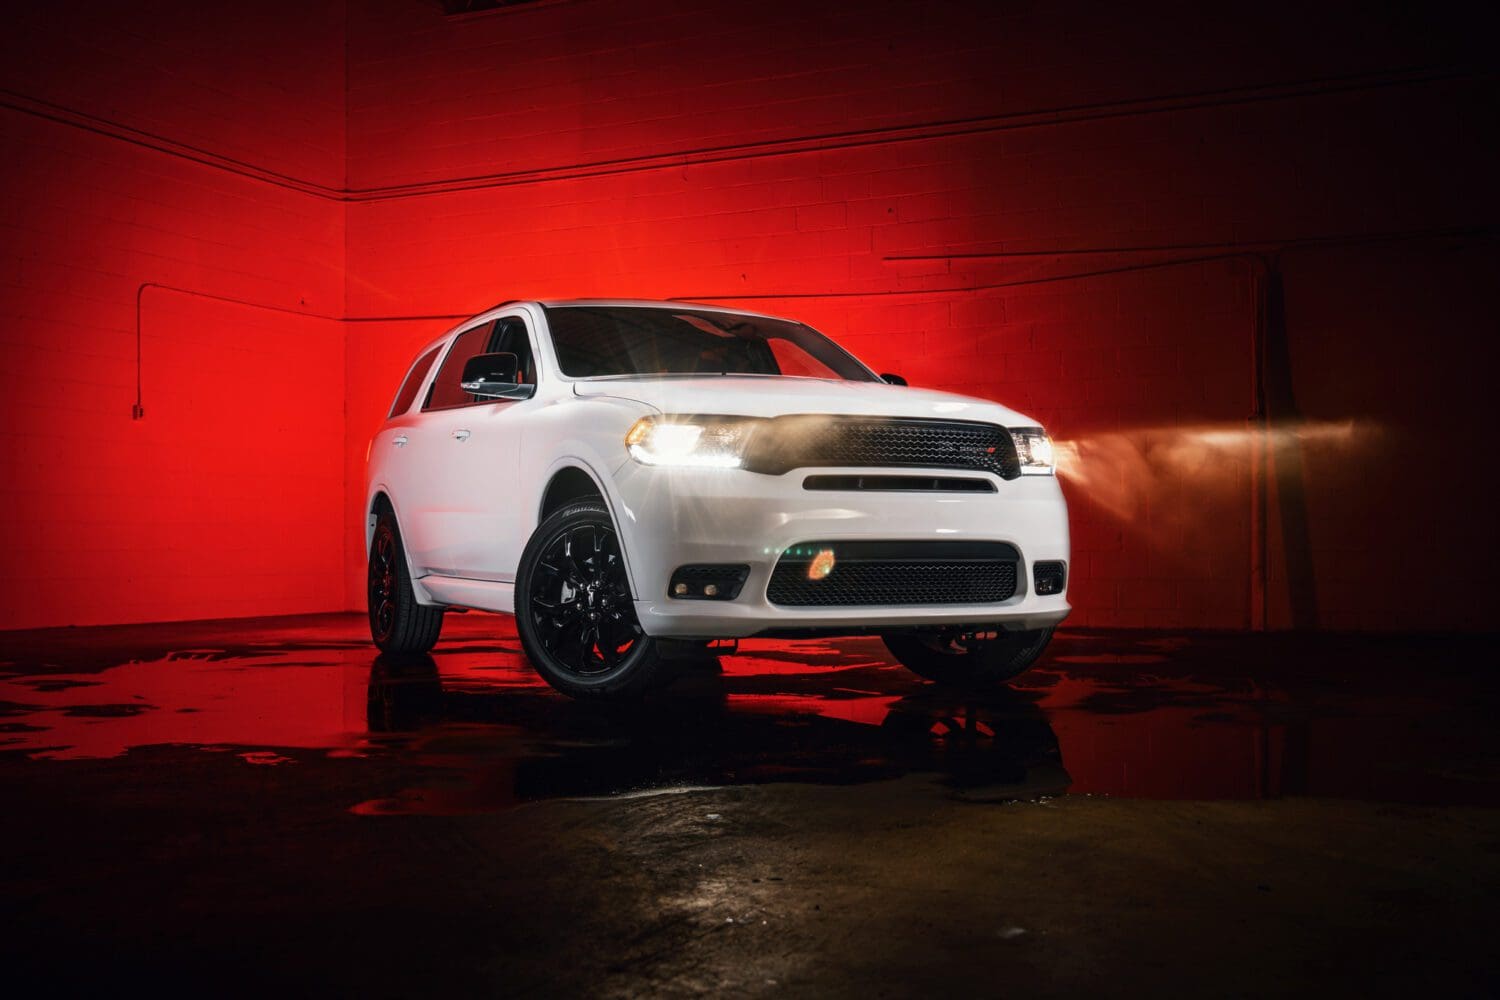
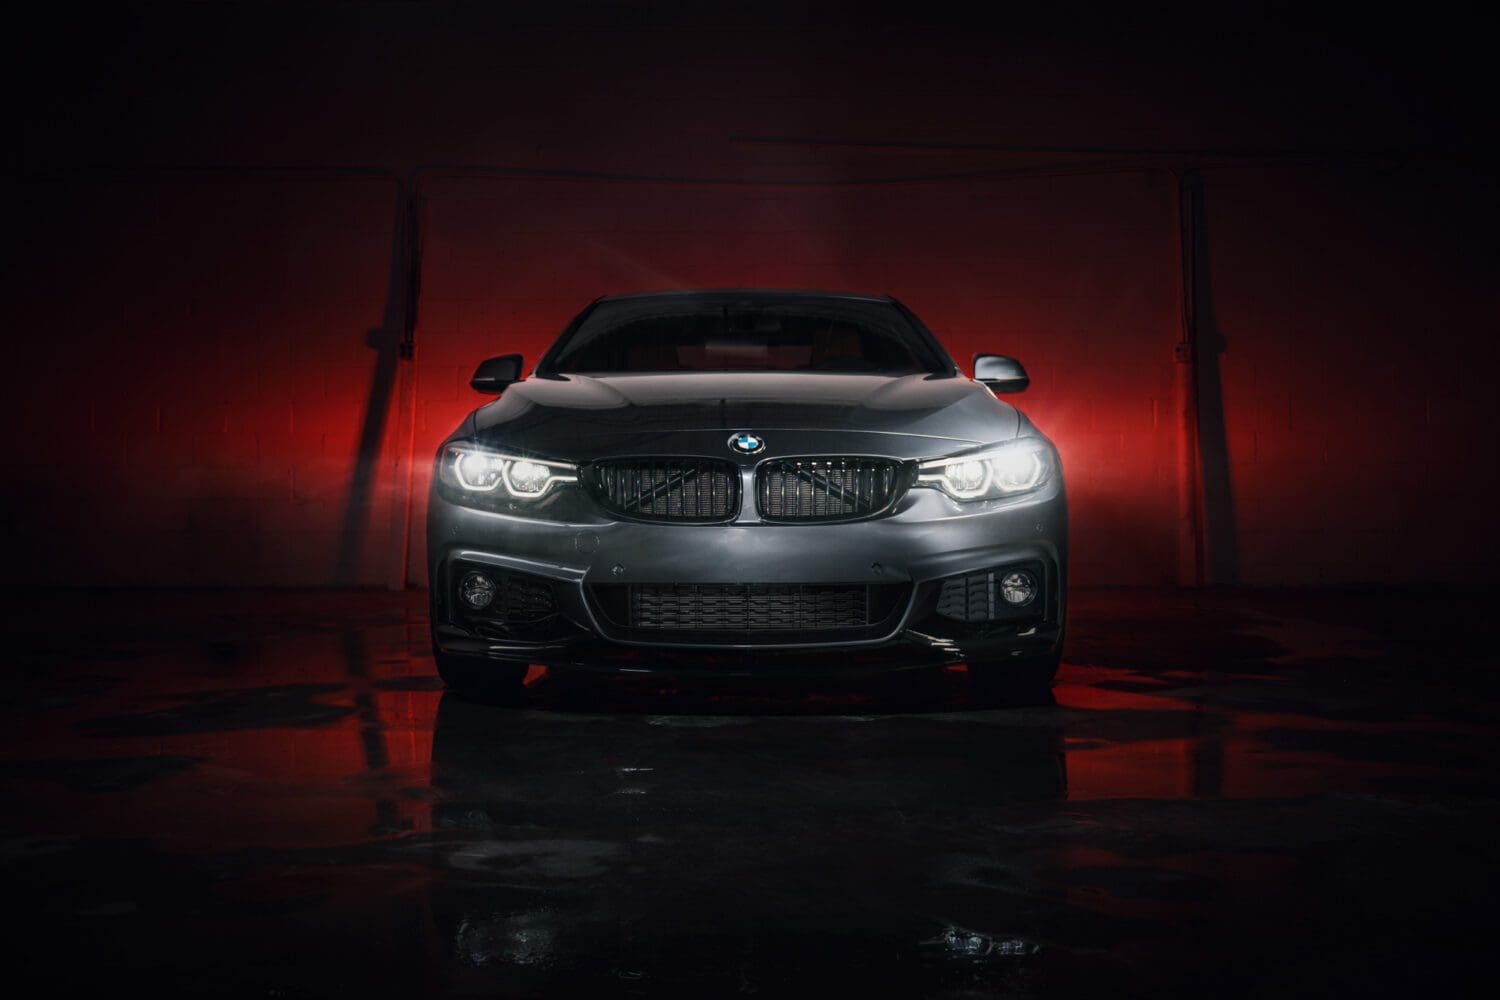
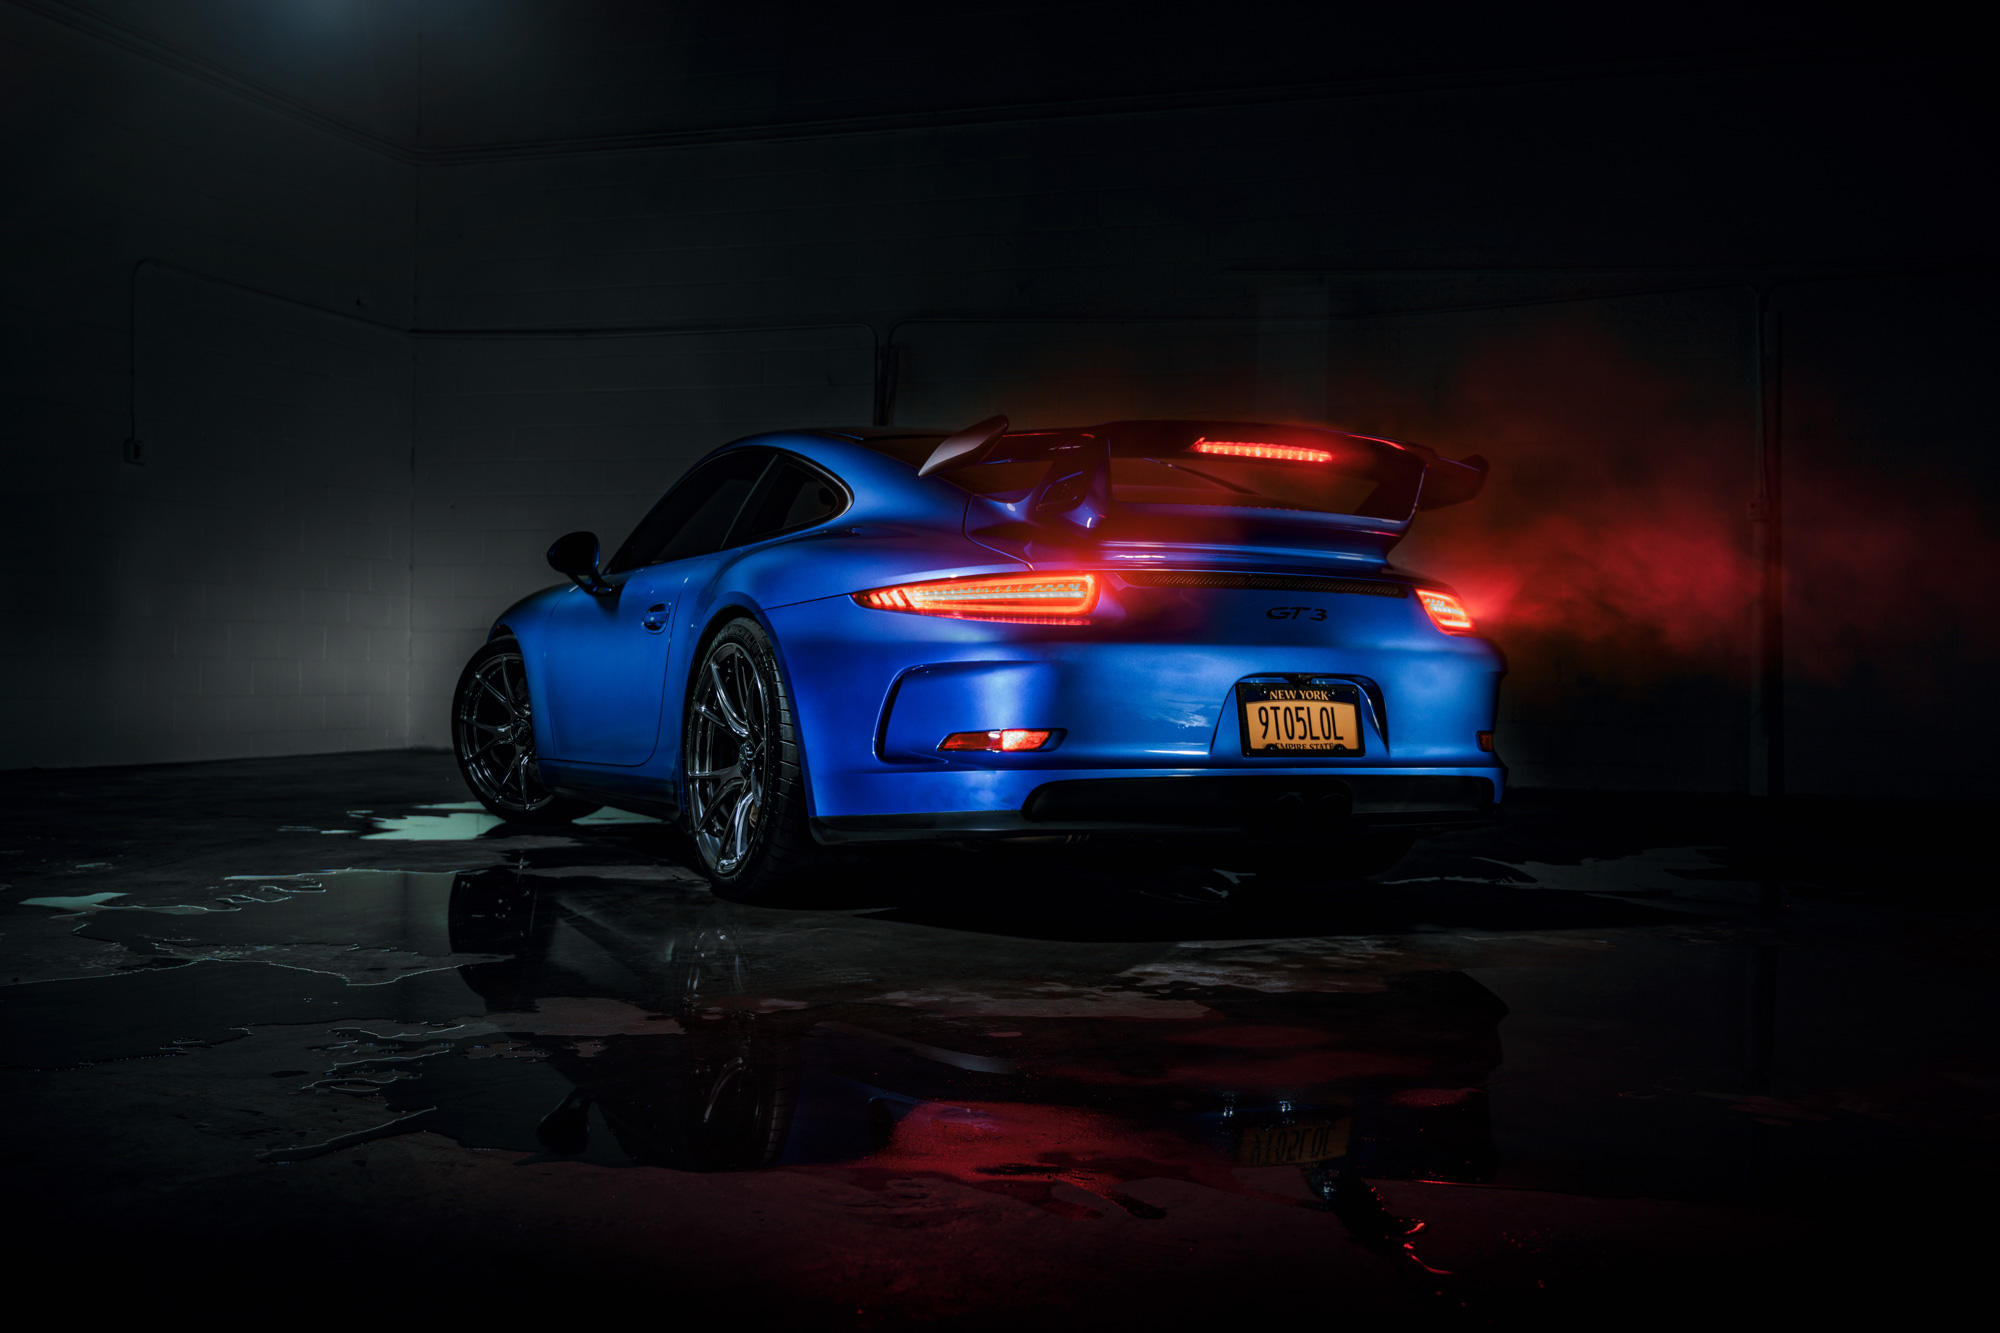
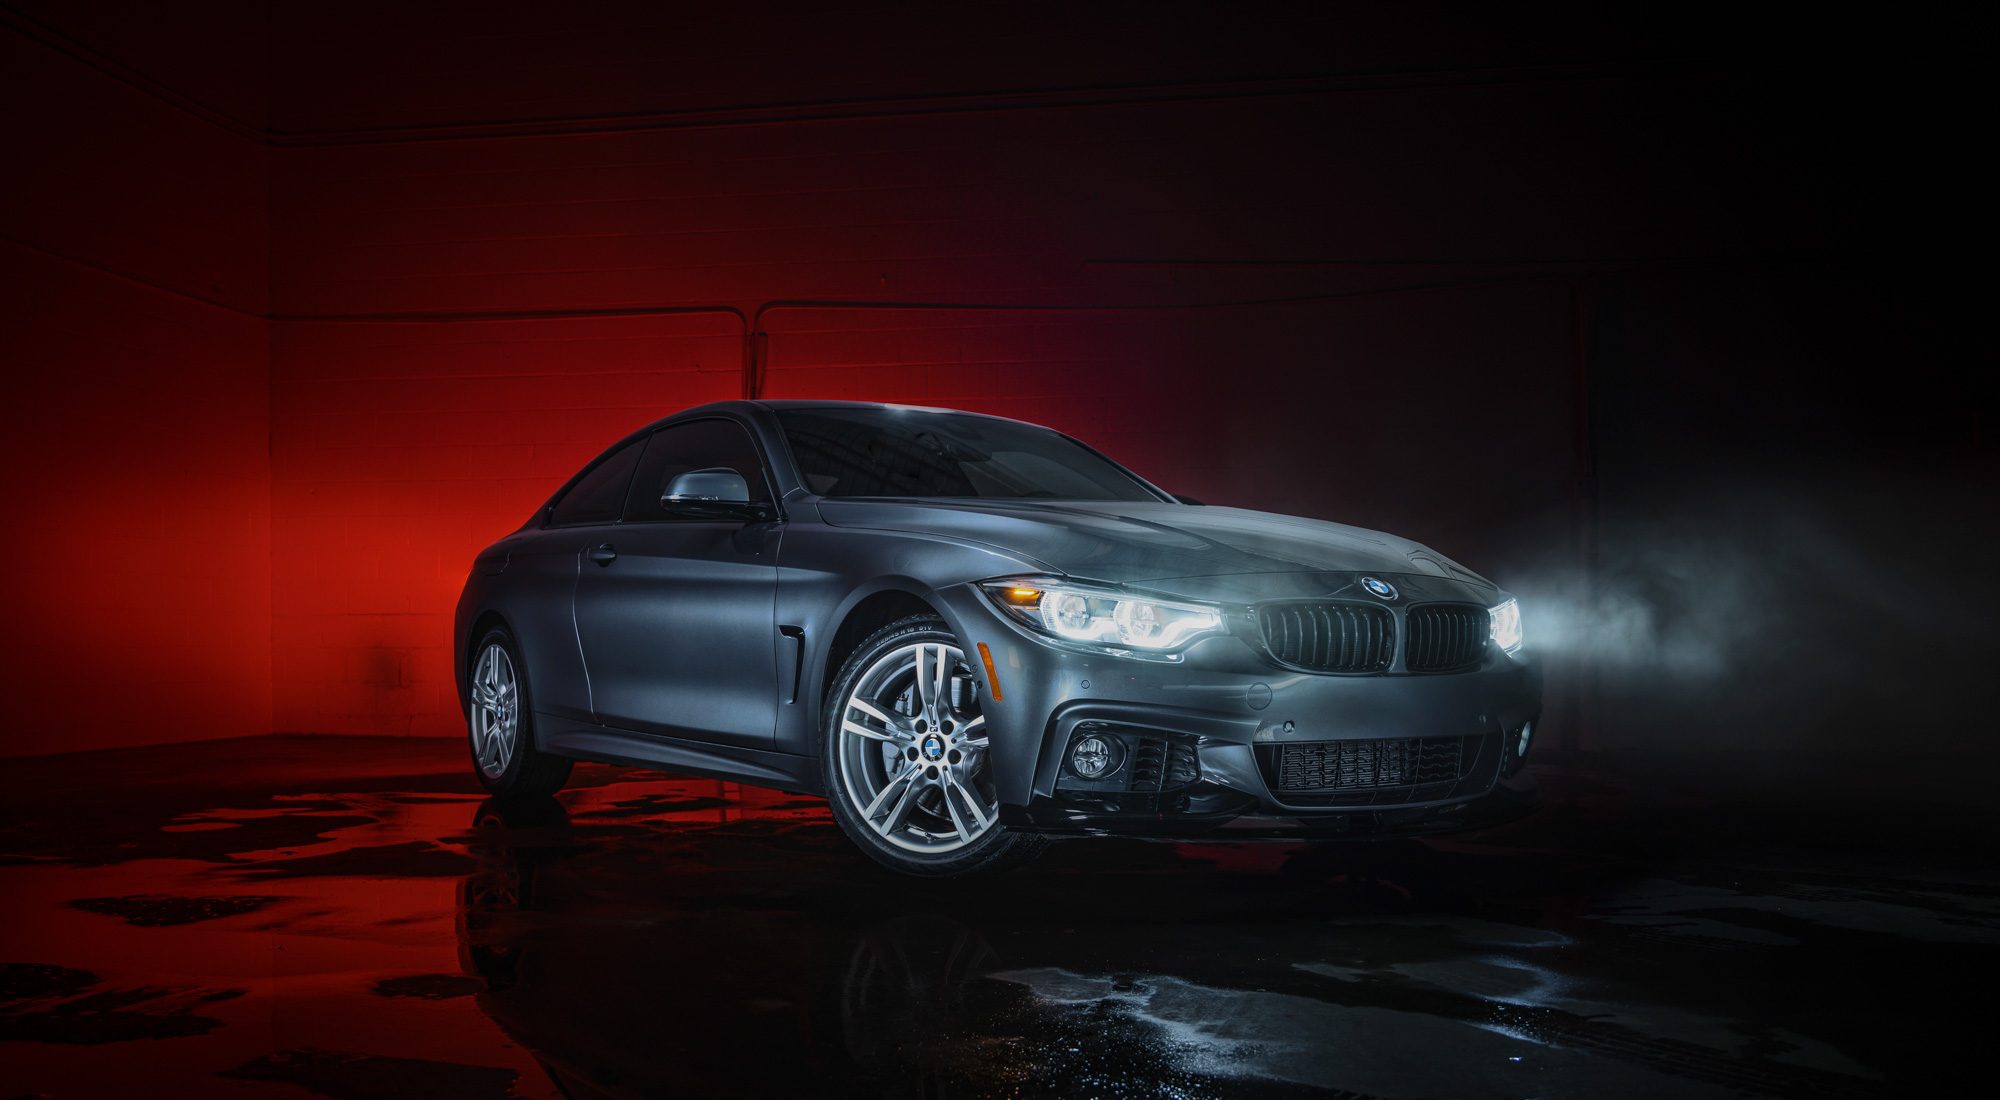
Last week, I covered the basics of how to light paint. But, before we head over to the computer to edit, I wanted to show a few special effects that are more practical to do in person, as oppose to editing in later on. I’ll use another shot of the 911, and a 4 Series Coupe, both shot for GlassParency, to demonstrate.
What you’ll need to light paint with special effects
- Atmosphere Aerosol
- A big bucket
- Access to water
- Push Broom
- Dish soap (optional)
Reflections and water for light paint
Reflections can add some drama to an image, but before throwing some water on the ground, consider the type of surface you’re shooting on, and the weather. This sequence was in a garage with a polished concrete floor, which made getting colorful reflections easy. However, it was hot and humid that day, and the water evaporated pretty quickly, so keep in mind that once the water goes down, you may have to work fast.
Wait! Don’t pour it just yet. Go off to the side and test an area to see how the surface will react. Does it absorb? Puddle easily? Create pools? Depending on the surface, you can use a mixture of dish soap and water to create a reflective surface, but PLEASE know how slippery that can make the floor. In this sequence, the soap was not needed.
Now you can pour – about half the bucket out in front of the part of the car you’re shooting. Use the push broom to move the water into areas you want, and take a look through the camera to see how the water is forming up. Leaving the lights on for this part as its easier, if possible. Make sure not to get to wild, as you don’t want to splash water onto the bottom of the car. Also remember that it’s easier to add than subtract, so don’t use more than you need.
Getting Fog
I’ve never been a big fan of adding fog into a shot in post. It can often look fake. Another solution is to make it in real life with Atmosphere Aerosol. This can works like spray paint as you wave it back and forth over the areas you want the fog to live. For these shots, the obvious part is over the headlights and taillights, where you’ll see the fog create interesting interactions with the car.
This should be done AFTER you shoot the entire car with light, as the haze can linger and make the shot overtly foggy (as in, not clear). With the lights off and headlights on, begin spraying by the lights you wish to accentuate, and again, use a little at first, then check to see how it looks.
After seeing the initial reaction, it’s best if you have a friend help press the camera trigger as you spray, as the best looking clouds come out in the first moments you spray. Remember that the camera exposure must be a few seconds for enough light to be captured, so the haze can get some motion to it if you move to slow.
This can work outside during the day as well, especially if shot around old, abandoned buildings with an overcast sky. But if it’s windy, it’ll go quick. Definitely bring multiple cans as well, as I went through an entire one on this one shoot.
I may get commissions for product links on this site, so help out if you can. I only write about products I use and believe in.
Post options
Another reason I wait to shoot with the haze until last is that I have all my exposures already set. This will allow me to paint in the amount of fog I want for the final composite.
Next week, I’ll go over how these shots all come together in the editing room.
Feel free to email me at mike@machineswithsouls.com with any questions.
Follow along on Instagram @machineswithsouls


4 thoughts on “The definitive guide to light paint, Part 2”
Comments are closed.