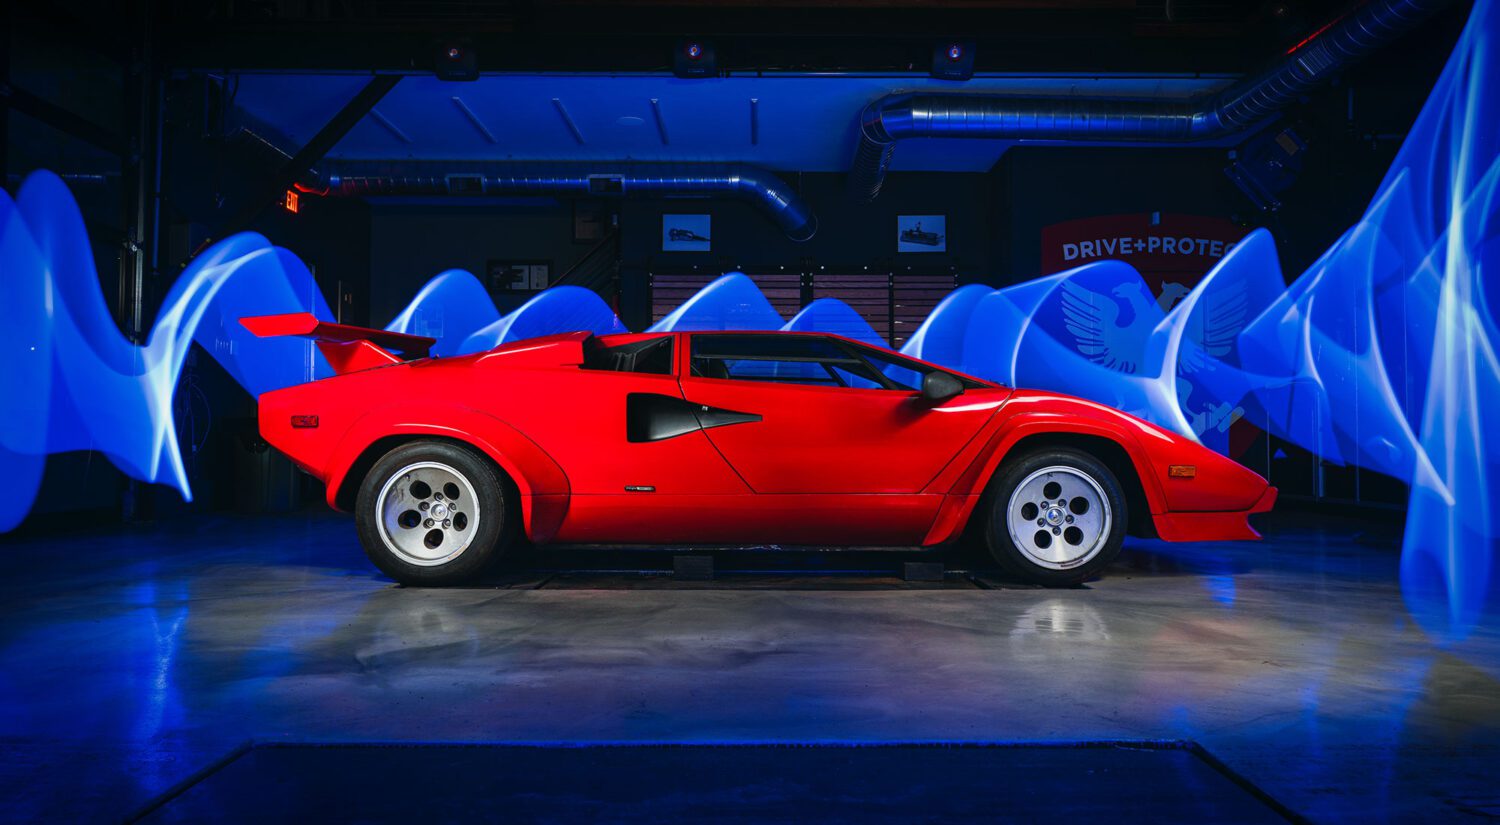
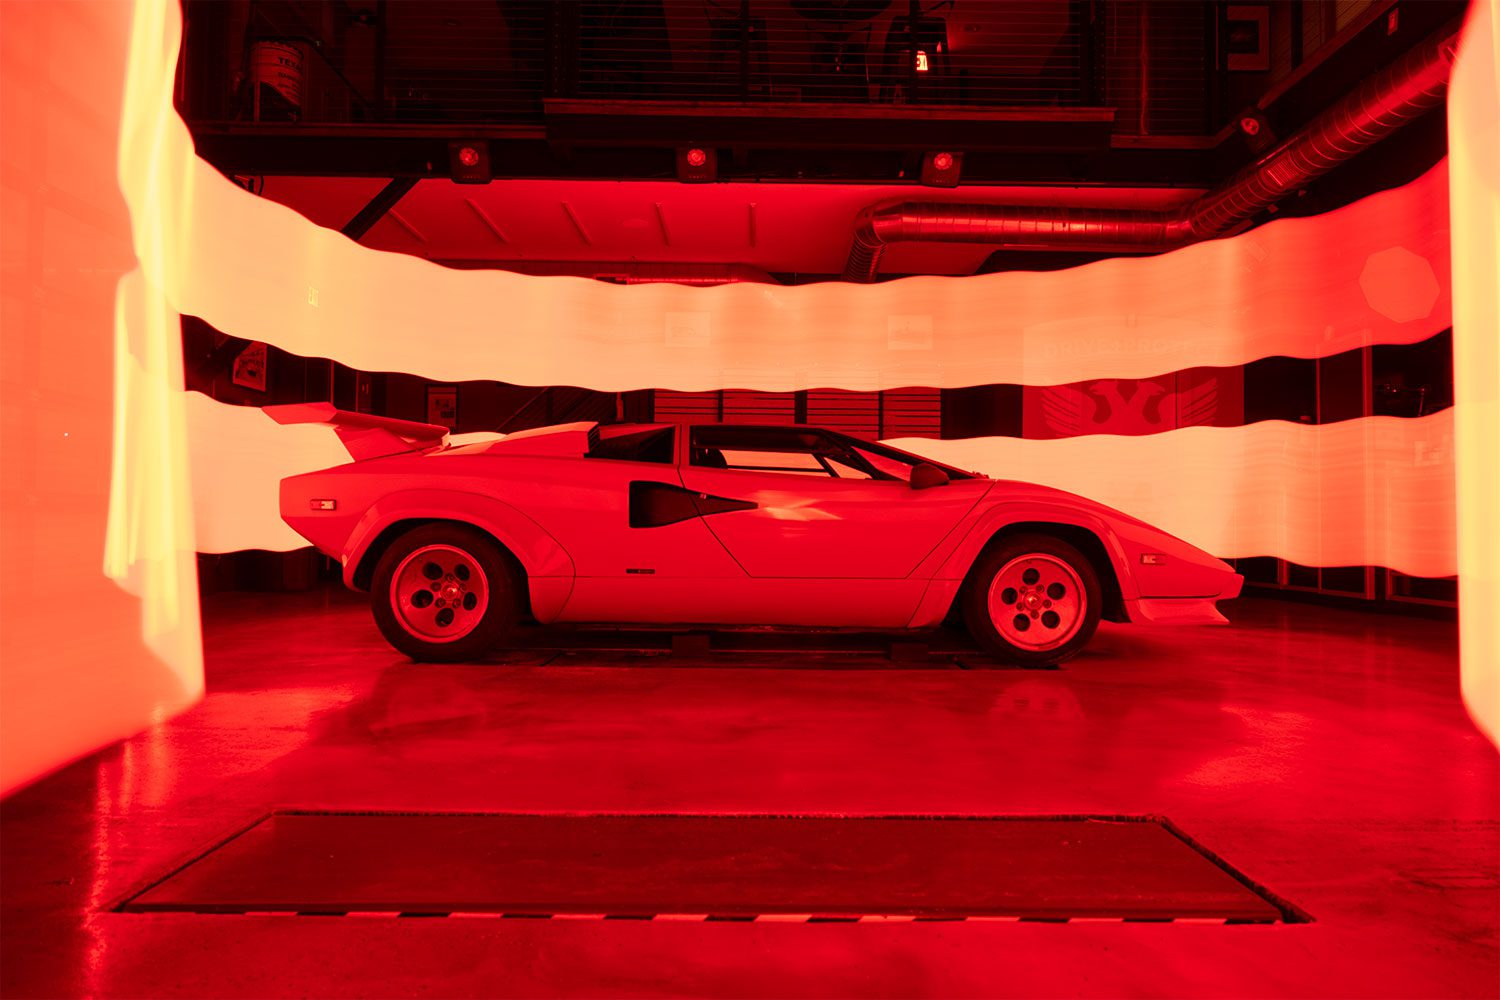
Light painting a car is, by now, a well known skill set. But I recently picked up some new toys, gel lights, that can give some really cool effects and make your images pop. I visit AMMO NYC’s garage to try them out on an original Lamborghini Countach. I’ll show how to make this image, and it’s really fun!
What you’ll need
- Westcott Ice Light 2
- Dracast Gel lights (2)
- Manfrotto tripod
- B + W filters
- A DSLR / Mirrorless camera
- Photoshop
- Patience and imagination
- This guide
Step 1: Light Painting
Before we touch the gels, we need to light the car itself, and we’ll do that with an Ice Light. Use the link to my guide above if you’re not sure.
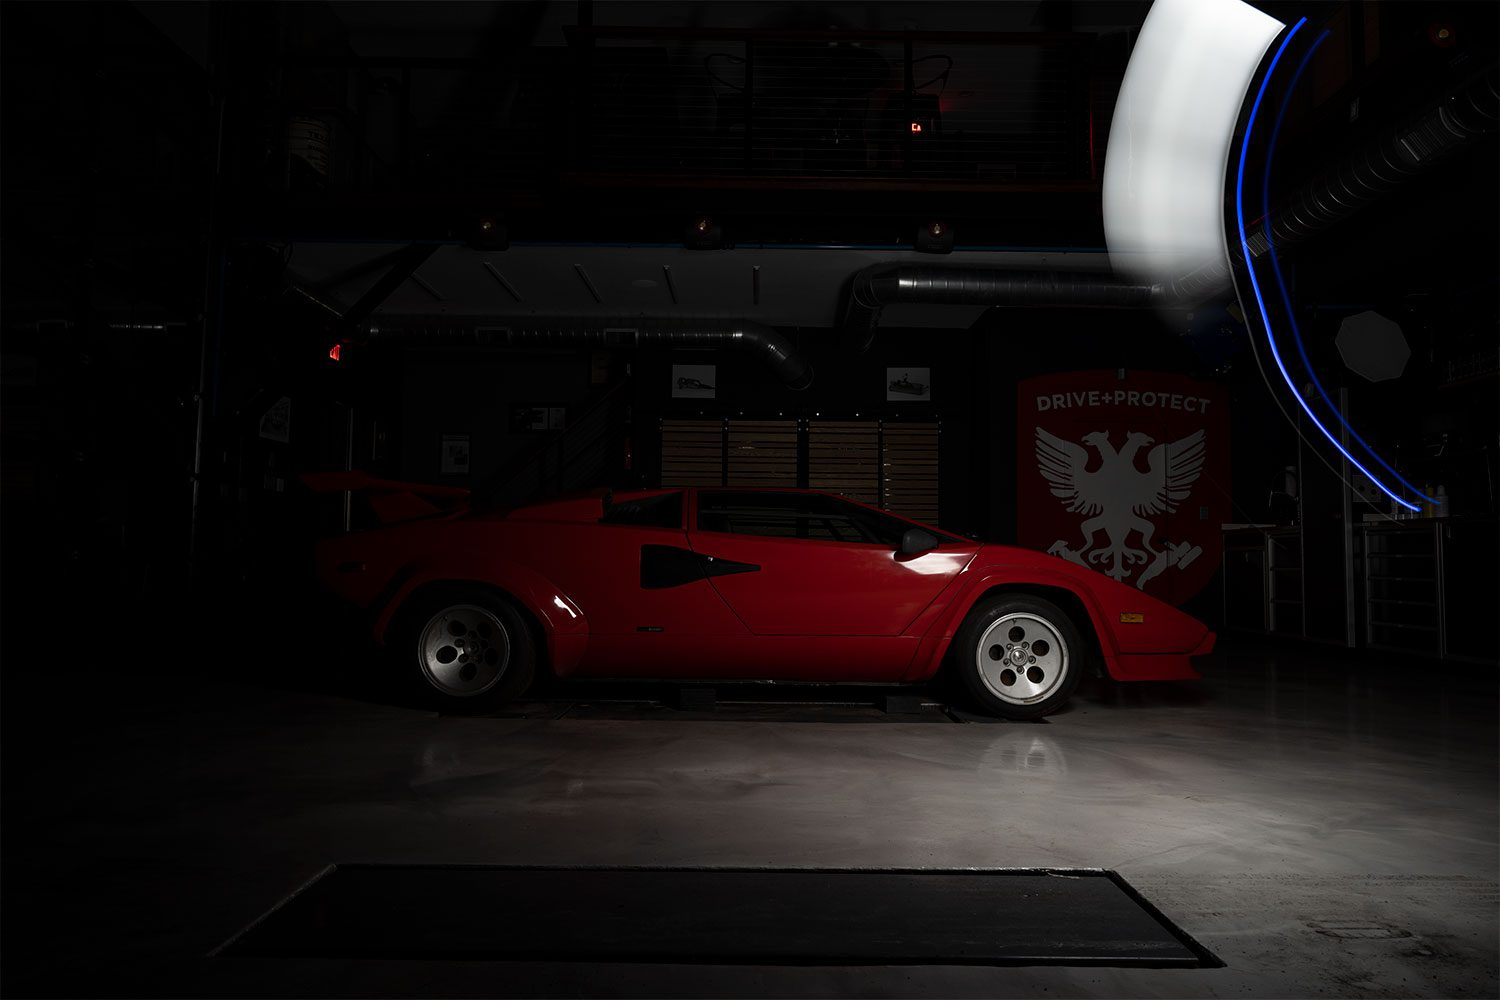
While you can use the gels for light painting the car itself, I find that only the Ice Light gives off perfectly even light throughout the entire bar.
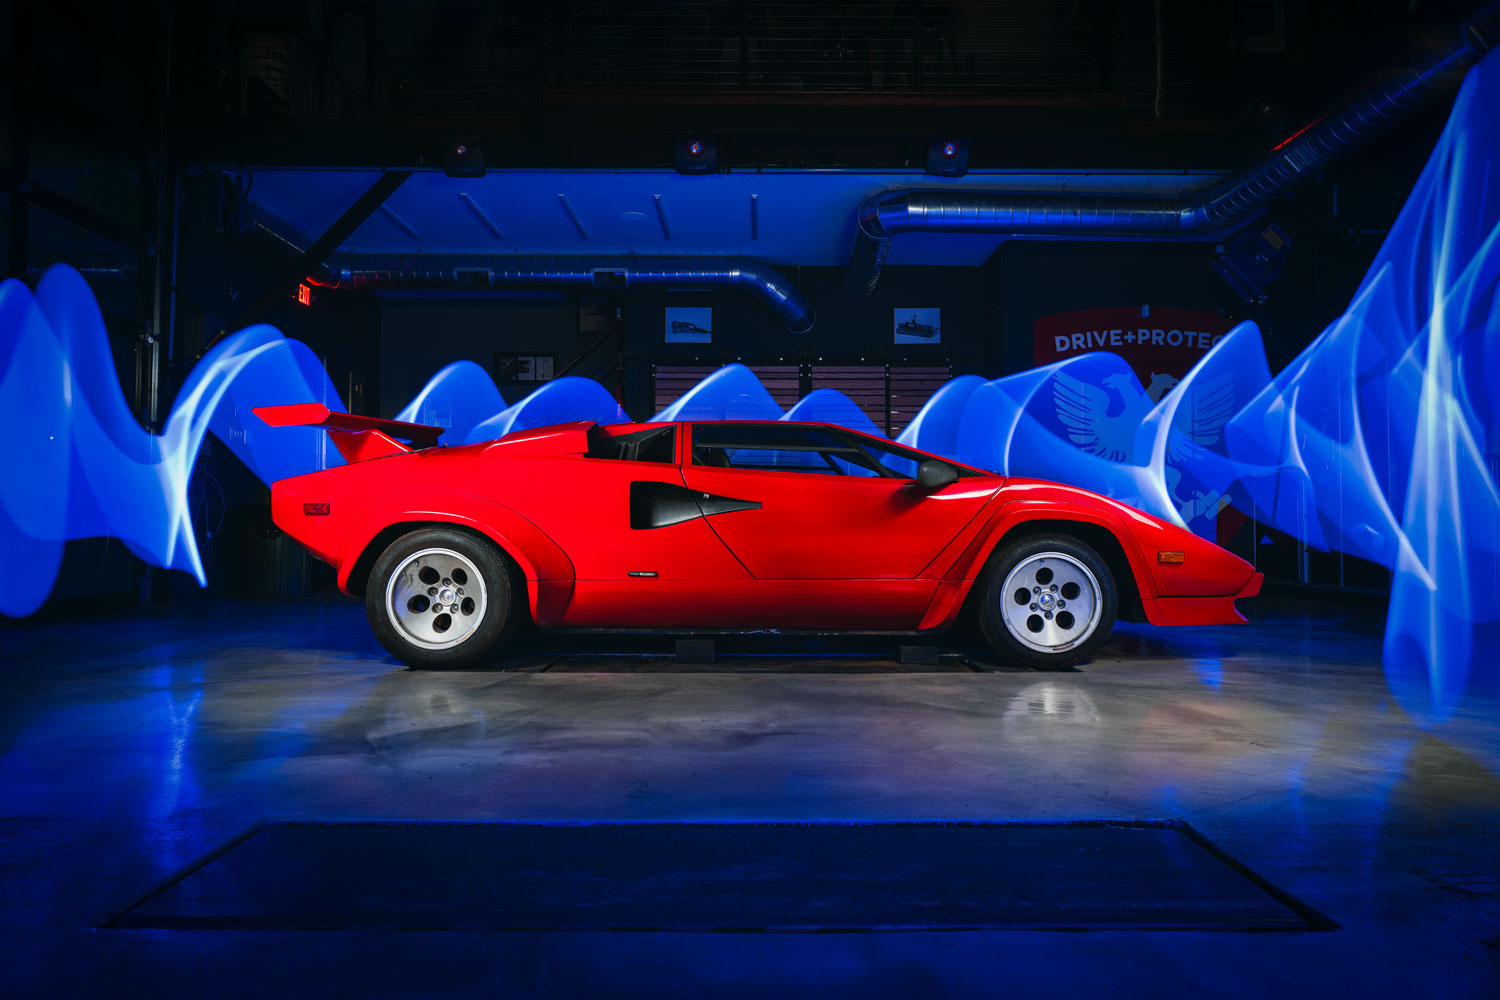
Step 2: Shooting with gels
Once you’re comfortable with capturing all the frames for a well lit car, turn the exposure time way up to 15-25 seconds, depending on the effect you’re looking for. To walk around an entire car will usually take 20 seconds.
There are a lot of different brands of gel lights. I chose the Dracast because they are easy to use (you can download a cell phone app), and are reasonably well-built. They also throw off a LOT of light, so if you don’t want to over-expose, reduce the brightness down to 10-15%. They really are powerful.
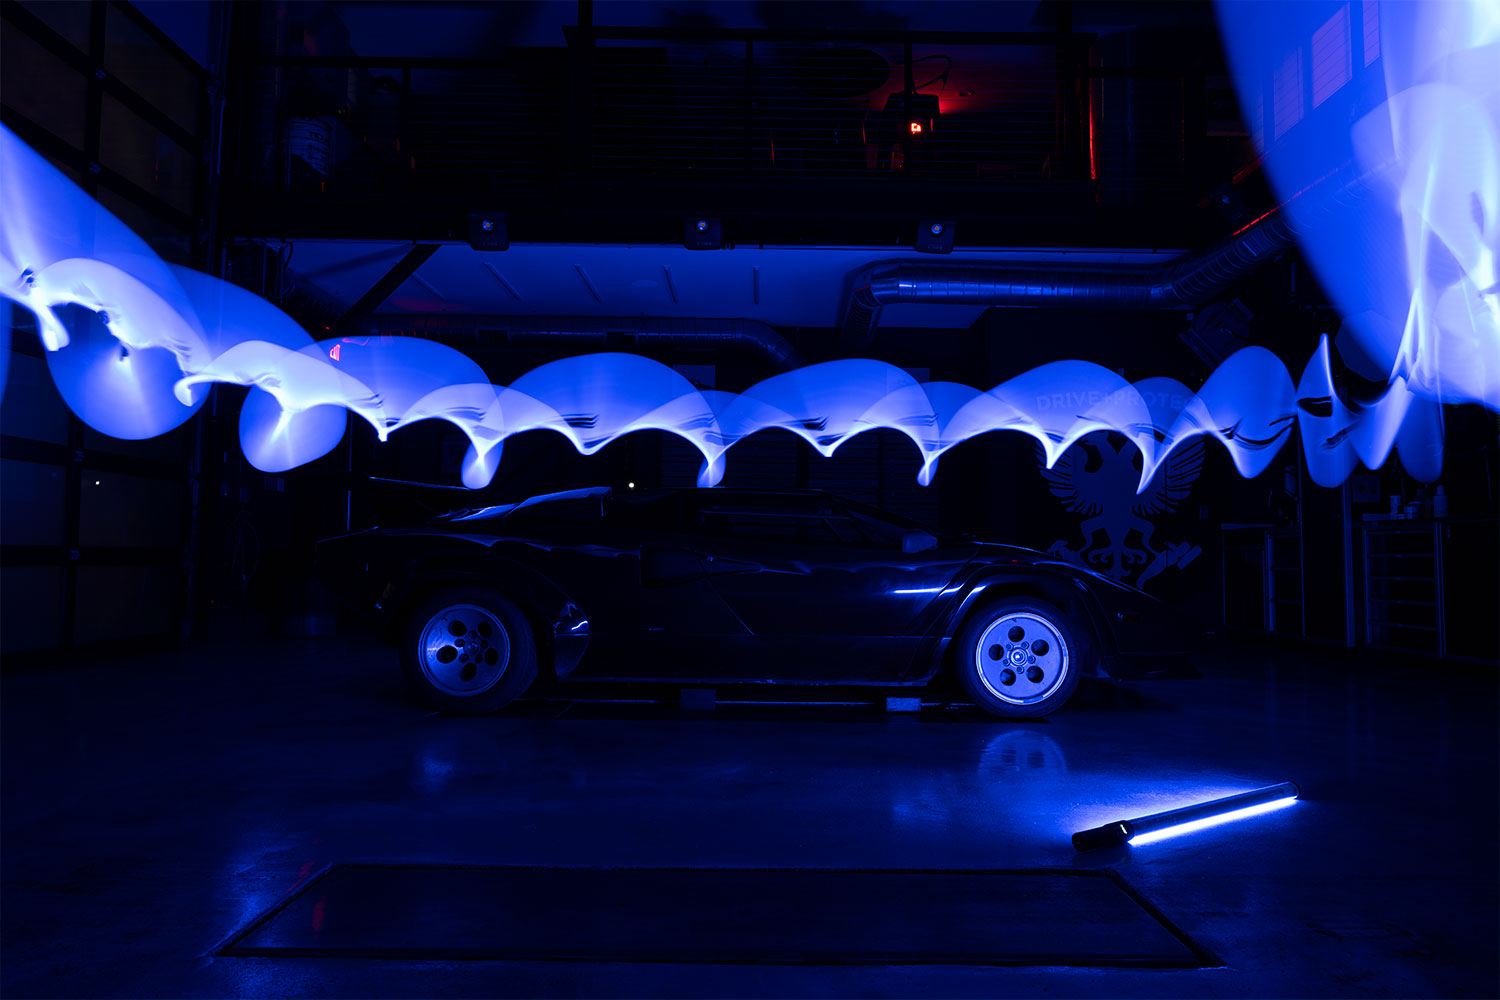
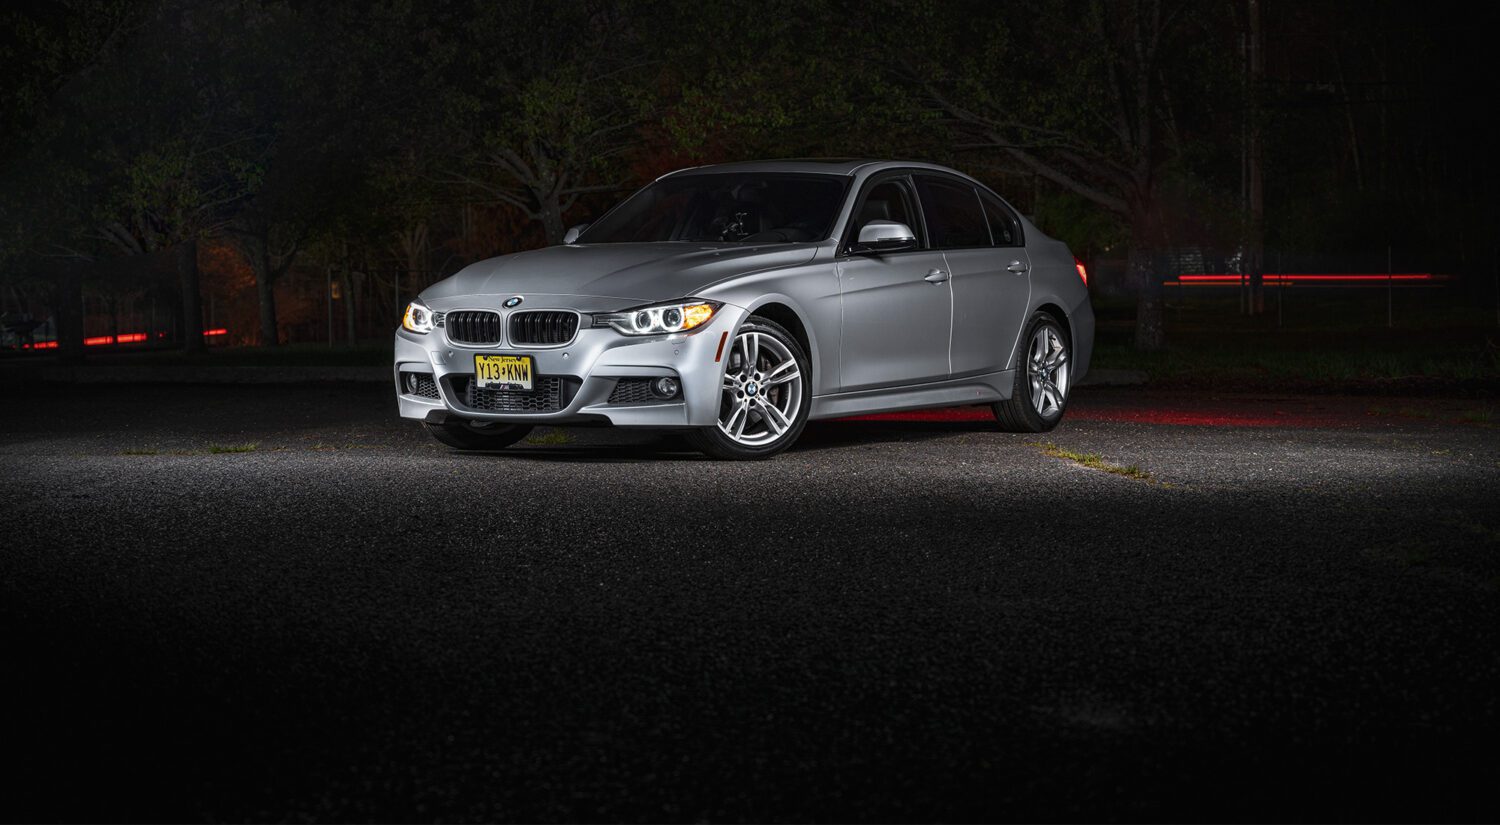
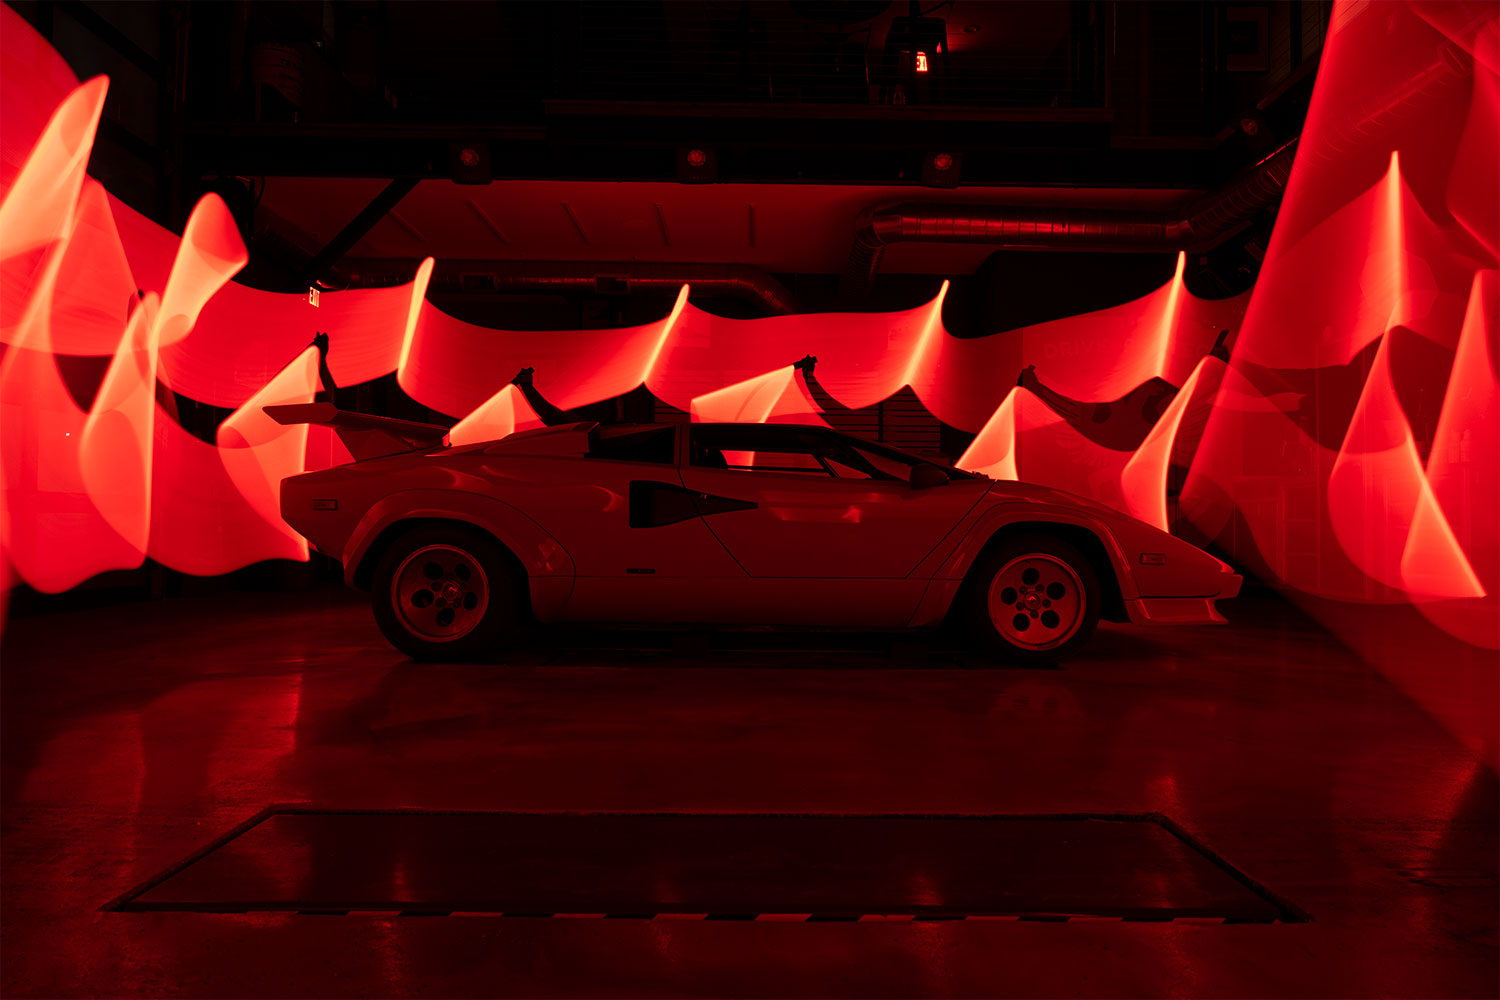
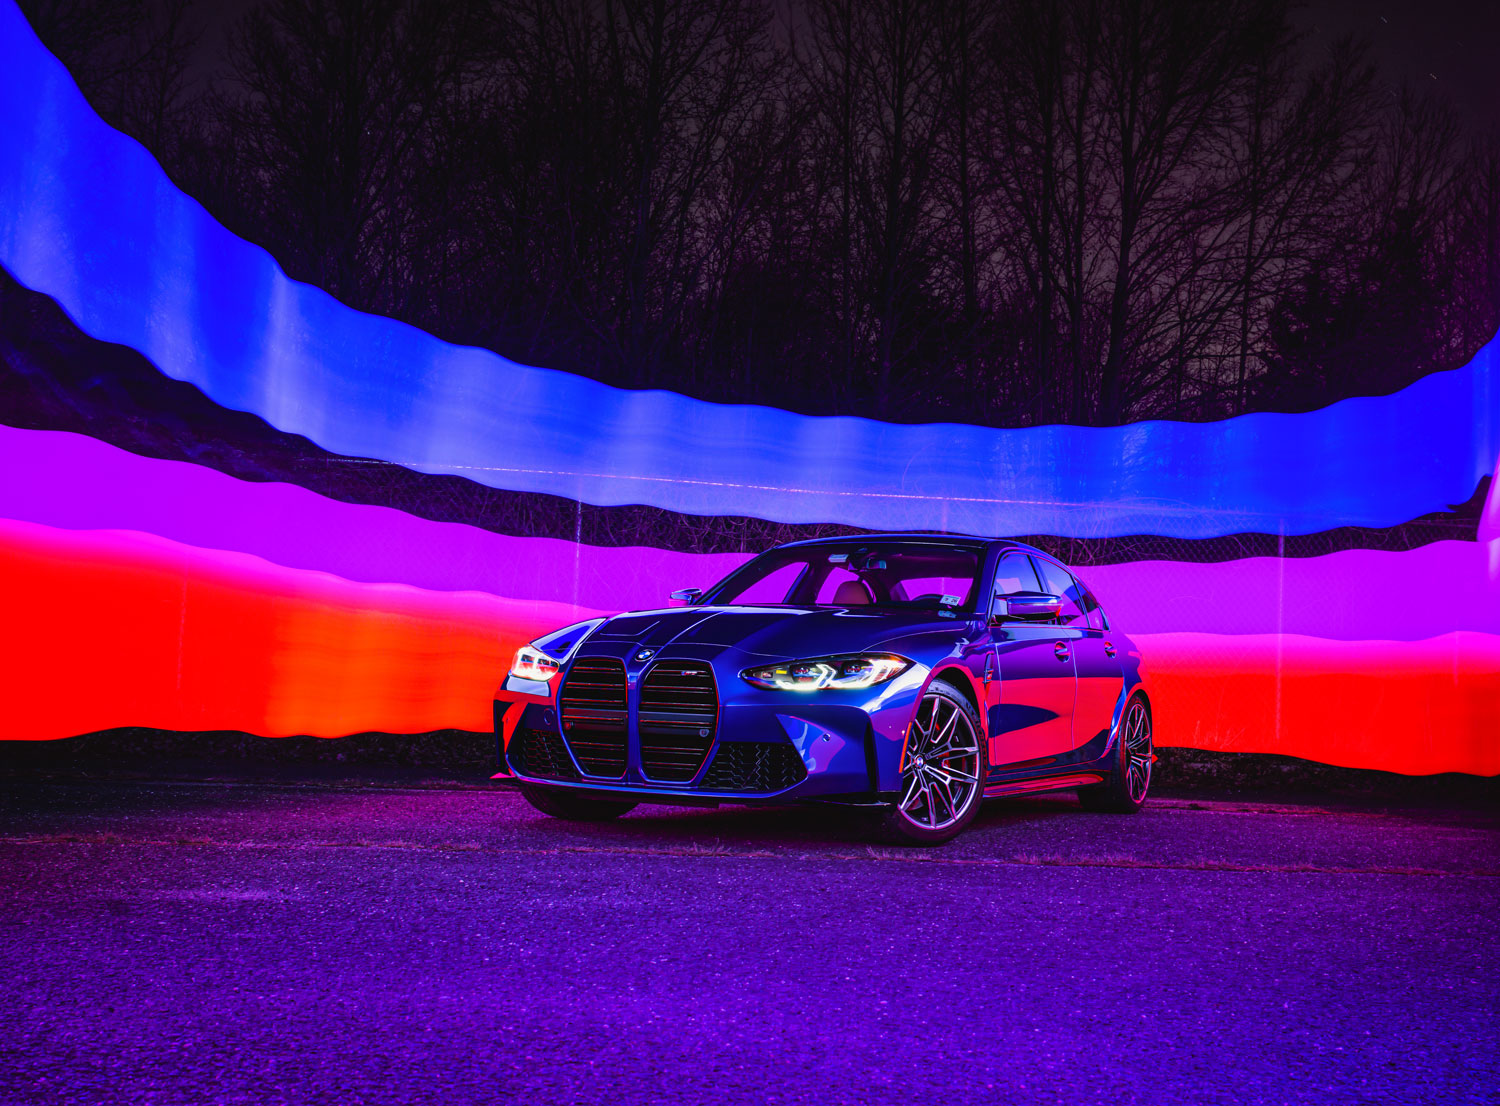
Have fun and experiment! Use different colors on different cars for unexpected results. For this shot, I used 2 lights and waved them around like a light saber.
To get the ribbon effect close to the camera, start out right next to the lens and walk around until you’re back on the other side of it.
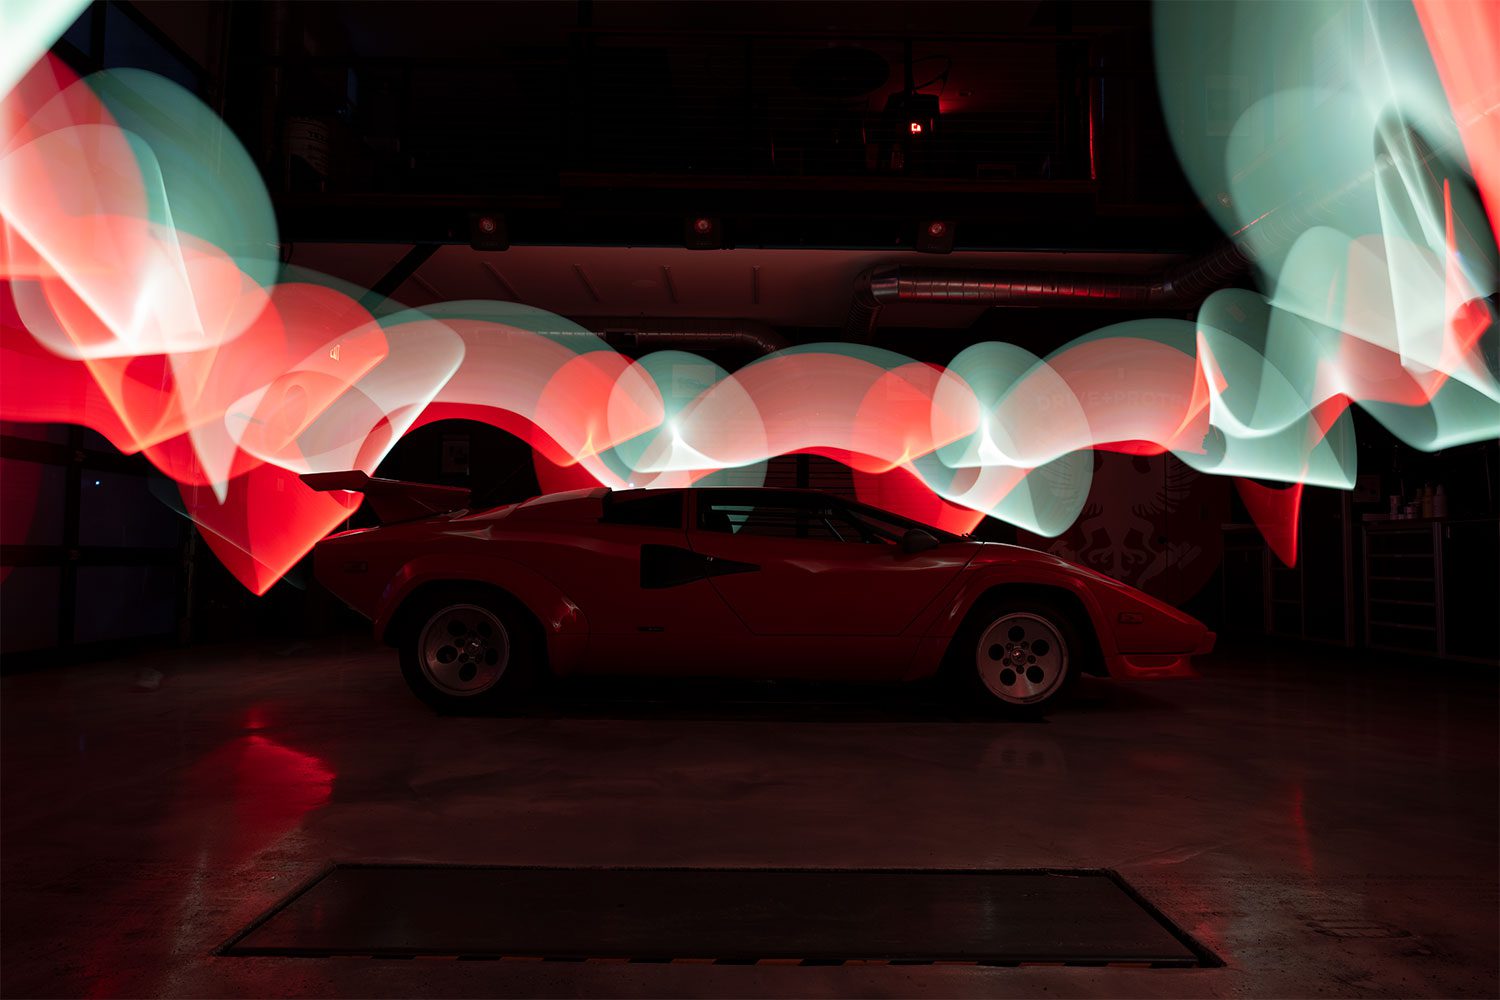
Step 3: Edit in post
Once you’ve combined all the plates for the well-lit car, you can bring over the shots you took with the gels.
There’s no wrong answer as to what looks good. Just set you layer to “Screen” and you’ll maintain the lighting while ditching the rest.
This extension of light painting a car is fun and attention-getting, so experiment and have fun!
Special thanks to Larry from AMMO NYC!
Commissions may be received for product links on this site, so help out if you can. I only write about products I use and believe in.
I use Nikon camera bodies and lenses, a Westcott Ice Light 2, Manfrotto tripod, B + W filters and an iMac Pro to make the art you see here.
Follow along on Instagram @machineswithsouls
One thought on “How to light paint a car with gels”