

Shooting a car in its natural environment often makes sense. That’s what the car will be seen in most. But, what if we need just a silhouette of a car, with perfect lighting and reflections? That’s when we book some space at a professional studio.
If you’ve never been to one and wonder how to even get started, don’t worry! This guide will get you going.
Deciding when to set up a car in a studio shoot
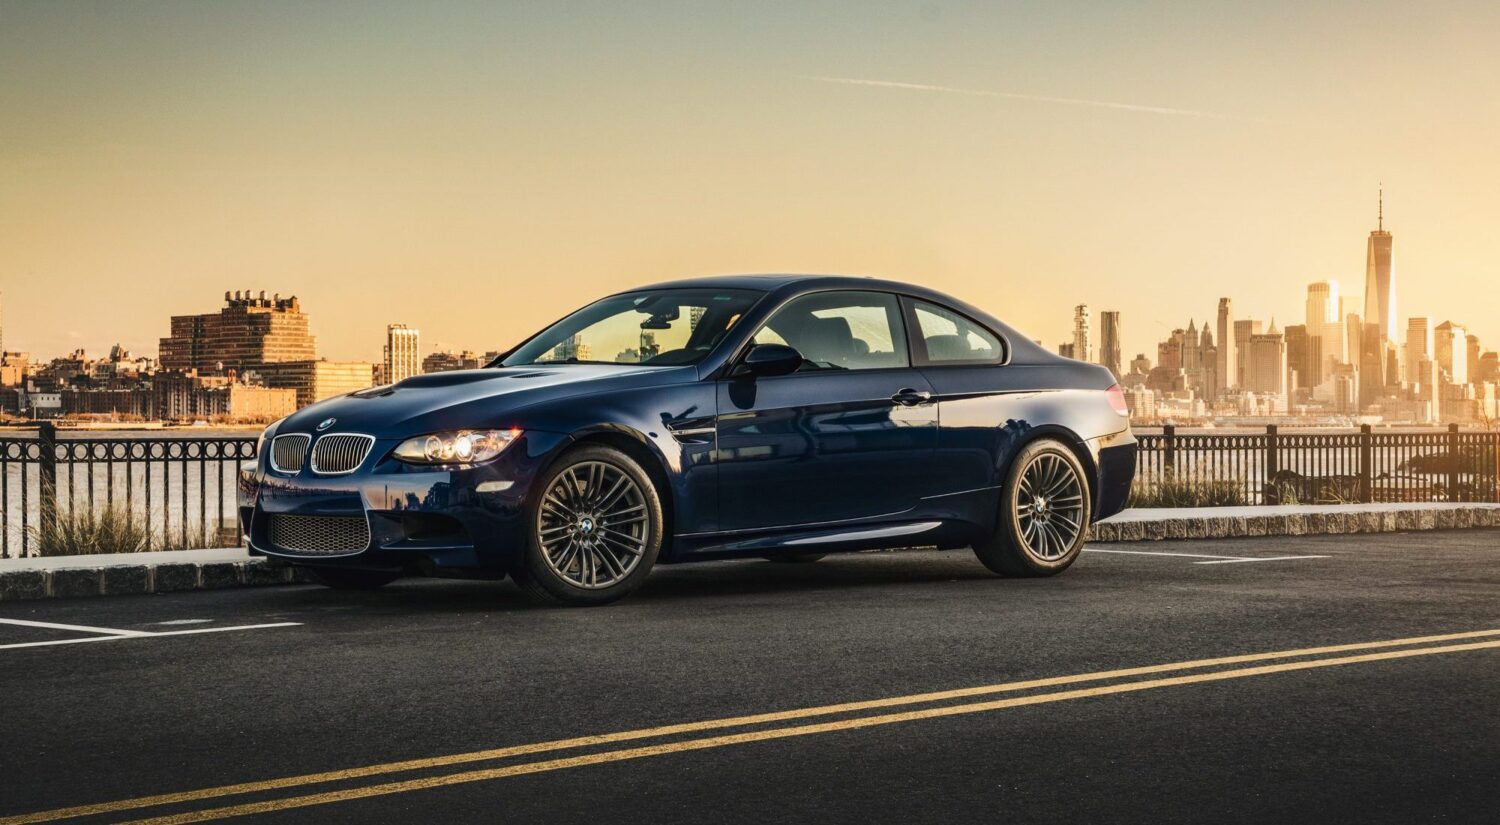
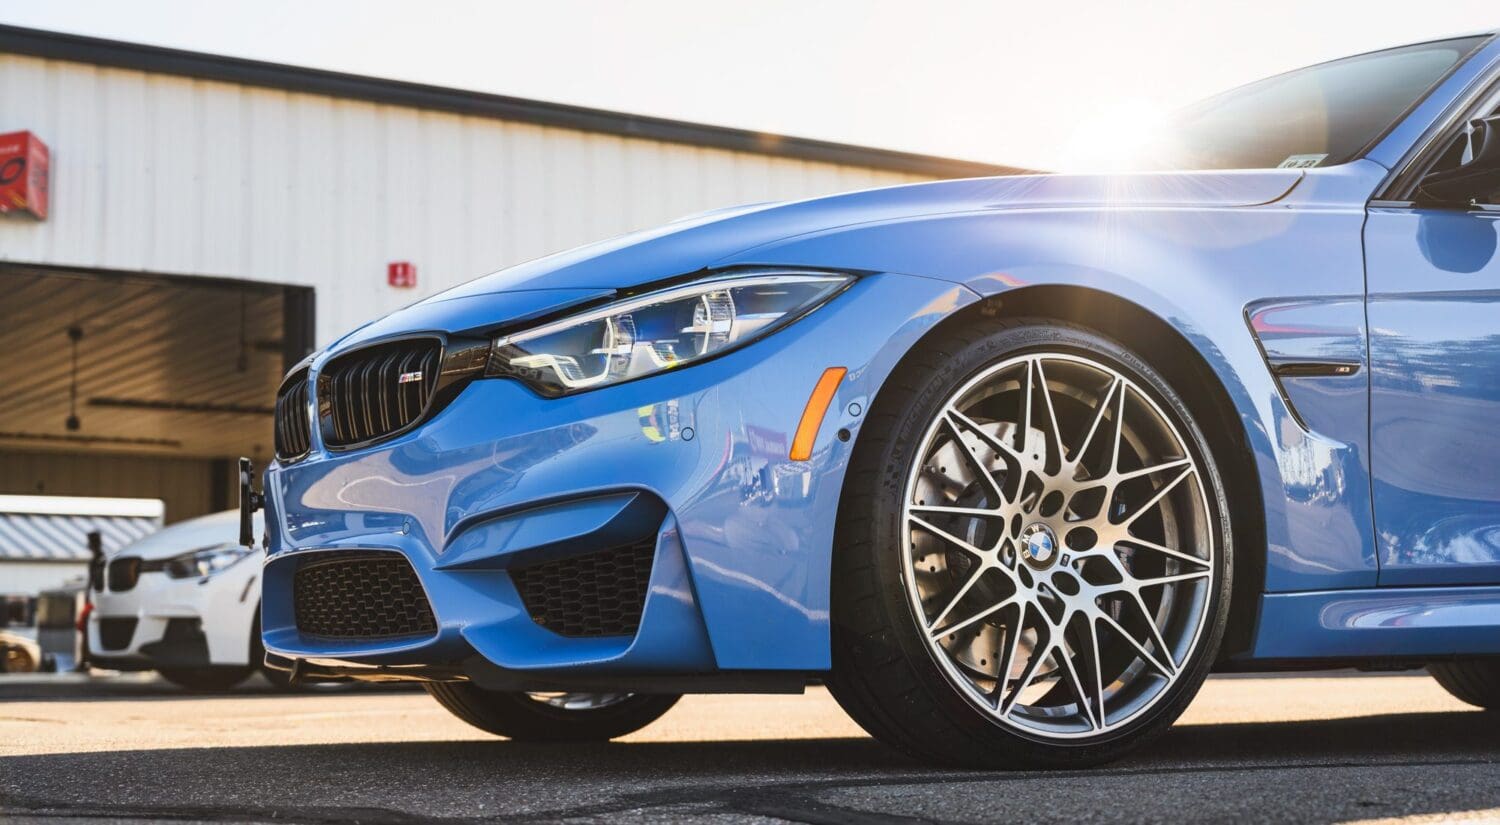
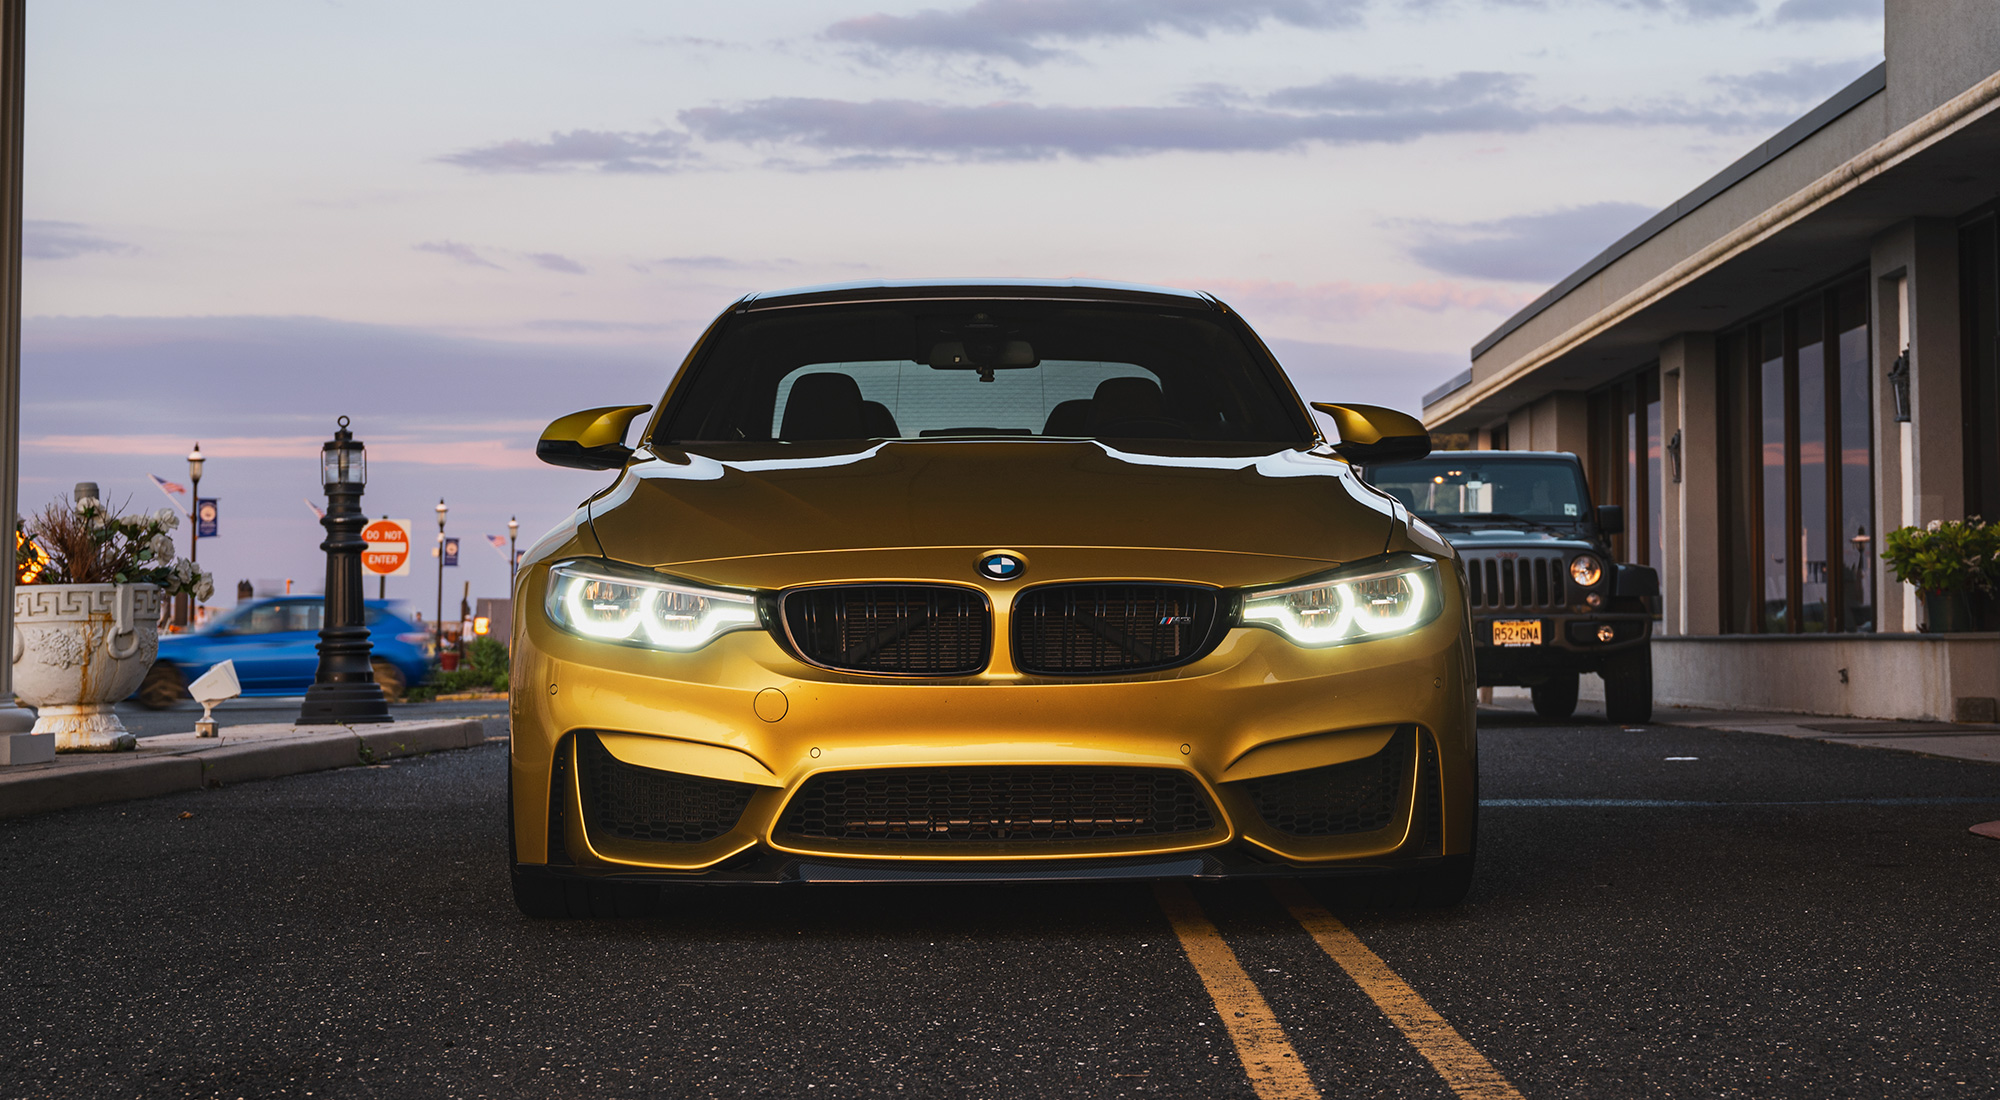
Clients come in all shapes and sizes. Sometimes, it might be the BMW Performance Center wanting to show an M3 driving around its track. Other times, a client might want to sell something around the automotive space, such as Shine Armor. As the name implies, the car we would shoot had to be impeccably clean. Since we’re shooting for a product label, the environment does not matter; the car would be cut out in Photoshop.
I decided on a studio because:
- We would be doing some light painting to showcase the car, so it had to be dark, even though we would be shooting in the morning.
- Minimal reflection.
- I had to control the light and fine-tune it as needed.
- We needed the car to be clean, then fake it getting dirty, without outside elements affecting it.
Choosing a car and a studio
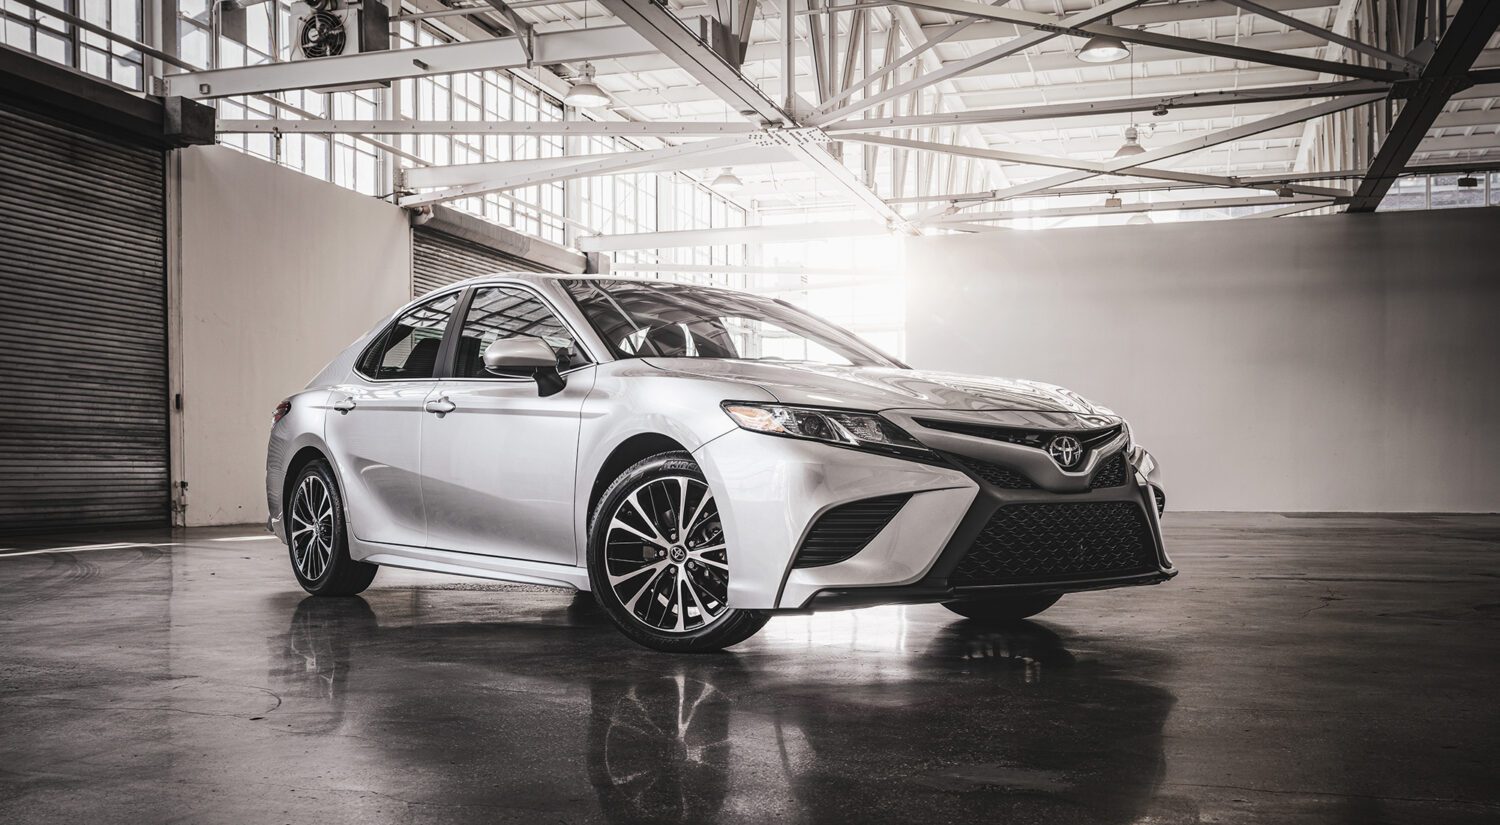
After searching around, I found Parlay Studios in Jersey City, and the space is excellent. I knew we’d be shooting some in the dark, but as soon as I saw the big room with polished concrete floor and clean lighting, I knew I’d shoot a few here too.
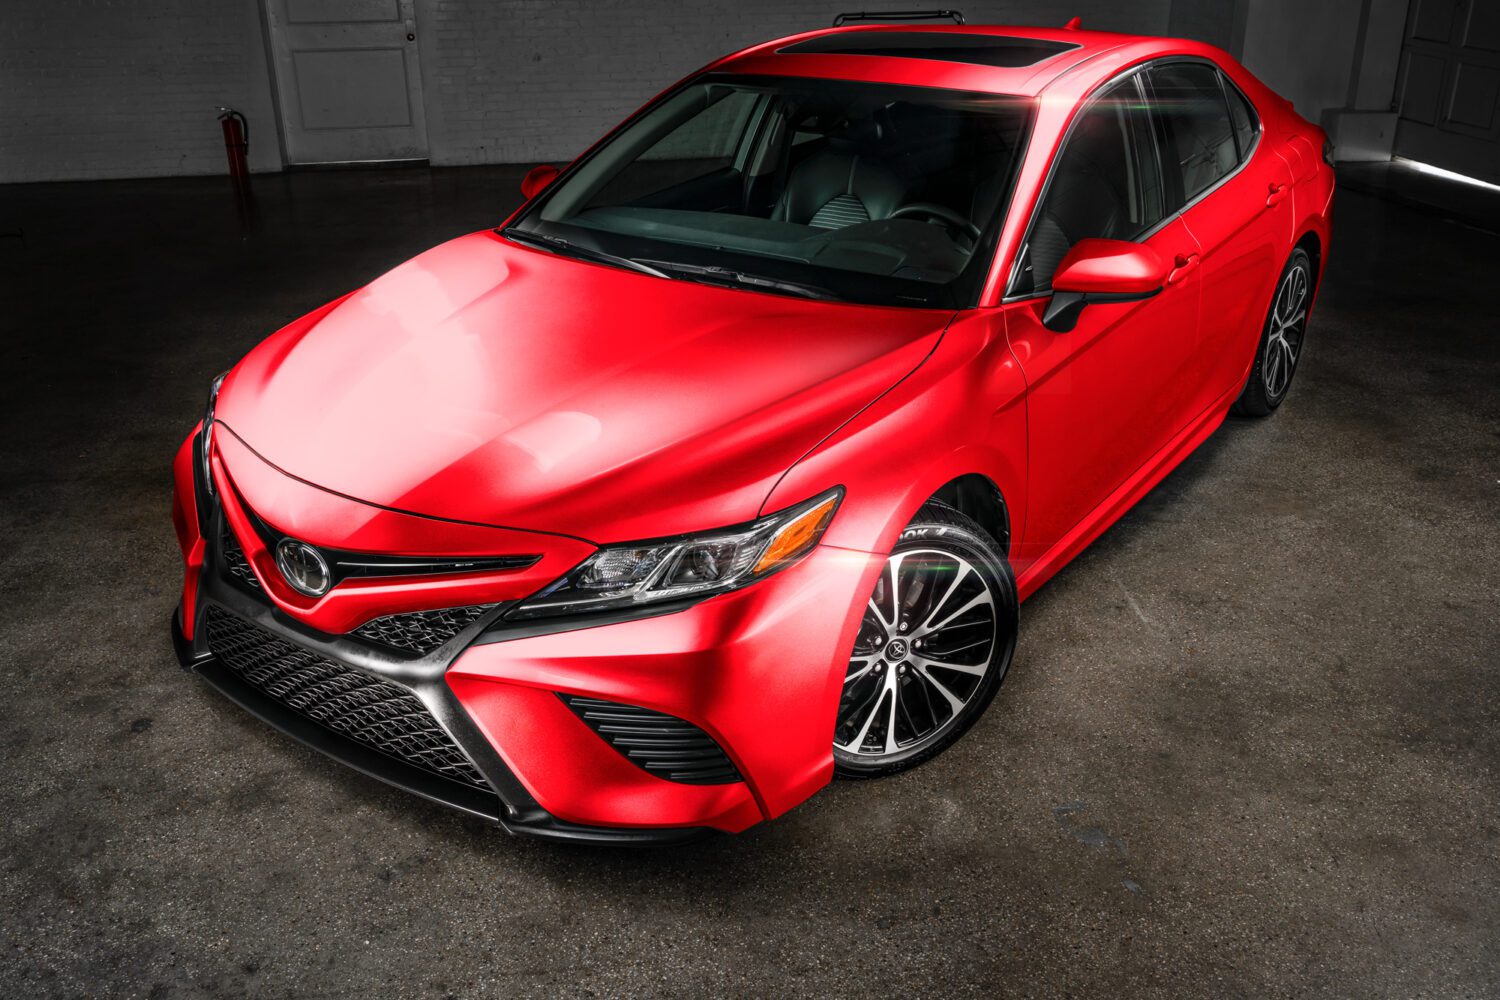
As for the car, the client chose a new Toyota Camry, a car that almost anyone can relate to. Something too high-end will limit the appeal and put the product out-of-reach for some. A sedan, more so than an SUV despite there current popularity, is familiar to everyone.
The modern Camry itself is a good-looking car, and Toyota will let you rent one directly from them, making it easy to obtain one. But I almost always let the client book the car we’re shooting, be it their own, or a manufacturers, or a rented one like this. If there is ever an issue the car, it isn’t your responsibility. You are there to shoot for the client, wherever they decide to bring, regardless of marks, dents, or color.
Speaking of color, we both agreed that red would be best, or any color that I could alter to red in Photoshop. You must want to avoid white or black (almost impossible to alter it), but all Toyota had left on the lot was silver. Not the best, but workable.
Working with a pro detailer
Shooting in a studio is no different from any other; the car has to be clean. But in this case, every dust spec would be noticeable, so I called upon Dan from Turn 7 Auto Care. Dan’s got years of experience working on high-end cars like Rolls-Royces, so I figured the Camry would be easy for him.
Though not on the level of Dan, perhaps you feel you might have enough detailing experience to work on the car by yourself. But here’s why you should get a pro:
- You won’t know the shape the car’s paint is in, and aside form camera gear, do you really want to be lugging a buffing wheel to the shoot?
- Speaking of which, do you really want to bring your detailing stuff to the shoot as well?
- Your focus should be on getting the camera set up, because doing too much during a shoot can lead to mistakes.
- A good rule for any shoot is to be prepared for anything. A pro detailer has the knowledge and tools available to keep the shoot going when something off-schedule happens.
Help wanted
The client needed 3 main shots, with the rest being afterthoughts if we had the time. I decided to book a half-day for the studio and Dan, and that would give him enough time to prep the car beforehand.
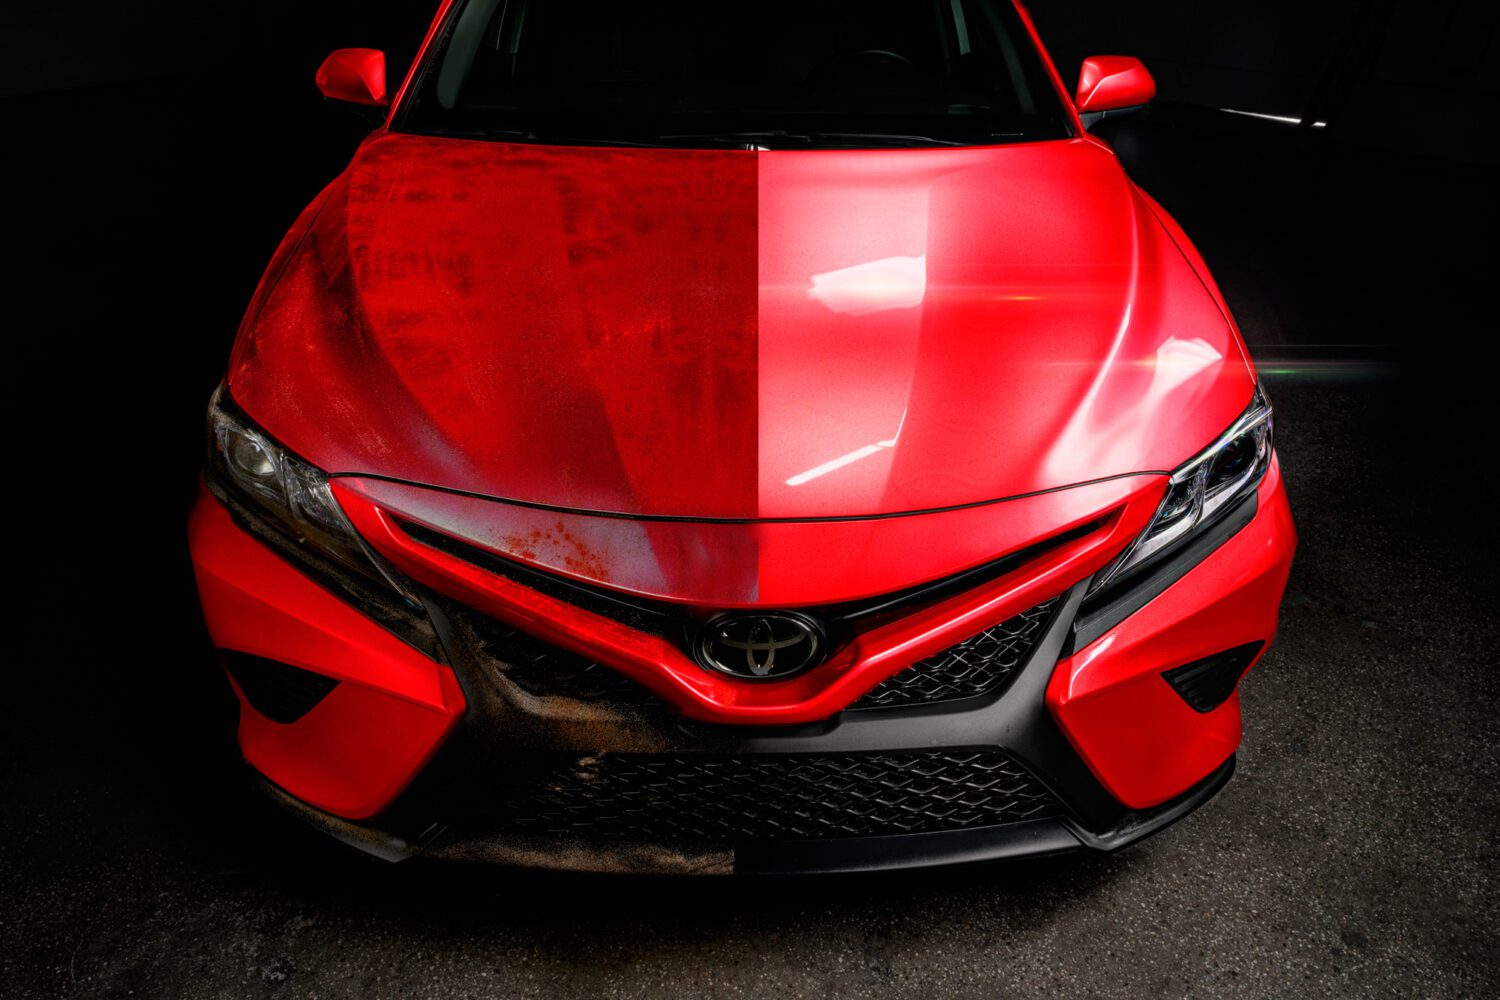
After the car was clean and we shot it, we had to get it dirty, for a before-and-after image that I would retouch together. I asked Dan for help with this – we needed a mixture that would show up on camera as dirt but not harm the car’s finish, and easily wipe off. He decided on a mix of cinnamon and sugar, wax, and an air gun to spread it around. We taped off the center of the hood for a straight line between clean and dirty.
Working as a team is important. Once the car was ready, Dan acted like an extra set of hands on set. He also cleaned the car or added dirt as needed.
Lighting
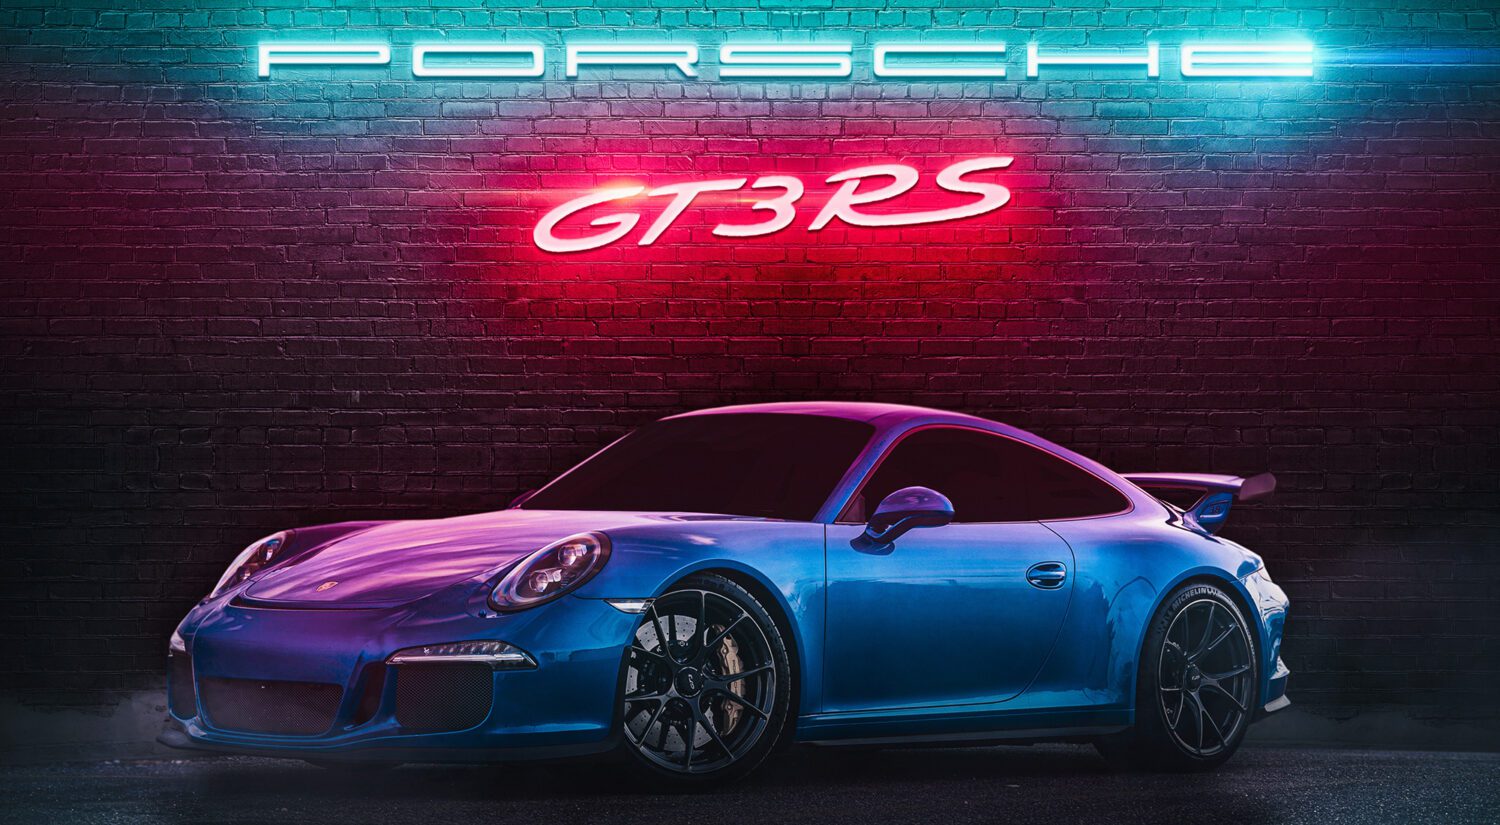
There are so many ways to light a car – some even have giant soft boxes. Check with your studio to see the lighting options offered, along with the kind of equipment you can rent from them. Light painting gives the car a certain pop, and this was what the client wanted.
The car should always be well lit, but while I normally show you how to light each section, for this, we’re only shooting one section (like the hood), so our focus is much smaller.
Sometimes the car itself will be on white, usually a white vinyl floor and paper backdrop, but for a smaller budget, we can simply ignore the background and light the car itself.
If you’re thinking the final shot below looks unrealistic – you’re right! But that’s as intended. The client wants the car to POP on the box art, and when you take the car out of the context of the studio, we have a bright red Camry with a mirror finish and lots of lighting hits.
When moving your light source for light-painting, pay close attention to how the light plays on the surface. If you don’t like a shot, try again and move your light in a different pattern.
Next week, I’ll review how to edit the studio photos and turn a silver car into red.
Feel free to email me at mike@machineswithsouls.com with any questions.
Follow along on Instagram @machineswithsouls

2 thoughts on “How to shoot a car in a studio, Part 1”
Comments are closed.