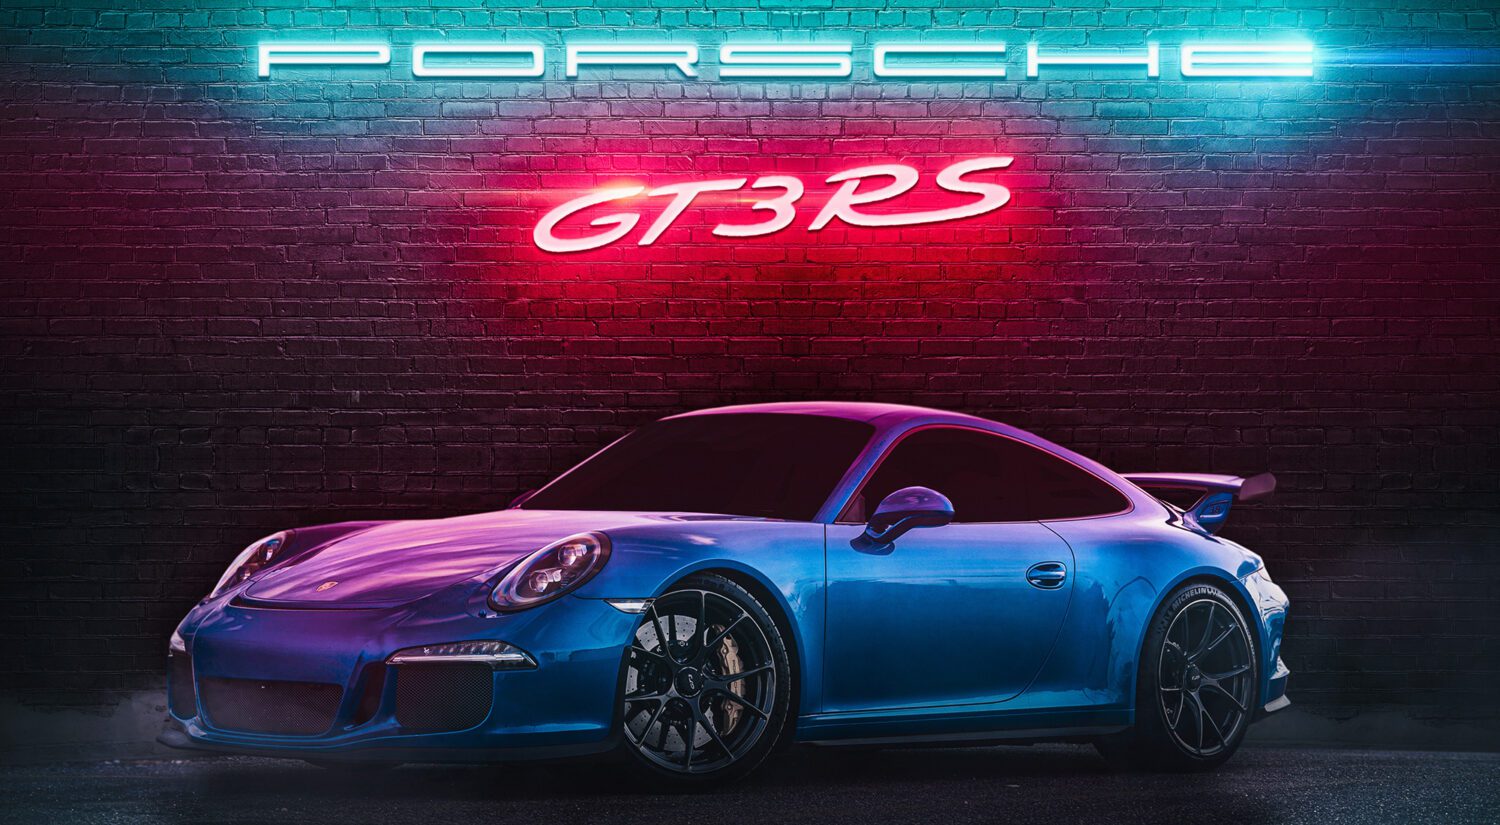
Ahh, the 80s. Big hair, bold colors, radical cars. That’s the inspiration behind this week’s post of 80’s excess with a modern 911 GT3. I’ll show you how I made an automotive 80s background!
What you’ll need before we start
- A visit to Pixieden (membership optional)
- Photoshop
- Porsche font (classic)
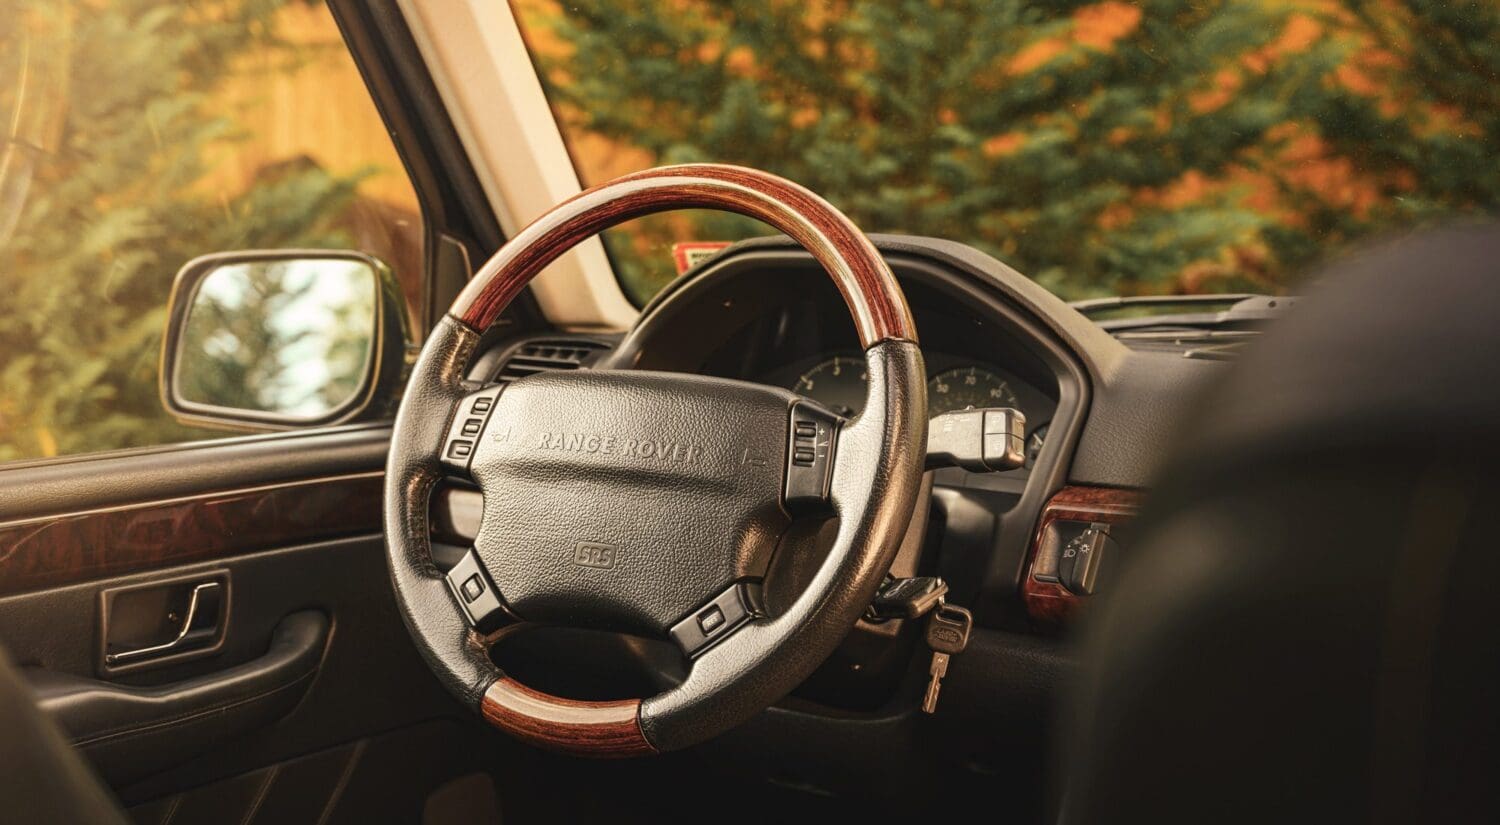
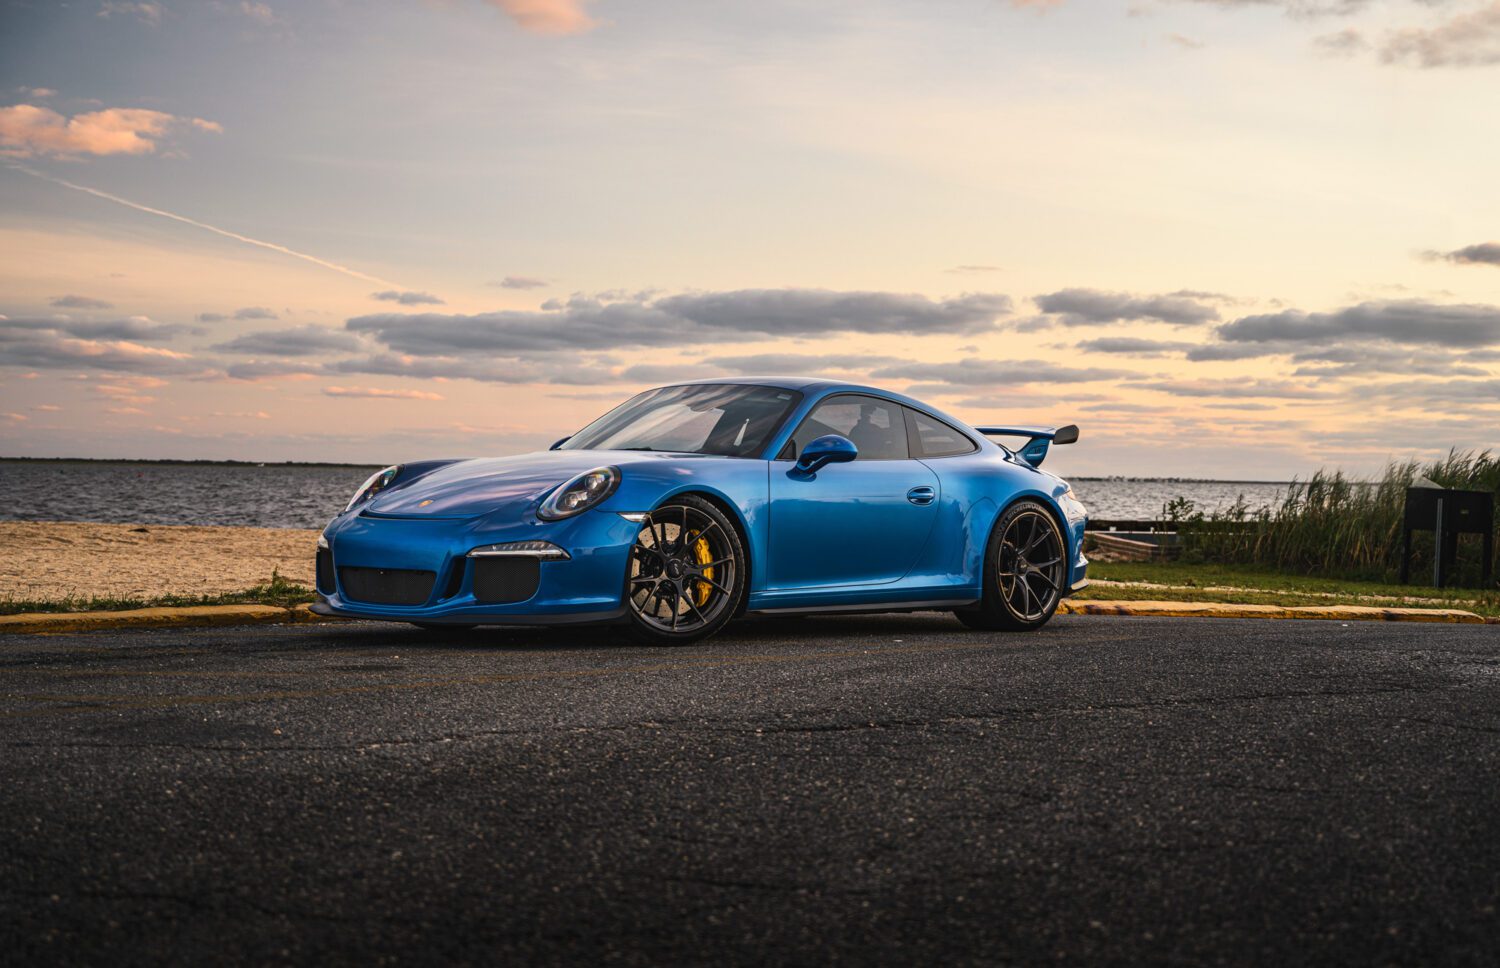
- Any car image you’ve taken
- Shinobi Lens flairs
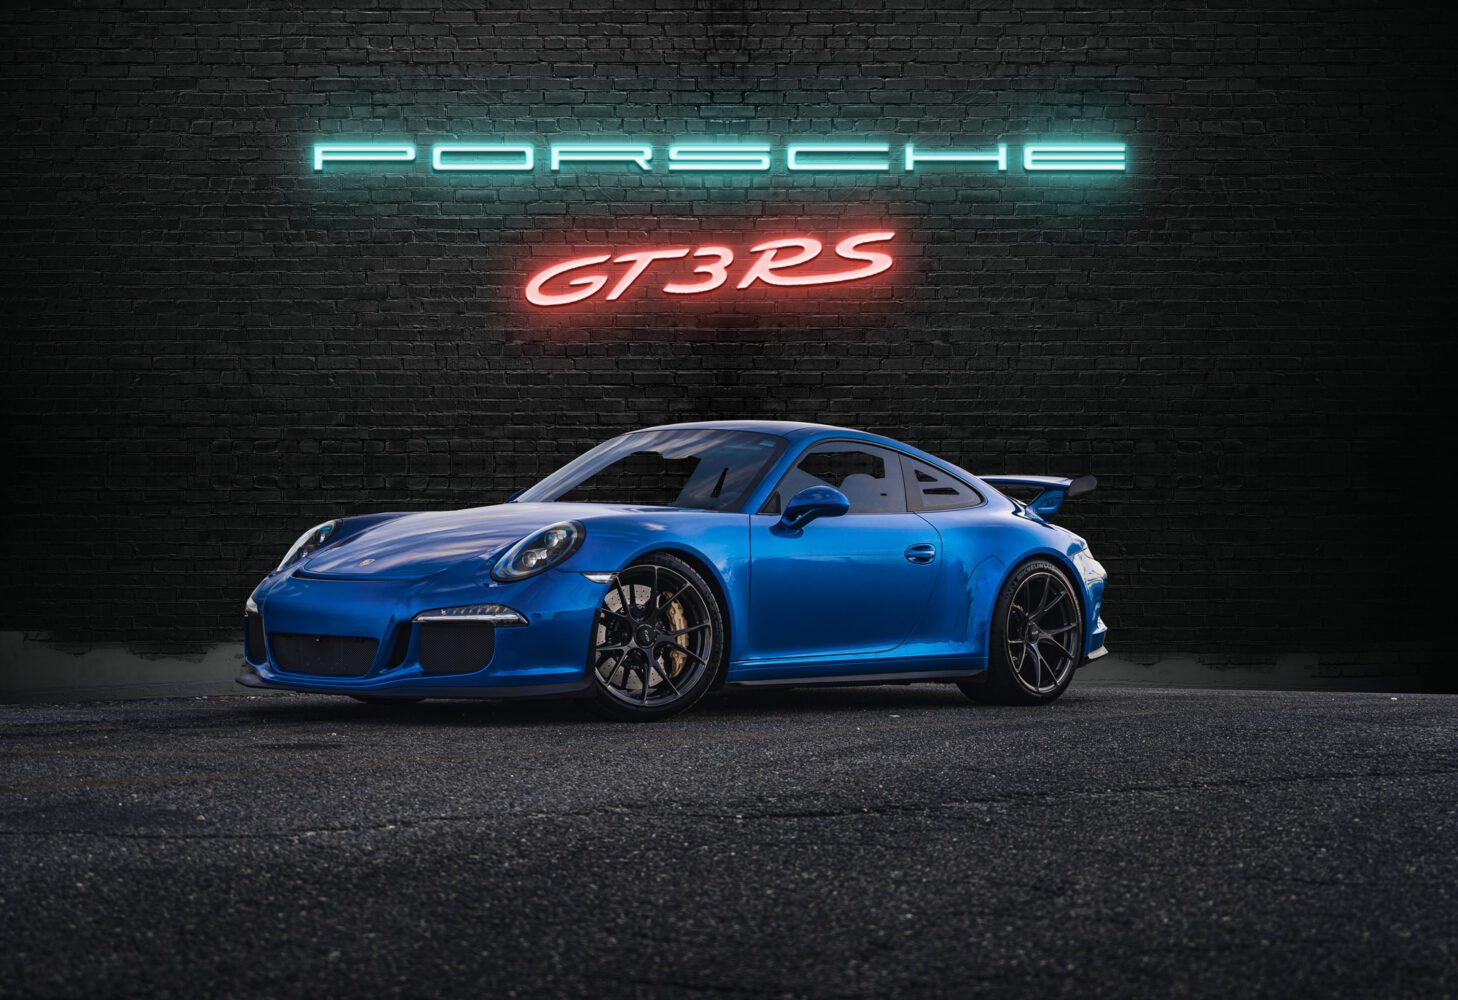
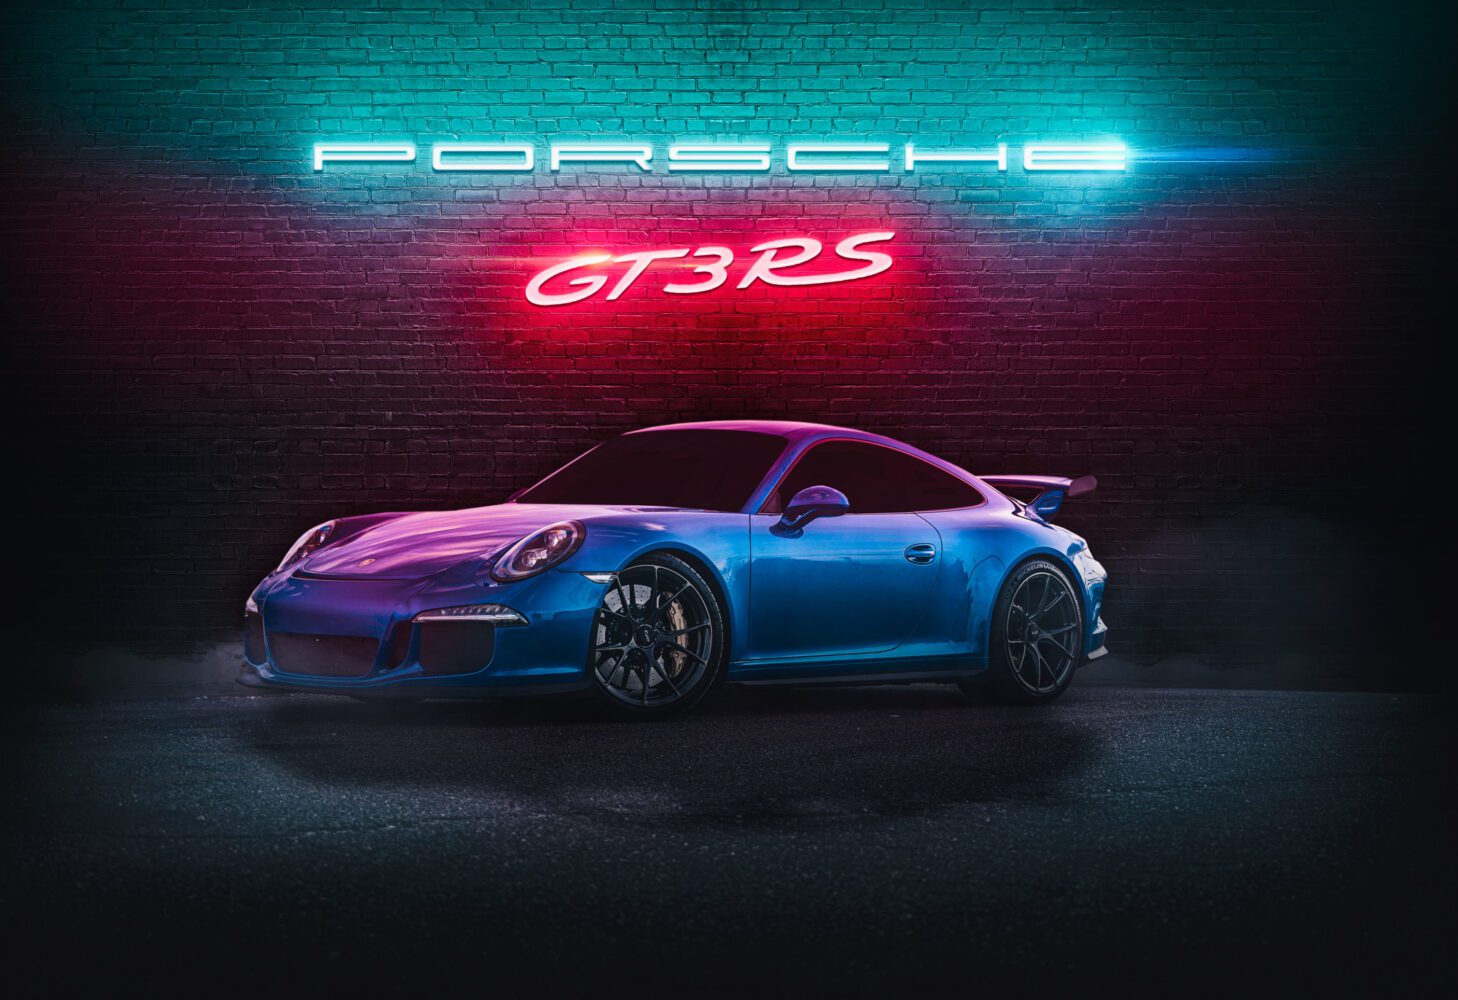
The back wall
So, after you’ve downloaded your Porsche font and installed it on your machine, you’ll pay a visit to Pixieden, where you can grab the background I used here. Some of the effects are free, and some are not, but for $50 bucks a year, it’s a great resource.
The PSD files from Pixieden are always well organized, and the layers are clearly labeled with what you need to edit, in this case, the copy. “PUT YOUR TEXT HERE” is usually what you get, so open up that smart object and replace the NEON with PORSCHE, then change the font. Save it, then go back to your main file, and you’ll see the effect updated.
You can do the same with the GT3 logo, though in this case you’ll have to search for it because I could not find the font. Open up the red smart object, replace the copy they have with your logo, and the effects are carried over.
Now, this is supposed to be a grungy back ally, and the bricks that came with the Pixieden graphic were just to big, so I did a stock image search for brick wall, then made it black and white, and scaled it down enough so it looks correct against the car. Mask out your car and bring it into your PSD file.
Setting the car in the scene
A few things will really help us set the car in the scene, like lighting. Sample the colors from your lights, then using the airbrush tool, paint layers of lights above the car itself on the hood and roof. Make them conform by making them clipping masks to the car layer itself.
Let’s also add some fog, which can be found online, and set to SCREEN blend mode. Finally, when masking your car, make sure to cut out the windows, and I like to paint them black so you can’t see through. The original image will have all the interior parts fogged over anyway.
Finishing touches
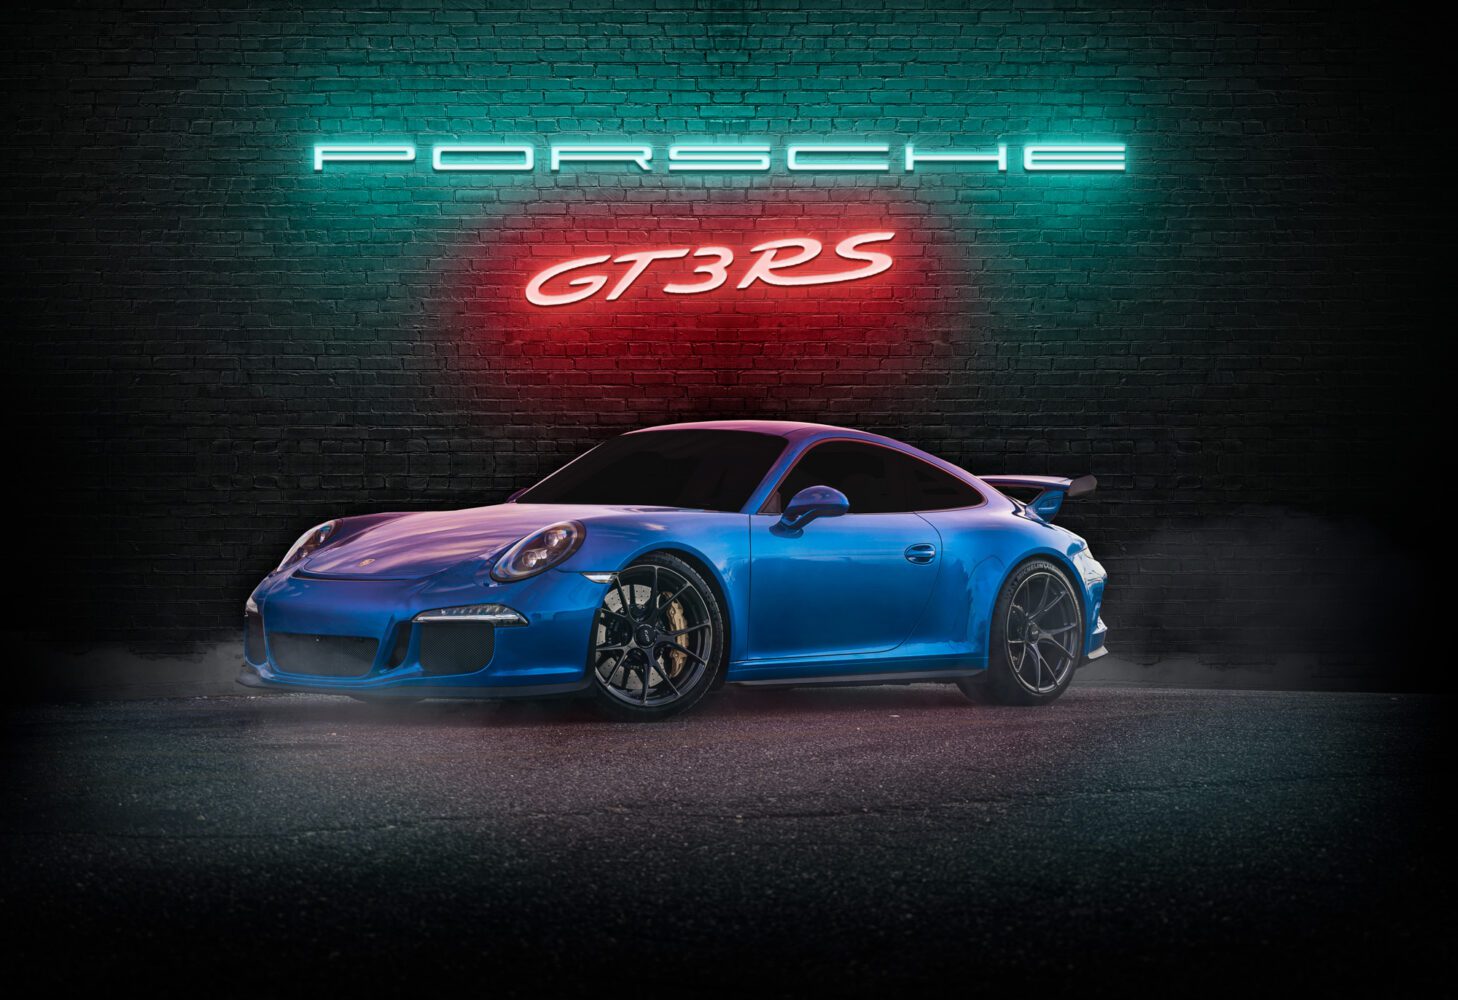
You can add drama by putting in some of our favorite lens flairs on the lights, and giving the car more shadow on the bottom. Flatten the image and make a new smart object with it, then bring in your flair and set the blend mode to screen.
You can also add a shadow to the ground for more realism. Just duplicate your masked car layer, flip it, and add a color overlay effect of black. Then, set the opacity to 60%, and use the transform tool to tug on it and make it a big longer in the front than the back.
All done
That’s it! Have fun with your own images and creations! Keep the scale of the back wall consistent with your car, and use some dramatic lighting.
Feel free to email me at mike@machineswithsouls.com with any questions.
Follow along on Instagram @machineswithsouls