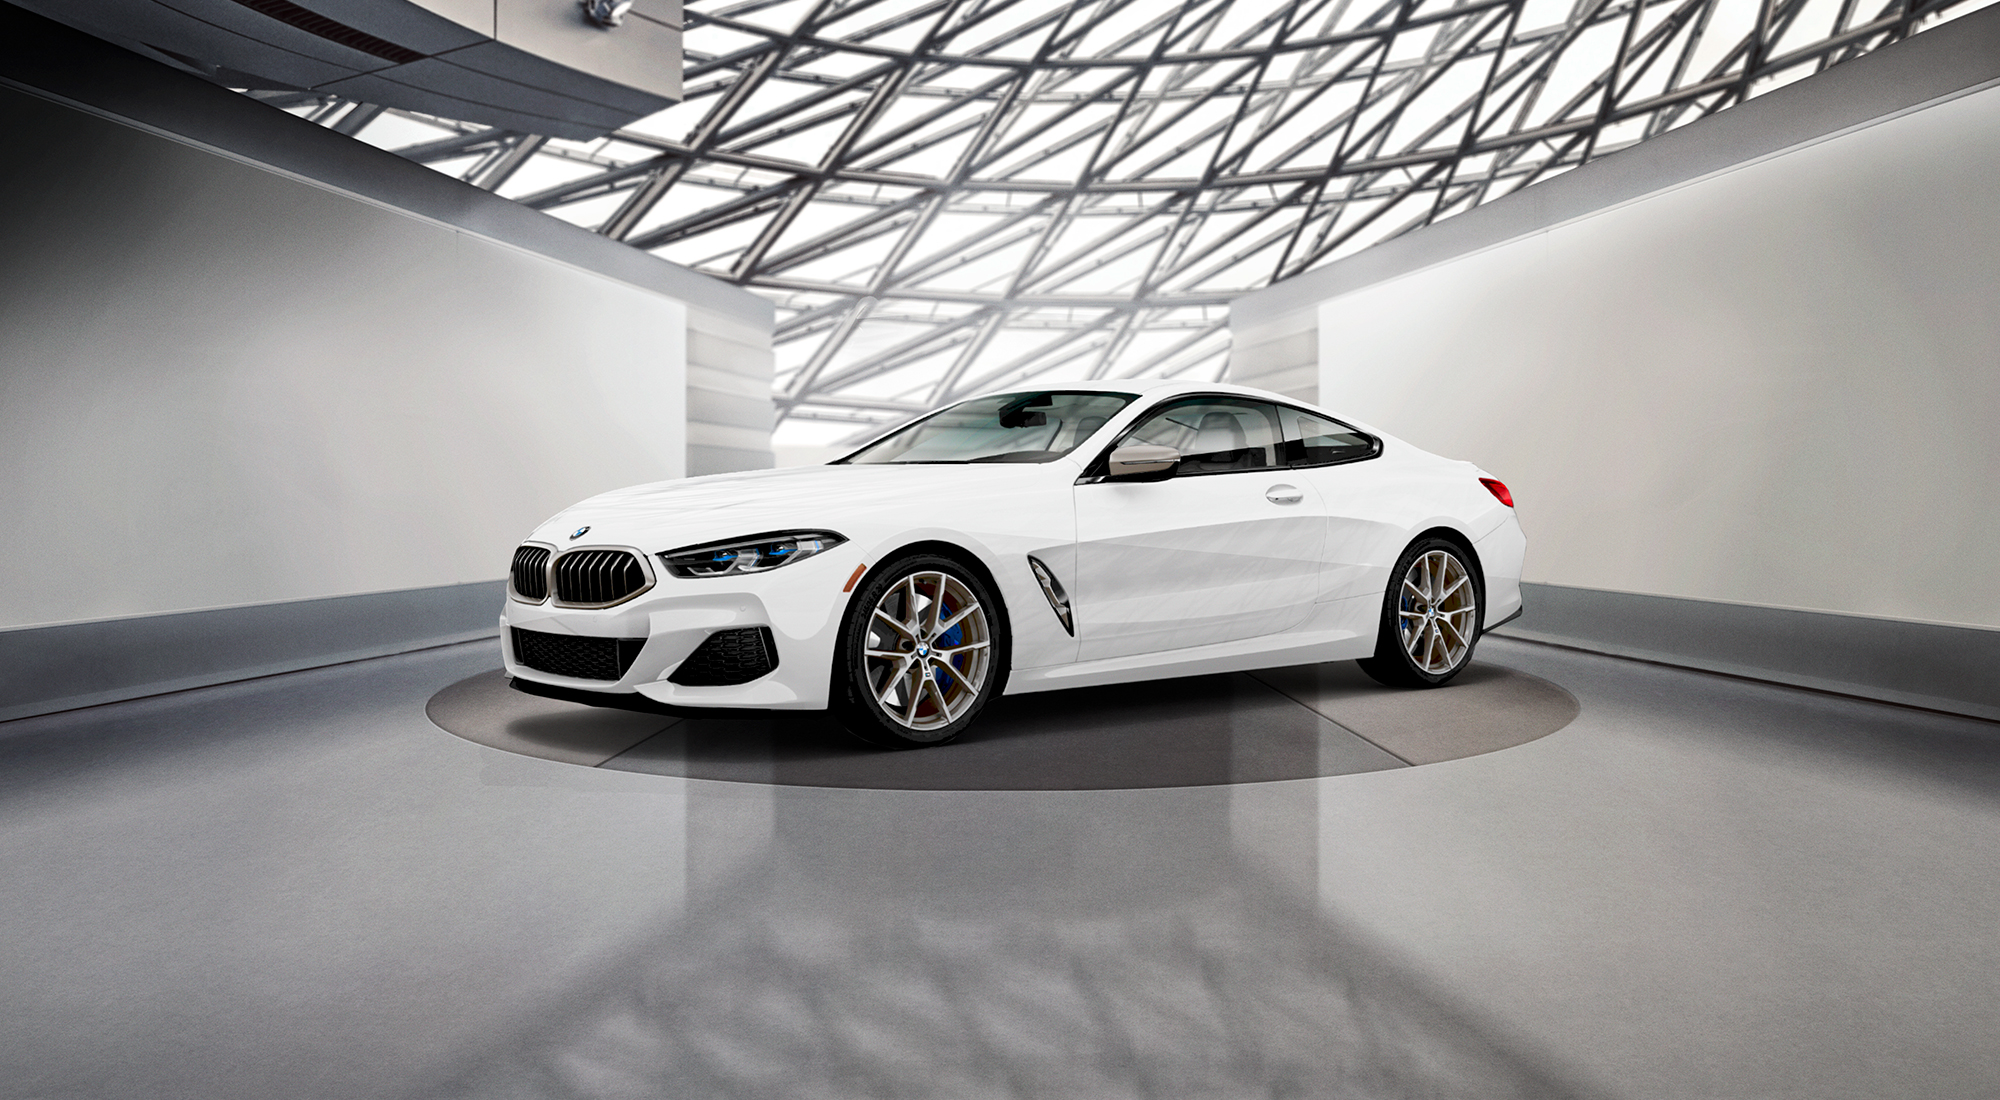

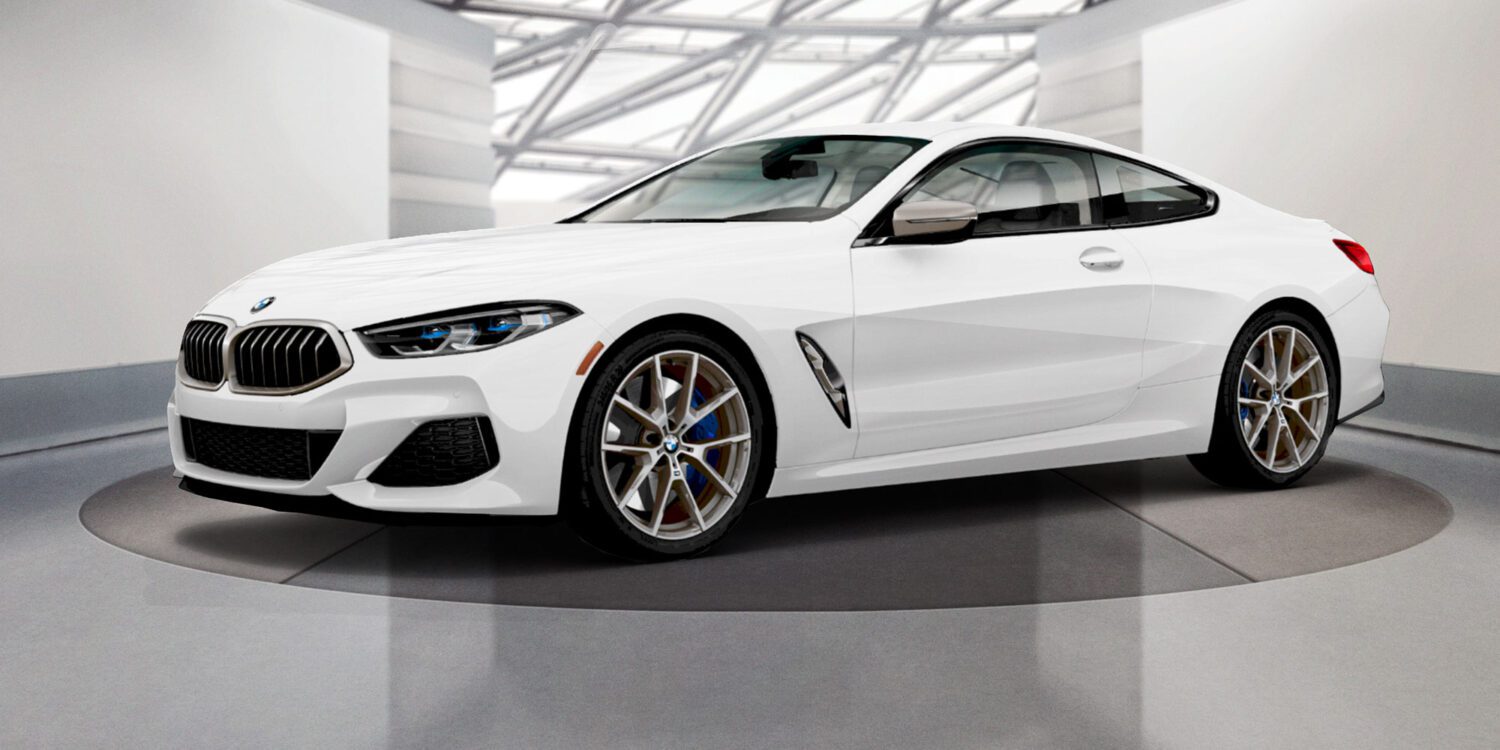
This week, I’ll show you how I’ve finished retouching a banner image that’s currently running on BMWUSA.com featuring an M850i.
To view part 1, click here.
Step 4: Retouching shadow
The original background image on this M850i shot comes from BMW, so keep in mind that this isn’t entirely real like some other compositions I’ve done. But, we can still make it look as best we can. Just like the X2, the original M850 image is CGI, on white, but luckily comes with a drop shadow. To keep that shadow, it’s best to mask out the entire car, then duplicate the layer and simply paint the bottom portion back in. Set the blend mode to MULTIPLY, and move the layer below your original, fully masked one.
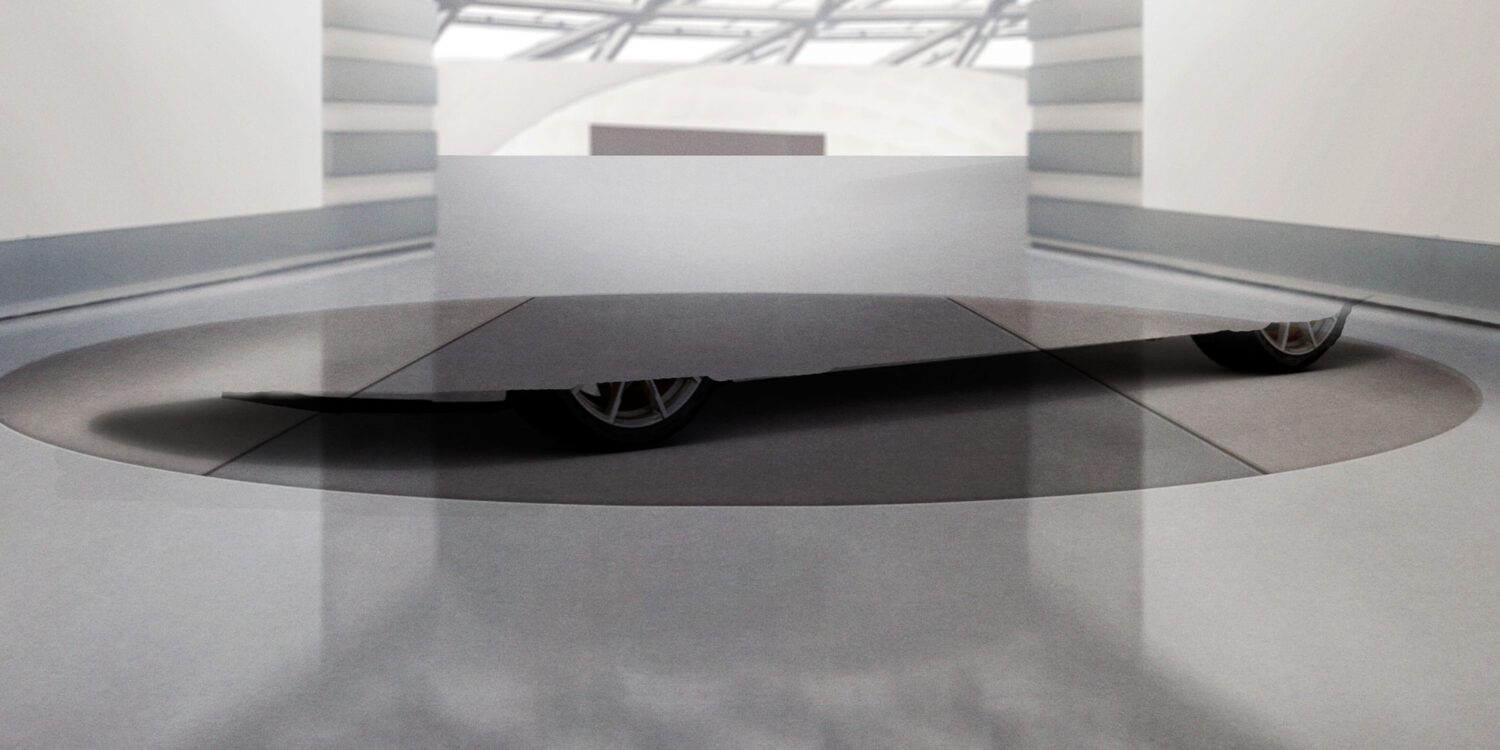
If your original shot has a shadow on the ground, it’s usually easiest to use the multiply method and do as I’ve done here, even if it’s not on white. If you have no shadow, then you’ll use your PAINT BRUSH tool to paint a black rectangle under the car, then lower the opacity.
Step 5: Retouching Reflection
Every car reflects what’s around it (unless it’s a matte color), and the background we’re using here is very complex with its lines in the rafters. First, the windows…
Just like our shadow, this original car image has a nice tint on the windows, but of course, we want to be able to see through the windows to the other side. Your original layer should have the windows and interior masked out.
Duplicate your original image, and paint the windows back in. Then, move the layer underneath your original, and set the blend mode to MULTIPLY.
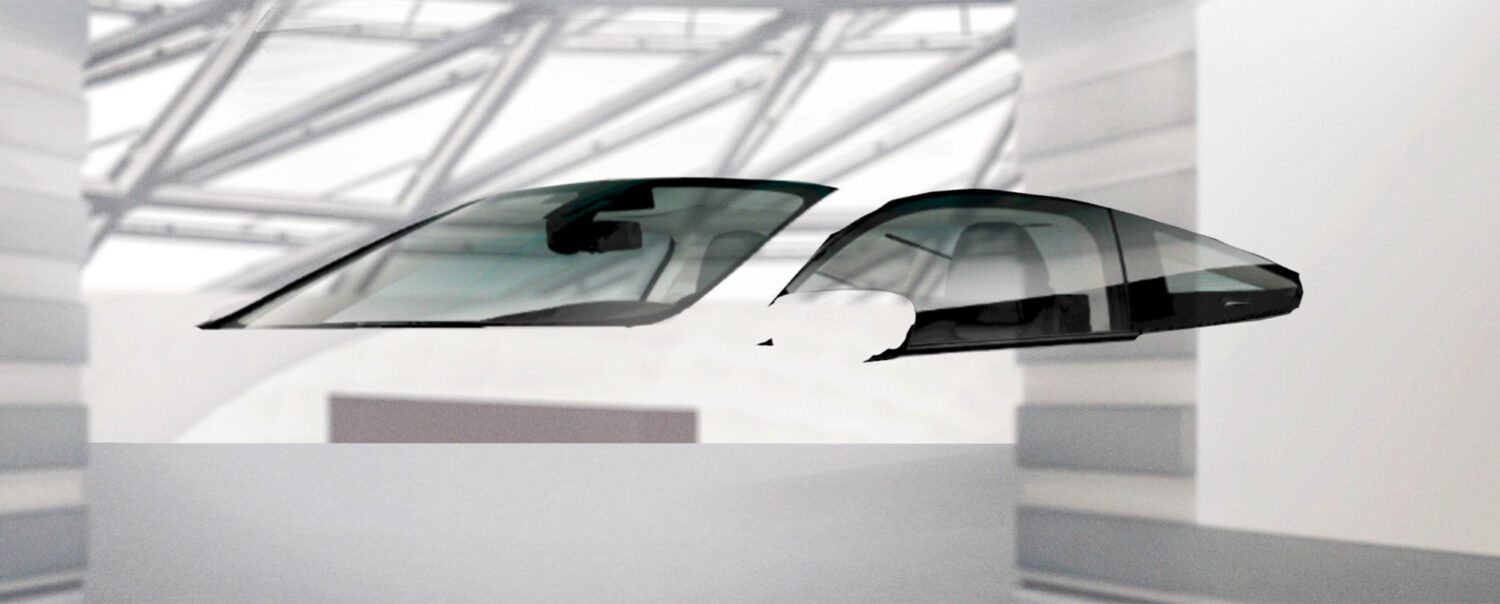
This has the benefit of keeping the glare and tint from the original image, while letting you see through to the other side. If you’re saying to yourself “whoa, rough mask” – that’s ok, because this image will be small, and since the 2 layers line up, you’ll never see the rough cut. Save yourself time when you can.
Next, using a new layer, paint the bottom half of the car black, then set the opacity to 10%. Place the layer above the car and right click. Select “Create clipping mask”, and the shadow will use the car’s mask to be cut. The bottom half of a car is always in shadow, so this will help set the scene better.
Next, reflections. For this, you’ll want to select the background layer with the rafters. Using the rectangular Marquee tool, select a good size portion of the rafters, copy, and paste on a new layer.
Set the blend mode to “SOFT LIGHT”, and place it above your shadow layer, then select “Create clipping mask” again. This is going on the hood, so it’ll have to be flat. Go to EDIT > TRANSFORM > SKEW in your top navigation menu. Pull at the corners until it matches the perspective of the hood. You’ll have something like this.
Step 6: Finish it off
Using the same technique, bring in some reflection on the side of the car as well. Then, group all your layers and duplicate the folder, then flatten it. Select your blur tool, which looks like this…

Set strength to 100%, and give yourself a soft airbrush with a diameter of about 35-40px. Now go in and paint around the edge of the car so soften the edges and help set it in the scene.
Finally, make a new layer, set the blend mode to OVERLAY, and select “Fill with neutral overlay”

On this new layer, go to FILTER > NOISE > ADD NOISE – then select a value around 4. While we usually try to combat noise in a regular image, when blending multiple images together from different sources, noise can help set an even tone everywhere.
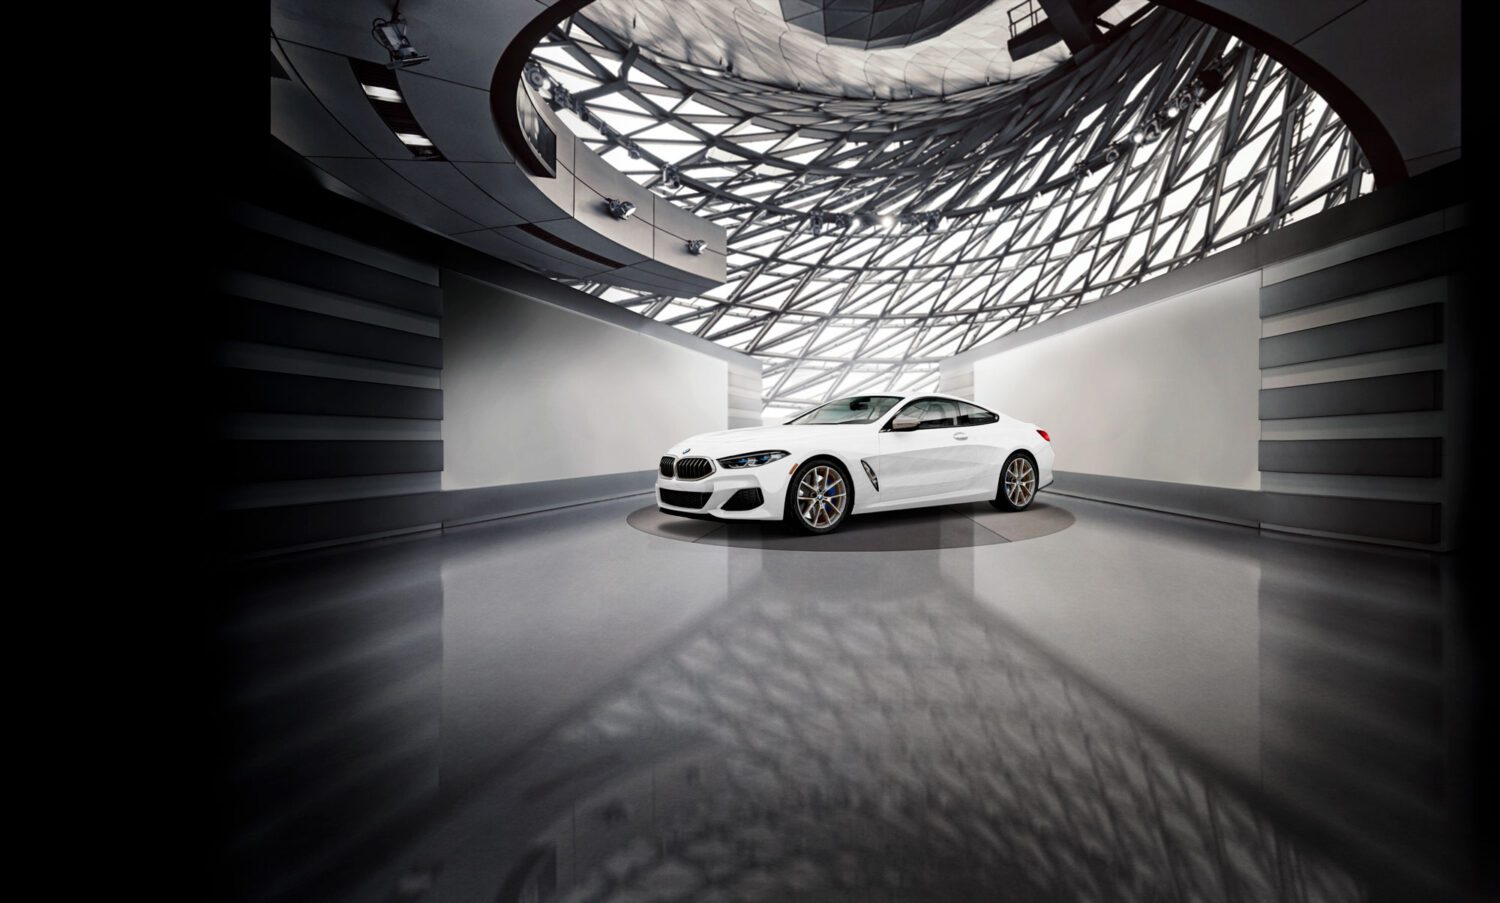
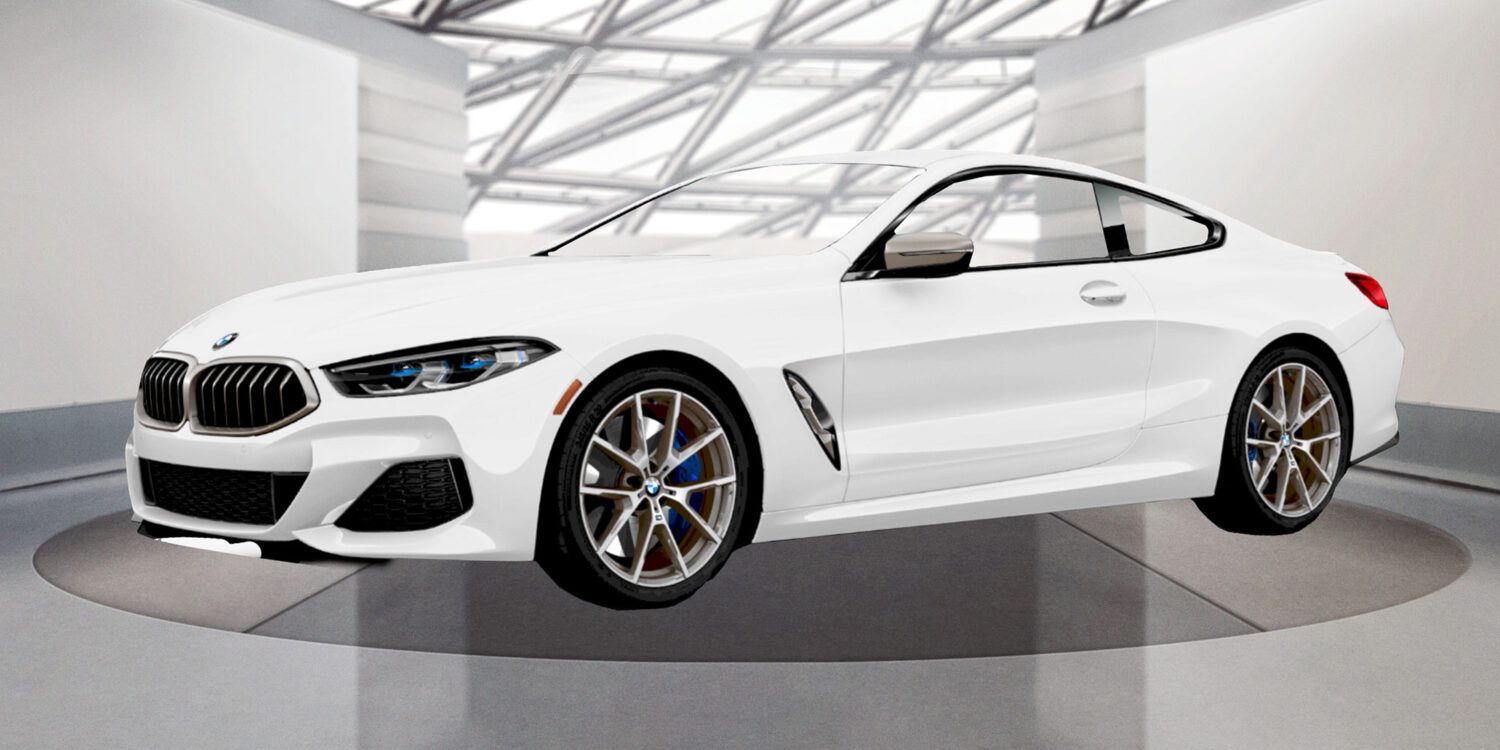
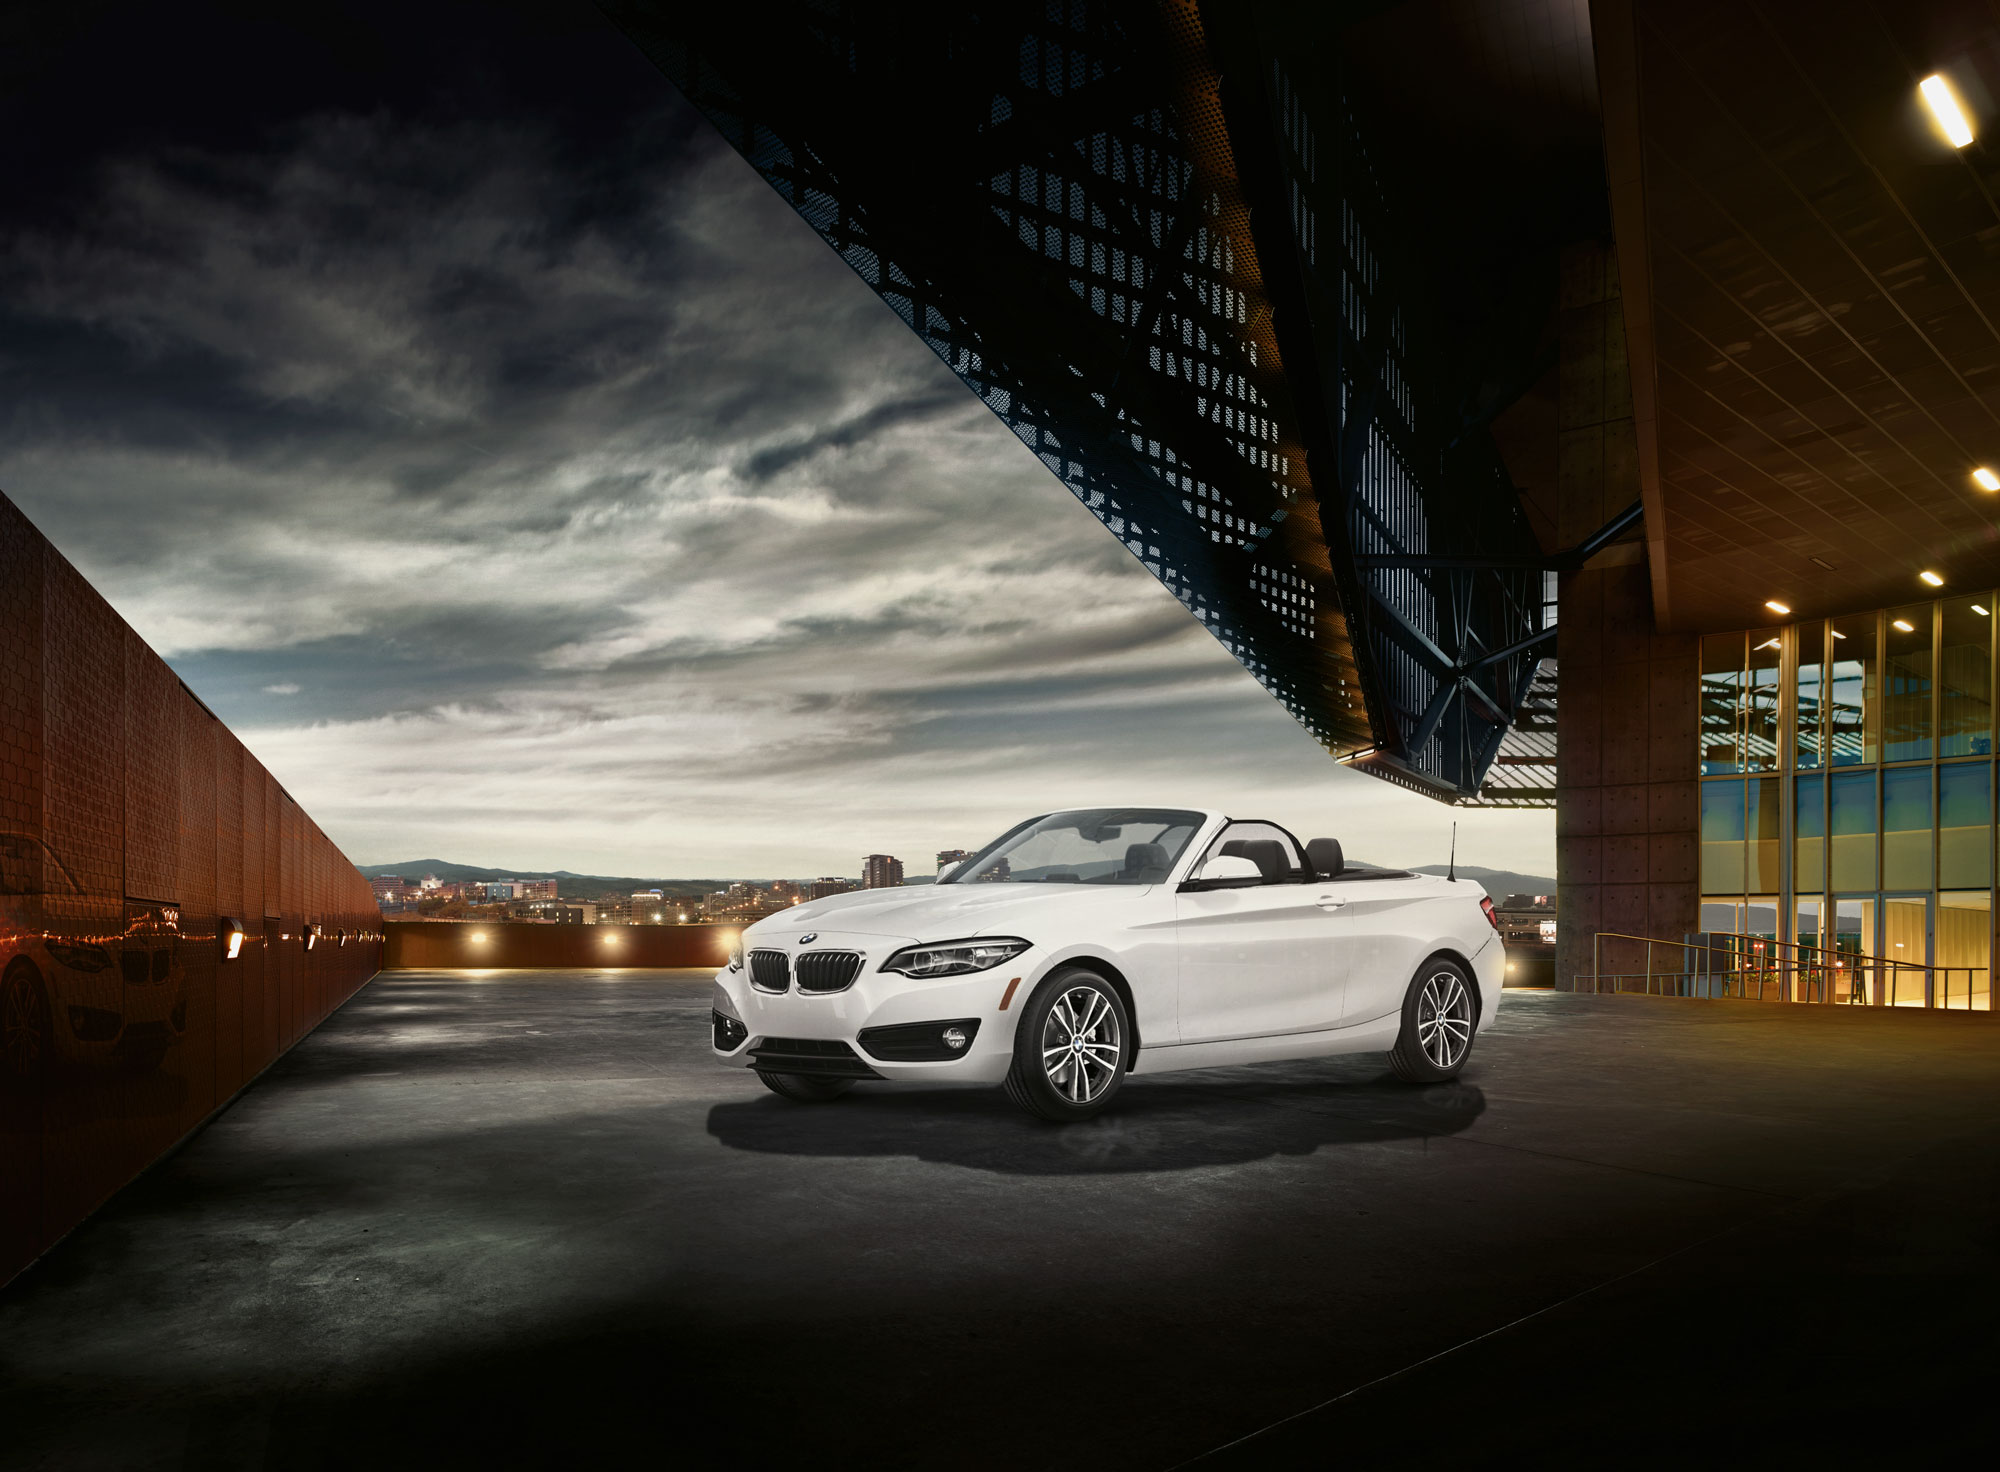
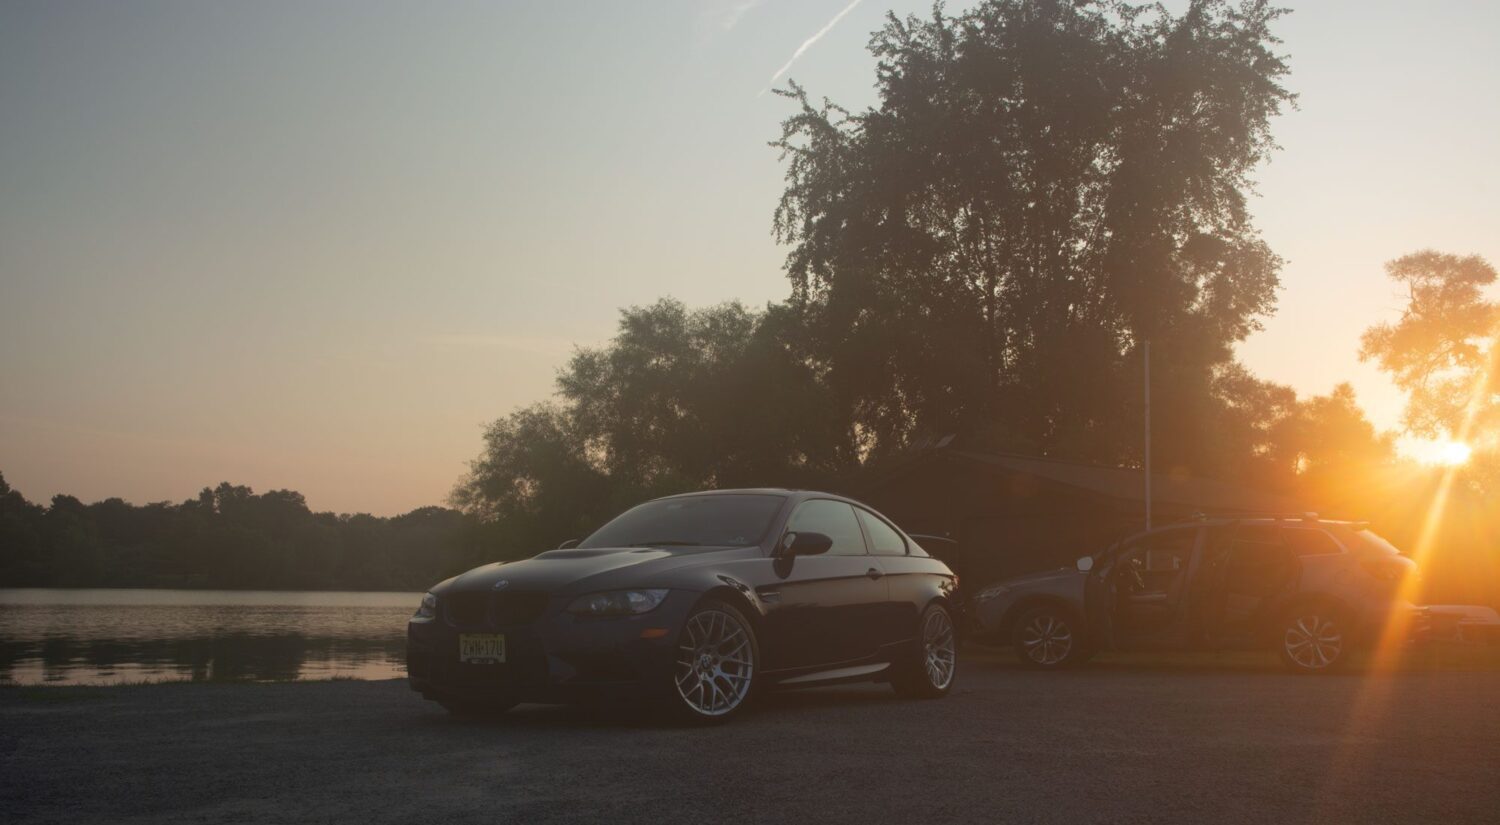
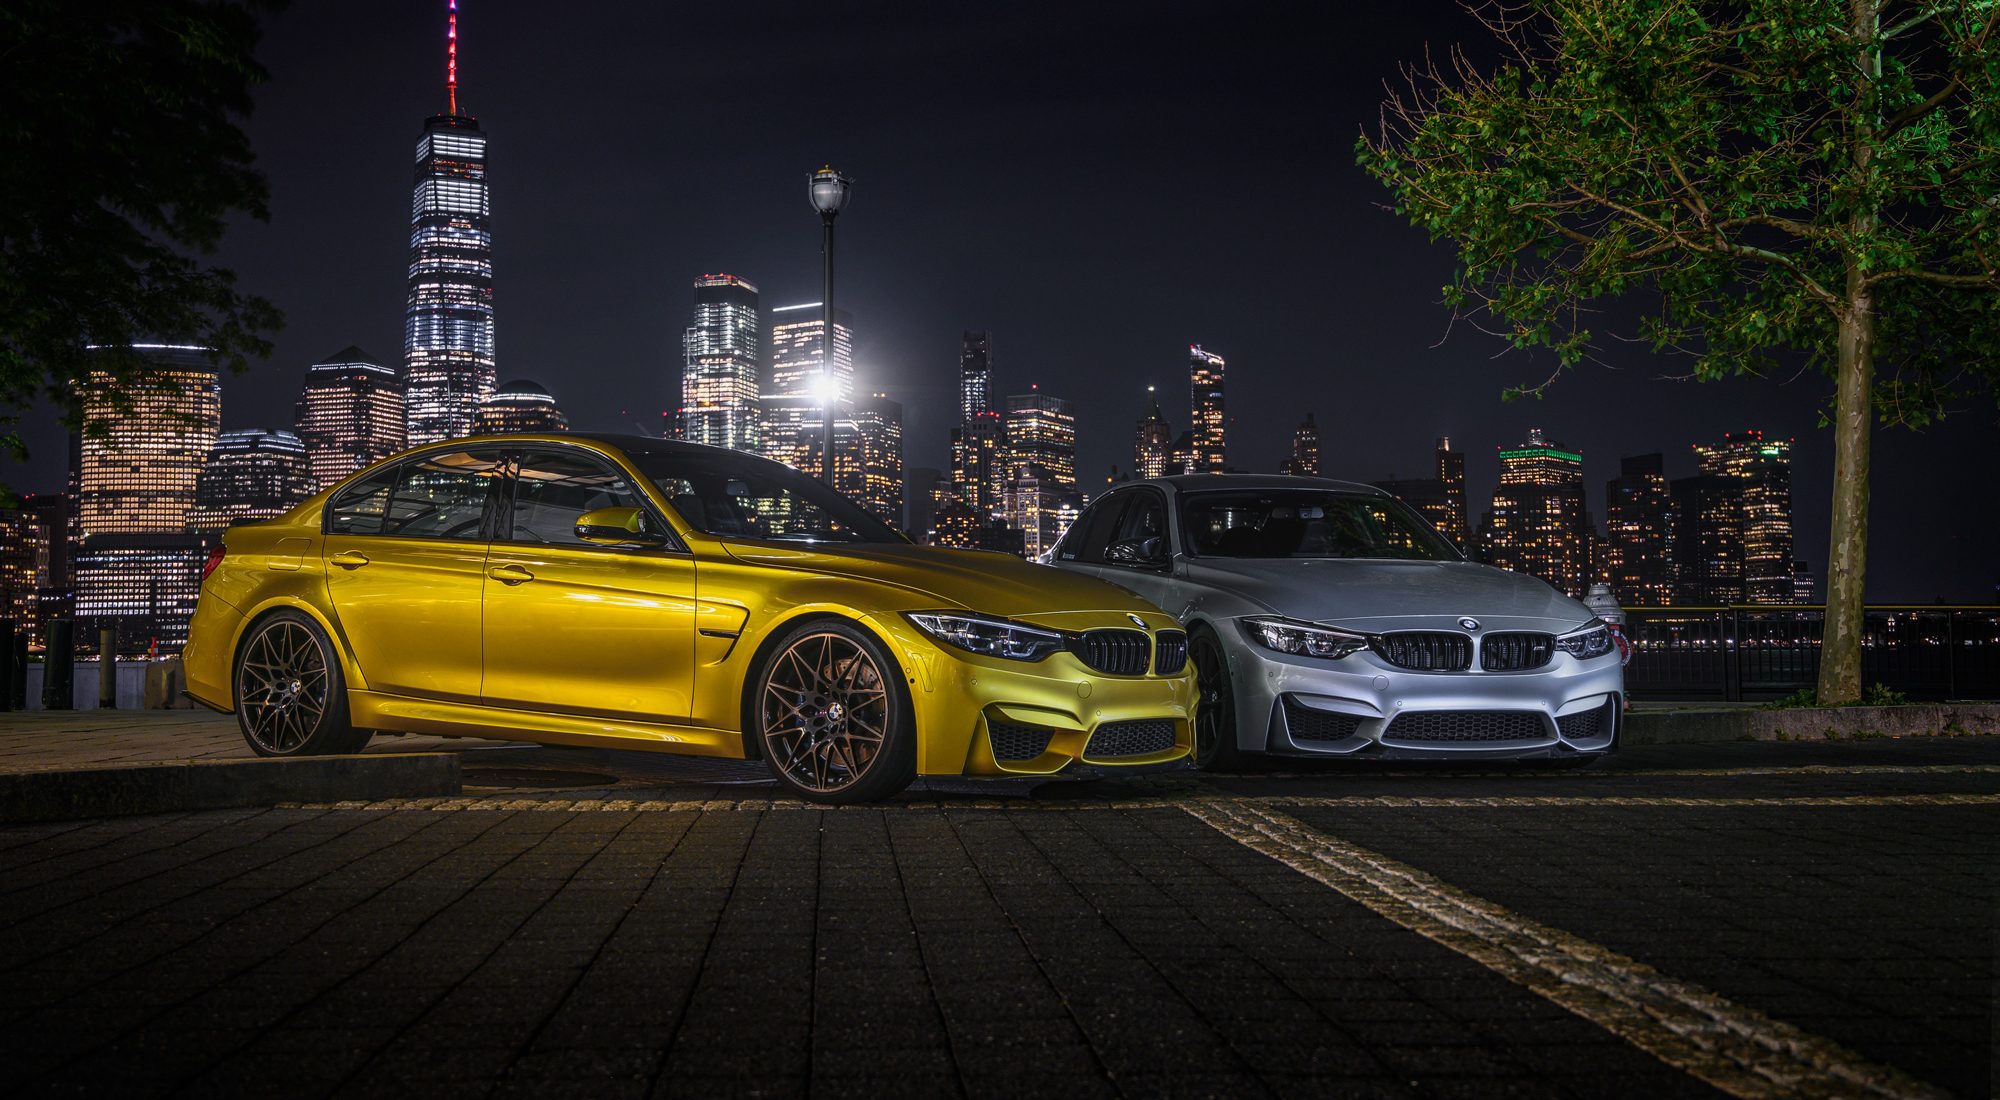
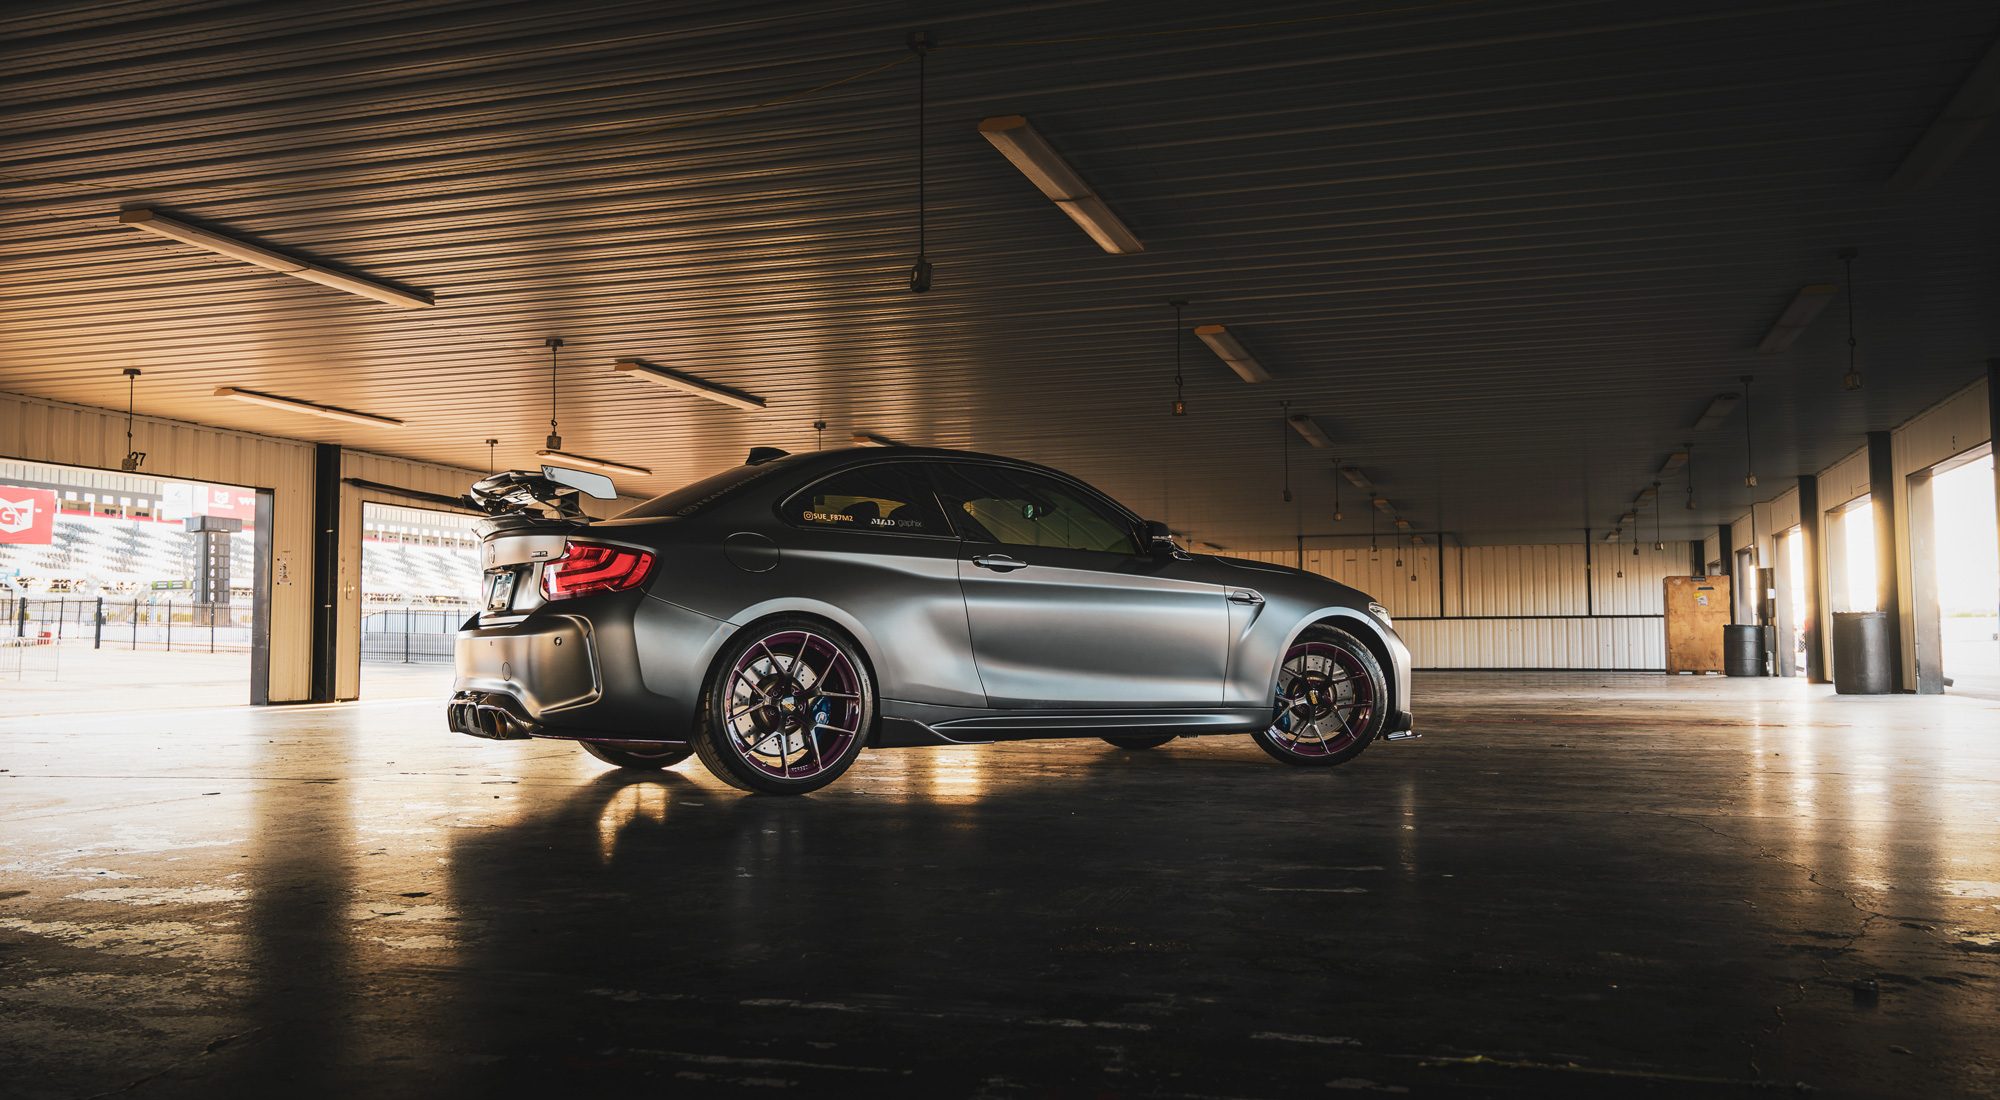
The final image was used in a banner ad on the main site of BMW, similar to these.

Feel free to email me at mike@machineswithsouls.com with any questions.
Follow along on Instagram @machineswithsouls

One thought on “Automotive Retouching School, Part 2”
Comments are closed.