Last week, I went into detail on how to shoot two cars in one shoot, while making them feel separate. Now, I’ll go over the second part of this shoot – both cars in the frame.
We’ll be using some light painting here as well, so make sure to bring your Ice Light.
Location
30 Hudson Street
Jersey City, NJ 07302
Gear
- Camera with detachable lens
- Ice Light
- Polarizer
- Tripod
Setting up
In an ideal world, the entire area would be dark, with just the city lit in the background. You’d then go in and light paint each car individually. But we’re next to the tallest building in Jersey City, so I don’t think they will turn the lights out for us. As a result, we get lots of “contamination” lighting from other sources. Be aware of this for every exposure you take, because it can cause hot spots and uneven lighting in certain areas of the photo.
Also an issue: street lights. This was the spot we picked for the shot, but you’ll notice that light in the middle. Again, not ideal, but these lights are everywhere in a city environment, so we can either edit them out (a lengthy process) – or integrate them in a non-distracting way.
Lastly – it’s an active road, so watch out for cars – and car headlights. If one drives by, reshoot your exposure because those headlights WILL ruin the shot.
We wanted the city in the background, and this was the only spot where it could be seen – another street we went down had been closed off. So be flexible on your shoots, you never know what will happen!
Shooting
I took a few more exposures than I needed, but in the end, only four were needed. A base, and then 3 to light the cars.
Shot 1
- Aperture: f/4
- ISO: 160
- Focal length: 34mm
- Exposure: 3 seconds
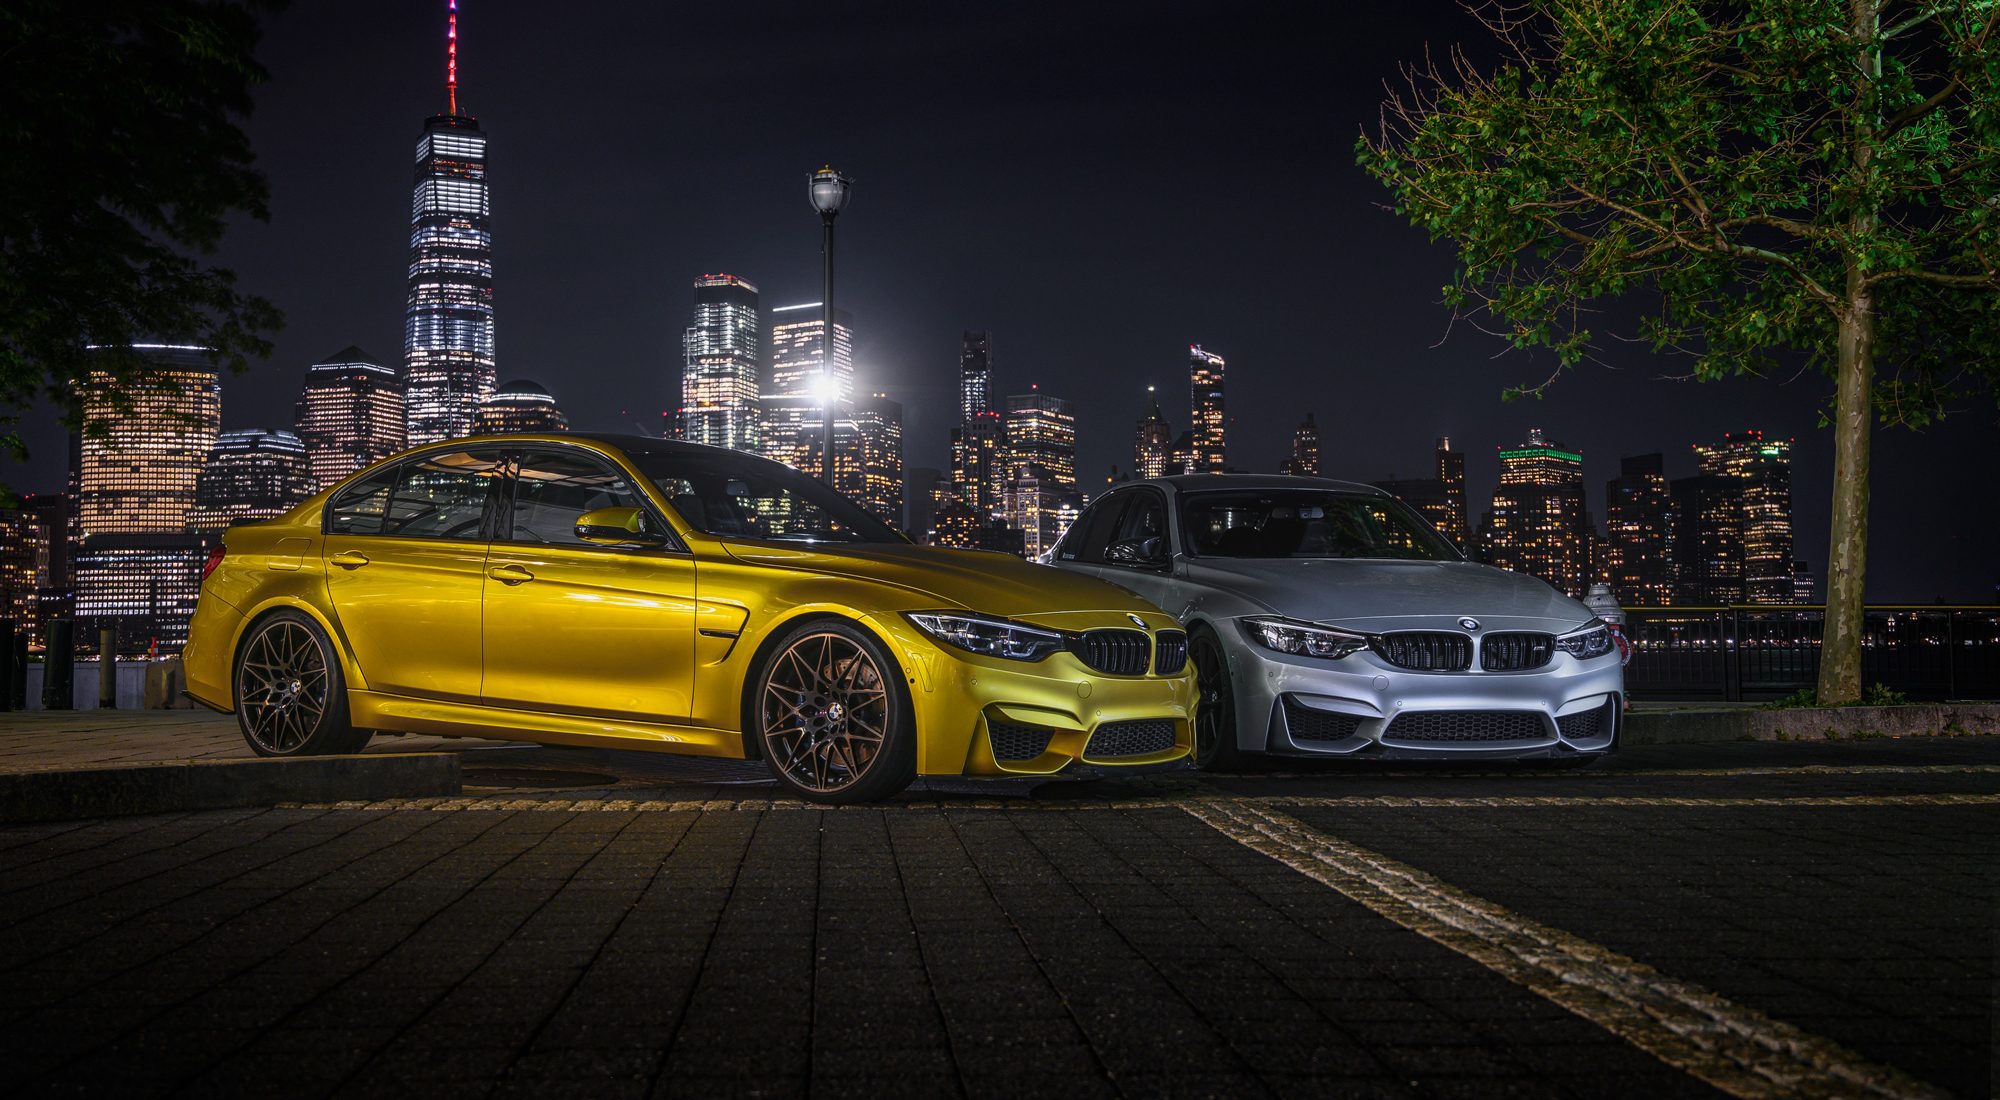
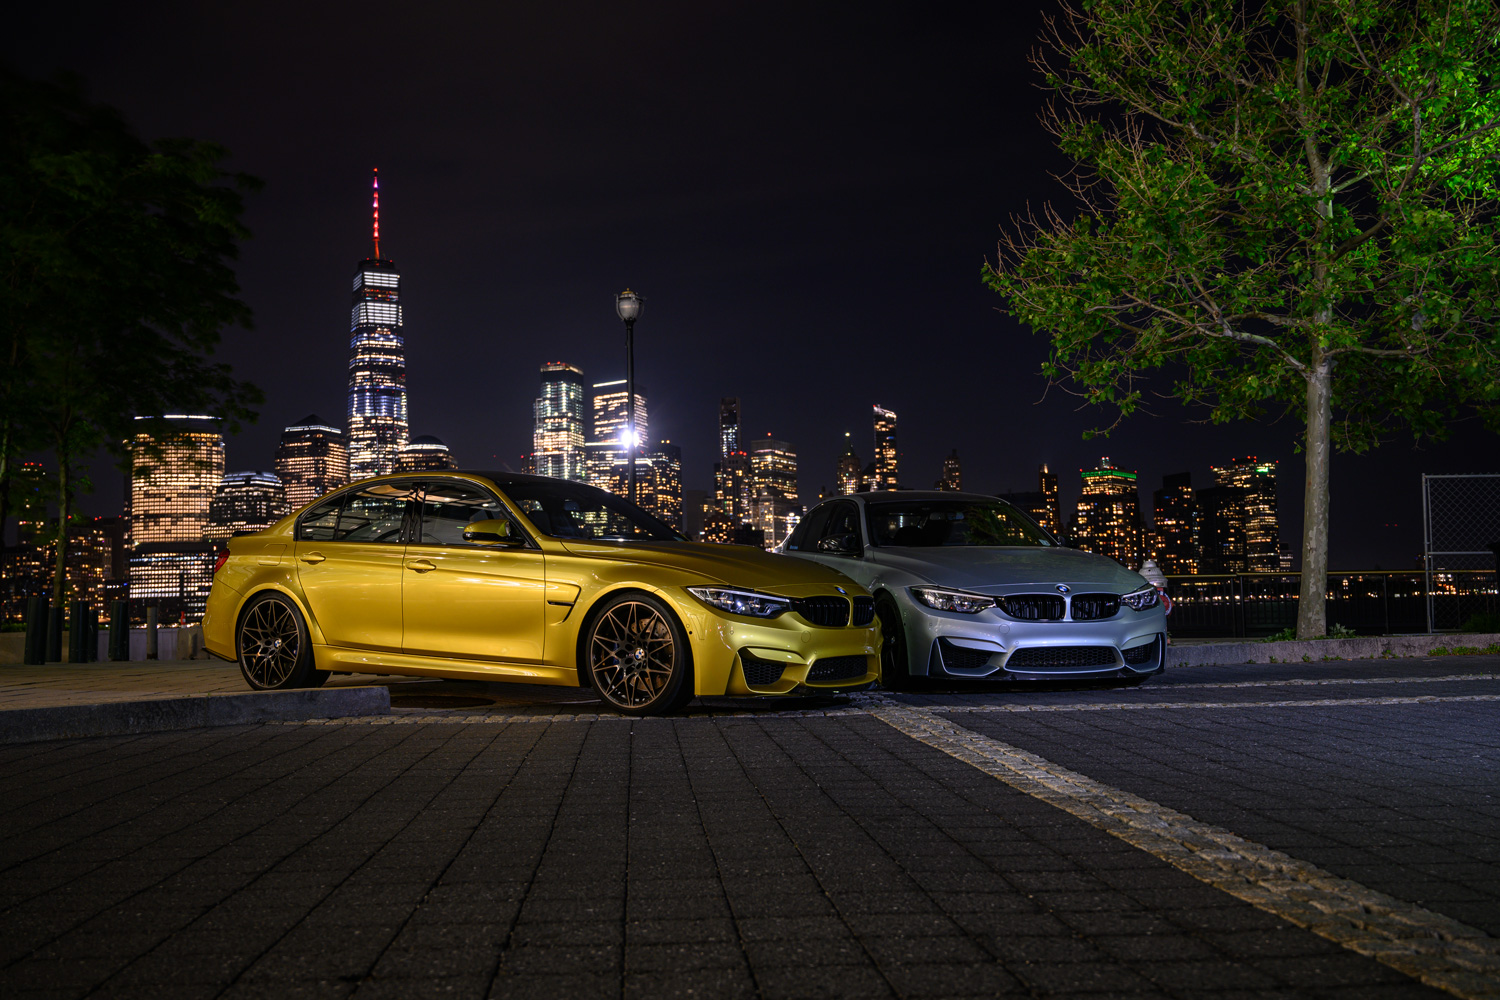
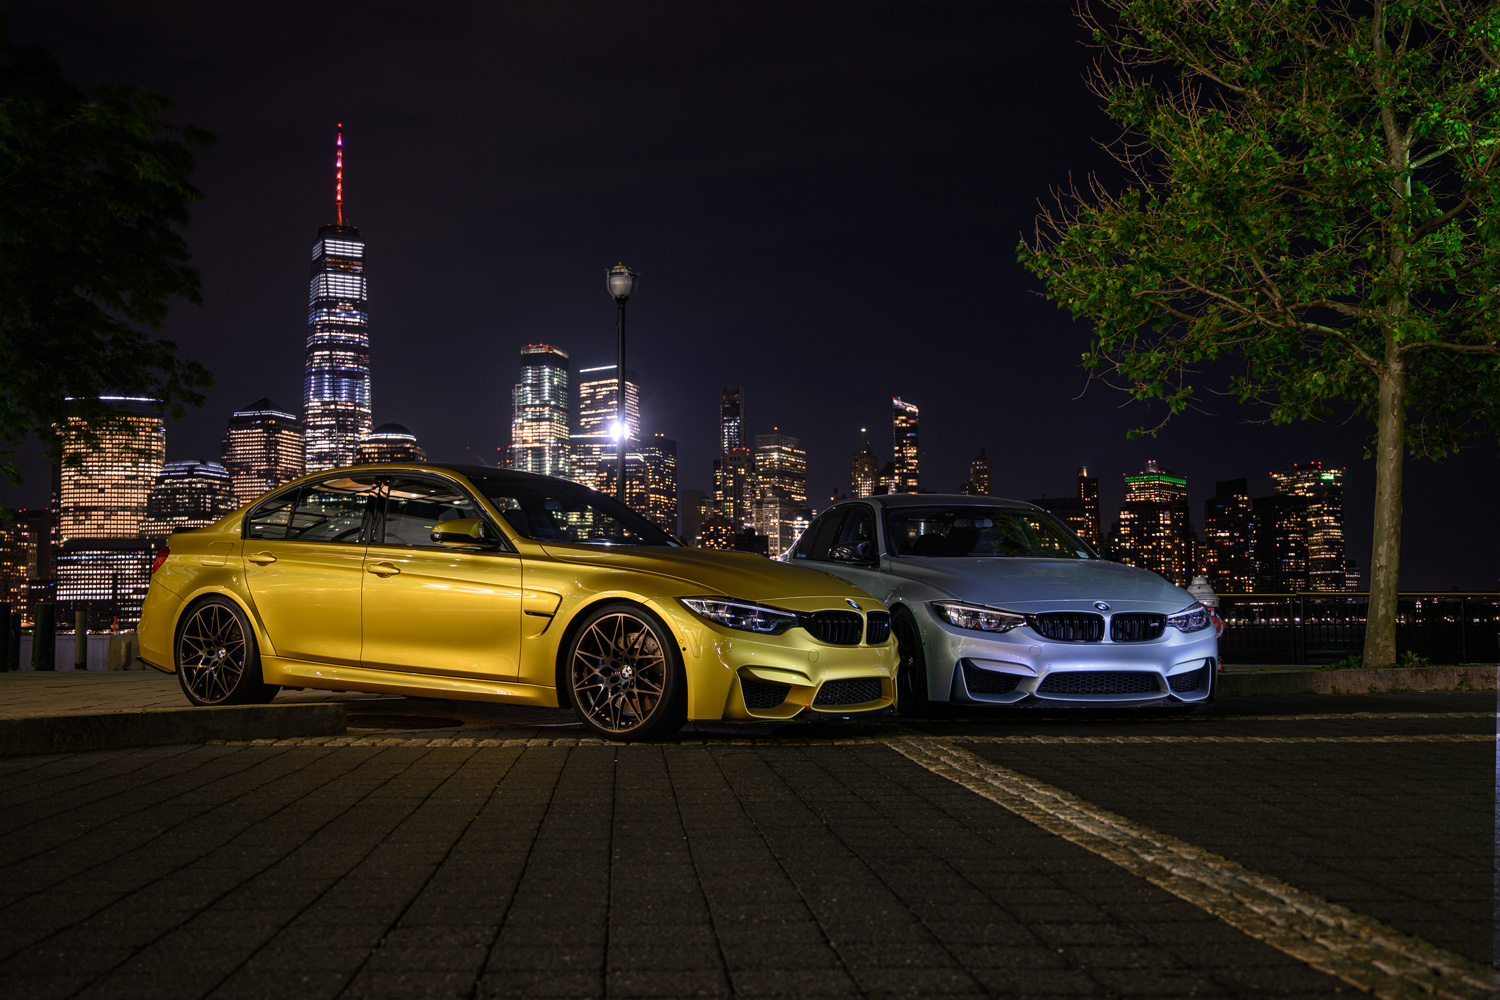
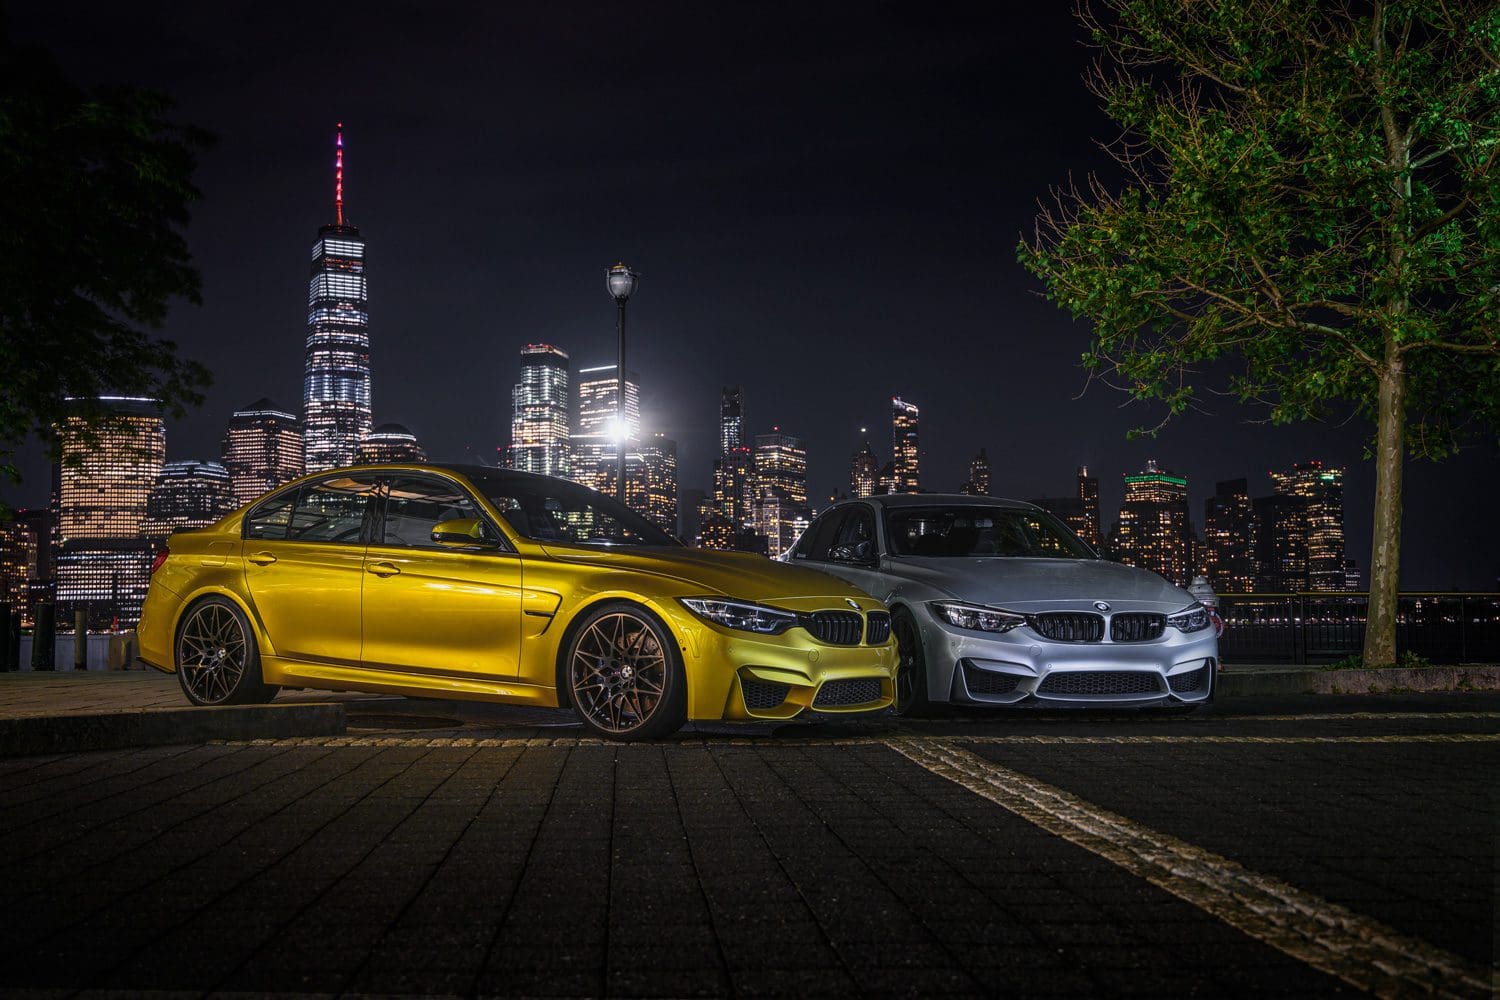
The result is this:
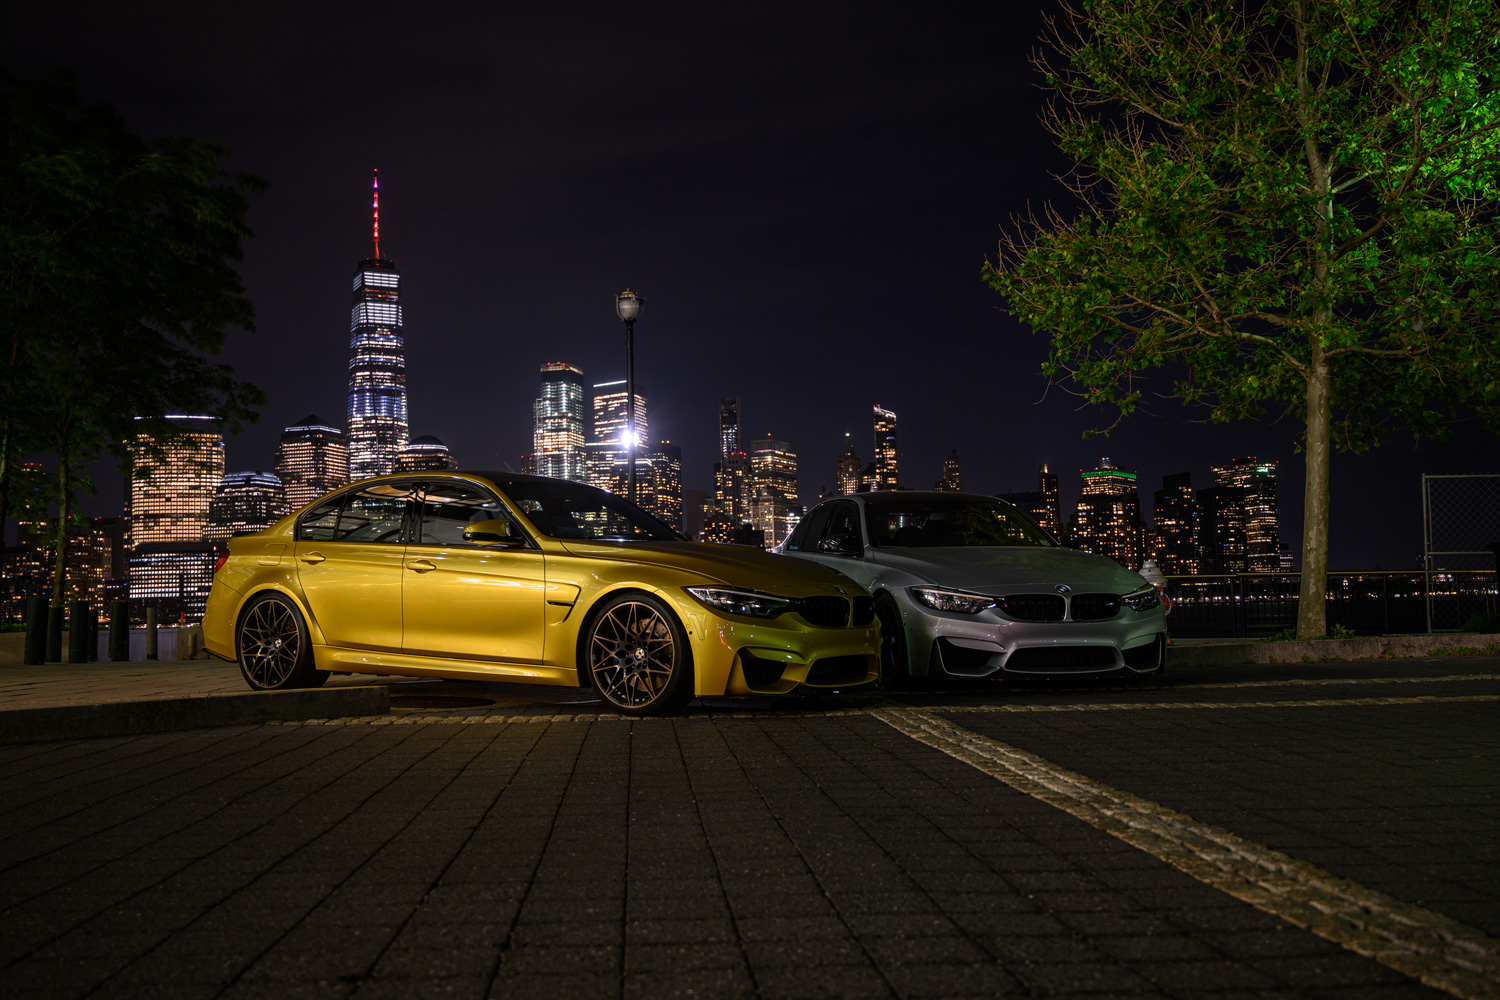
Right off the bat, you’ll see that the Austin Yellow car is lit from the side by the building lobby, but the Silverstone is completely in shadow. The city itself is lit nicely.
Shot 2
Exposure: 3 seconds
Let’s grab the light bar and paint some of the car front end’s in.
Shot 3
Exposure: 3 seconds
I’ll move the light to the side and light up the driver side corner for better definition.
Shot 4
Exposure: 3 seconds
Finally, I’ll bring the wand around to the other side and light both cars up. Naturally, this will light up the front end again, but that makes it too hot, so later on, we’ll paint in the other exposures.
See that light on the ground? That comes from not using the optional barn doors on the Ice Light. They are useful in that they prevent the sort of lighting issue you see here, but they (on mine at least) are loose-fitting and never stay in position. I find them to be a pain in the butt, so when I’m in a hurry, like in this scene, I will sometimes not use them. We can edit that out later on.
Post Production
To start off, we will open all 4 photos in Camera Raw and “sync” our settings. We’ll just add the following to everything:
- Sharpen: +70
- Clarity: +30
- Shadow: +20
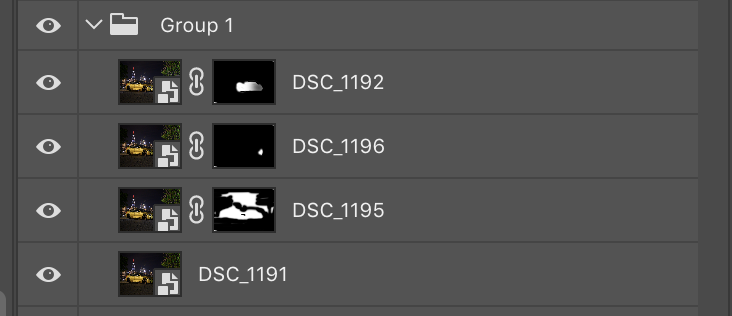
Then, open all 4 as smart objects, and drag all 4 images into one Photoshop file. Group them to keep the file organized, as there will be many layers.
Then, chose your base image, where everything is well lit, and add layer masks to the others. Review each image carefully to see what sections you’ll want to paint back in for a complete look.
Now we can go ahead and bring out some detail. Copy and combine the group into a new flat image, make it a smart object, and add the following adjustments in a Camera Raw filter:
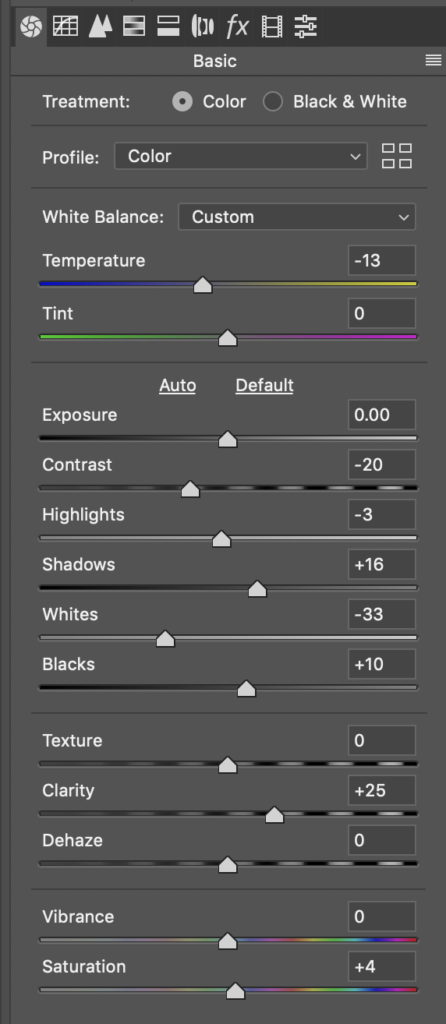
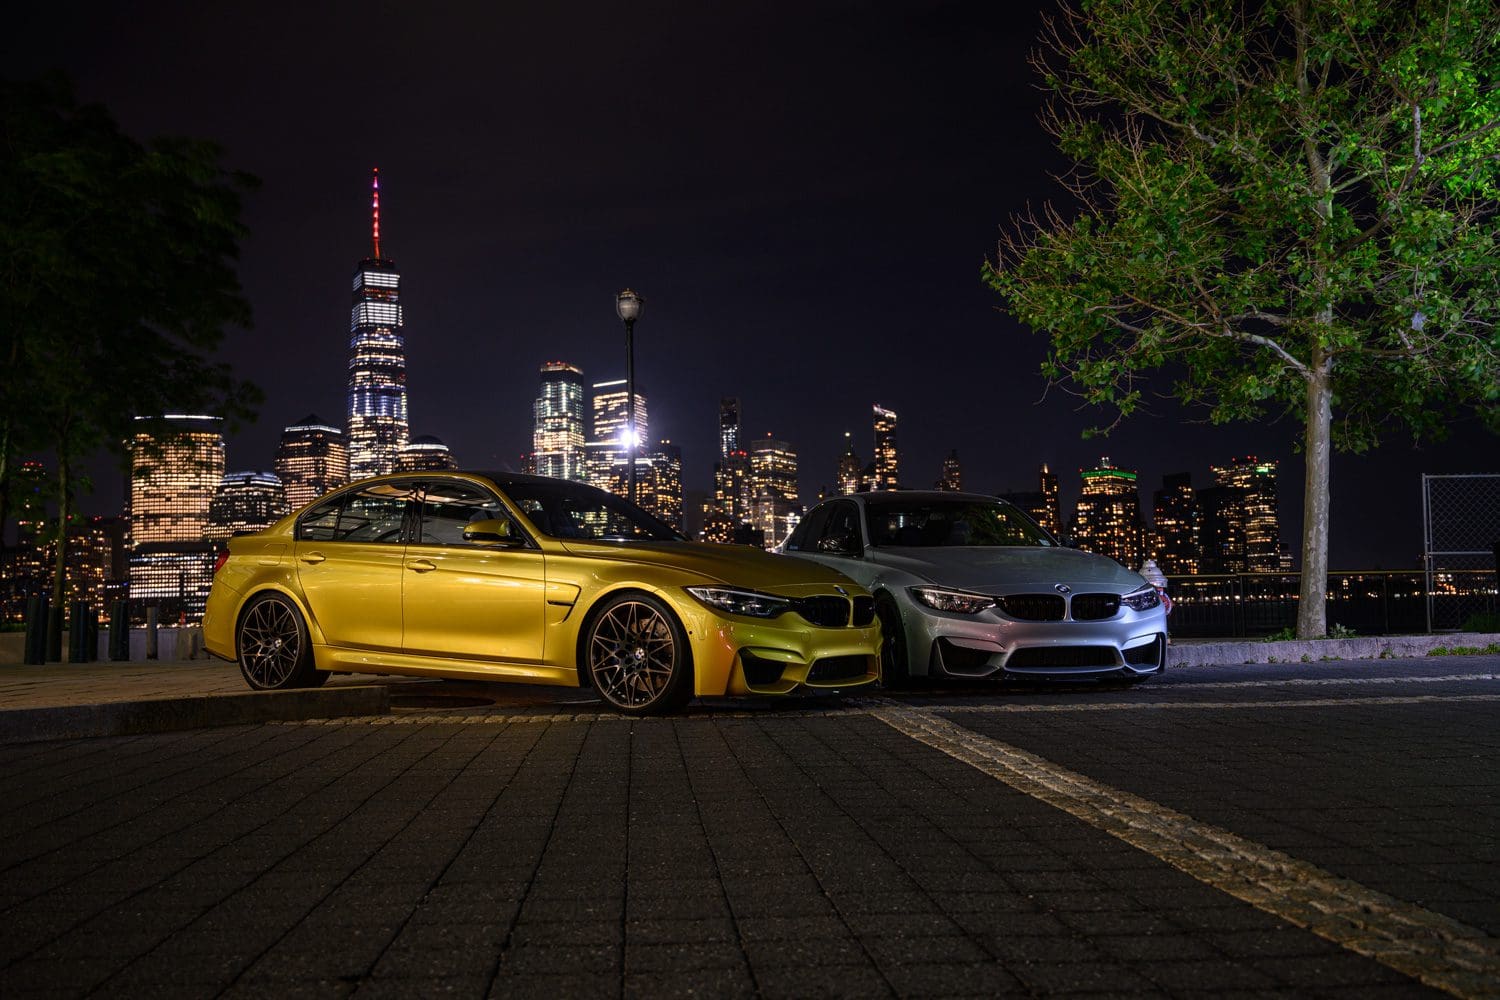
Reflections
This will add some sharpness and brightness to the overall image. Next, we will want to get rid of all those gnarly reflections on the cars, so copy your image and flatten it, then go in with the healing brush and get rid of as much as you can.
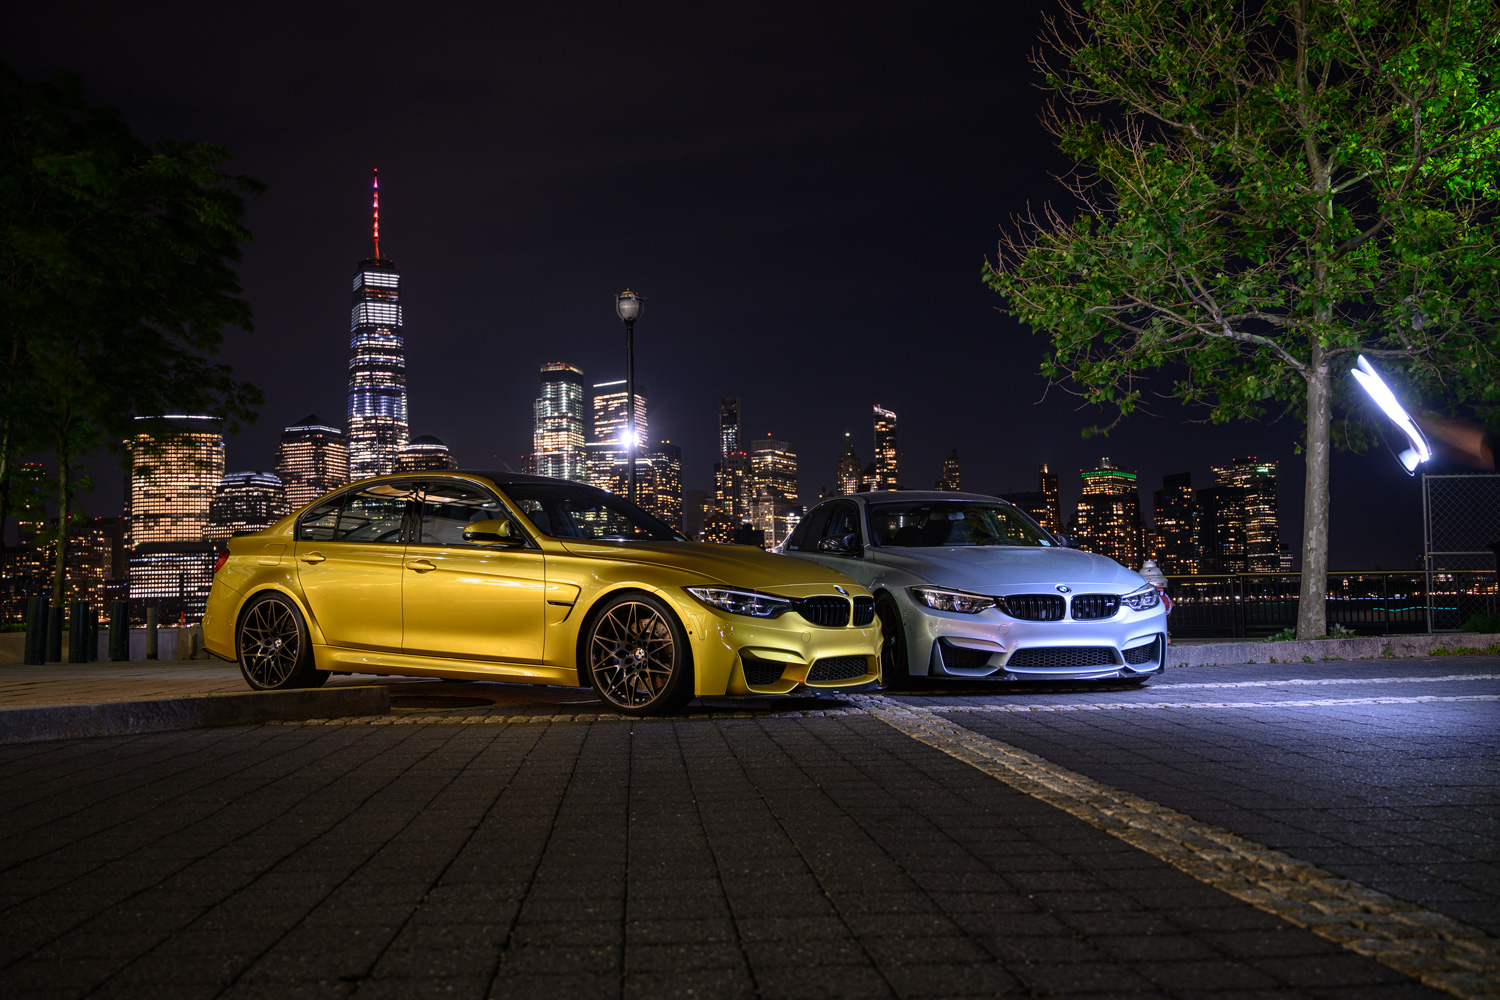
Since we have that light in the shot, we might as well make it a bit more atmospheric so it adds something to the composition. Using a “Dirty Lens” flair from Shinobi, we’ll set the blend mode to screen and add an adjustment layer to it to de-saturate it.
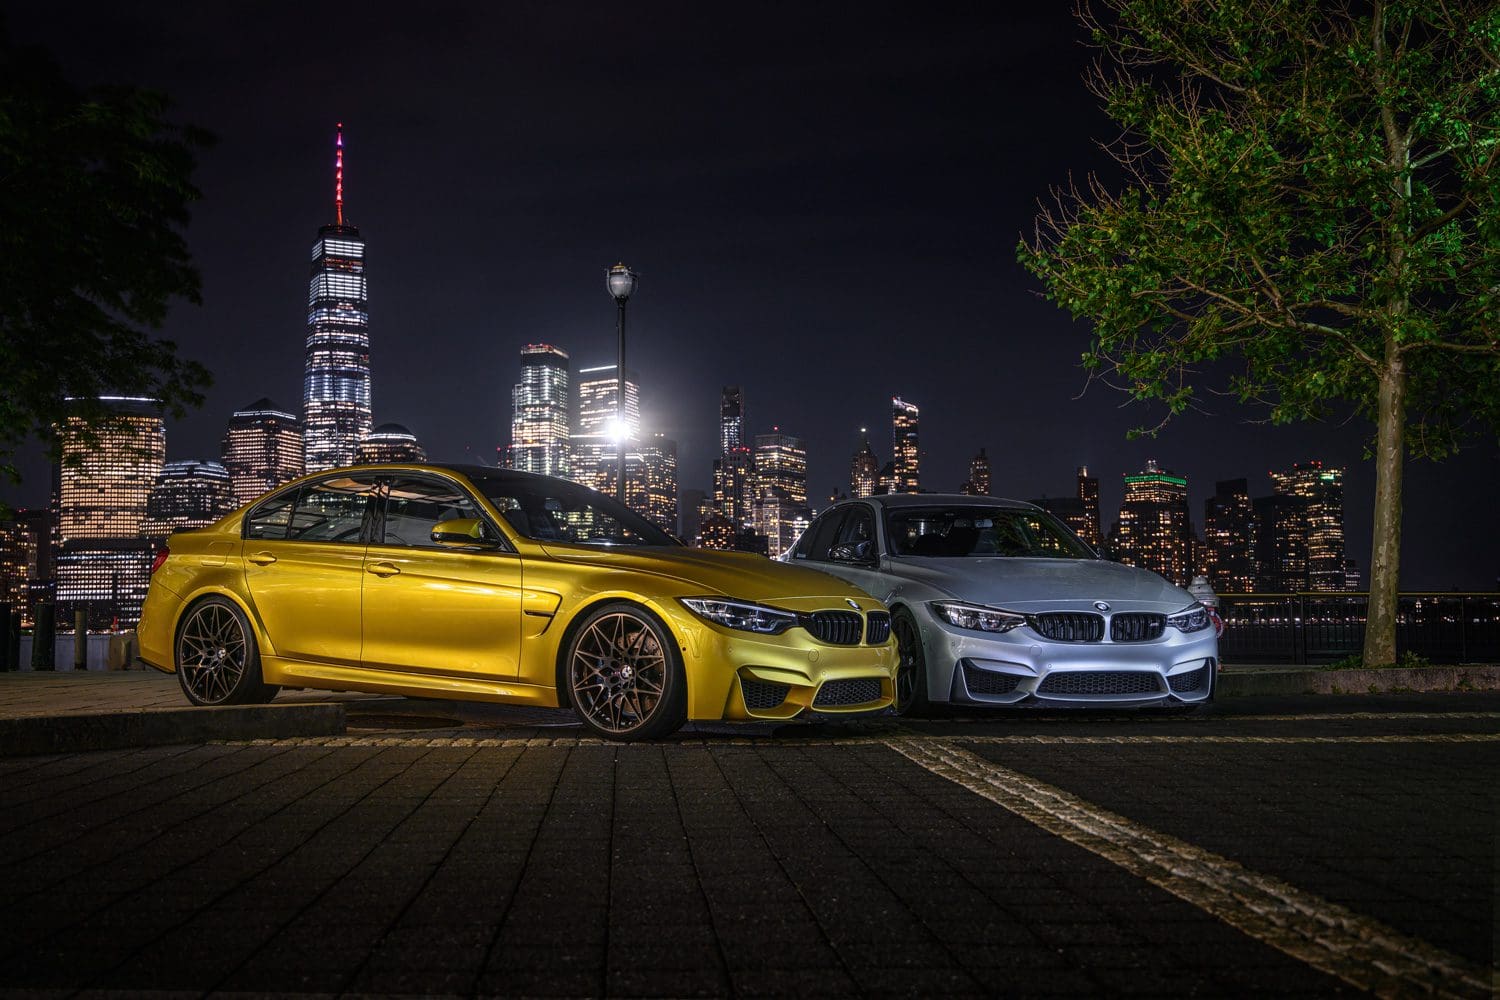
Finally, it all feels a bit bright, so let’s actually go back to a darker exposure, bring it back on top of everything, and set the opacity to 40%, then paint back in some of the black with a layer mask and your paint brush set to airbrush.
That’s all! One shot with 2 cars, at night, light painted, underneath the tallest building in New Jersey.
Feel free to email me at mike@machineswithsouls.com with any questions.
Follow along on Instagram @machineswithsouls