
Go in depth on shooting with 2 cars, showing some sunset, light painting, and framing techniques. We’ll cover a few specific shots step by step. Lets get to it!
Two M3 owners, Chris (Silverstone F80), and Antione (Austin Yellow F80) wanted some poster shots of their rides with a city backdrop. Shooting two cars, both separately and together, presents its own challenges: you literally have twice the work to consider. Make sure you’re looking for the same things you always do; odd reflections, bad lighting and good composition.
Since we’ll be shooting both cars both on their own and together, I’ve split these tutorials in half. This portion will cover two master shots from the first sunset portion of the shoot with both cars alone. The second part will cover both together in one shot with light painting.
Location for shooting with 2 cars
2 Cambridge Way
Weehawken, NJ 07086
We’ve shot here before, with an E92 M3 at sunset, but it was worth coming back to. It’s a location that offers a lot of variation of background, and when shooting two cars, that becomes important. Each owner should feel as if they are getting their own shoot; not recycled ideas.
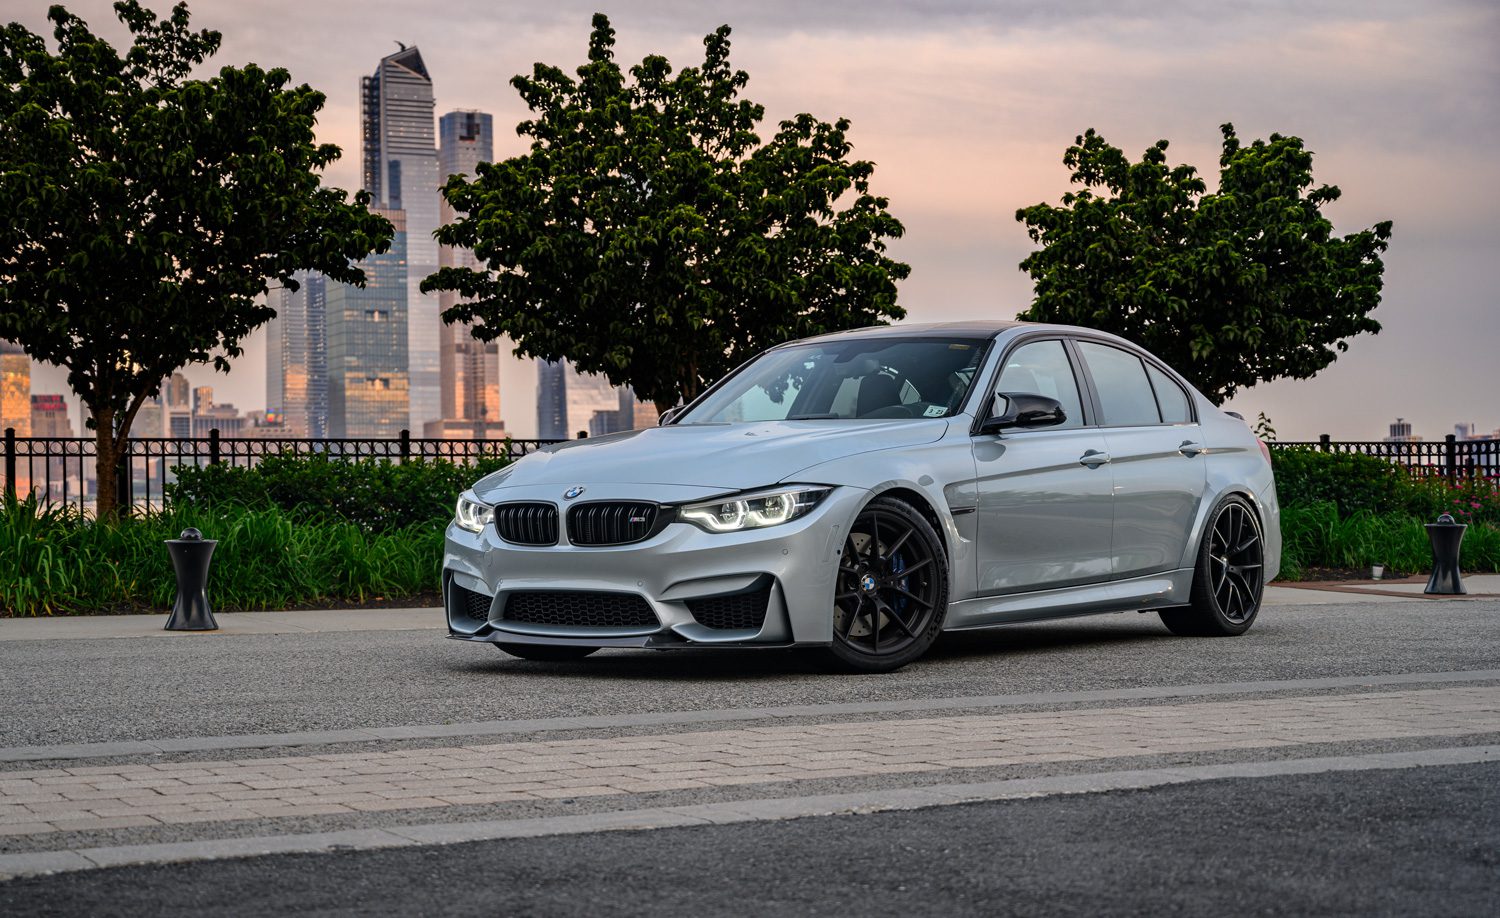
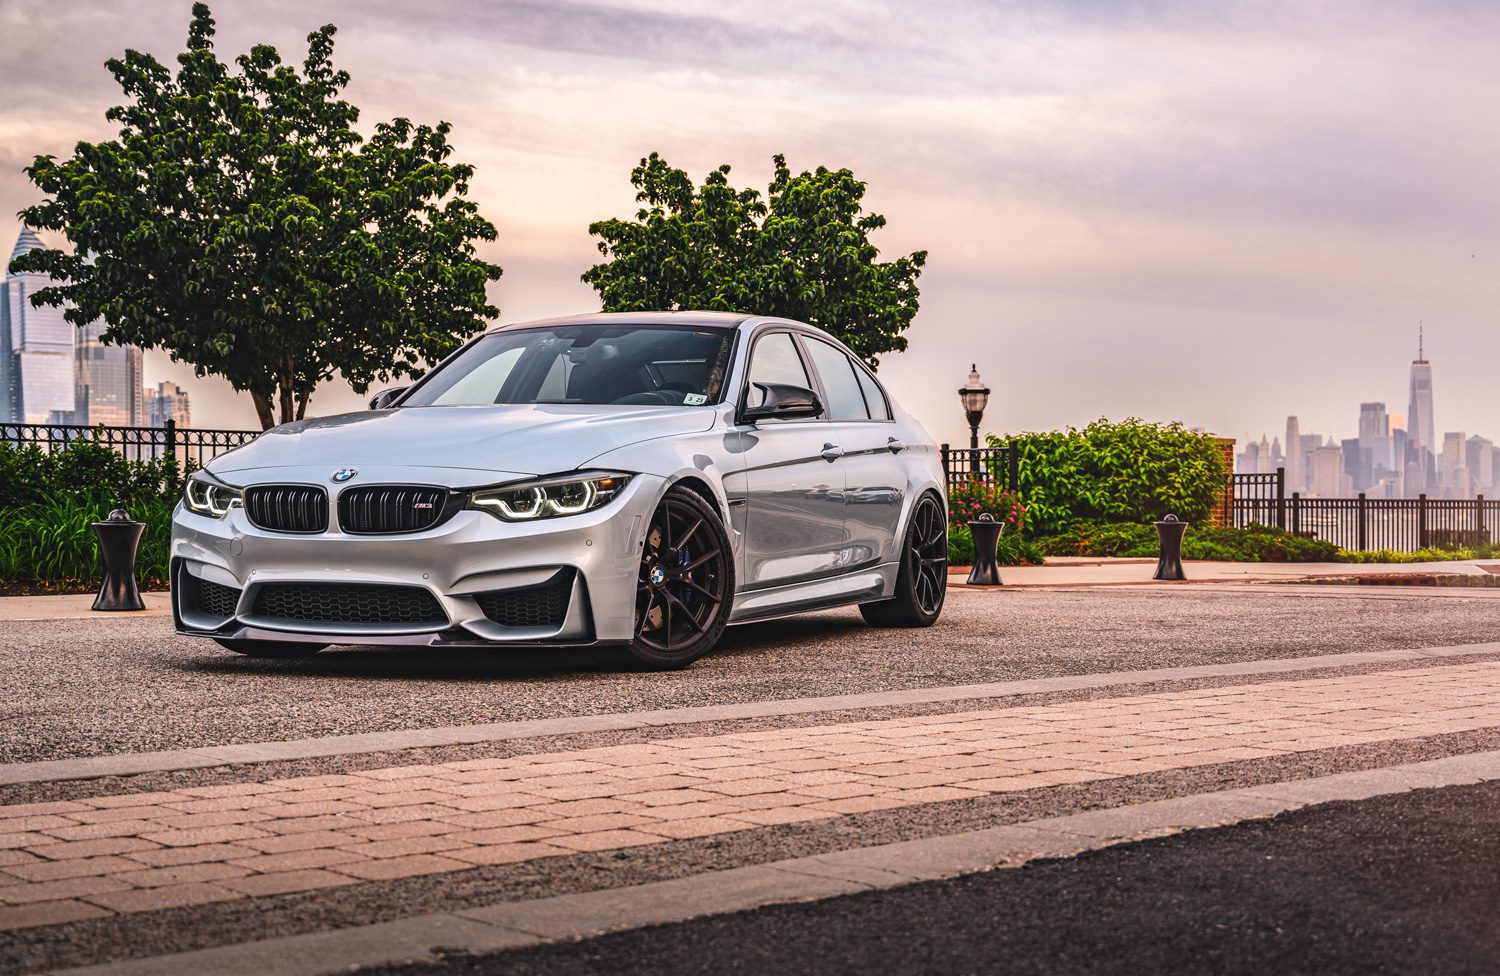
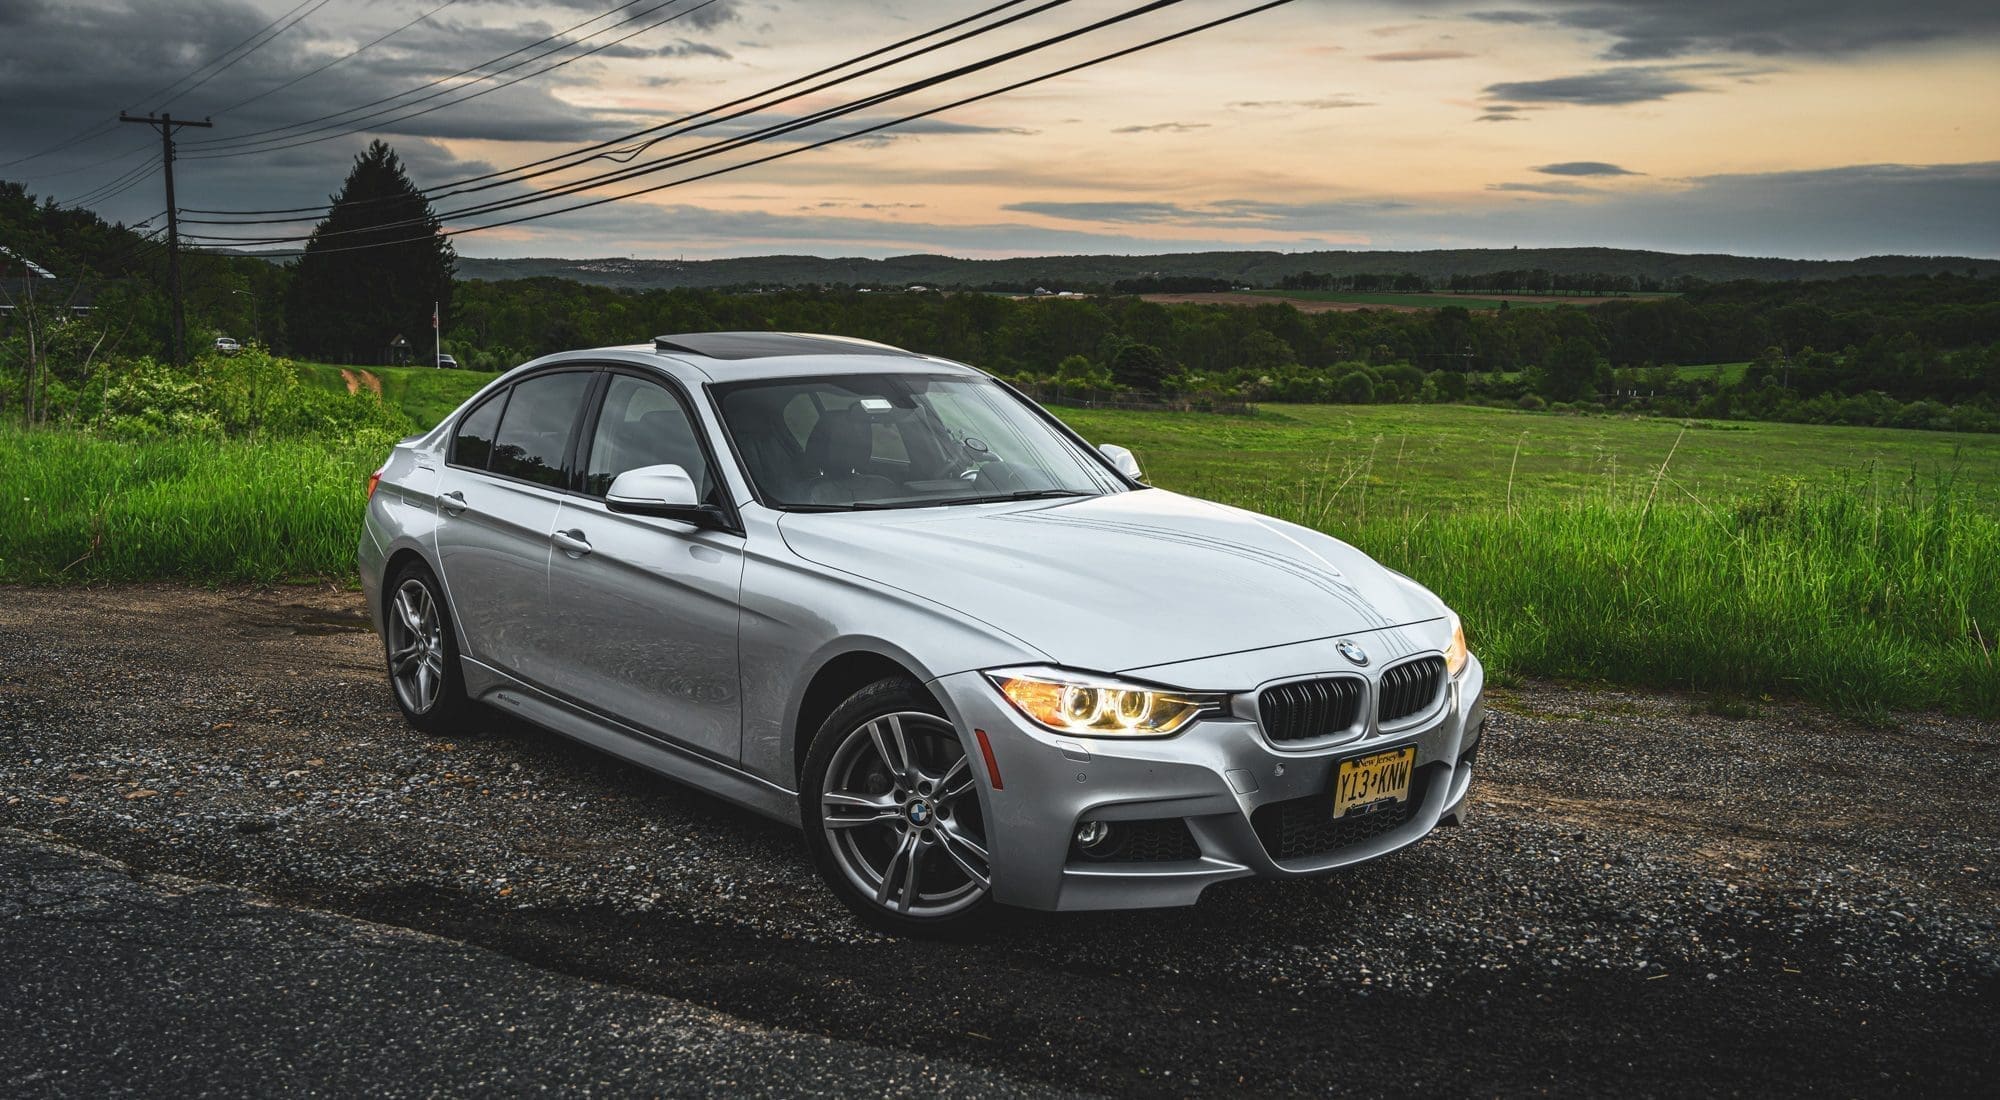
The first shot will be Chris’s beautiful Silverstone M3. Silverstone is a complex color – it picks up tones from the environment much more than some other colors, yet always has a blue hue to it. I tried to keep this in mind while both shooting and editing.
Equipment for shooting with 2 cars
- Tripod
- Digital camera with separate lens (I’m using a Nikon Z7 with a 24-70 f/4 lens)
- Polarizer
Composition for shooting with 2 cars
– Silverstone M3
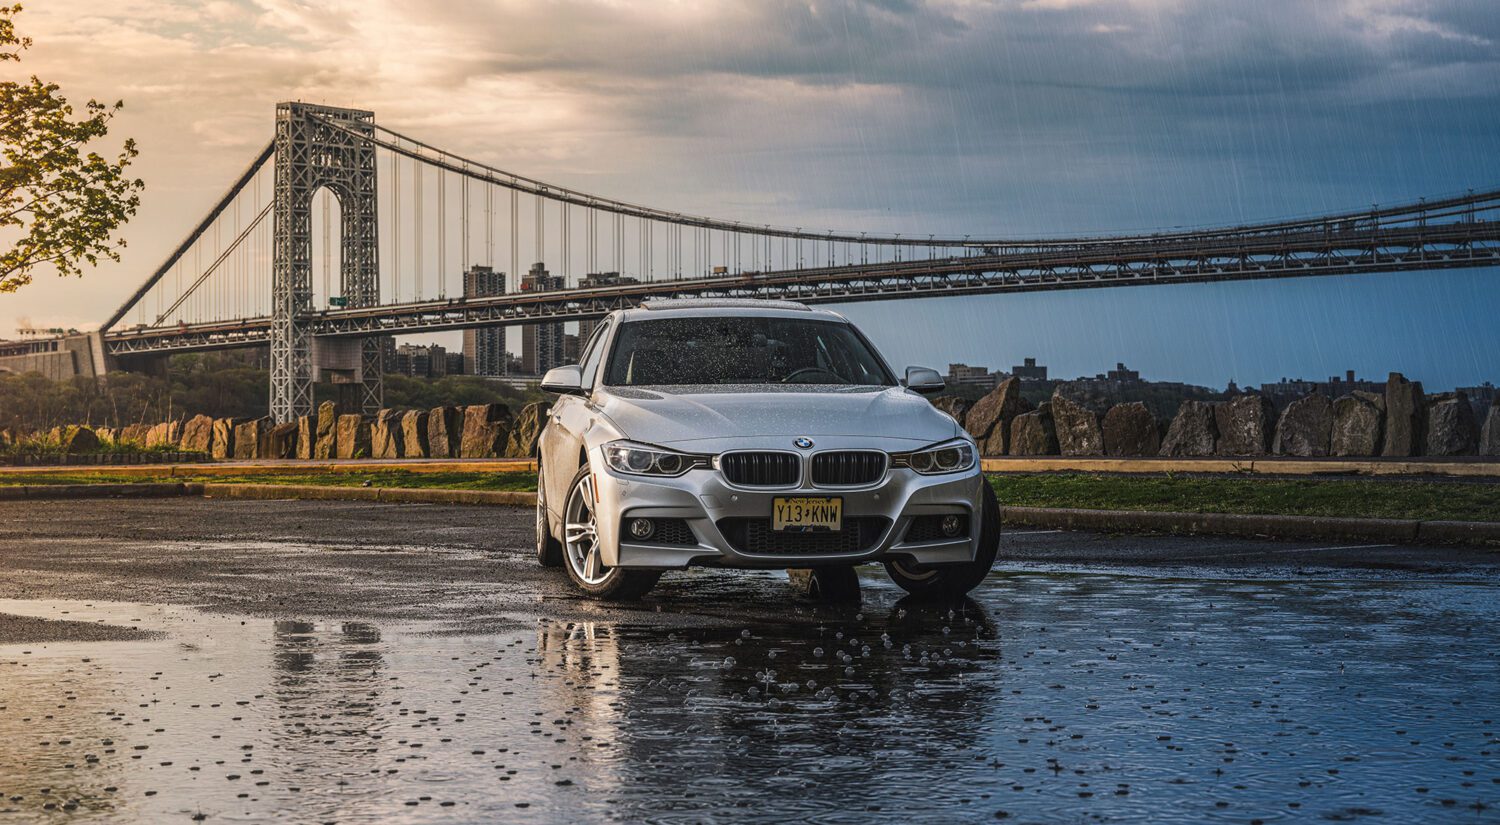
One of the main draws of this location is the proximity to the Manhattan skyline, so I set the car up along a quiet intersection overlooking the city. There are 2 ways to frame the car:

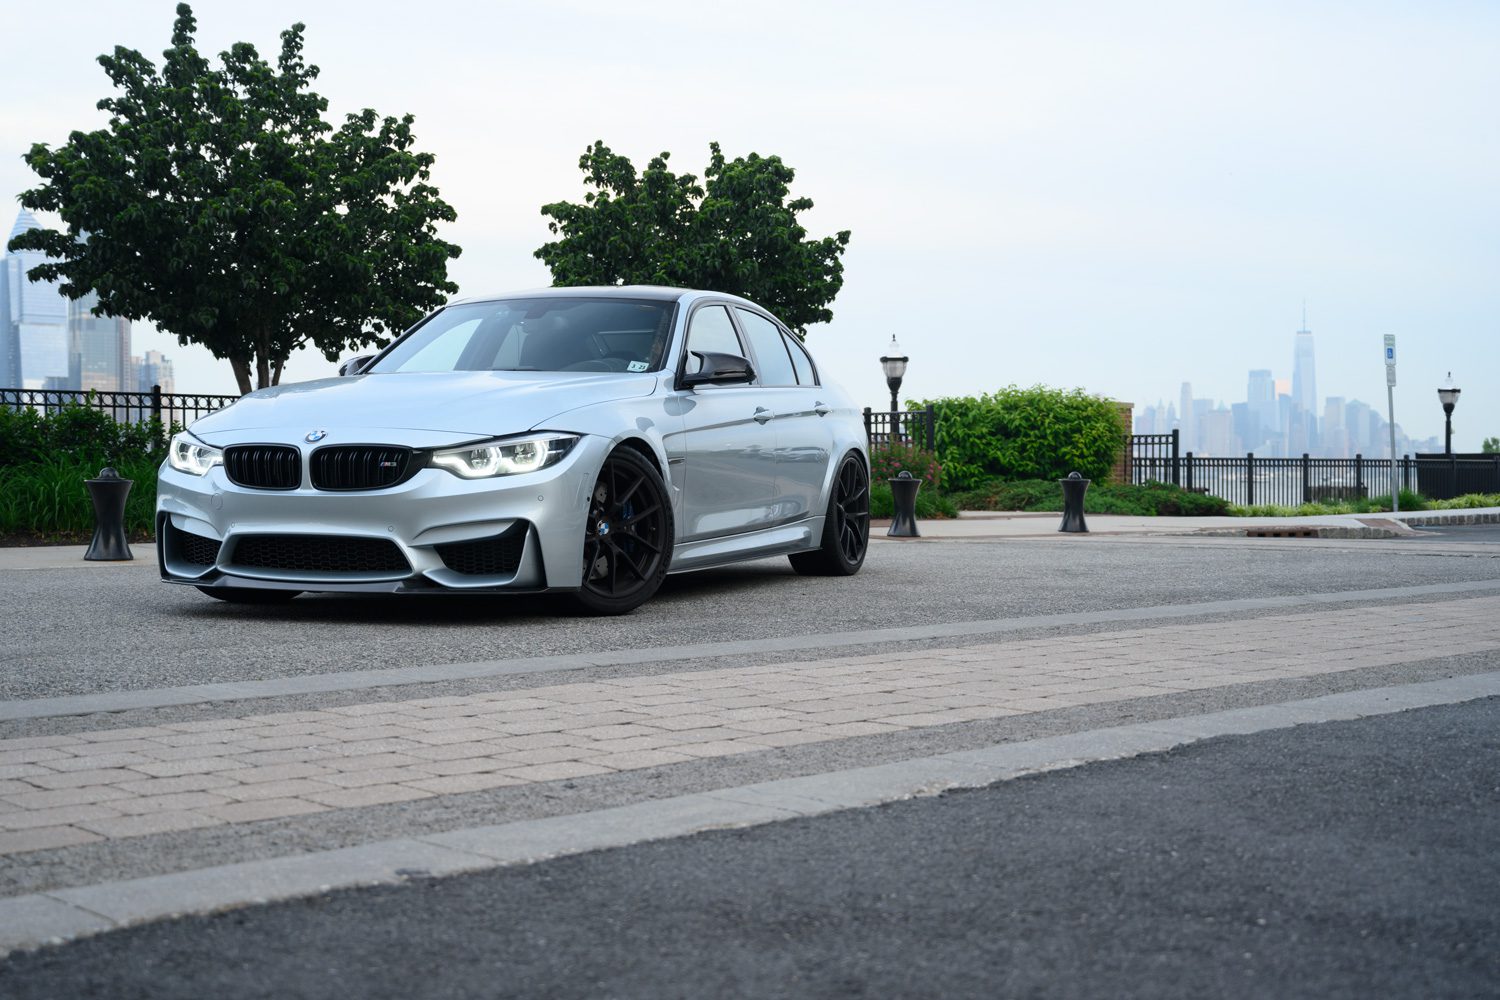
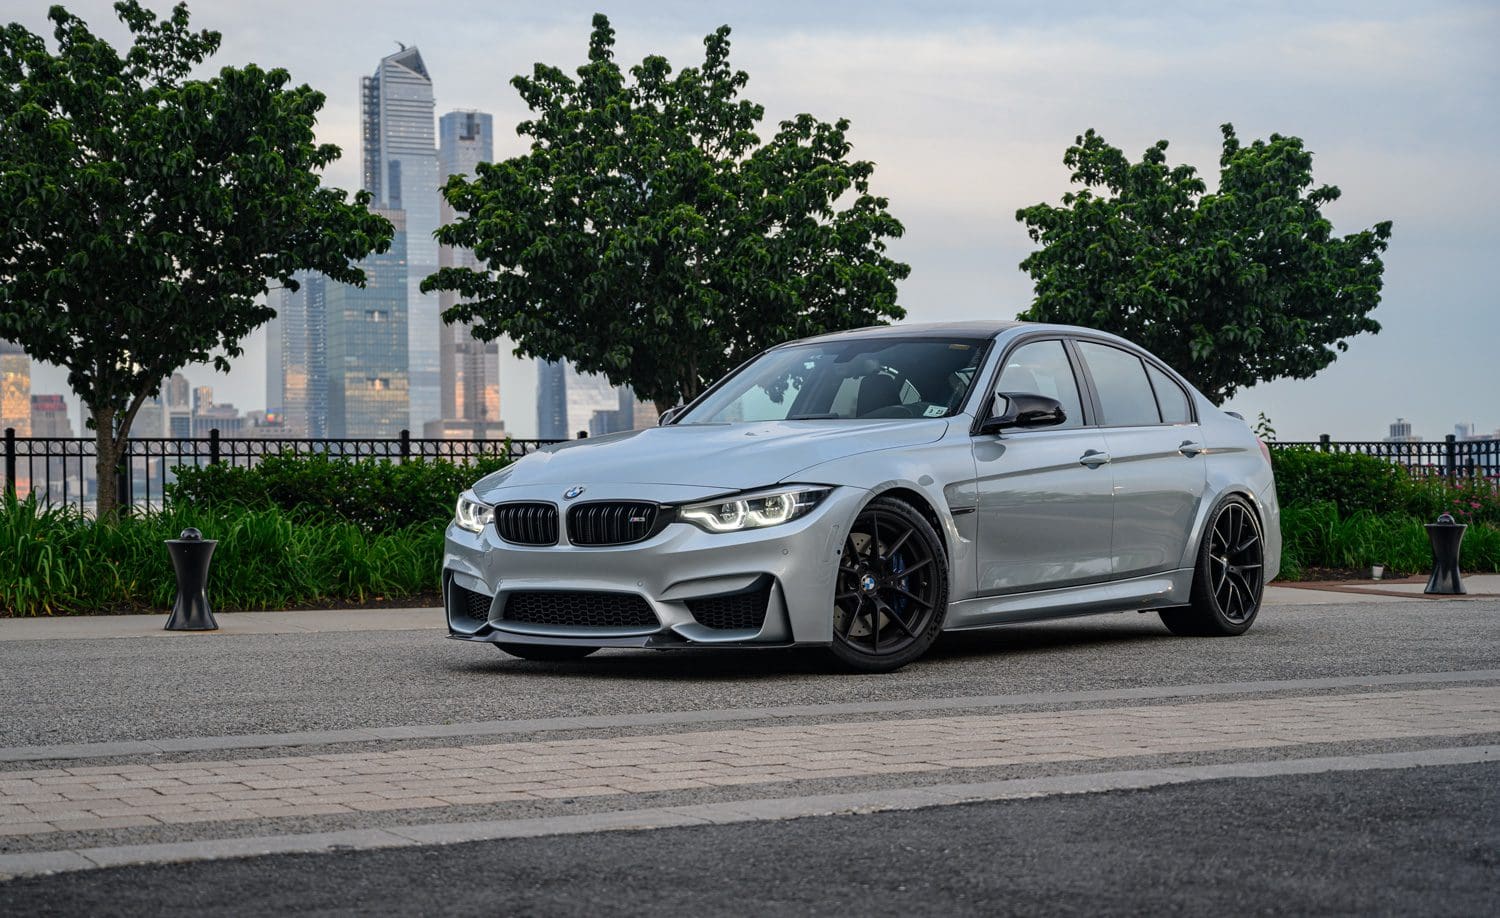
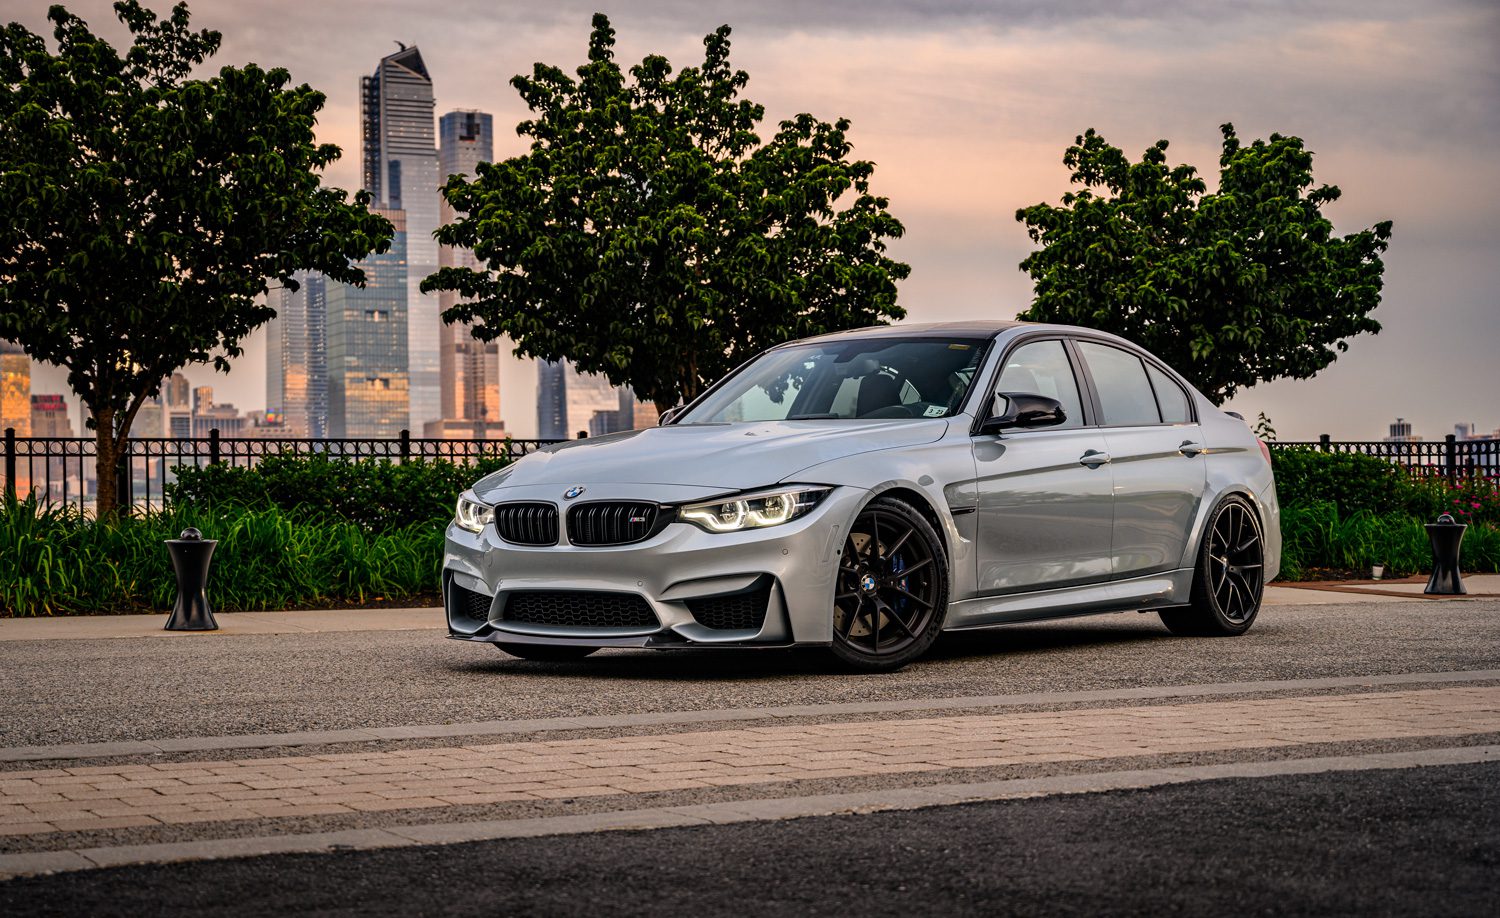
I like option 1 a bit more because it frames the car better. It’s my personal opinion, but you most commonly read from left-to-right, so letting your eye move to the car set on the right hand side and ending there, as oppose to sweeping over the car and landing on the skyline, felt like a better option. But it’s important to still show the skyline, which is why the car is located next to the buildings, as oppose to centered in front. I ending up editing both to demonstrate the difference, and I’ll show you how below.
Settings for shooting with 2 cars
Shot 1 – Silverstone M3
- ISO: 100
- F/4
- Exposure: 1/15s
- Focal Length: 53mm
If you’d like the buildings and background to be sharper, I’d shoot at around F/9, though I like the contrast of focus with the car itself. Light was already low, so a tripod is required. Turn your polarizer to reduce reflections on a different part of the car, and take another shot with the same settings.
A third shot was taken with an exposure time of 1/60 s to capture the LED headlights.
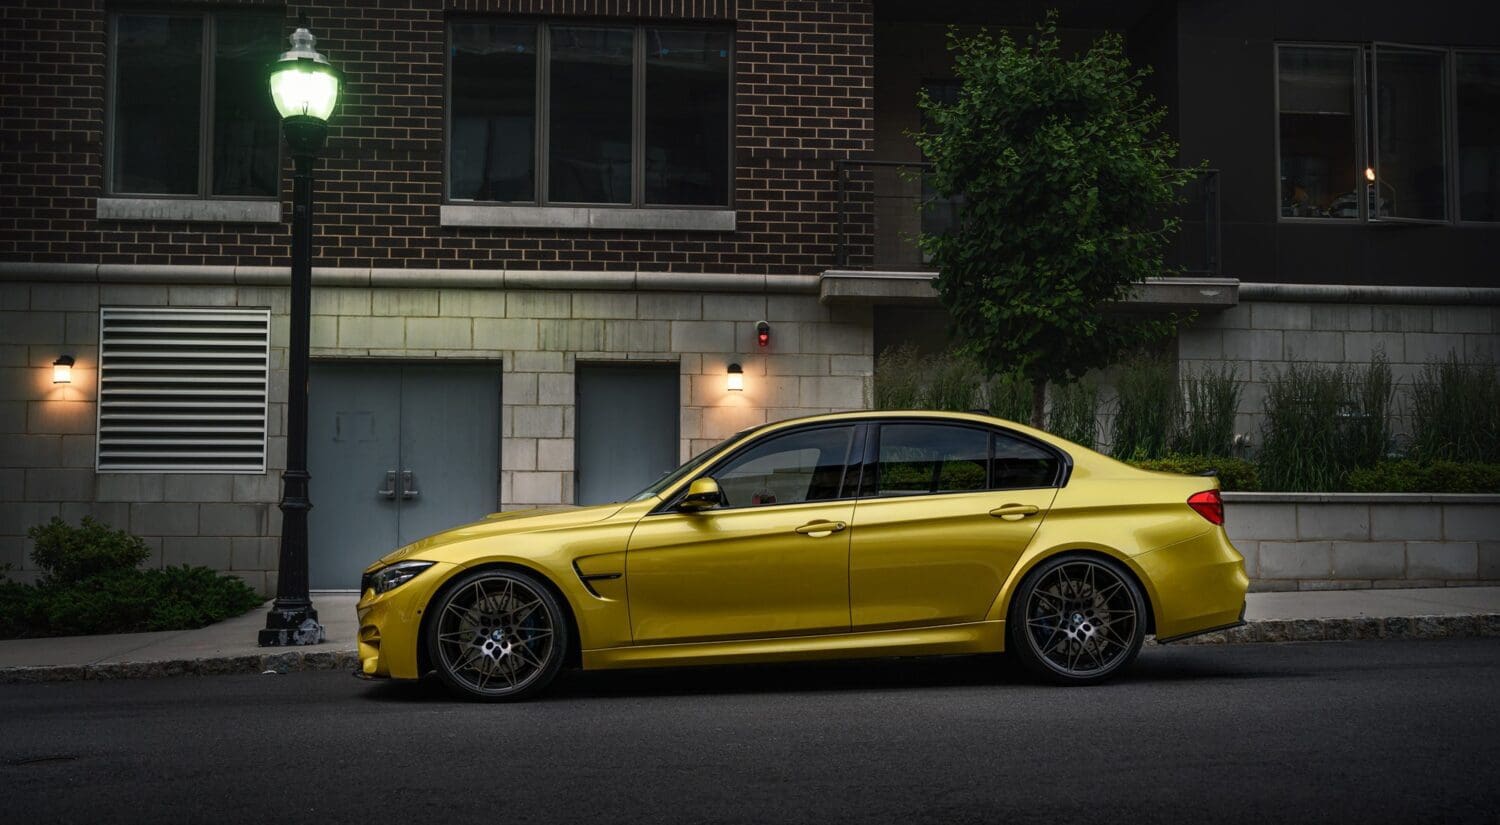
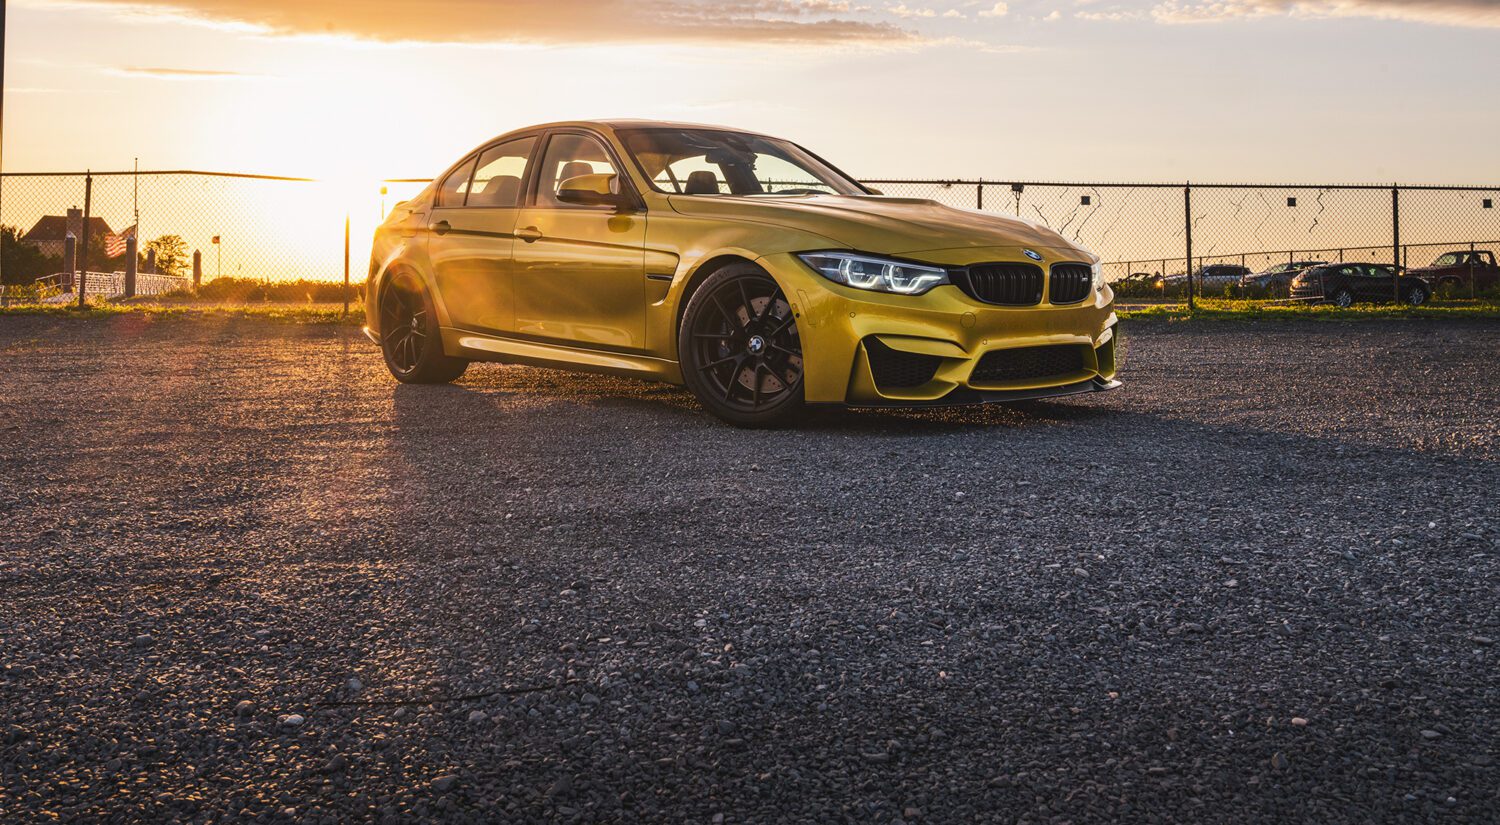
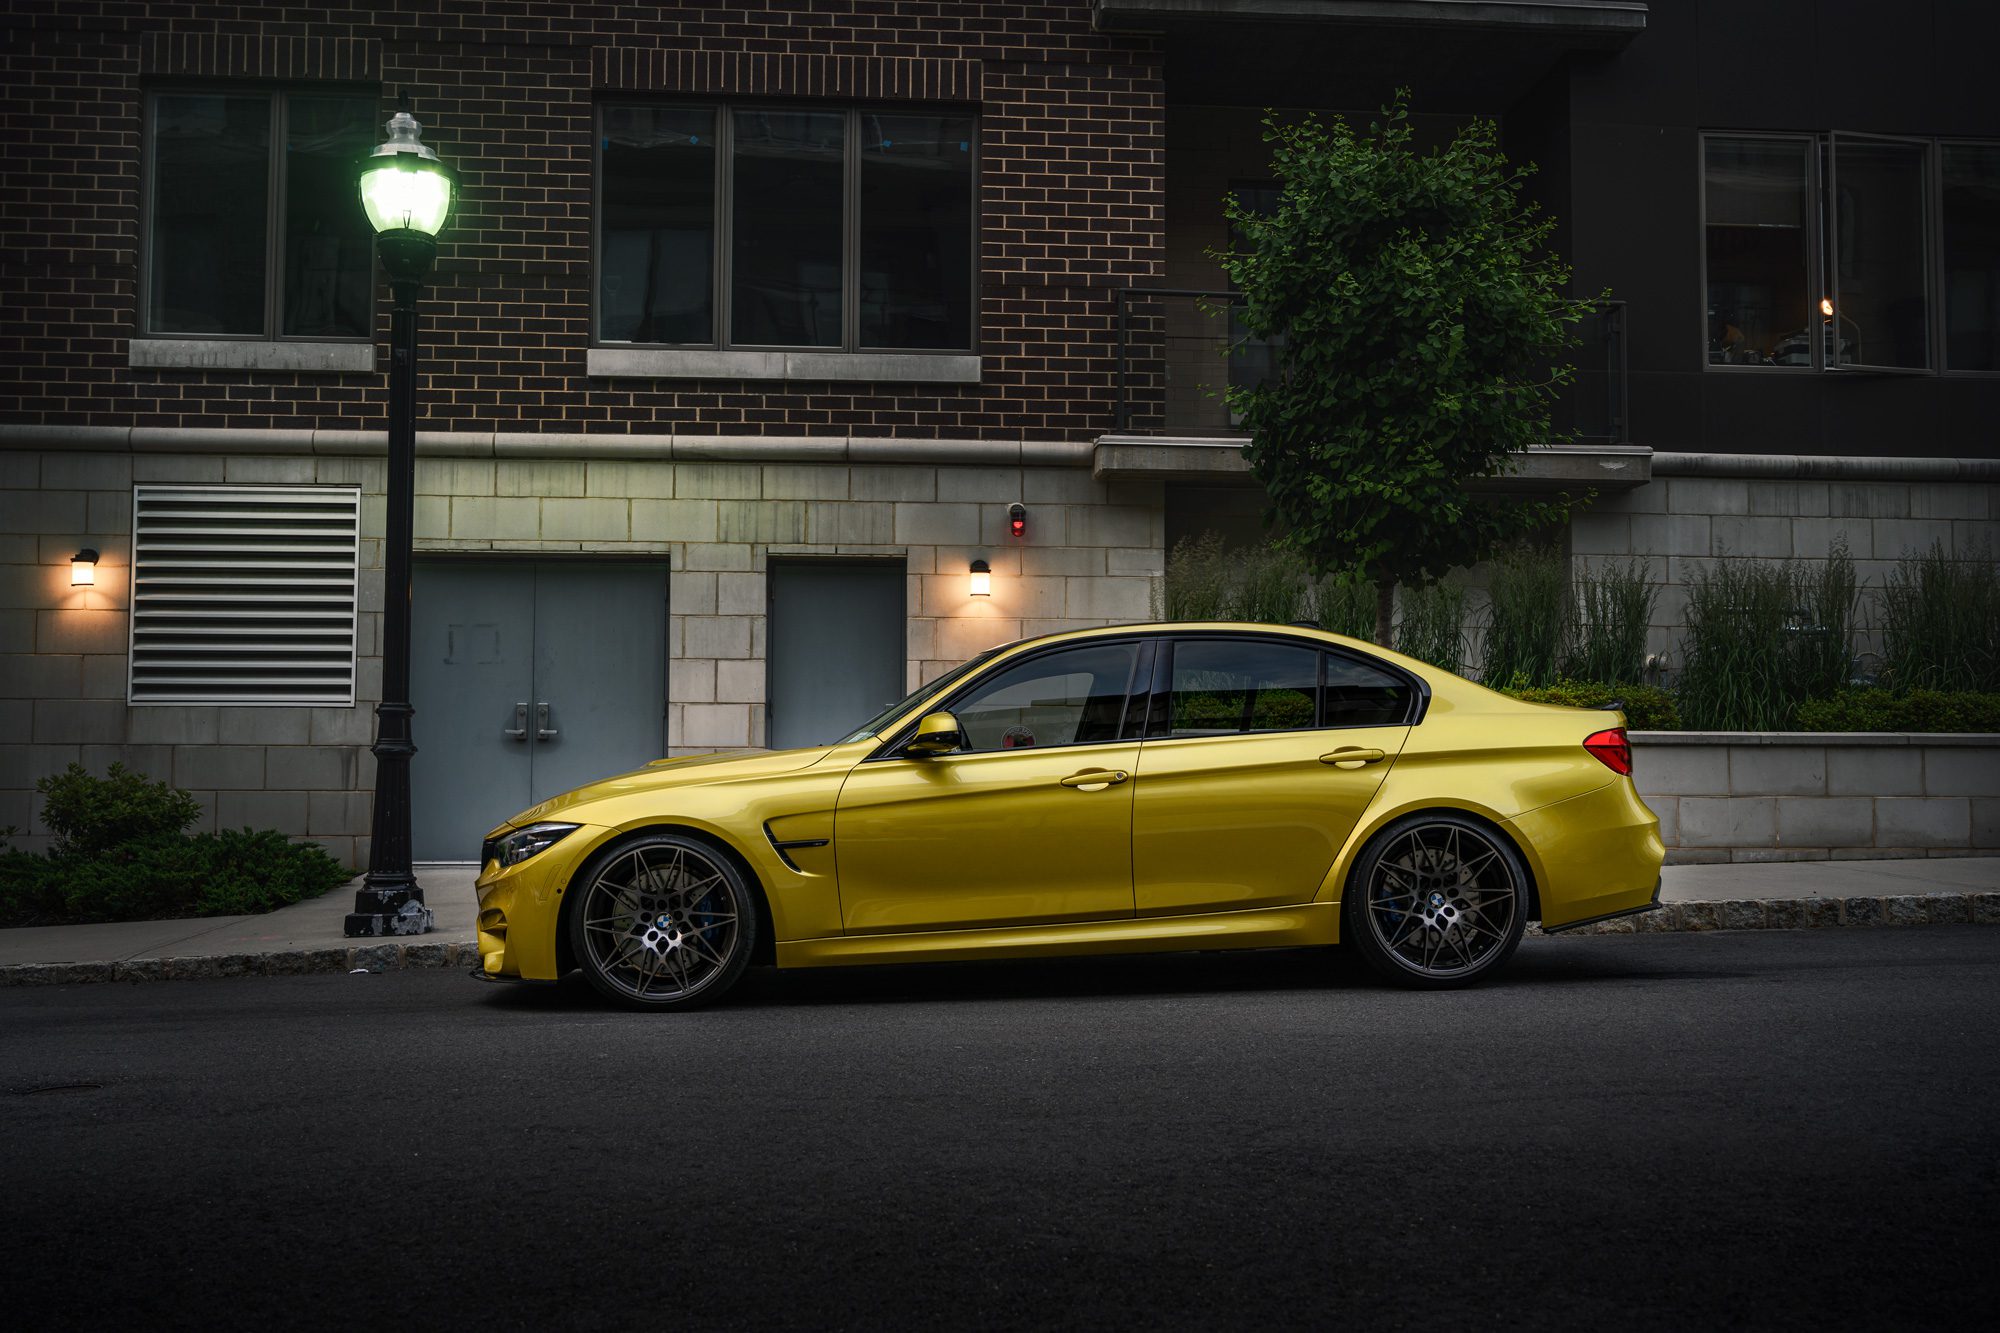
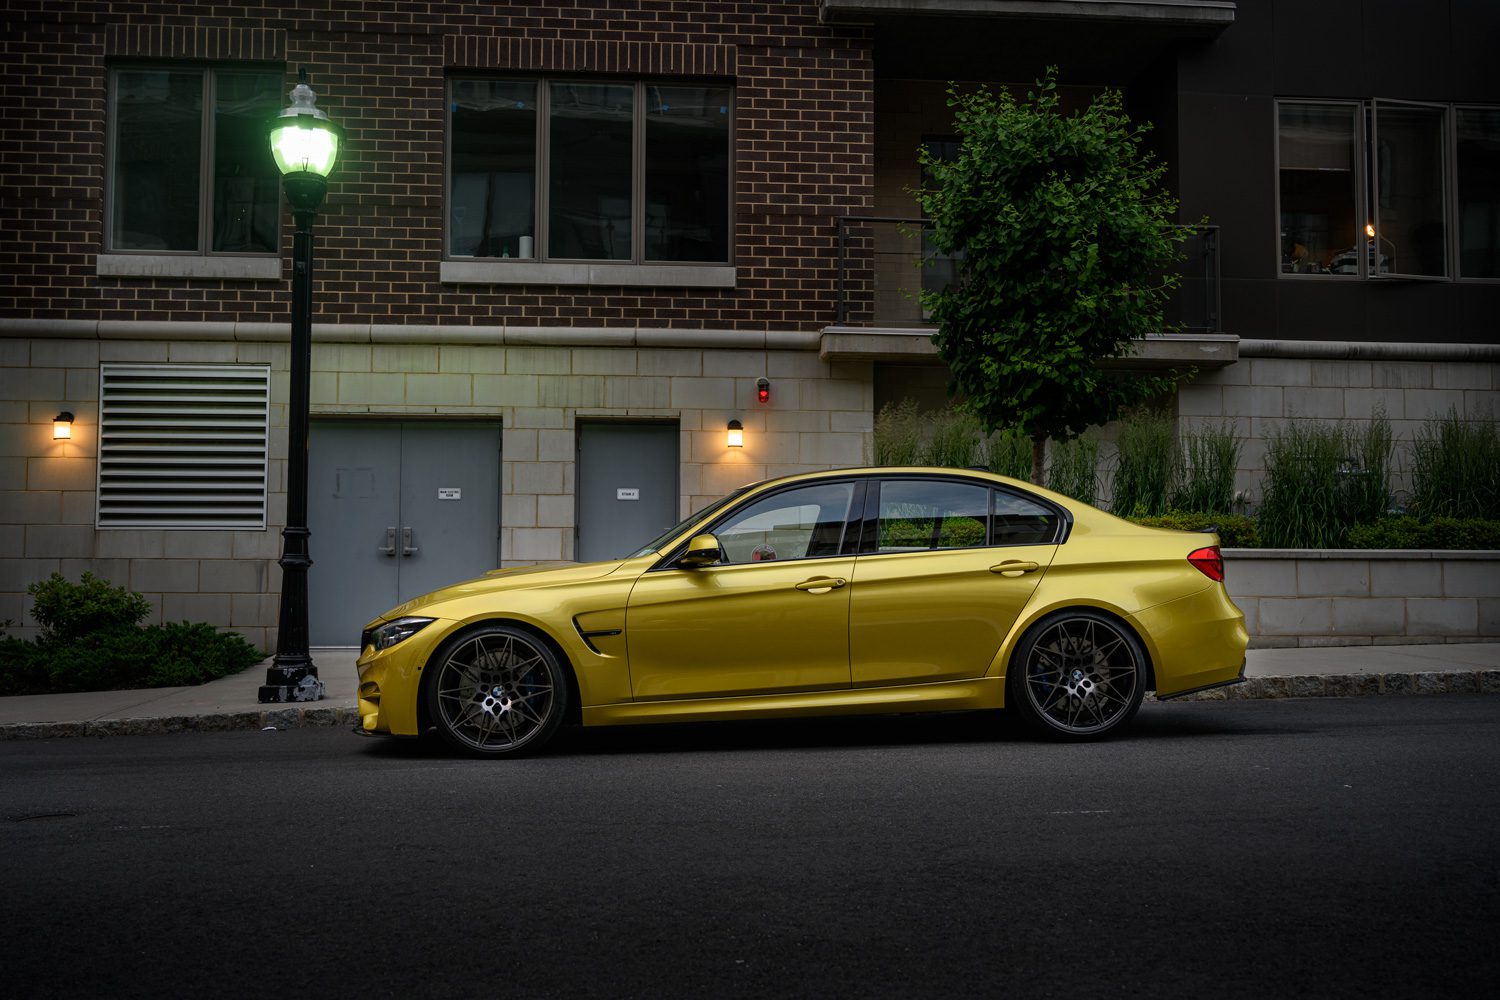
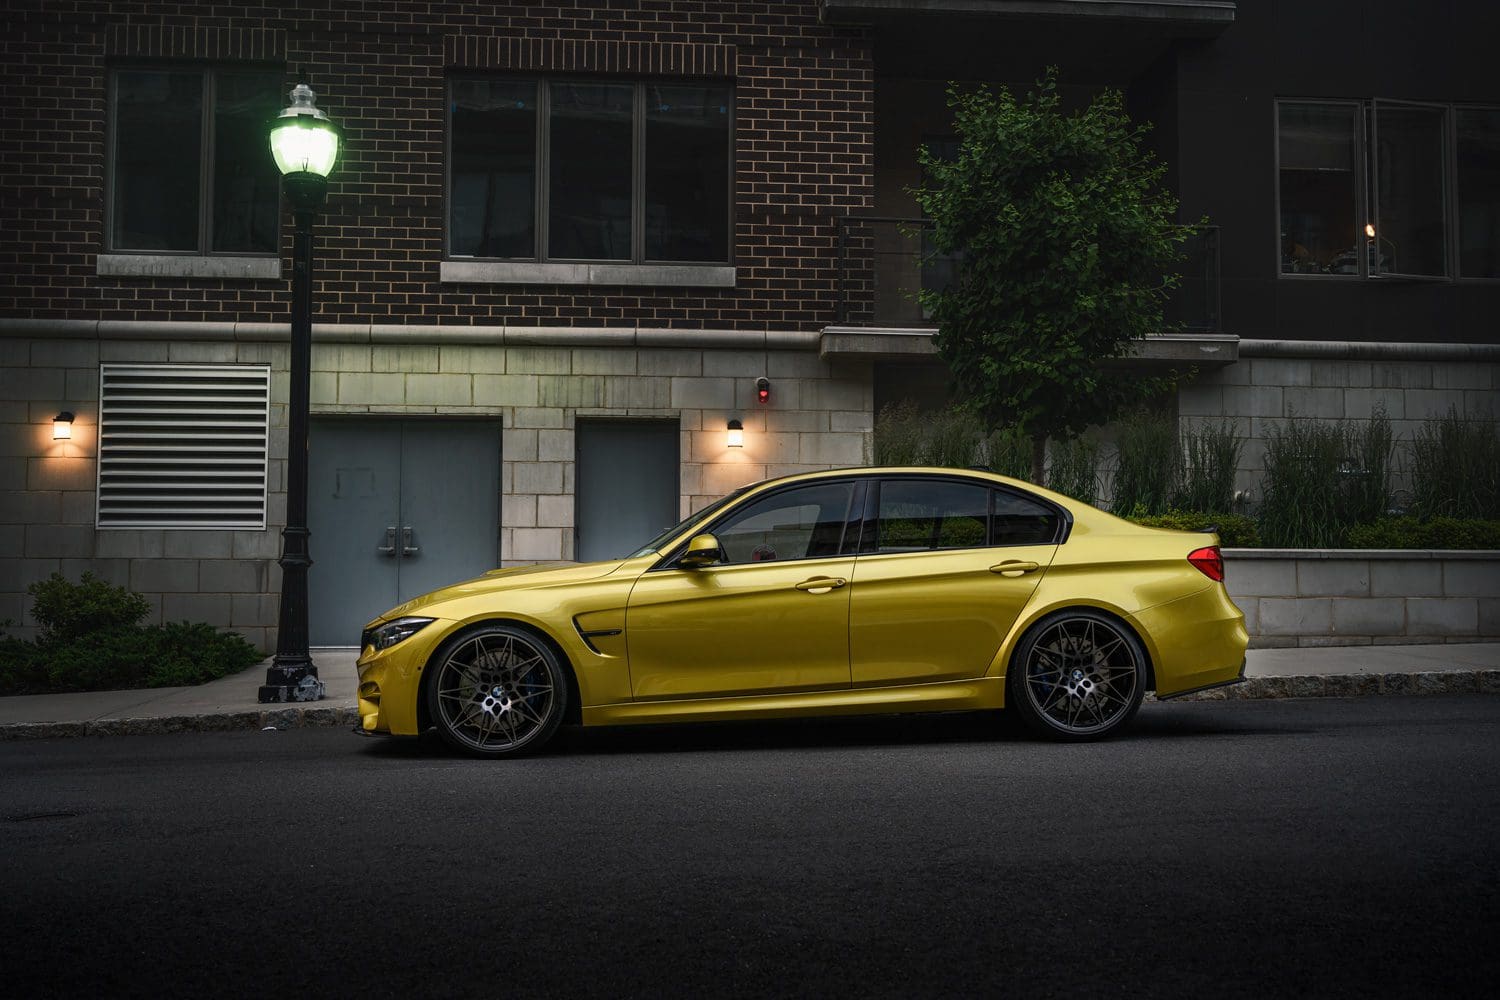
Composition – Austin Yellow M3
Shot 2 – Austin Yellow M3
- ISO: 100
- F/4
- Exposure: 1/5s
- Focal Length: 34mm
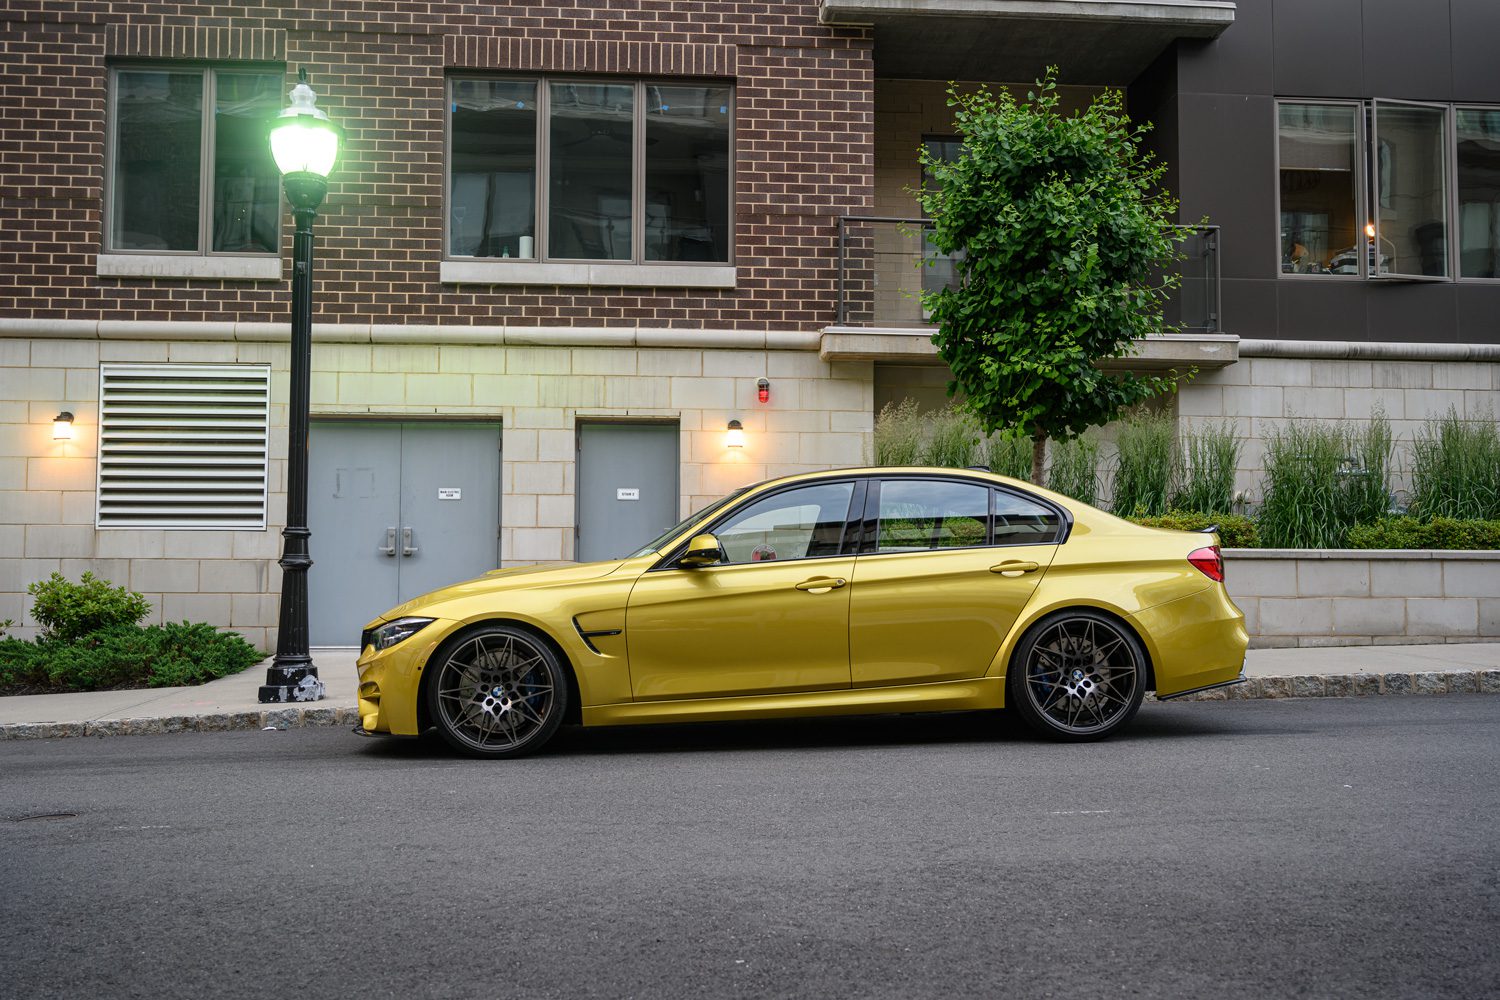
For Antione’s Austin Yellow M3, I wanted a unique spot that would highlight the vibrant color. Since the Silverstone was already shot with the city backdrop, I looked for other places that were atmospheric. An alleyway in the same complex proved to have excellent lighting, so I positioned the car against the sidewalk and shot a few exposures for proper reflections and lighting.
This is one of my favorite shots ever, and as you’ll see, not much editing was required.
Let’s Edit – Silverstone
The Z7 captures much more detail than my old D5200, so there is much less retouching needed in Camera Raw.
Since it was shot at sunset, I wanted to emphasize the purple and orange tones of the image.
To begin, open the RAW image in Camera RAW, and adjust the following:
- Exposure: +.33
- Temperature: -6300
- Tint: -20
- Contrast: -20
- Highlights: -50
- Shadows: +40
- Whites: -53
- Blacks: +40
- Texture: +20
- Clarity: +30
- Dehaze: +15
- Sharpening amount: +70
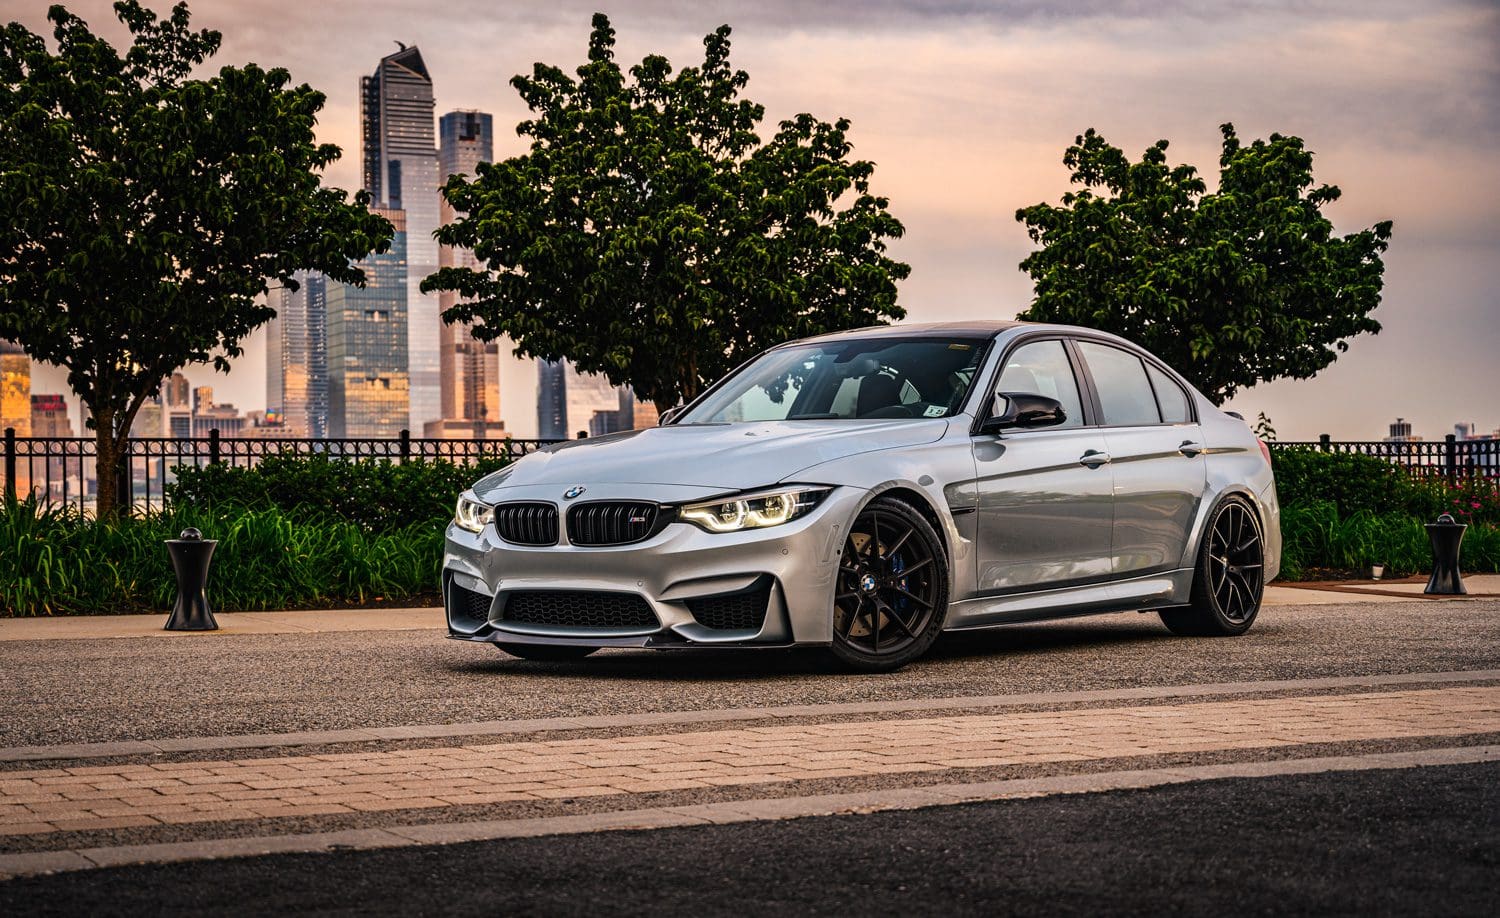
You’ll get this…
Going beyond the basics
Looks nice. But we really need to emphasize the sky. Copy your original image layer, and add a layer mask to it. Hit COMMAND + DELETE to fill the entire mask with black (nothing showing), then select filter > camera raw filter, and adjust the following:
- Temperature: 8200
- Tint: 0
- Contrast: +24
- Highlights: -100
- Shadows: +40
- Whites: -100
- Blacks: +40
- Texture: +20
- Clarity: +55
- Dehaze: +35
That results in this…
Notice the car is still the original shade from the photo. Silverstone is naturally blueish in hue, so we’ll want to reduce the effect. Copy the sky layer, delete the layer mask, and reduce the opacity to %50 percent, which leads to this…

I always like to darken the foreground on shots, so simply add a new layer and paint the bottom edge black with the airbrush tool. Then select everything and group it, duplicate the group, and convert it to a new smart object. Add a new Camera Raw filter for additional sharpening to your new layer. Why do I flatten the original layers (while always keeping a copy)? Because I want to add to the original edit, not change it, so I duplicate and flatten.
- Temperature: +5
- Shadows: +5
- Blacks: +20
- Clarity: +20
- Dehaze: +10
- Saturation: +5
- Vignette: -10
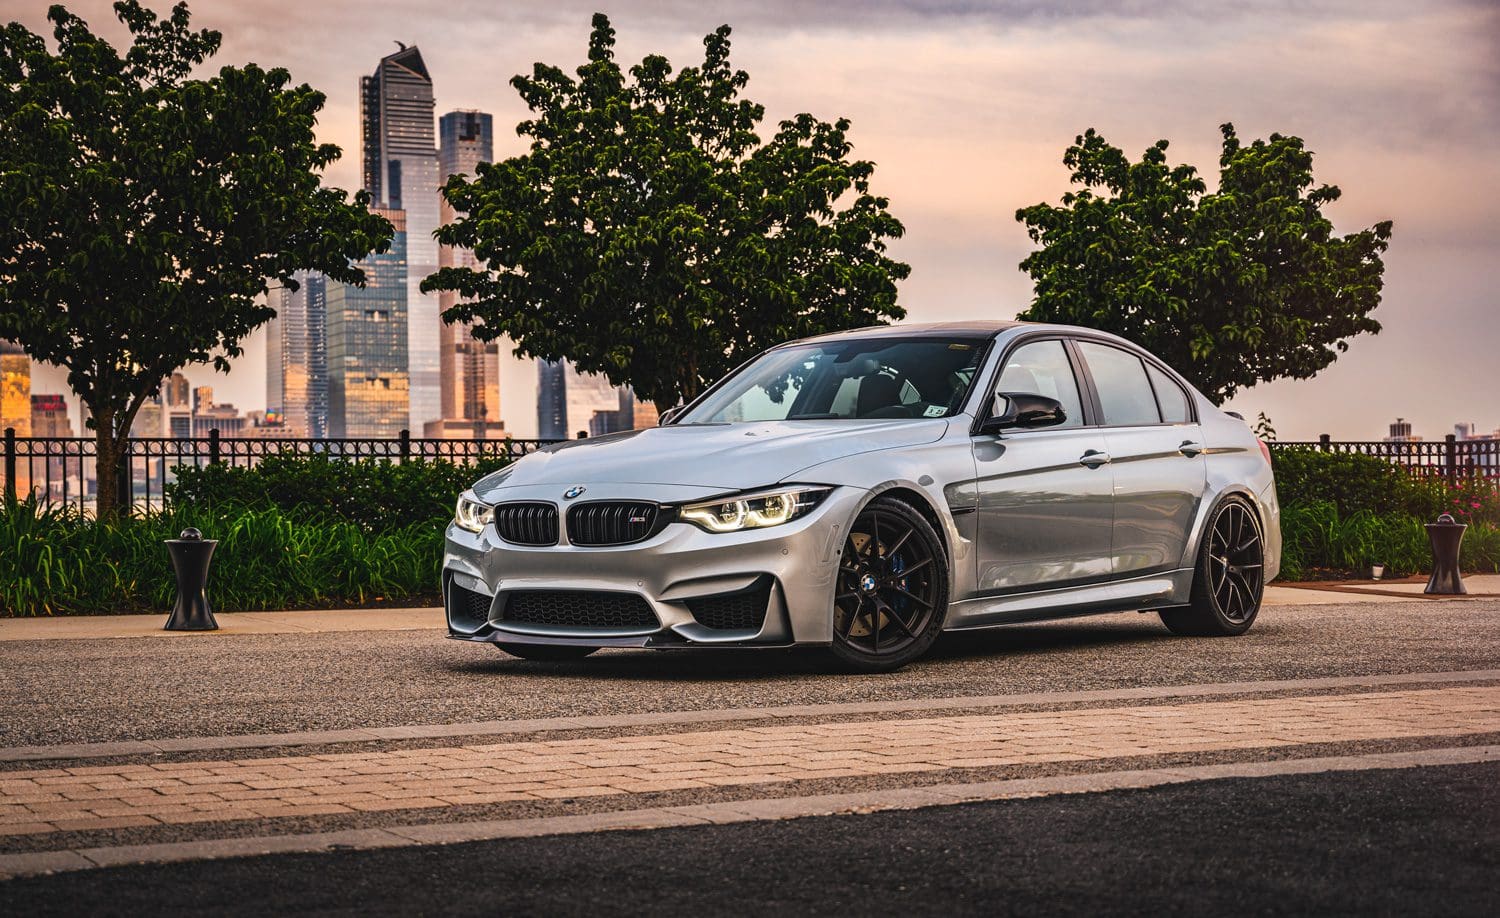
Results in this…
Finishing up
Let’s add finishing touches. Select your layers, group, duplicate, and flatten, then convert to smart object again. Now add a new Camera Raw filter, and select a Lut filter called “Vivid”. Reduce the layer opacity to 60 percent. Duplicate the layer and adjust the filter to Warm Contrast, then reduce it to 40 percent opacity. Leads to this…
Finally, I’ll just airbrush a little light coming from the right-hand side for a warm tone – hard to see on here, but obvious in the full-res edit. You’re all set!
And here is the alternate composition. Again, I like both but I prefer the first.
Let’s Edit – Austin Yellow
This Austin Yellow is a much different image in tone and color. Here, I have 3 shots I’m working with, 2 for different lens polarizer positions to reduce reflections, and one for lighting.
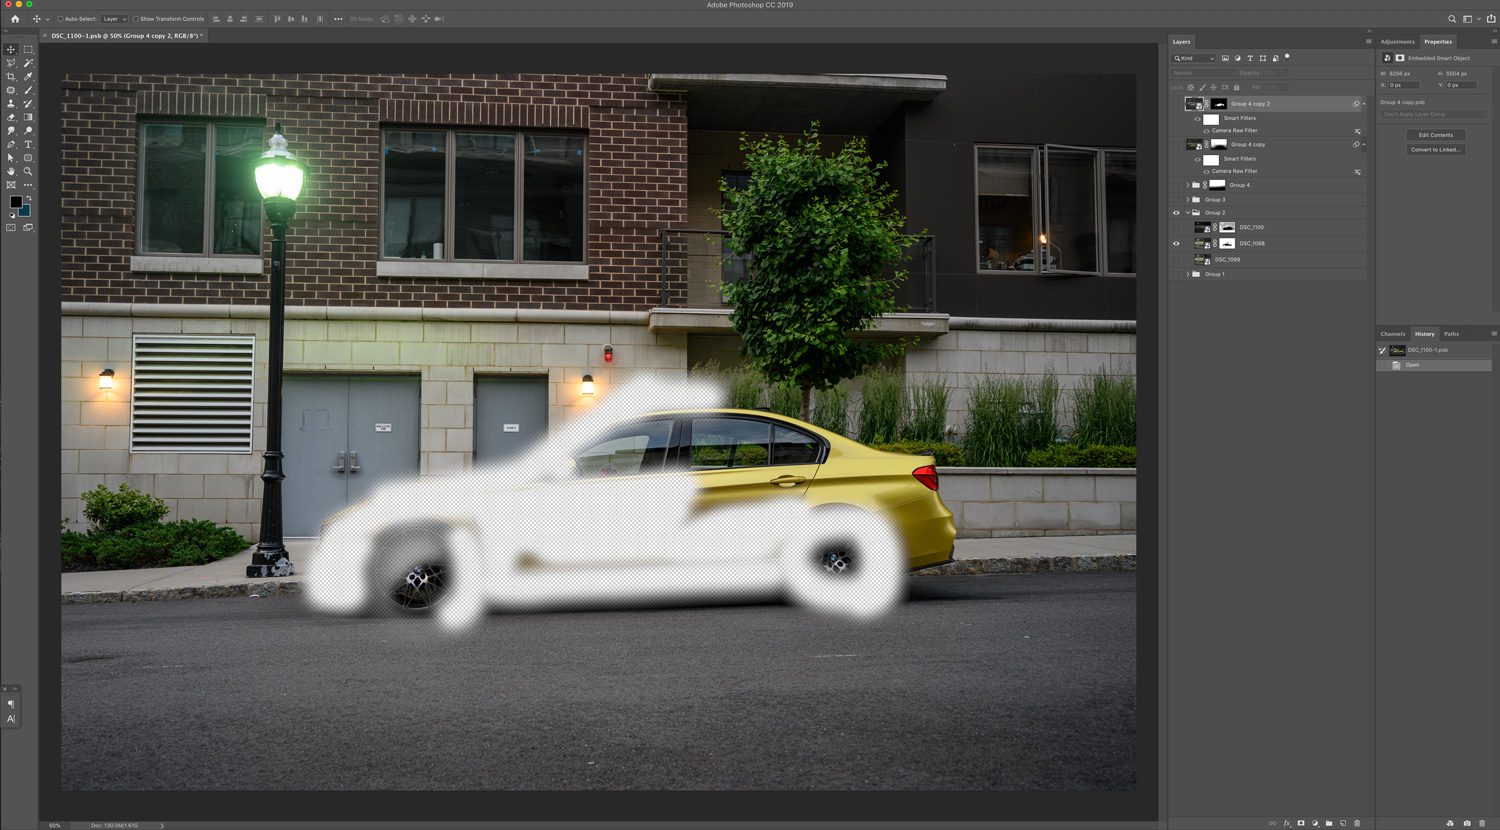
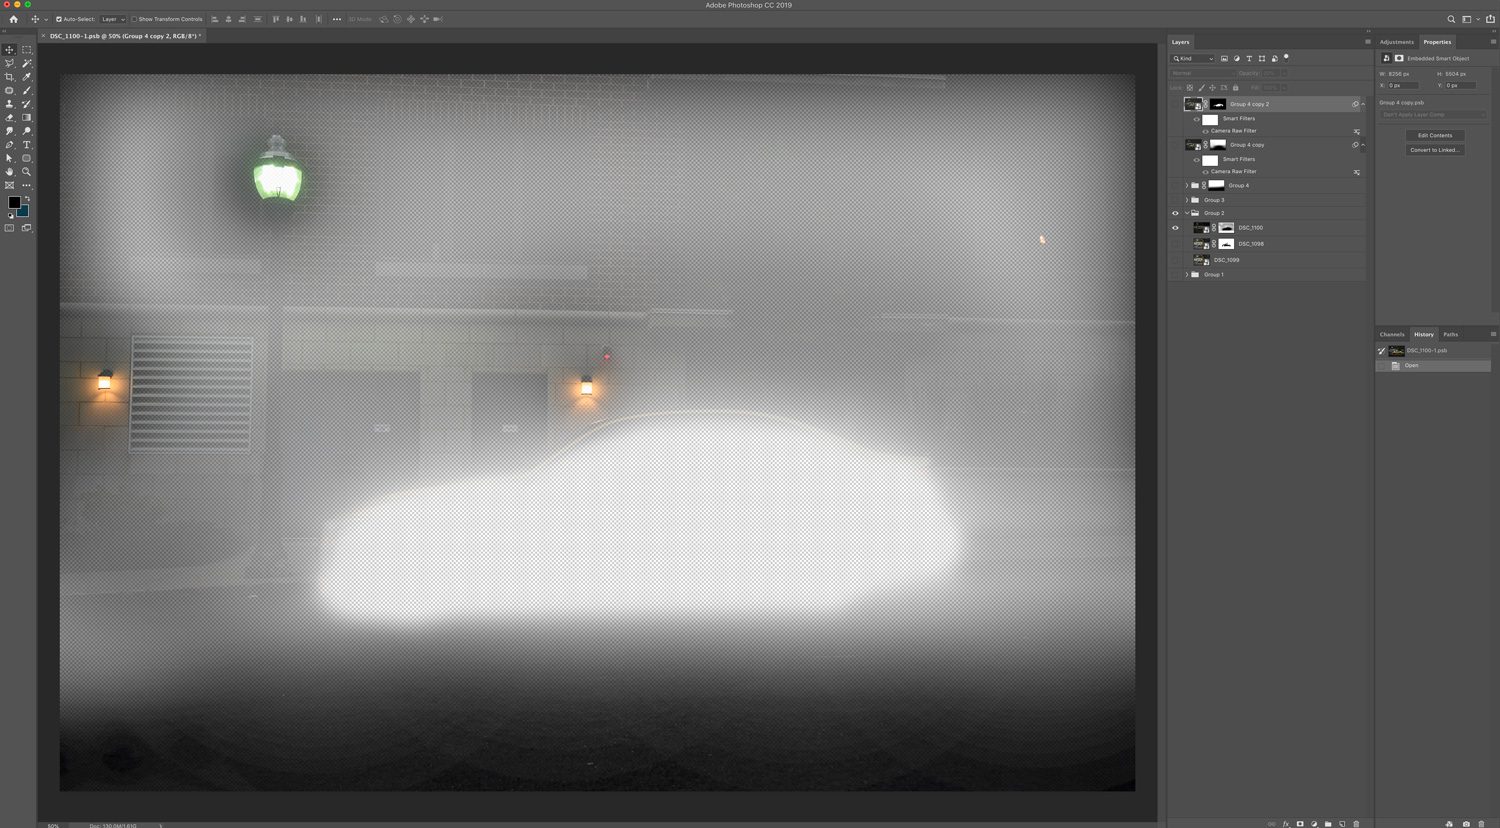
That leads to this image:
Since there are some distracting elements, let’s go in with a healing brush and take some more things out:
Finally, I’ll add some tint to the windows to help avoid seeing through the them. Then, I’ll add a few Lut filters to give the entire image more atmosphere, and darken the foreground.
So 2 different shots from the same location, with 2 unique results. That’s shooting with 2 cars.
Stay tuned for next week’s post, when I review the second part of the shoot – both cars at the same time.
Feel free to email me at mike@machineswithsouls.com with any questions.
Follow along on Instagram @machineswithsouls
3 thoughts on “How to shoot with two cars, Part 1”
Comments are closed.