


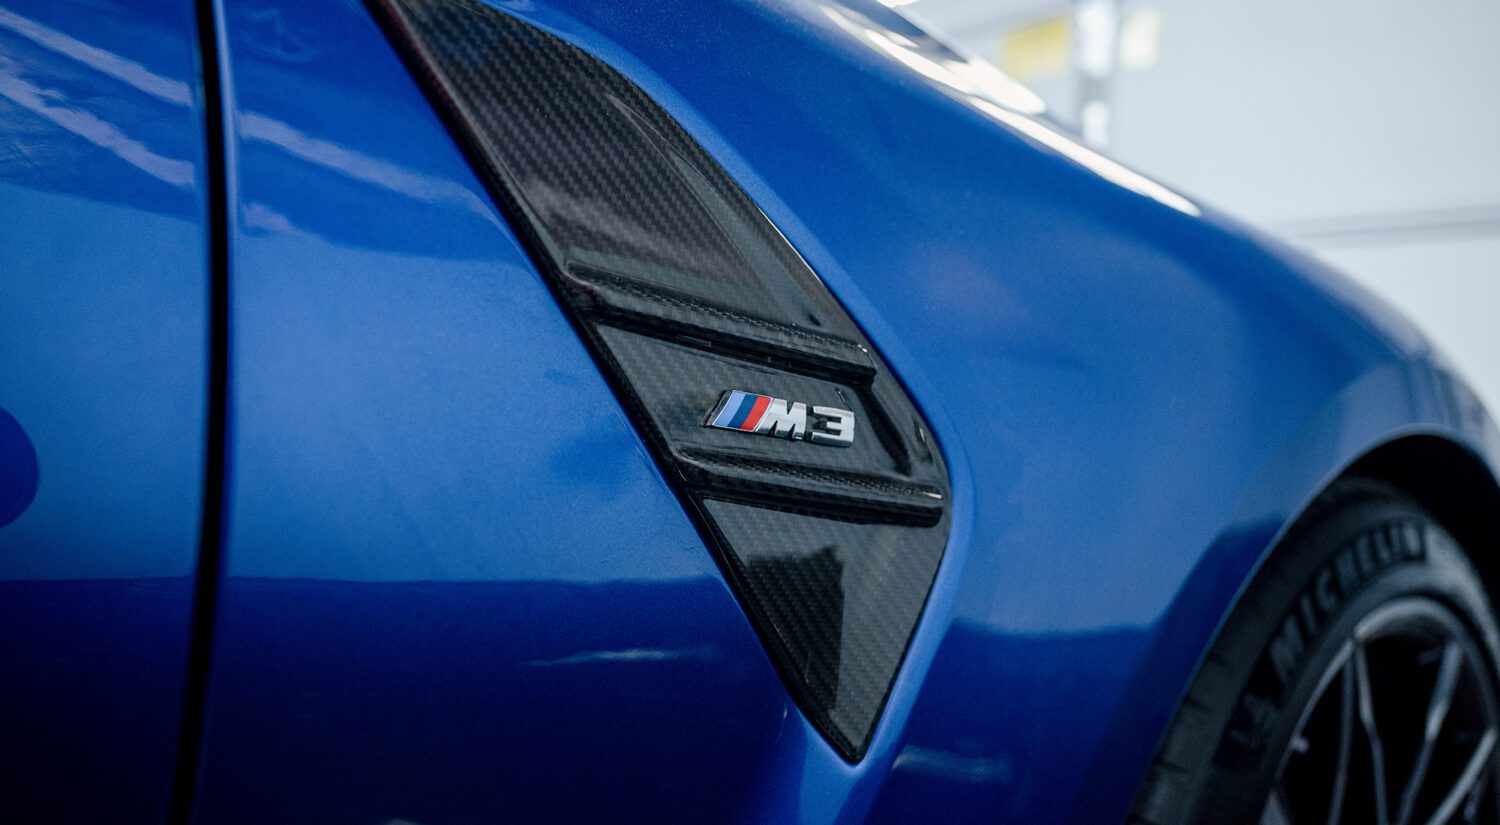


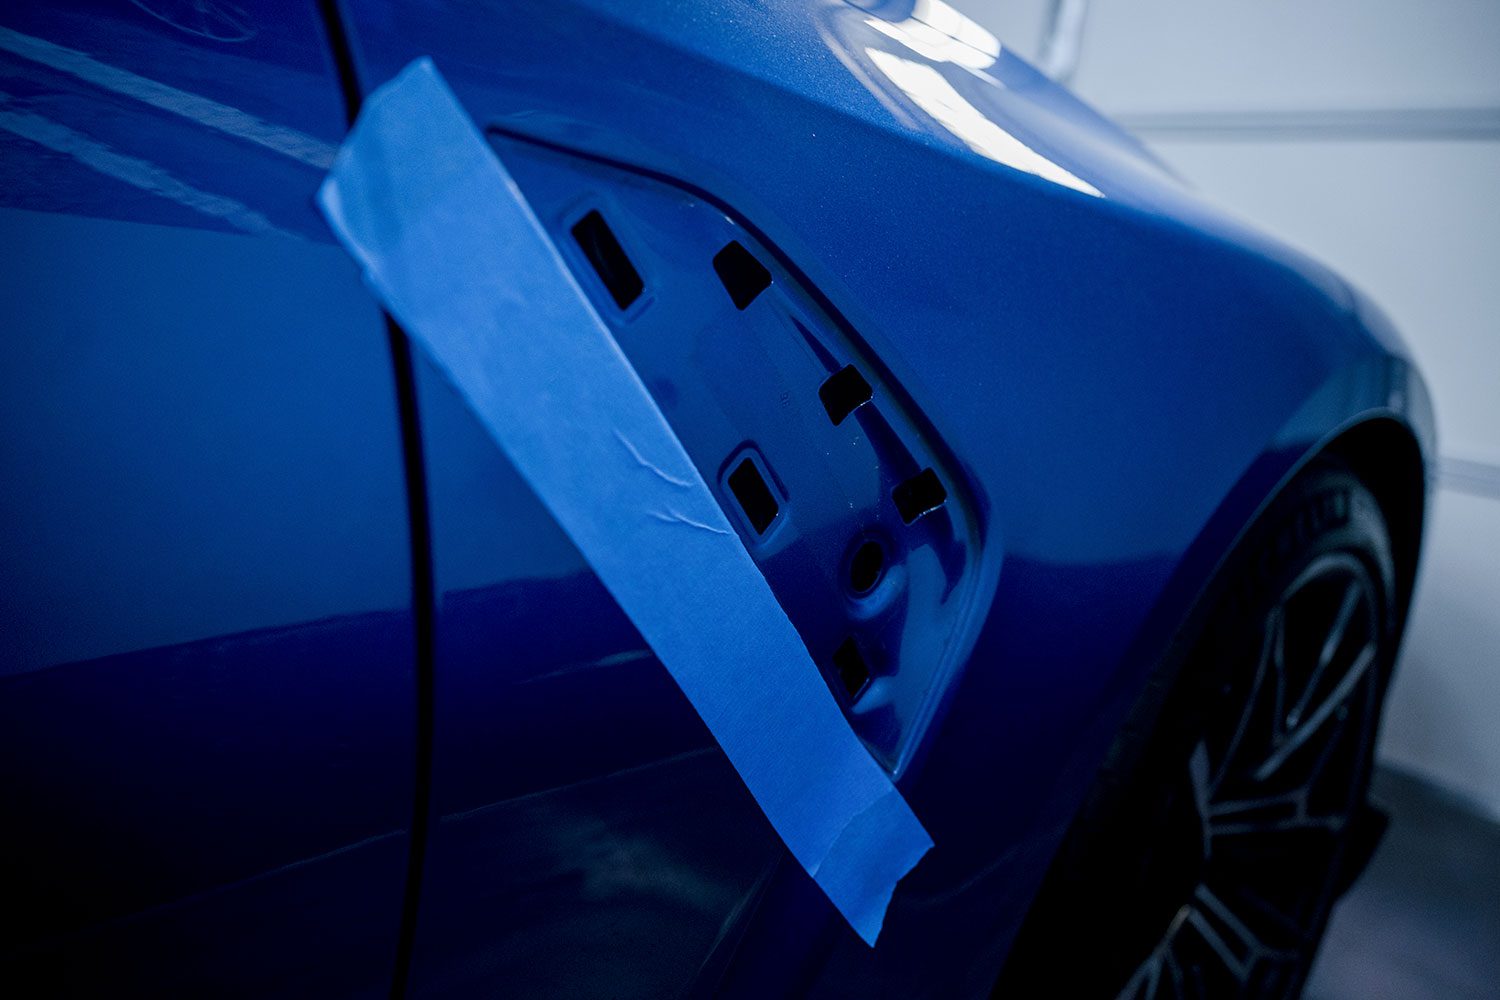
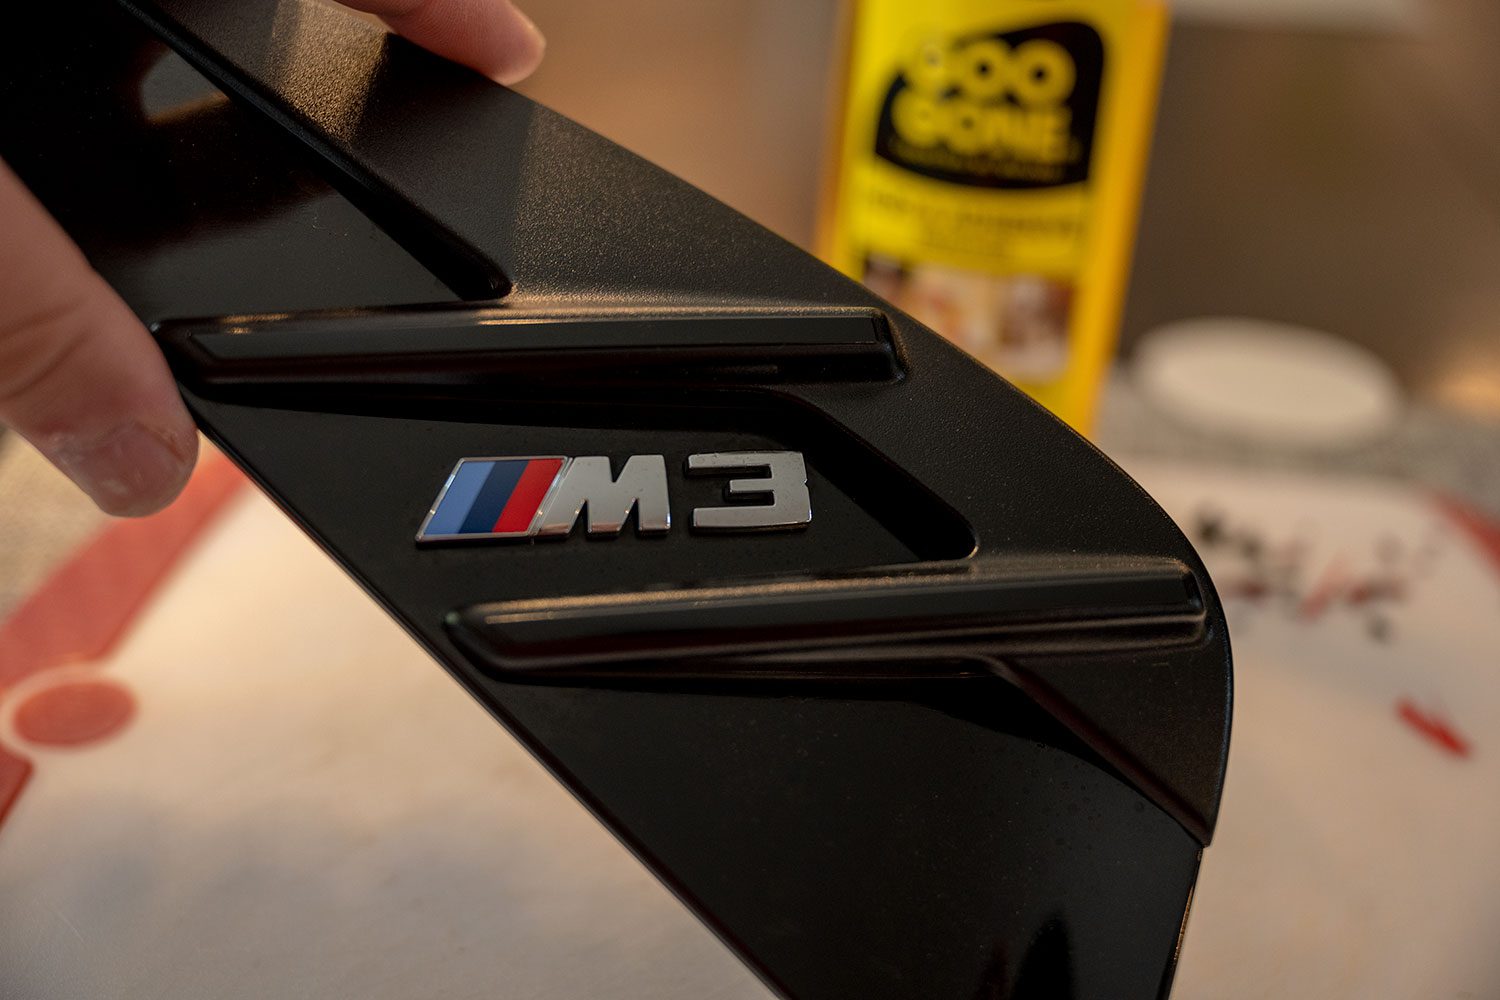
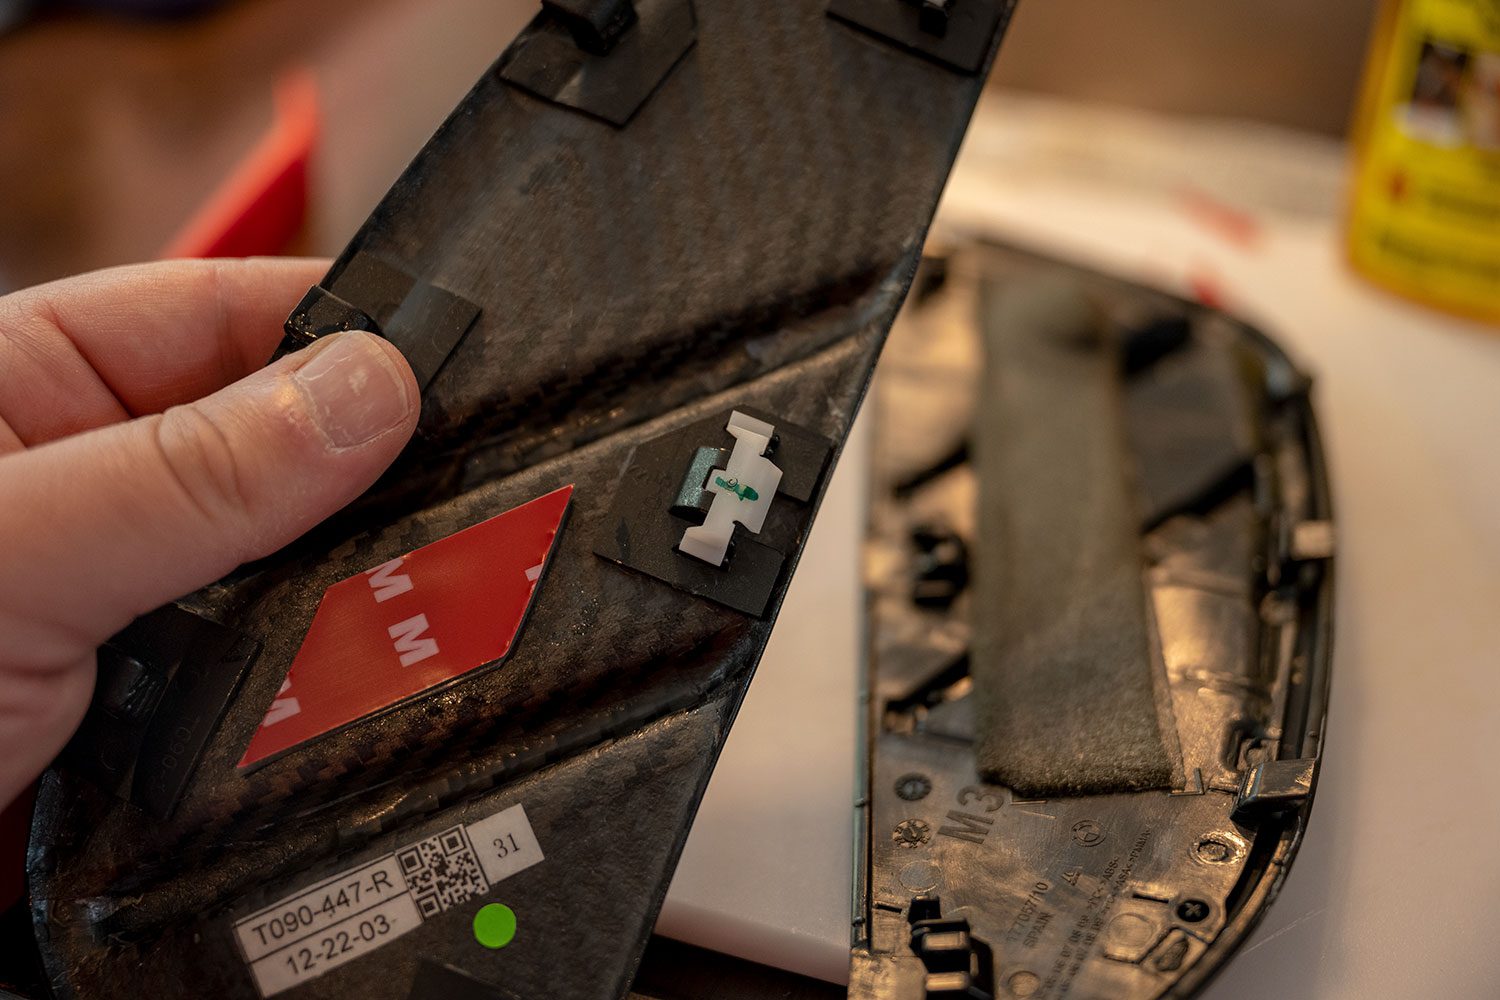
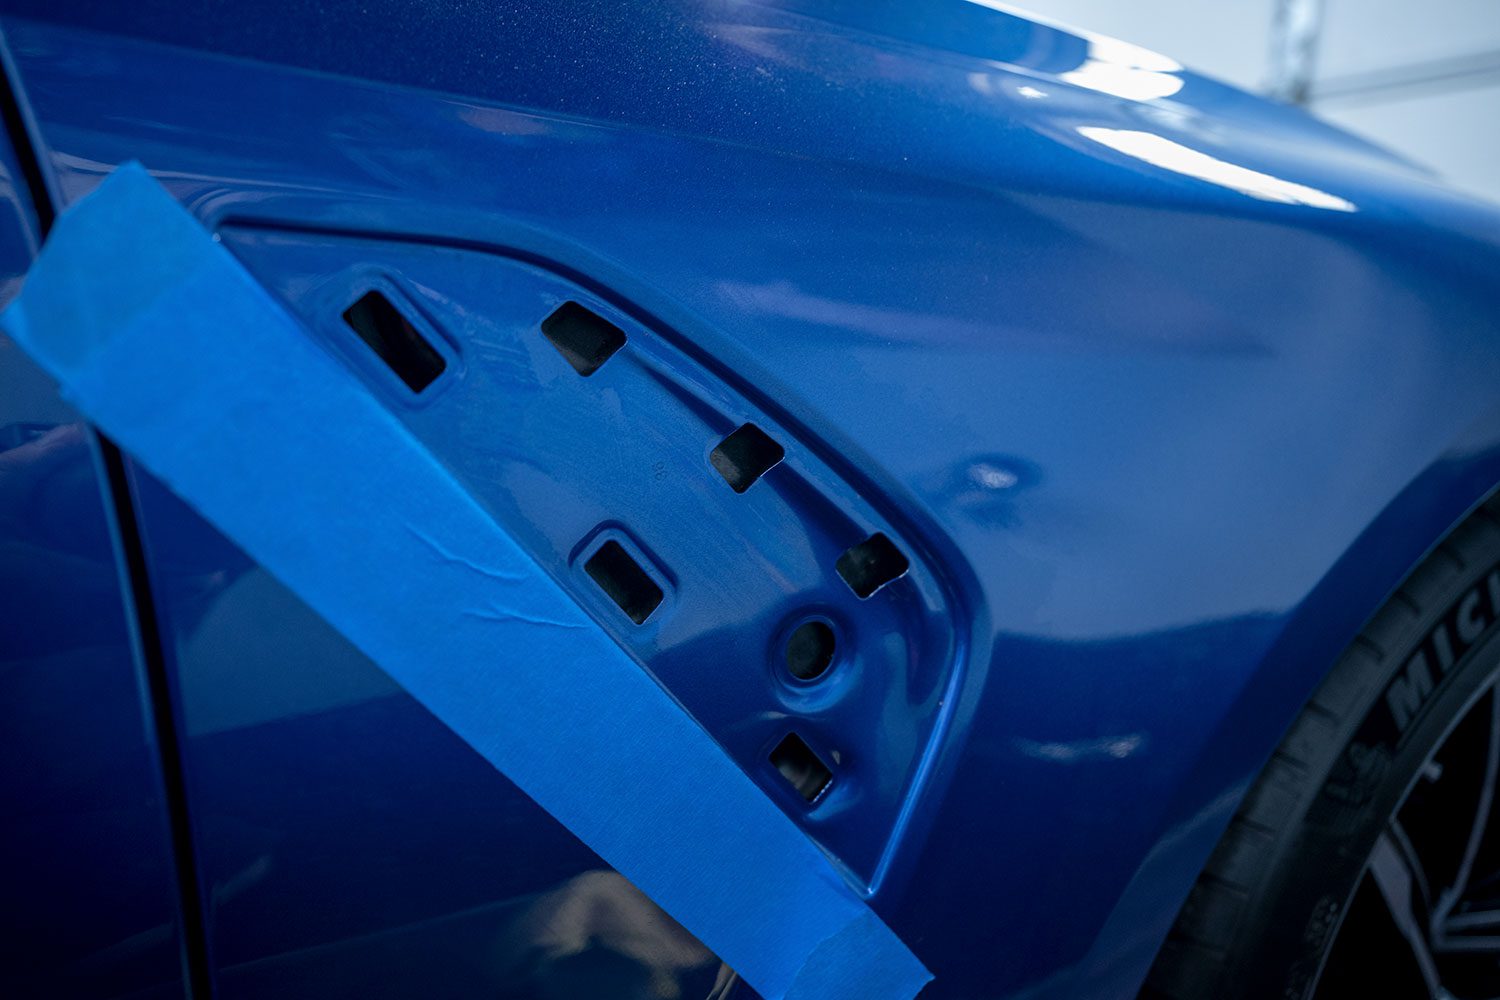
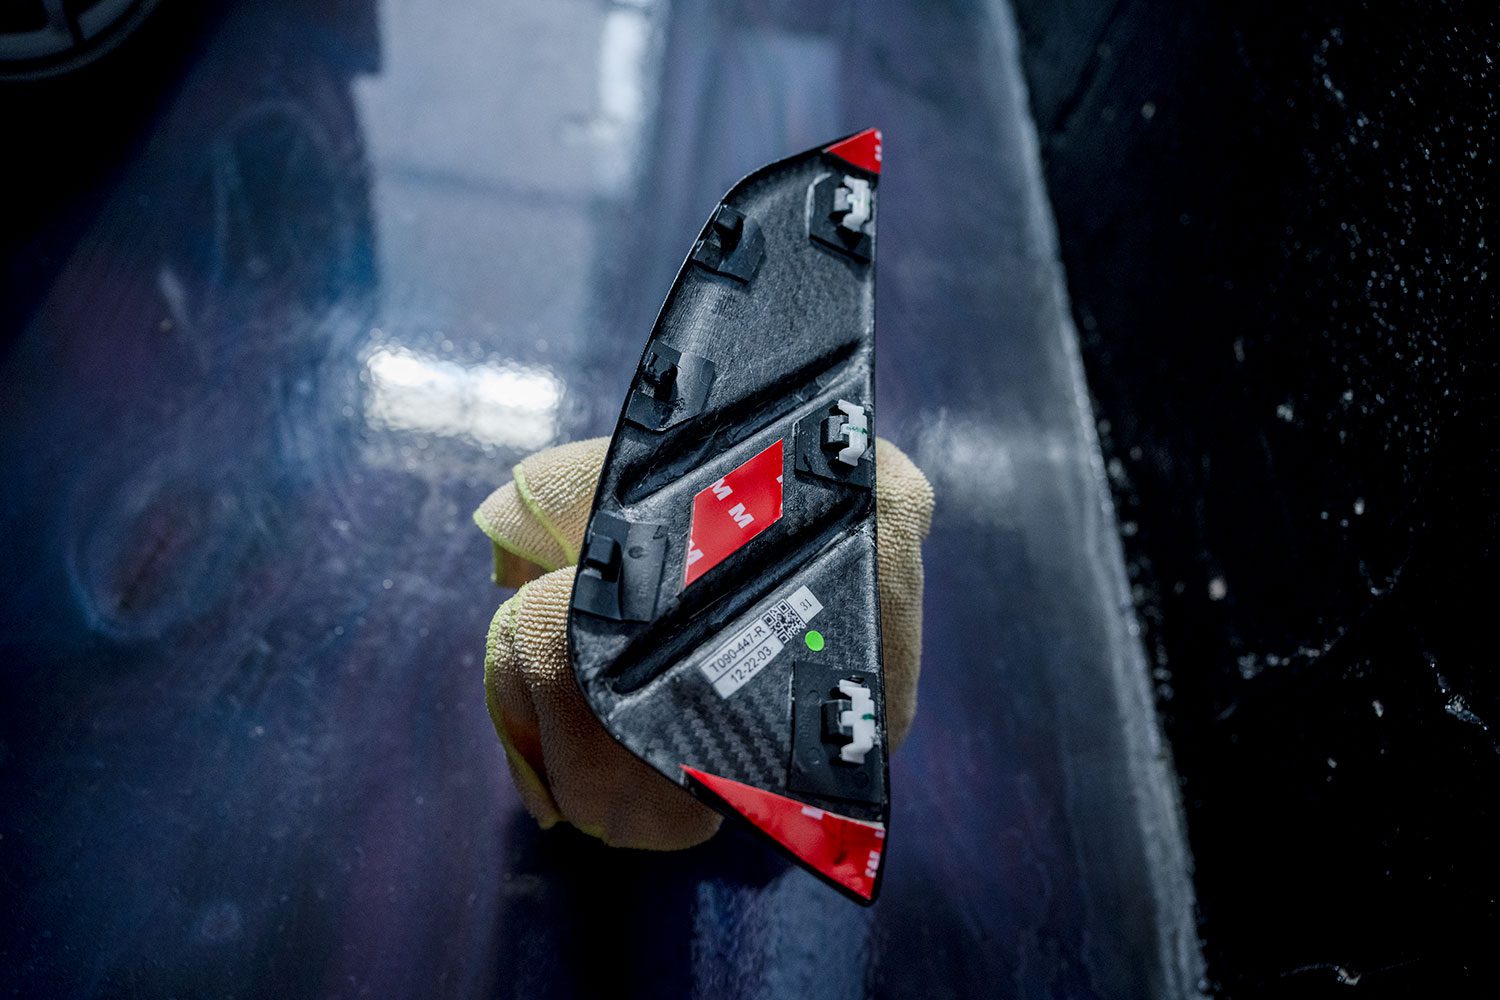
This will be a part of a story on deleting all of the Shadowline Trim from my M3. While all the lower sections are best left to those with access to a lift, the BMW G8X fender trim is easy enough to remove on your own. I’ll detail the steps below – set aside about an hour.
What you’ll need
- New BMW G8X fender trim set in carbon fiber. I got mine from NW Carbon Haus.
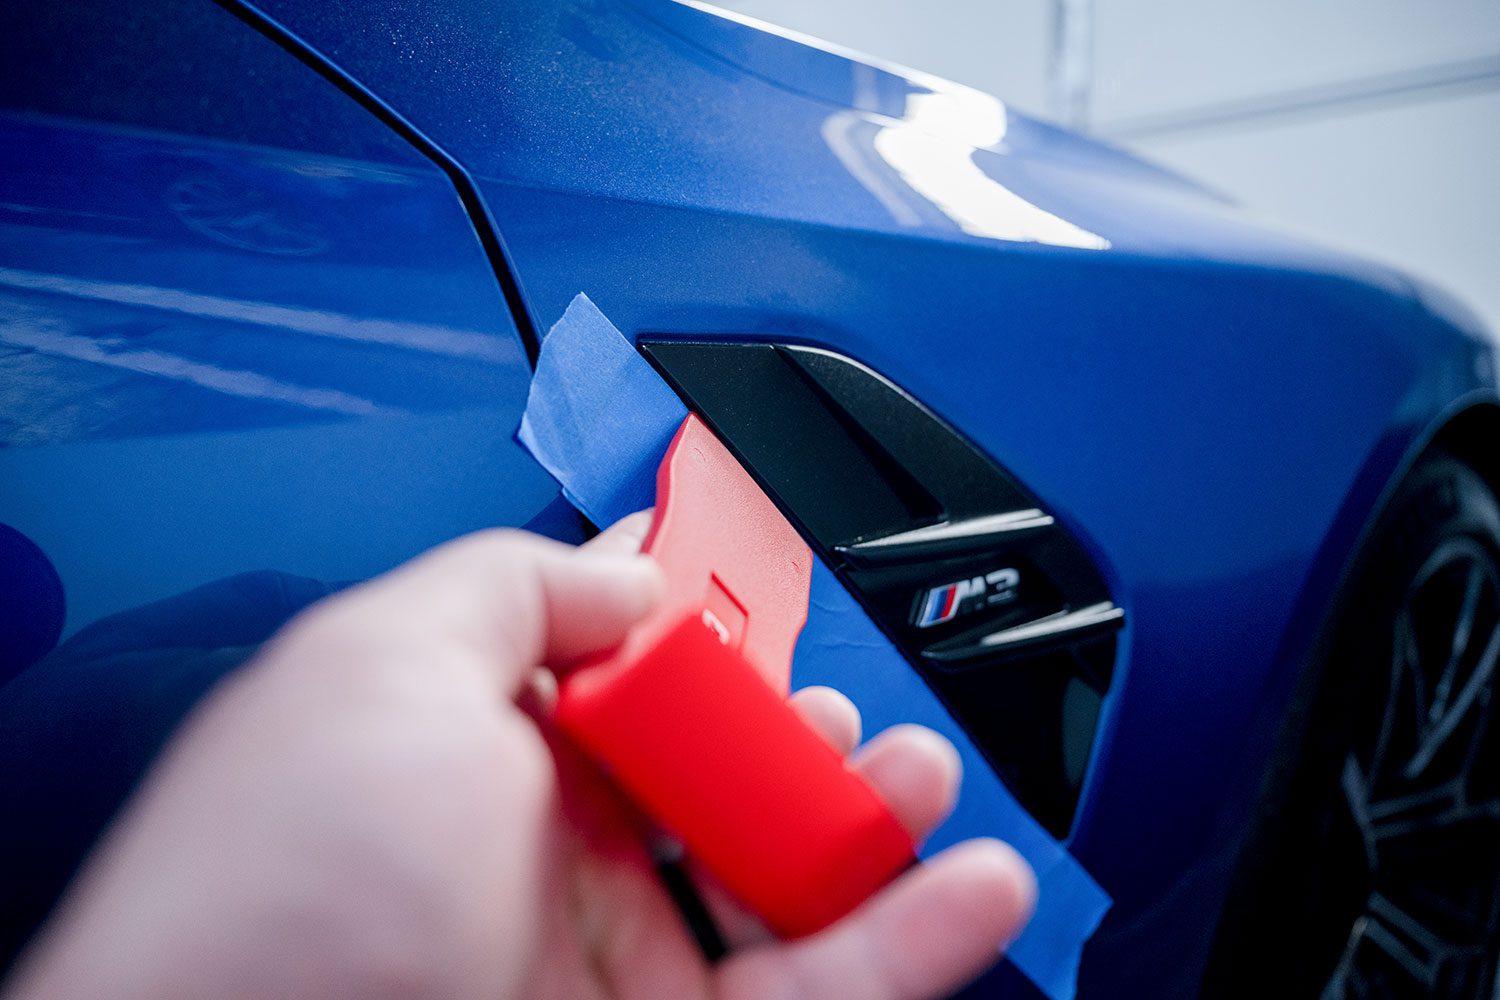
- Trim tool removal set
- Painters tape
- Heat gun or hair dryer
- Isopropyl alcohol mixed with water, 50/50 split
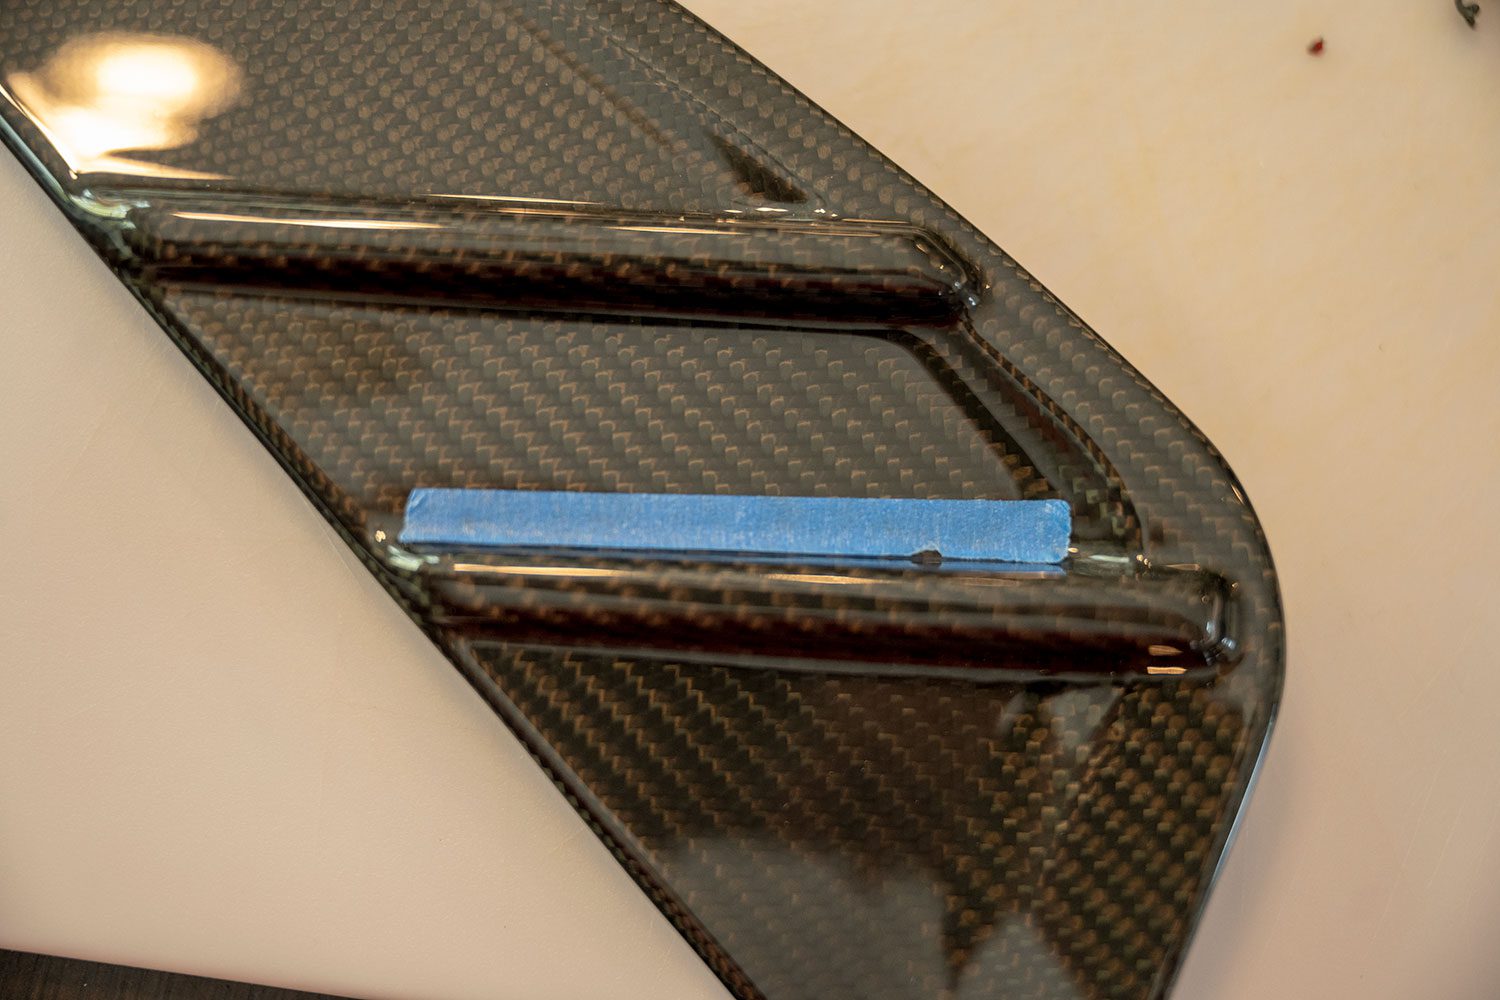
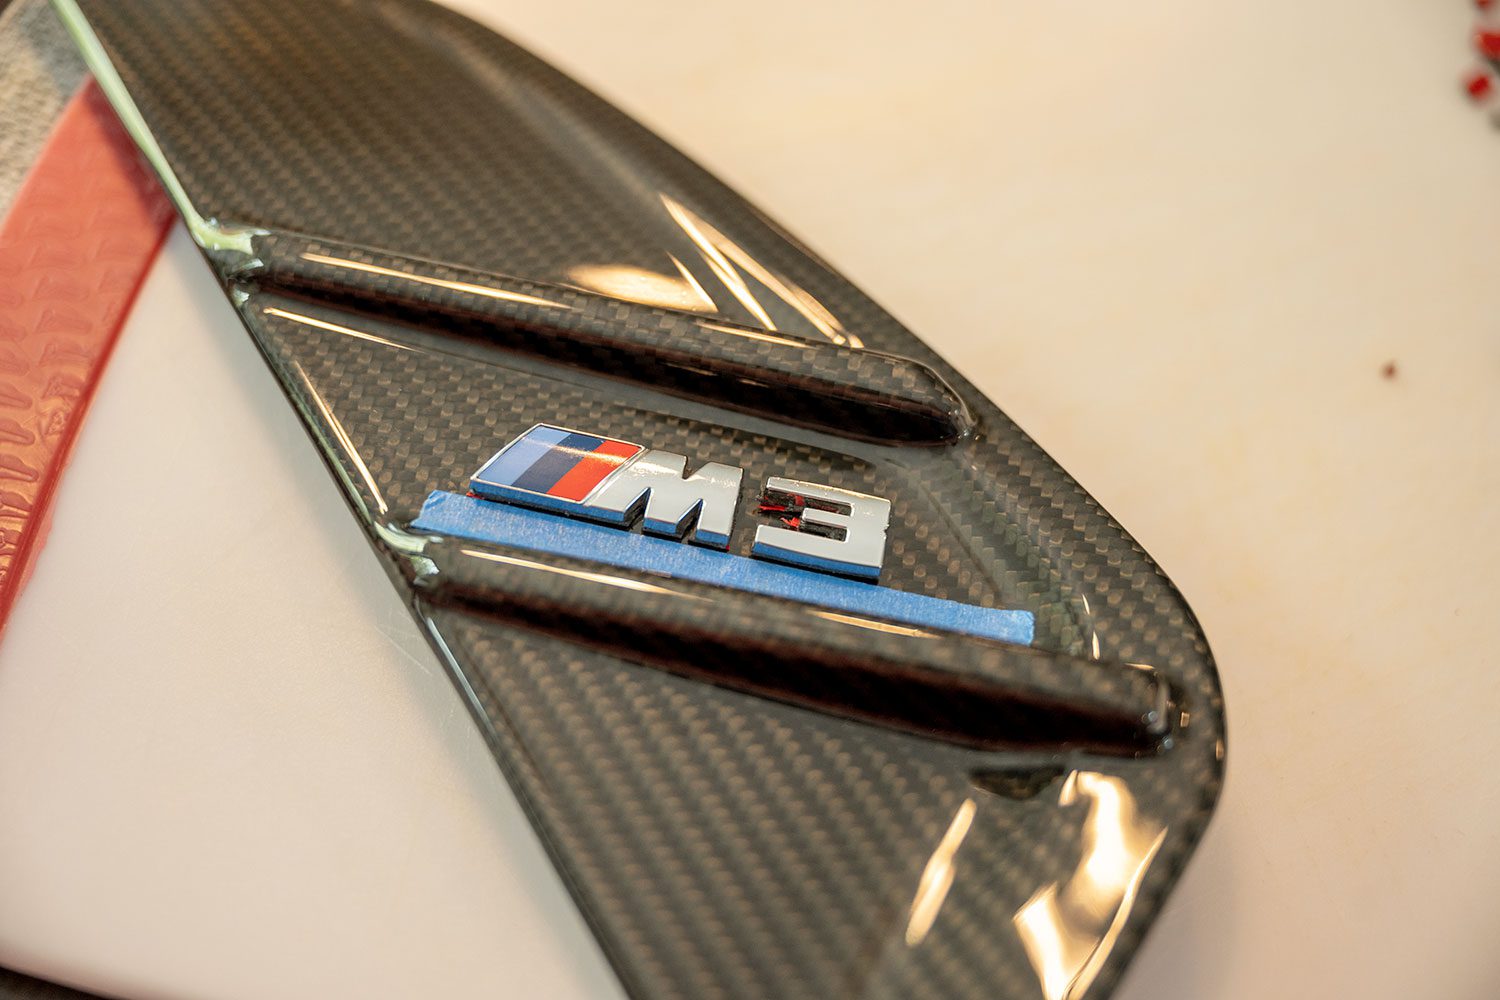
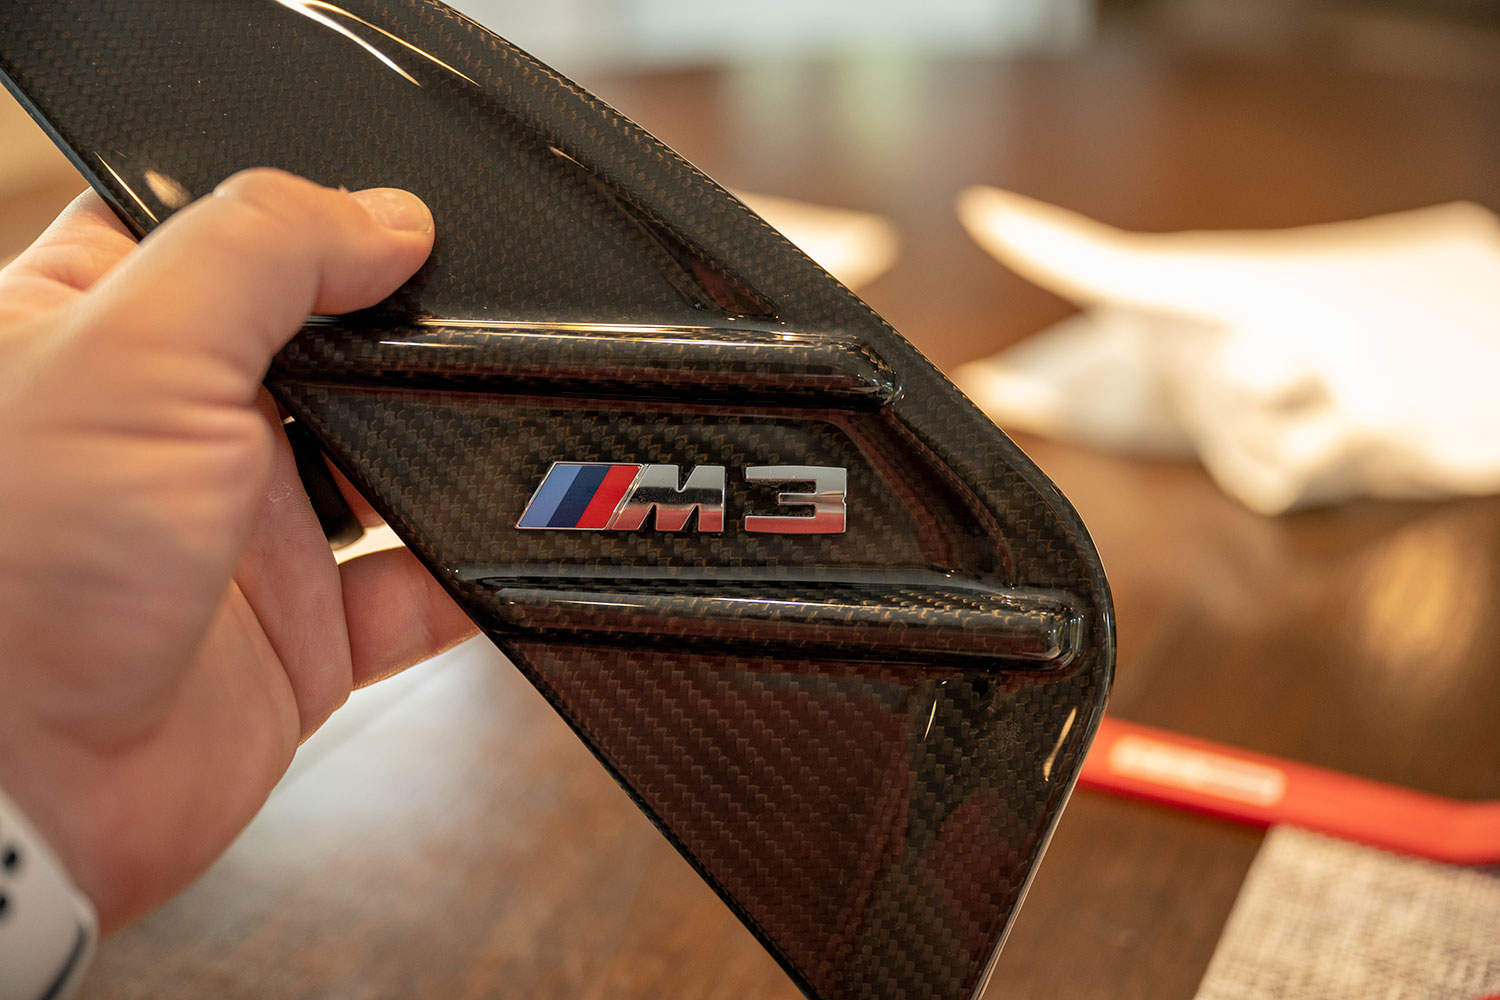
- 3M automotive adhesive tape if reapplying the M3/M4 badges
- Goo Gone or another adhesive remover
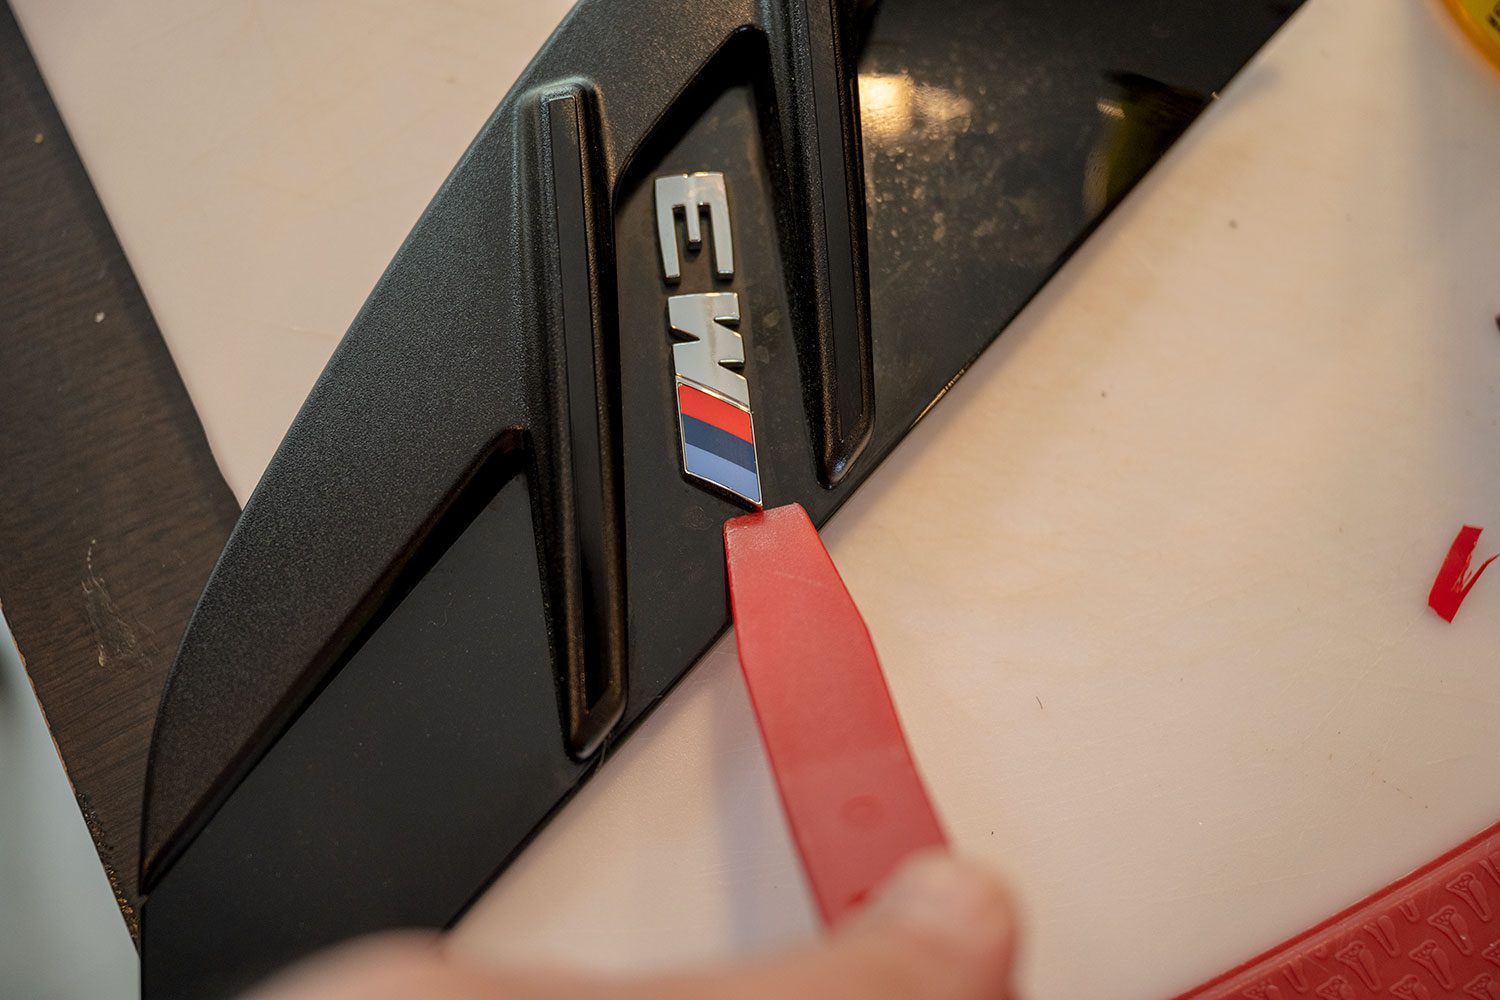
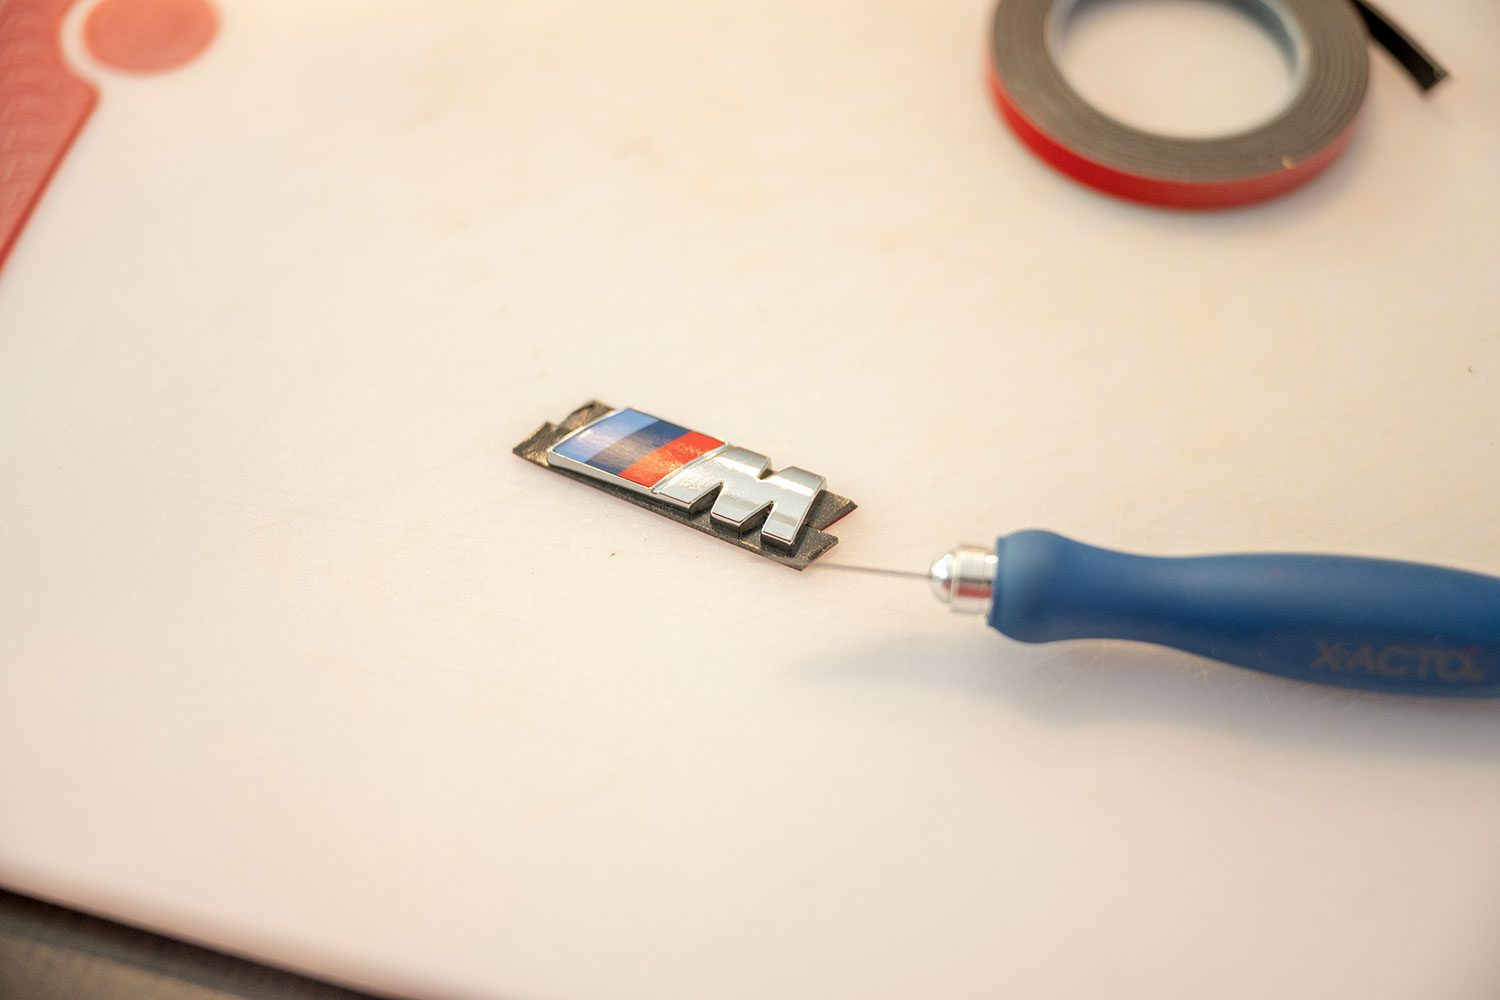
- X-acto knife
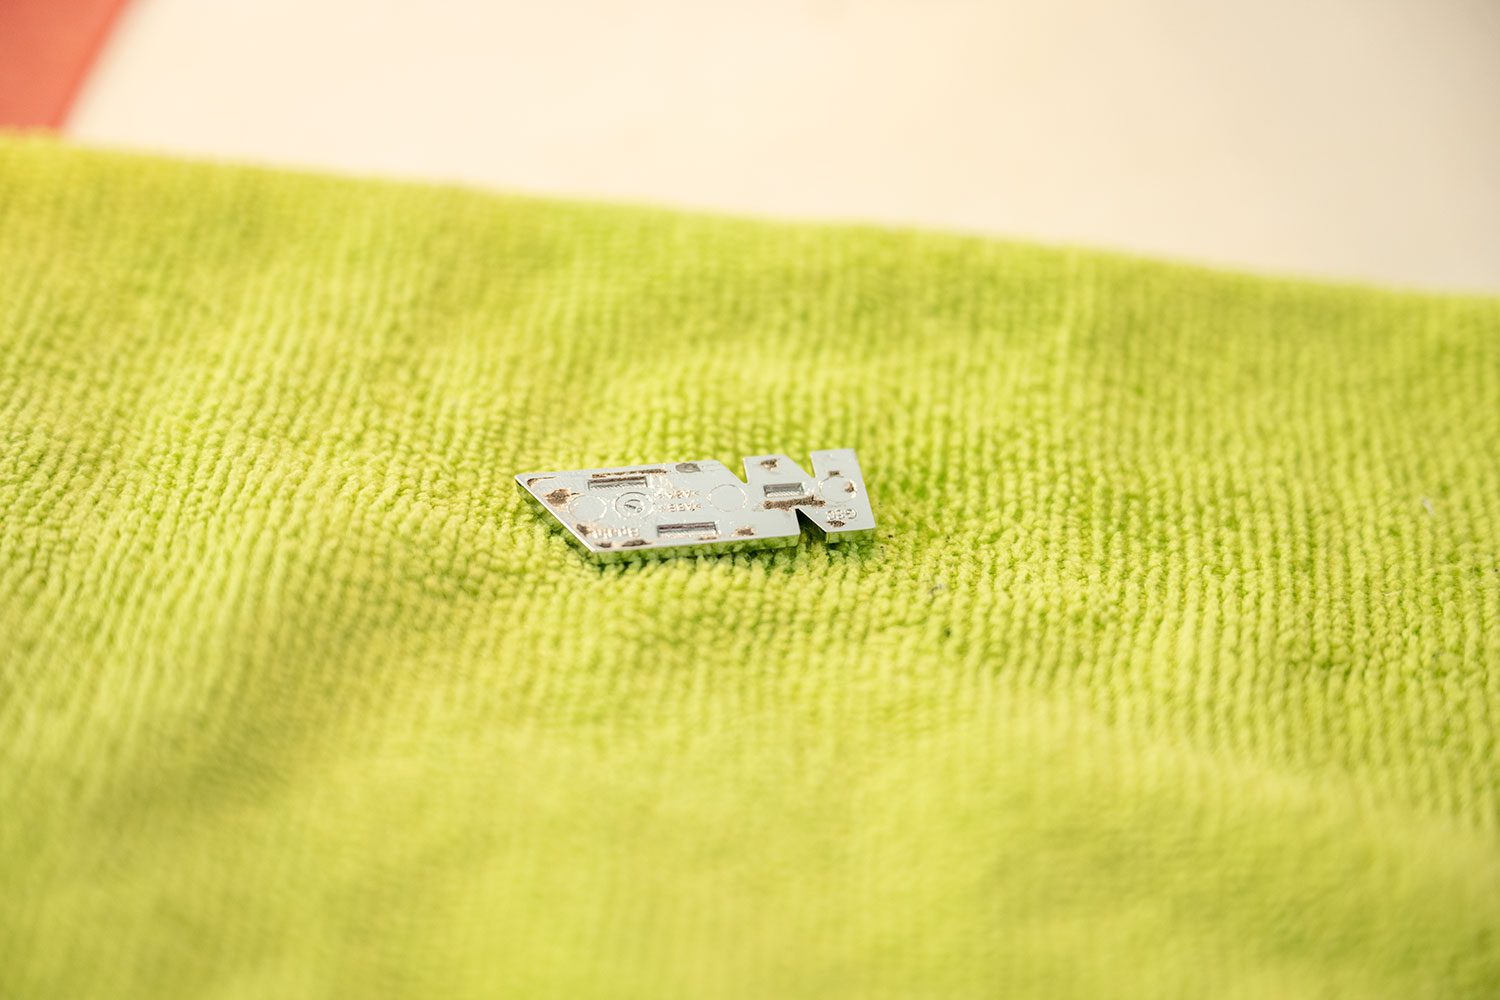
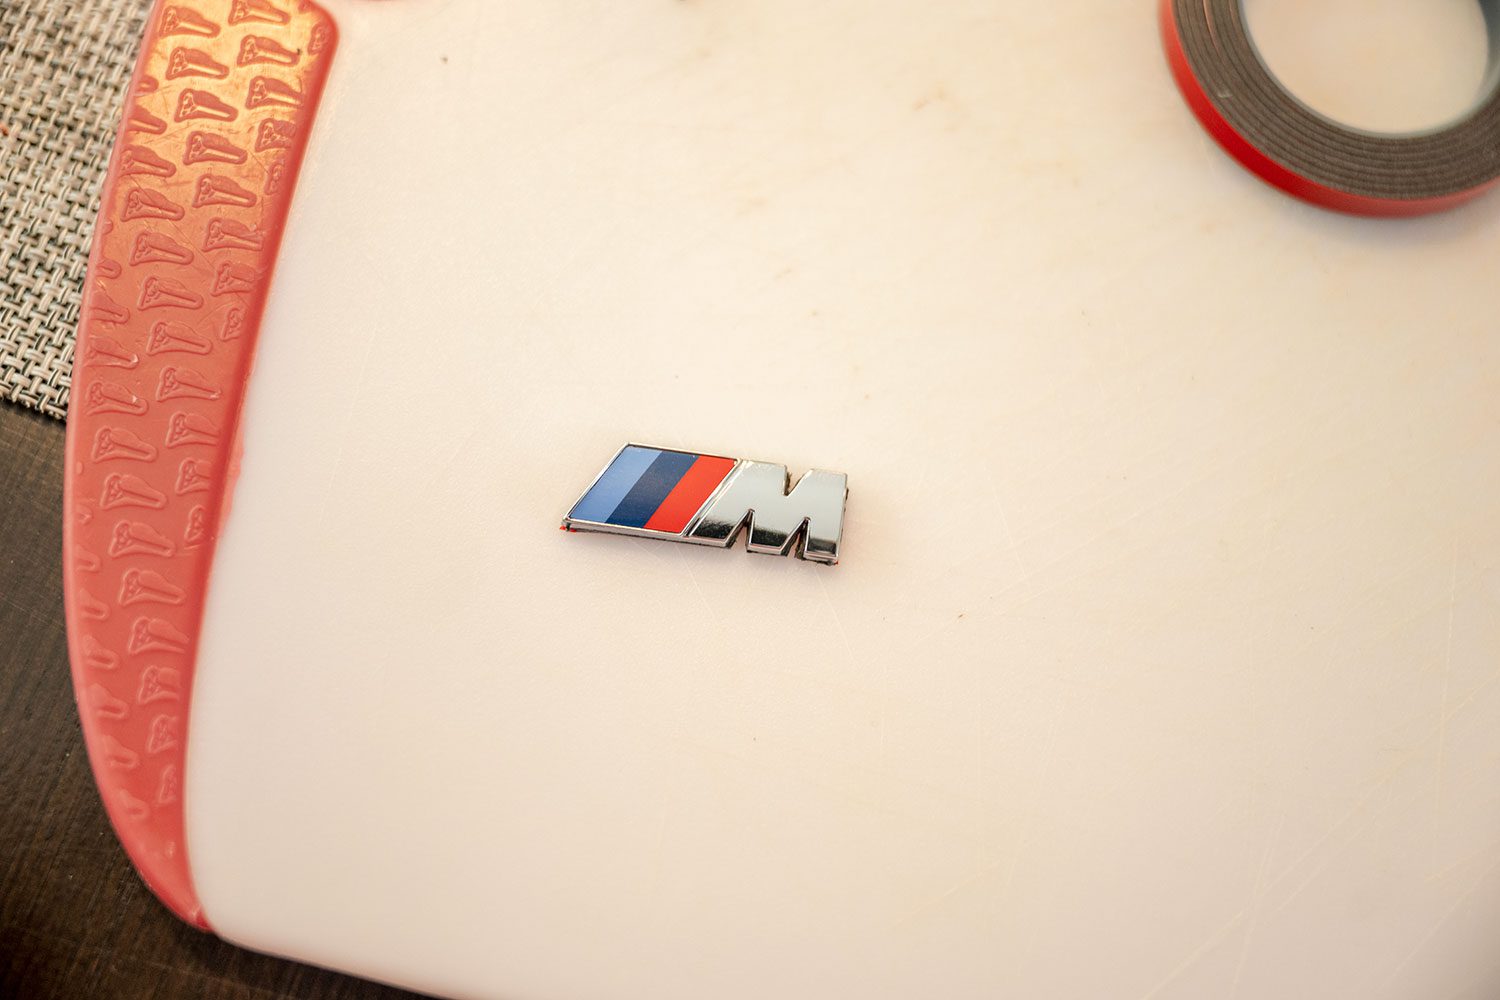
Please note that BMW does not sell those little badges separately, so you’ll need to remove the old ones from the original trim.
How to remove the fender trim on a BMW G8X M3 and M4

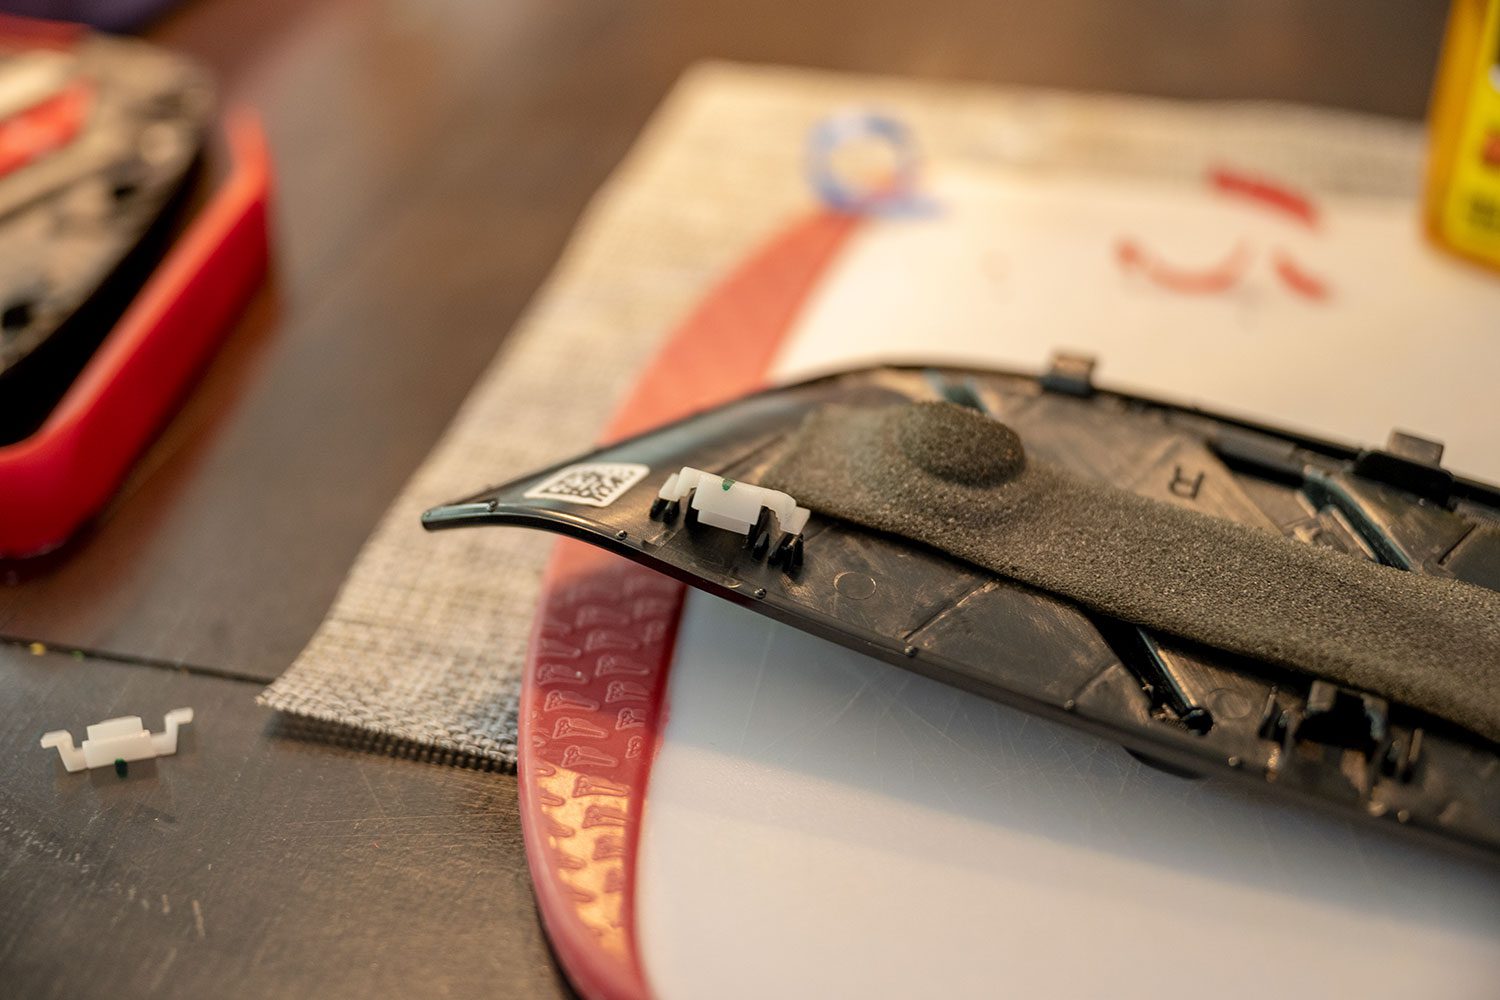
How to install the fender trim on a BMW G8X M3 and M4

Want your car reviewed?
If you live in the tri-state area and want me to check it out, send me an email!
Support the cause
Commissions may be received for product links on this site. Help out if you can.
I use Nikon camera bodies and lenses, a Westcott Ice Light 2, Manfrotto tripod, B + W filters and an iMac Pro to make the art you see here.
Follow along on Instagram @machineswithsouls


2 thoughts on “How to install fender trim on a BMW G8X M3 and M4”