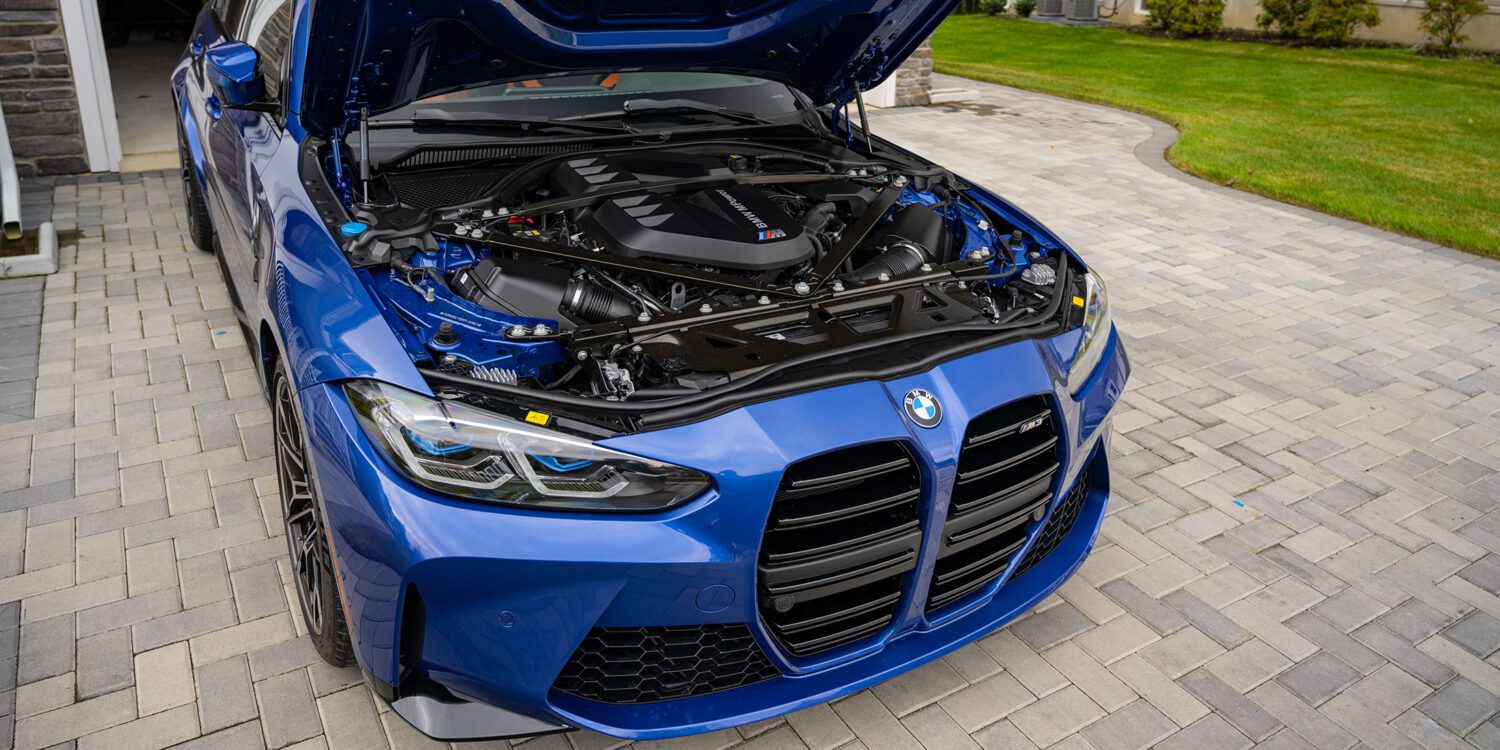

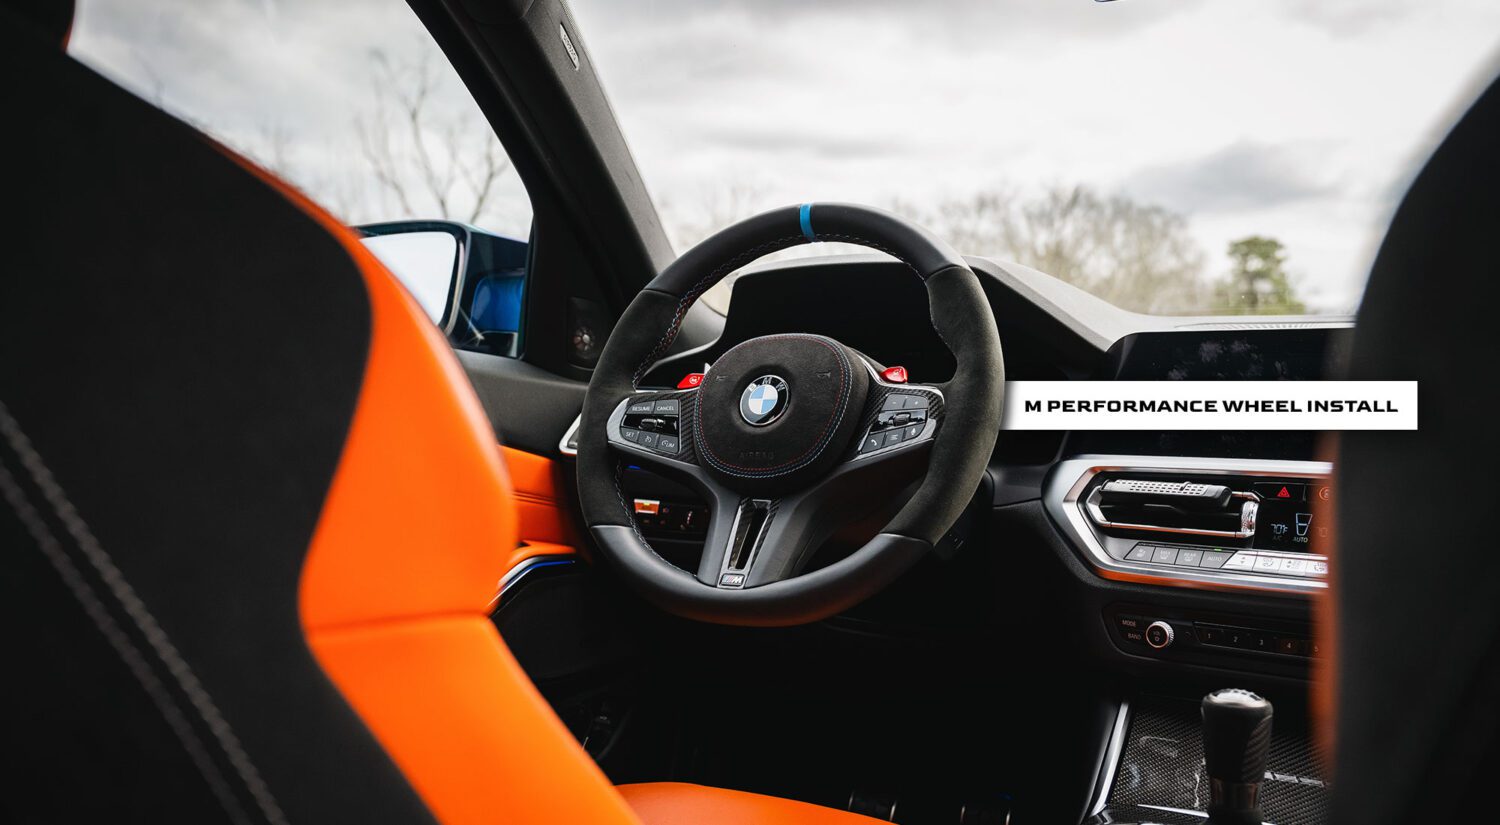


The garage has always been a place I spend a lot of time in. From wrenching to washing, I’ve always got something cooking. When I moved into my home a little over a year ago, I made sure to get one with a garage big enough for at least 2 cars and a few additional tool chests. Life was busy (still is), but this summer, I decided that I couldn’t park my M3 and X3 in the dingy garage any longer. It was time to make it nice. But where to start? I’ll share some tips and vendors on how to build your dream garage.
Before we start, take a look at Larry’s garage at AMMO NYC, and you’ll see the inspiration.
Step 1: Make a plan
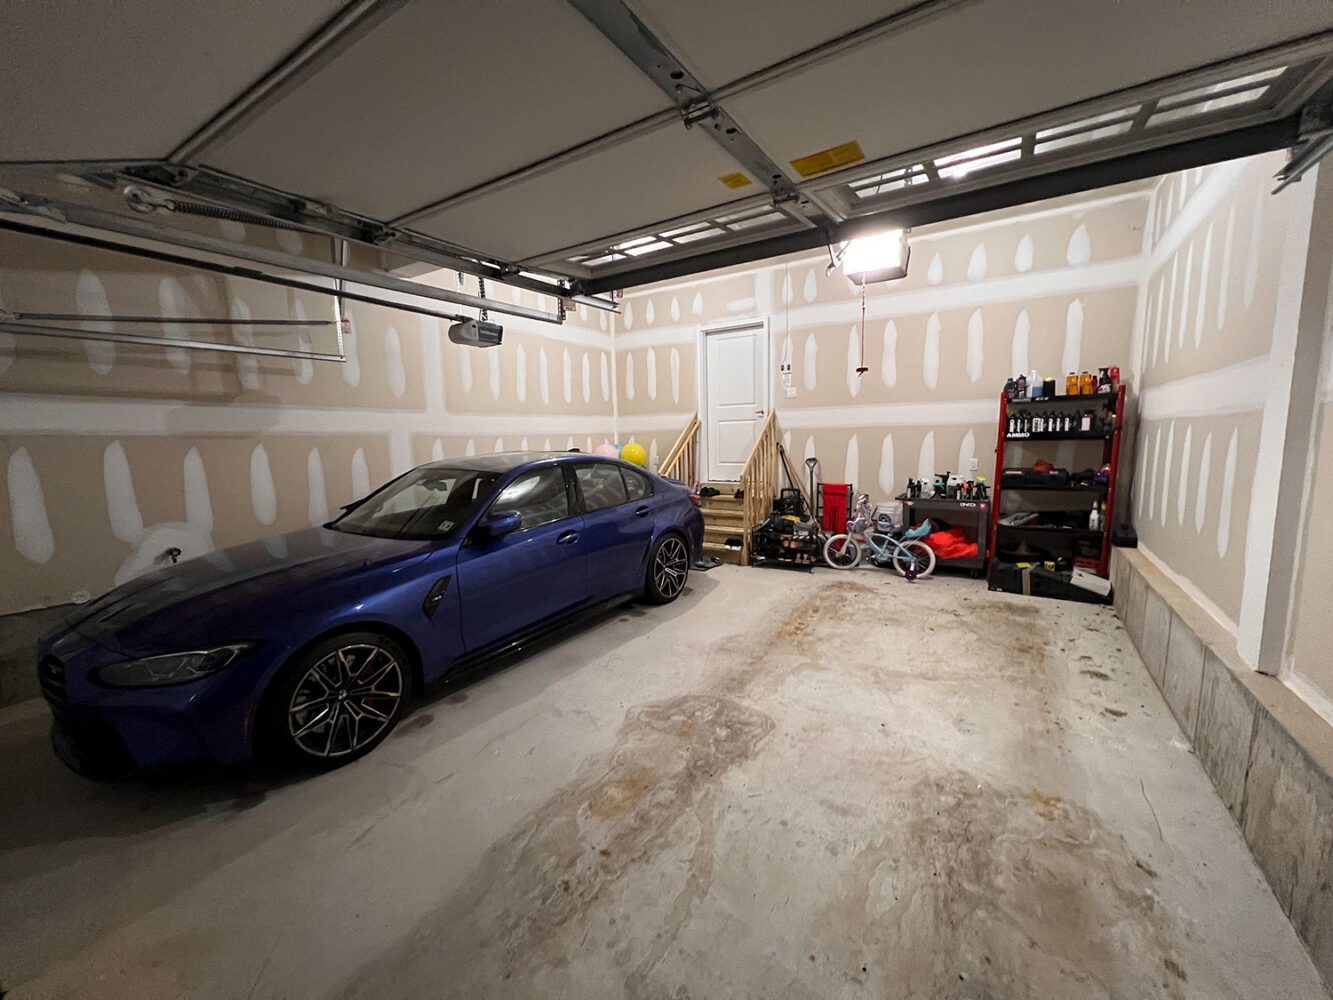
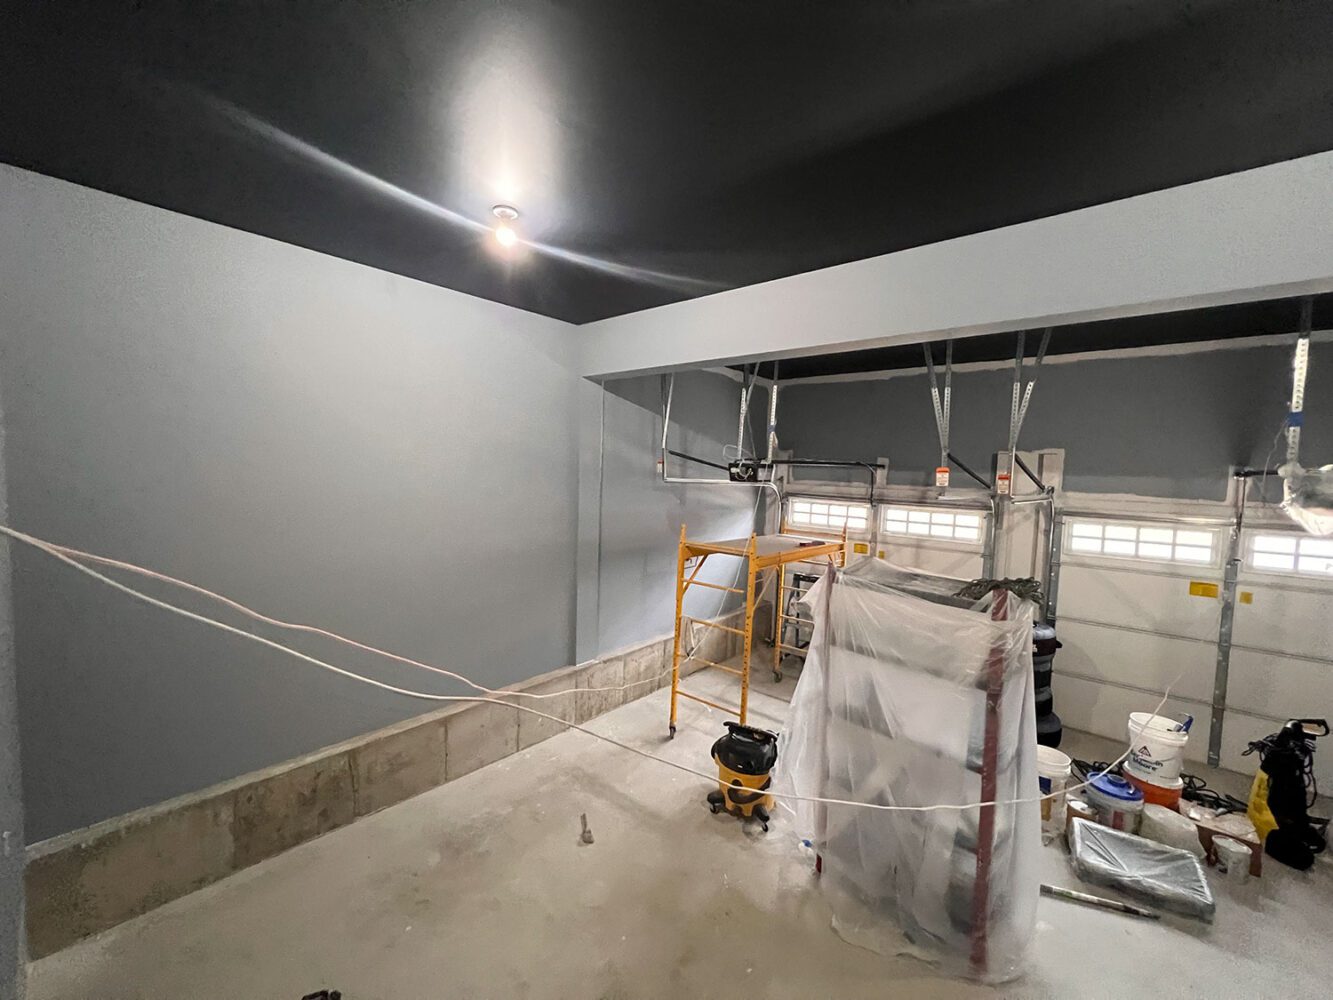
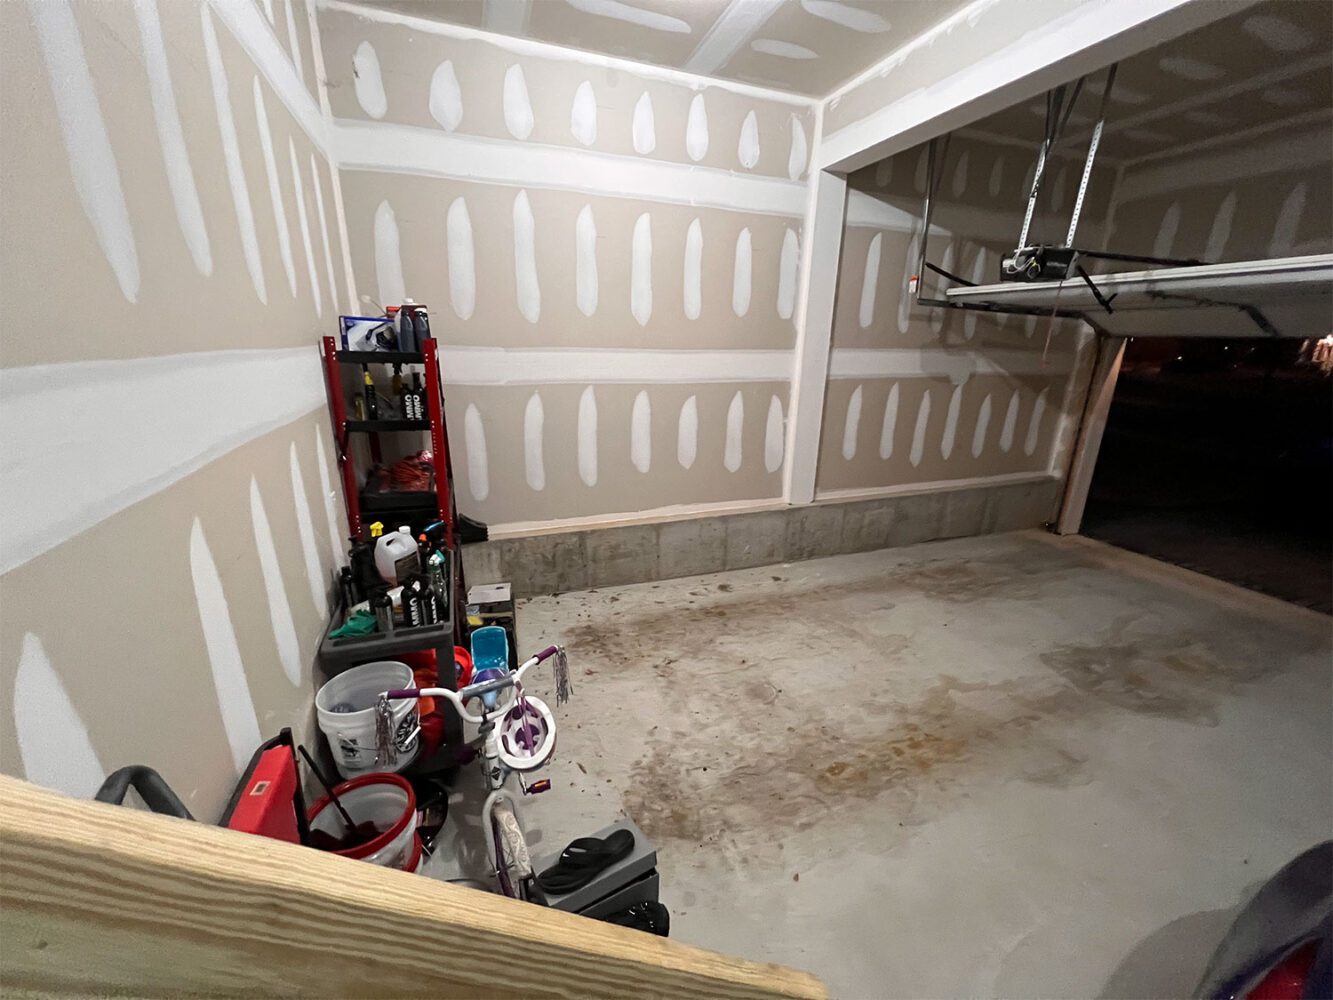
Ideally, this would have been a photo studio, but the garage is just small enough to keep the angles too tight to effectively shoot a car in the heroic way I normally do. Still, there are things we can do to help make the cars pop in the space. Aside from the obvious thing of cleaning out the garage, I chose to start with the walls. Builders typically leave your garage walls sheet rocked and taped, but go no further.
You can do all of this work yourself, but my garage has 12-foot ceilings, so I chose to hire professional painters. Starting with the walls allows the guys to maybe not be messy, but also not worry too much about dripping Spackle and paint on the floor. The amount of sanding needed to get the walls smooth and even was epic, and took two full days.
Step 2: Paint colors
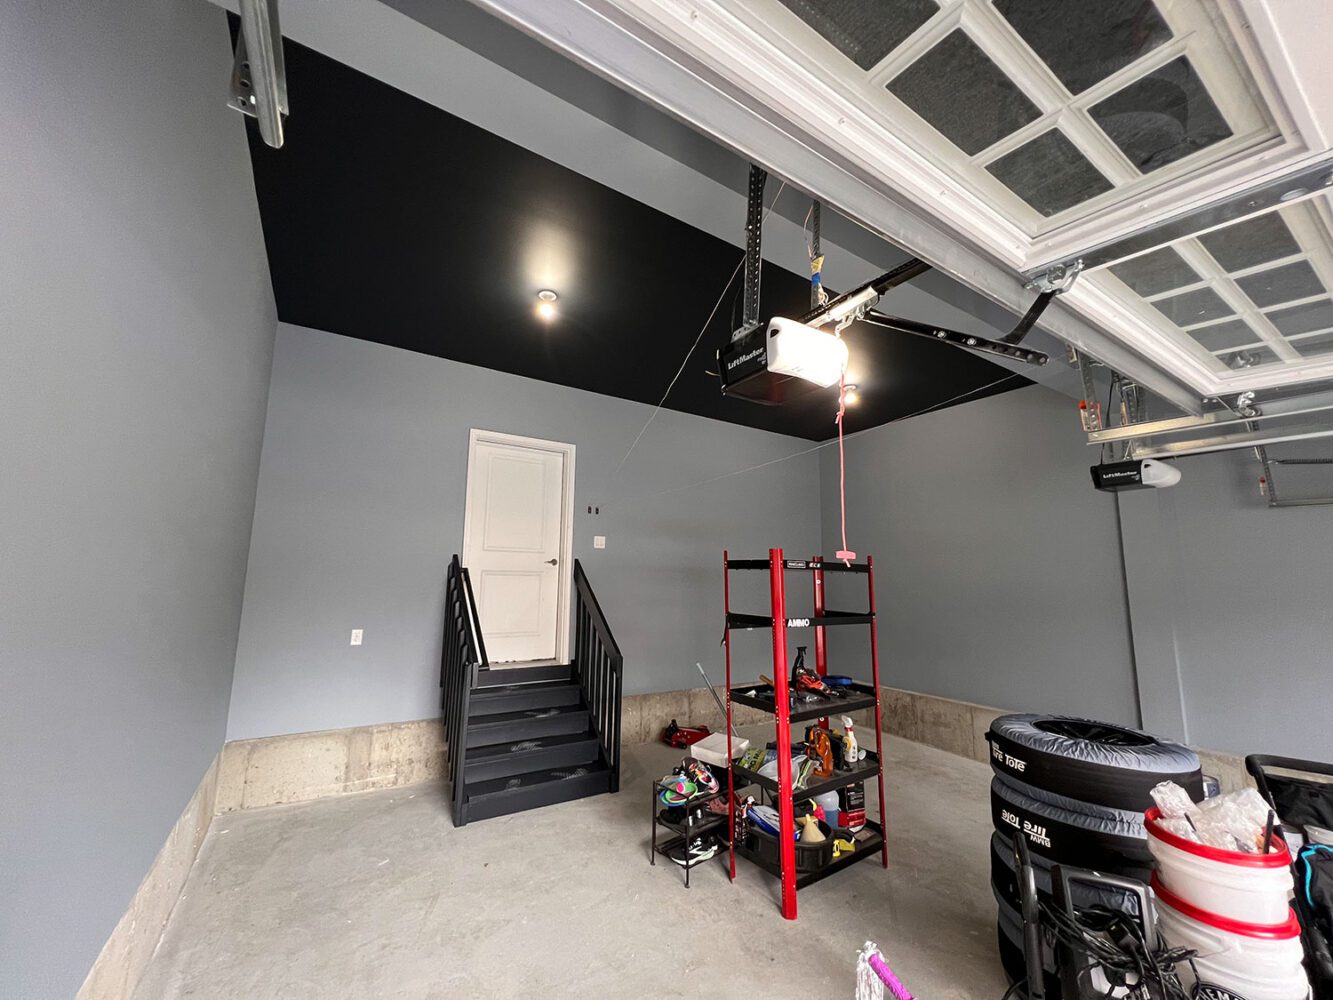
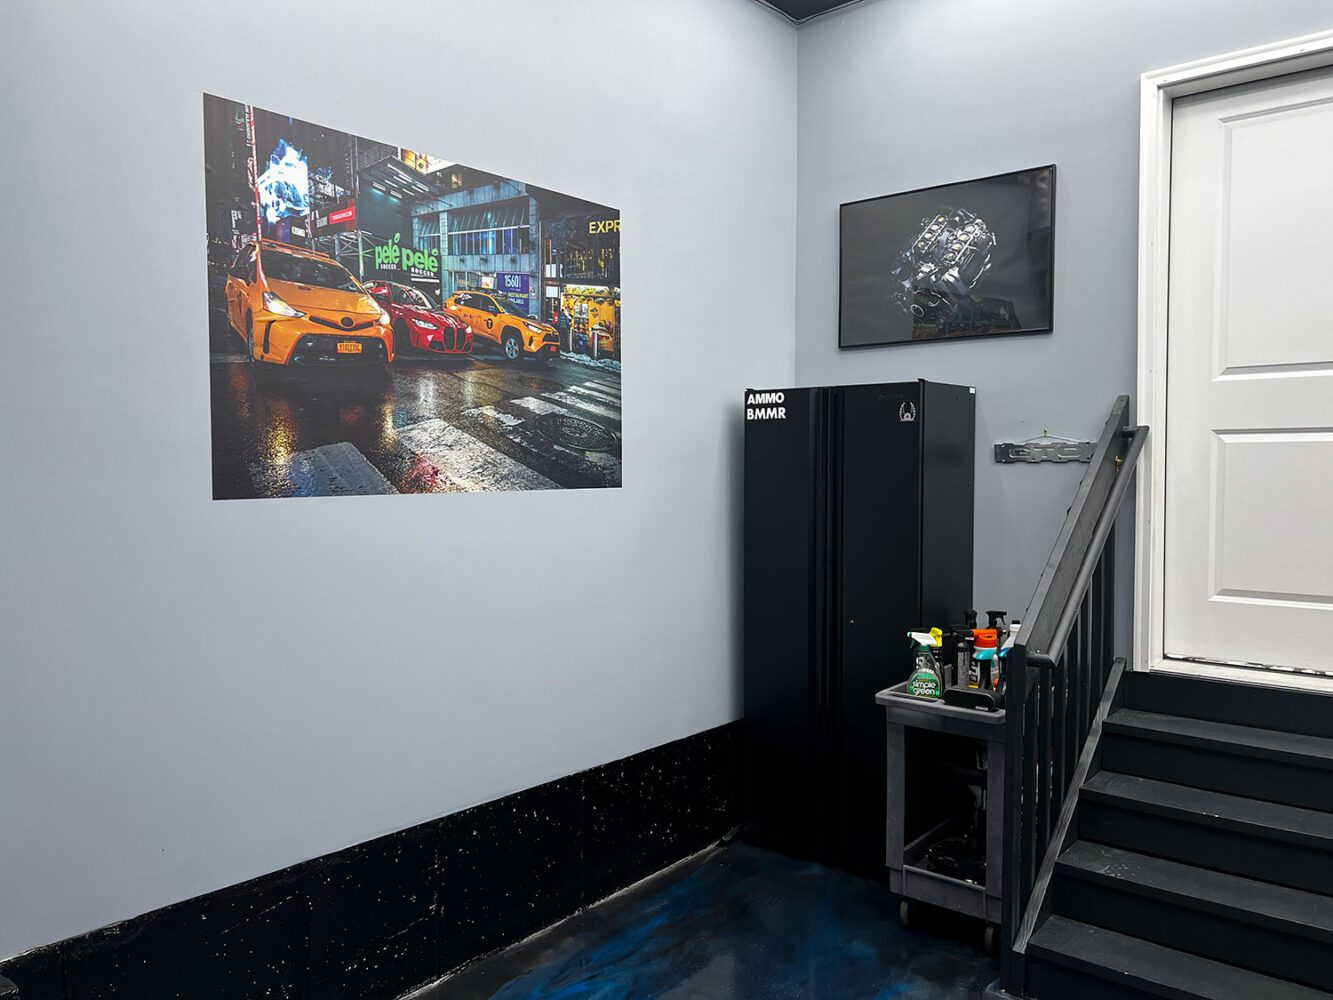
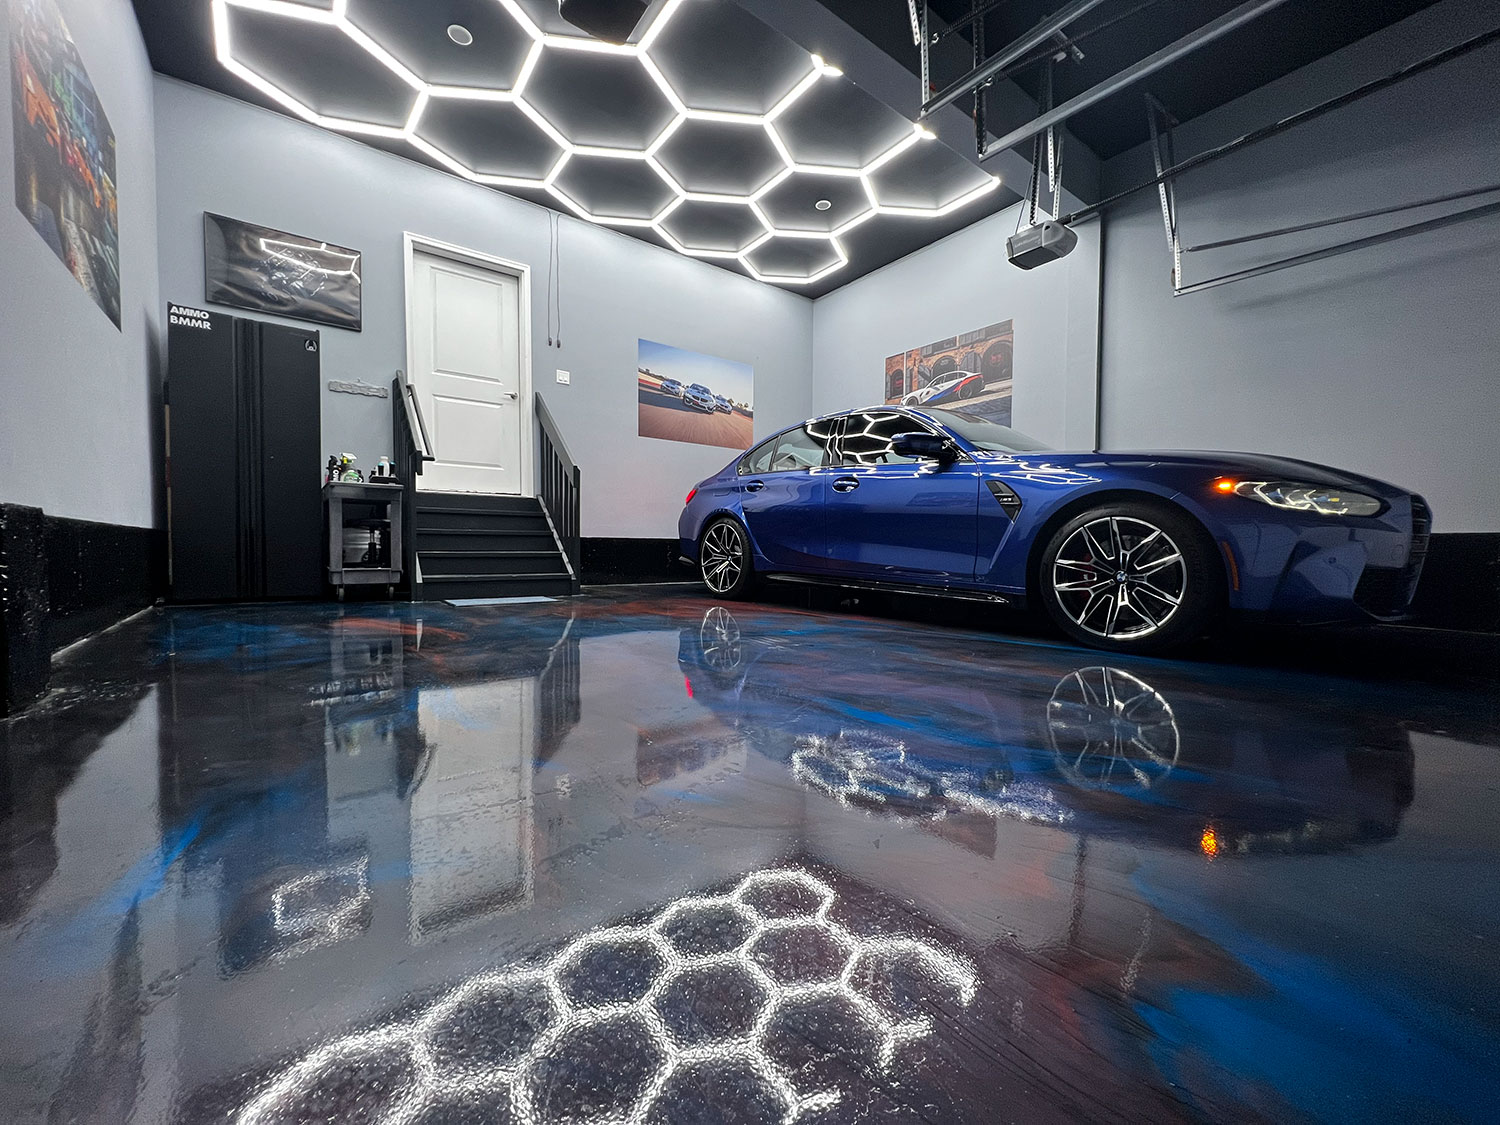
Choosing the color(s) was next, and I went with the appropriately named Benjamin Moore “Pikes Peak Grey” for the walls. This light, cool grey would perfectly match the blue tones of the cars, while making the space feel open. On the ceiling, I chose a color called “soot”, a sort of inky black. Black ceilings will make a room feel smaller, but will also absorb light better, and with my tall garage, I knew I could get away with it. They would also perfectly show off the lights I had planned. Colors are very much a personal choice, but darker colors will typically make a room feel smaller.
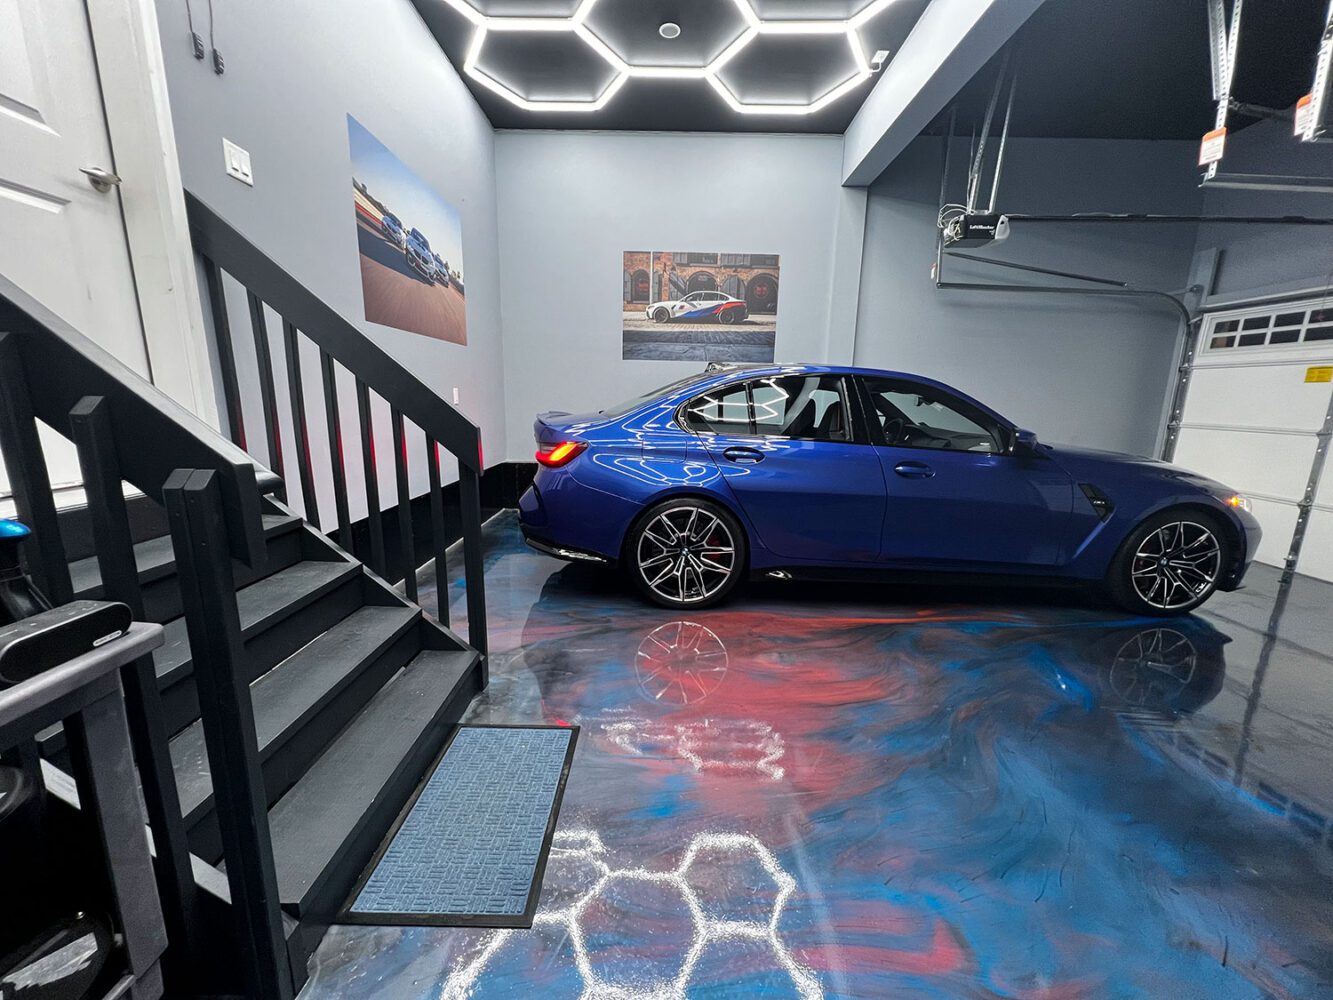
The stairs leading to the inside of the house were also sanded down and painted the same “soot” as the ceilings, but because it’s wood, I used an oil-based paint. This should help prevent the wood from splintering, which it had been doing since we moved in. Choosing to go dark for the stairs is an attempt to make them go away visually in the space, and I think it works.
Step 3: Choosing the floor
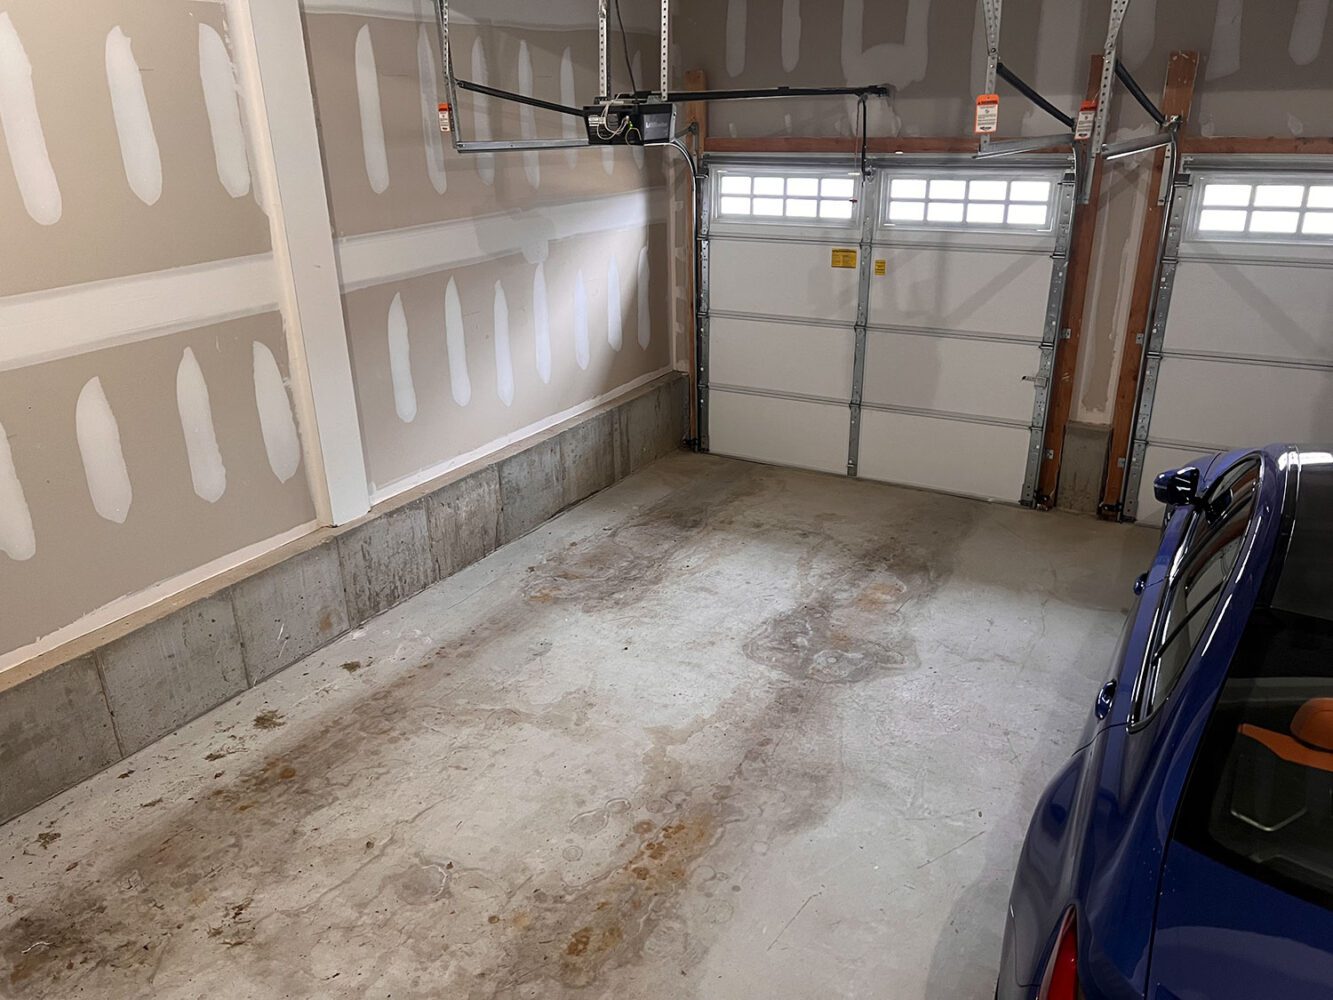
The biggest item on the list. A garage floor should be slip-resistant, repel stains, last long, and of course look good. Years ago, I decided to do the floor in my previous home on my own with a kit from Home Depot, and it was merely adequate. By the time I moved out, it was starting to show signs of wear, and it’s most likely due to an improperly prepped surface. It was very hard to correctly do what the kit called an acid wash to prep and sand.
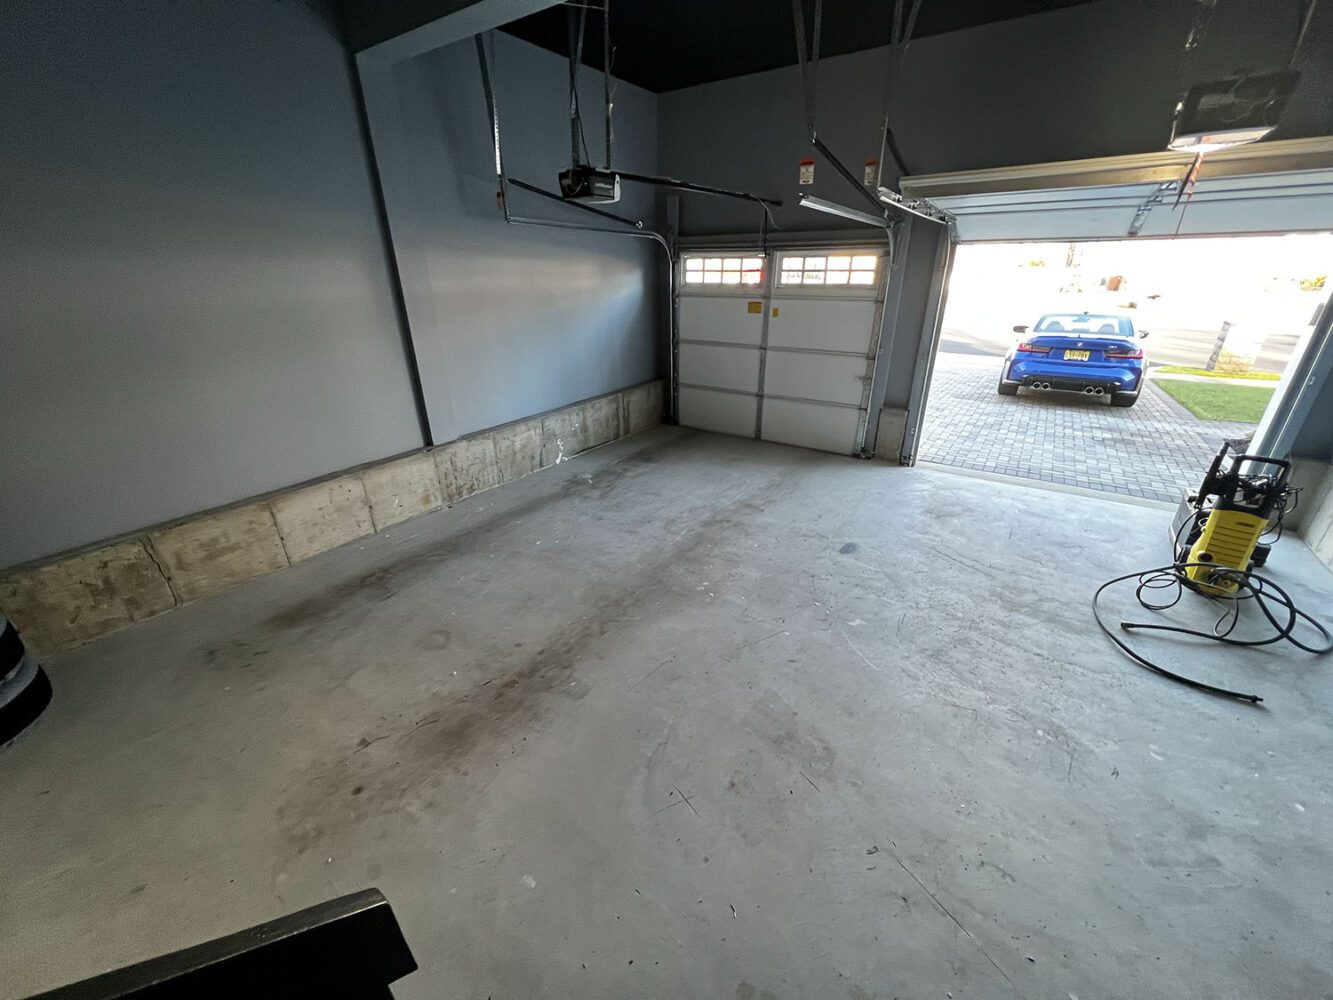
Last time, I had simply done grey primer with the colored flakes that look like fish food. A nice effect, but I wanted something that would make you go WOW this time. What would do the trick?
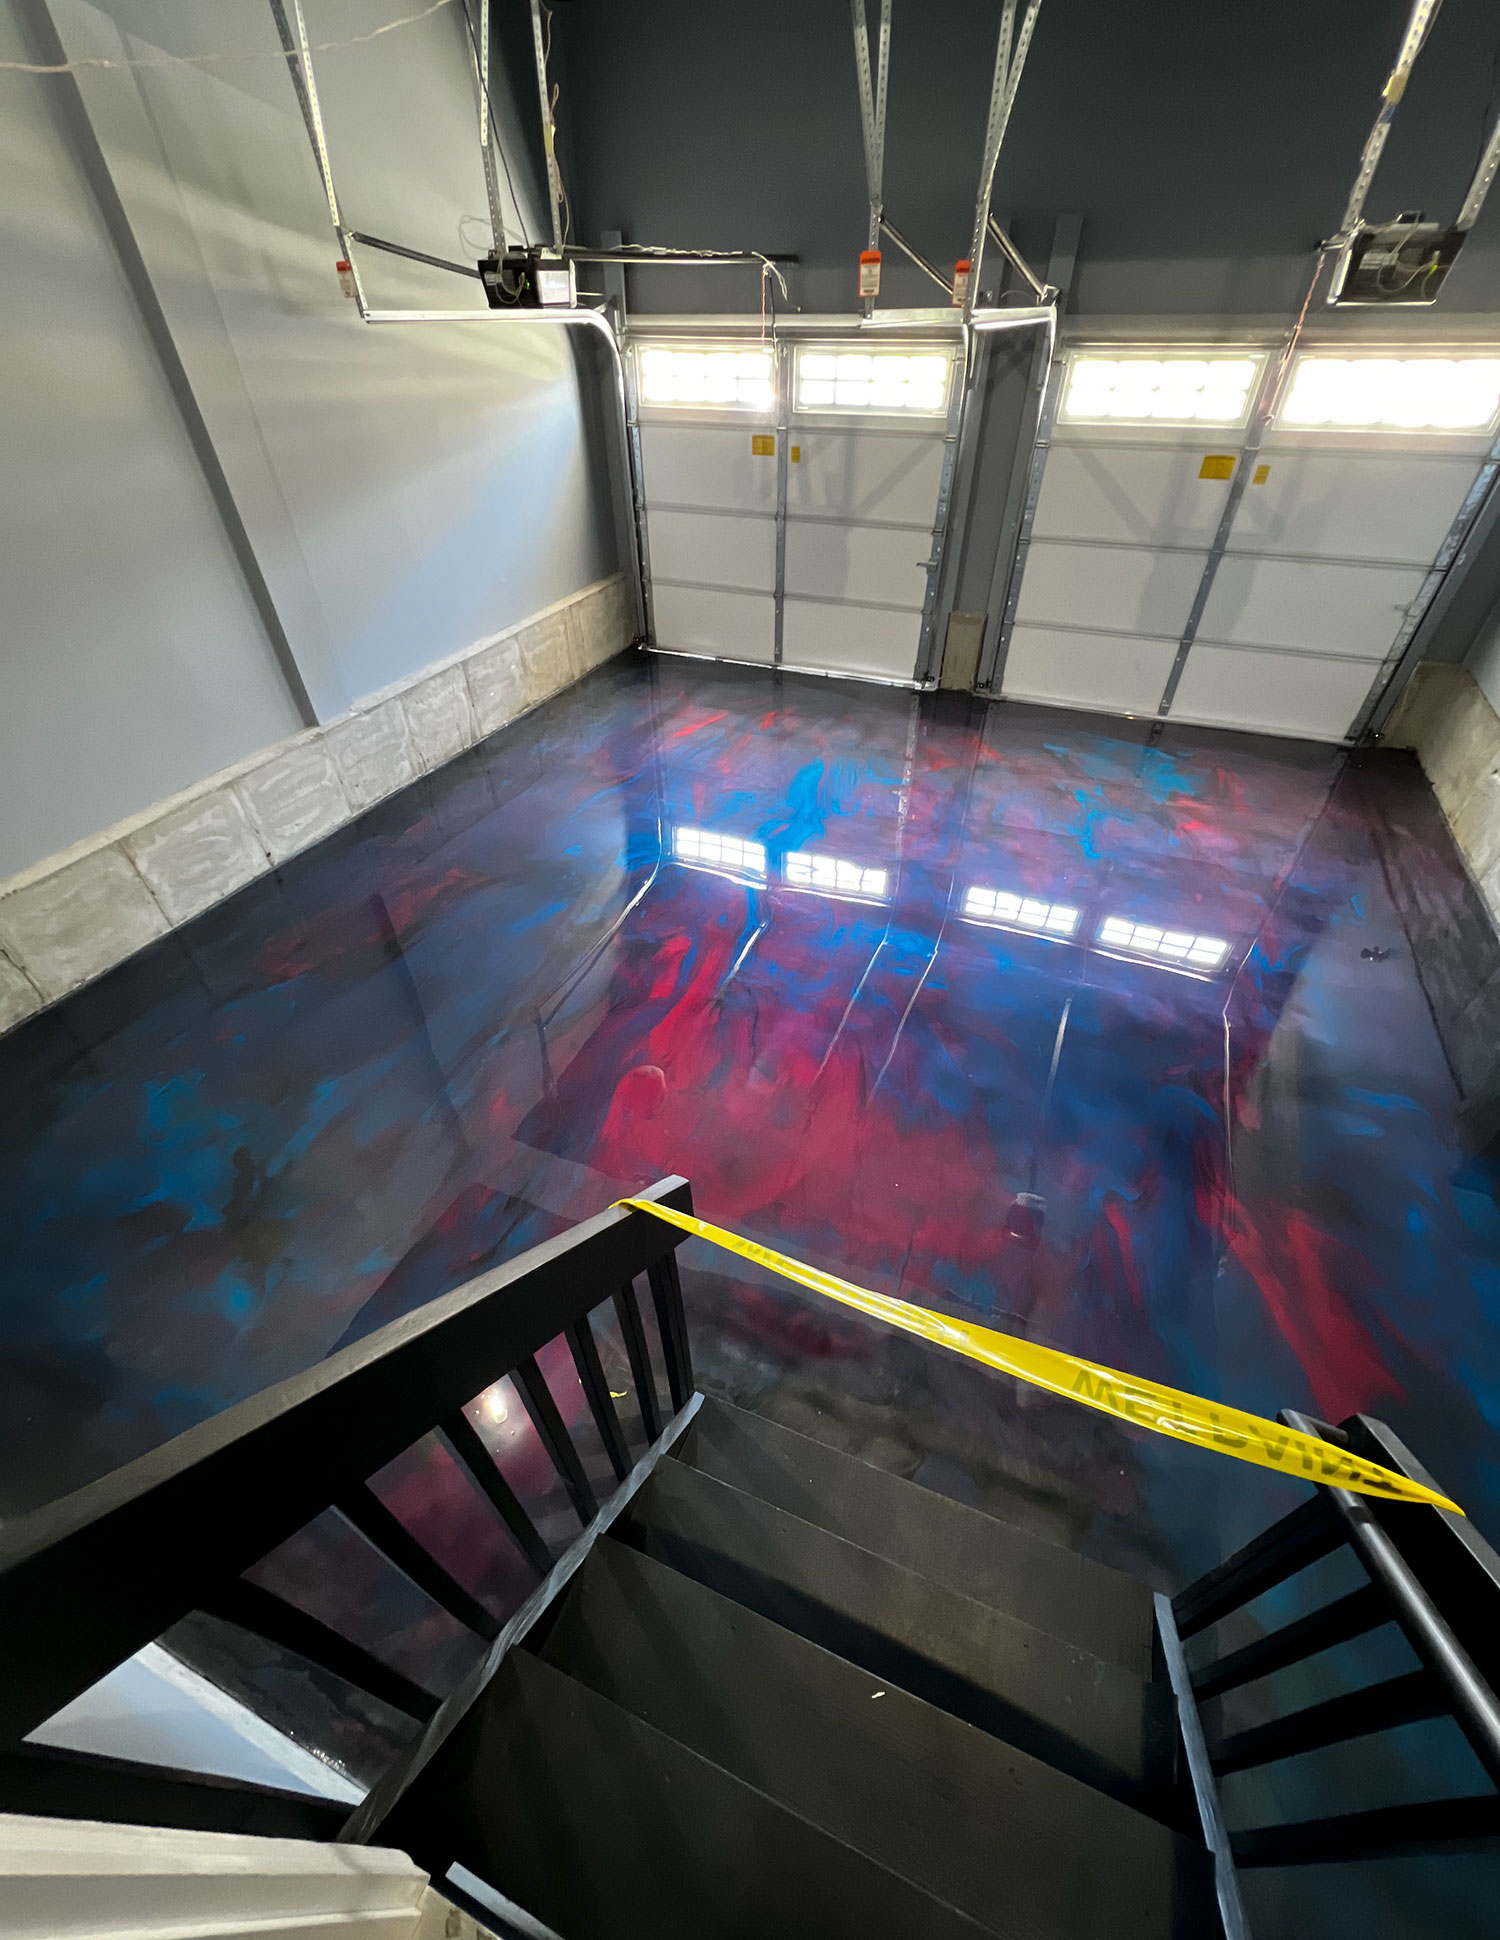
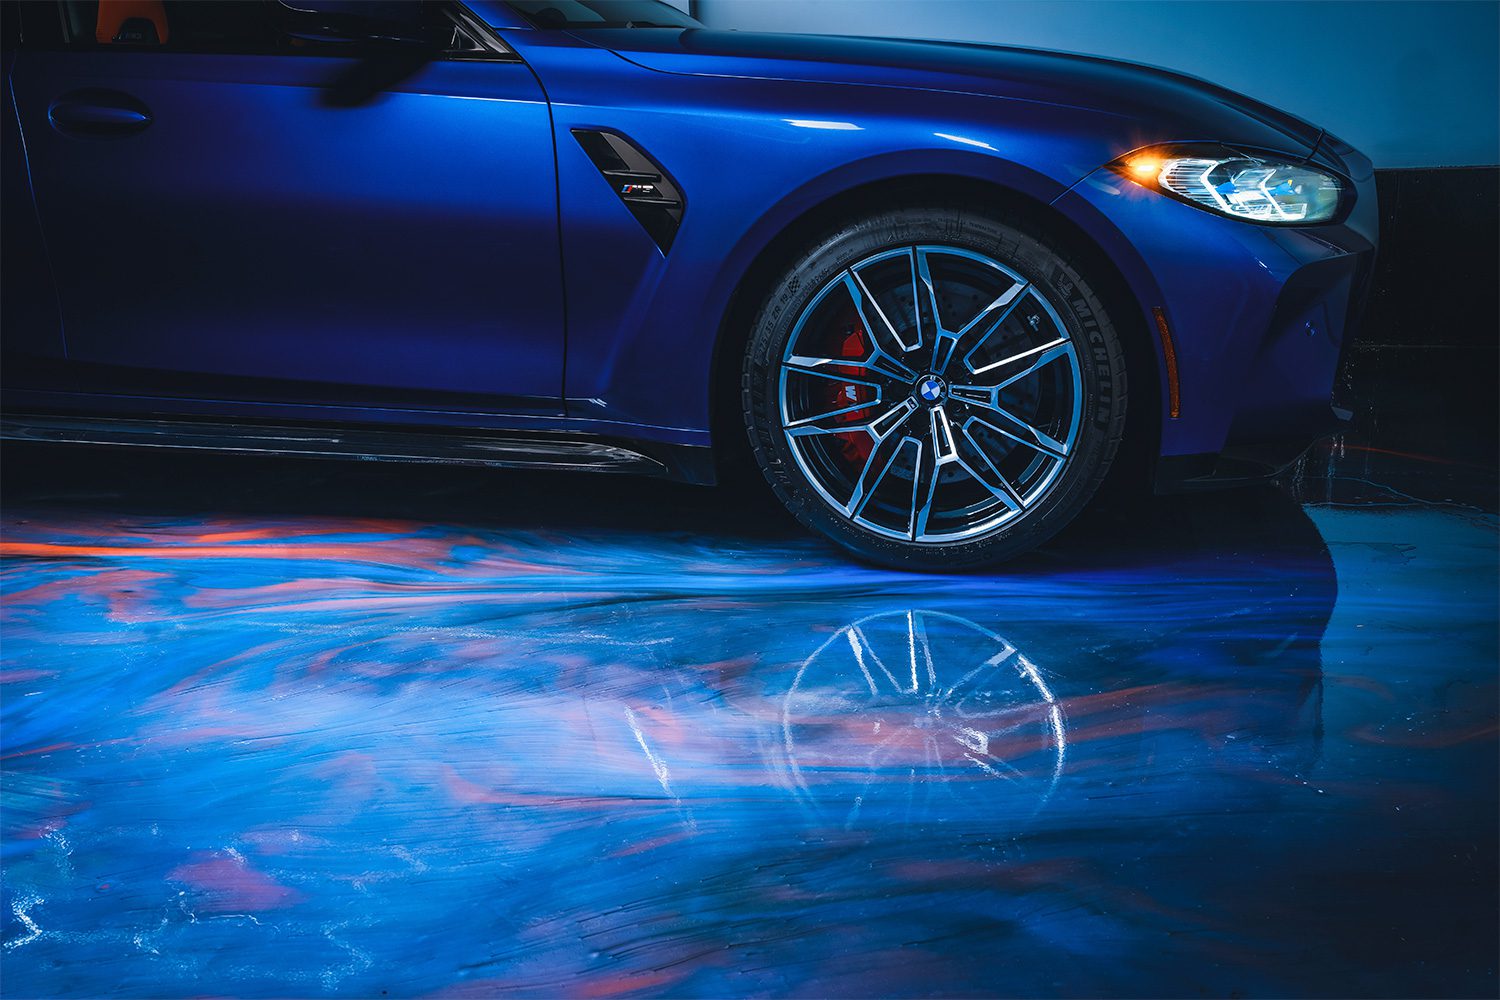
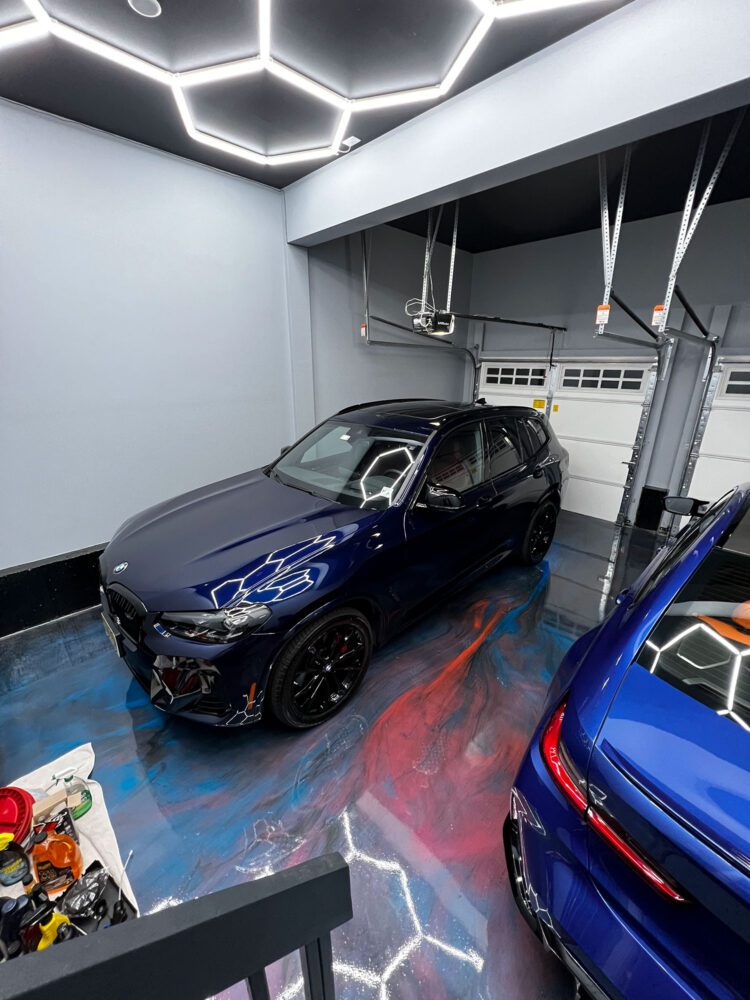
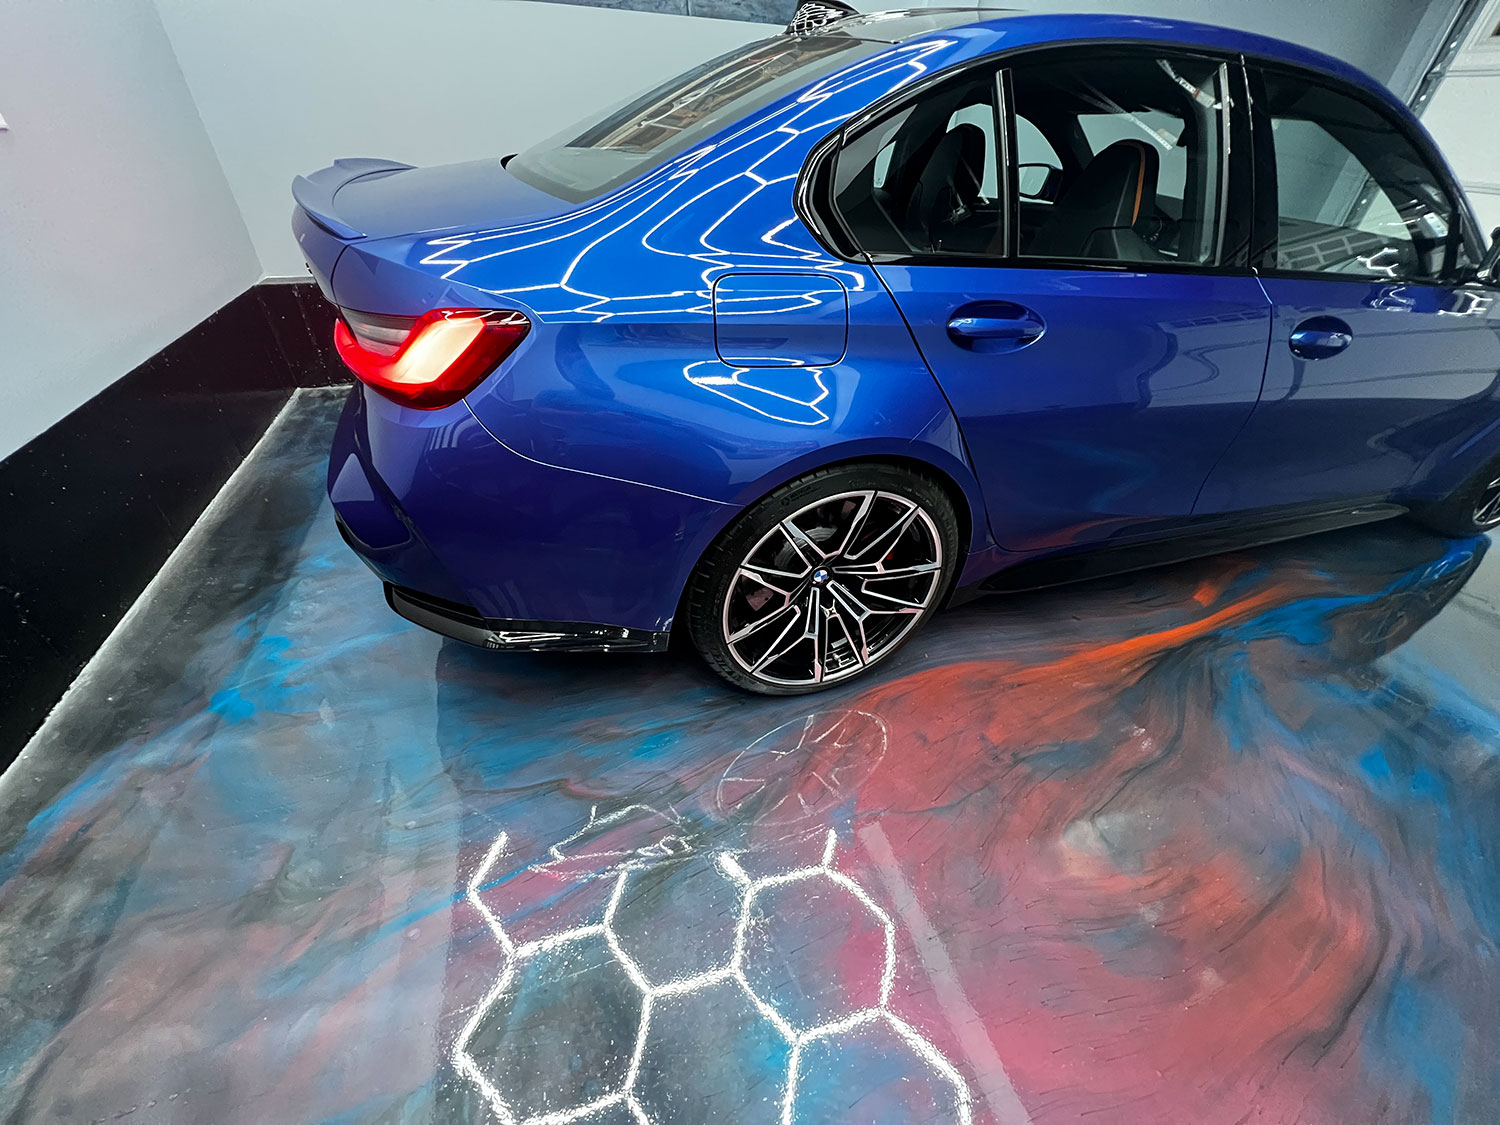
Like so many other things, I came across a floor treatment I liked on Instagram. After looking into it, I found a company called Reconstructed Surfaces. The owner, Nick, is a BMW guy, and immediately got the look I was trying to achieve. He gave me a palette of metallic colors to choose from; a base color, and two accents. Here, I went with “Silver Black”, and then blue and red for the accents. No doubt that this would be a BMW M garage now.
If you’re asking about Swiss Trax, they look great, but I was concerned about water getting underneath the tiles.
Step 4: Installing the Reconstructed Surfaces floor
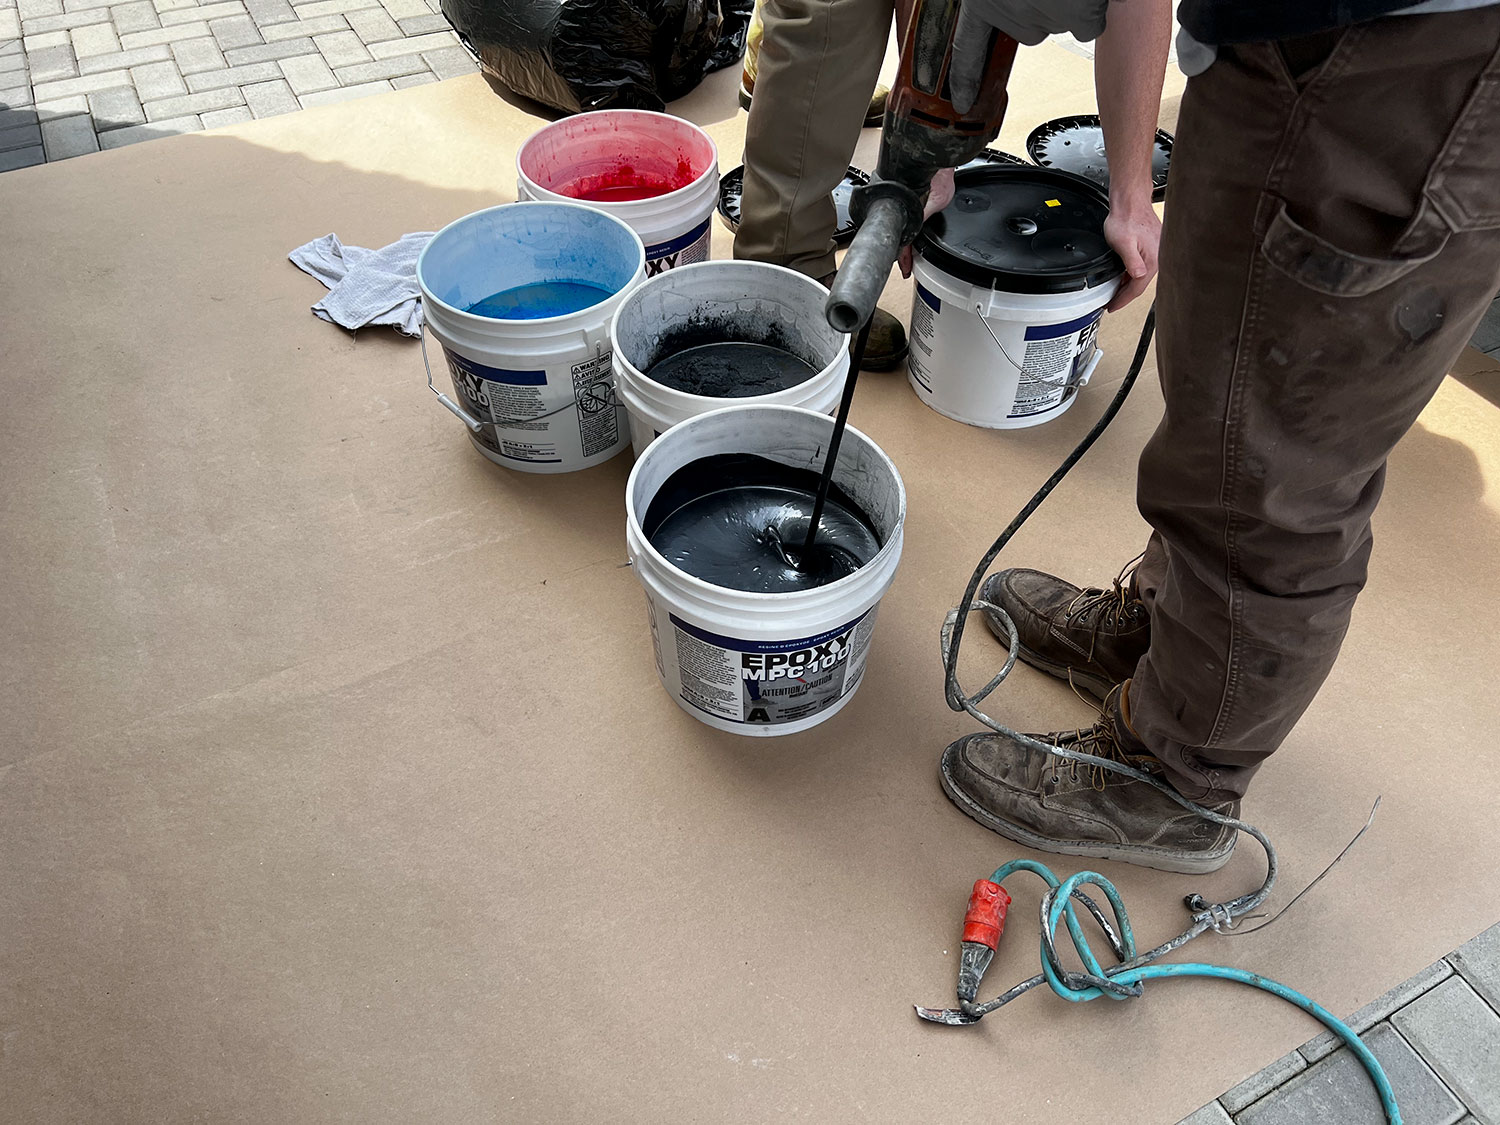

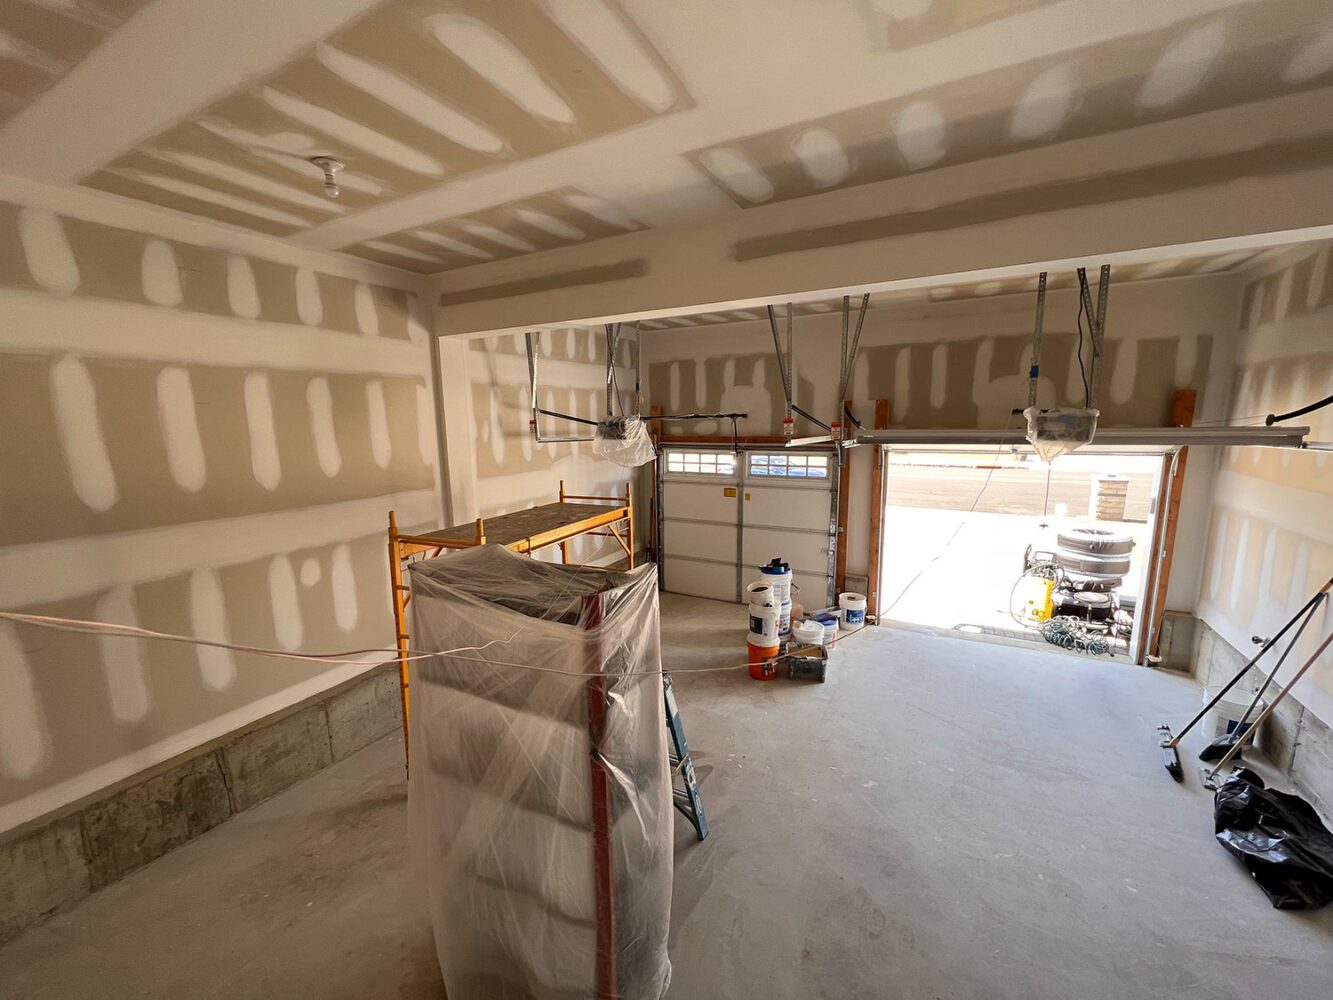
These guys really took their time, and the floor needed over a week to be installed properly. They start with sanding down the concrete surface, along with the concrete foundation walls (these vary in height from house to house). The temperature needs to be in the 60s for this to adhere properly, so the next day they came to prime the floor.
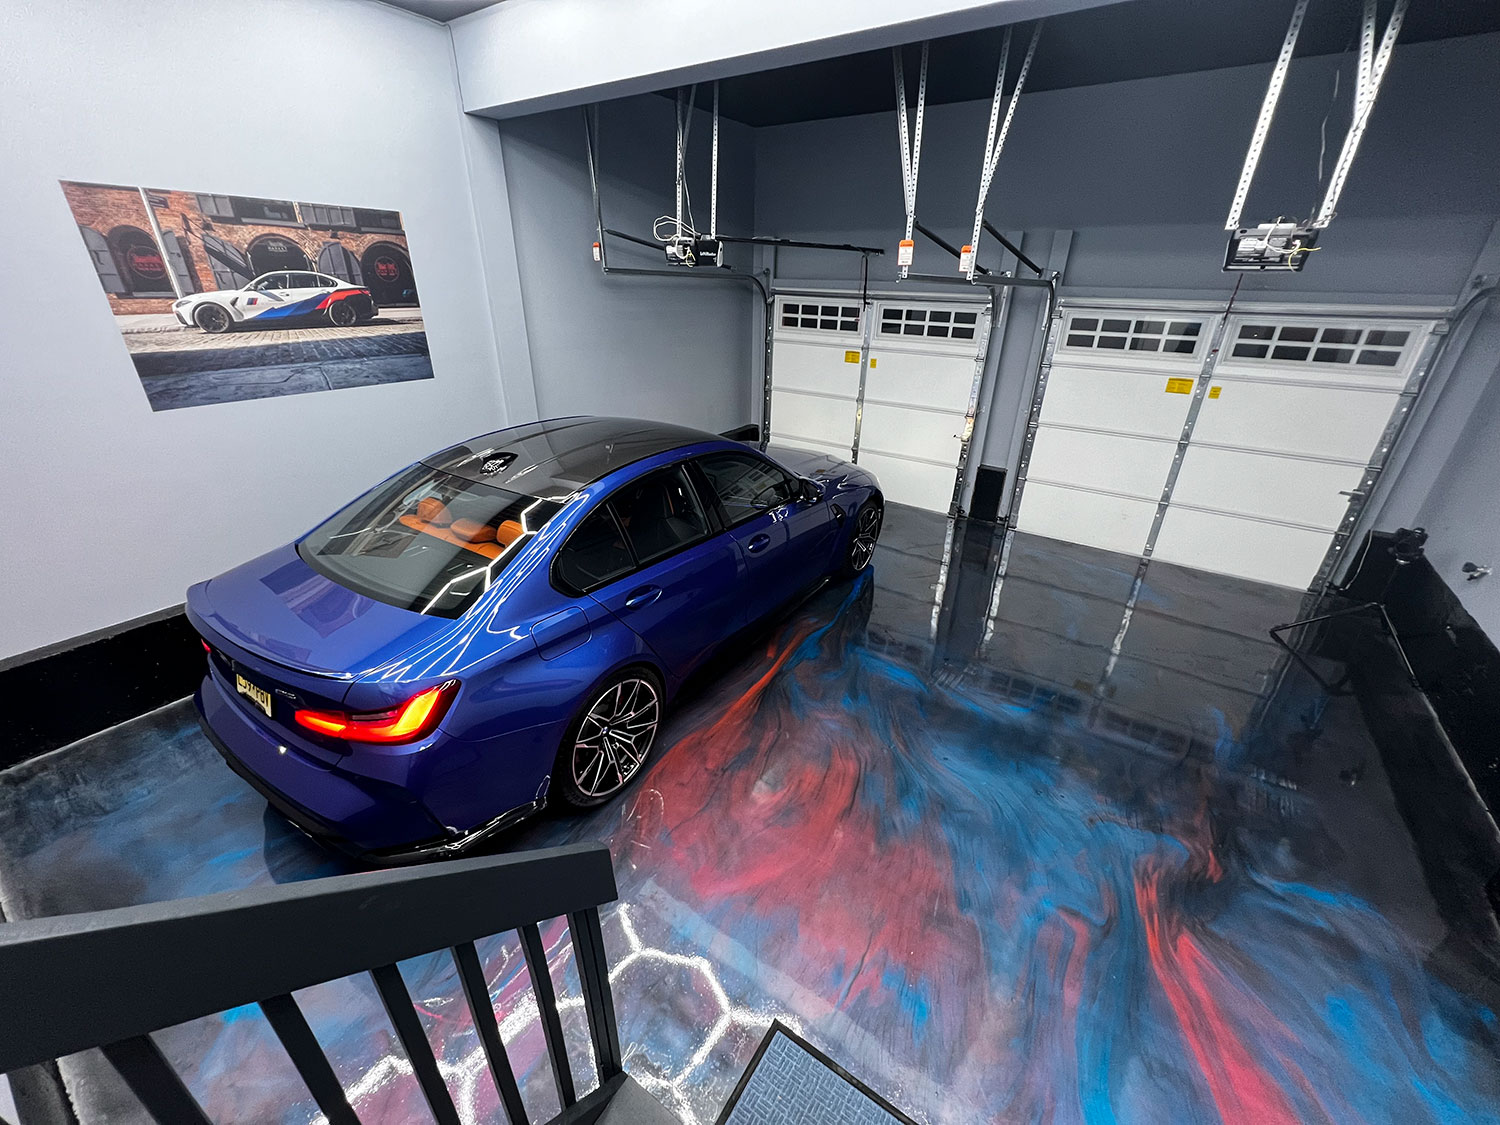
Day 3 was a base coat which looks like a grey sealant that needs to dry for at least a day, if not two. Day 5 was mixing the metallic epoxy and actually moving the three colors around on the floor. There is definitely an art to it, and Jimmy knew exactly how to mix everything for a dramatic-looking finish.
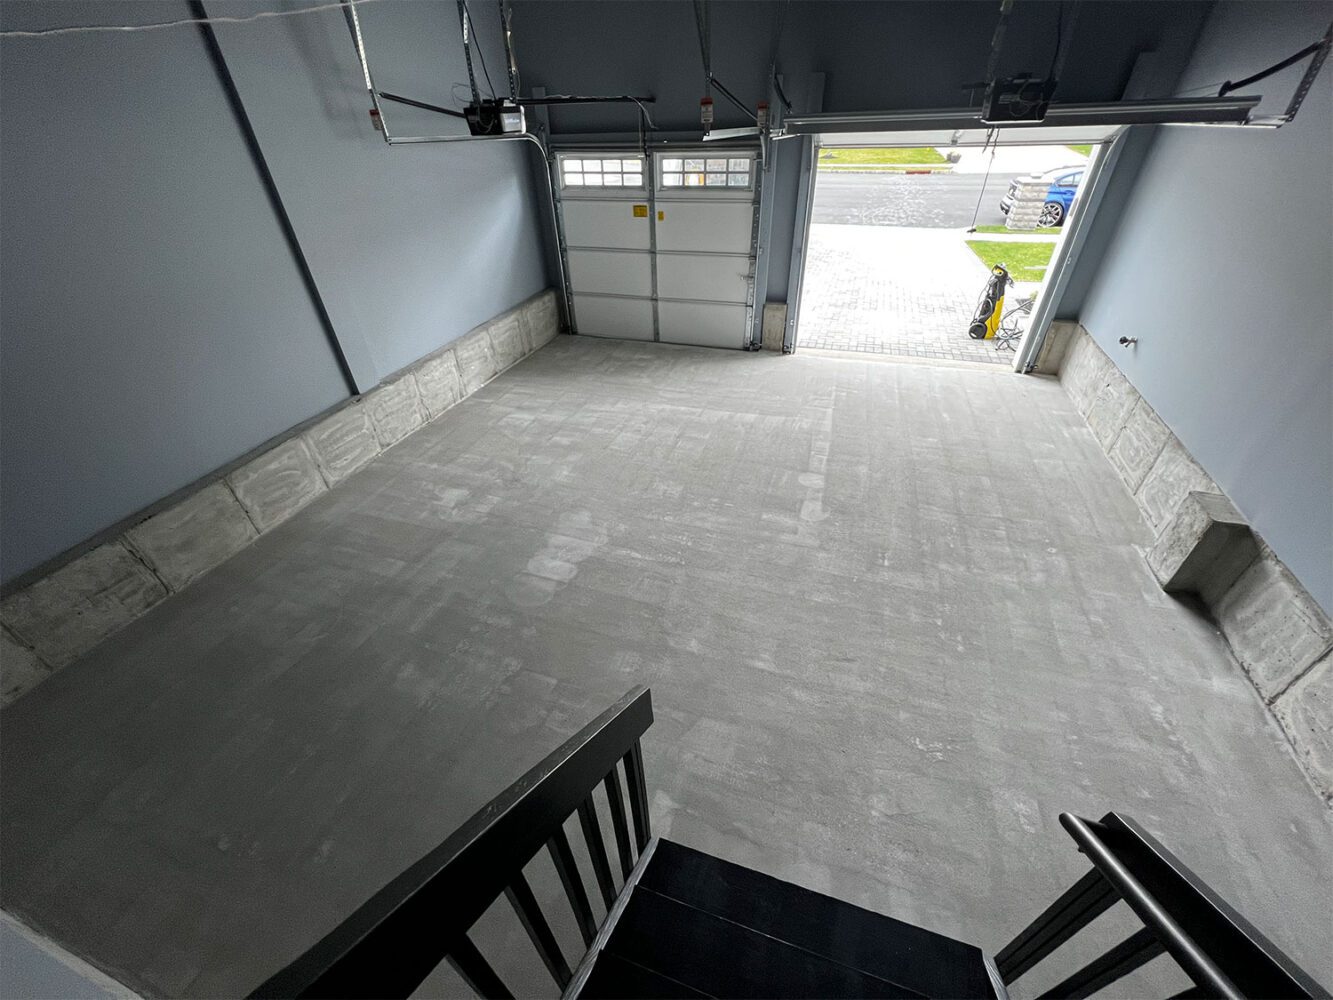
After letting it dry over the weekend, the guys came back to install a gloss finish and paint the concrete walls black. The results speak for themselves and transform the garage.
The floor can be kept clean with a squeegee and water, but do be careful pulling your car inside. It can get slippery.
Step 5: Lighting
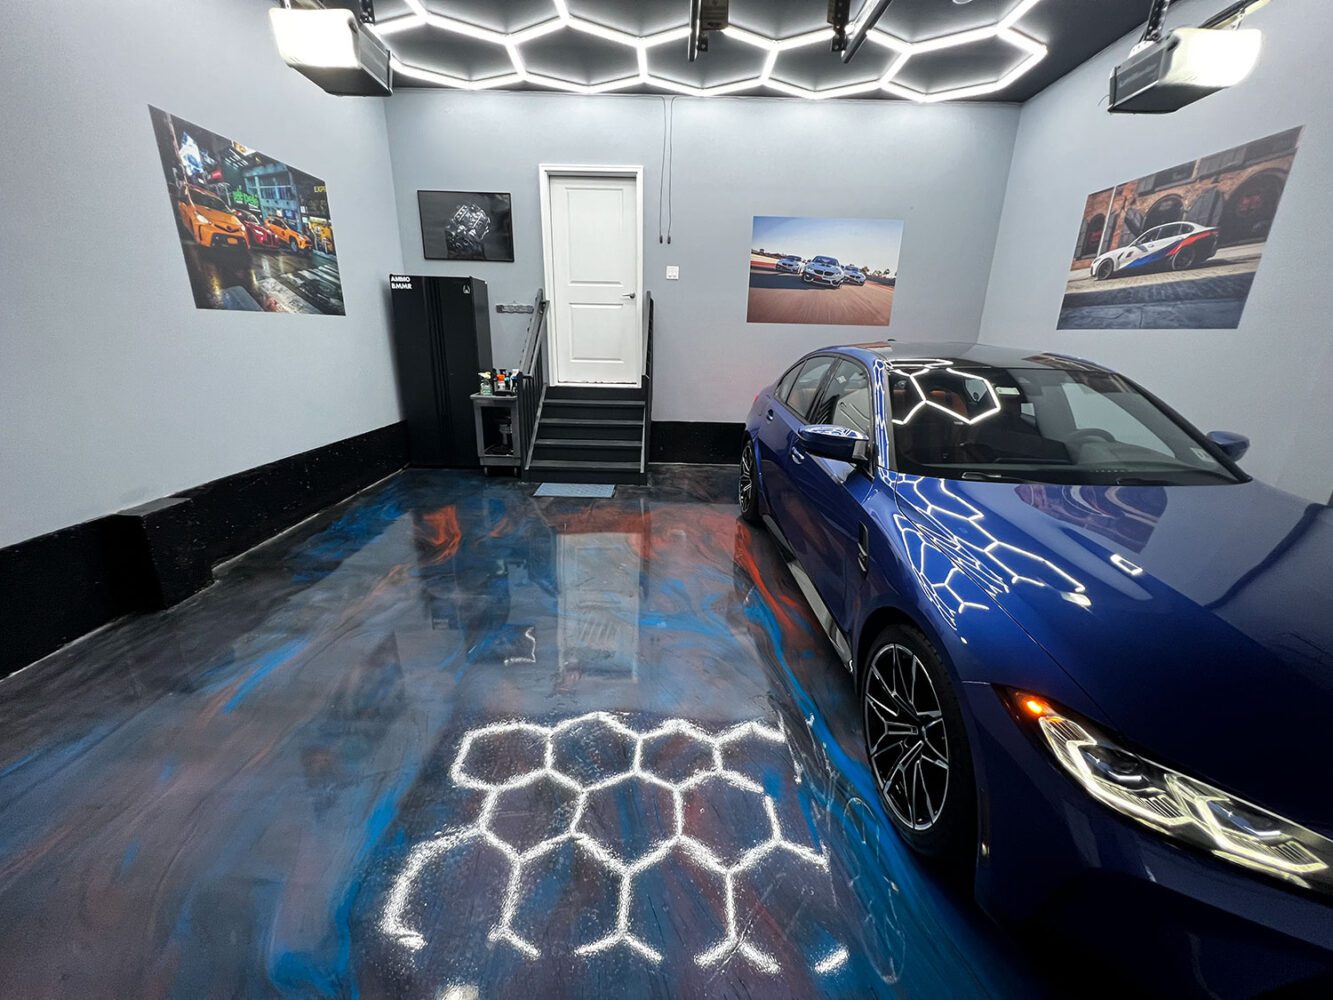
Lighting this garage was a challenge due to the room being split in half by a support beam. And it was always very dark in there – not good for detailing or photos. I used AMMO as inspiration with a set of grid lights from Get Lit. They sell the grids in all shapes and sizes, along with soft boxes, etc.
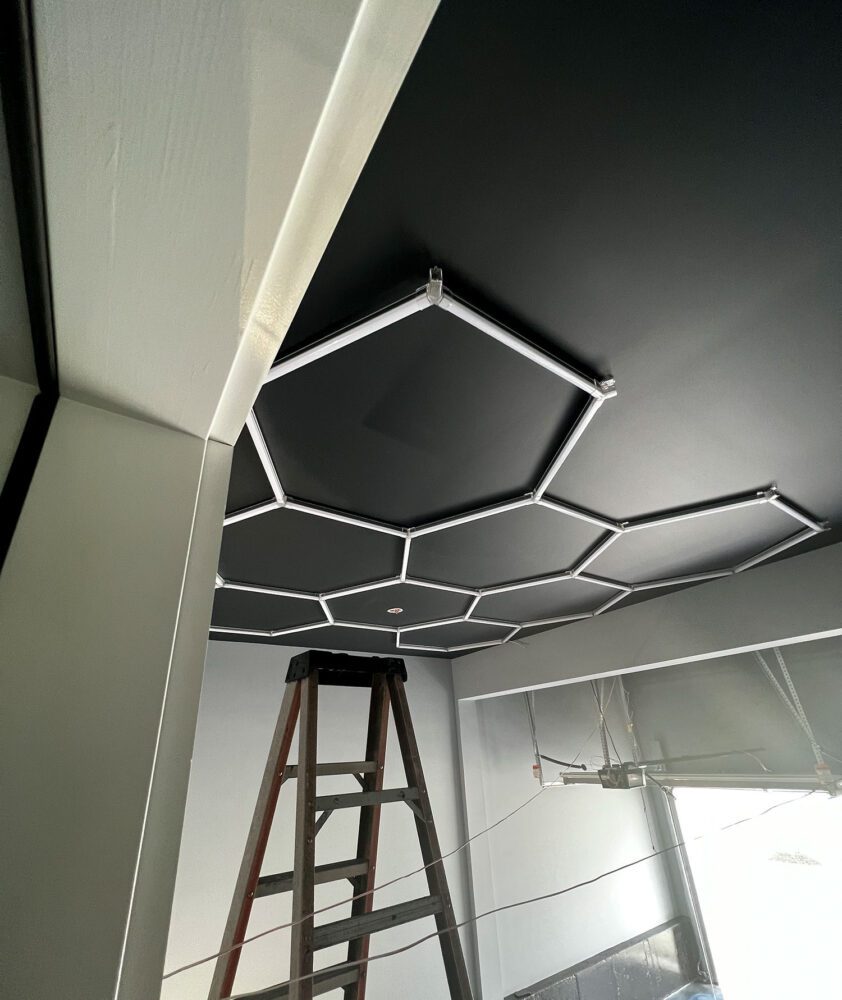
Again, I used a professional here, but they look easy enough to connect together, and their are multiple tutorials on line. While I would have loved to get another pack for the front half of the garage, the lattice work for the doors gets in the way in my case. They do provide a ton of light, even though just the back half of the room is lit.
The lights themselves show off the cars really well, but for detailing work, get something like a Scan Grip light, as the hex lights create a lot of hot spots that make spotting swirls difficult.

Step 6: Storage
Larry has a full wall of cabinets from Moduline, and they are beautiful but stunningly expensive. I decided that this garage should be more a studio and less a workshop. The desire to get underneath a car to do things just isn’t there like it used to be, so many tools either went in the basement or the garbage (they were old).
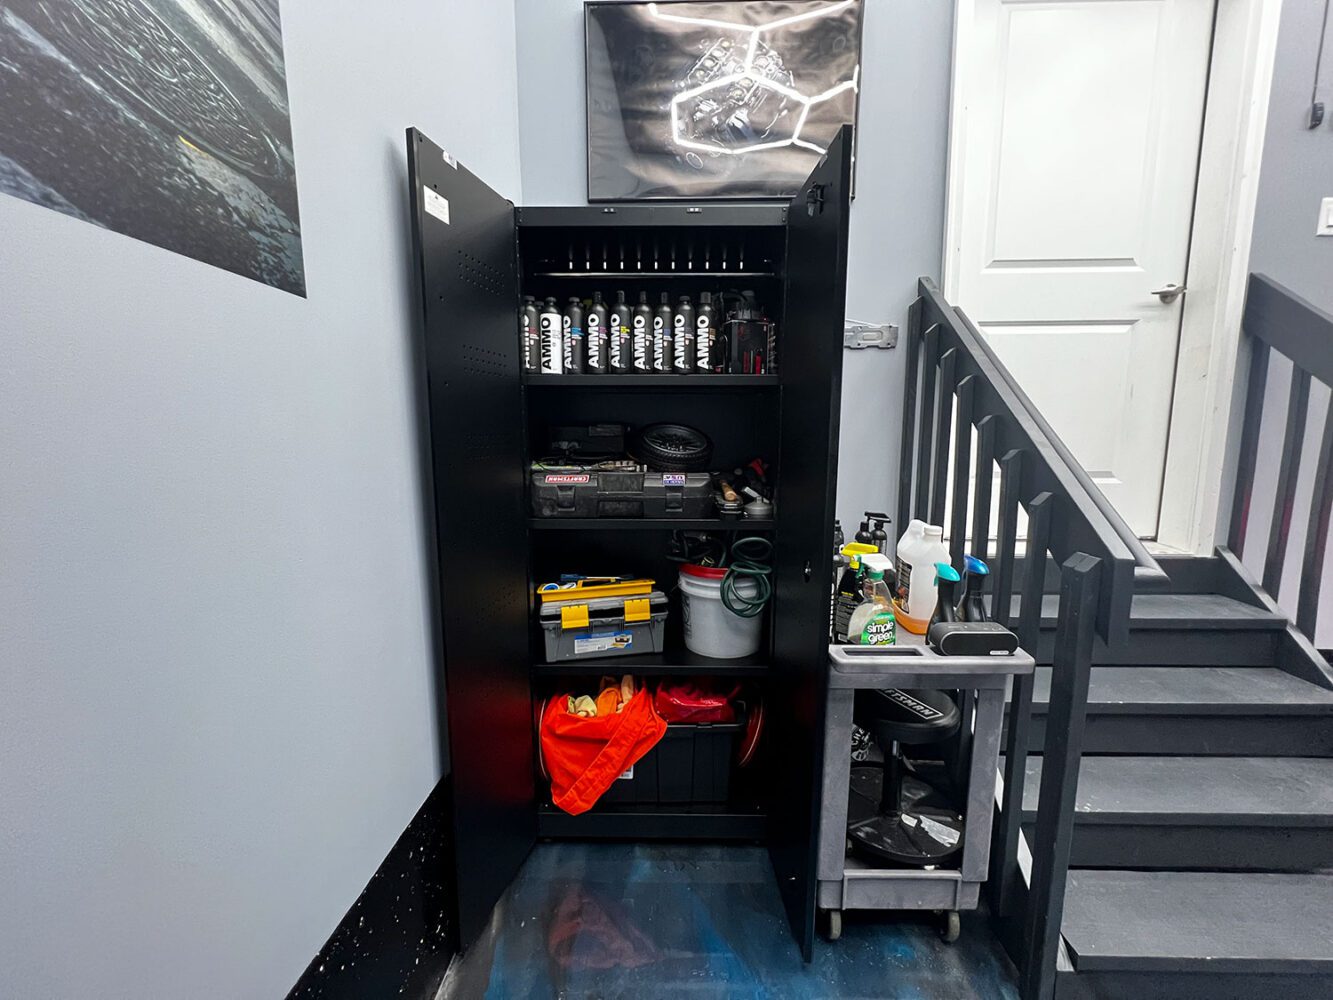
What stayed was my detailing cart and tools, and my detailing supplies went into a tall Husky cabinet from Home Depot. This is a regular duty cabinet, finished in matte black, so it matches the aesthetic well. Inside comes with three shelves and a place to hang clothing. They sell entire combinations of these cabinets, and they look sharp.
Step 7: Finishing touches
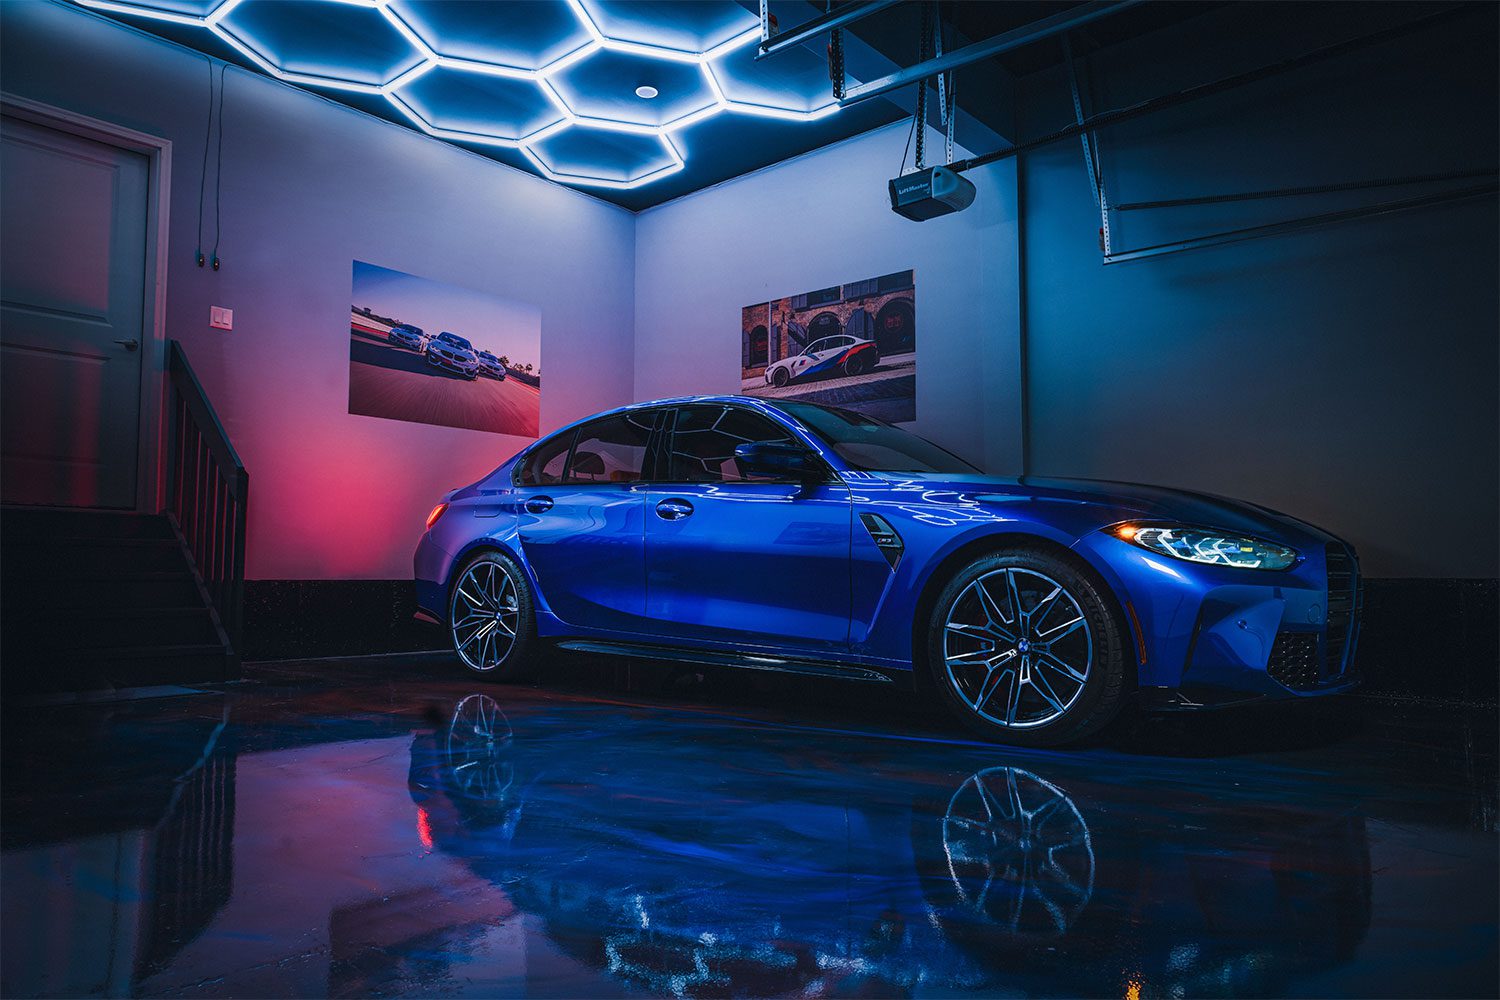
My old space had many posters that I had printed out from the official media images of the launch of the E92. But now, I had my own images to choose from, and there were plenty of special BMW shots I had taken over the years. I decided on using UPrint wall decals, sized 60×40. With the doors open, frames might blow around, so using decals that were flat on the wall not only looked good but serve a practical purpose.
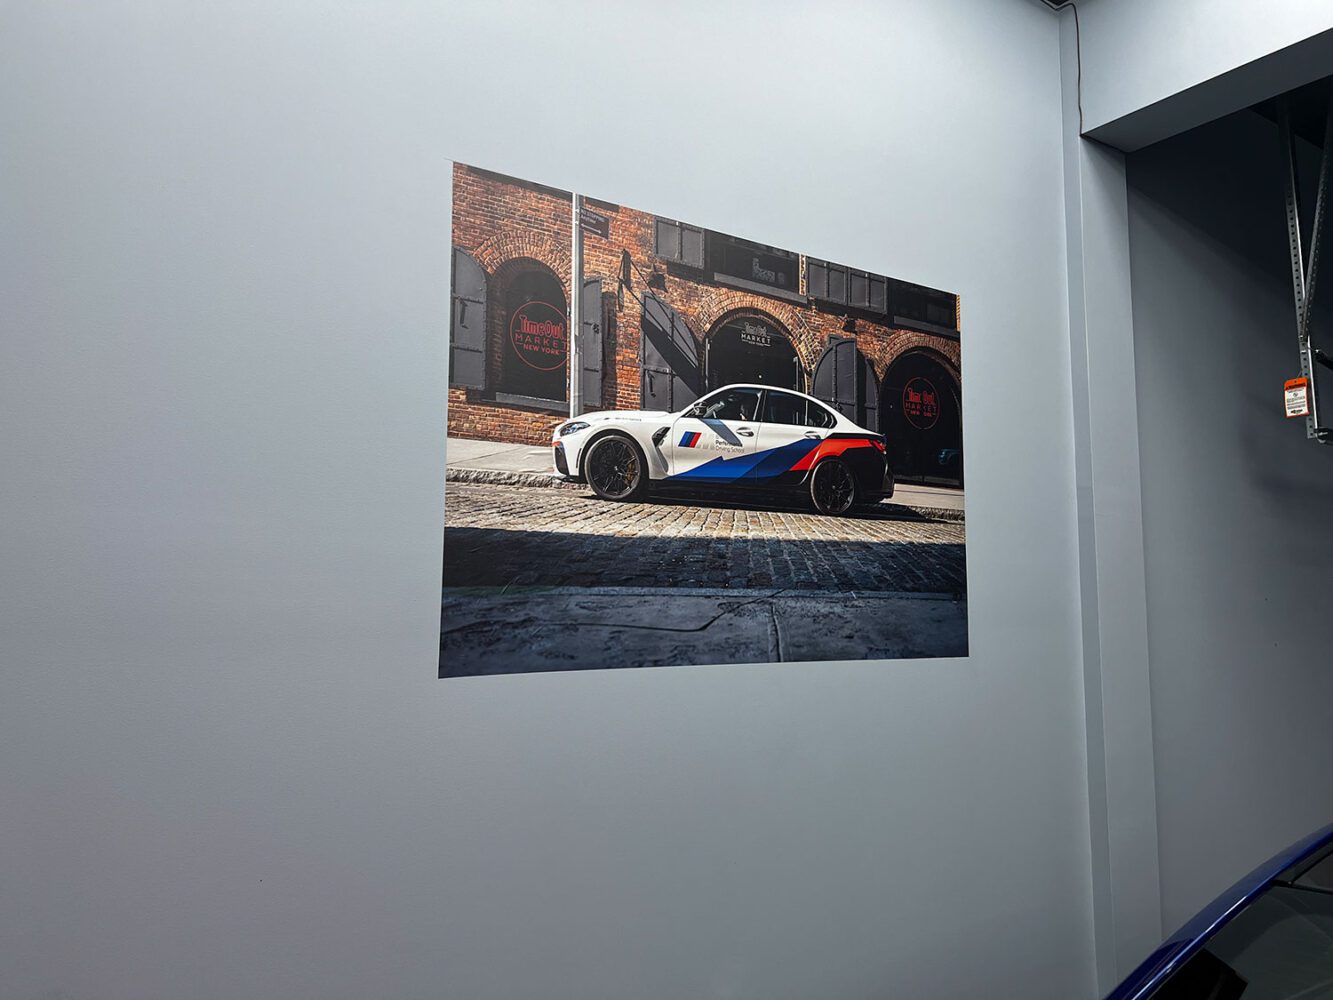

What is considered a poster shot can be debated, but as this is a garage with a G80 in it, I wanted to use G80 shots. The Performance Center M3 was a given, as it was in this very space. And using an image from the development G80 I shot in NYC also felt appropriate. But for the last shot, I chose a group of M4 GT4s at Thermal, because it’s the very definition of cool.
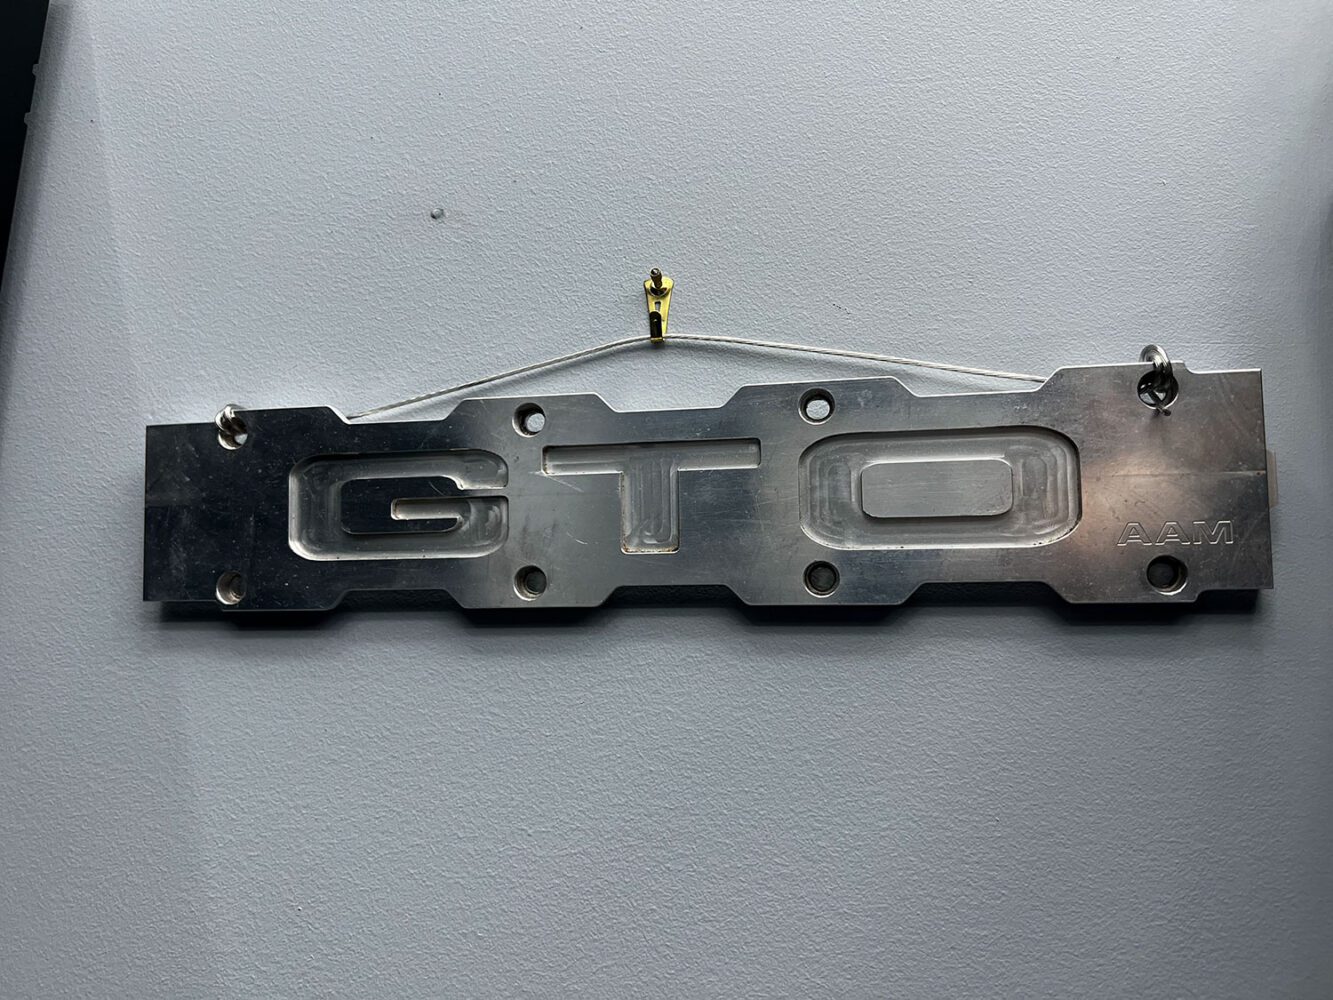
Finally, just a few personal touches. I chose to hang the spark plug cover plate from my old 3000GT, because it’s still special to me all these years later. And finally, an old framed shot of the best BMW motor of all-time: The S65. Hopefully it wont move to much being on the back wall and facing into the wind with doors open.
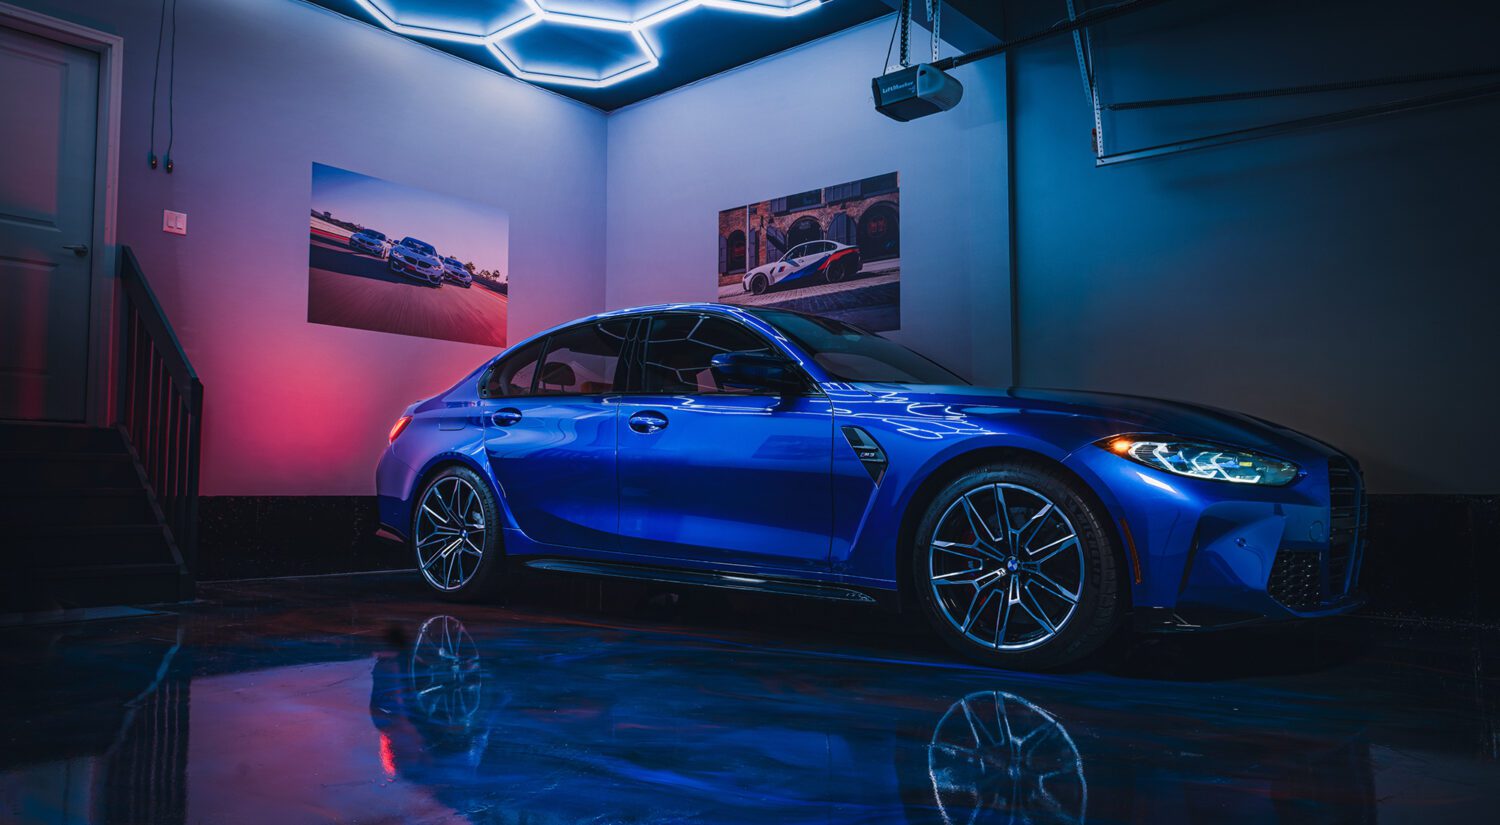
The final Dream BMW garage space

I hope this serves as inspiration for your own space!
Commissions may be received for product links on this site, so help out if you can. I only write about products I use and believe in.
I use Nikon camera bodies and lenses, a Westcott Ice Light 2, Manfrotto tripod, B + W filters and an iMac Pro to make the art you see here.
Email me at mike@machineswithsouls.com with any questions.
Follow along on Instagram @machineswithsouls