
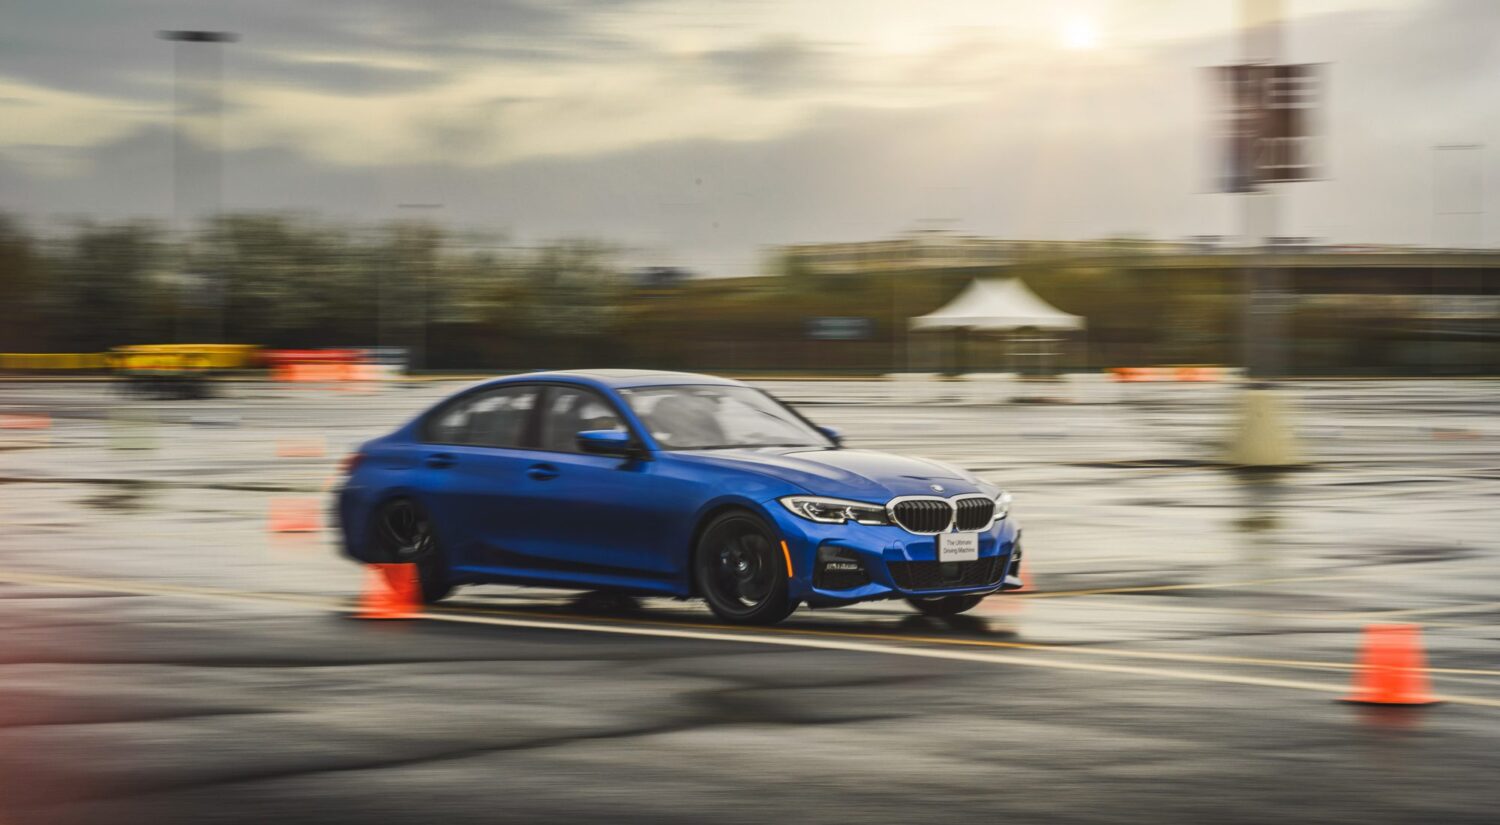
This entire blog is based on things you should and should not do when it comes to automotive photography. Universal things like using a polarizer are all agreed upon, but after reading this article on Jalopnik, I wanted to set the record straight and debunk some automotive photography myths.
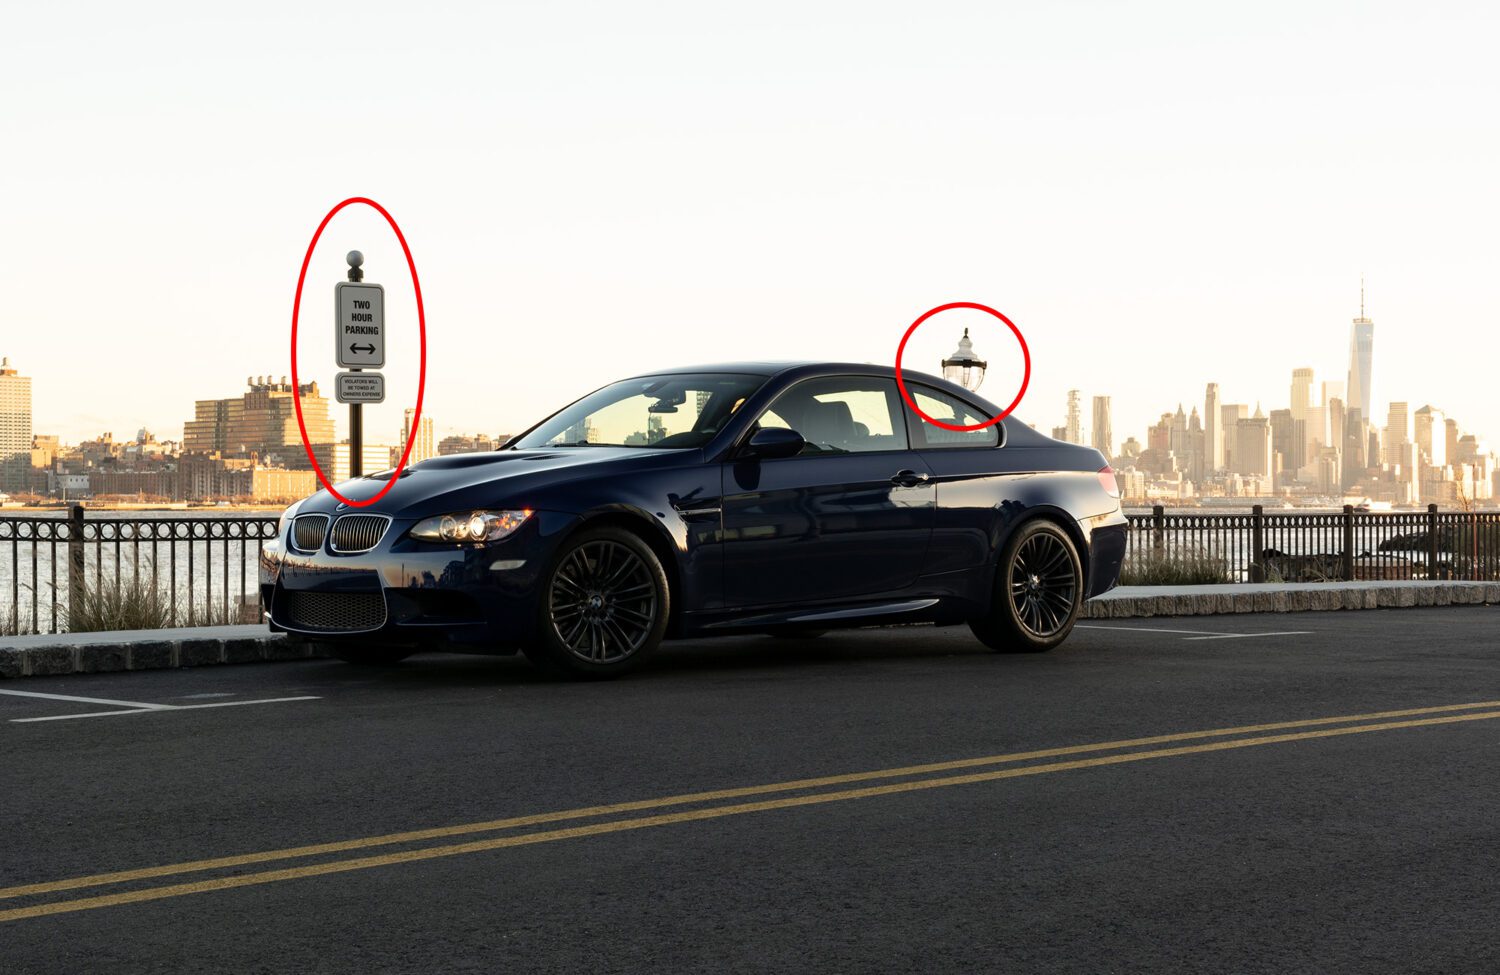
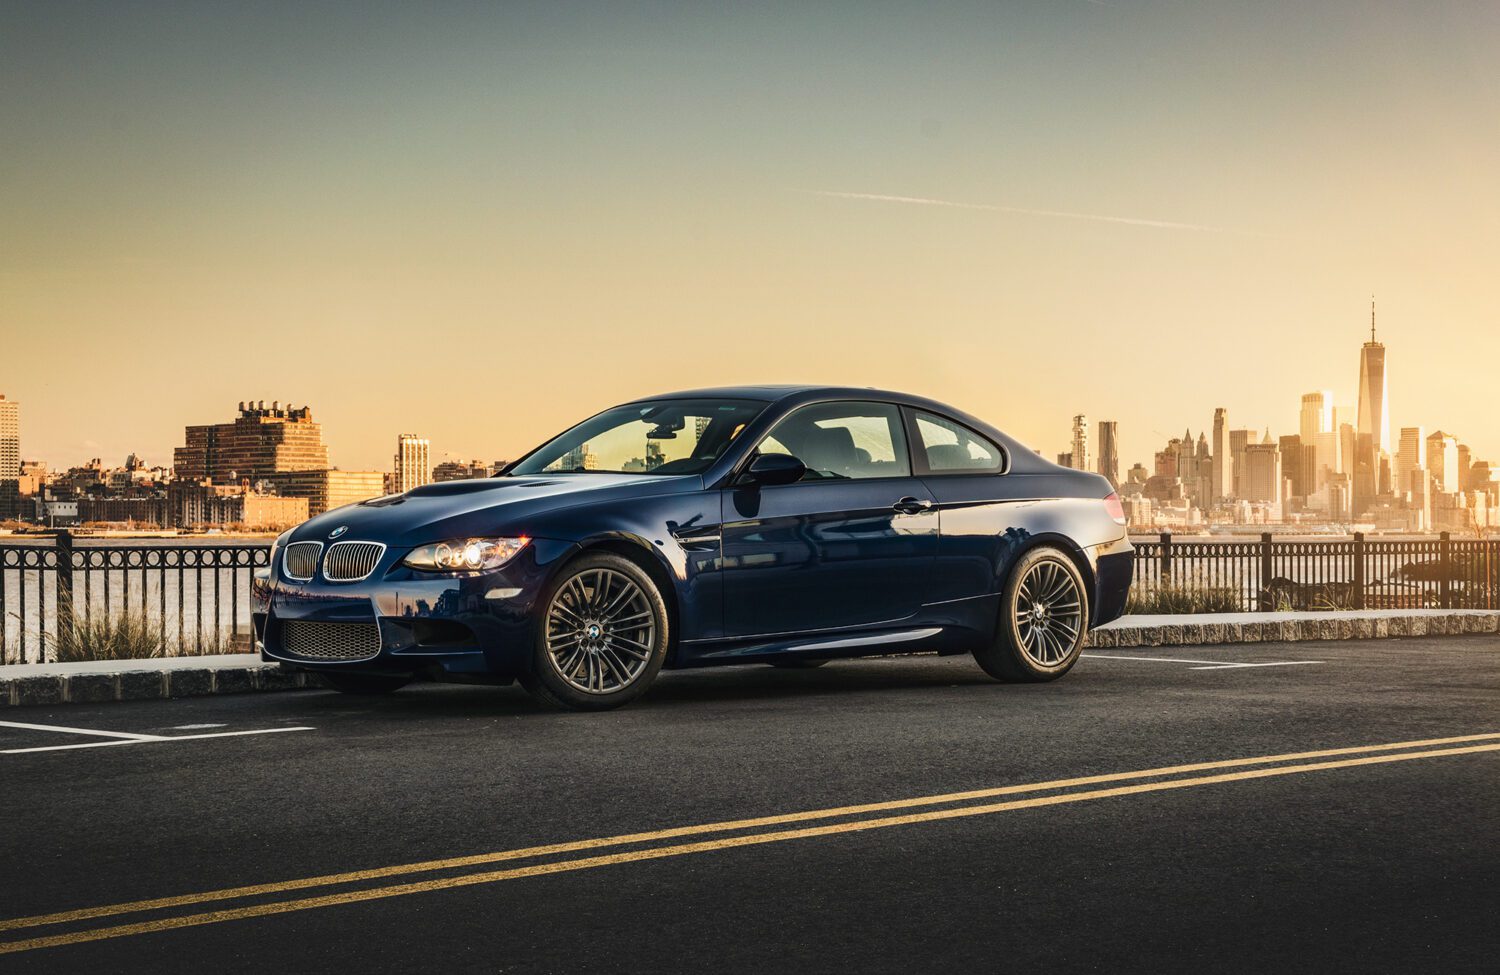
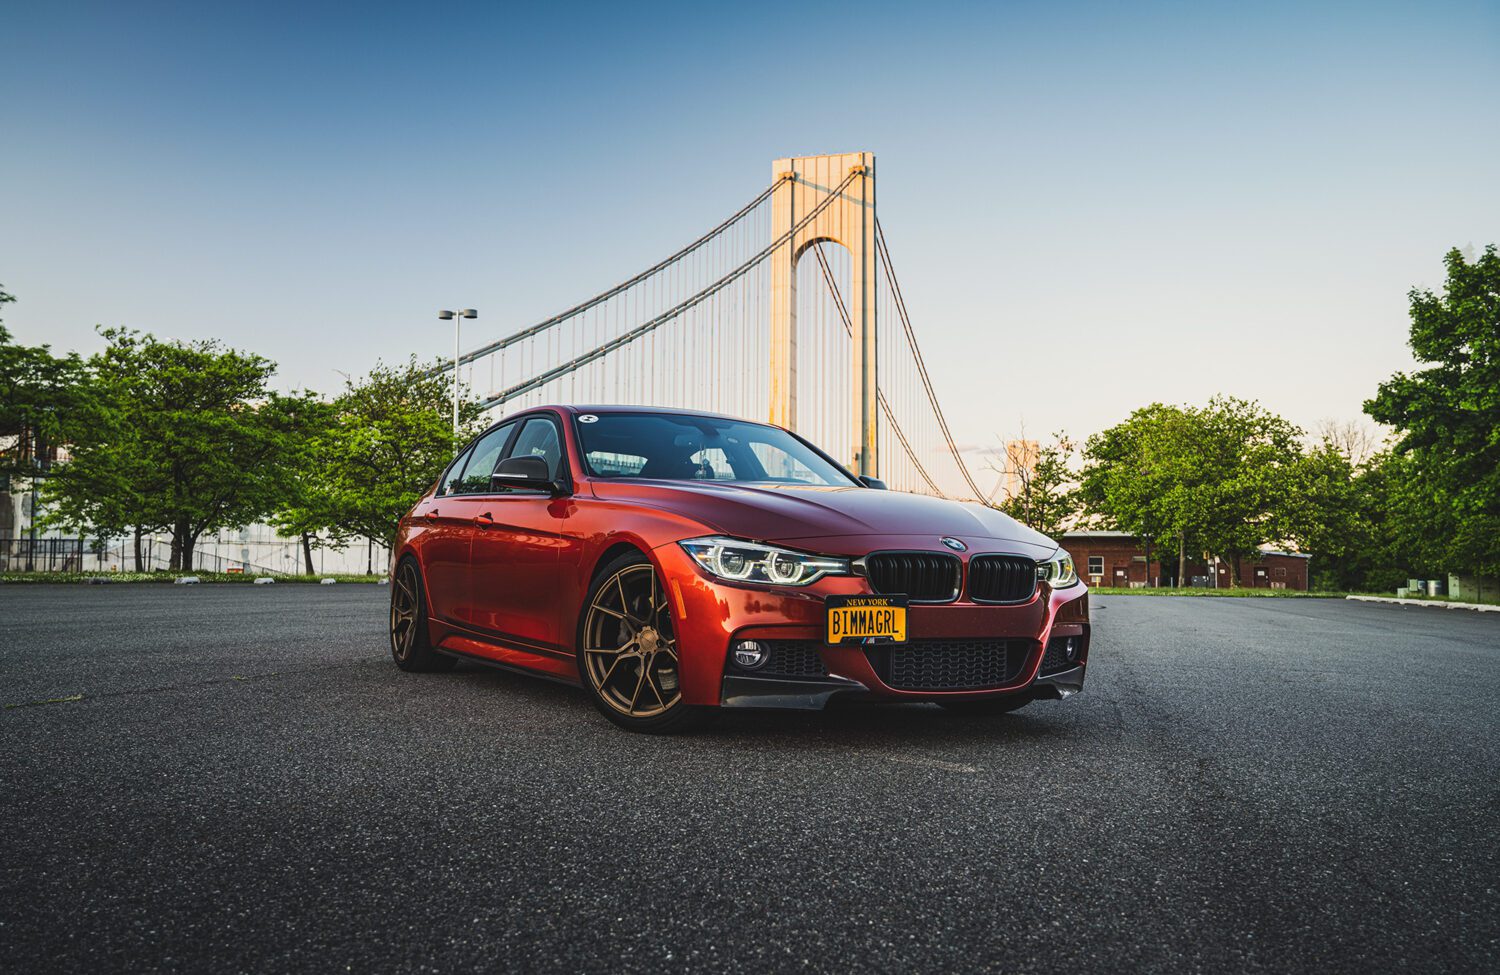
Tip 1: Don’t have [light/telephone] poles or distractions behind the car
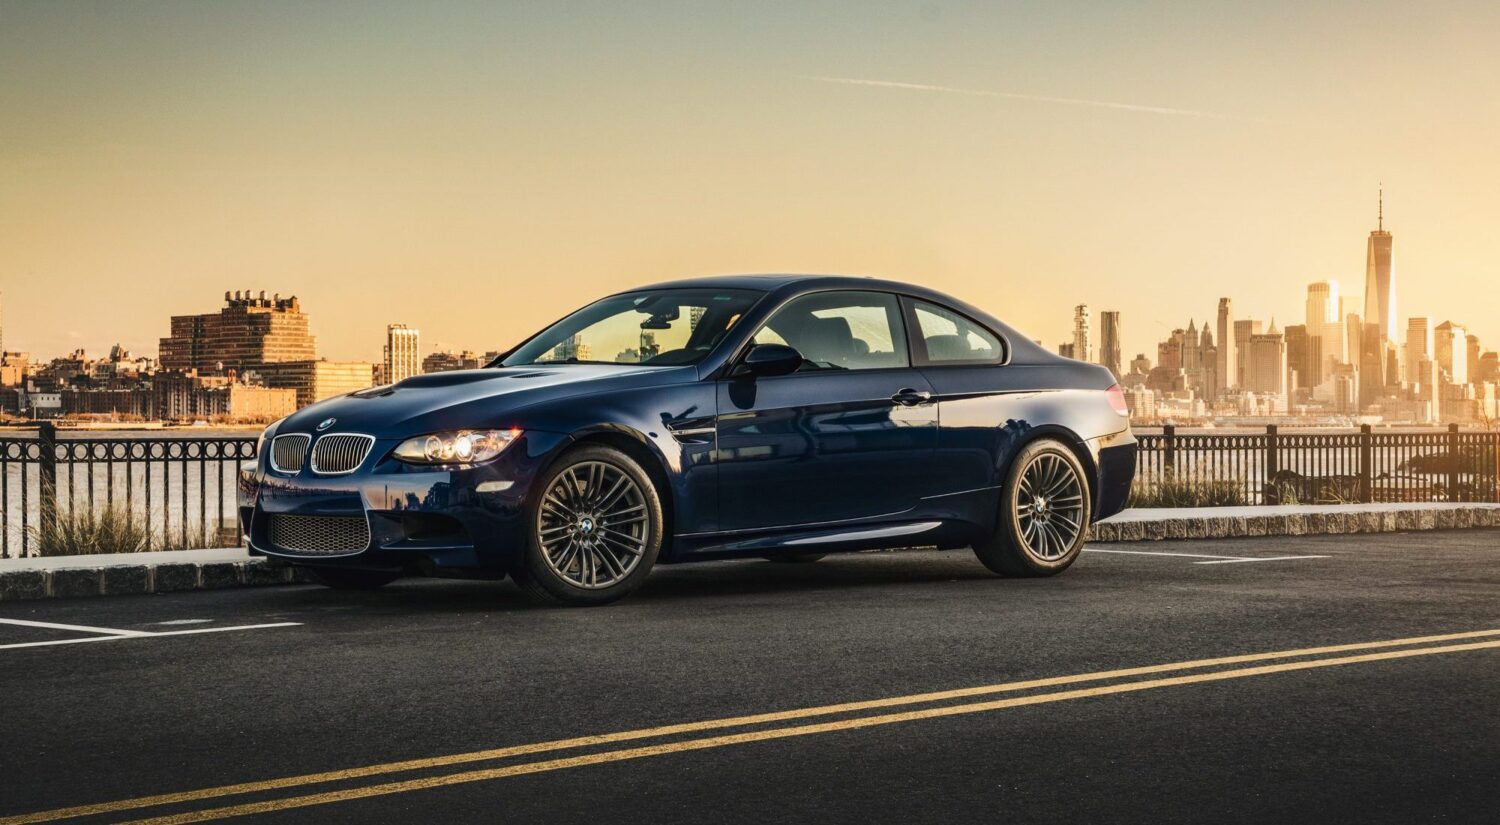
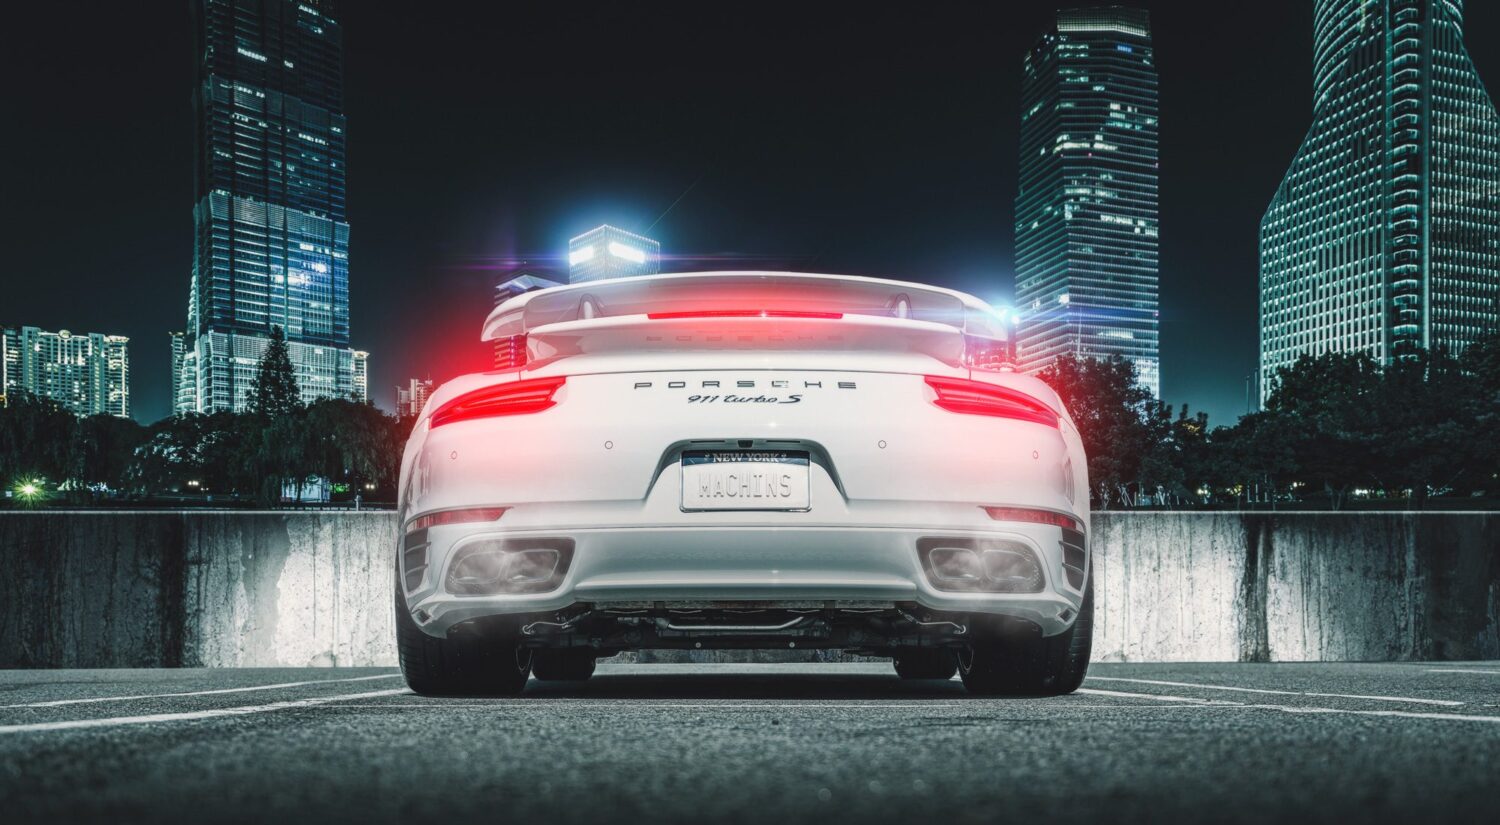
This seems like a reasonable tip. After all, nothing should distract you from the car. But this isn’t something you should worry about. If you’re shooting with natural light, work off of that and get the car how you’d like it. Then, look for things like a distant skyline or character wall to enhance your shot. If, at the end, something is sticking out of the car, but the rest is perfect, don’t worry! Just retouch it out. Takes five minutes of post work for an otherwise perfect shot. Get the composition right, because even if you move it away from the pole, something else will come into view that might distract.
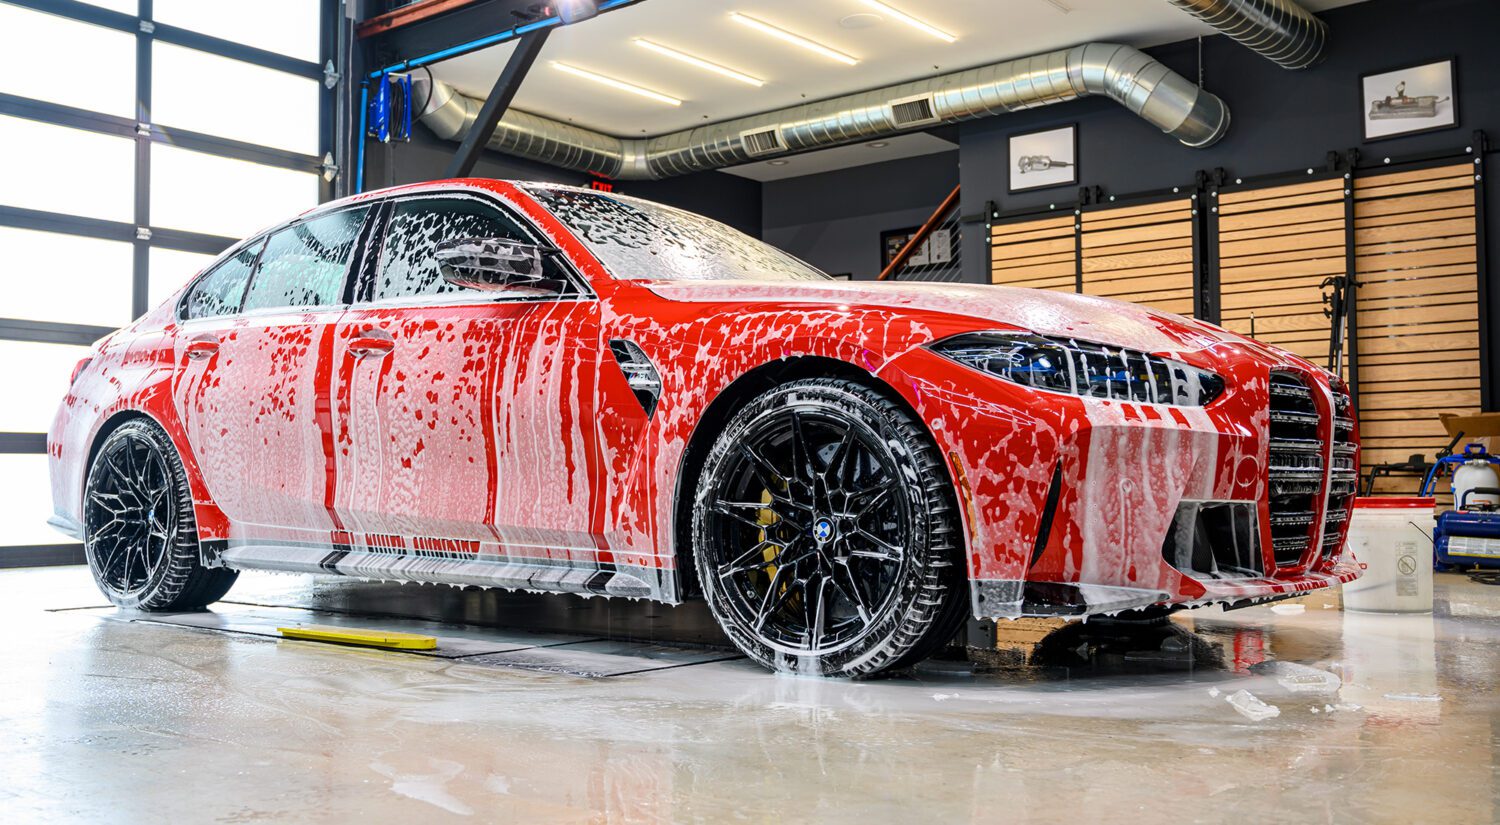
Tip 2: Don’t become obsessed with strobes and lighting
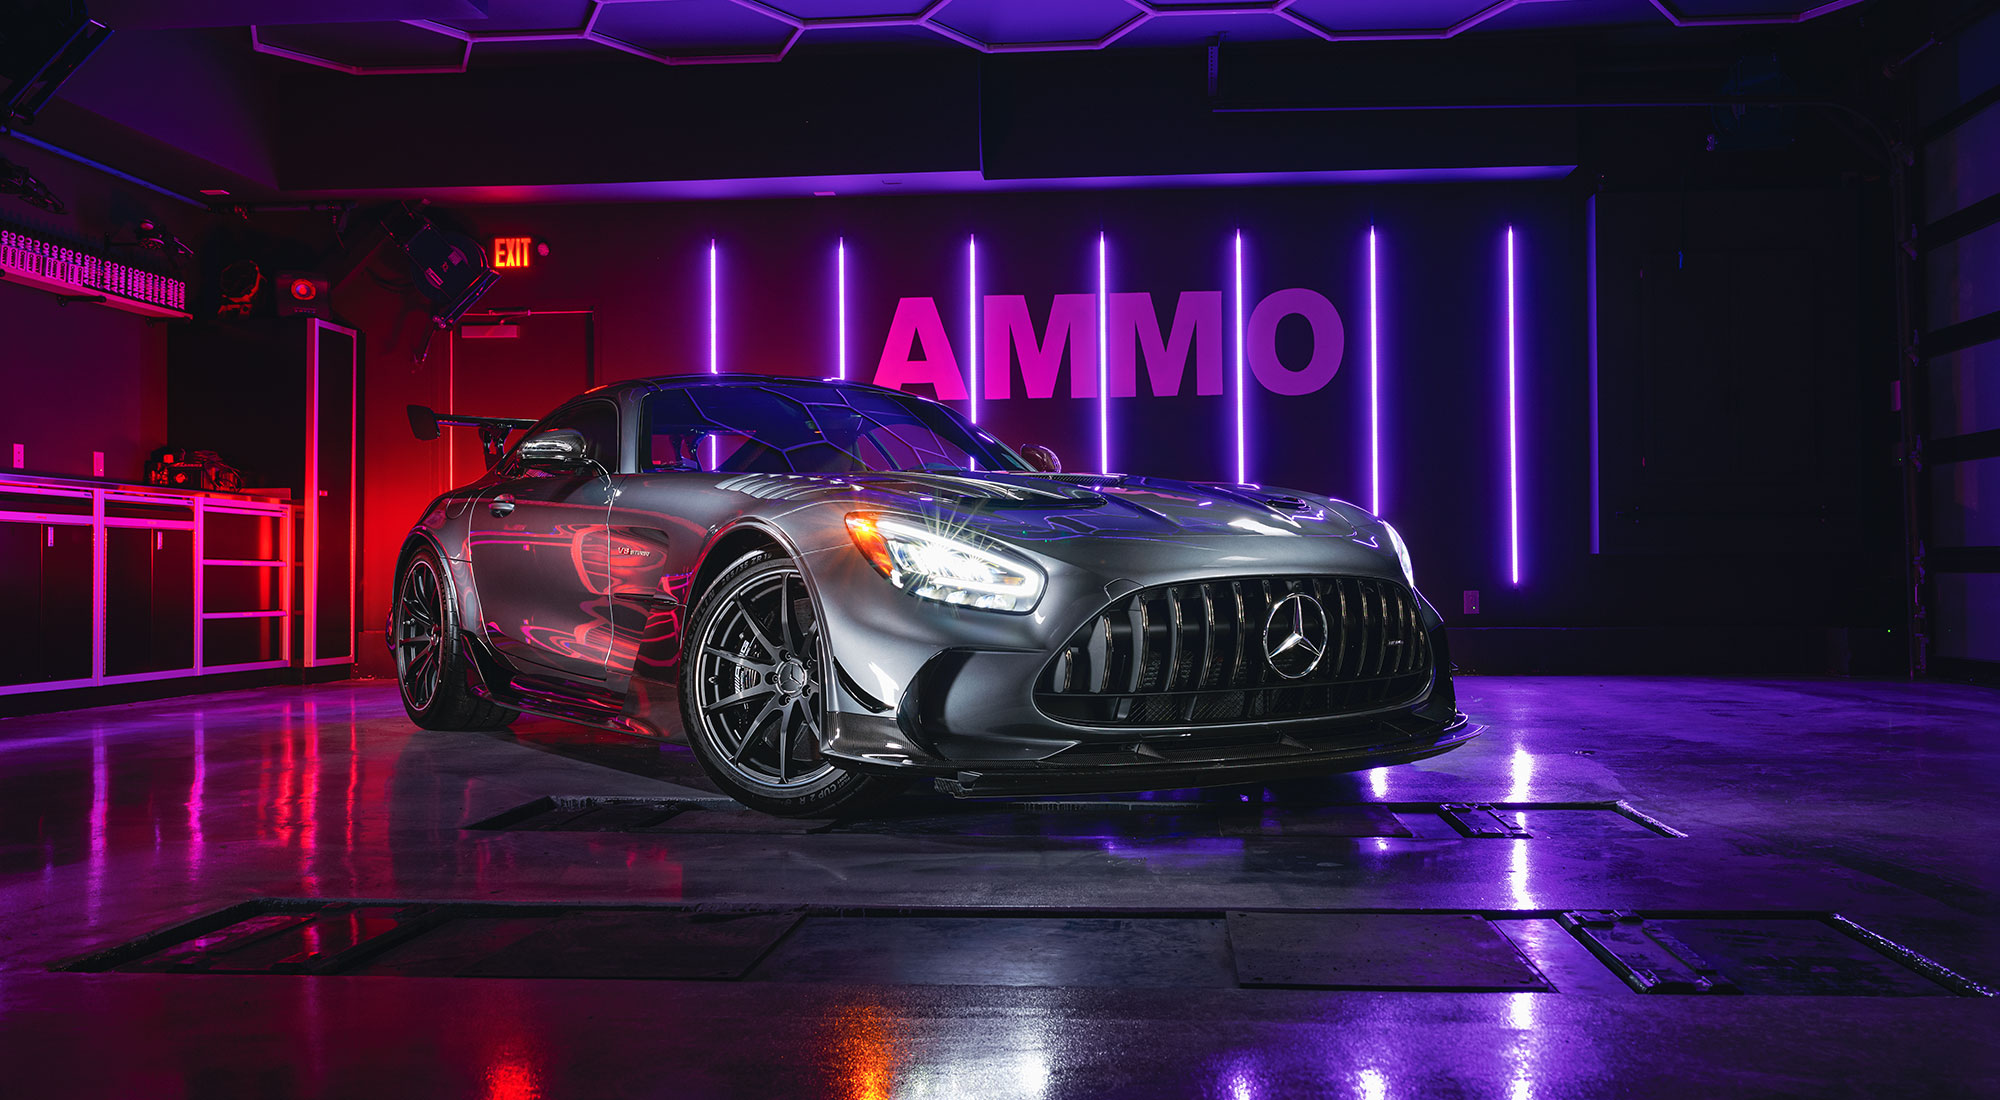
To me, photography is literally the art of lighting your subject, so lighting is important. And while you do not need to bring strobes or a light wand with you on every shoot all the time, you should knew WHEN to use them. They are tools that you should practice with, because there will come a time when you do need to use artificial lighting with daylight is running out. In other words, DO obsess over it, so that you WON’T have to worry about figuring out what to use later on.
Tip 3: Don’t fixate on [camera] gear
If you asked me what you need to get started in this field, I’d direct you to a cheap DSLR, a polarizer for the lens…and a tripod. 99% of the images on this site are taken with a tripod, and you need at least two exposures to properly bring out all the details in the sky and lower end of the car. You can walk around free hand for the images, but I find that in the end, to get the shot you really want, you need a tripod. They make all kinds too, so it’s not like they aren’t portable or flexible. Three pieces of gear is not to much.
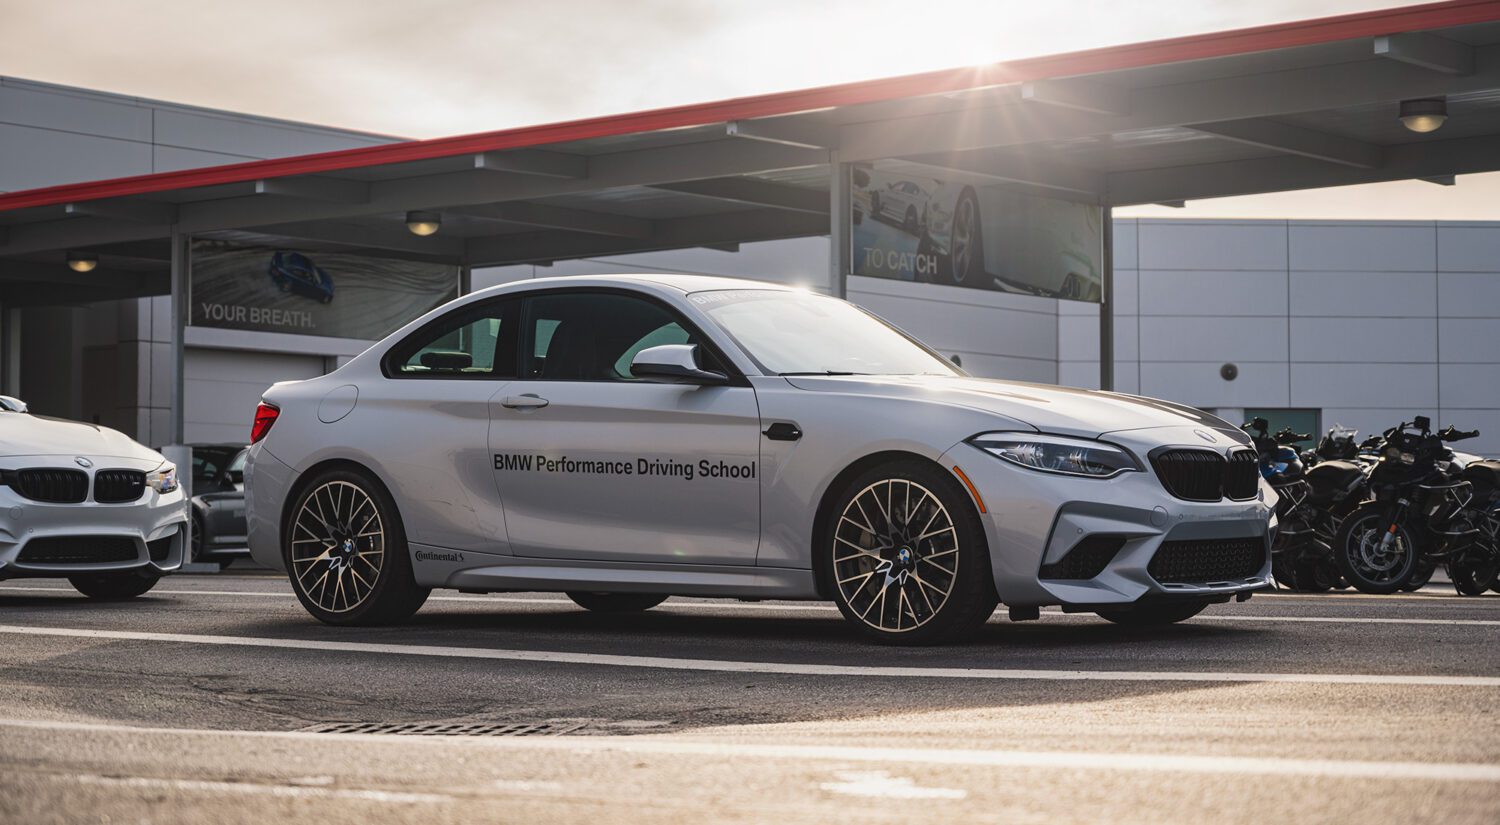
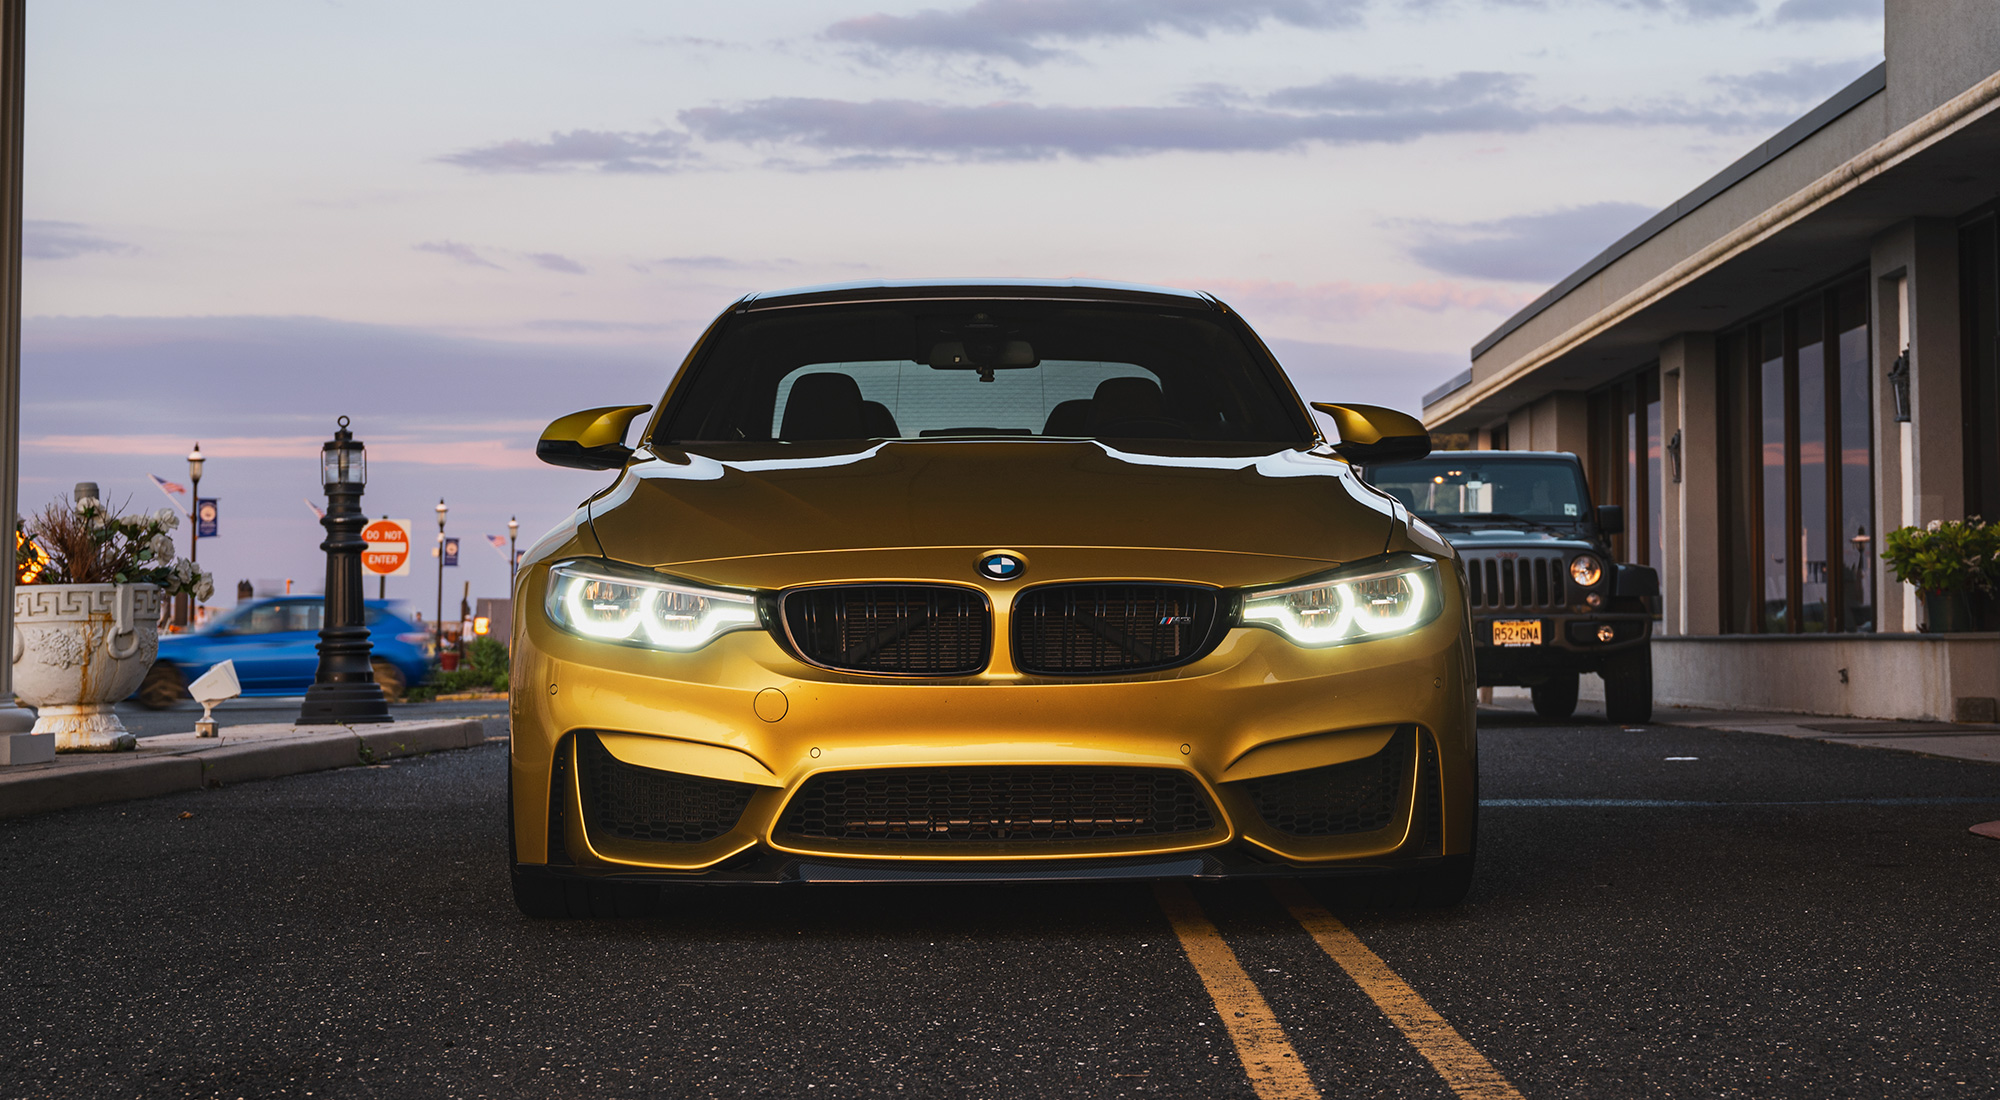
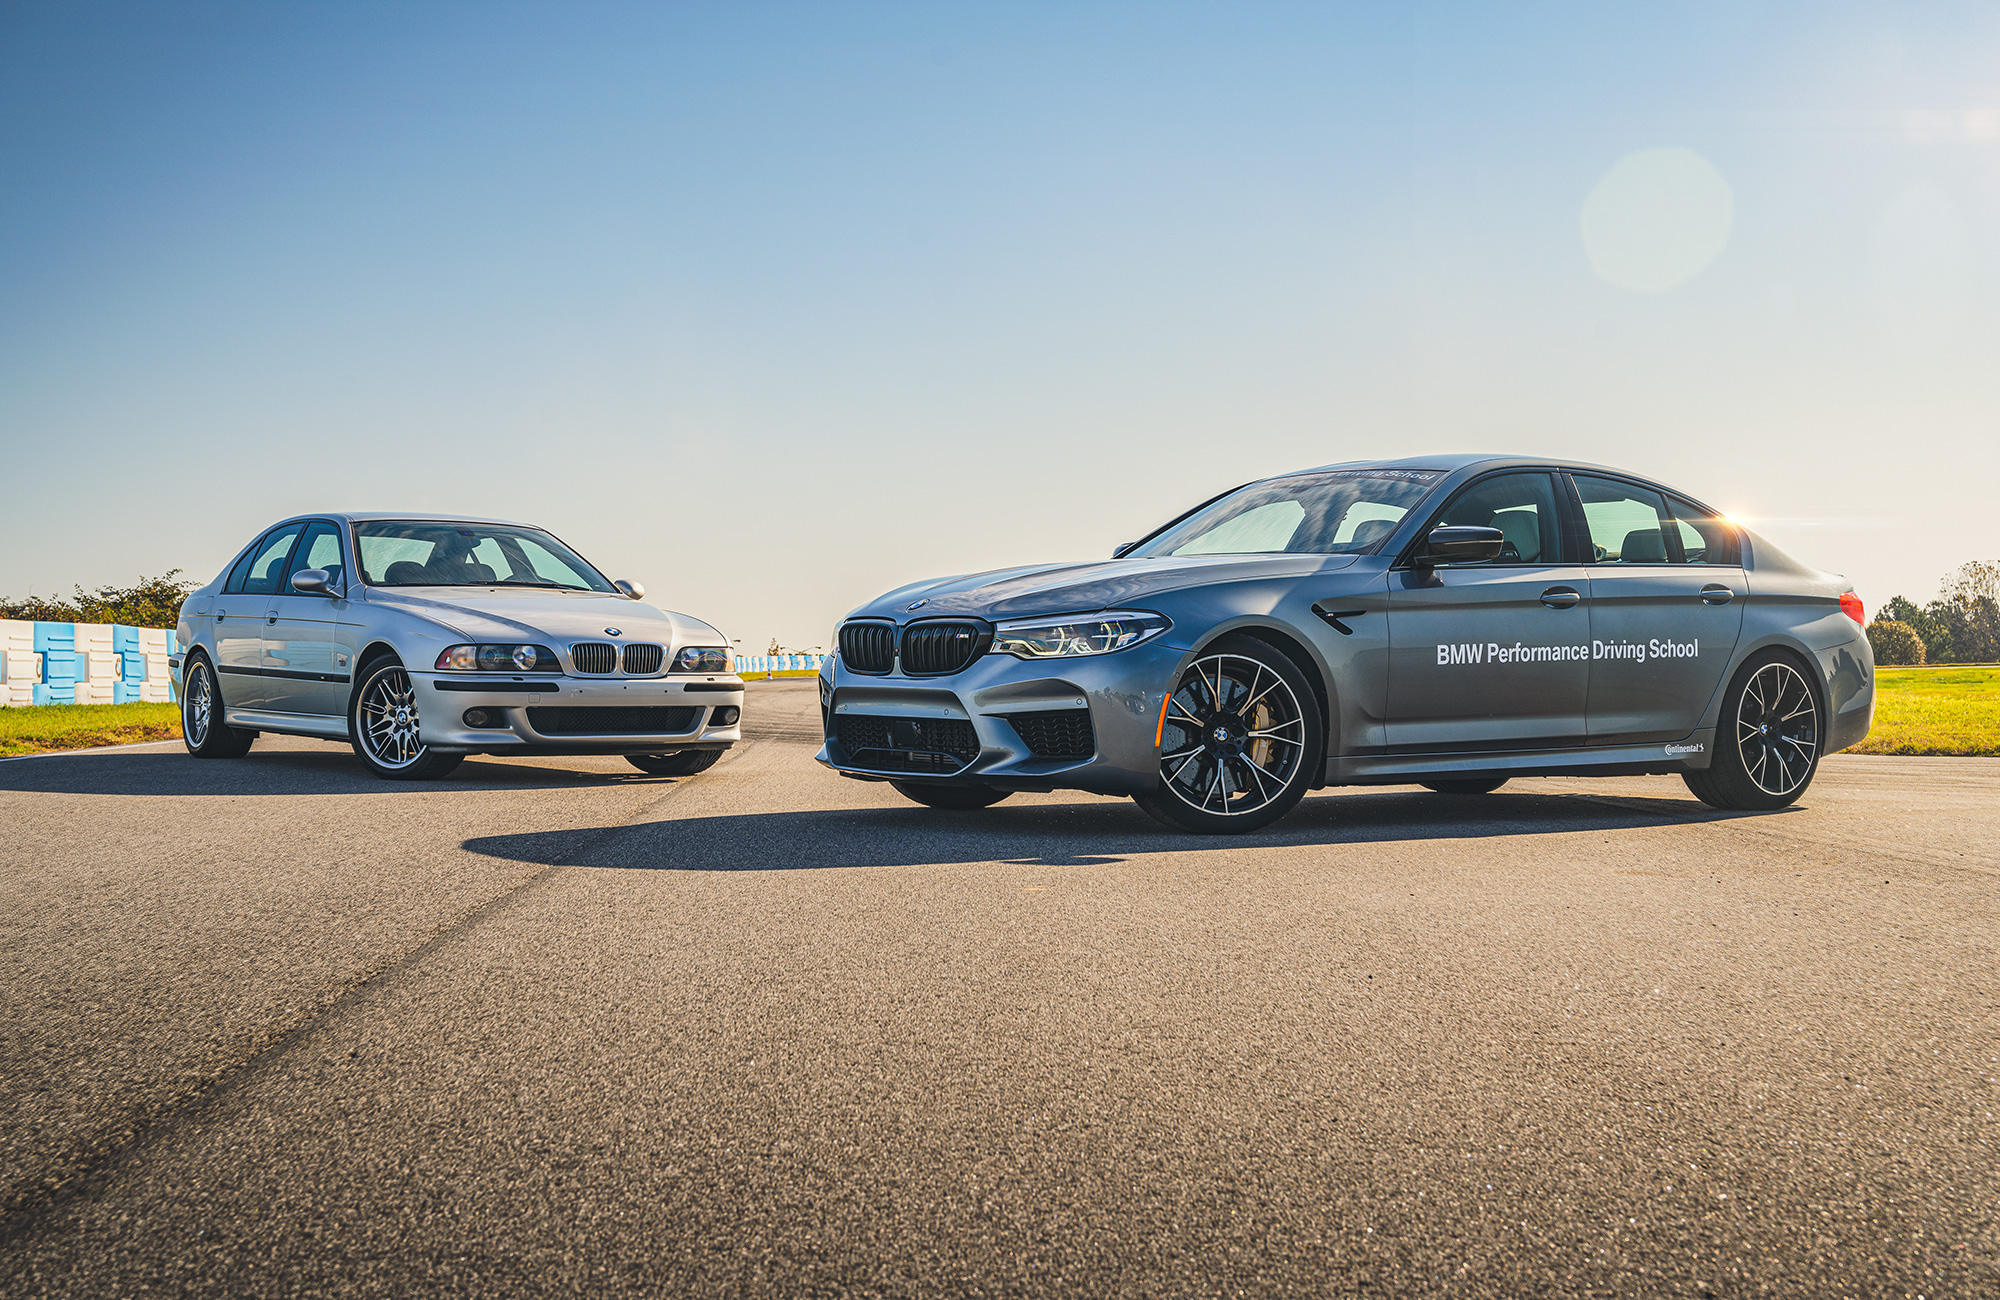
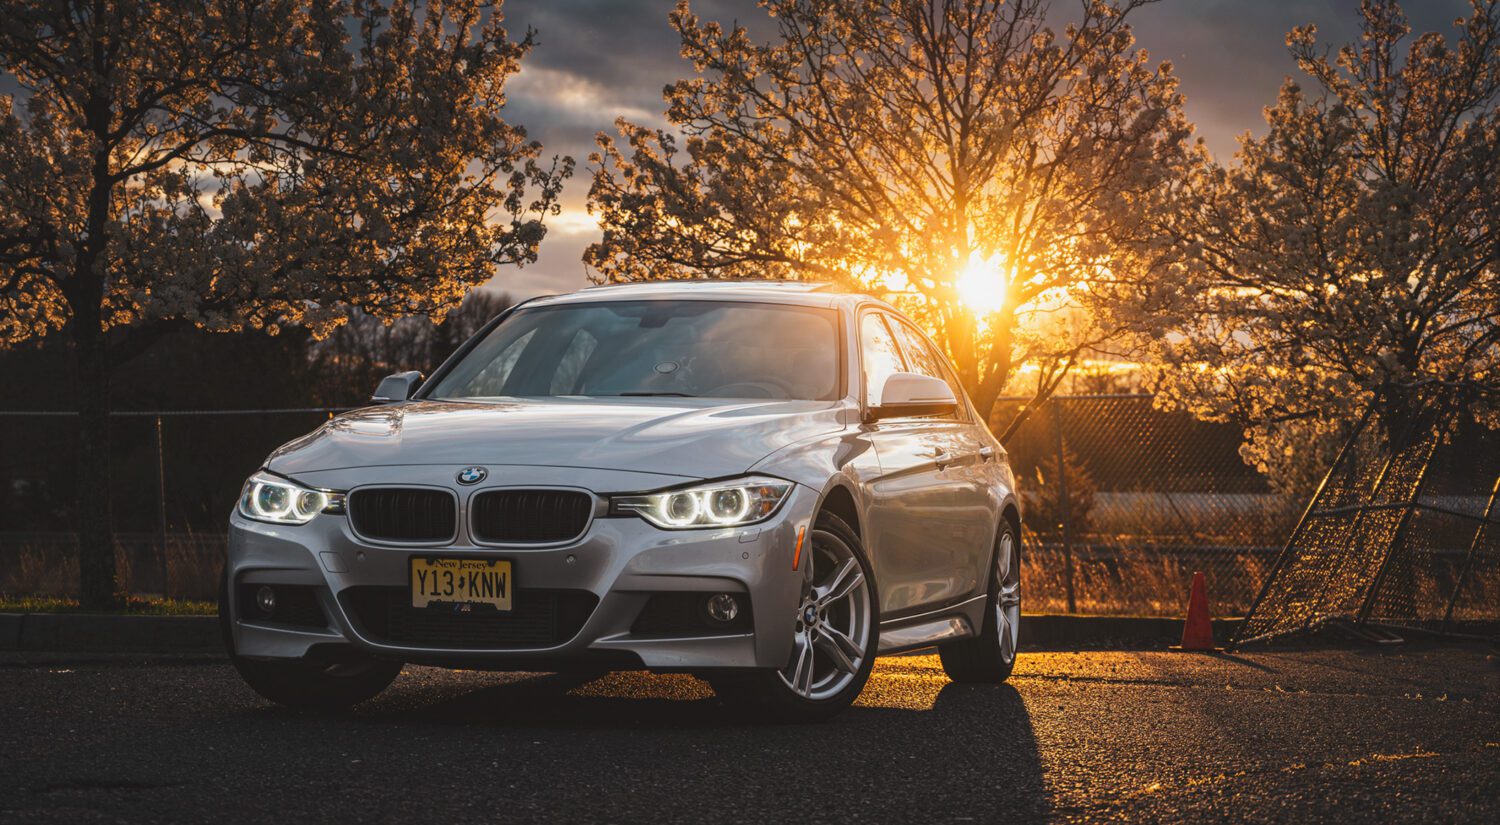
Tip 4: Don’t shoot in mid-day sun
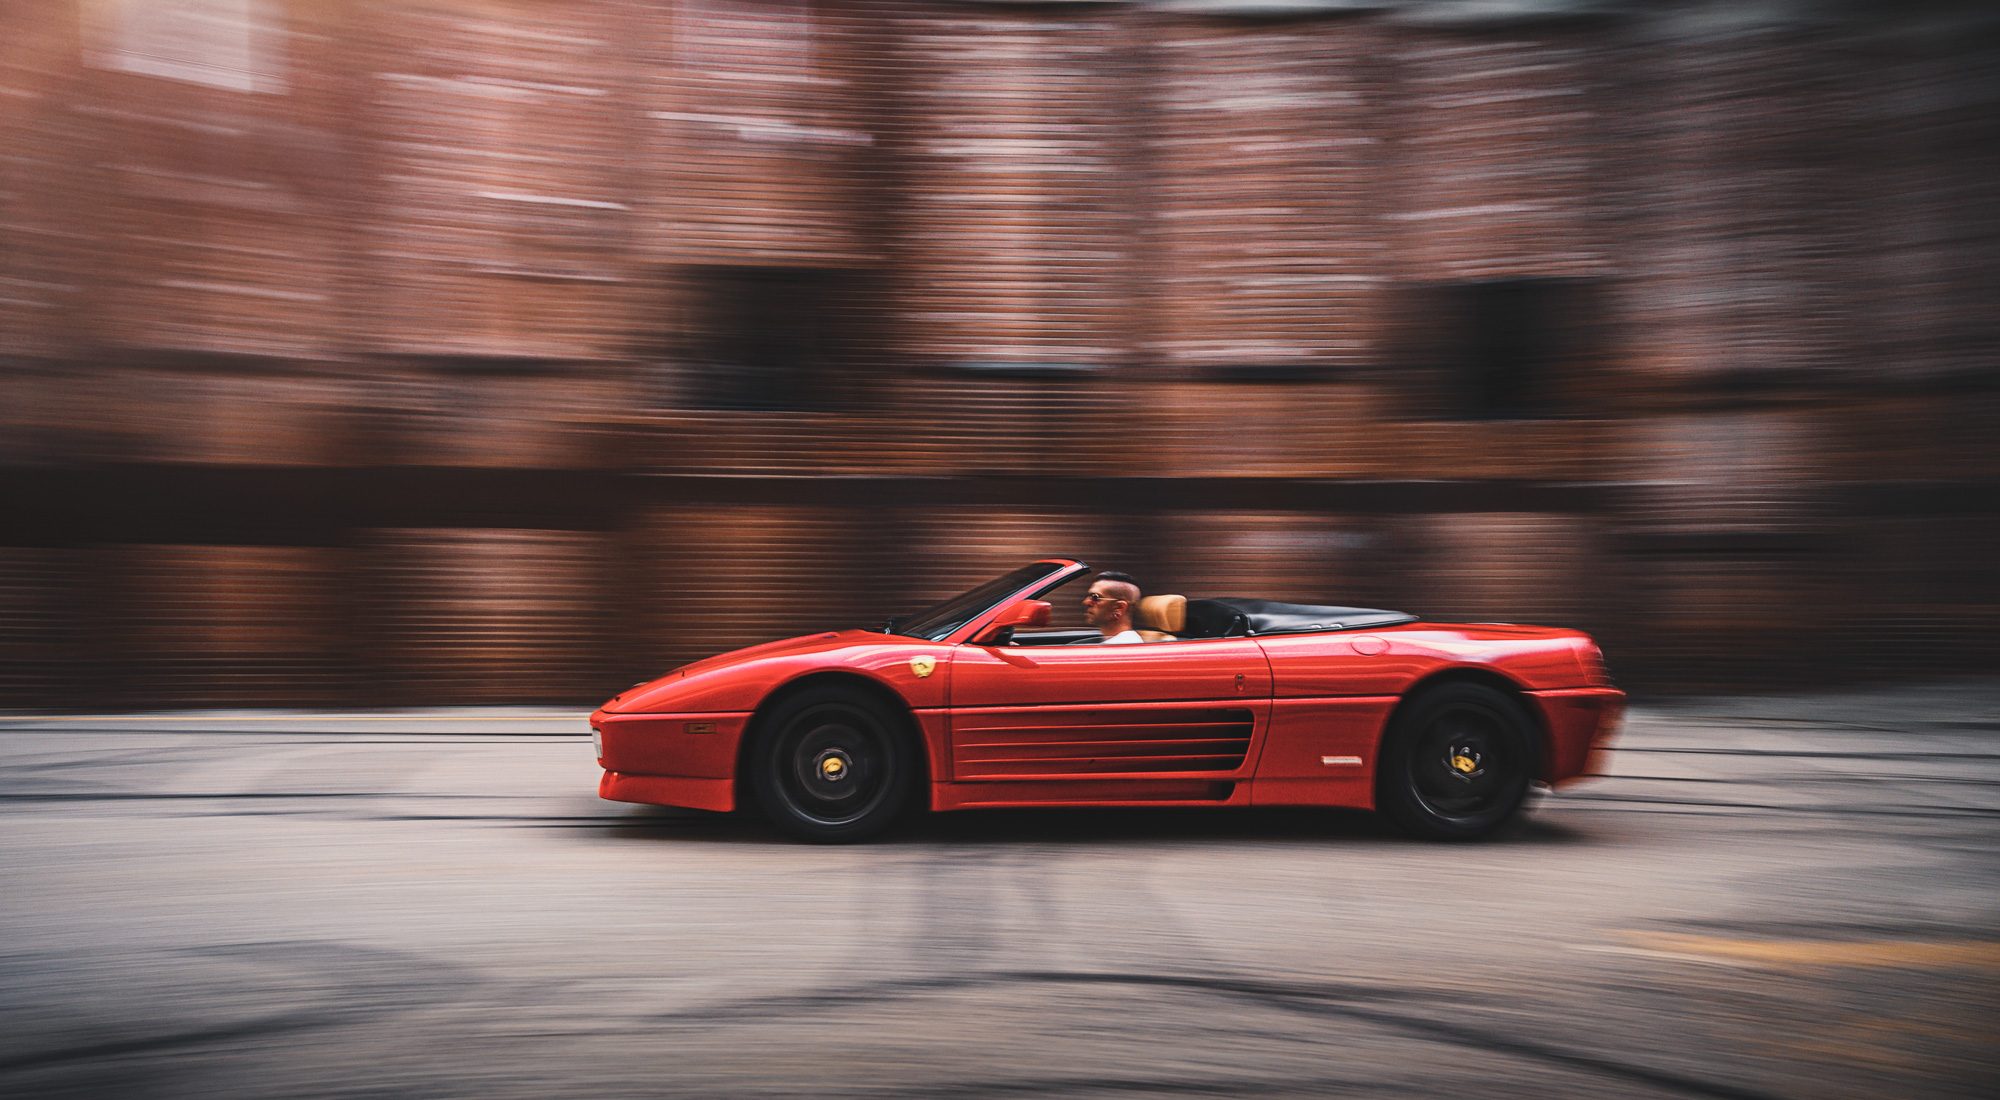
As an outdoor photographer first, your job is to embrace the conditions outside, not avoid them. If you’re booking a shoot, then golden hour is best, but what about car shows and other live events? Those take place in the mid-morning and afternoon, so you’ll have to learn how to deal with harsh lighting and shadows. You can still make drama in your images.
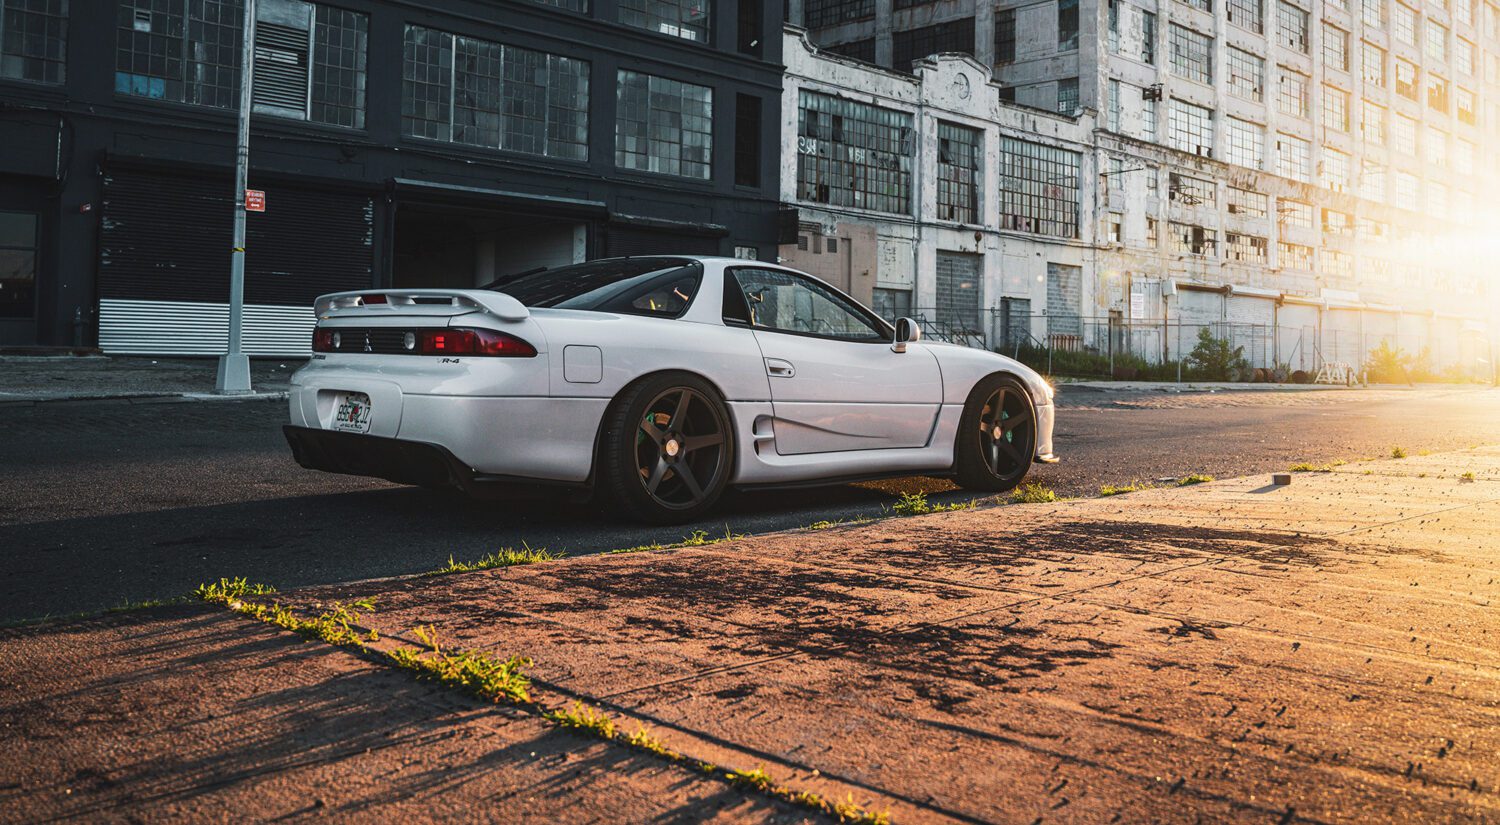
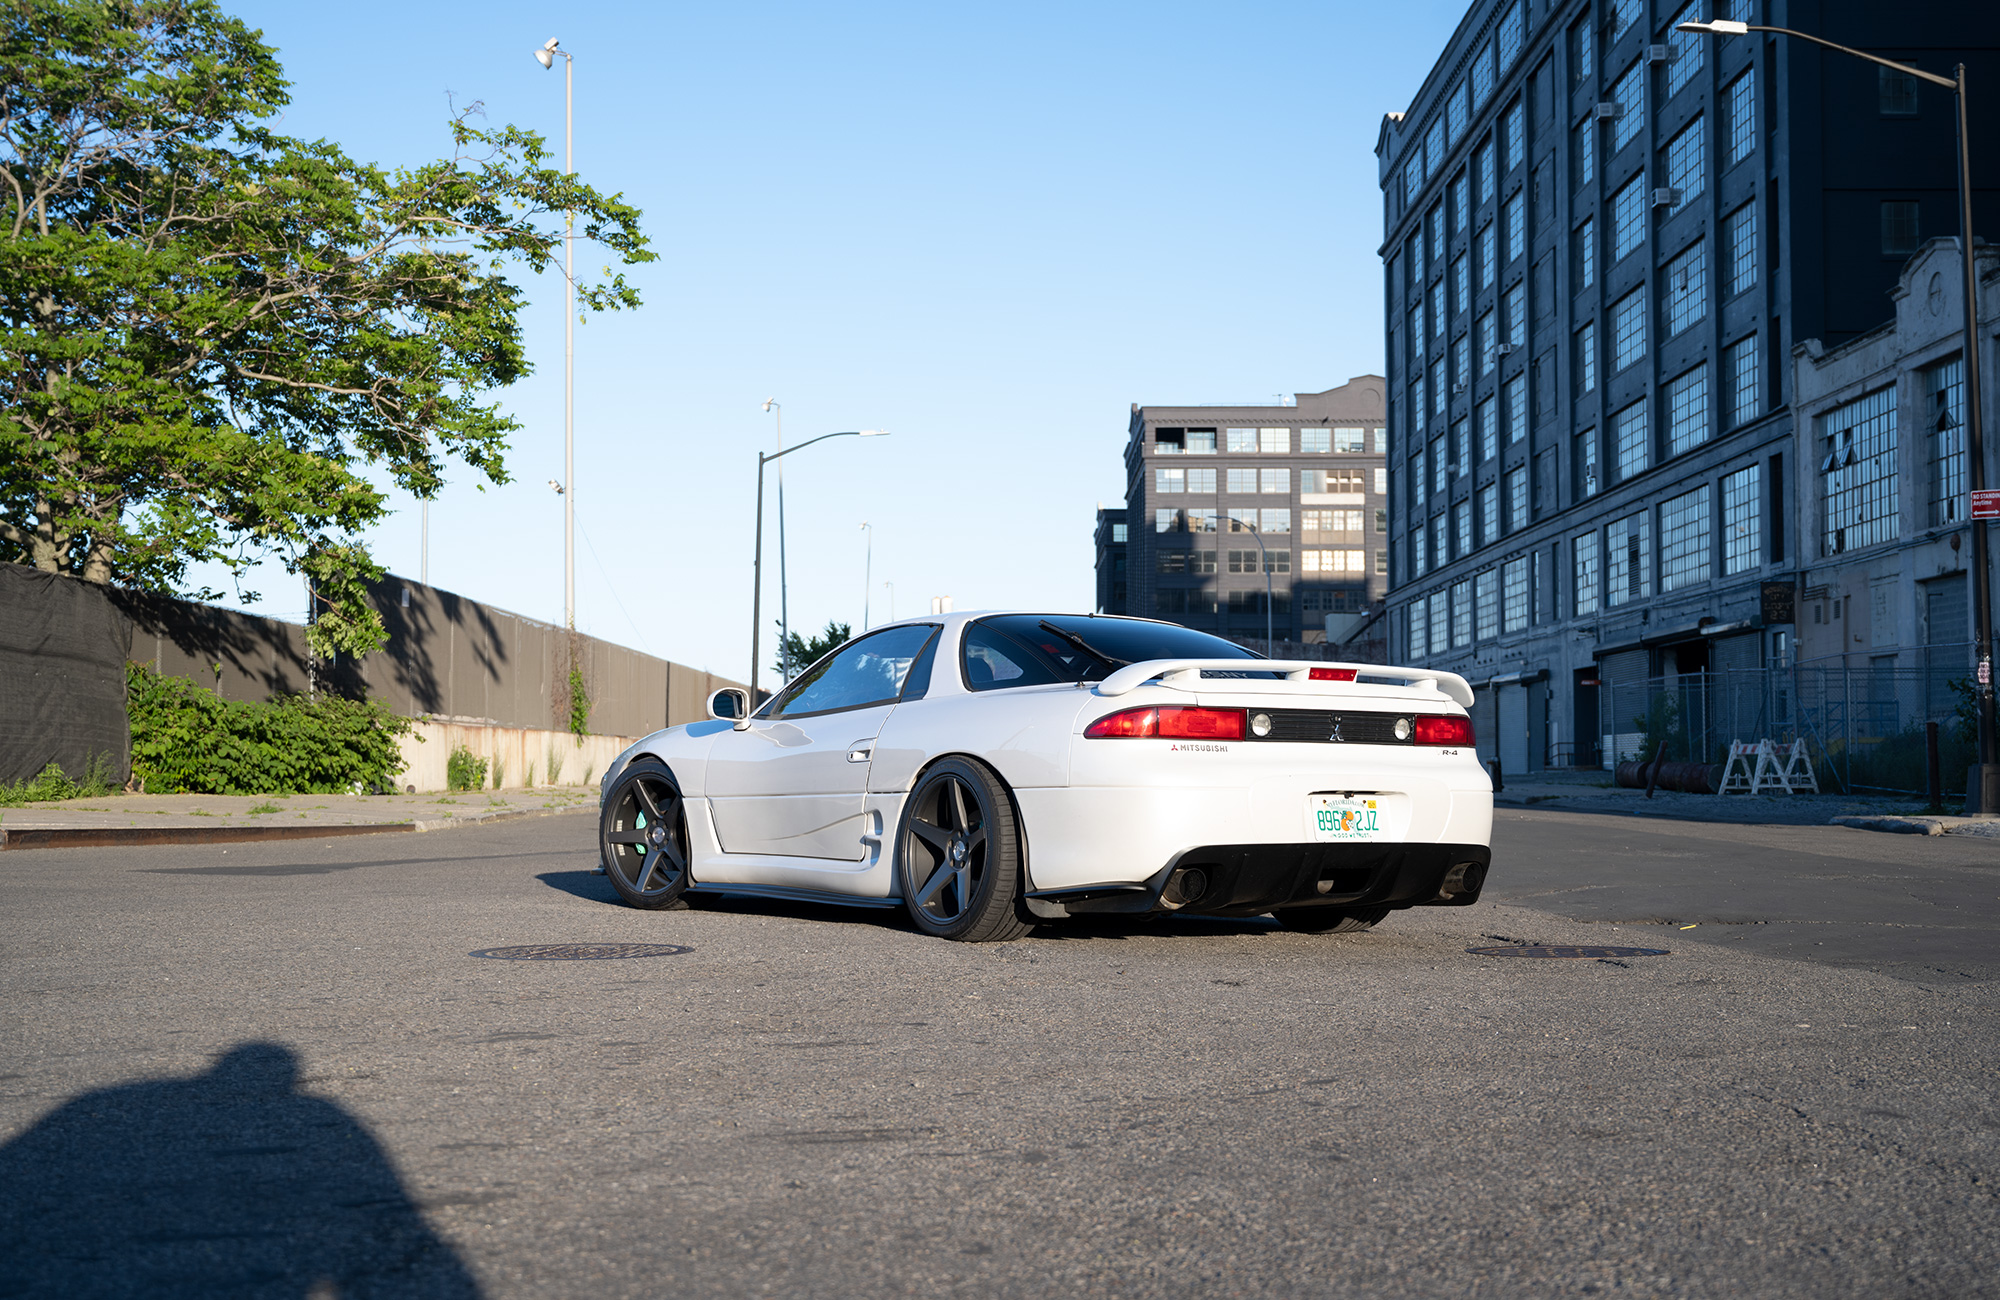
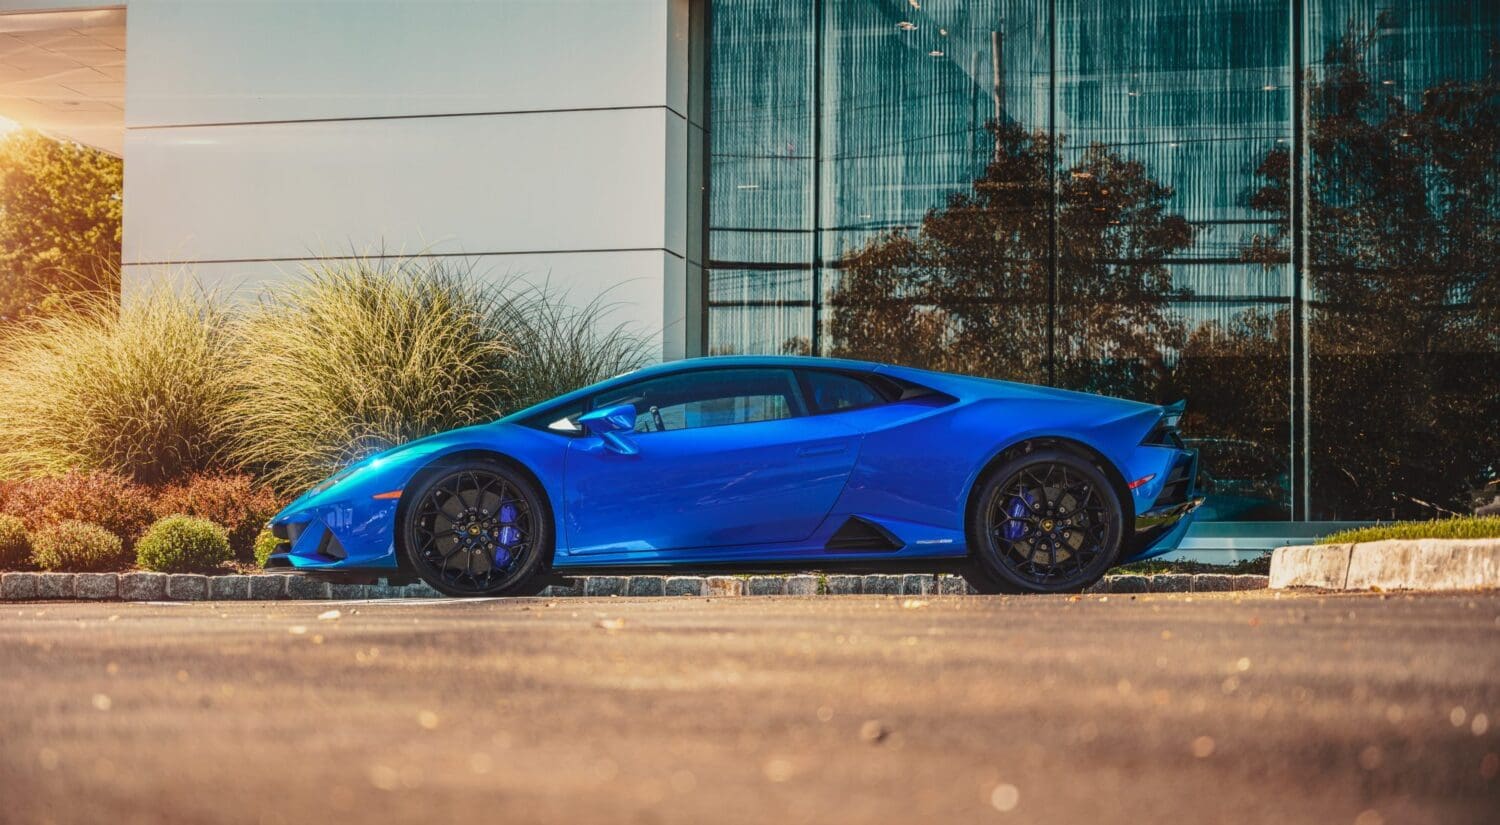
Tip 5: Don’t shoot with the sun directly behind you [so your shadow doesn’t get in the shot]
Sometimes this is true, sometimes it’s not – it depends on the situation. If you have a long lens, you can stand far enough back from the car and zoom in to properly frame your subject. If your shadow falls on the ground, it’s easy enough to retouch out. But I don’t like to say “never” do something, because it closes off creativity. Every shoot is different, and every location and car are different. Try things!
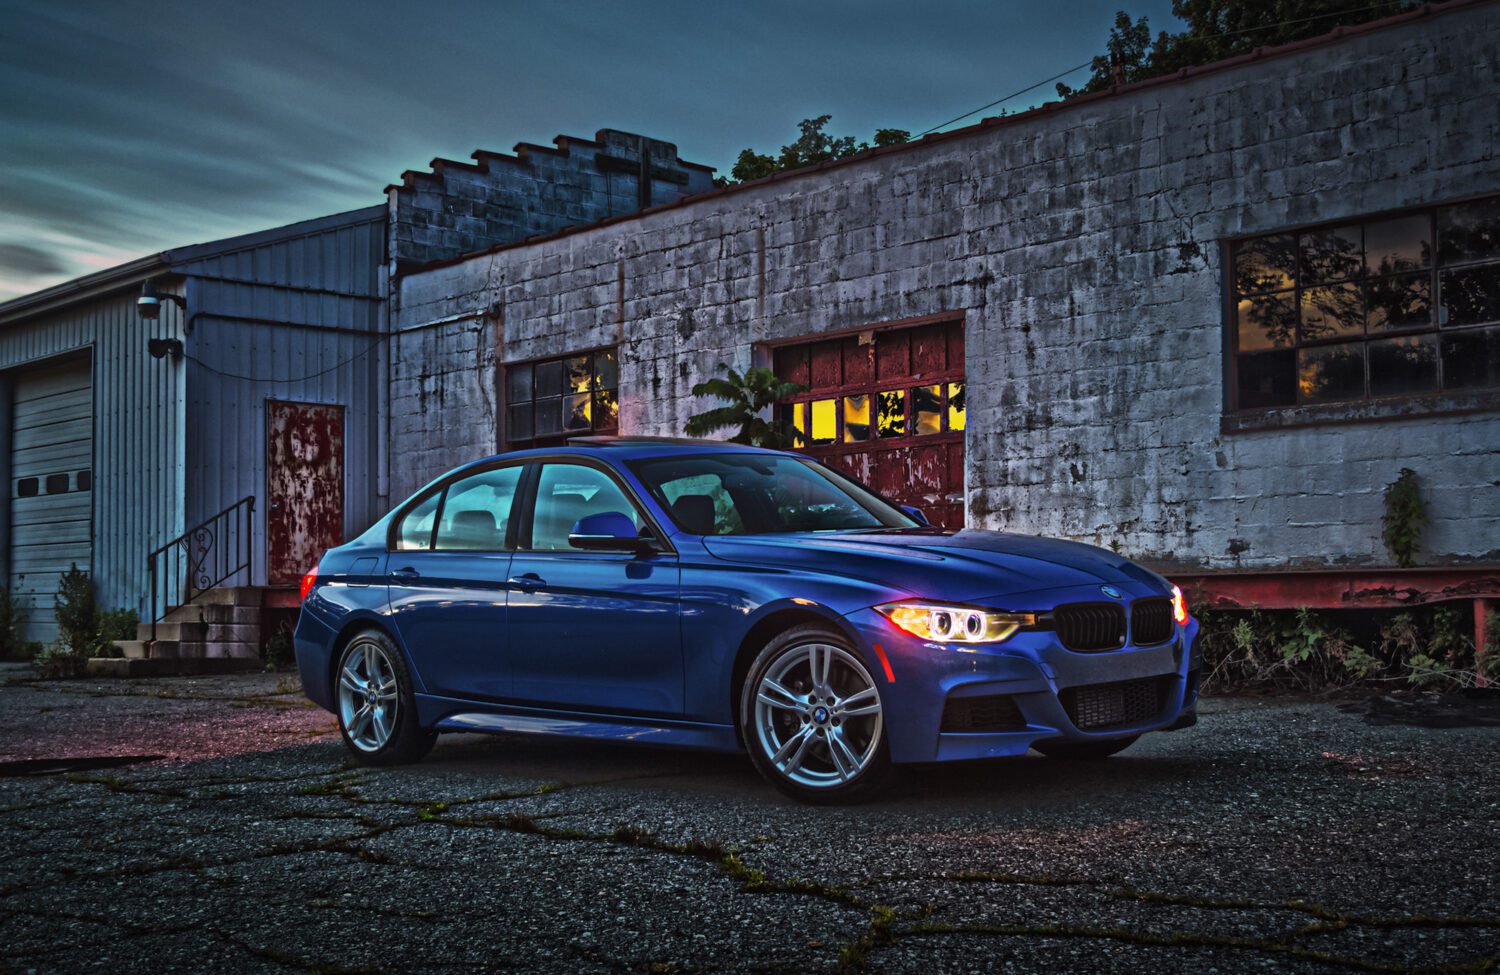
Bonus: Don’t do HDR effects
This is the one that really made me go “huh?” The photographer in the video says “Don’t do it, it just looks bad”.
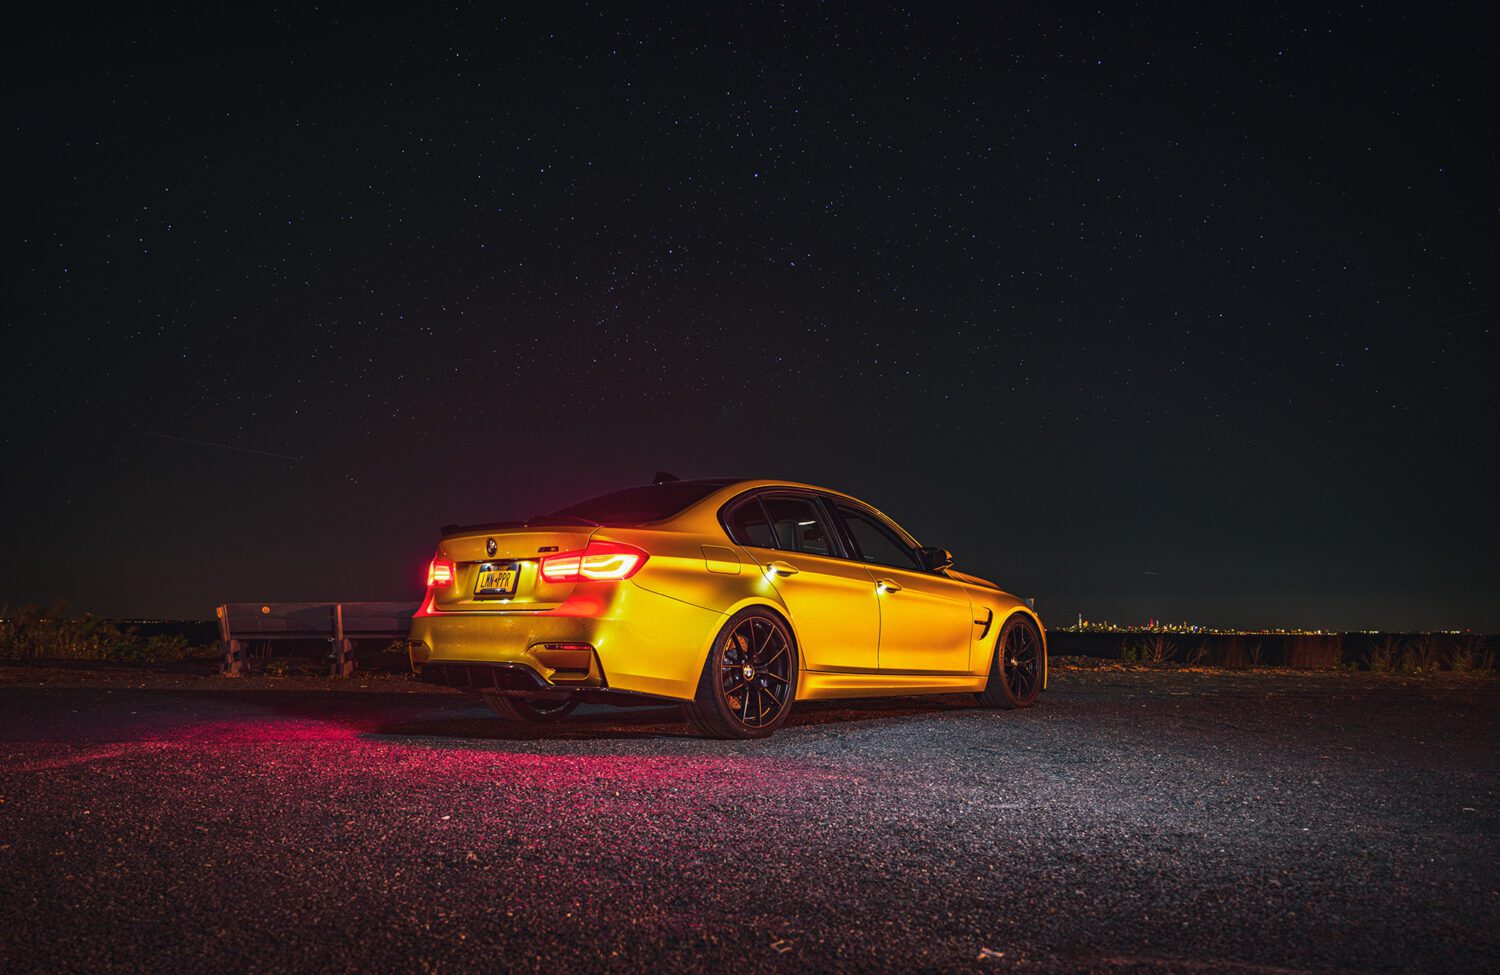
First, what is HDR? It stands for high-dynamic range, and it simply means that you can’t get the detail of an entire image with just one exposure. This is the basis for everything I teach (that’s where the tripod comes in).
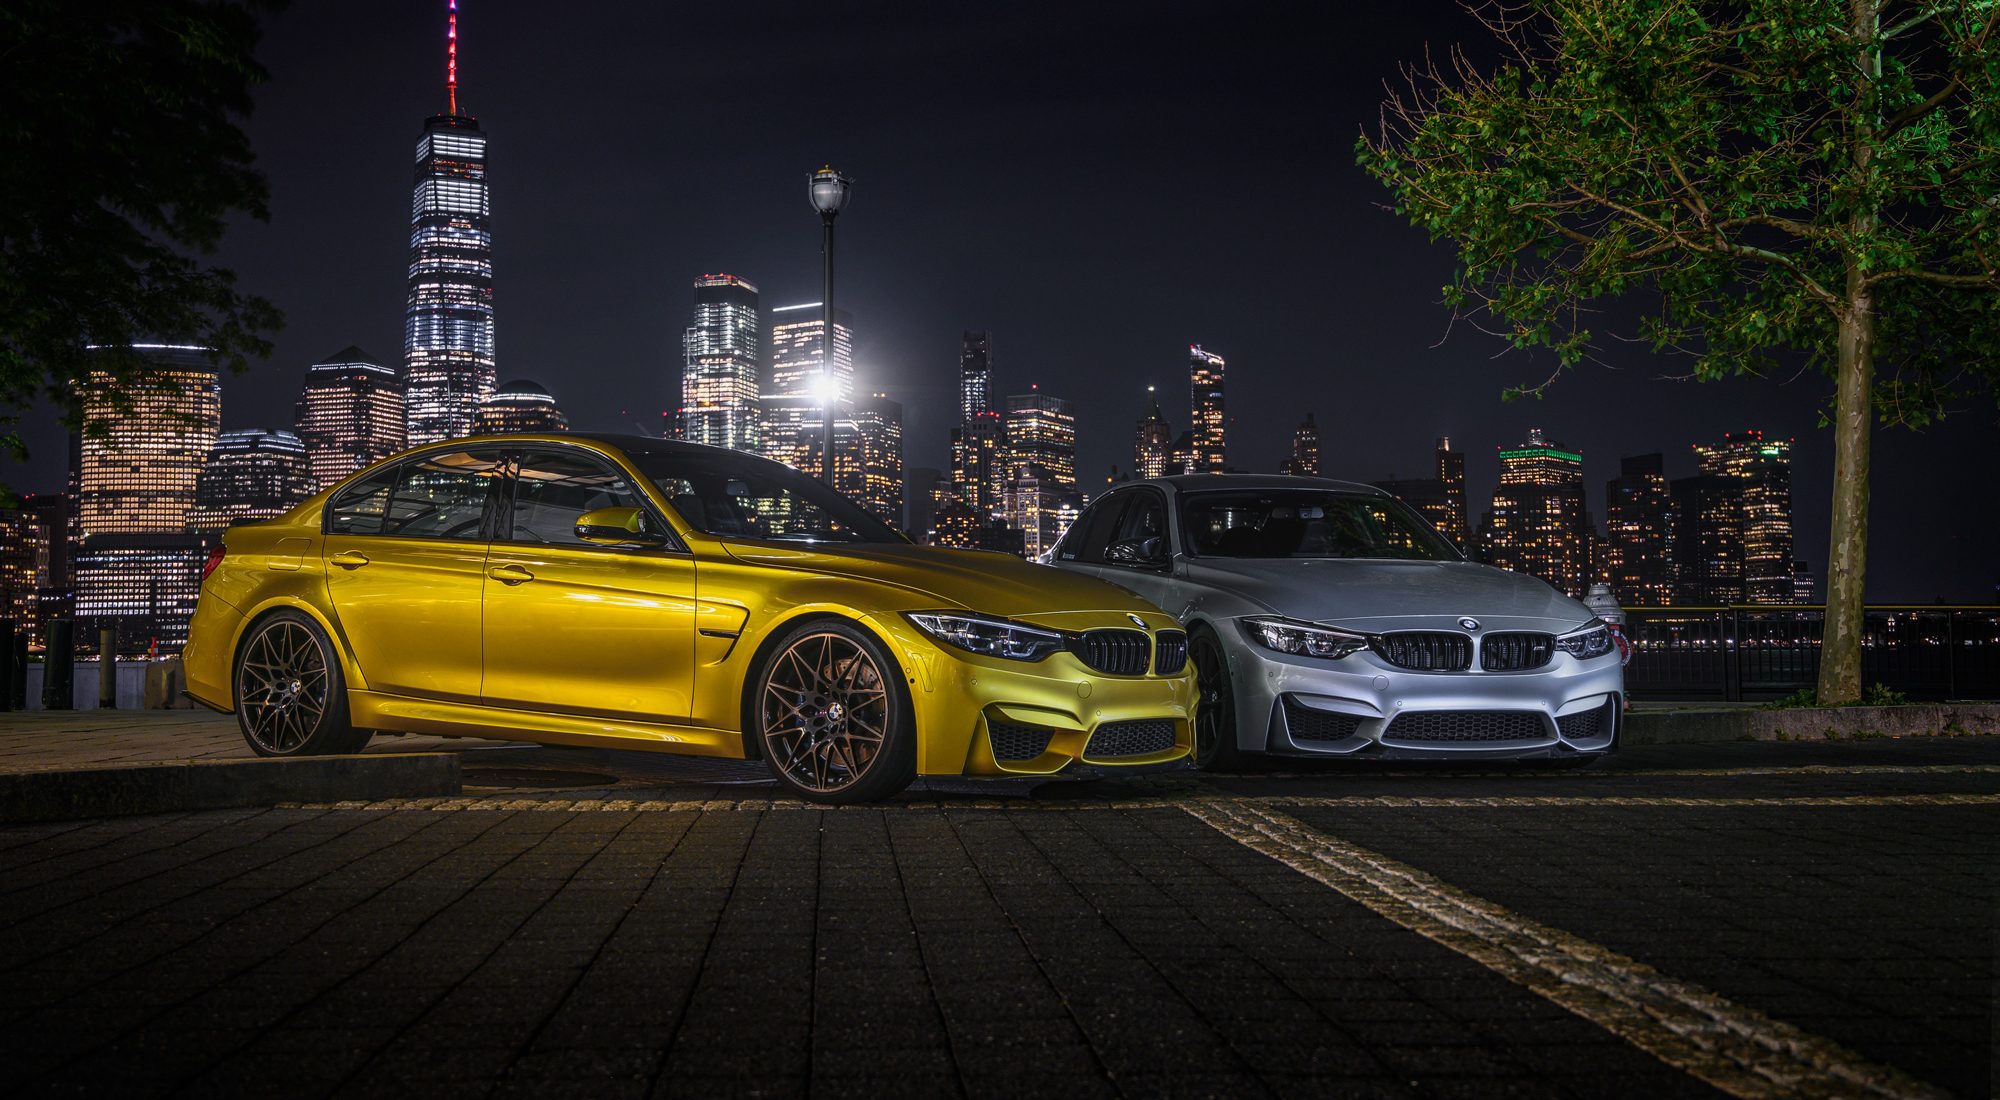
Nearly every image on my site is “HDR”. Think of it this way, if you’re shooting a car at sunset and set the exposure for the sky, then the car will be too dark. Set it for the car, and the sky will be over exposed. Shoot 2 exposures, combine, and that’s how you get the proper image.
The only thing I’d encourage you not to do is the Photoshop command under FILE > AUTOMATE > Merge to HDR Pro. That’s going to add a lot of contrast and not give you the effect you’re looking for.

I hope this helps. Remember, TRY THINGS! That’s how we learn. And just because it didn’t work before, doesn’t mean it won’t work now.
Feel free to email me at mike@machineswithsouls.com with any questions.
Follow along on Instagram @machineswithsouls
2 thoughts on “Top 5 automotive photography myths”
Comments are closed.