
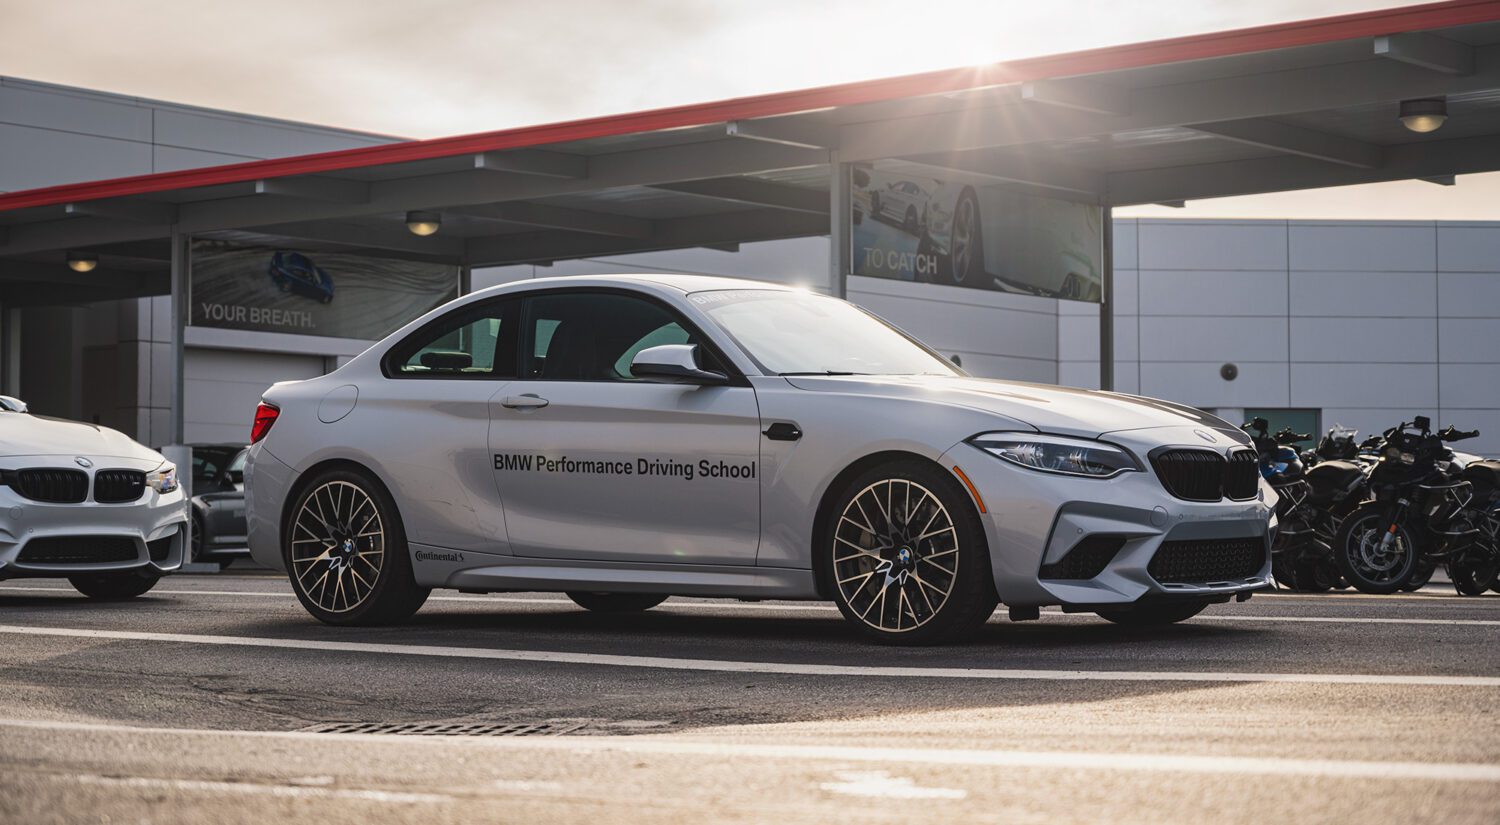

Sometimes, you get a car that’s clean and perfect, and sometimes the car you shoot is dirty. Or perhaps there is an insane reflection that you didn’t see before, or a bad highlight, or a scuff on the bottom of the nose, or something in the distance that distracts – all these details can take away from the overall shot. Today, I’ll show you how I get rid of them in Adobe Photoshop and retouch automotive paint.
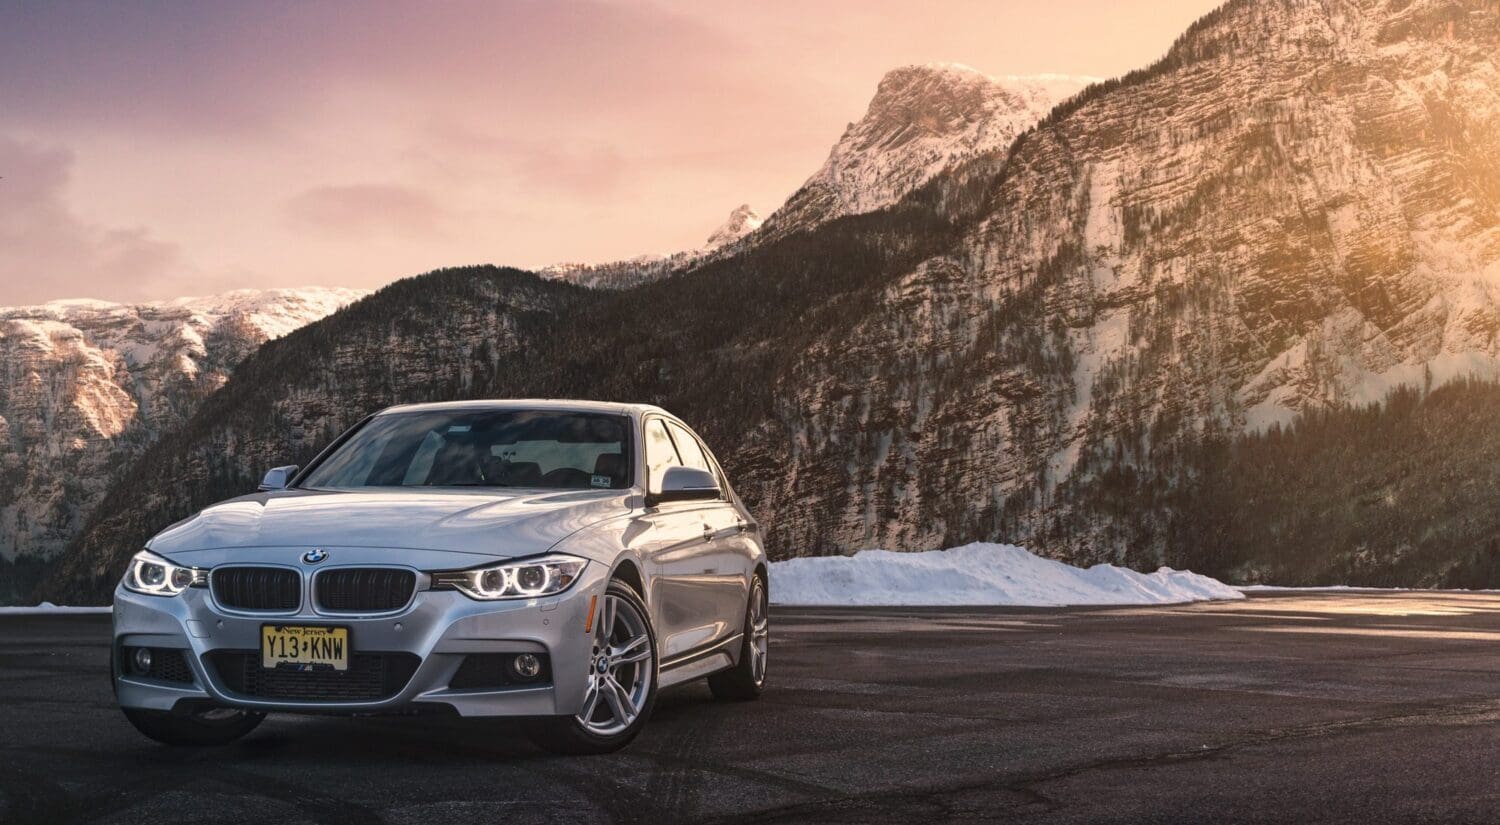
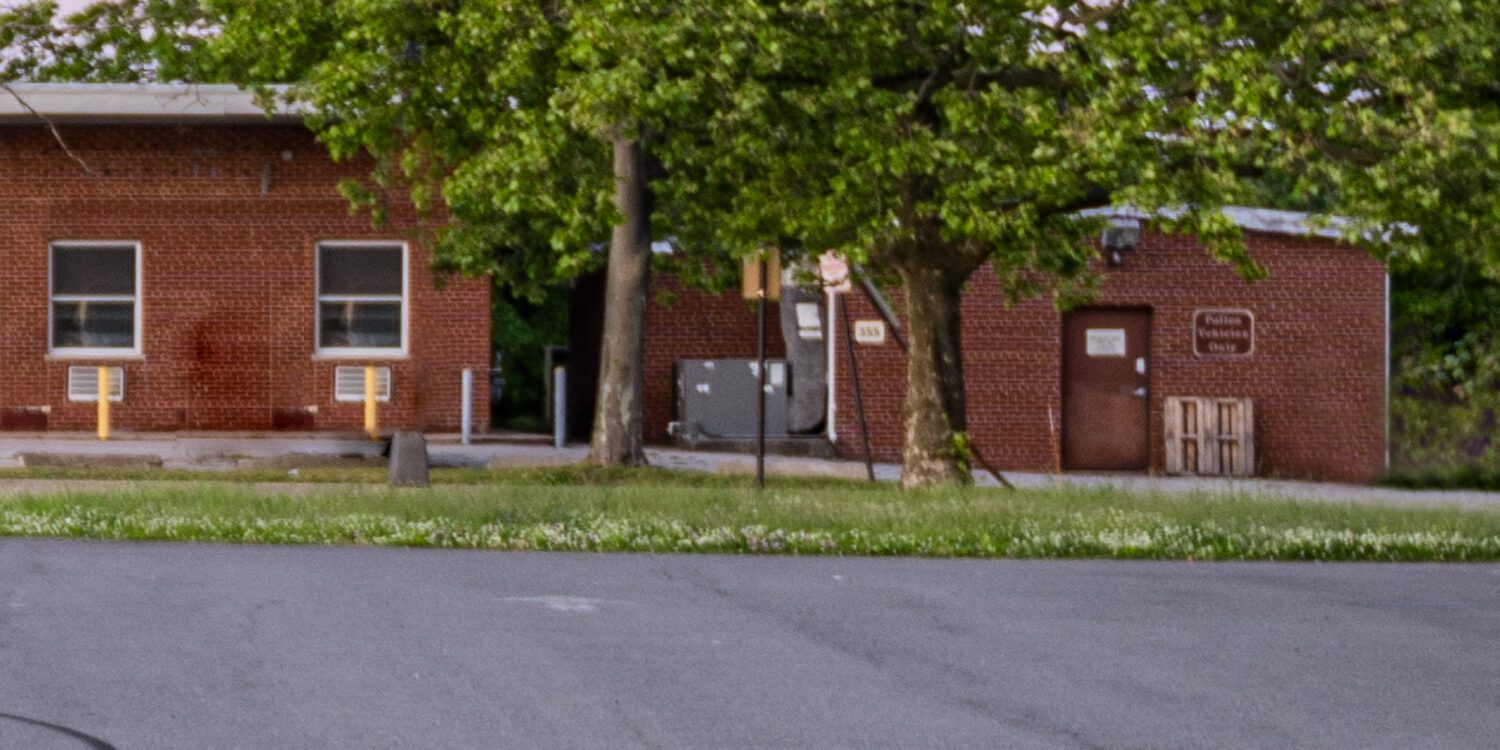
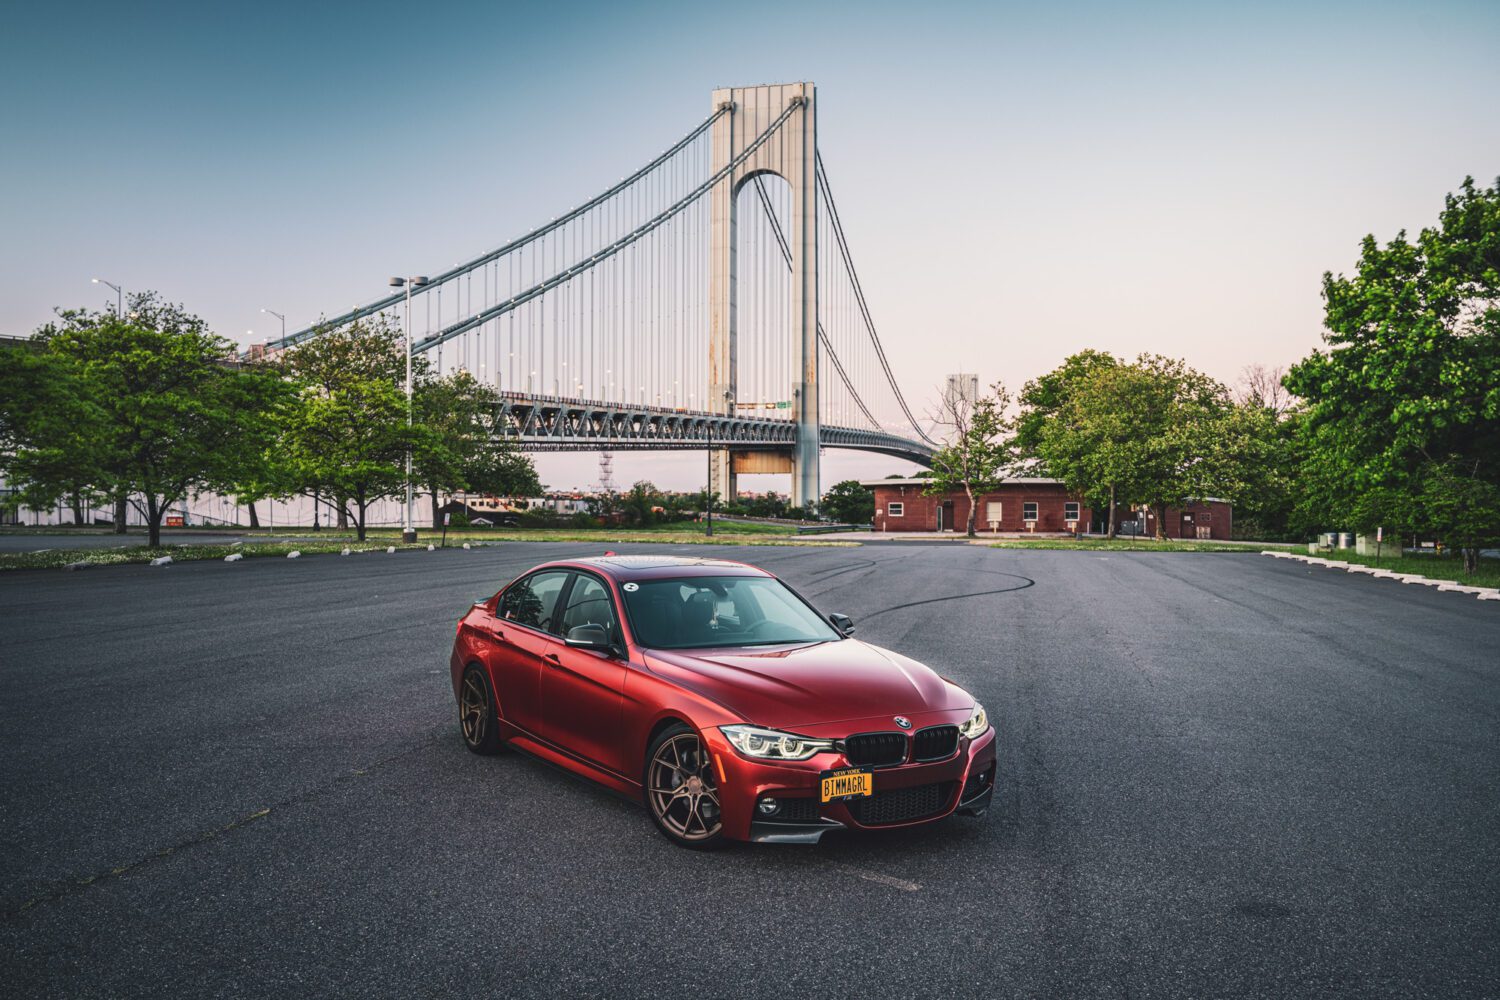
We’ll use this beautiful BMW 340i as an example, which had been driven on a rally the day of the shoot. By the time we got to the park at night, the front end was full of bugs. The front lip also had a minor scuff, and though the location was relatively clean, there were 2 vans in the background that I wanted to get rid of. First, let’s take a look at this GIF of a before and after. It’s harder to tell here, but for instance, look at the missing van…
Retouching tools
There are a ton of ways to go about fixing this, but for me, I usually use two tools: the Patch tool, and the Clone tool. If the area you’re trying to fix is larger, the Patch tool is a great asset. If it’s smaller detail work, the clone tool is what you need.
The Patch Tool
First, let’s use the Patch tool to erase those vans in the back. We’re lucky here – the brick wall will make things much easier. To use the Patch tool
- Make sure your layer is rasterized; it won’t work on smart objects.
- Draw a circle around the part you wish to get rid of.
- Drag that selected area over to a part of the image you want to use to replace it.
We can use the window of another part of the building to cover the van.
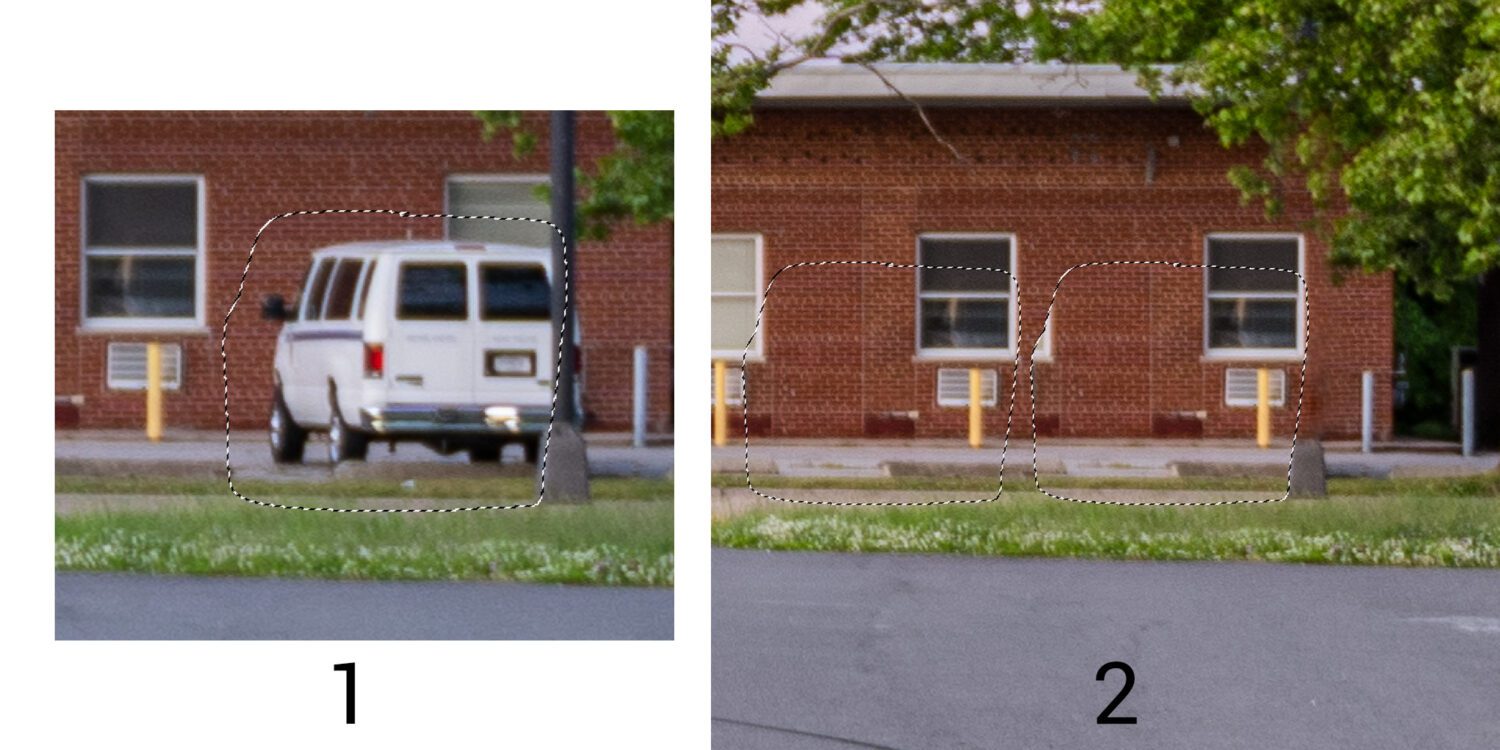
Now it might not be perfect, but you can always adjust with the Clone tool. And when zooming out, you won’t notice the minor blurring occurring.
Using the Clone Tool

Zooming in on the car itself, you’ll see there are a lot of areas we can clean up. To do that, select the Clone tool and:
- Make sure the layer is rasterized, or it won’t work.
- Hold down the OPTION key (on a Mac) and click on an area of the car you want to use to cover up the issue.
- Click on the area you want gone – you can also hold it down like a brush tool.
- Be aware of what you’re sampling. If the area you want to fix is in shadow, sample a shadow area, not a bright one, or it won’t match. I usually sample an area as close as possible to the affected part of the image, so it will match lighting as much as possible.
Do this over the entire car, and it will look much more professional. Remember, you don’t want to clean up the entire car’s reflections, otherwise it will look pasted in. Just the ones that are distracting. Details matter!
Feel free to email me at mike@machineswithsouls.com with any questions.
Follow along on Instagram @machineswithsouls
2 thoughts on “How to retouch automotive paint”
Comments are closed.