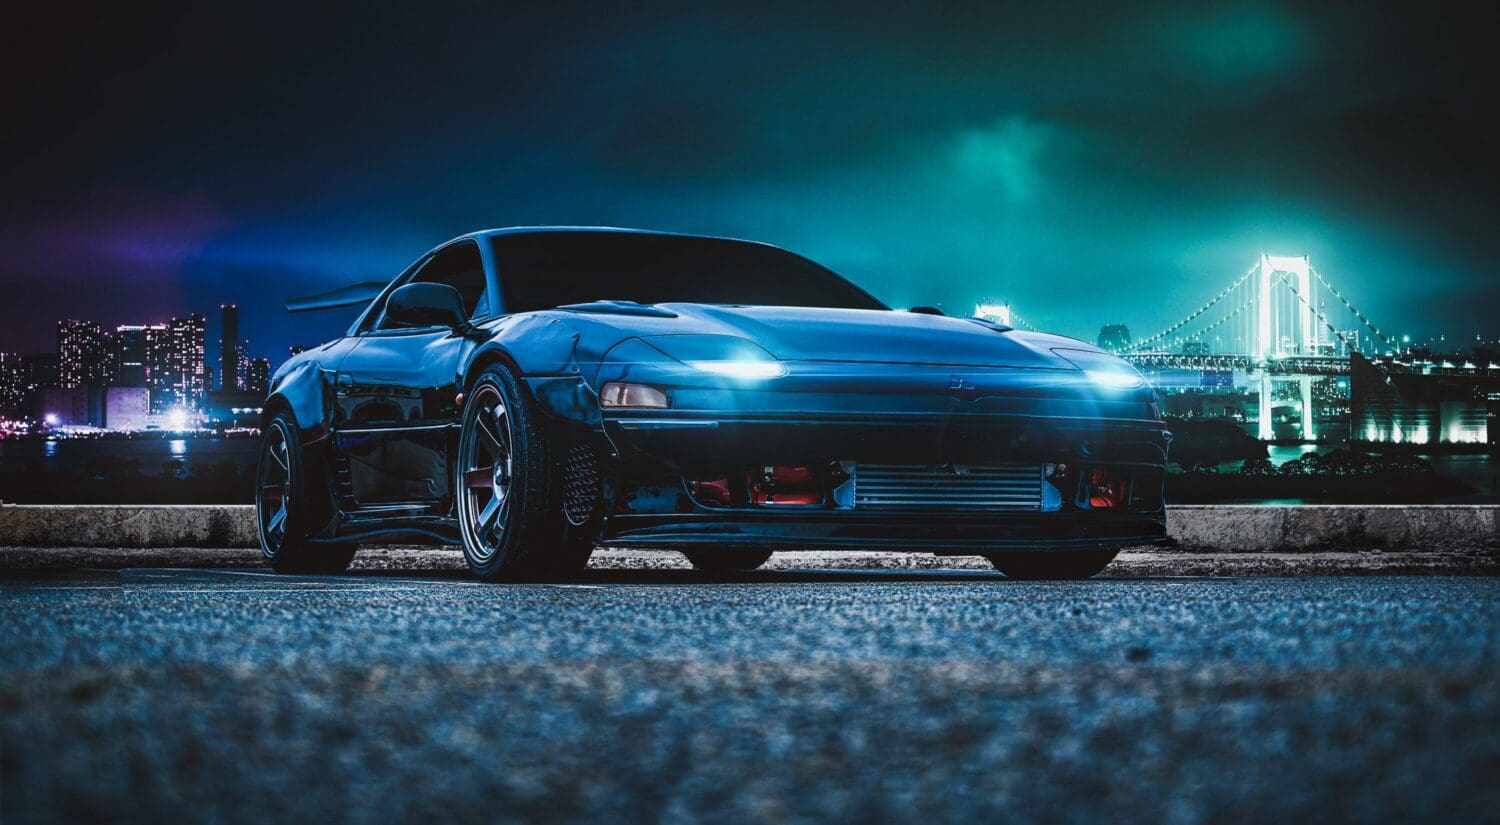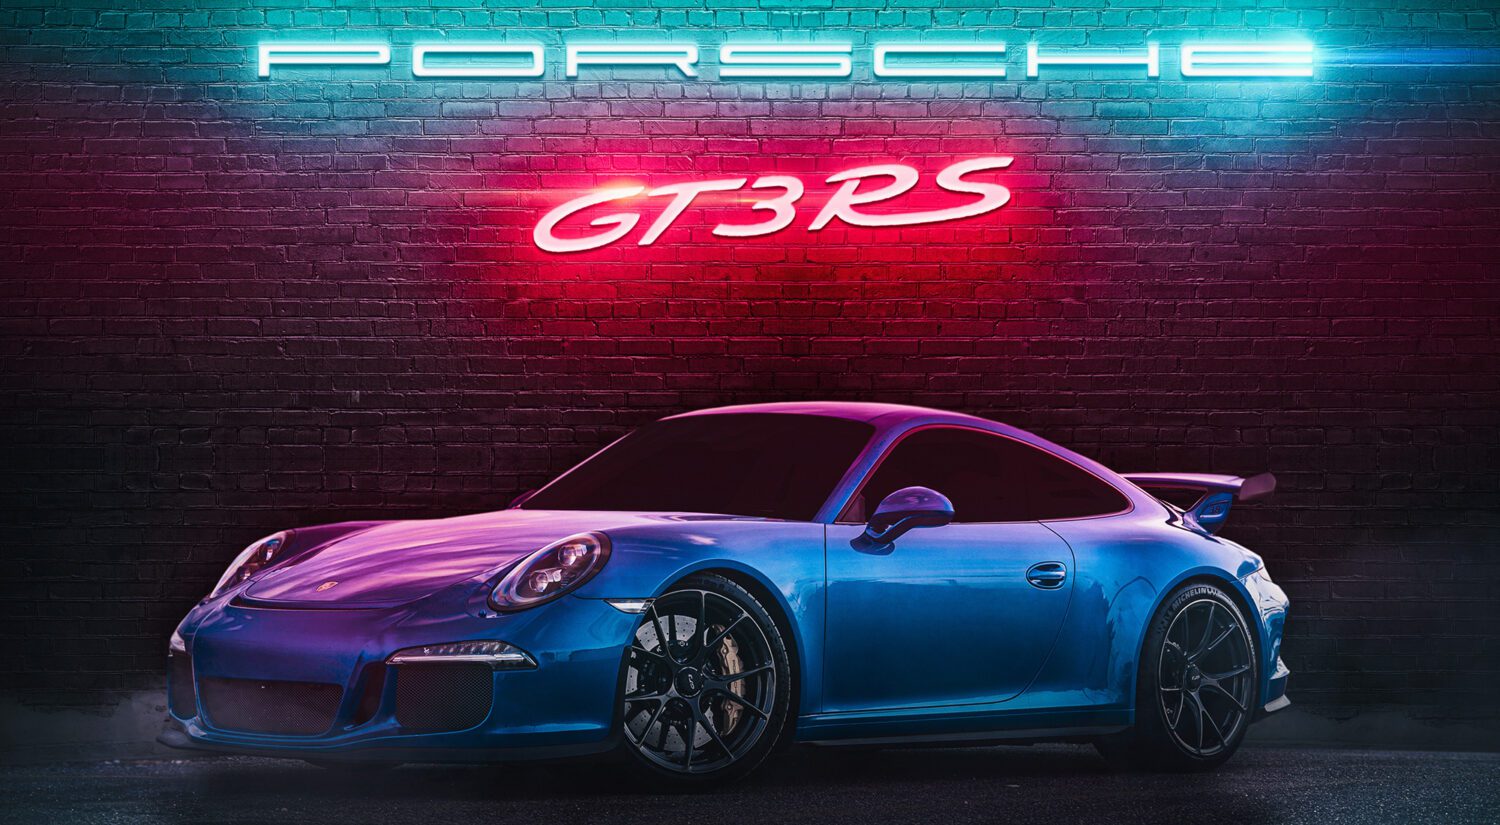

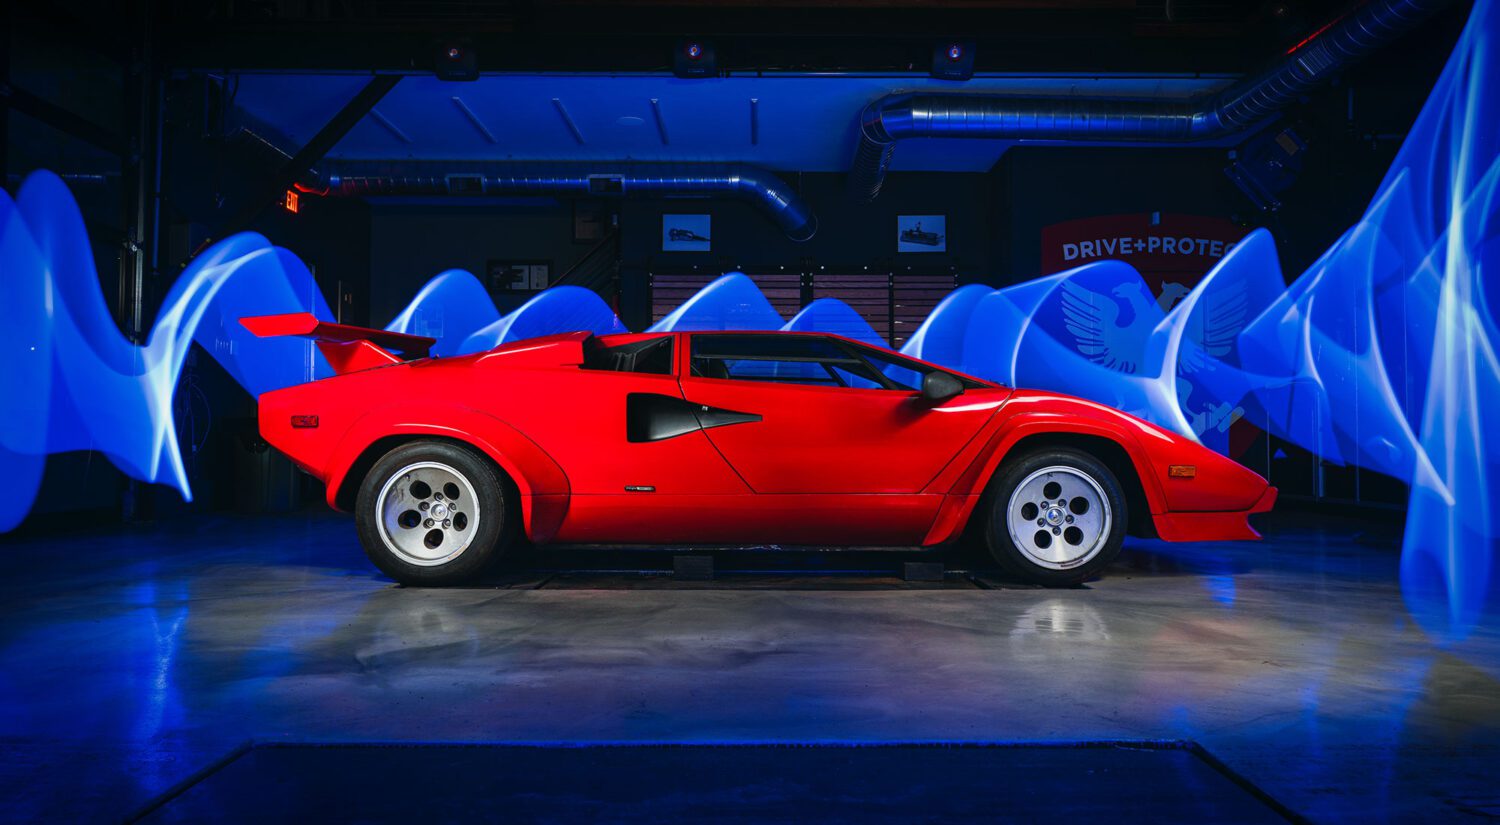

Light painting. Nothing gives you that big WOW factor like it. I’ve covered it in detail, and even shot a video with AMMO NYC on it.
But what if you just want to know the basics for a shoot? These images were both shot with just 5 exposures. 3 for the car, 2 for the lights.
1 – Your light matters
You can do this with a flash light, a cheap LED light, a strobe, or a Westcott Ice Light like I have. The lower power and smaller your light source is, the more exposures you’ll need.
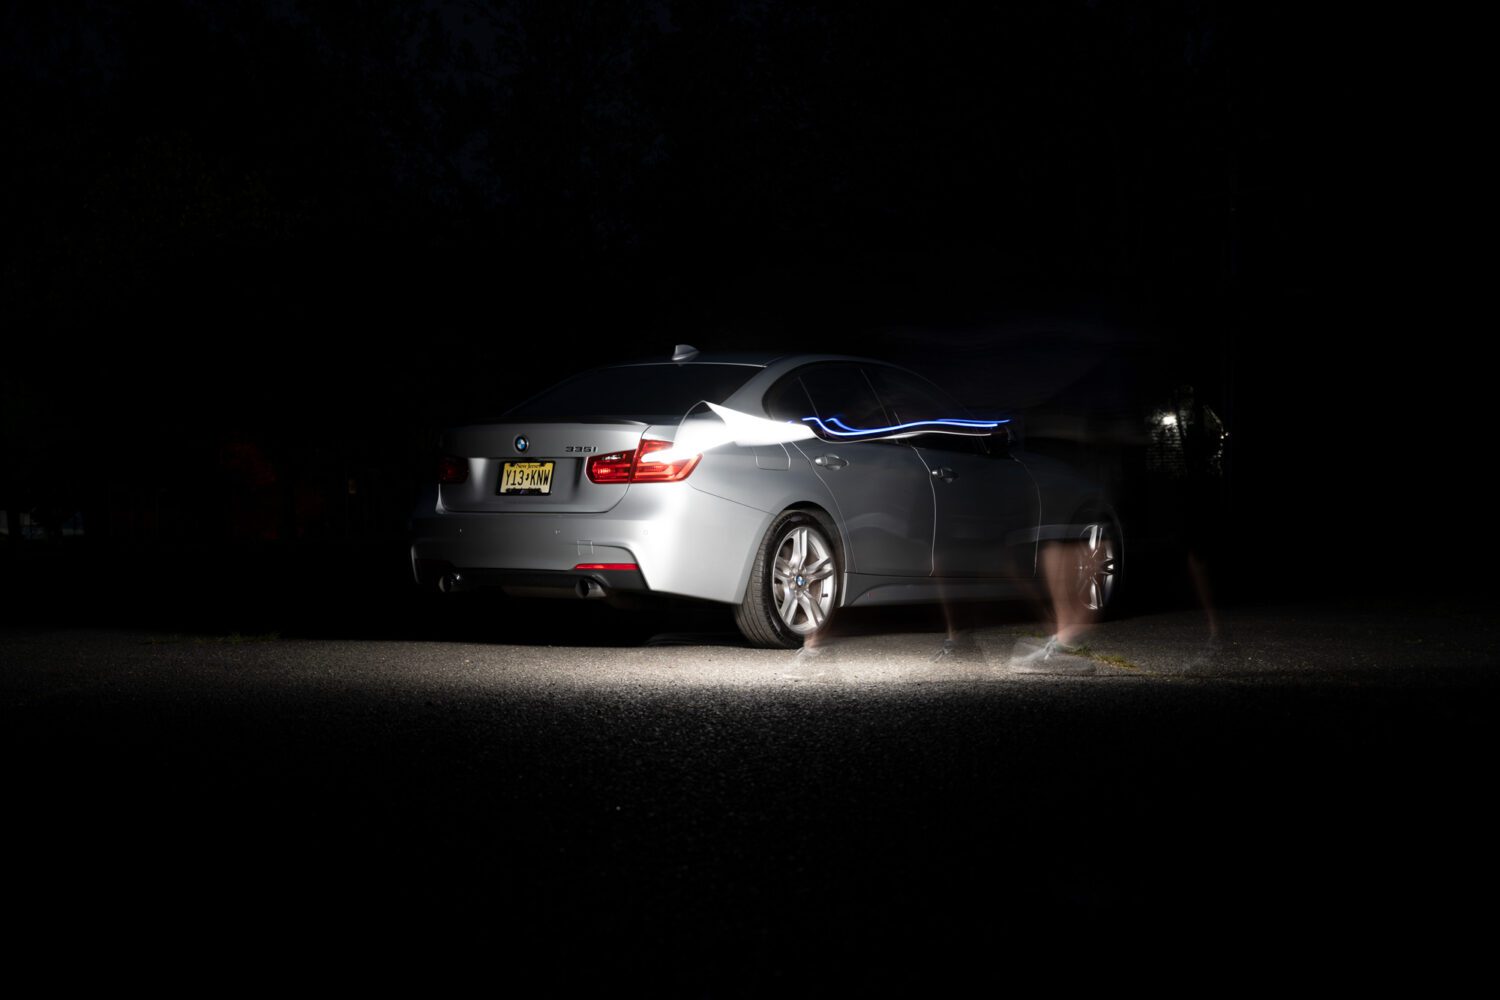
Also consider the time your shutter is open, usually around 2.5 seconds with my set up. Use the self-timing feature to set the camera up, then walk around your car with the light.
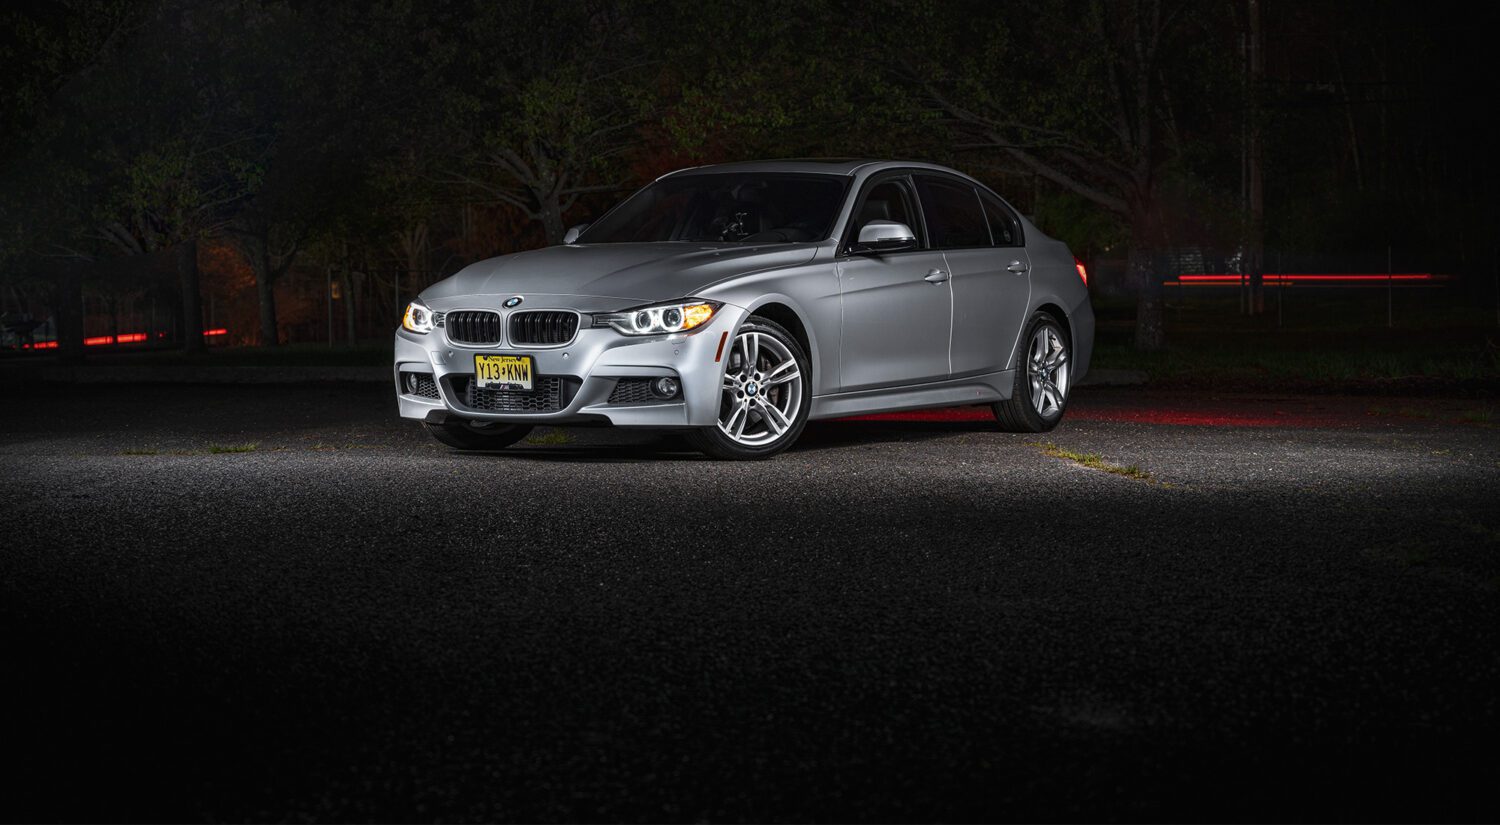
When you do so, don’t stand too close to the car, which will cause hot spots. Instead, stand about 8-10 feet away, and wave your light back and forth on a particular section of car. Four exposures should light up the roof, hood, side, and bottom portion, respectively.
Keep in mind your location. It should be as close to pitch black as possible, unless you want some city lights in the background. Avoid street lights if possible, as those tend to cast weird colors on the car and light it unevenly.
2-Your camera doesn’t
Any DSLR or mirrorless camera can do this – absolutely any one. As long as the camera takes a long exposure, you’re good, and that’s why a cell phone won’t work. A camera with a lot more light sensitivity than an iPhone is needed. There are plenty of cheap options out there.
Tripods can also be had cheaply. Smaller ones are perfect because you want a lower angle for the car.
3- Paint it like you wash it
You wash your car in sections – top, side, back, front, lower doors…follow that pattern here. It’ll help to prevent you from forgetting to light a section of the car.
Also keep in mind that a roof and side of a car can be lit from the same spot usually, but for the front or back, you’ll need to move.
Wave the light over each section of the car until you hear the shutter close, and never leave the light in just one spot. That will over expose the panel you aim the light at.
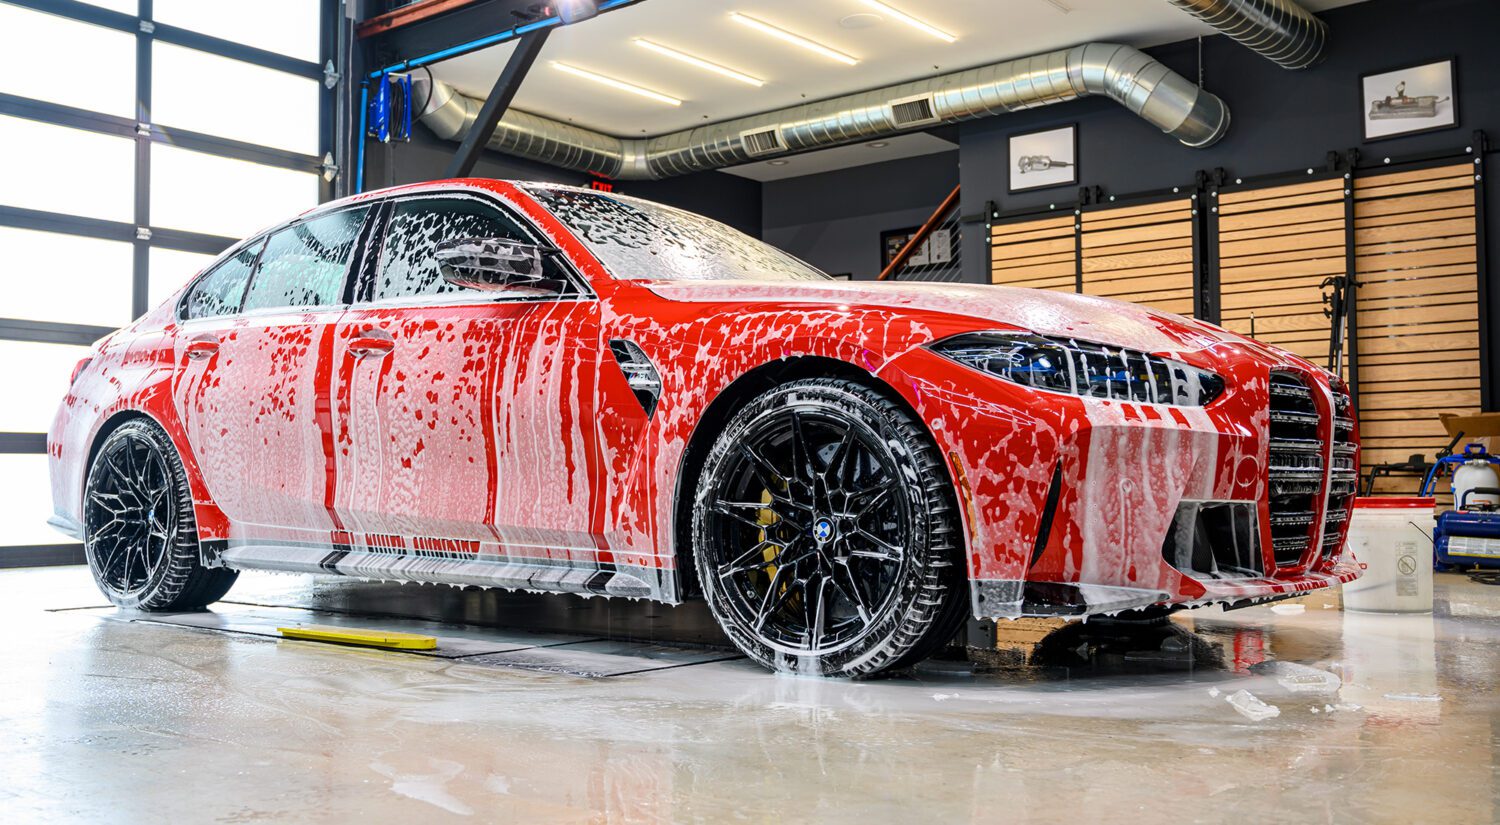
4- Wash it
Speaking of washing – you should clean your car before you do this. The whole point of light painting is to make the car POP and a clean car will reflect and shine even better.
Bring a waterless wash and spray wax as back up in case you need some last minute touch ups.
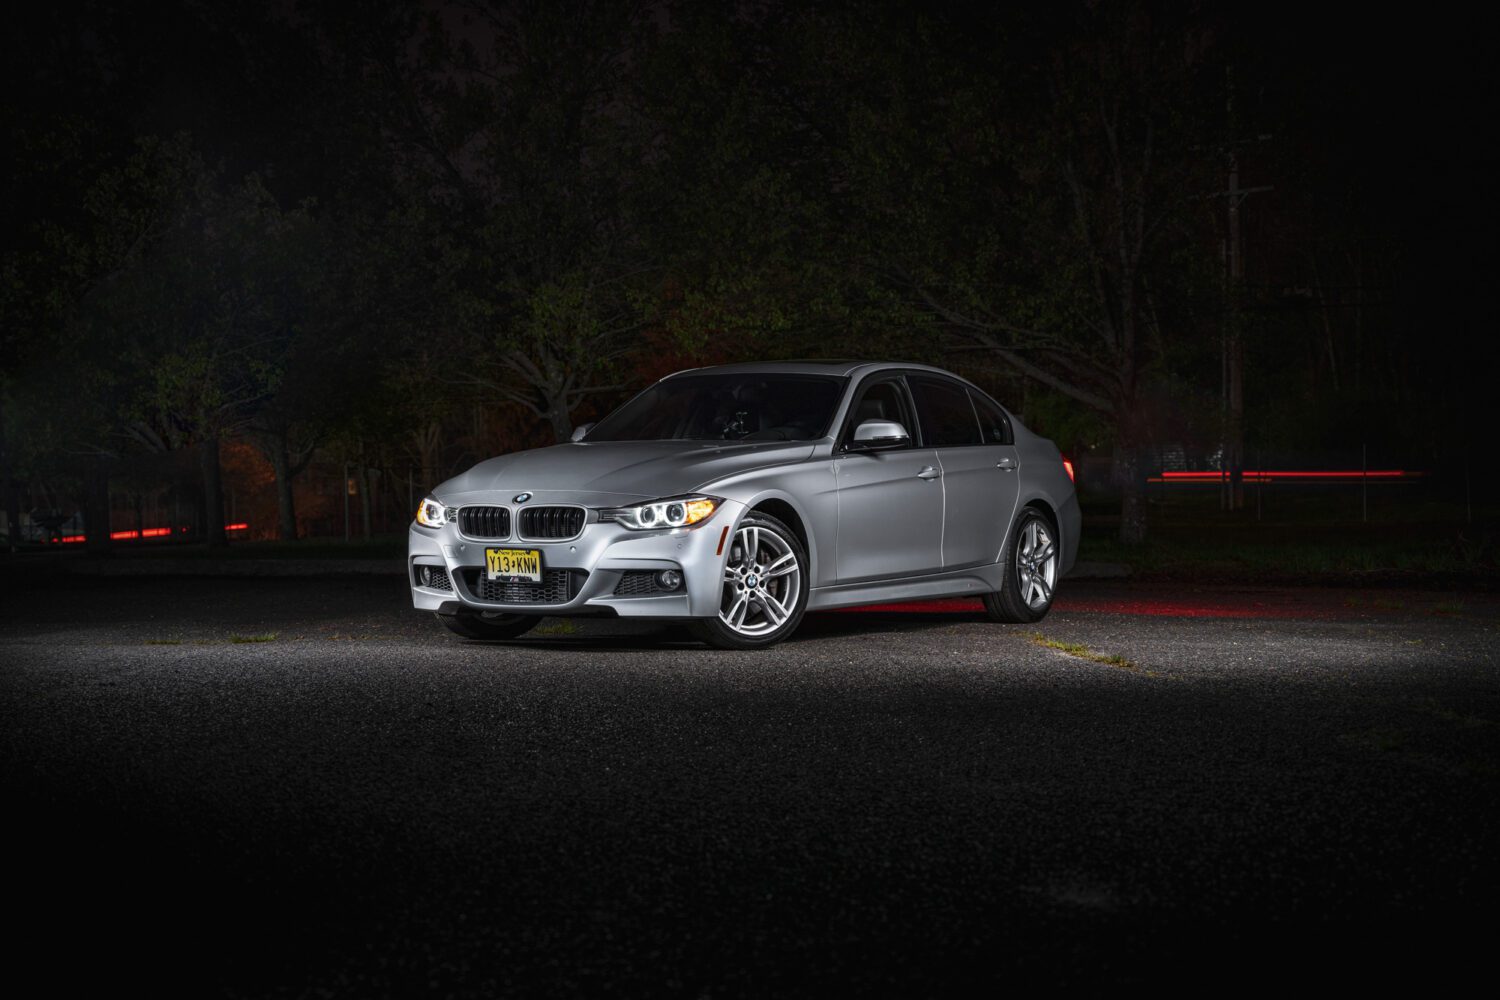
5- Car lights
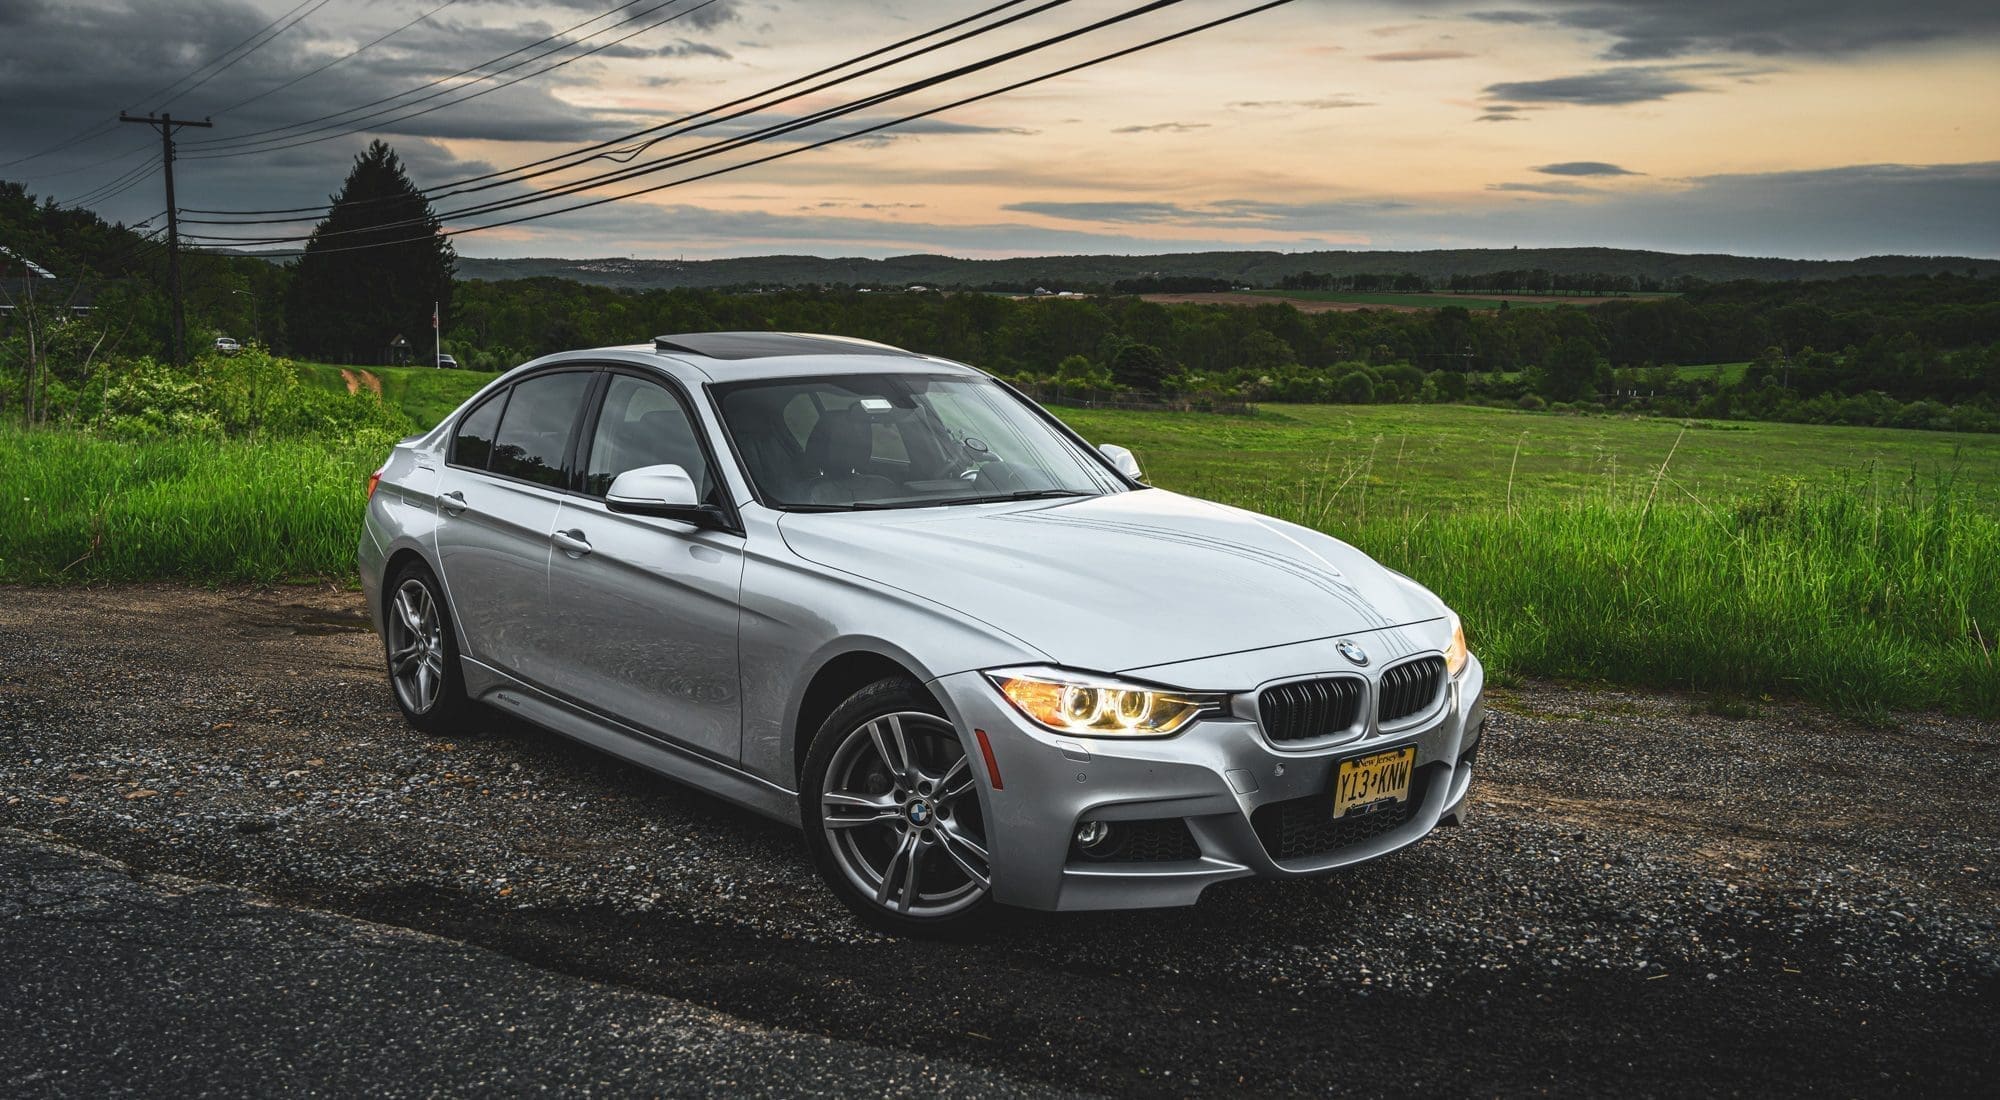
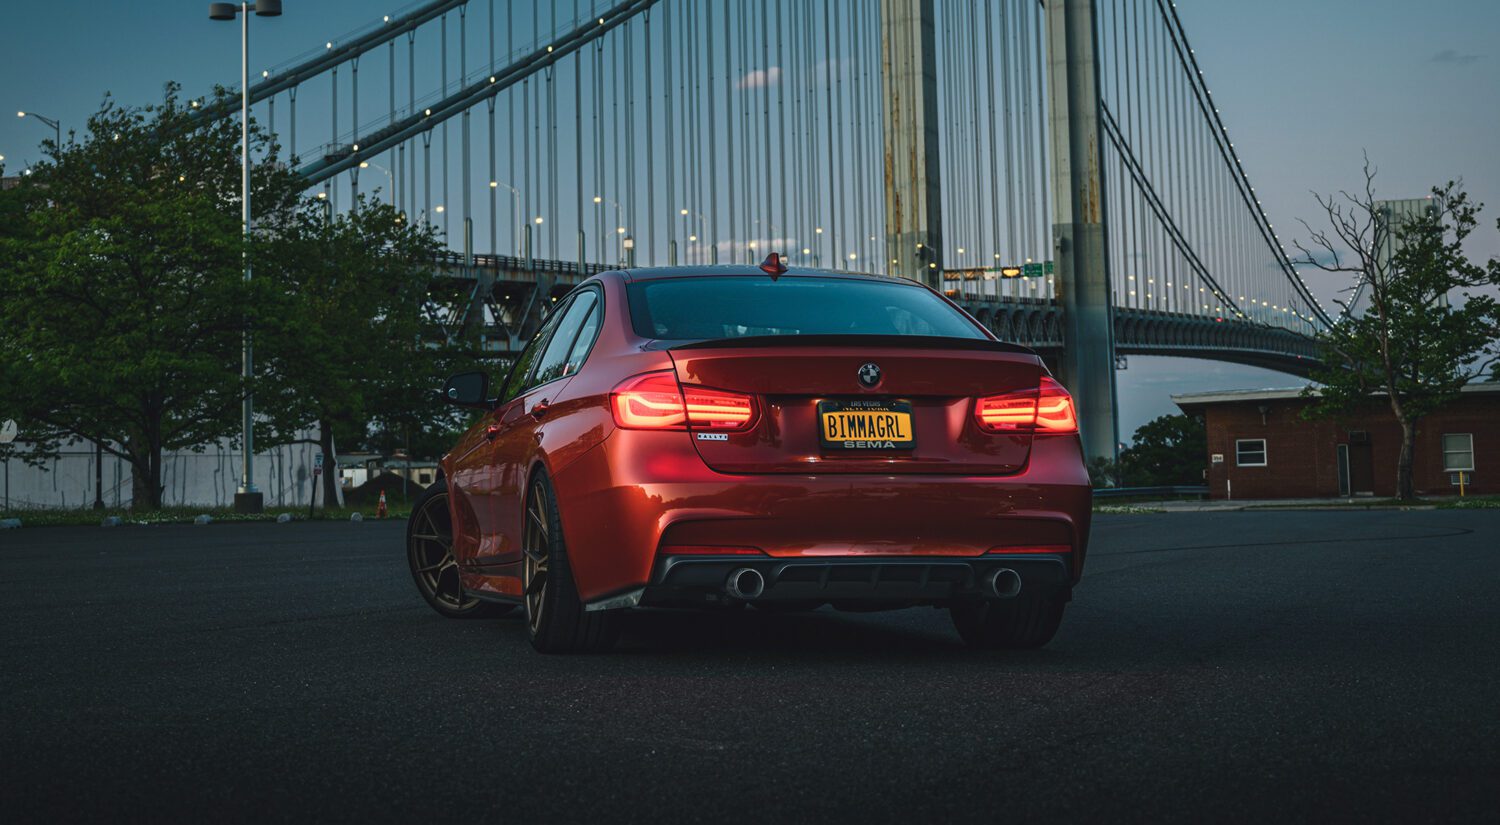
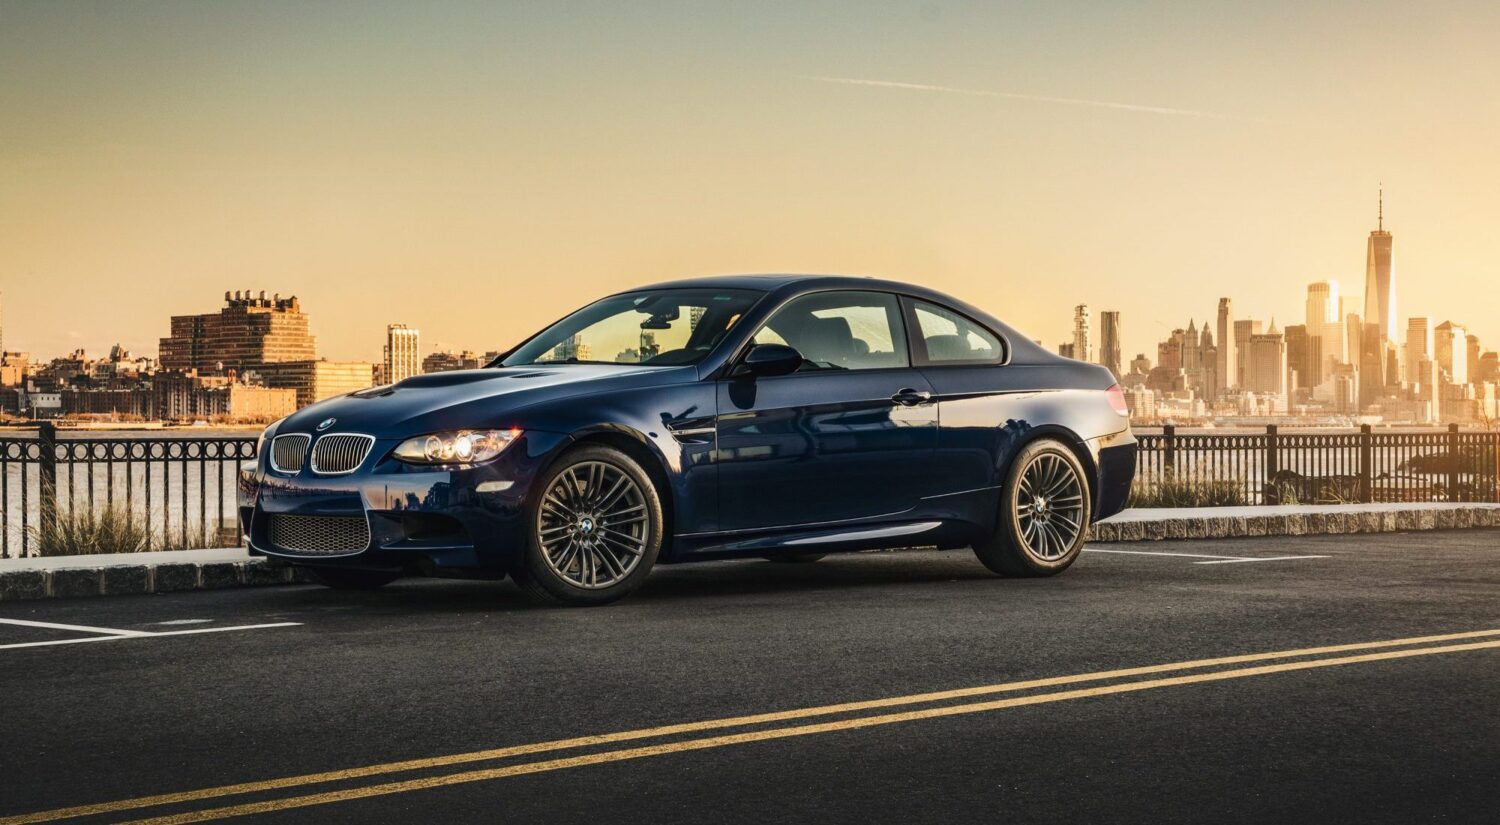
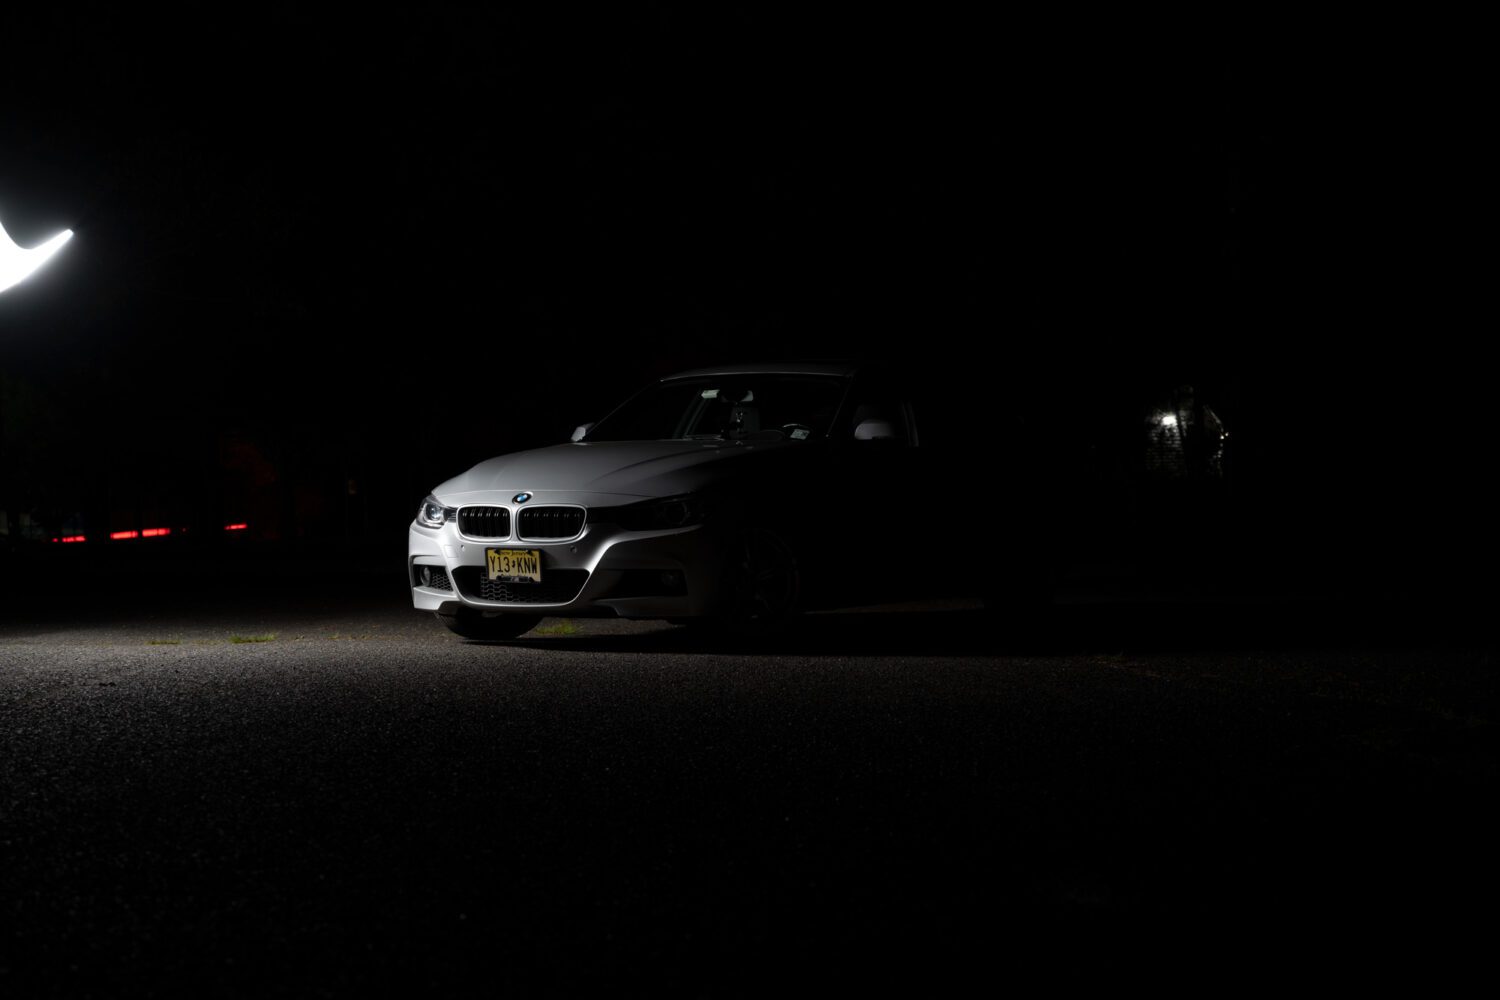
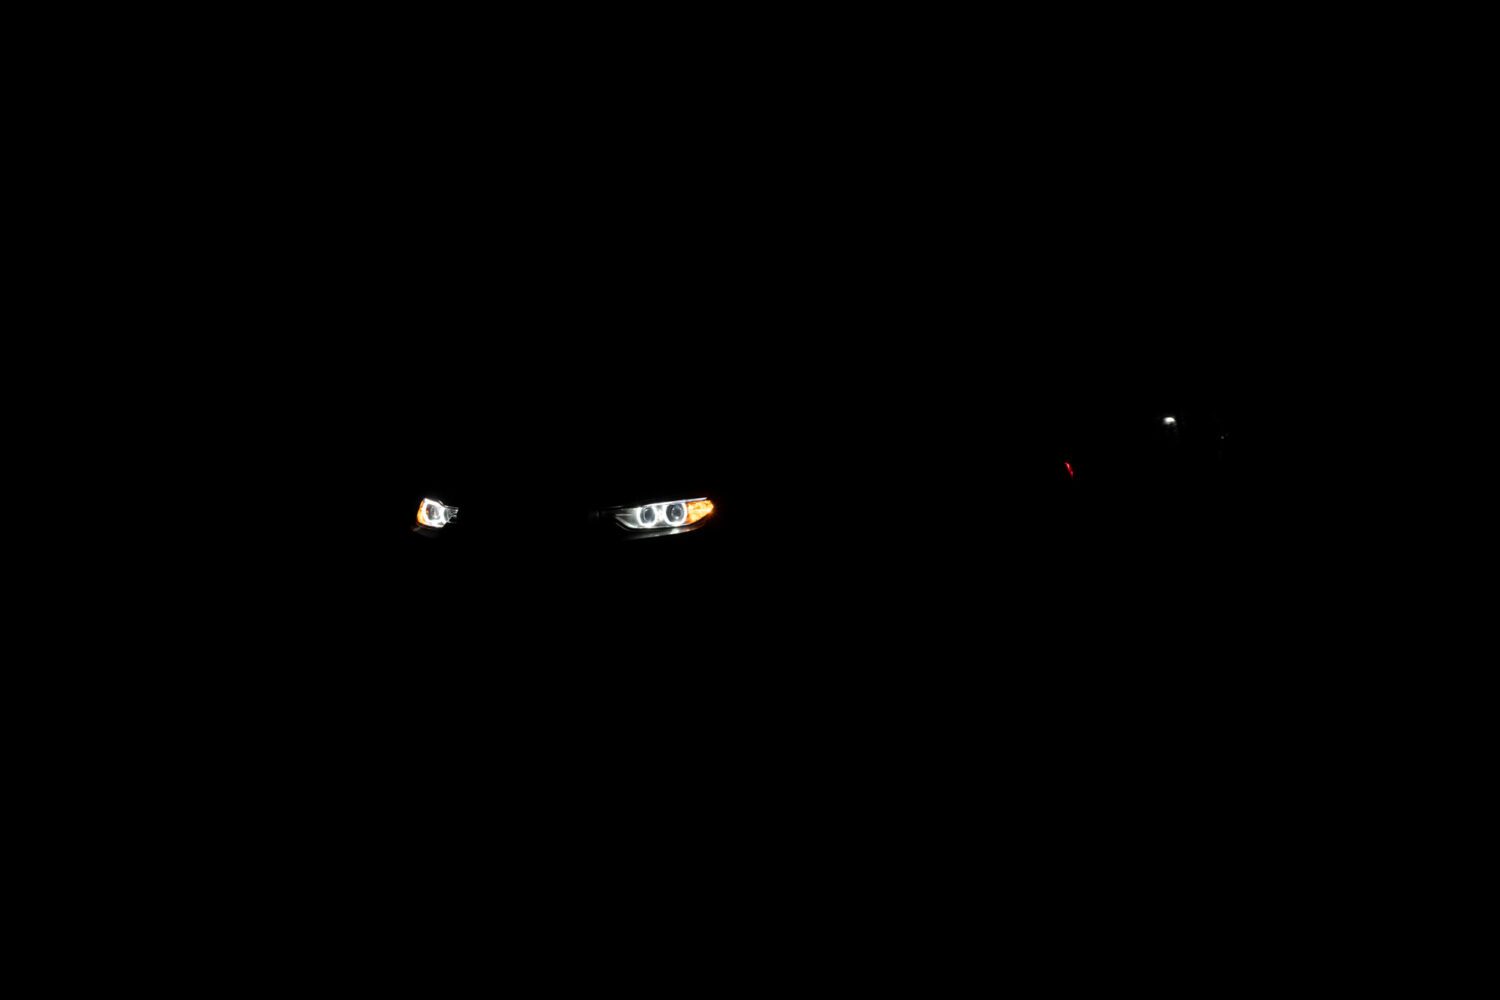
Two of our exposures should be for head and tail lights. Use an exposure for each. In the case of BMWs, I like to light up the Corona rings, but if your car does not have a secondary source of lighting, turn on the headlights, and lower your camera exposure way down.
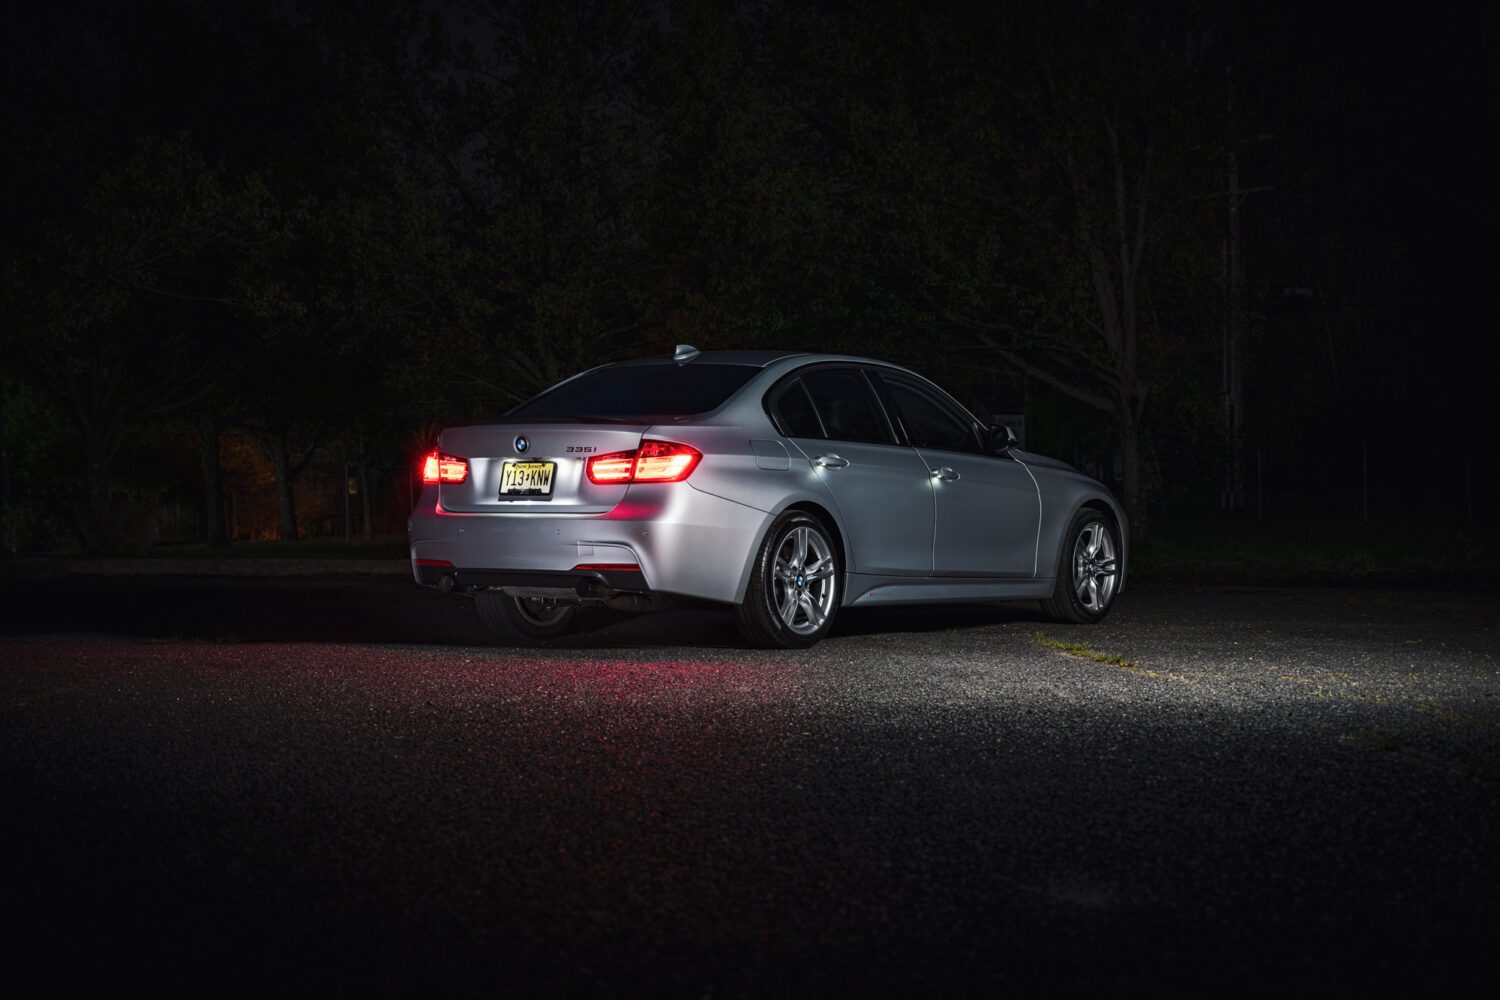
Tail lights will require a longer exposure, as I like to capture the red glow on the ground. Though I did not in this case, you can set up the camera and then step on the brakes for the shot to illuminate all 3 lights. You’ll edit yourself out later.
I like doing car lighting last, AFTER I’m happy with the results of the light painting.
Most of all have fun! And never be afraid to experiment.
Feel free to email me at mike@machineswithsouls.com with any questions.
Follow along on Instagram @machineswithsouls