
It’s throwback week here, and I figure it’s a good time to look back on the shoot with Larry Kosilla of AMMO NYC, shot in March of 2018 in Brooklyn, New York.
Larry’s AMMO brand is quite famous by now, but the NYC portion of the name is not always used. To push this fact for the shoot, Larry wanted it in NYC, and we were to feature his new at the time Audi R8.
This post will go into detail about scouting, camera settings and retouching for two of my favorite shots. Let’s get to it!
Scouting
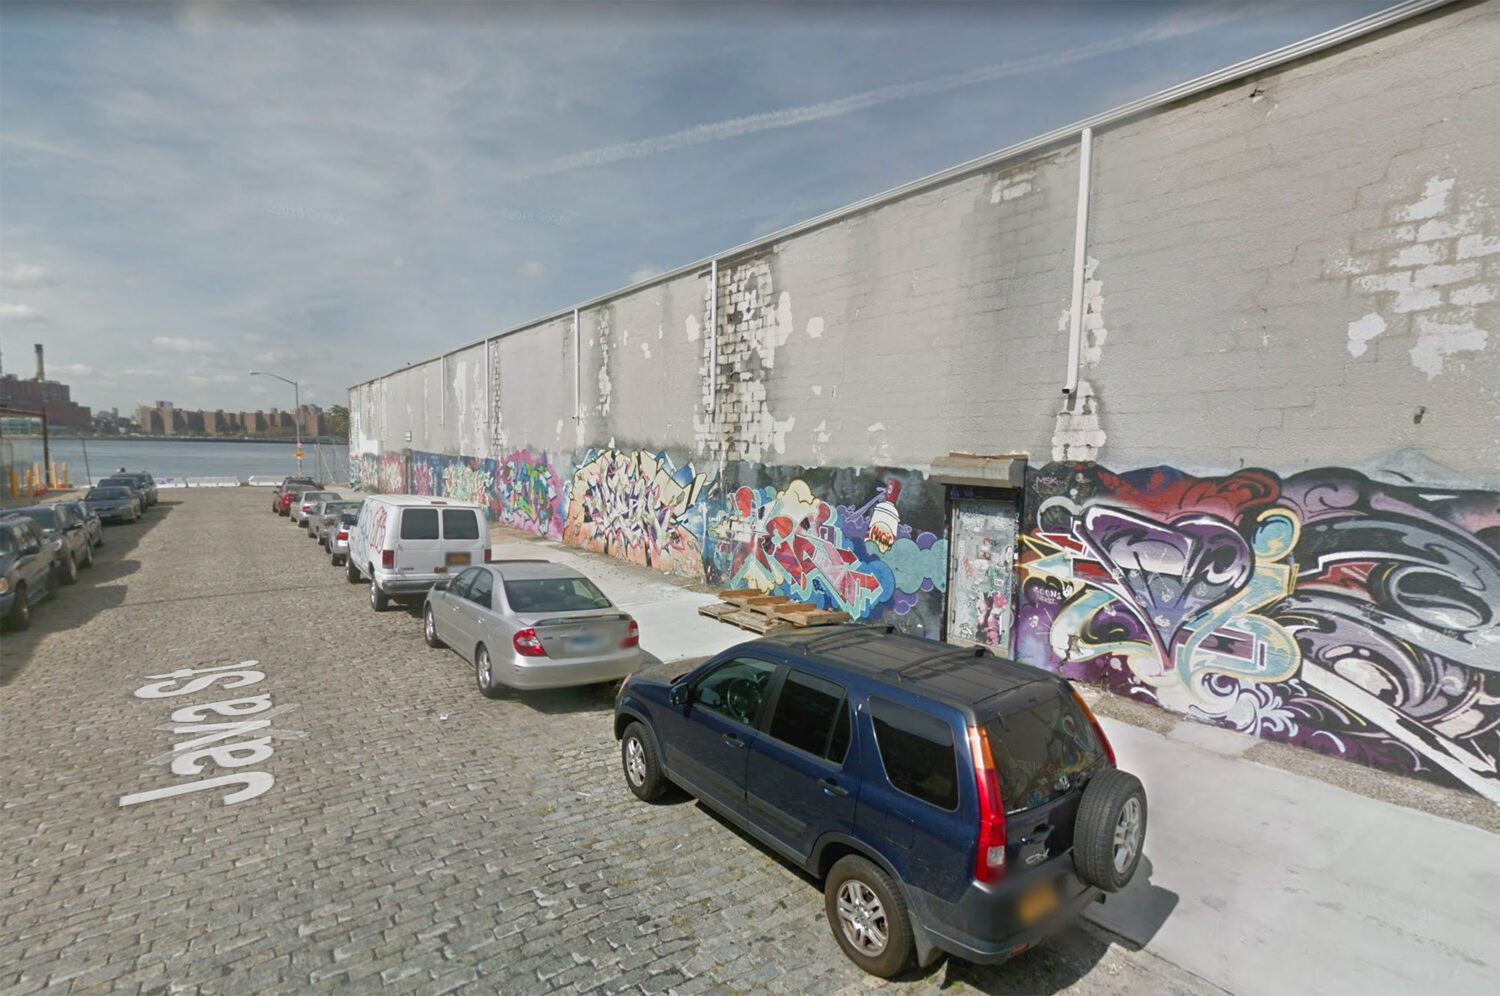
Before we do anything else, we need to scout a location in New York City. Not easy. Larry was not specific about what spot we used, as long as it felt “New York”. That usually means the iconic skyline in the background, graffiti, cobblestone streets, and industrial buildings. The city is notoriously difficult to shoot in using popular spots like Times Square, and a permit is usually required. Using Google Maps, I decided on the Brooklyn waterfront, near WNYC Transmitter Park. This spot shows the skyline nicely, whole offering plenty of quiet side streets to shoot the R8.
The shot we’ll be working on was filmed on Java Street on a Saturday night, so side-street parking would not be a concern (buildings were mostly commercial here).
Don’t get discouraged if you can’t find a good spot right away – it can take me a few days of searching for a spot that fills all the requirements.
I decided I would scout a bit early the day of the shoot, before Larry arrived. I actually ended up moving a block down from what I thought was the right spot, so if you’ve never been to a location before in person, give yourself some time to make sure it works.
Camera
This was shot with my Nikon D5200, 50mm prime and 16-80mm lenses, before the Z7. I think it’s a great example of not needing a high-end camera to make quality work.
Shot one – Larry
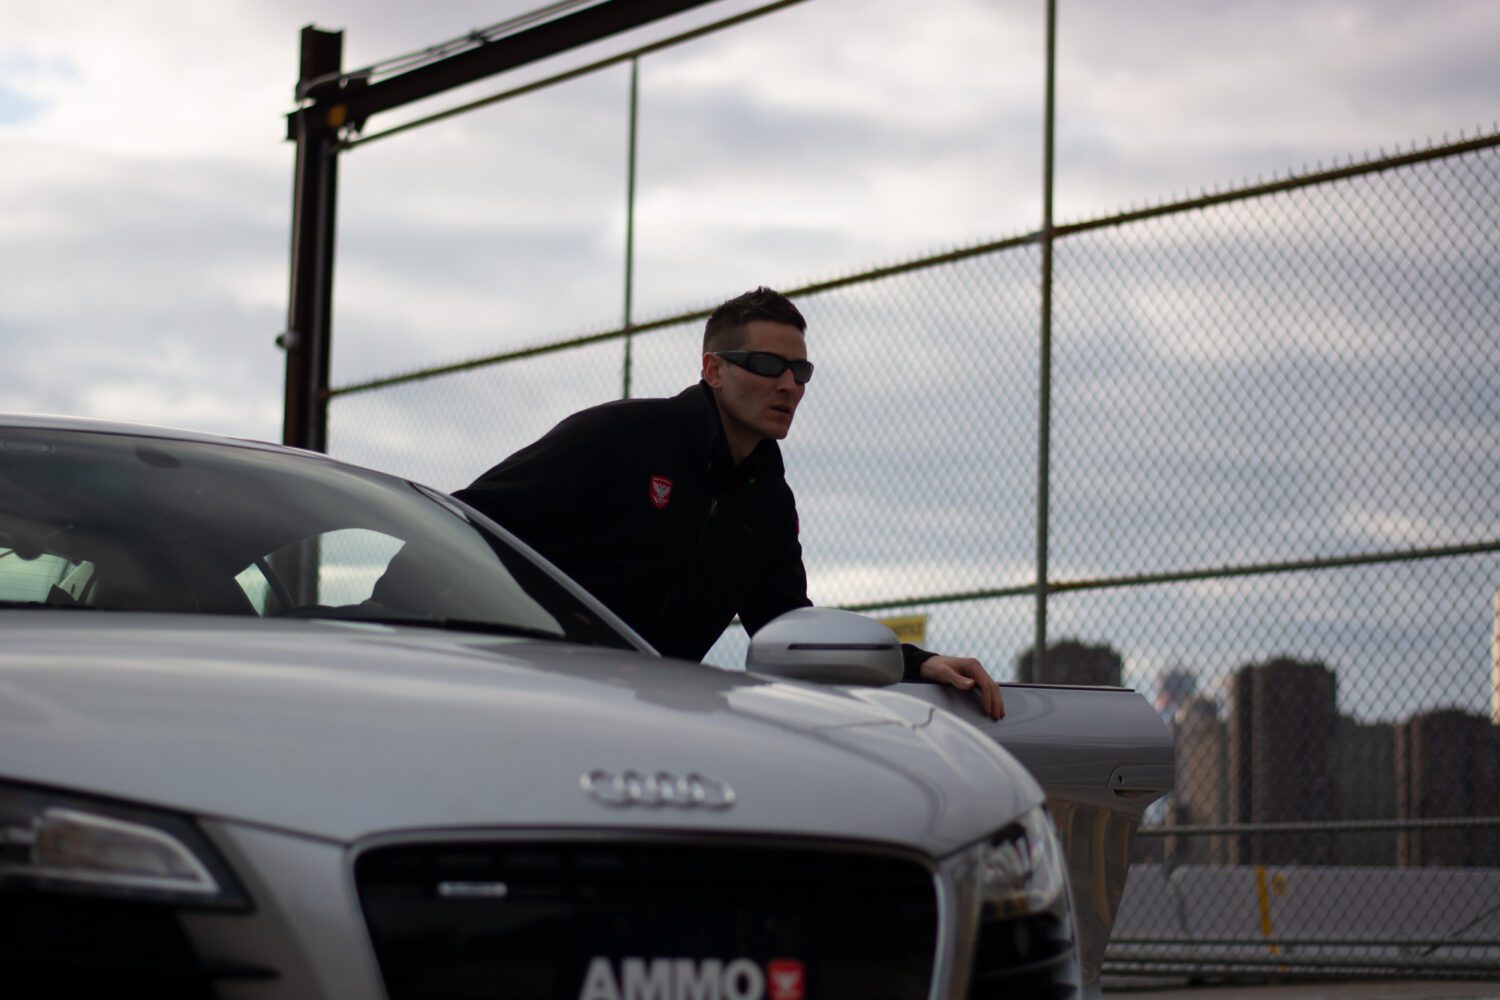
I’m going to review an image with Larry himself in it because it’s a high-concept one where framing matters.
Here you can see we’ve got the blurred, but still readable, AMMO logo in the front license plate, along with enough of the car to be able to tell what it is. In the background is enough of the skyline to be able to tell it’s NYC – that’s the Empire State Building, after all. Finally, the focus is on Larry as he does his best Blue Steel look. Larry’s logo on the jacket helps, and the image itself accomplishes what it needs to without any copy added.
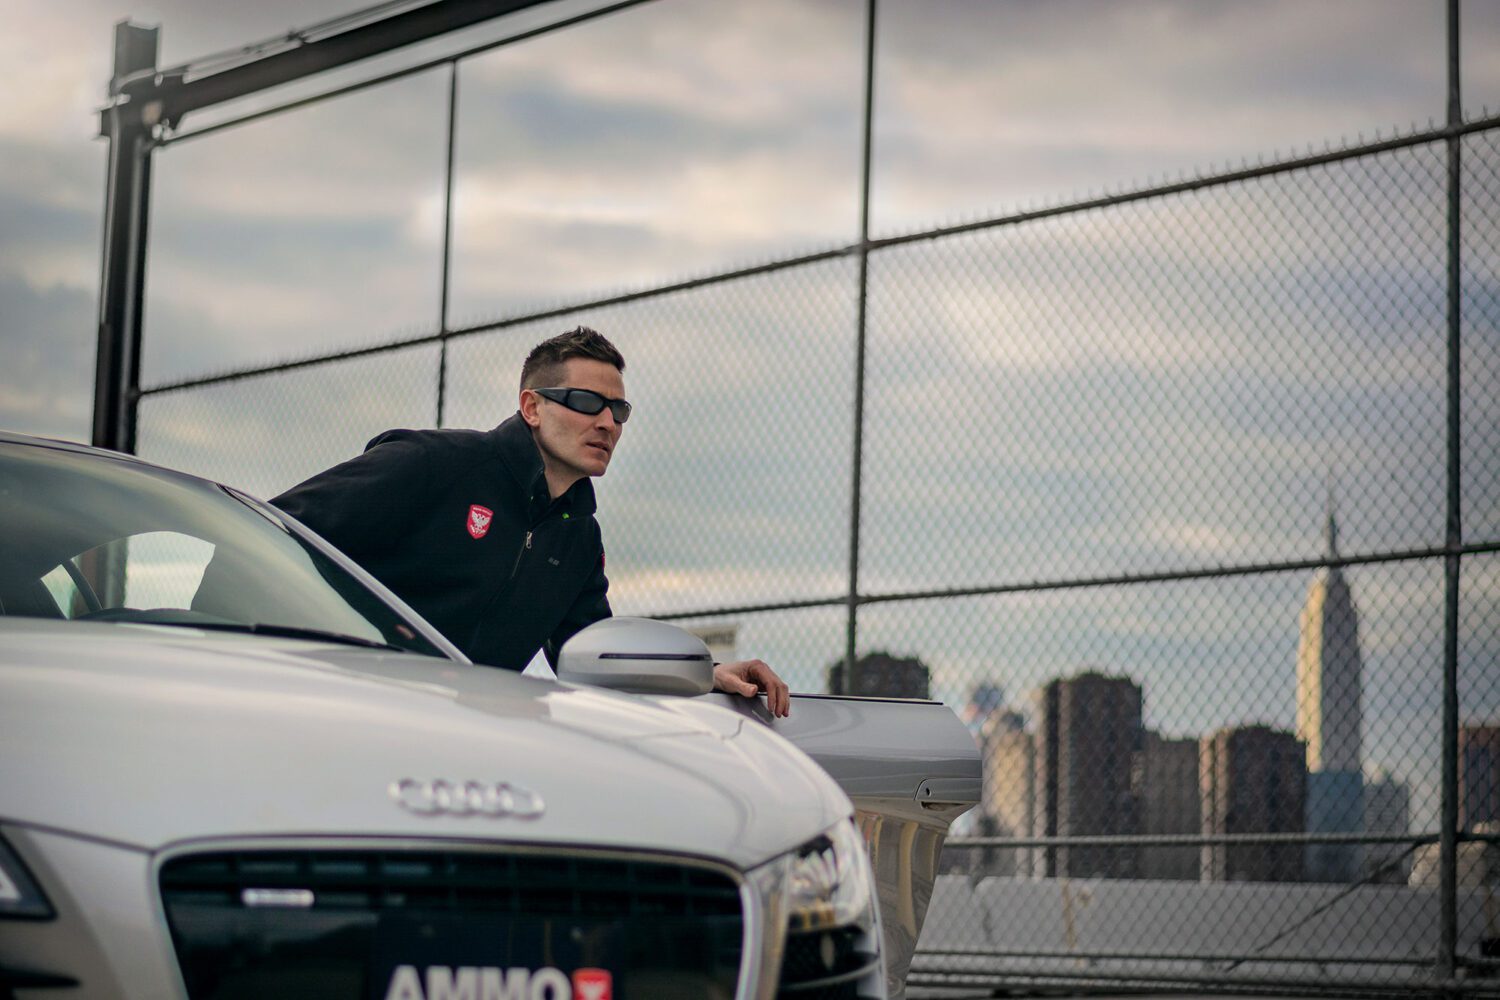
Quite a lot from one image. Shots like these will never get a ton of likes on Instagram, but if you want to do brand photography, this is the way to approach what really matters.
Camera settings:
- Focal length: 50mm
- Aperture: f/1.8
- Exposure: 1/250
- ISO: 100
It was very overcast that day, so retouching was minimal without any hot spots. I shot it a bit underexposed to avoid any motion blur from Larry, knowing I’d be able to edit up a few stops.
Working with Larry
If you don’t have a lot of experience shooting with models, it really isn’t much different that shooting car – good lighting and composition are key. Larry was a pro with it, being patient and holding poses as long as I needed (as good as a model). Chances are, you’ll be working with a model on your shoot, not a client, but if you find yourself with, say, a car owner, who isn’t used to being in front of the lens, just put them at ease. Once they relax, shooting will happen much more naturally.
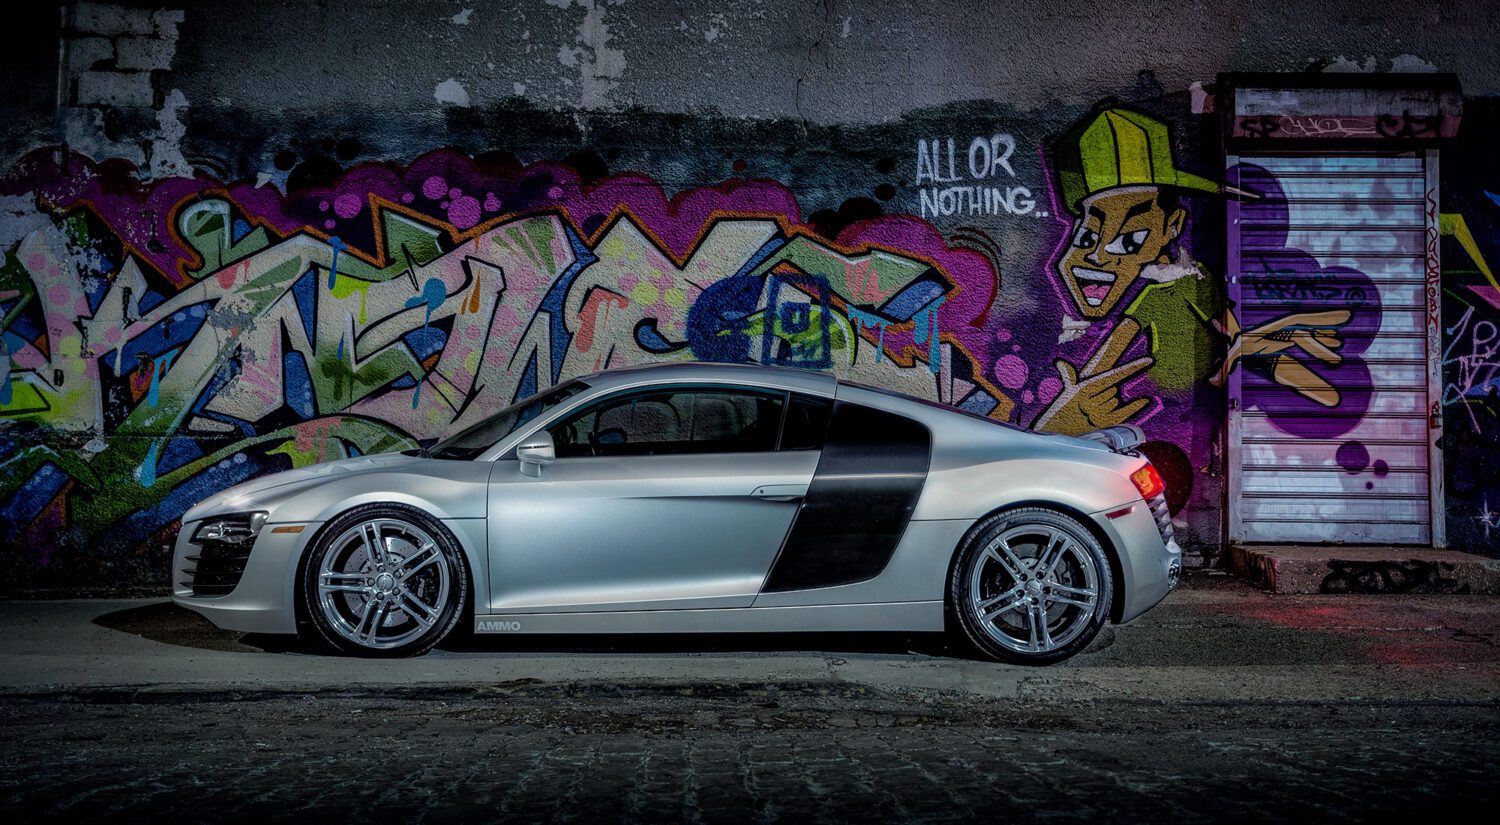
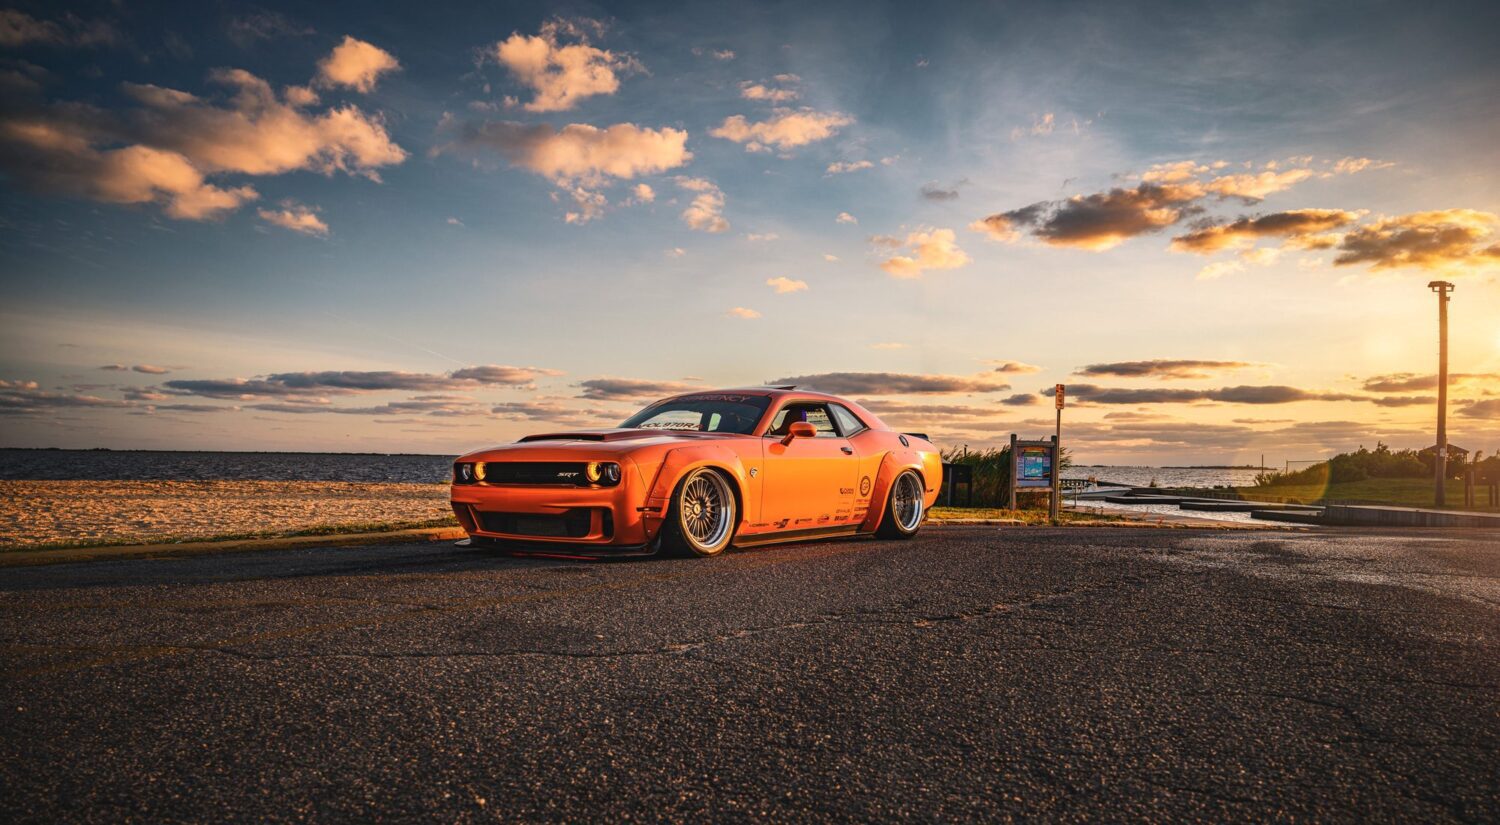
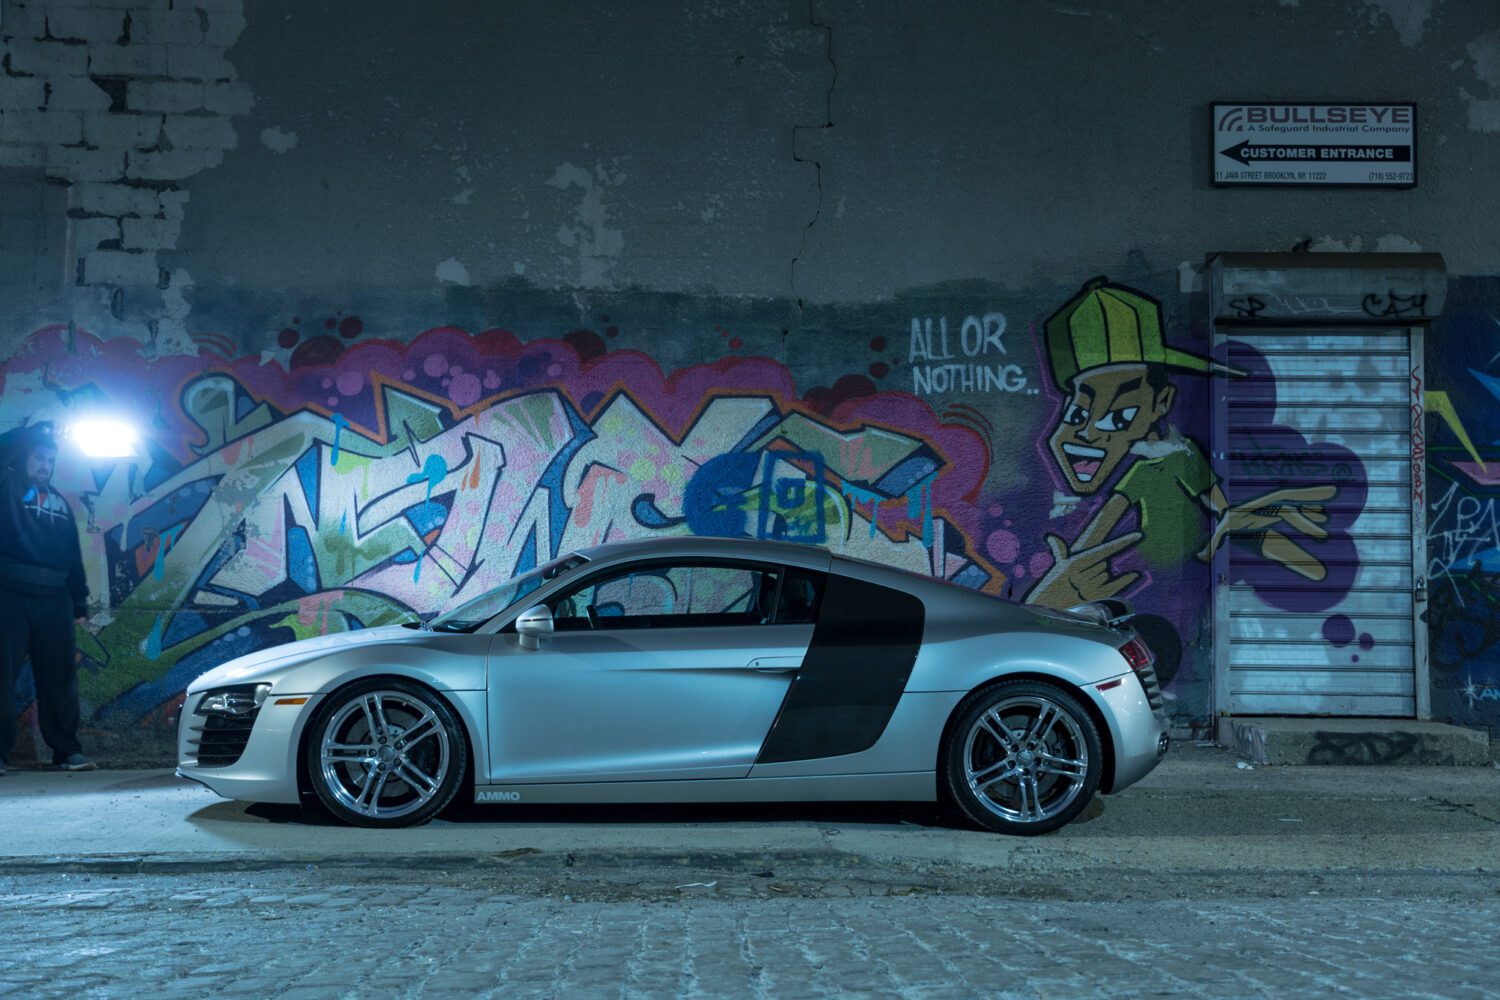
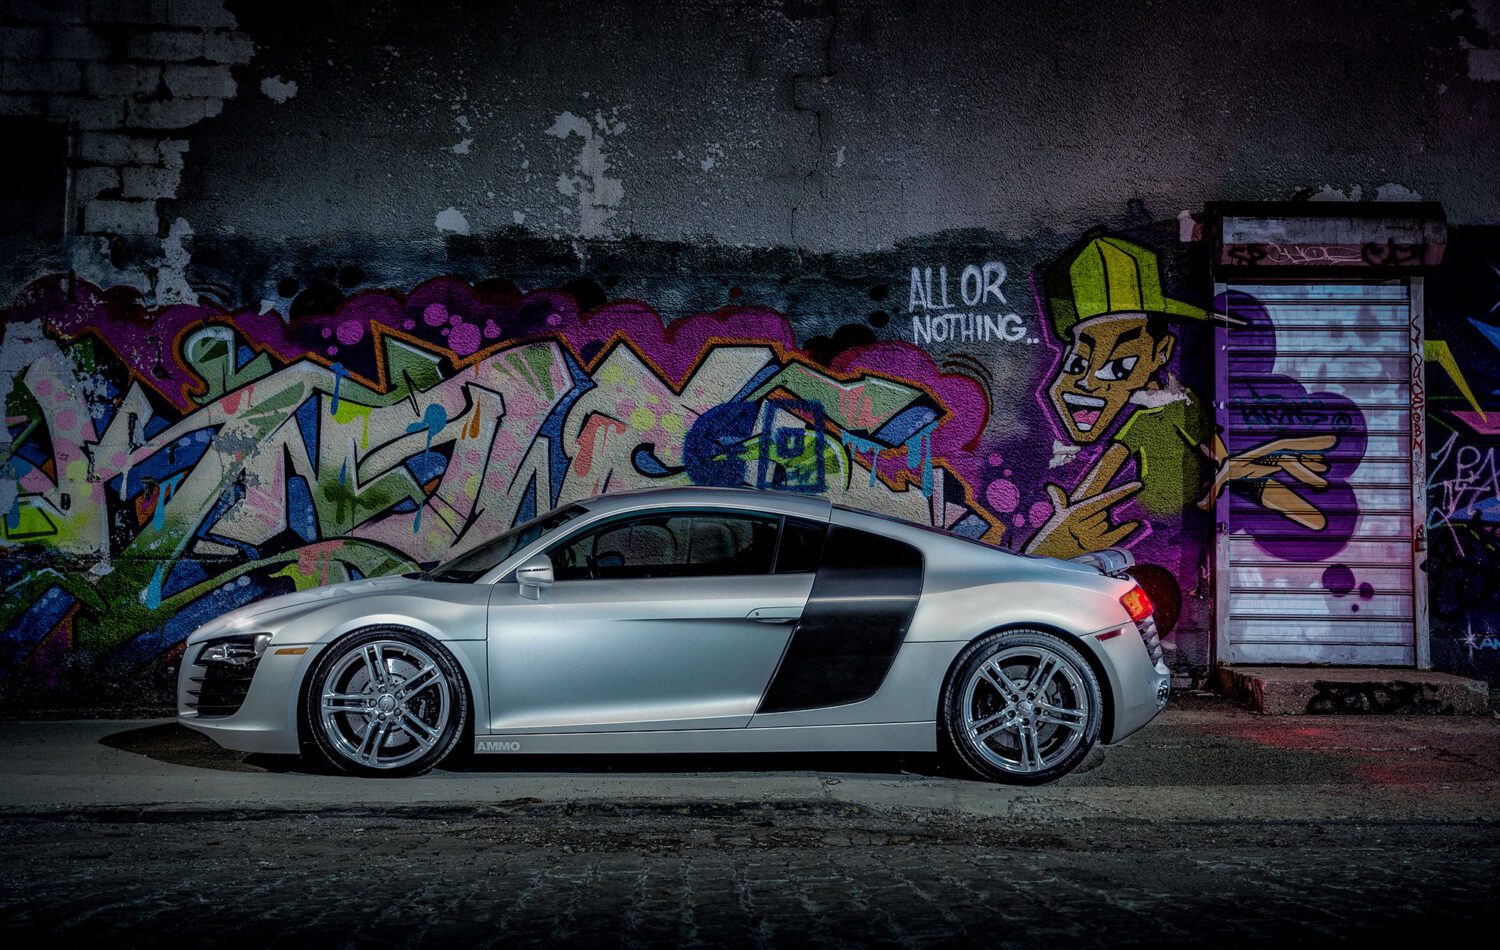
Shot 2 – Graffiti R8
This is one of my favorite shots from any shoot. It’s a luck scenario – the graffiti on Google maps had been painted over with a new look, and it worked perfectly here.
This was one block over from the rest of the shoot, but I had seen it in daylight before hand. After moving the R8 into position, I took out my Ice Light II and lit the car up as you see it with multiple exposures. However, the street was not completely dark; a street light was right above the car and gave the image a greenish blue tint. We’ll fix that in post.
Camera settings:
- Focal length: 34mm
- Aperture: f/4
- Exposure: 5 seconds
- ISO: 100
You’ll want to make sure the wall is lit evenly as well, because it’s much easier to add shadow in post.
Here’s a screen recording of the composite coming together.
Back then, I’d set the white balance on the camera myself, but now I leave it up to the camera to decide. It takes additional pressure off me, and the camera is almost always right as to what it selects. It’s easy to adjust in Camera Raw with temperature (warm or cool, green or purple).
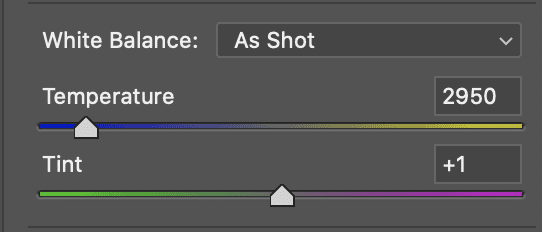
Remember that this adjust the overall color tone. If you need to change specific colors, it’s best to use the HSL adjustments panel.
As an aside, going back through these files, the different in quality of detail between the D5200 and Z7 is amazing, BUT still proves that you don’t need an expensive, fancy camera. Poster-worthy for sure.
Feel free to email me at mike@machineswithsouls.com with any questions.
Follow along on Instagram @machineswithsouls


4 thoughts on “How I shot the AMMO NYC R8 in Brooklyn”
Comments are closed.