
Major auto shows are fun events that usually contain rare, never-before-seen cars. They also tend to attract a LOT of people, particularly the New York International Auto Show. This post will take you behind the scenes on press day from 2018, and give some tips on how to handle the harsh lighting of the show. It’s a bit different from your local event.
What you’ll need:
- A camera with attachable lens
- A lens polarizer
- A spare battery
- Spare lens cap
Arrive early, leave late.
The biggest hurdle to a good image at the auto show by far are the amount of people in your way. Trust me, they do not care about your shot, and many won’t even move if you ask. To get around this, plan ahead – what are the cars you most want to see and shoot? Arrive at the show as early as possible, be first in line. Once in, head to that display first. If you aren’t an early riser, getting to the show about an hour before it closes can also help to thin the crowd.
Pack light.
Very light. You still want to enjoy yourself and get in and out of the cars to check them out, and it’s hard enough to do with a camera hanging off your neck, so I only bring one zoom lens with me for maximum flexibility. I’ll also bring a spare battery, polarizer, and spare lens cap because you don’t want to lose it and walk around with a naked lens. No tripod, no extra lighting gear.
Terrible lighting.
In an ideal world, each car on display would have a giant soft box above it to diffuse light and make the car look amazing. Instead, we get whatever the building hosting the show has attached to their roof – usually spotlights. This is bad. Spotlights create hot spots and make reflections look even more pronounced.
Fix the light
To combat this, I use a lens polarizer (as usual), and will lower my shutter speed a little more than I normally would. The shadows will be darker, but those spotlights won’t wash out details on the car, and we can always brighten up the shadows a bit in post. Another thing to keep in mind is shooting at a lower F/stop, say around 4 – this will help blur everything in the background and make the car pop more. Just be aware that, if you want the entire car to be sharp, you’ll want to shoot around F/8-10. At F/4, the back half will start to become fuzzy.
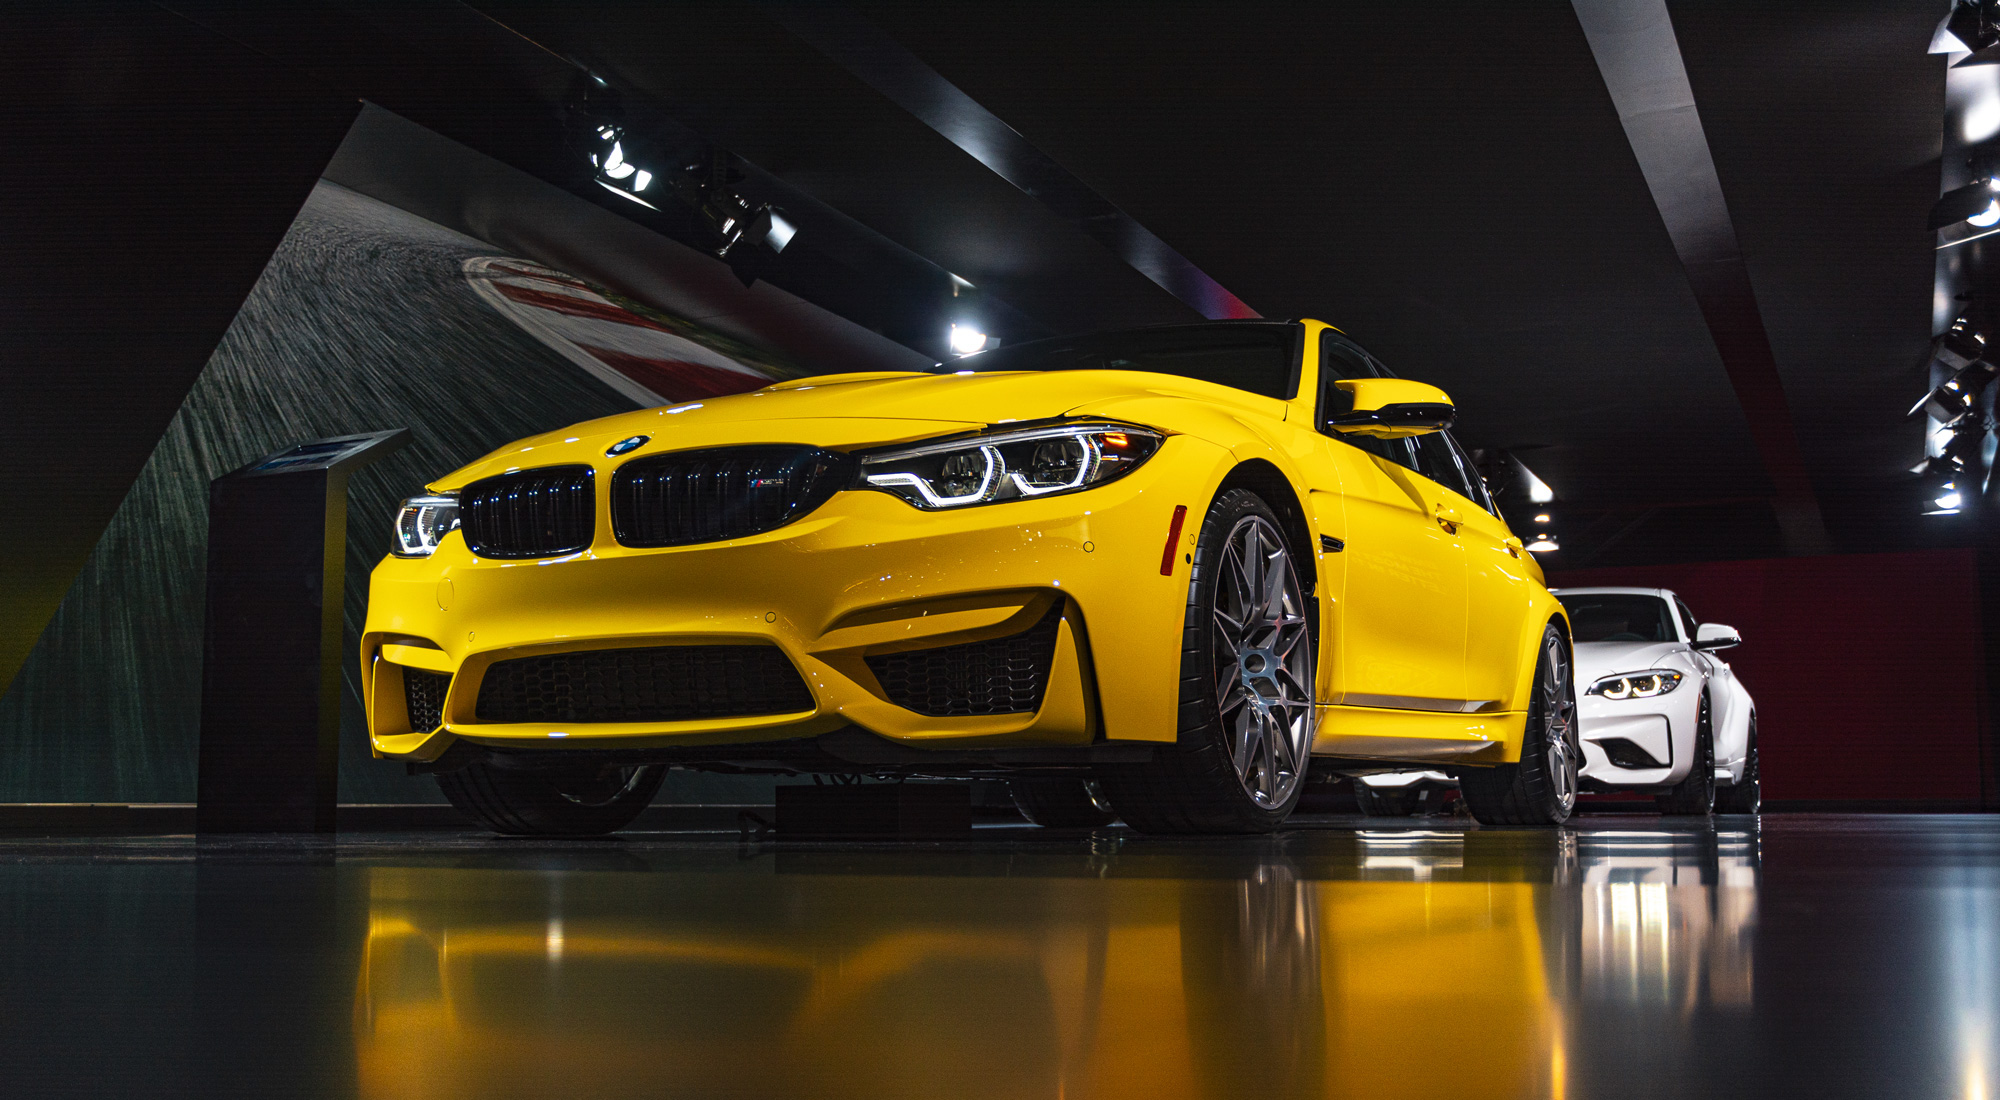
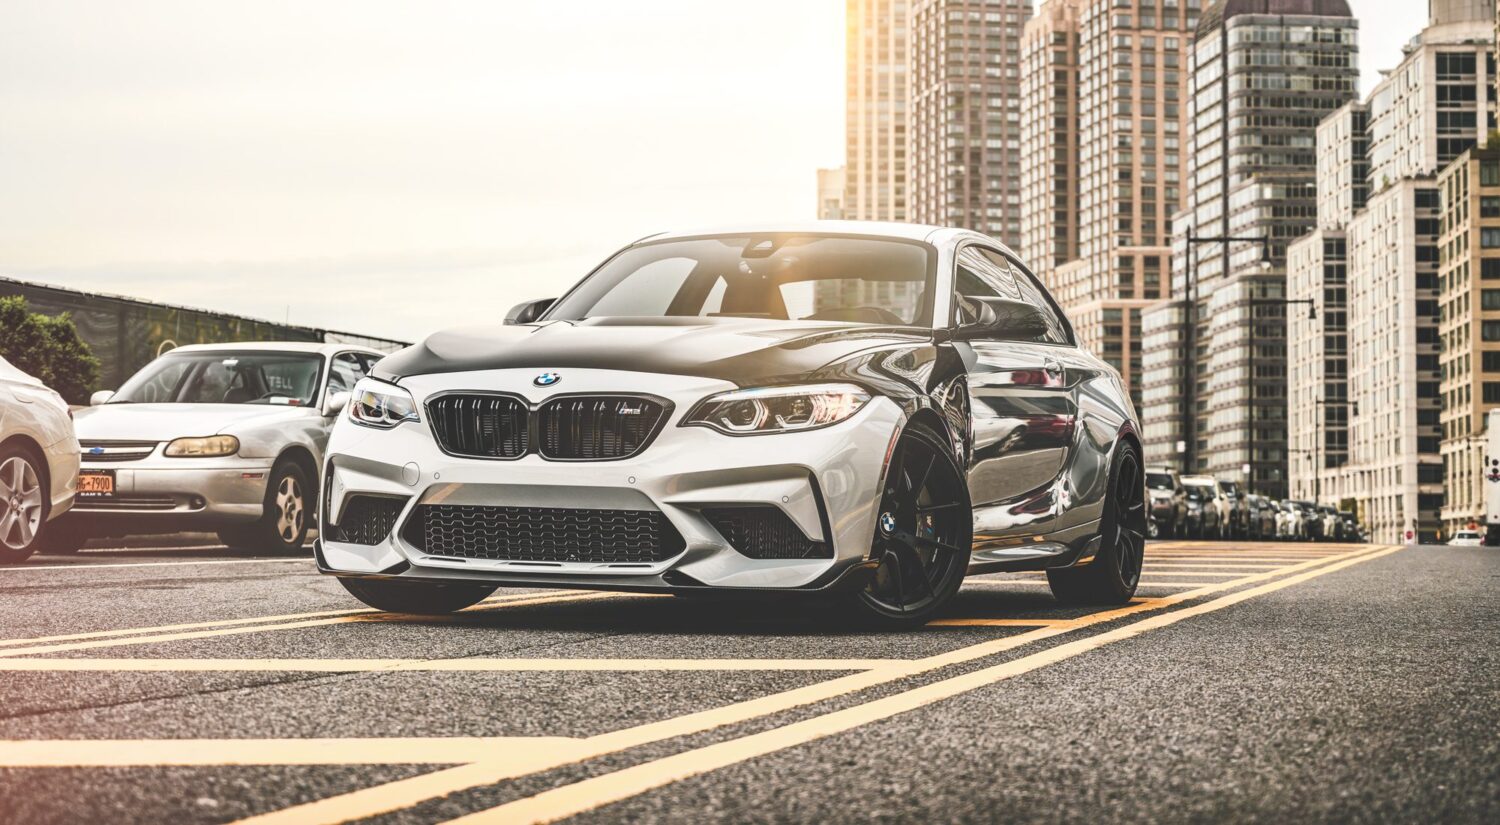
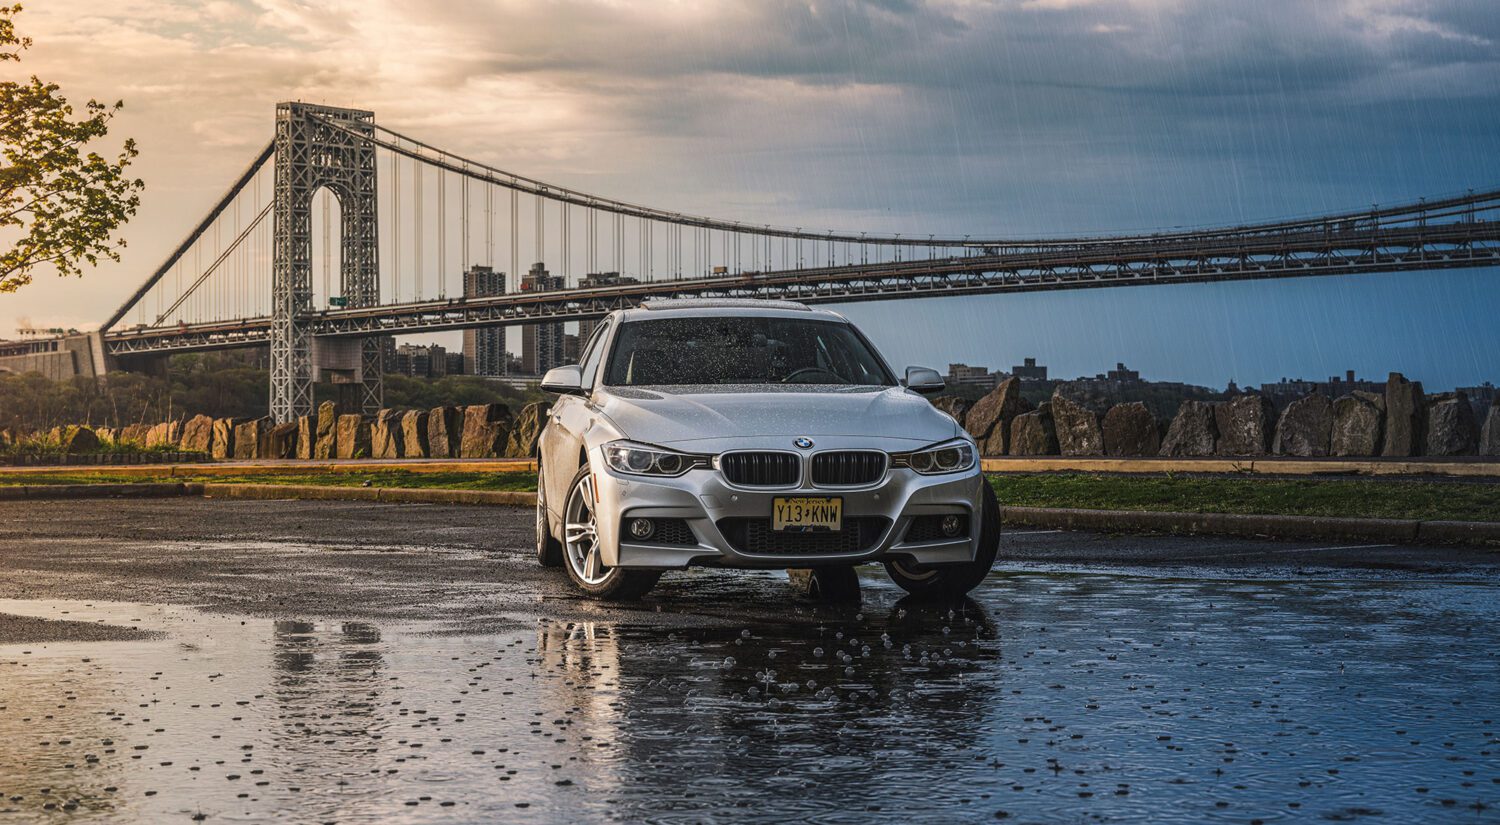
Check the surface.
Cars were meant to be seen out and about in an environment, so seeing them in this setting can make them look sterile. A way to help this is to look at the surface the car is sitting on. Carpet? Avoid it. But many displays now feature custom flooring, like the M3 example above. A floor reflection can go a long way to making the car stand out from its surroundings.
Let’s make an image.
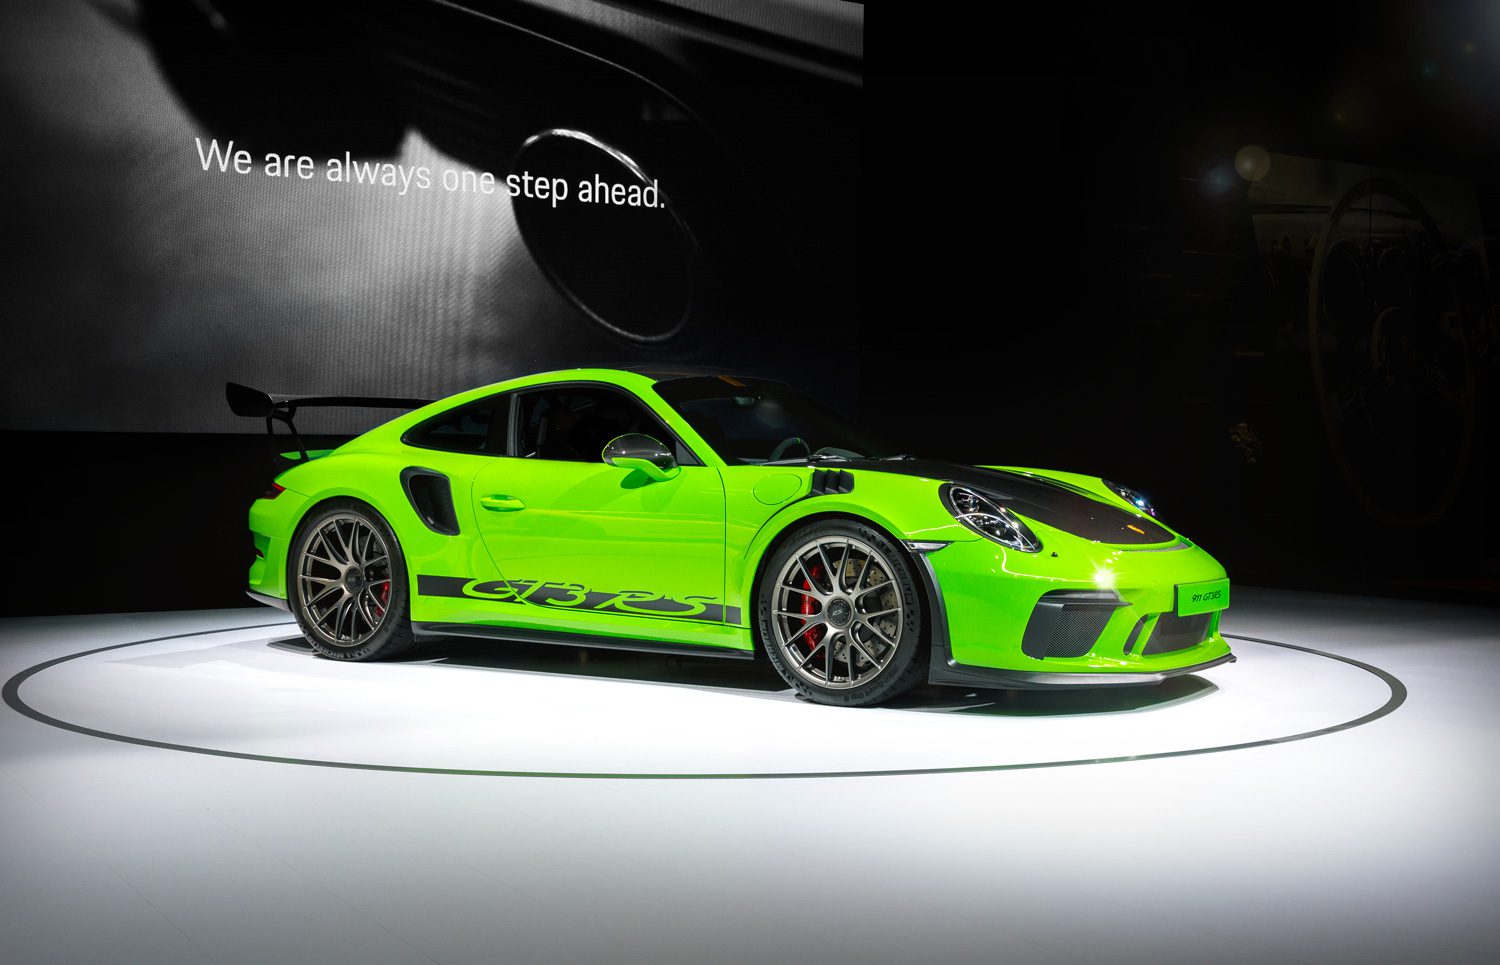
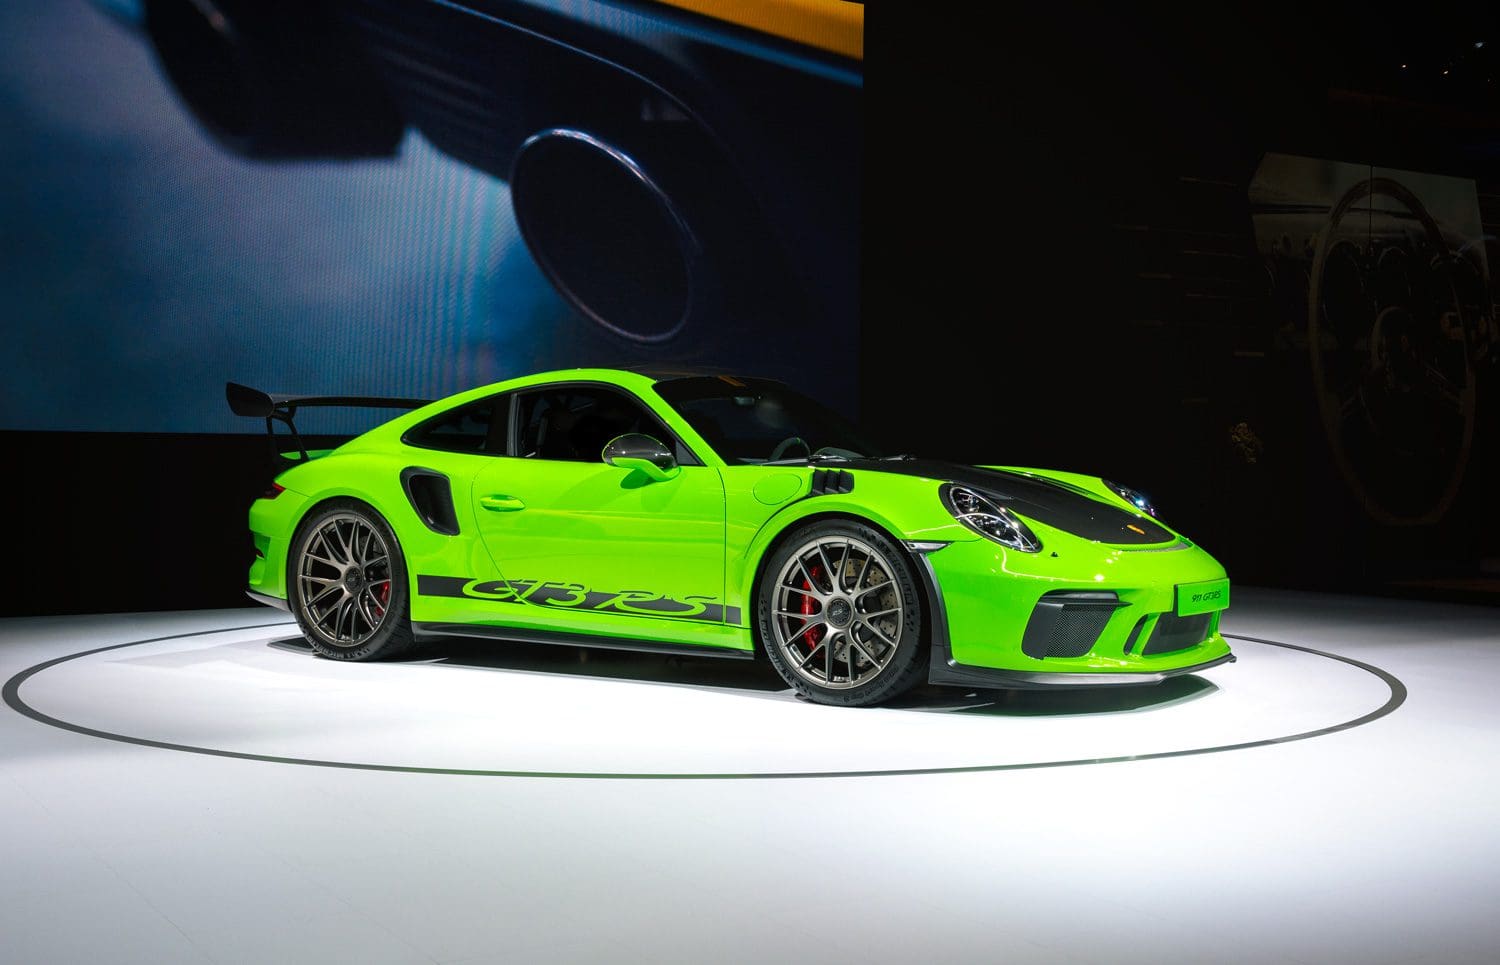
We’ll use a 911 GT3 image I took from 2018.
- Camera settings:
- Exposure: 1/25
- ISO: 250
- F/Stop: 5.6
- Focal length: 27mm (crop frame)
- White balance: auto
You’ll notice the screen behind the 911 is different, and there is someone in the car – we’ll edit both of these in post, but for now, getting the angle of the car correct was the most important part. Turn your polarizer to filter out the most reflection possible, since we’ll only get one shot to use (I like to focus on the door itself to avoid any big reflections). Porsche had a cool video playing behind the car, and I took another shot of that when the slogan “We are always one step ahead” came up – we’ll add it as a layer in our final composite.
Post-production
Starting with the base image, open it in Camera RAW and adjust the following:
- Temperature: +8
- Exposure: +15
- Contrast: -30
- Shadows: -13
- Whites: +46
- Blacks: +40
- Clarity: +25
- Vibrance: +15
- Saturation: +15
Open as a smart object by holding the SHIFT key. Select your airbrush tool, select the color black, and add a layer above your smart object, then paint out those little dots in the corner that can be distracting. Next, on the same layer, paint over the head of the man in the car – leaving the window black will simply make it look tinted.
Tie it together
Next, we’ll work on the video. B]ring in the second shot we took of the slogan on the screen, and make the layer “lighten” mode. You can erase most of the image, we just need the copy. Transform it by skewing it a bit to make sure it fits on the screen – without a tripod, the images wont match up exactly.
Next, we’ll desaturate the video with an adjustment layer of black and white, and then another of Brightness / Contrast. Set the contrast to +100, and the brightness to +45. Finally, add a new layer, and using a soft large airbrush set to 1000px, paint in the edges with black. Set the opacity to 35%. This will help draw your eye into the car, and get rid of some of the clutter around the edges.
All the things we’ve done here have helped to set the scene and make the image more of a poster shot. You could also take it further with adding lens flairs and a fog effect.
Don’t be disappointed if you only get a few good shots overall – the crowd and lighting make it a challenge. Most importantly, go with friends and have fun!
Feel free to email me at mike@machineswithsouls.com with any questions.
Follow along on Instagram @machineswithsouls

2 thoughts on “How to shoot a major auto show”
Comments are closed.