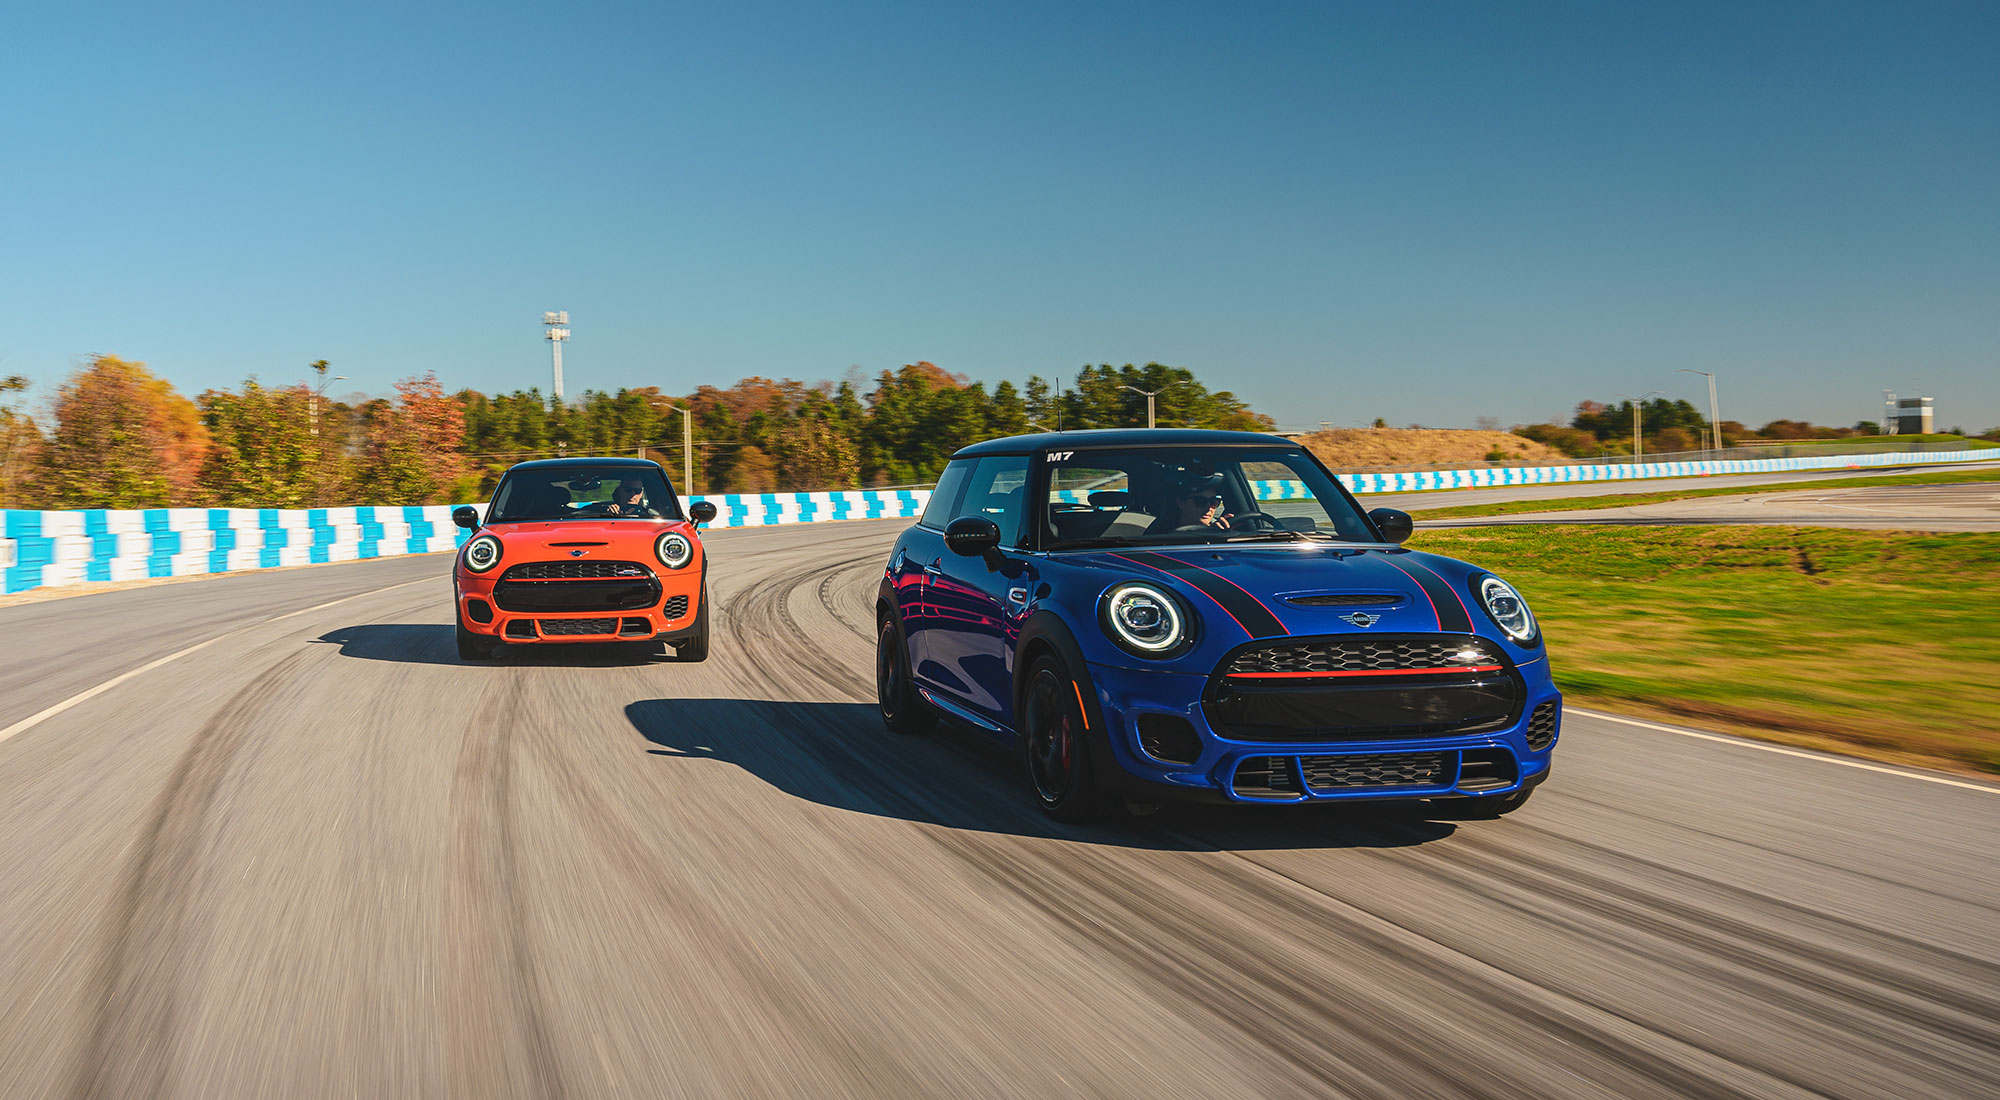

As I write this, warm North East weather is fast approaching, and that means…car shows! When it comes to shooting at a car show, the experience can be frustrating. Crowds are around all the good cars, everything is coming and going, lighting can be troublesome if it’s during the day, and of course, you’re usually in a big giant parking lot. How scenic. Here, I’ll give you five tips for getting the most out of your car show experience.
WHAT YOU’LL NEED
- A digital camera with lens.
- A polarizer for your lens to reduce reflections.
- Comfortable footwear, you’ll be walking a lot.
- A spare camera battery, since you’ll likely leave your camera bag behind.
There won’t be a need for a tripod or any lighting equipment here – it’s best to be as light and flexible as possible.
1- Arrive early
Not just early, but EARLY. Before anyone else. Scout the location like you would any other. What angles are good, and what spots will help you avoid it looking like you shot a car in a parking lot? Figure this out before the crowds arrive so you can get to a good spot quickly.
You’ll also be able to capture some cars as they roll into the show, since you’ve arrived before them.
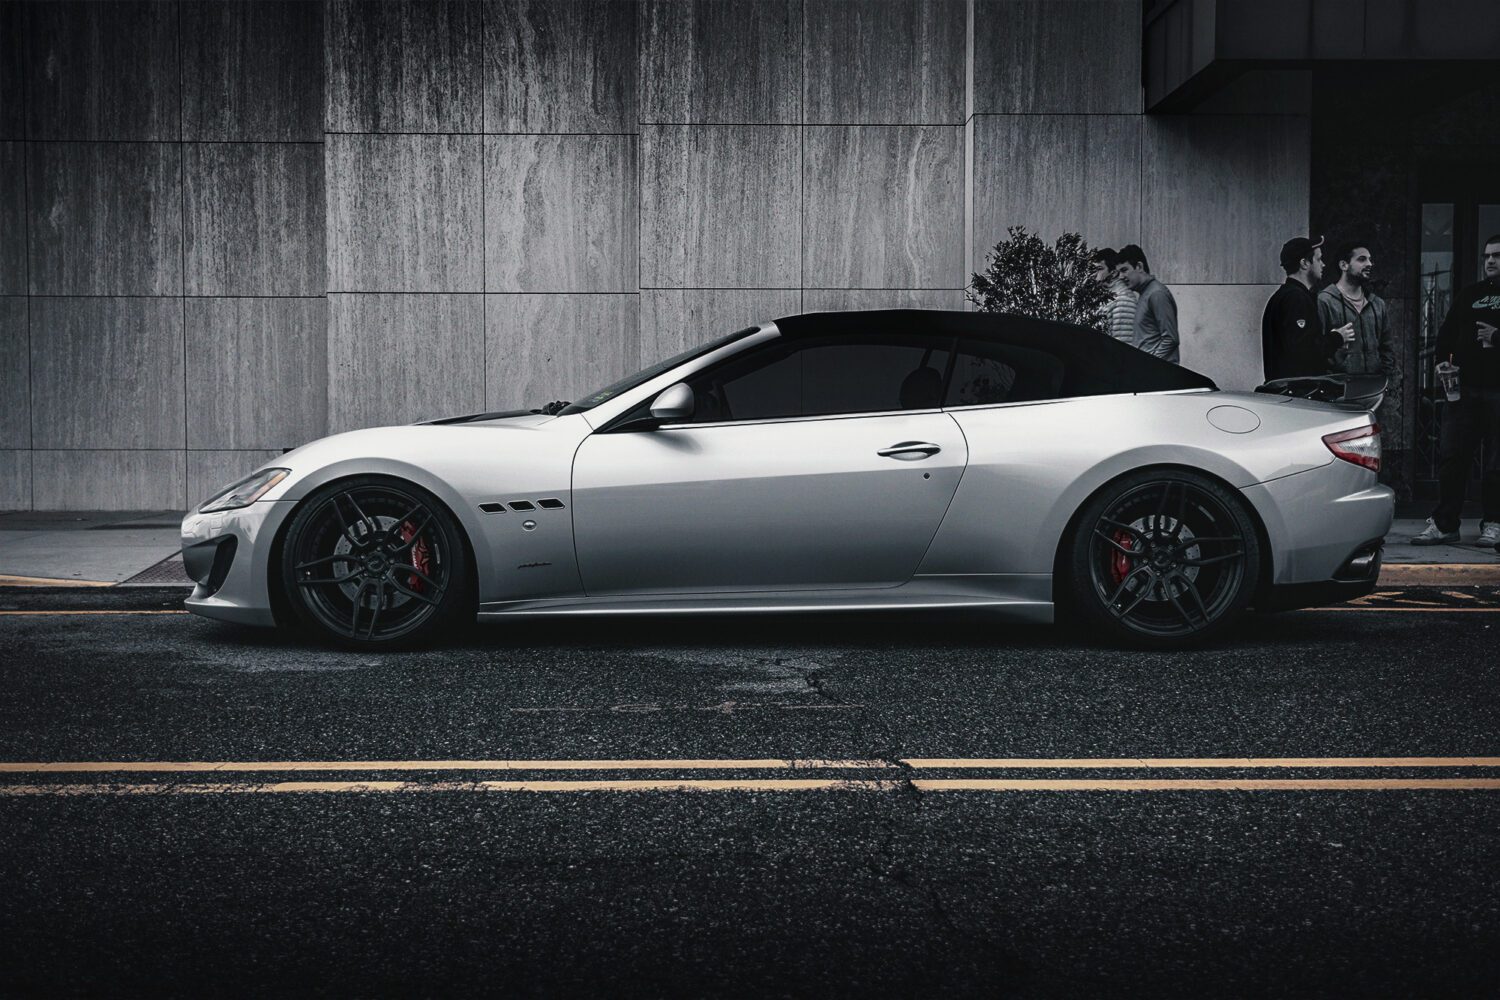
2- Patience takes practice
When doing an actual, planned photo shoot, I’ll almost always use a tripod and leave the camera on it, but you can’t rely on that here. Sometimes you only have a moment or two of open space to get the car in frame without any people, and that means picking your spot and waiting until you can shoot. If you have a good angle of the car, and you’re happy with framing, then just wait – it’ll clear out.
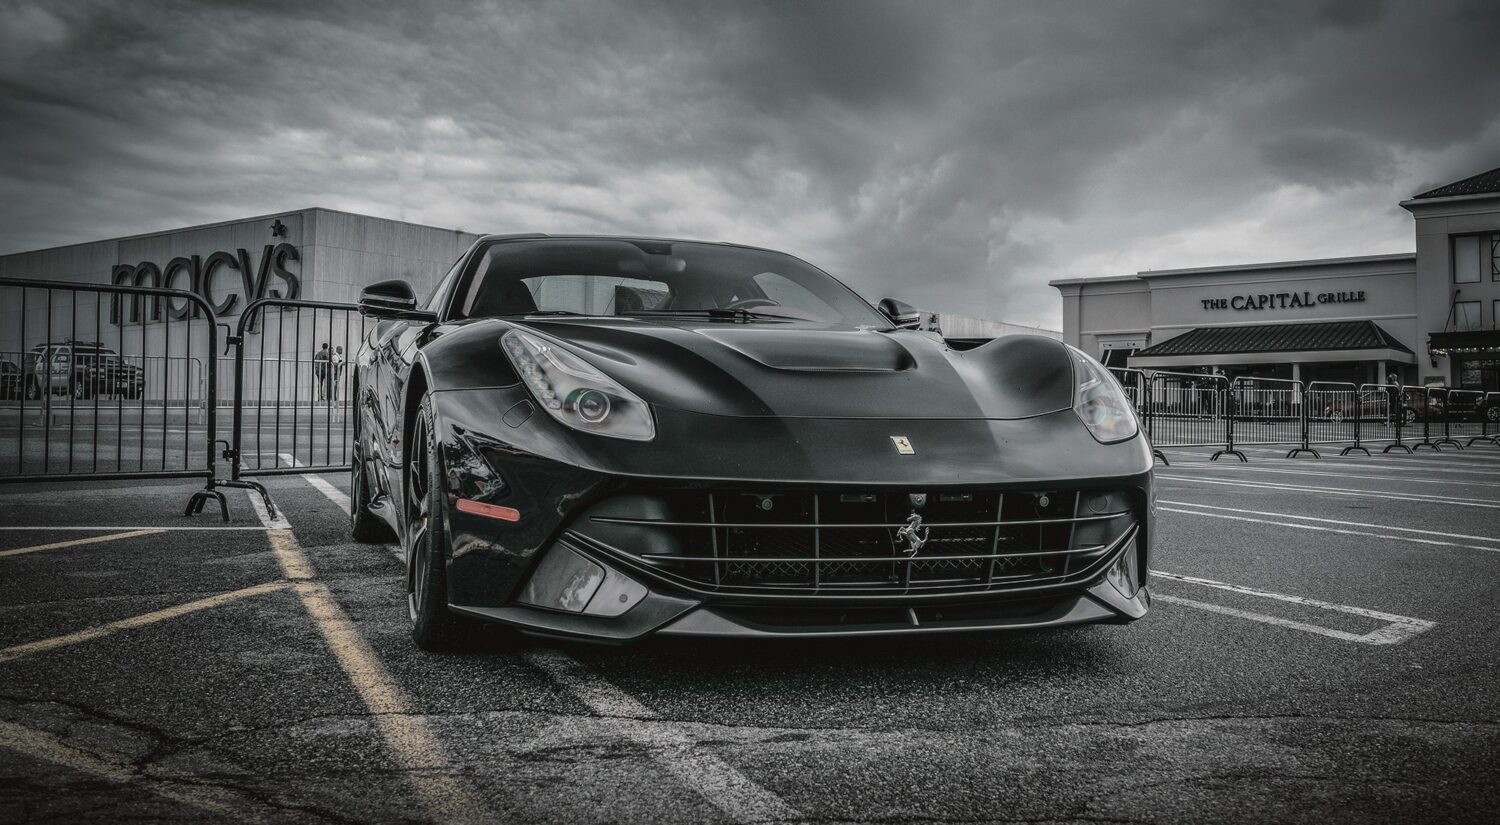
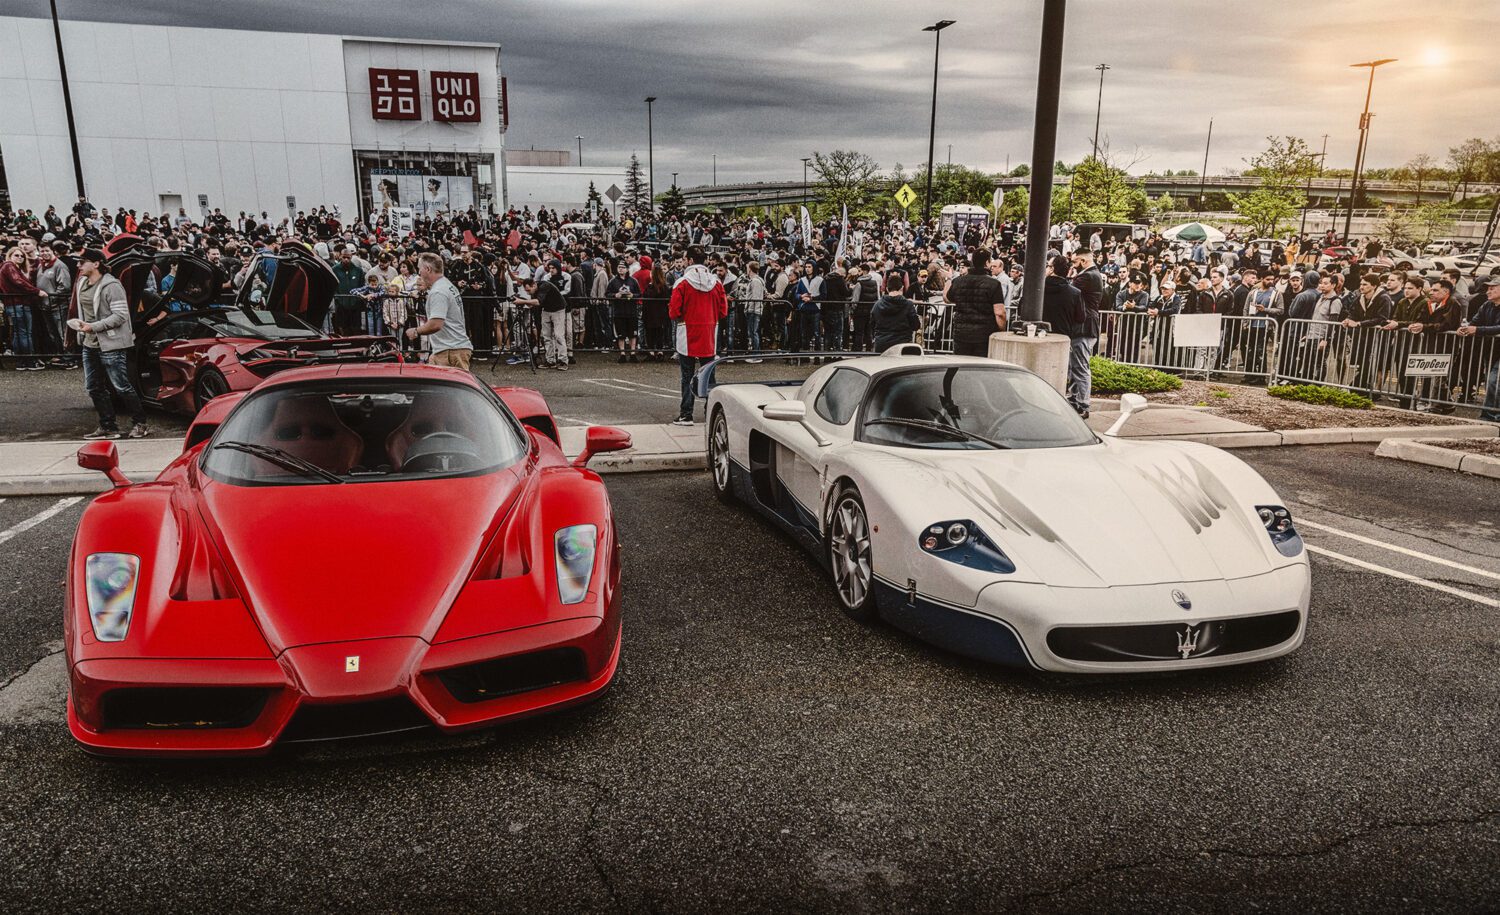
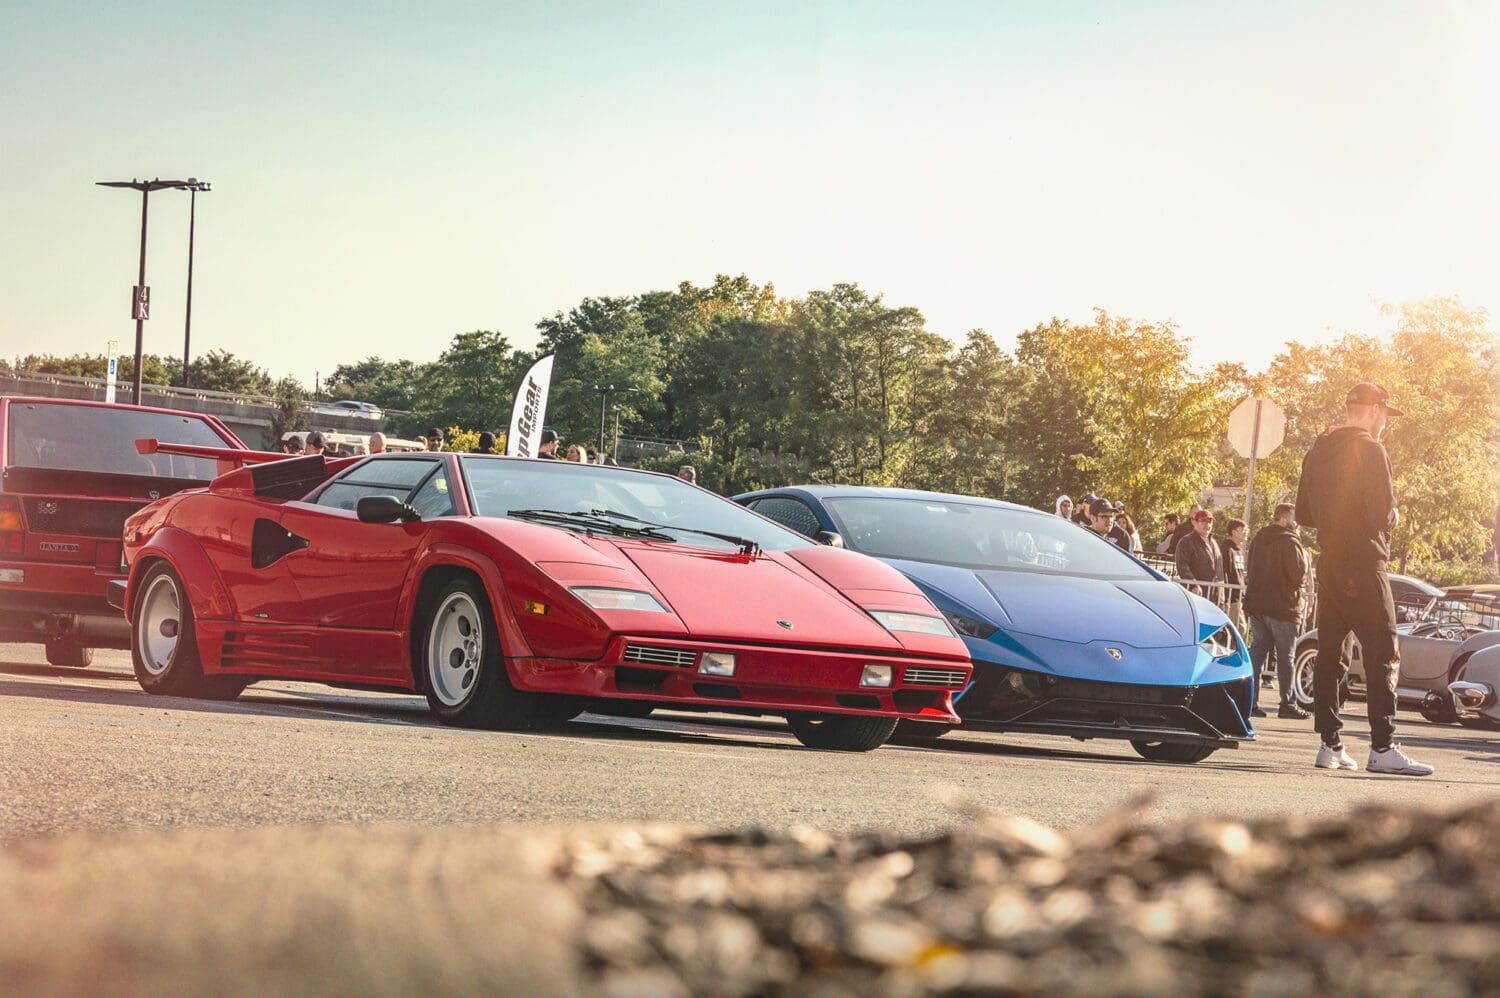
3- Embrace people
Since you are at a car show, people are a part of the story, and they can help you tell yours. People walking by, staring, or hanging out by the car can give it a lifestyle feel, so try some shots with people in them.
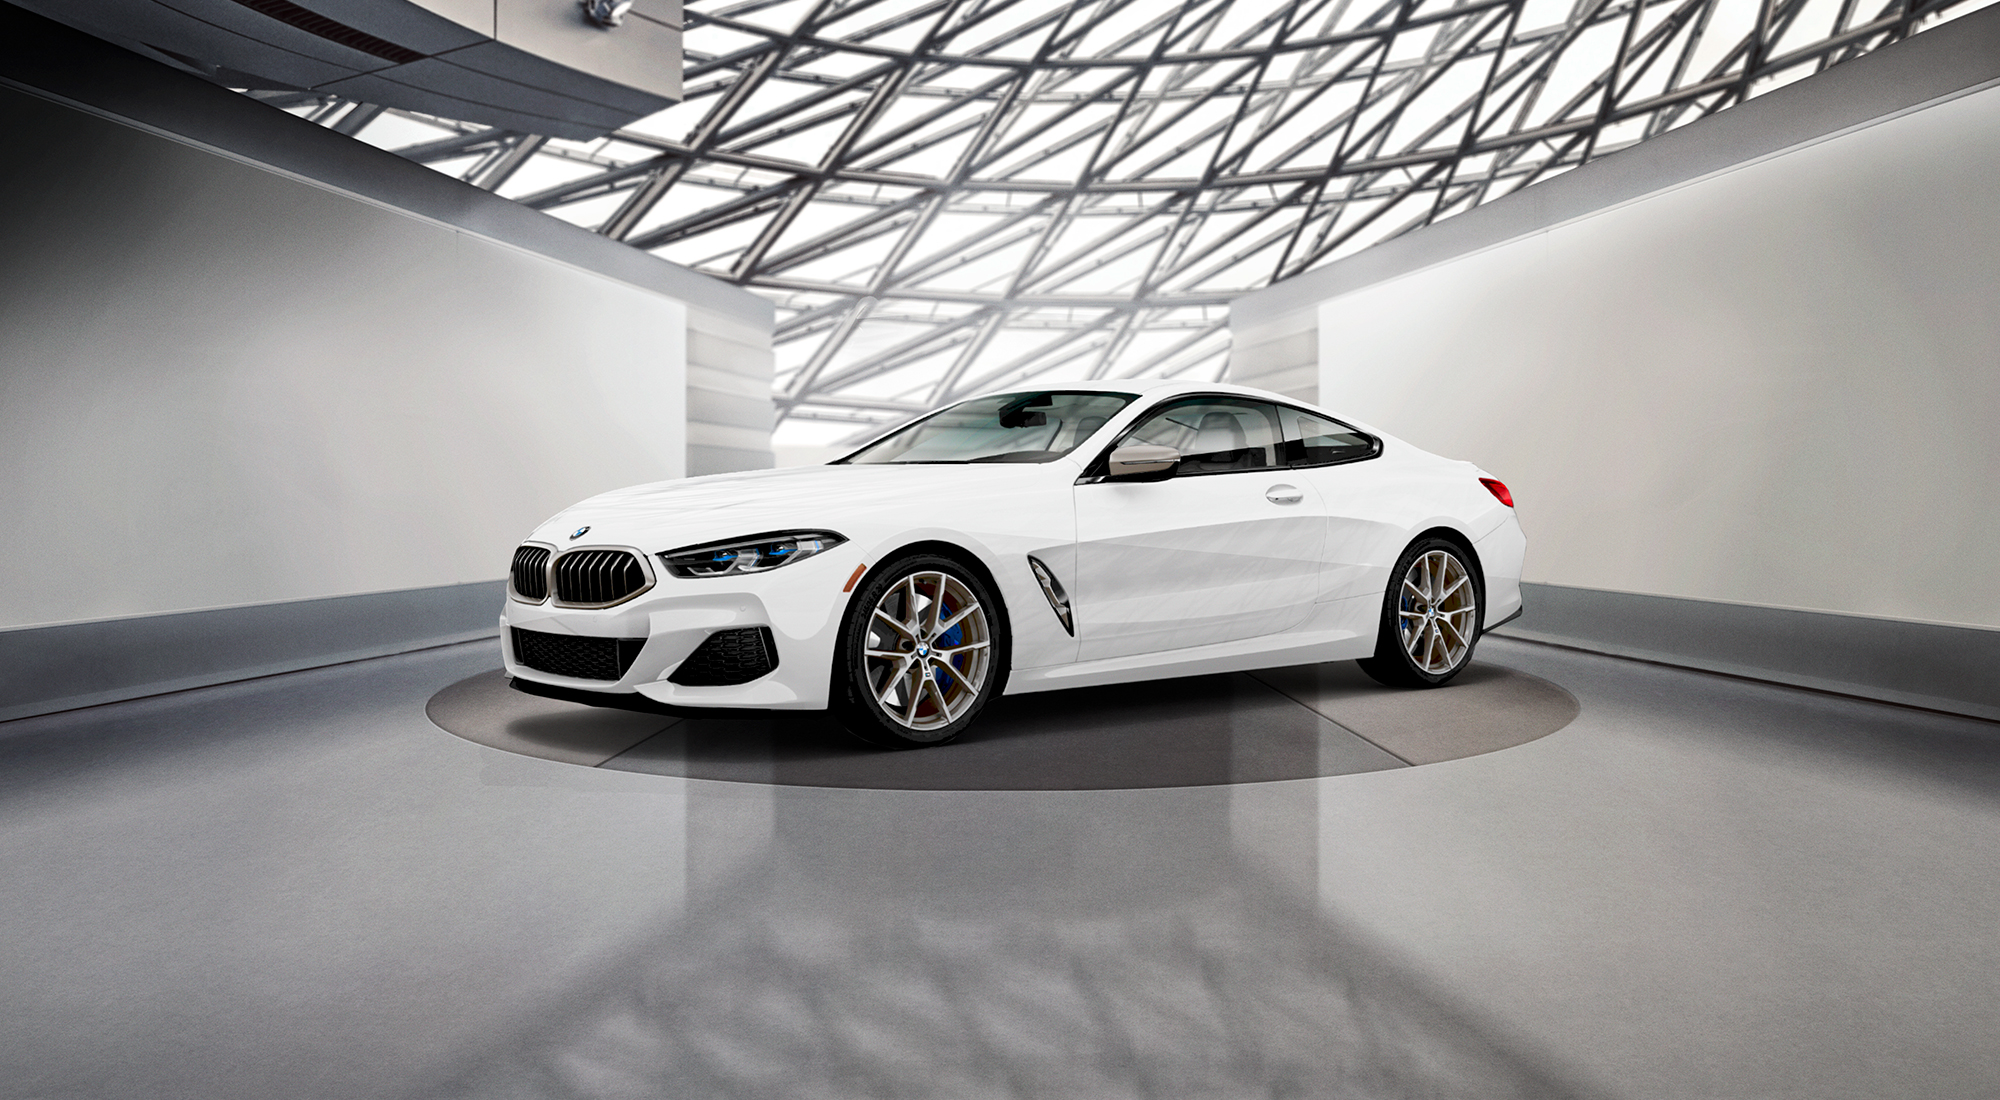
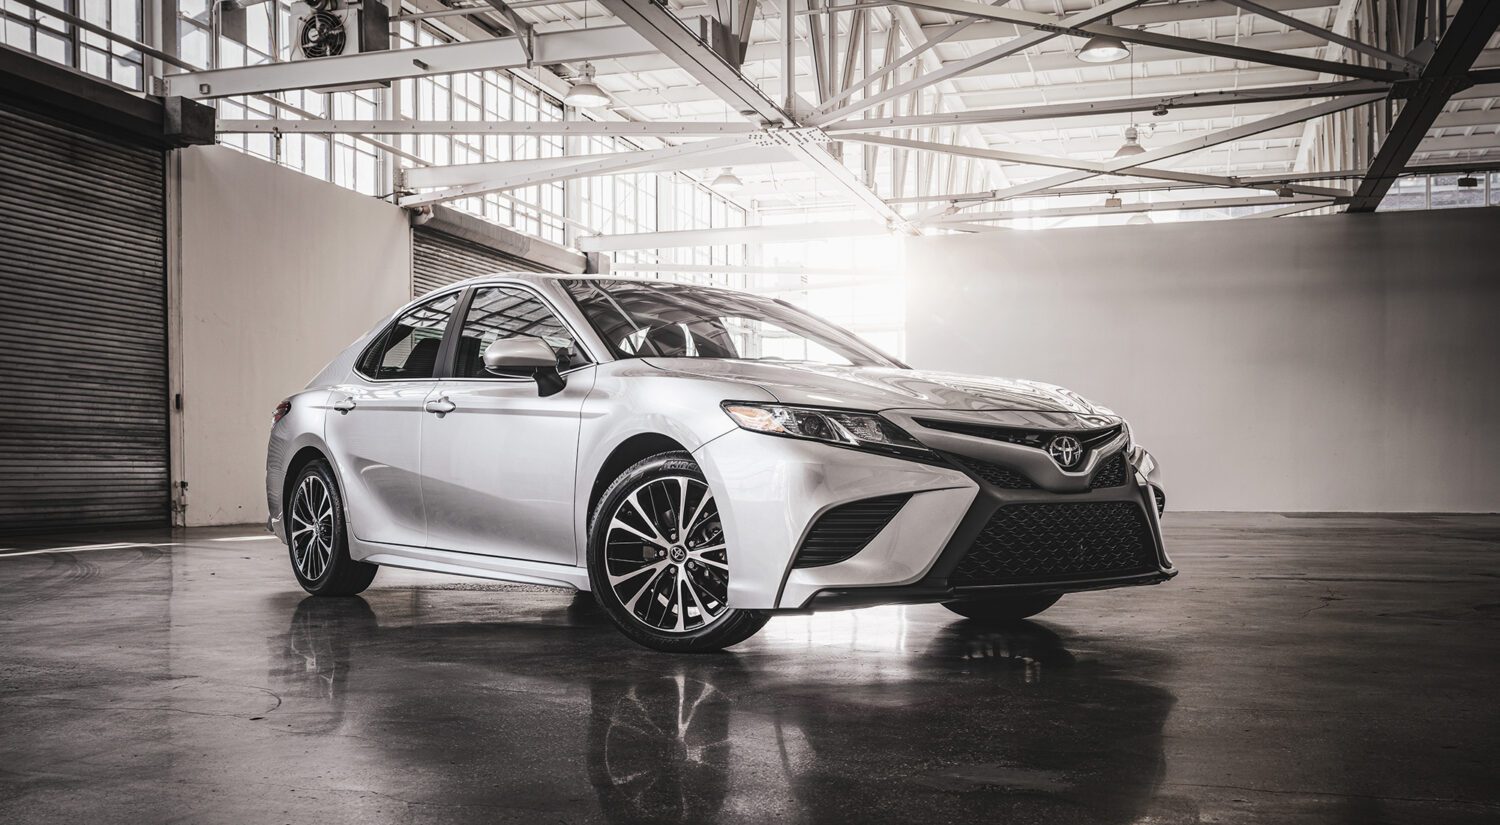
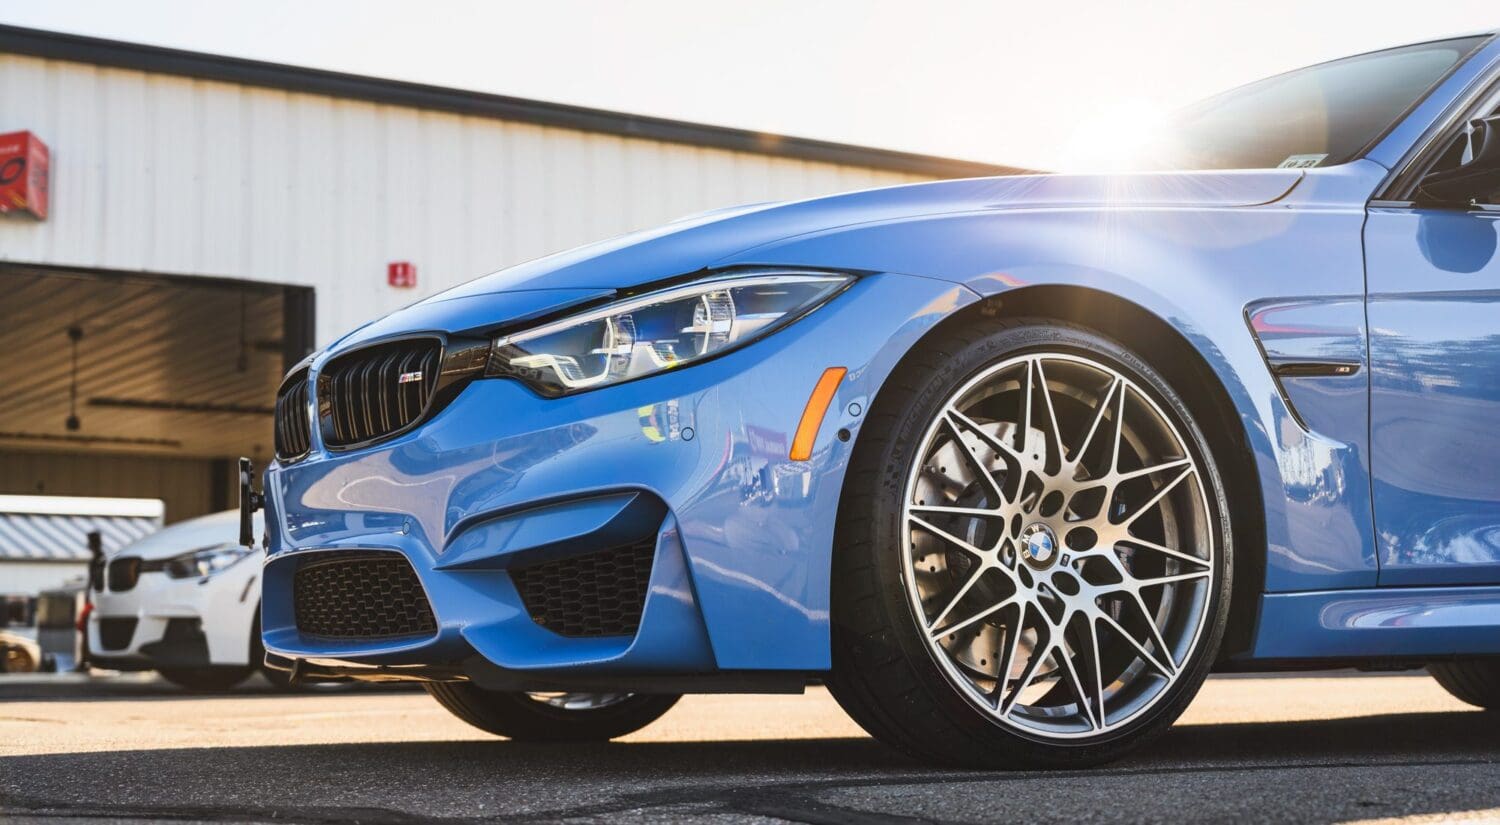
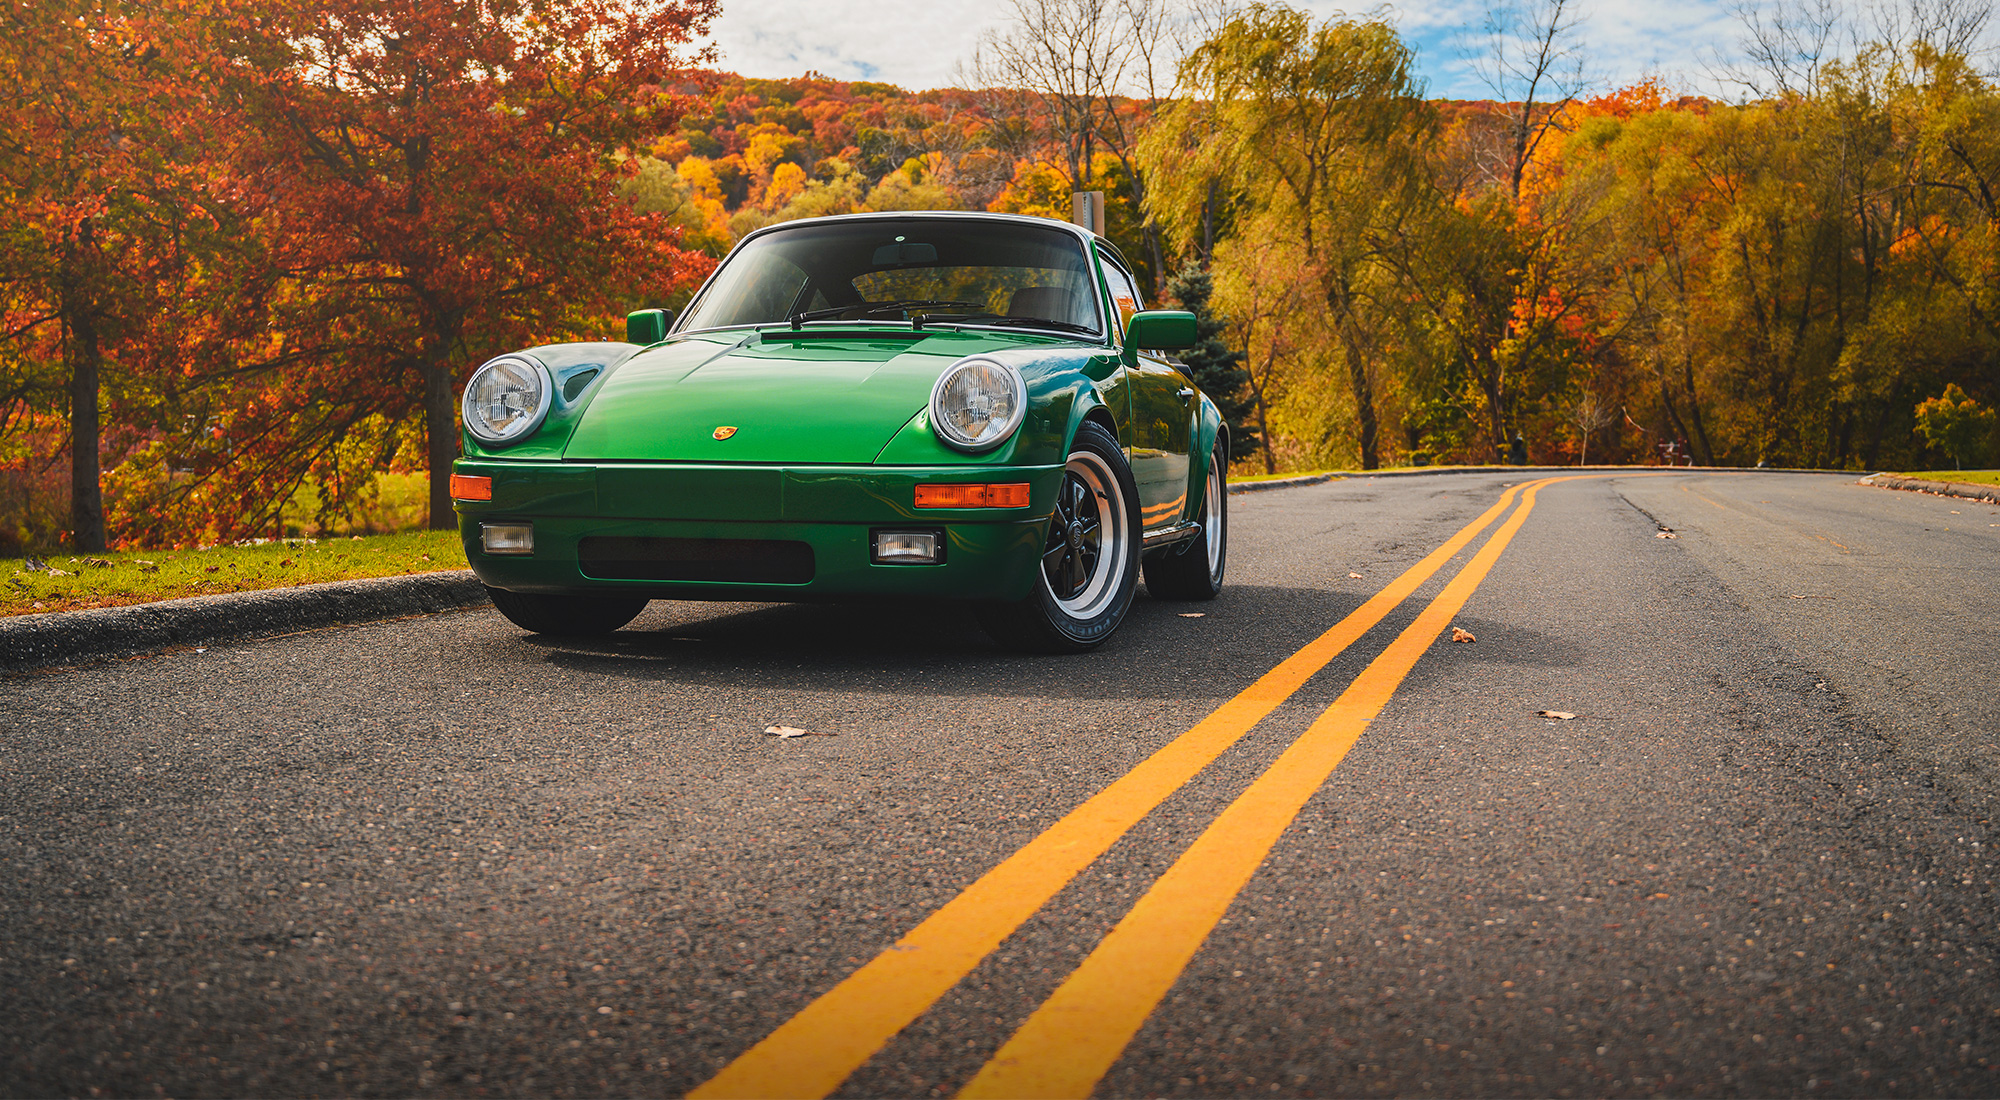
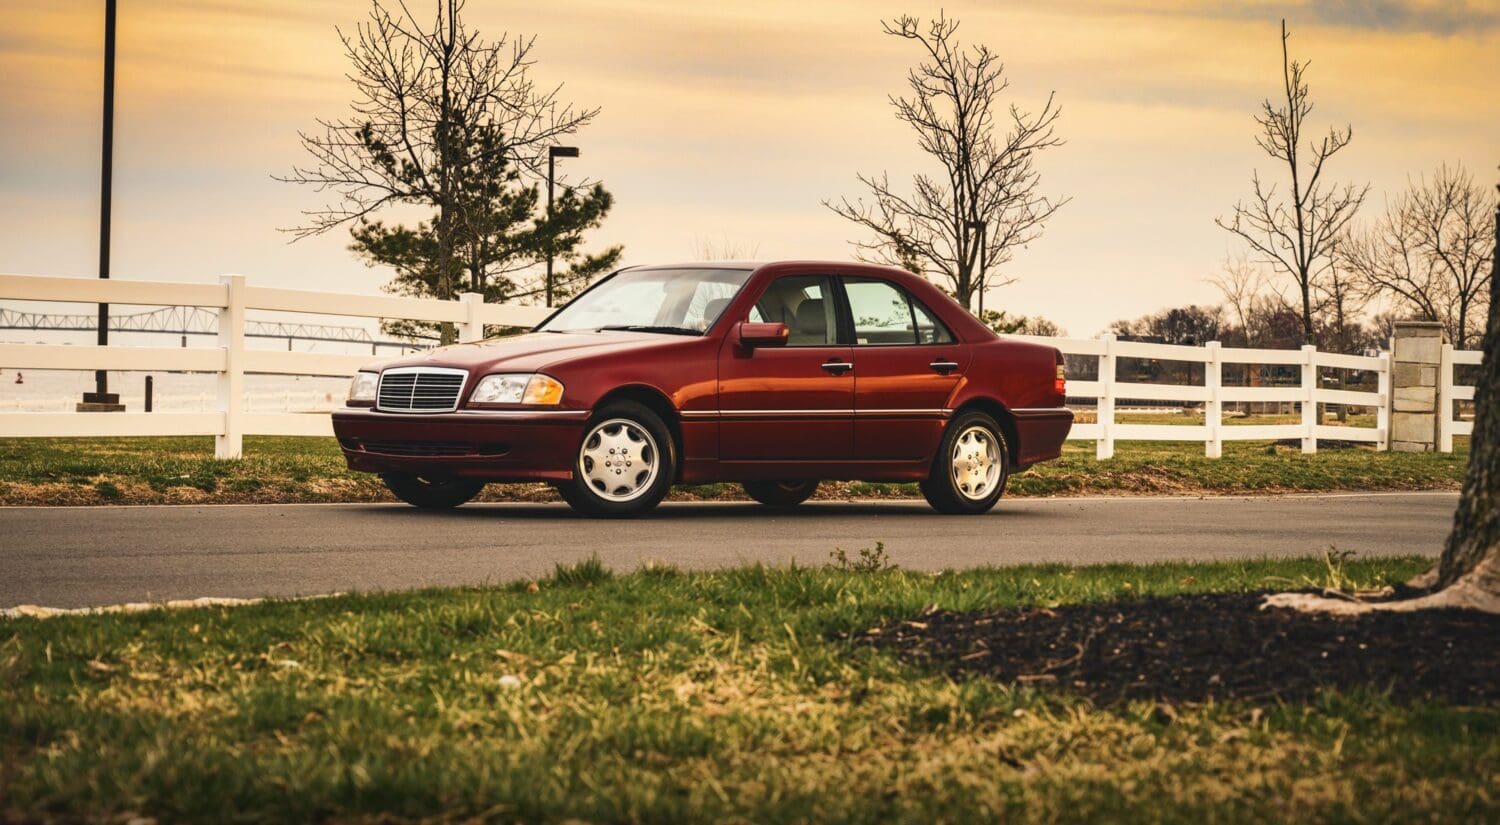
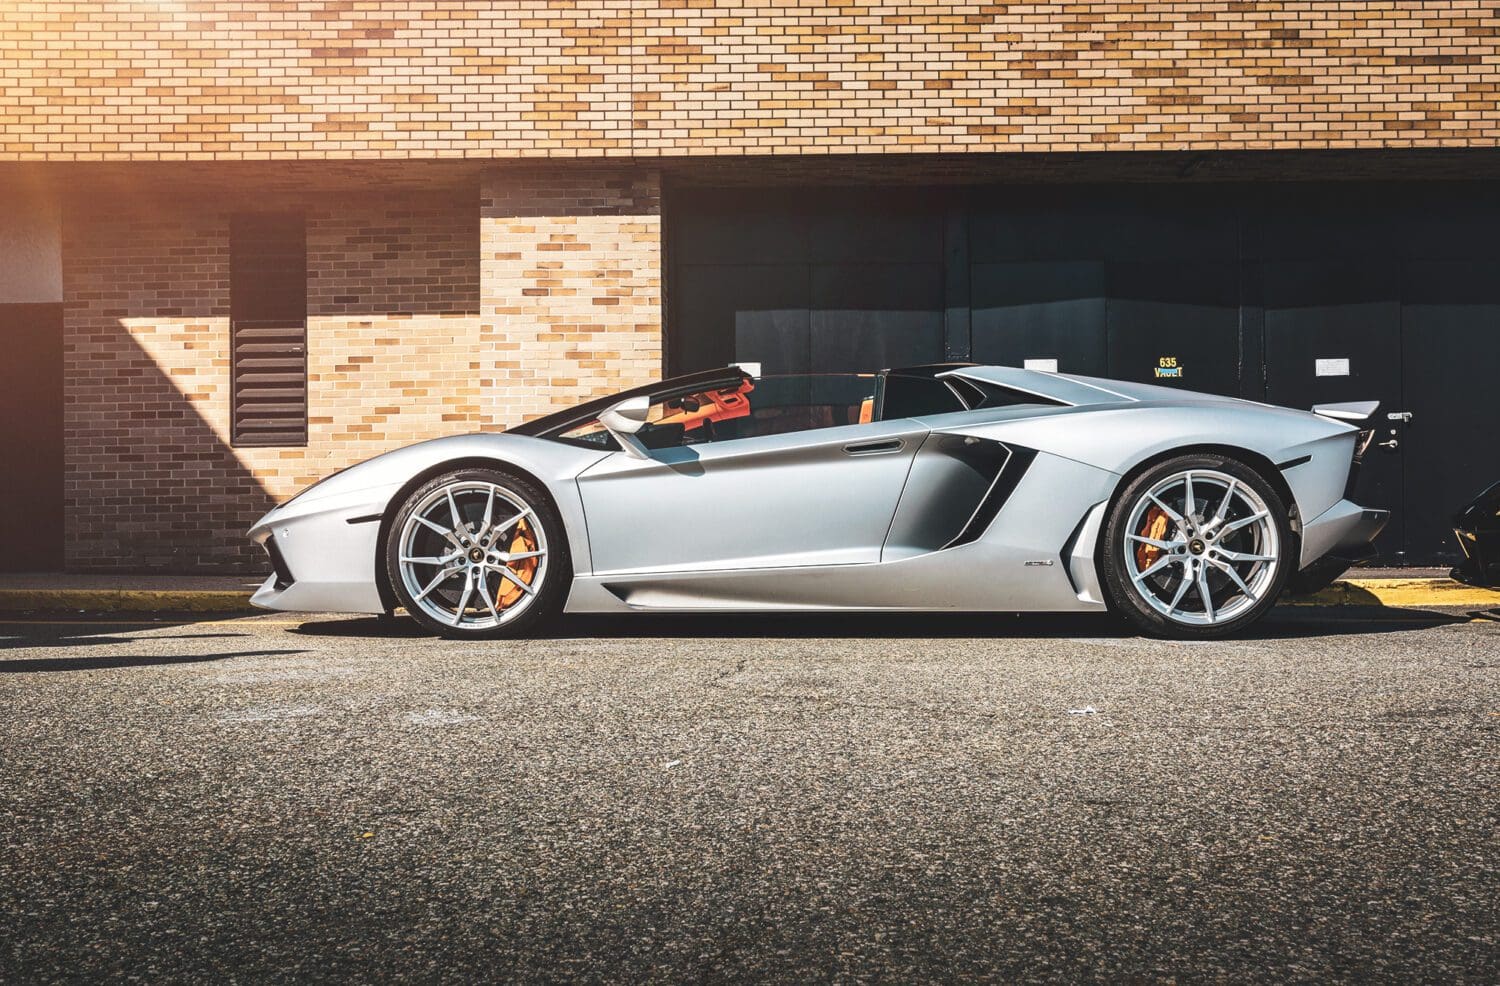
4- Get Low. Or High
Think about how you always view a car in daily life – at eye level. Everyone does, which means everyone is used to seeing a car from that vantage point. Try lying on the ground, looking up at the car, to give it a more heroic stance. Or, if a hill or other structure is nearby, climb up and angle the camera down for a higher perspective. This will give everyone a new perspective of the car, once which they don’t normally see.
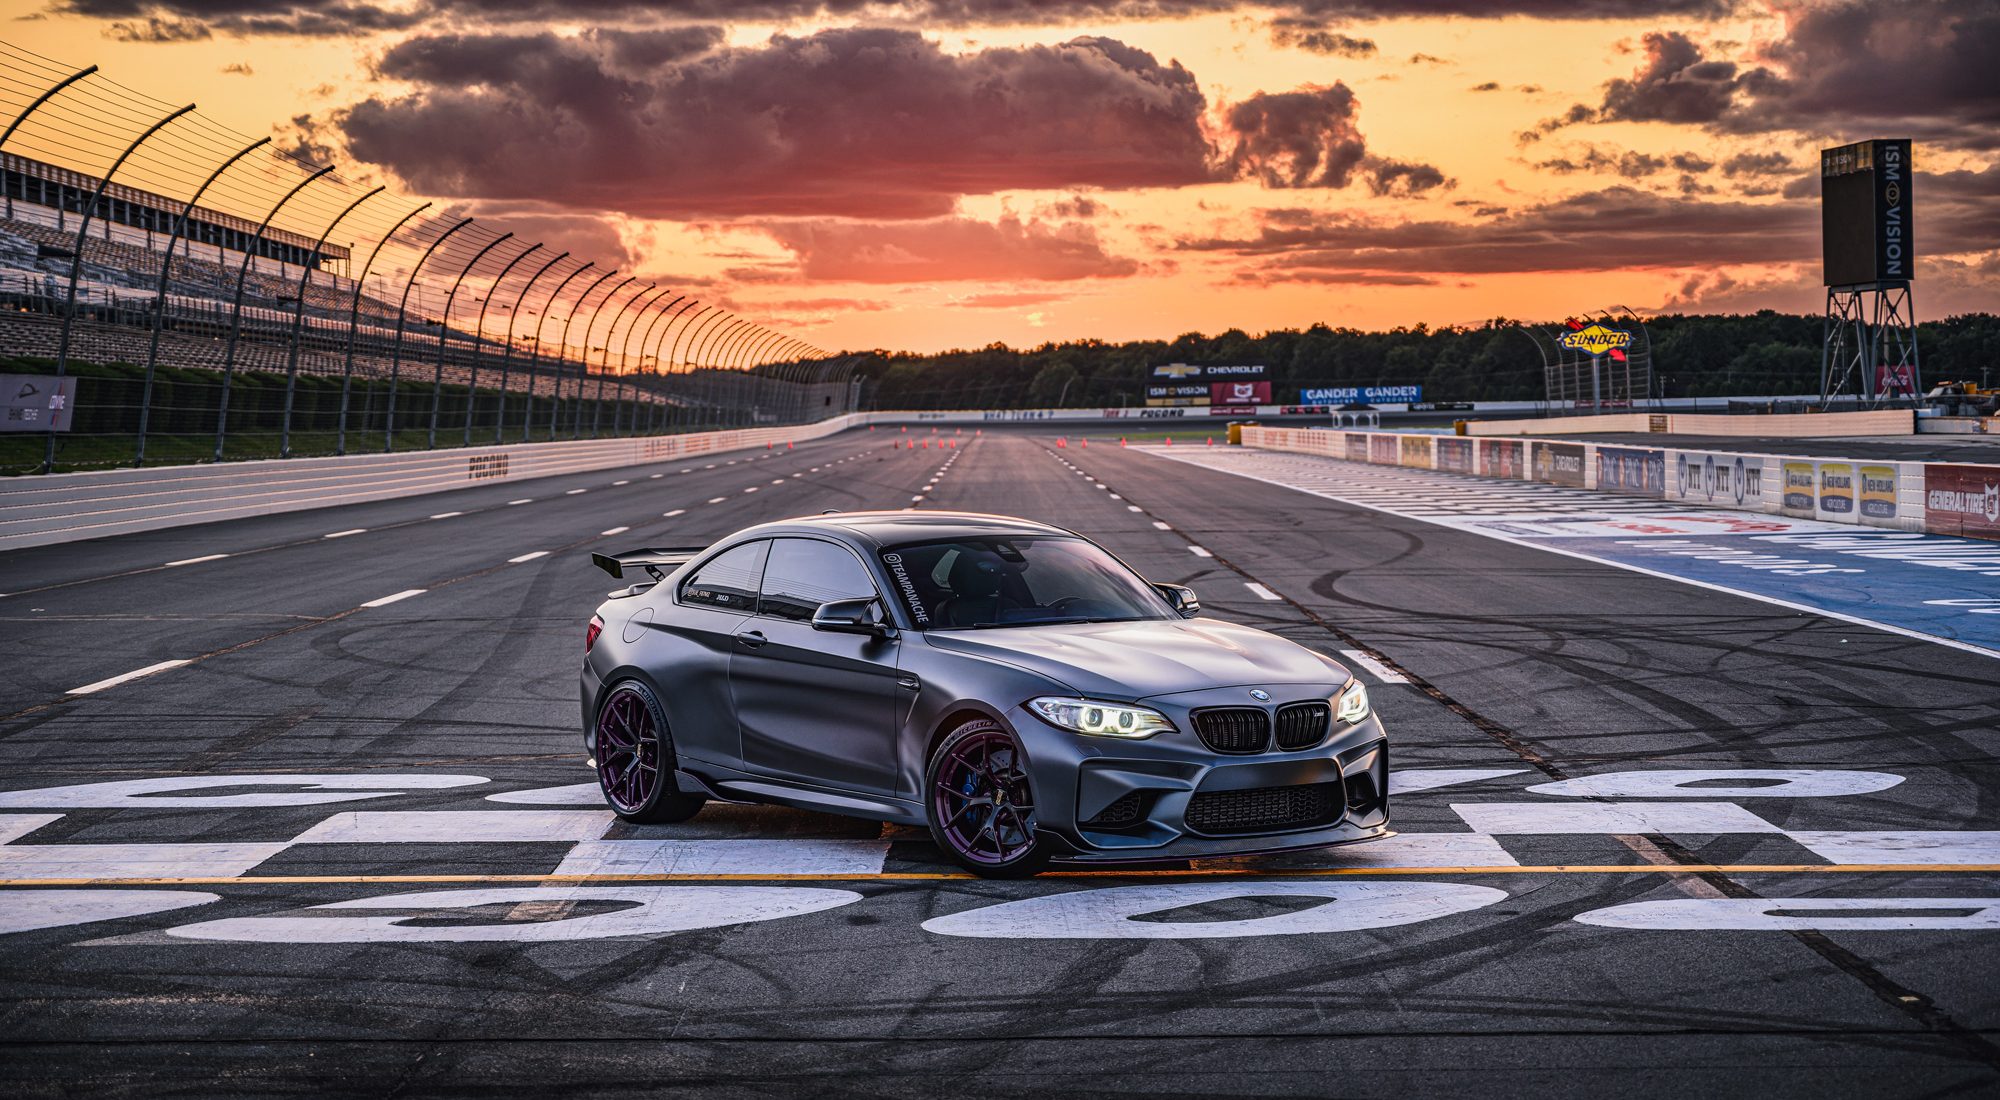
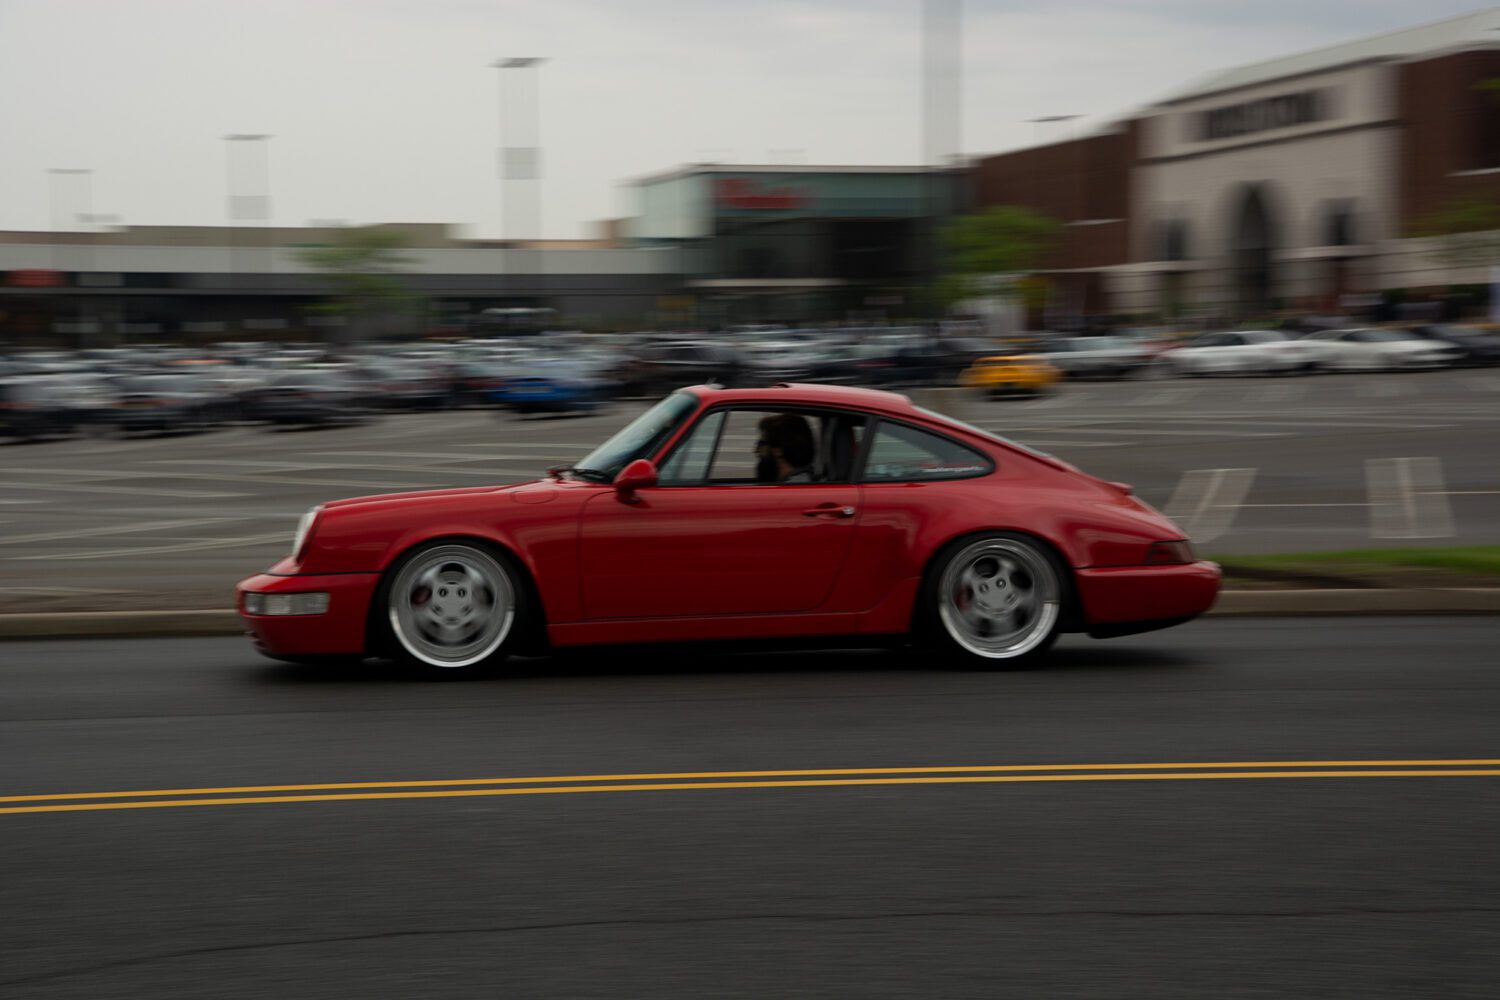
5- The perfect Roller
Cars exiting the show provide you with an excellent opportunity to get some drive-by shots. Try the following settings if conditions permit:
- F stop: F/7.1
- Exposure: 1/60
- ISO: 100.
If your lens has vibration reduction, make sure it’s engaged, and set the camera to fire a burst once you keep the trigger down. As the car approaches, crouch down to provide a stable base and give a good angle, and fire away. Keep the car in frame and turn to follow as it drives by.
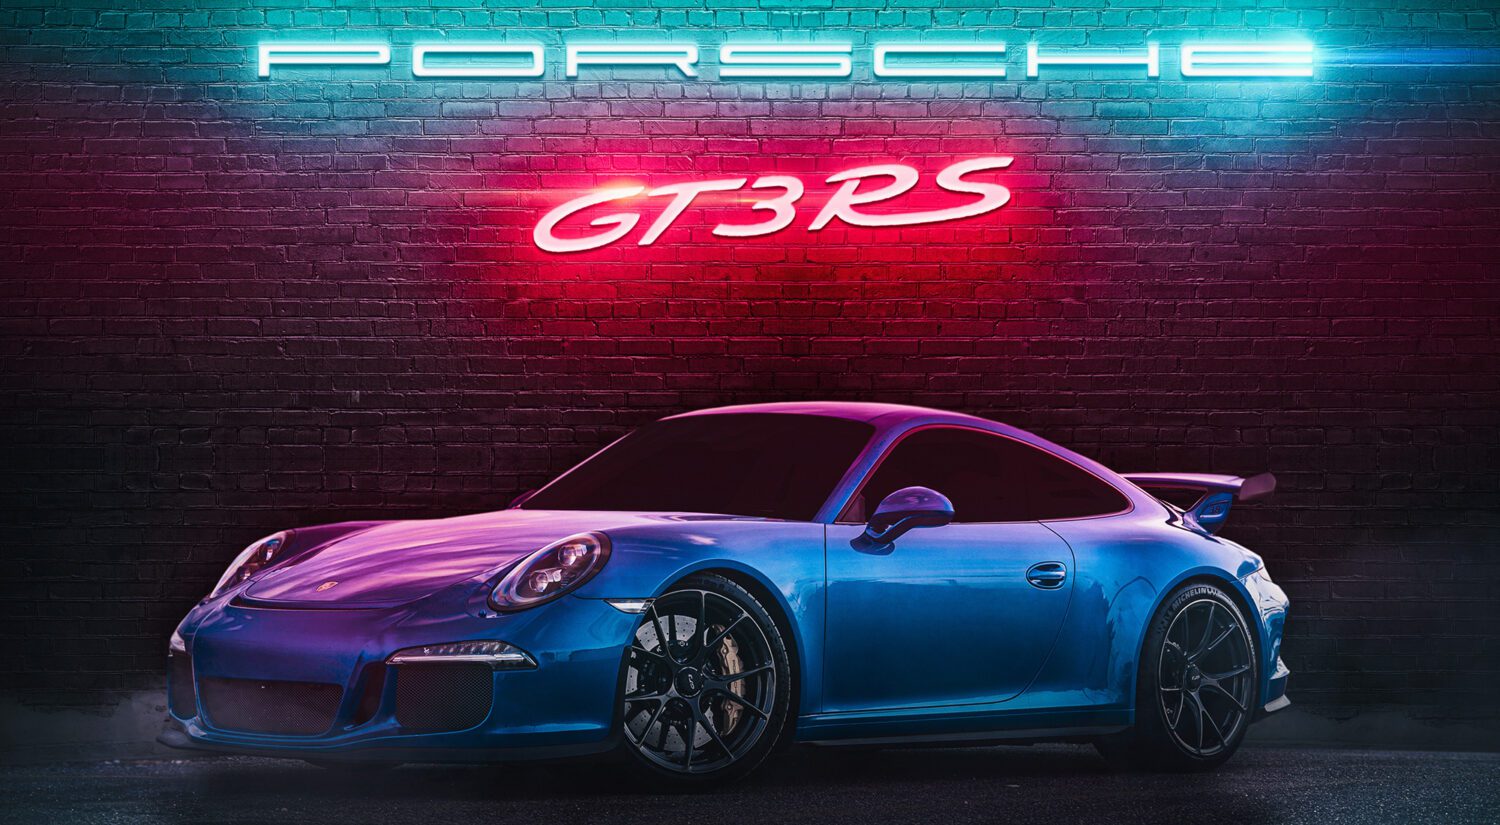
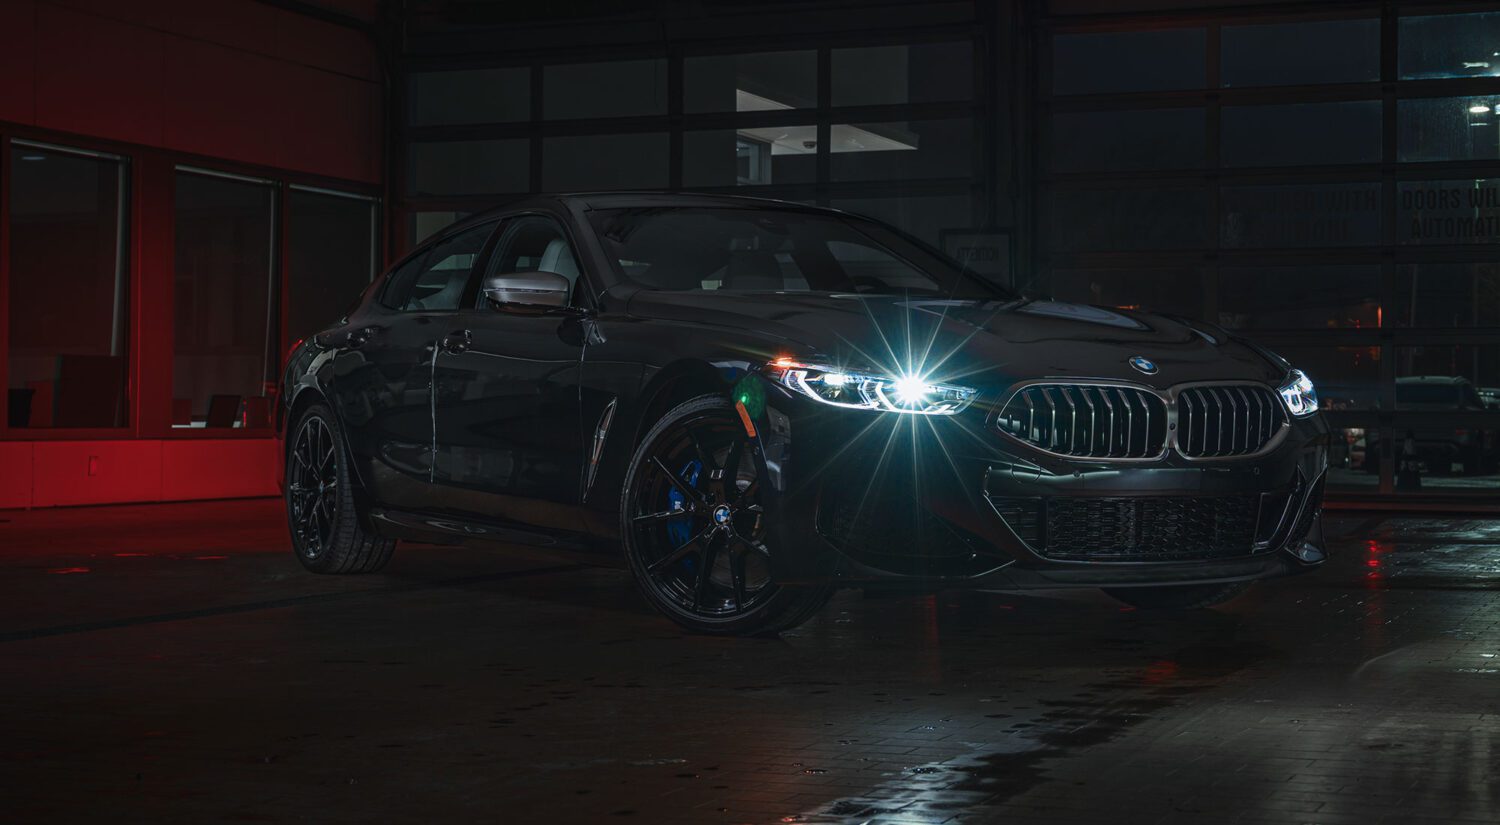
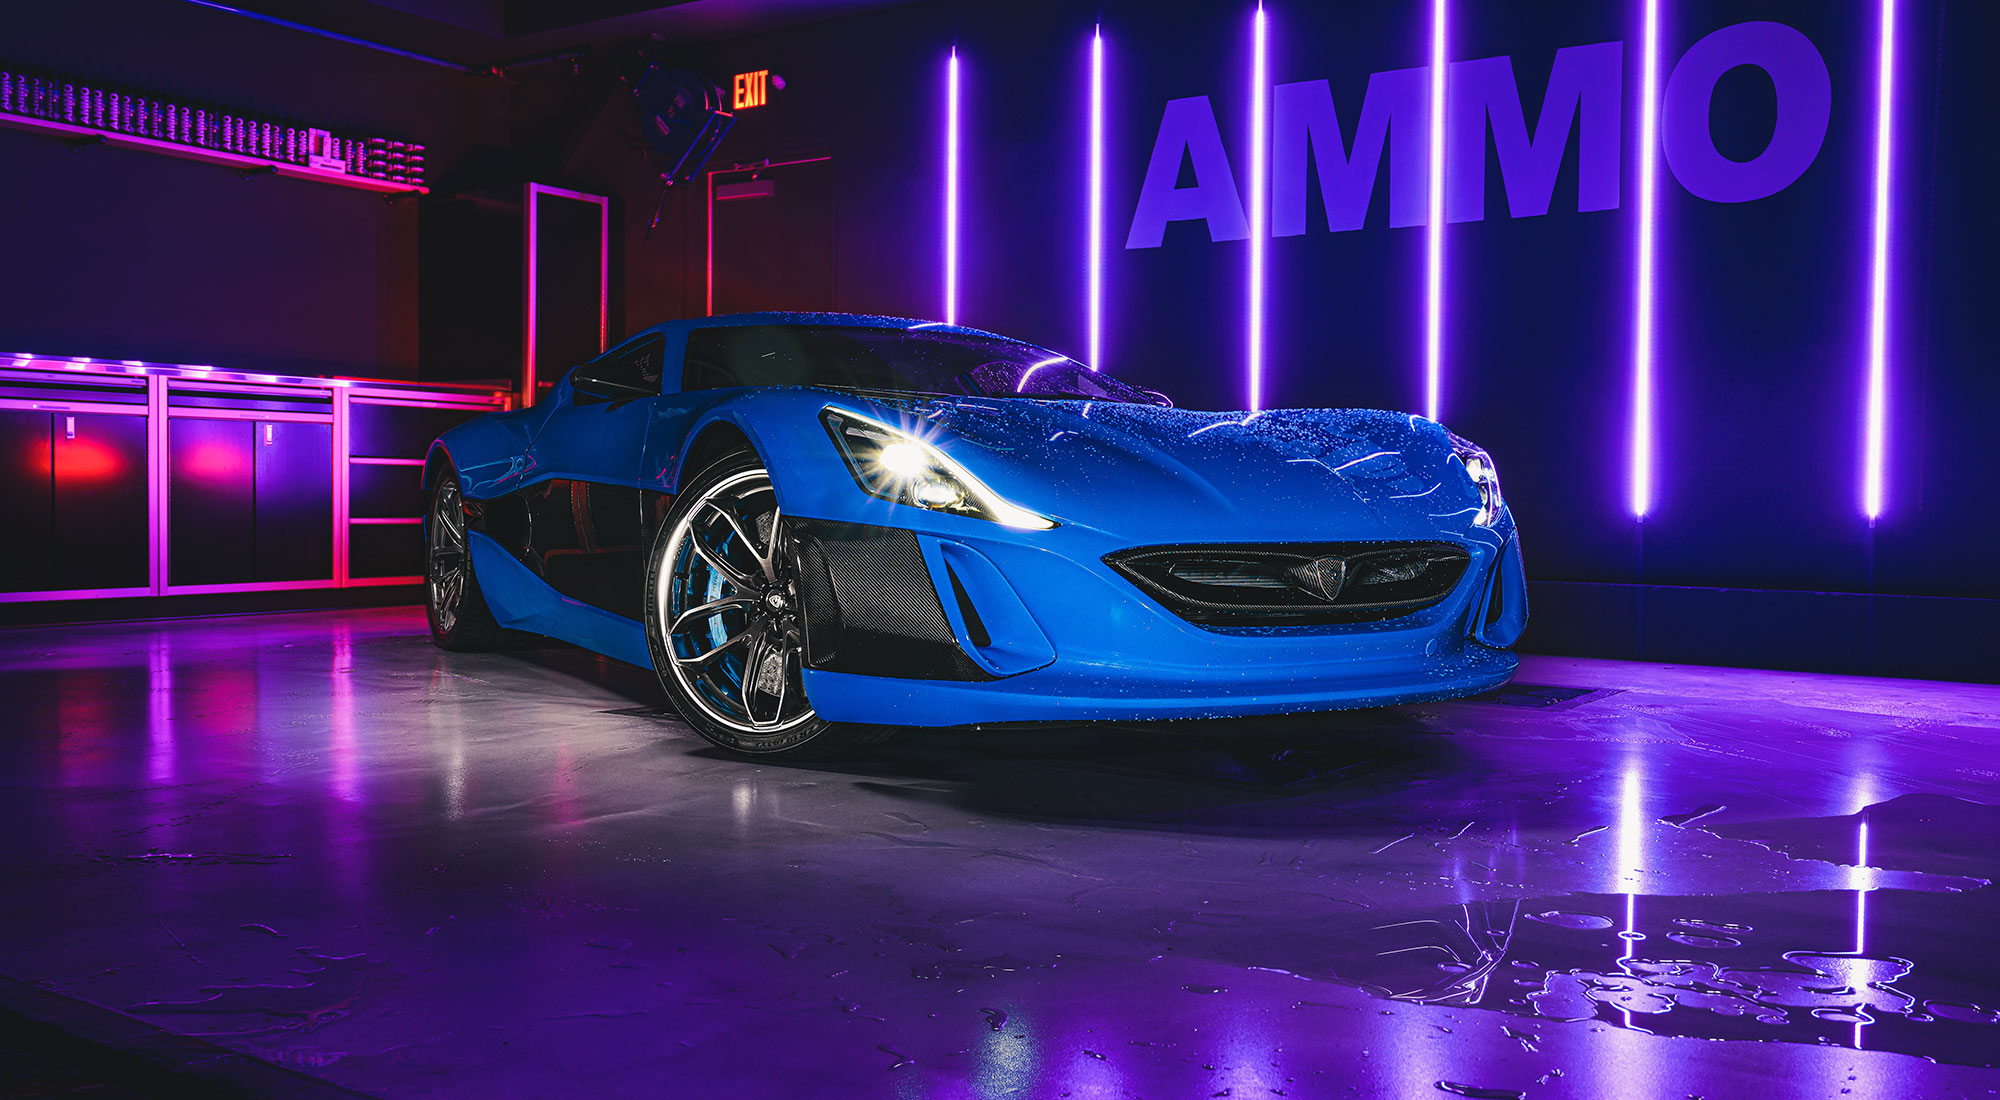
BONUS – Let’s add flair!
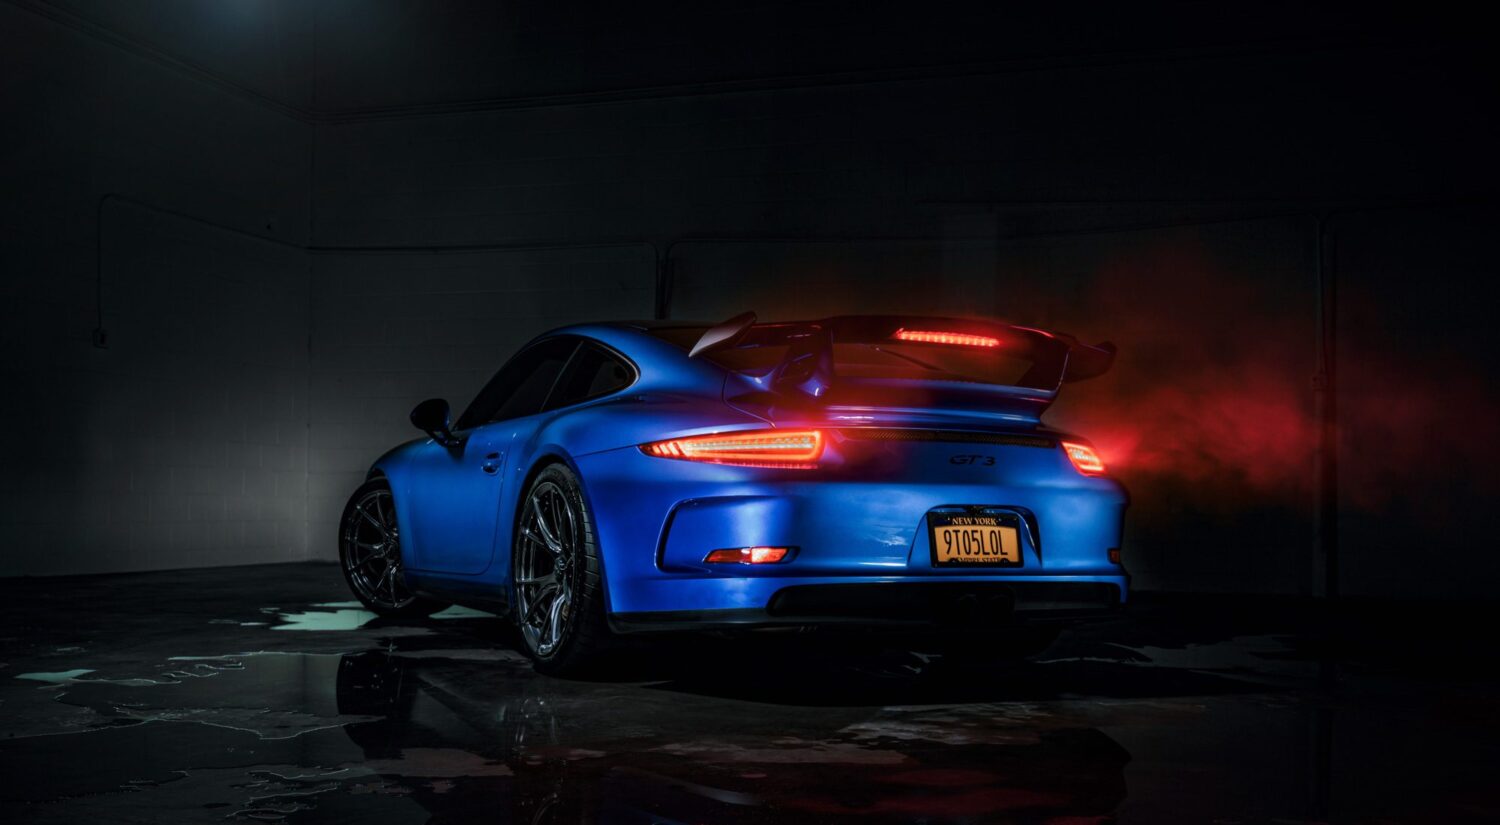
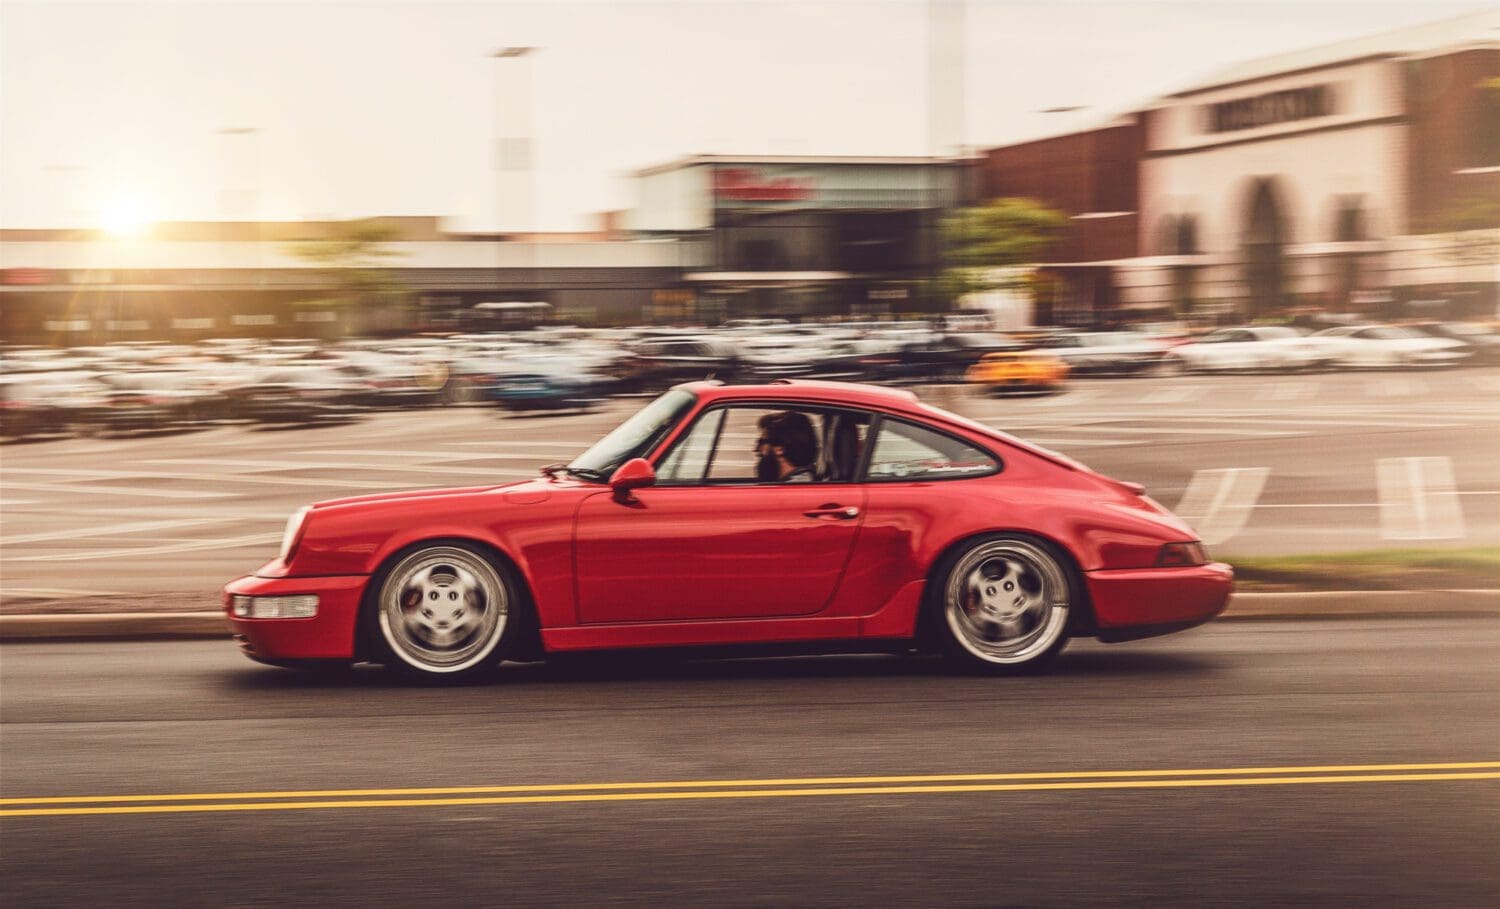
Like any base image, car show images can lack flair (both literally and figuratively) – in fact, they probably need more help than most to bring a sense of drama to them. The image of the 911 above looked dark and, well, depressing, considering we were looking at a bright red sports car. But warming the image up with LUT filters and a lens flair gave it that sense of drama it was sorely lacking. To achieve this look, I used 2 – one on the left for the sun itself, and another on the right on the edge of the frame.
Once you’ve got your photo edited how you like (see how I edits step by step here) drag in a “Fireborn” lens flair and set the blending mode to SCREEN – that gets rid of all the black around it. When placing the flair on your image, make sure the light source matches what’s in the picture, otherwise it won’t be believable.
The second flair is called “Supernova”, and I have it peeking out of the edge of the frame on the right side. Set the blending mode to SCREEN, with an opacity of about 80%.
Feel free to email me at mike@machineswithsouls.com with any questions.
Follow along on Instagram @machineswithsouls