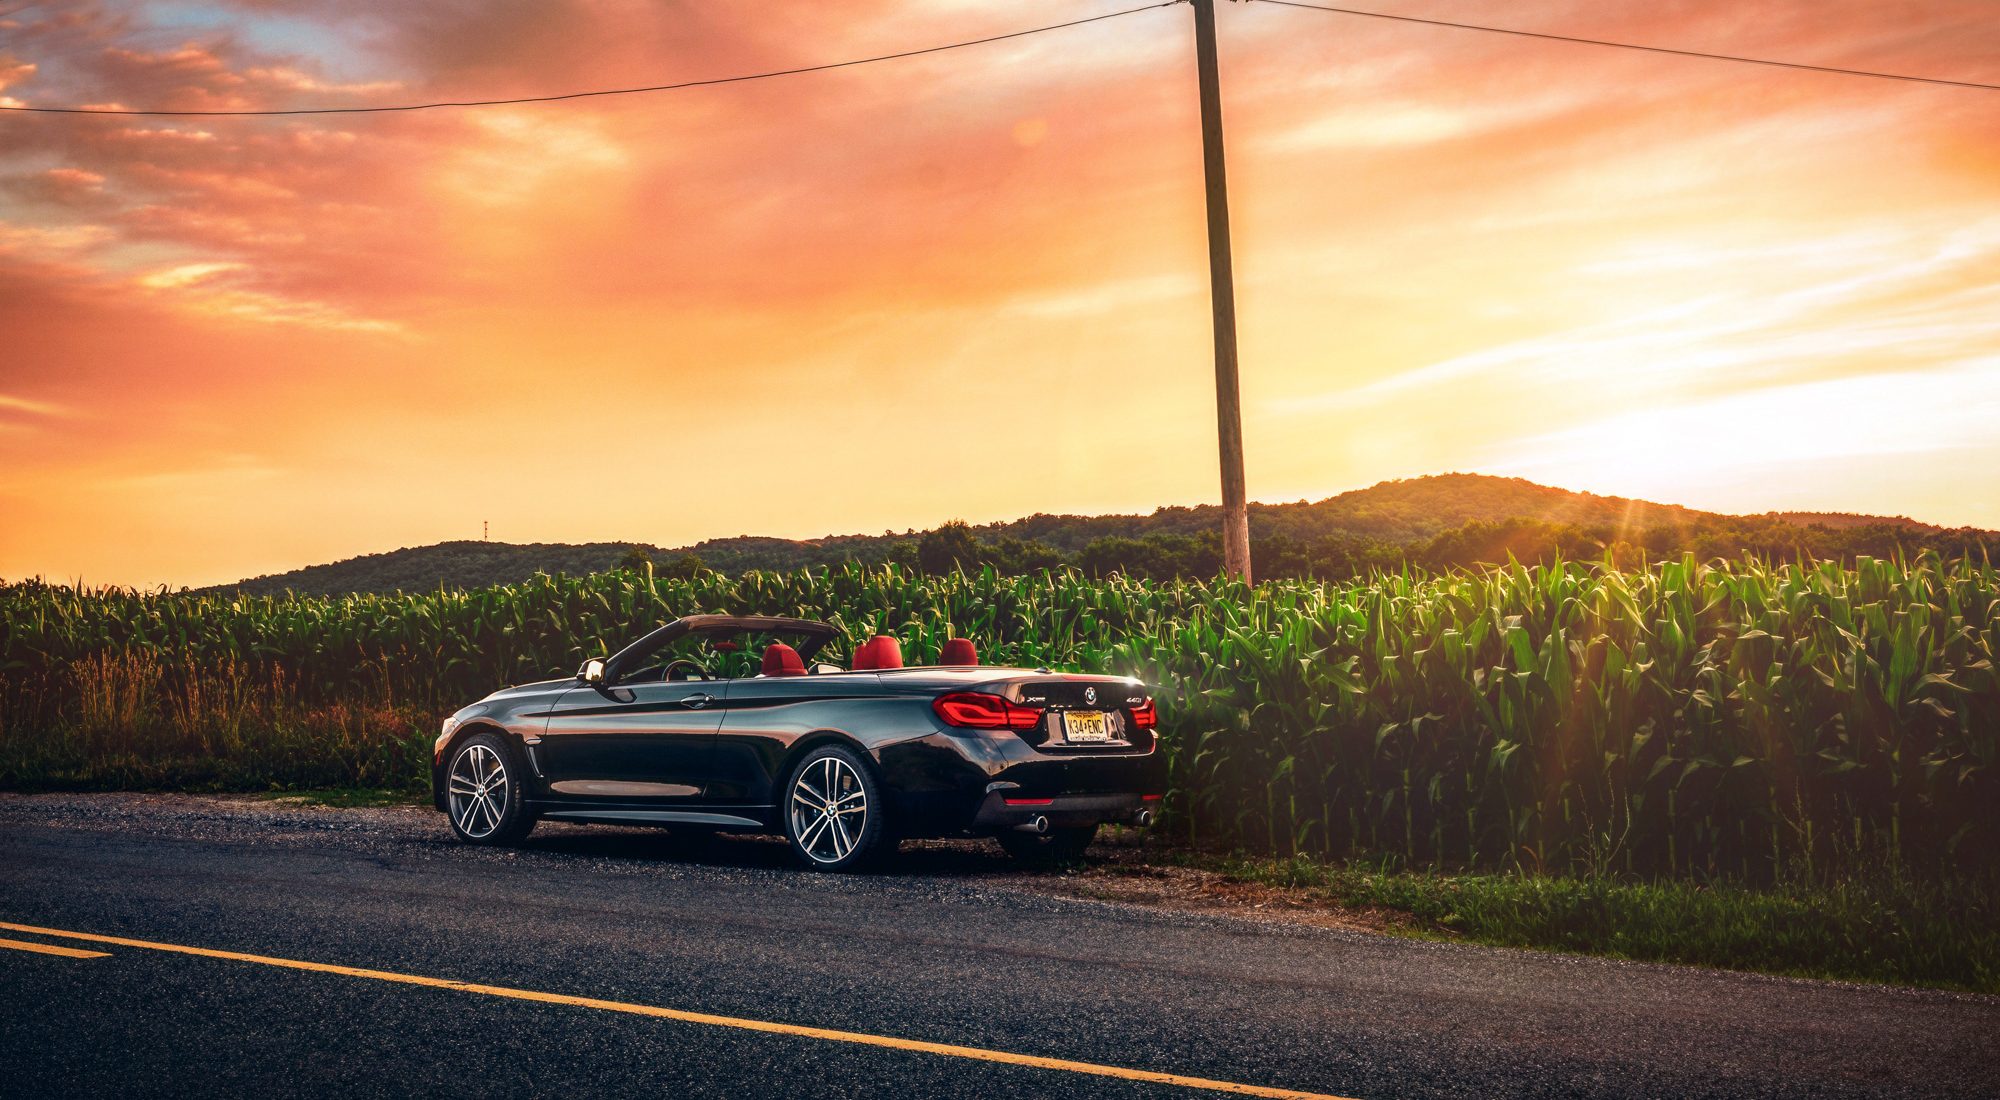


Everyone had an automotive poster on their bedroom wall as a kid, so let’s start here!
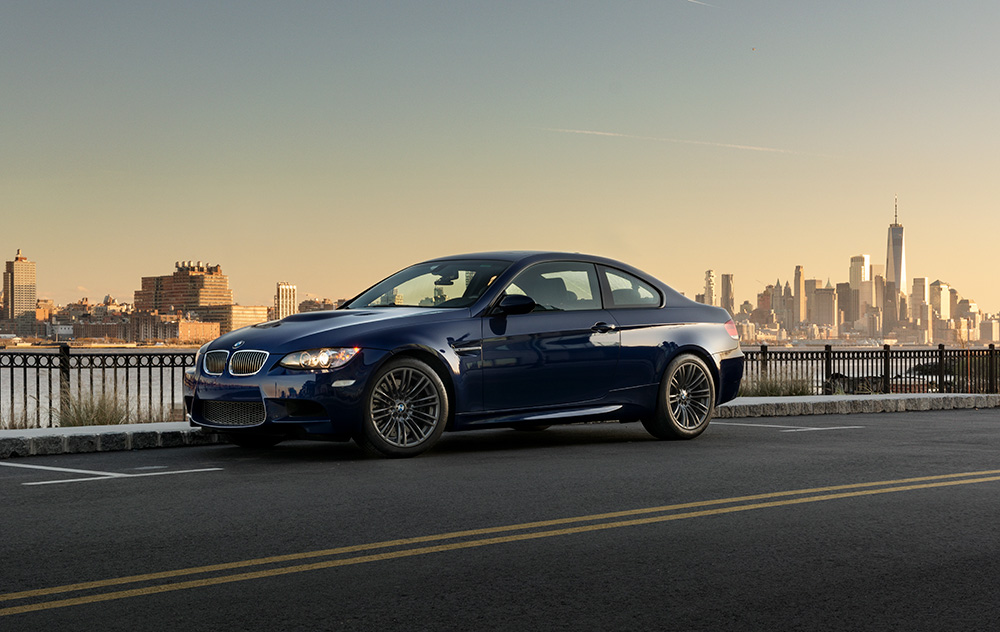
When planning a shoot for a client that plans to sell their car, it’s key to think about that one big automotive poster shot. The image will grab a potential buyers’ attention when listed against all the other cars that are similar to it. Here, I’ll show you how I concepted, shot and edited this image of a 2008 E92 M3 that was being put up for sale.
What you’ll need to make an automotive poster
- Digital camera with lens (I use Nikon camera bodies)
- Lens polarizer – to reduce reflections (I use B + W filters)
- Tripod (I prefer Manfrotto)
- Remote Trigger
- Appropriate weather gear
- Apple or PC computer (I edit on an iMac Pro)
- Adobe Photoshop (version 6 or above)
- Warm lens flair kit
Where we’ll go
21 Eton Row, Weehawken, NJ 07086
Timing
Sunset
The initial concept for an automotive poster
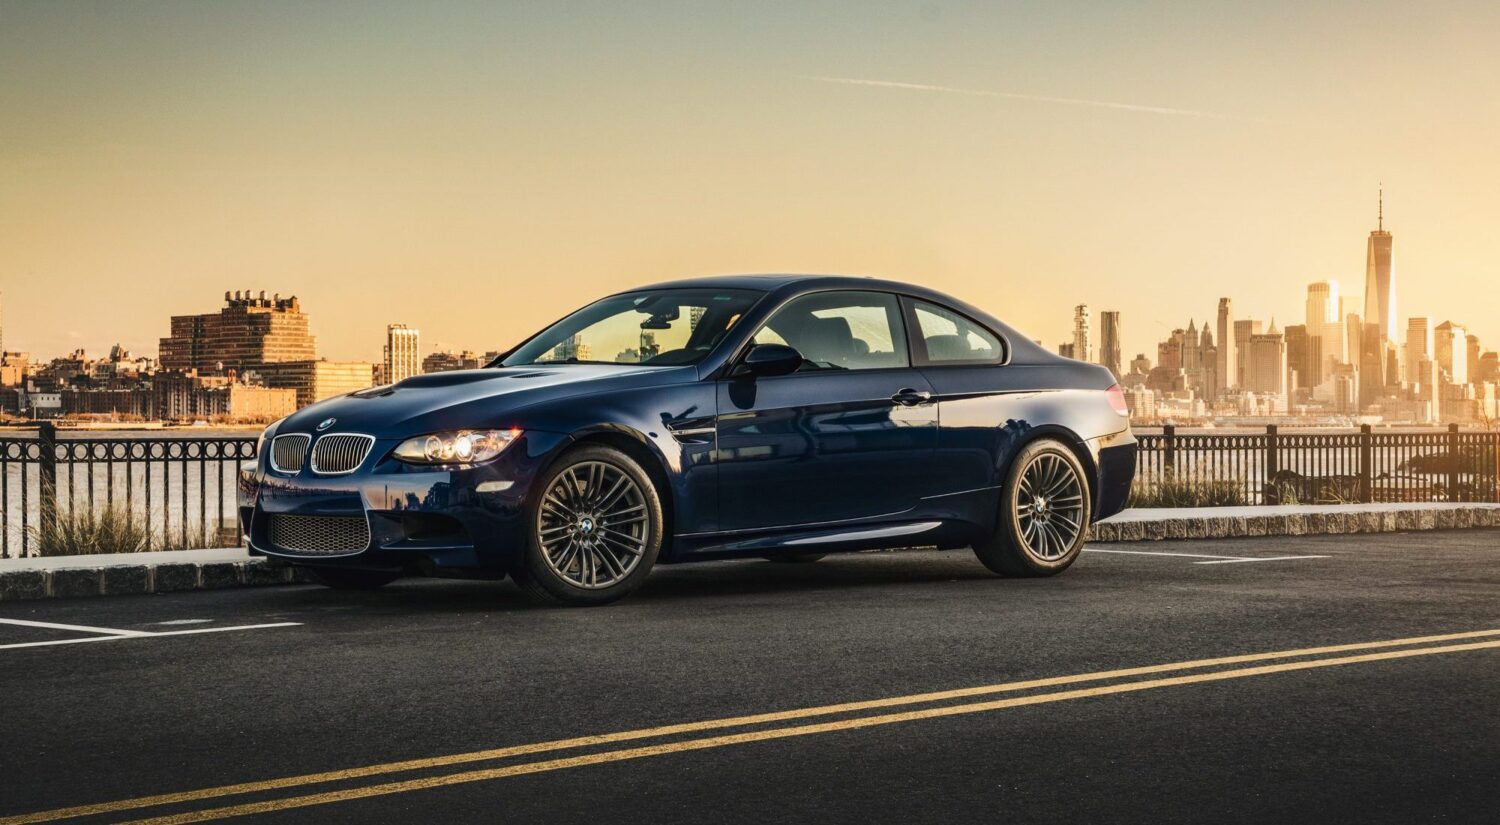
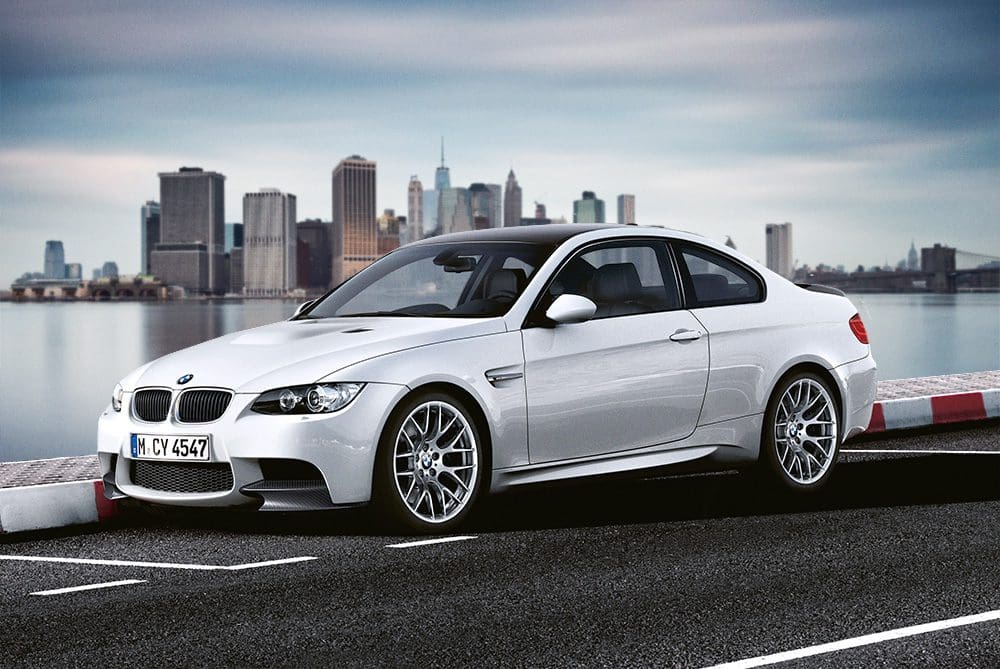
The best place to look to for inspiration can sometimes be the manufacturers own art, and in this case, I had found a BMW marketing image they had used for their own promotional material. I liked the angle of the car against the curb, and the potential backdrop possibilities.
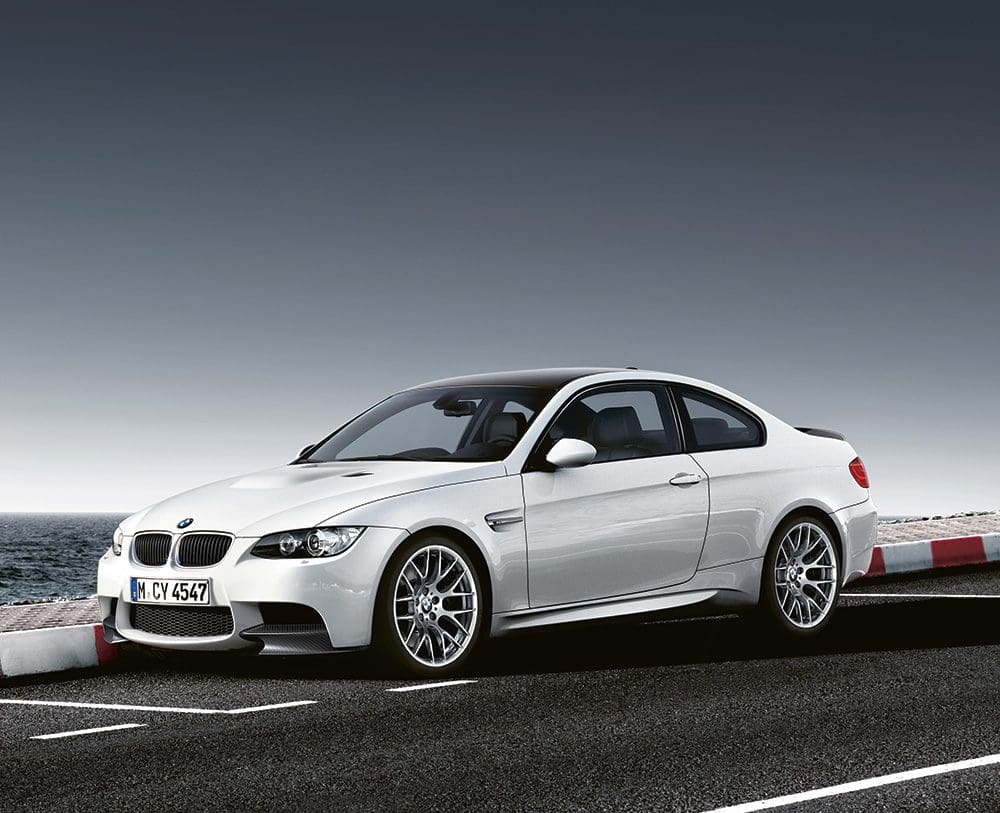
Using the image as a base, I then roughly Photoshopped in a Manhattan skyline backdrop to give me some sort of reference before I scouted.
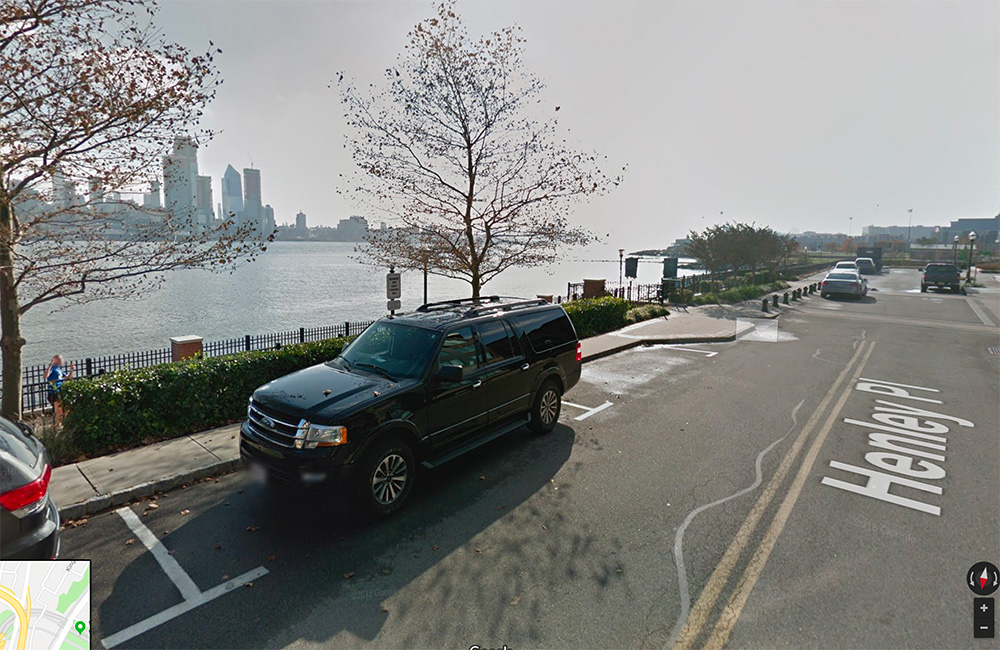
Scouting the location for an automotive poster
Google maps is a great asset that will help you get a general sense of the location before ever stepping foot in it, as you can see here. Since I was familiar with the area, I knew where to look, but sometimes I can spend a lot of time zooming around Google Maps to try and find an ideal spot.
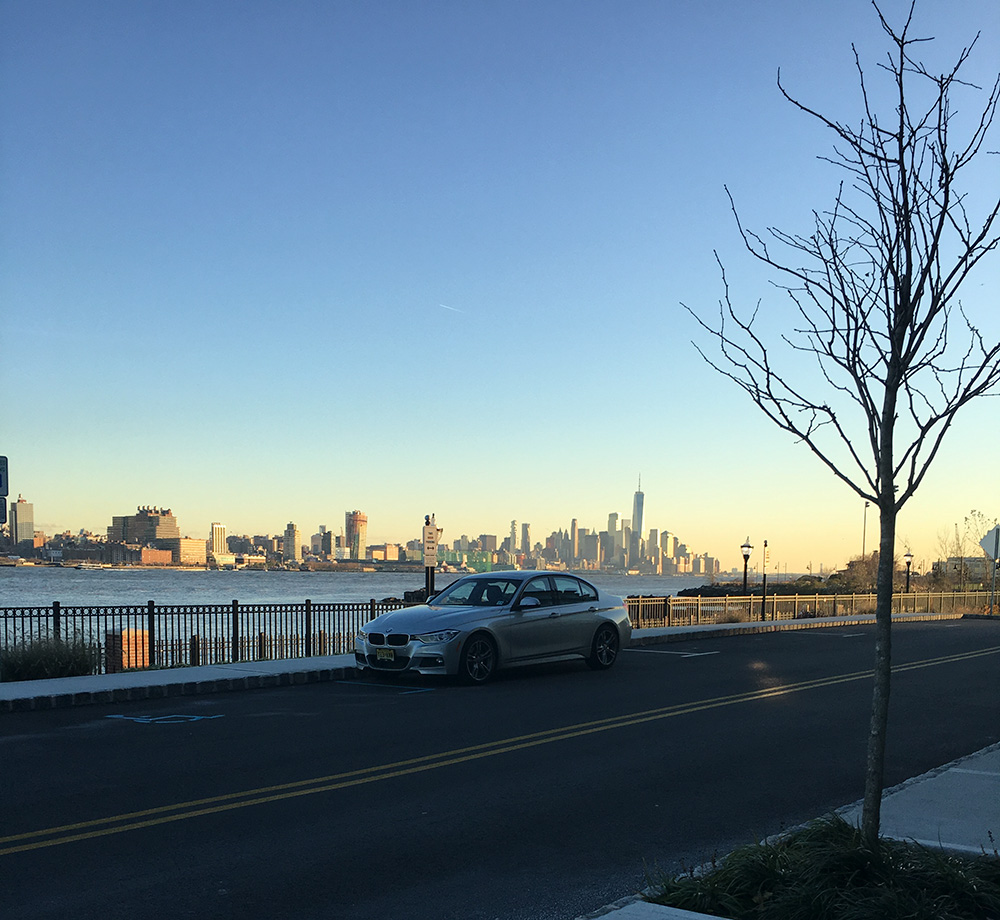
This shoot happened the day after Thanksgiving, and luckily traffic was light. The building where this location is was not yet fully open, and that gave me the opportunity to have the parking spaces open, but yes, it’s sometimes just the luck of the draw as to whether or not a spot is open, since you can’t always “book” it.
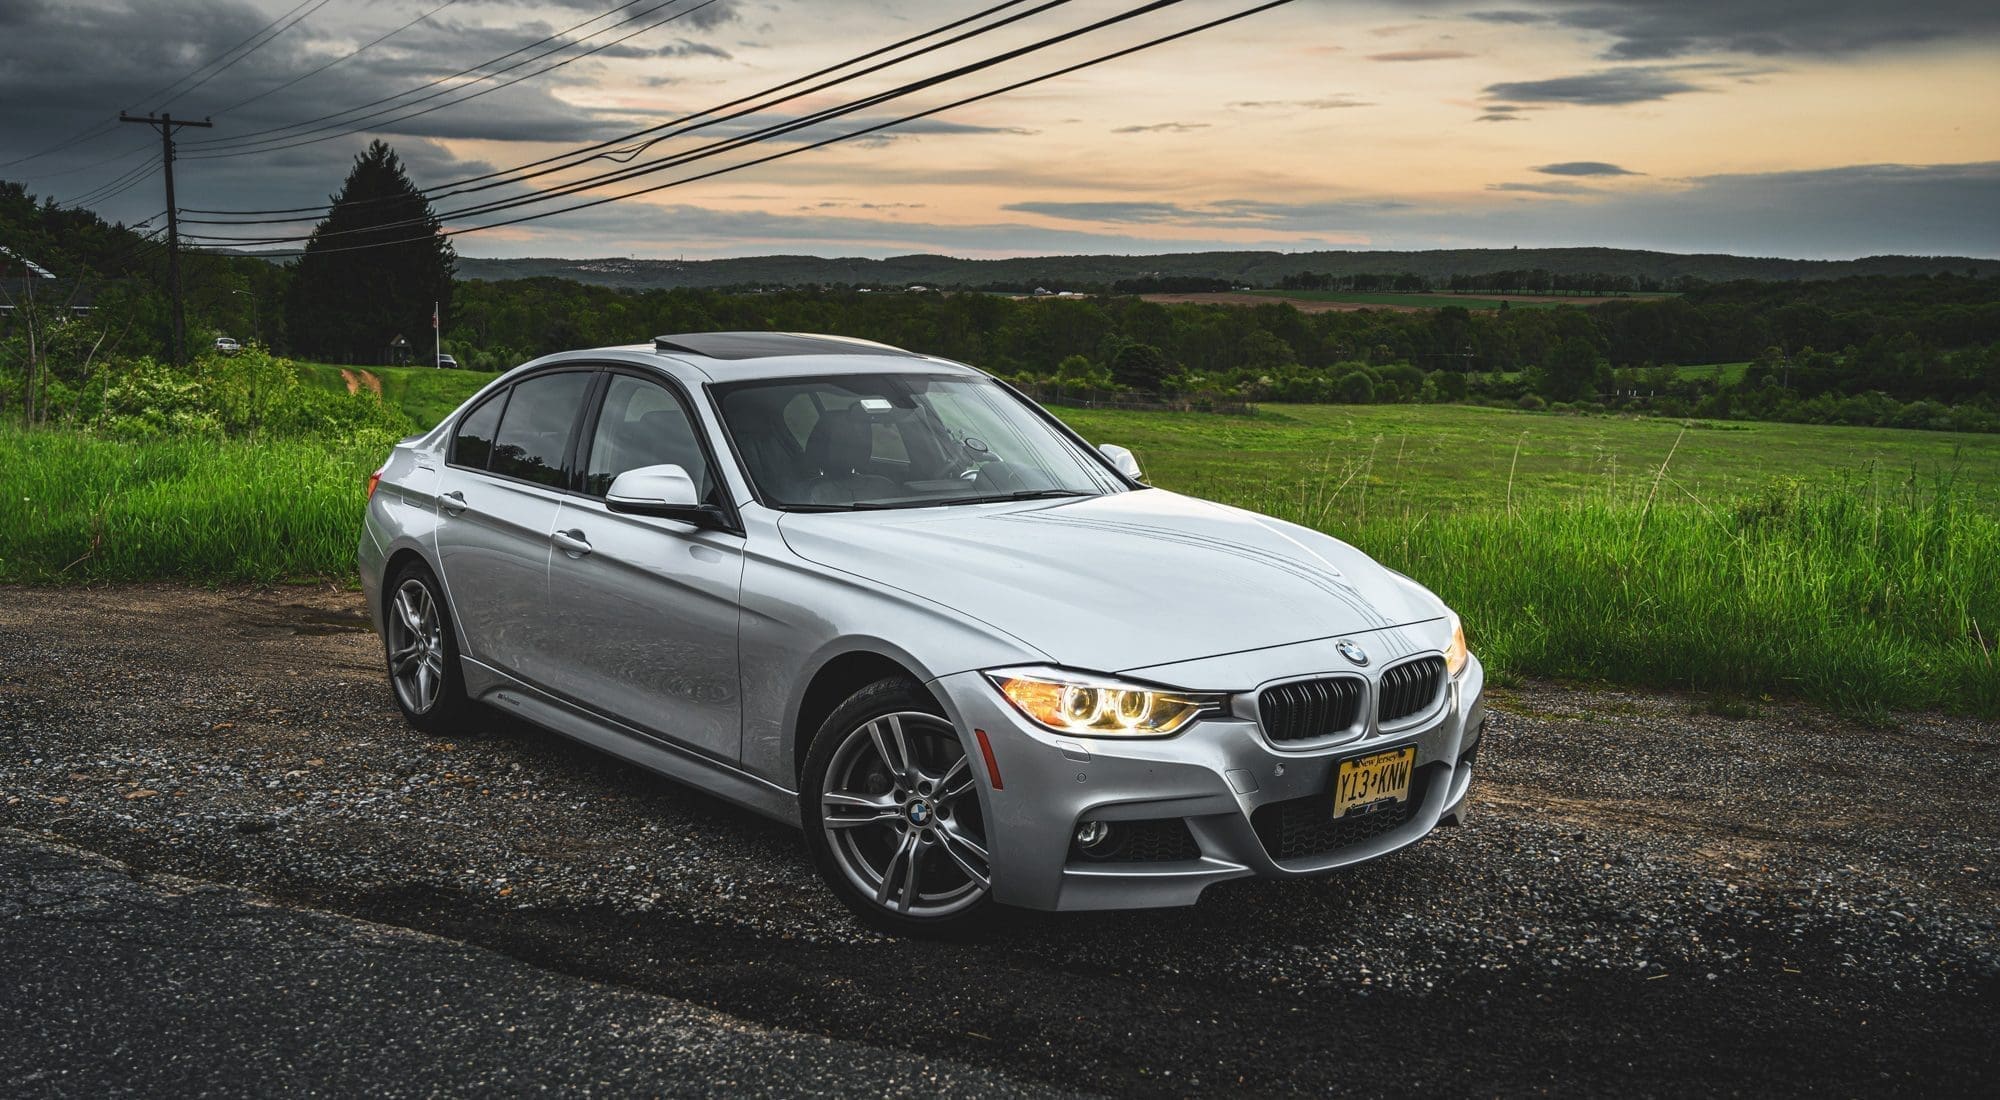
Using my own car as a stand in, I took a few shots with my cell phone for lighting reference.
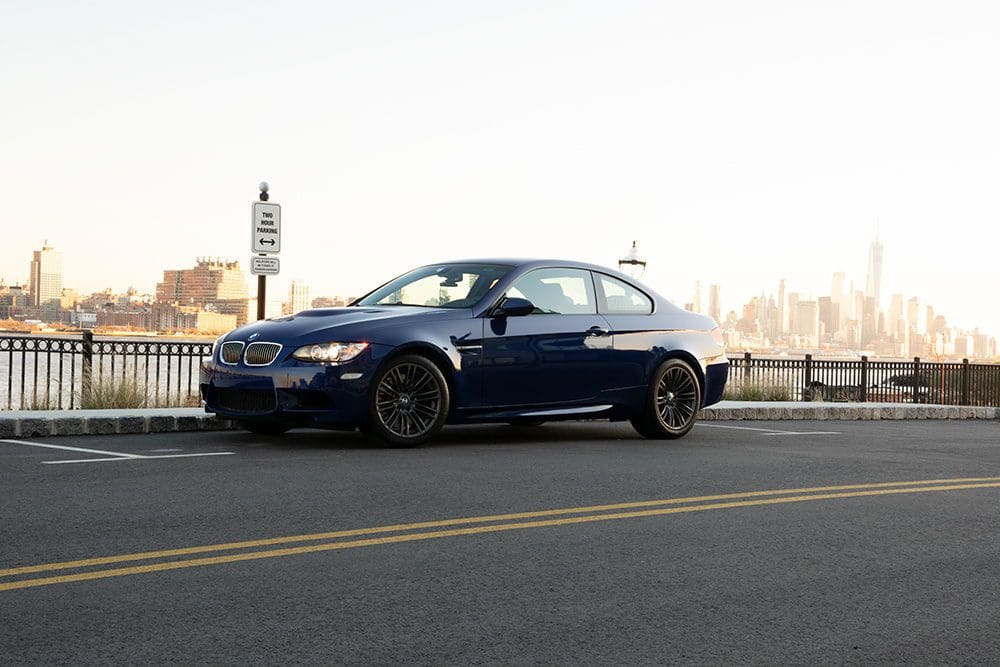
The Shoot
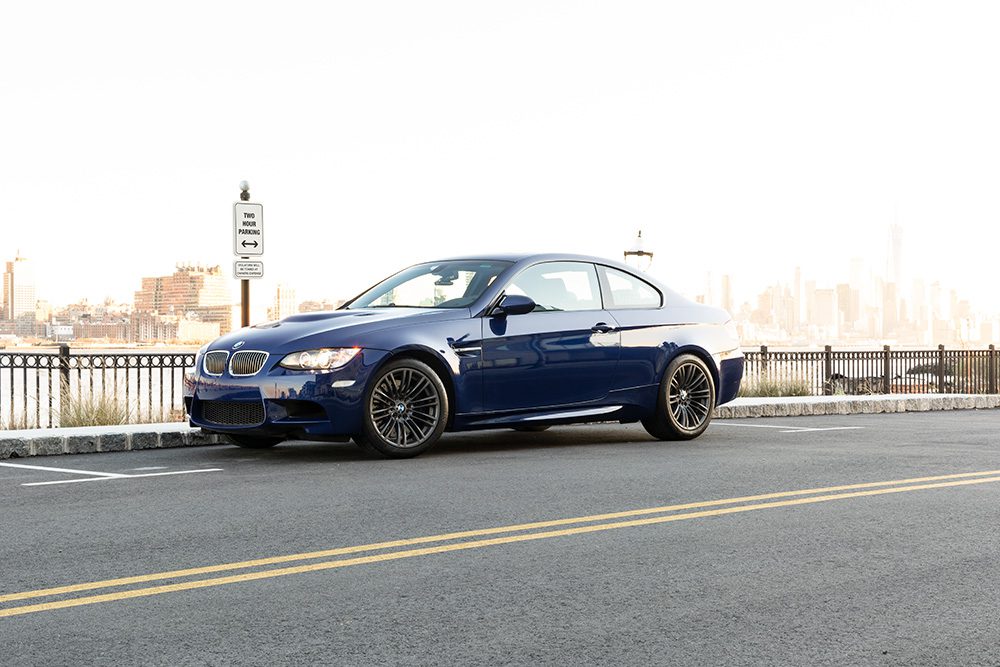
Make sure to always arrive at your location with plenty of time to spare when doing a sunset shot, especially in winter when light doesn’t last very long at all. Since I had scouted the spot earlier, I knew exactly where I wanted the car to be positioned. When doing this, make sure that nothing is sticking out from behind the car, which brings me to that lamp post. Since we want to have the WTC in the background, the car had to be in this spot, and I was aware I’d need to edit that lamp out during post-production.
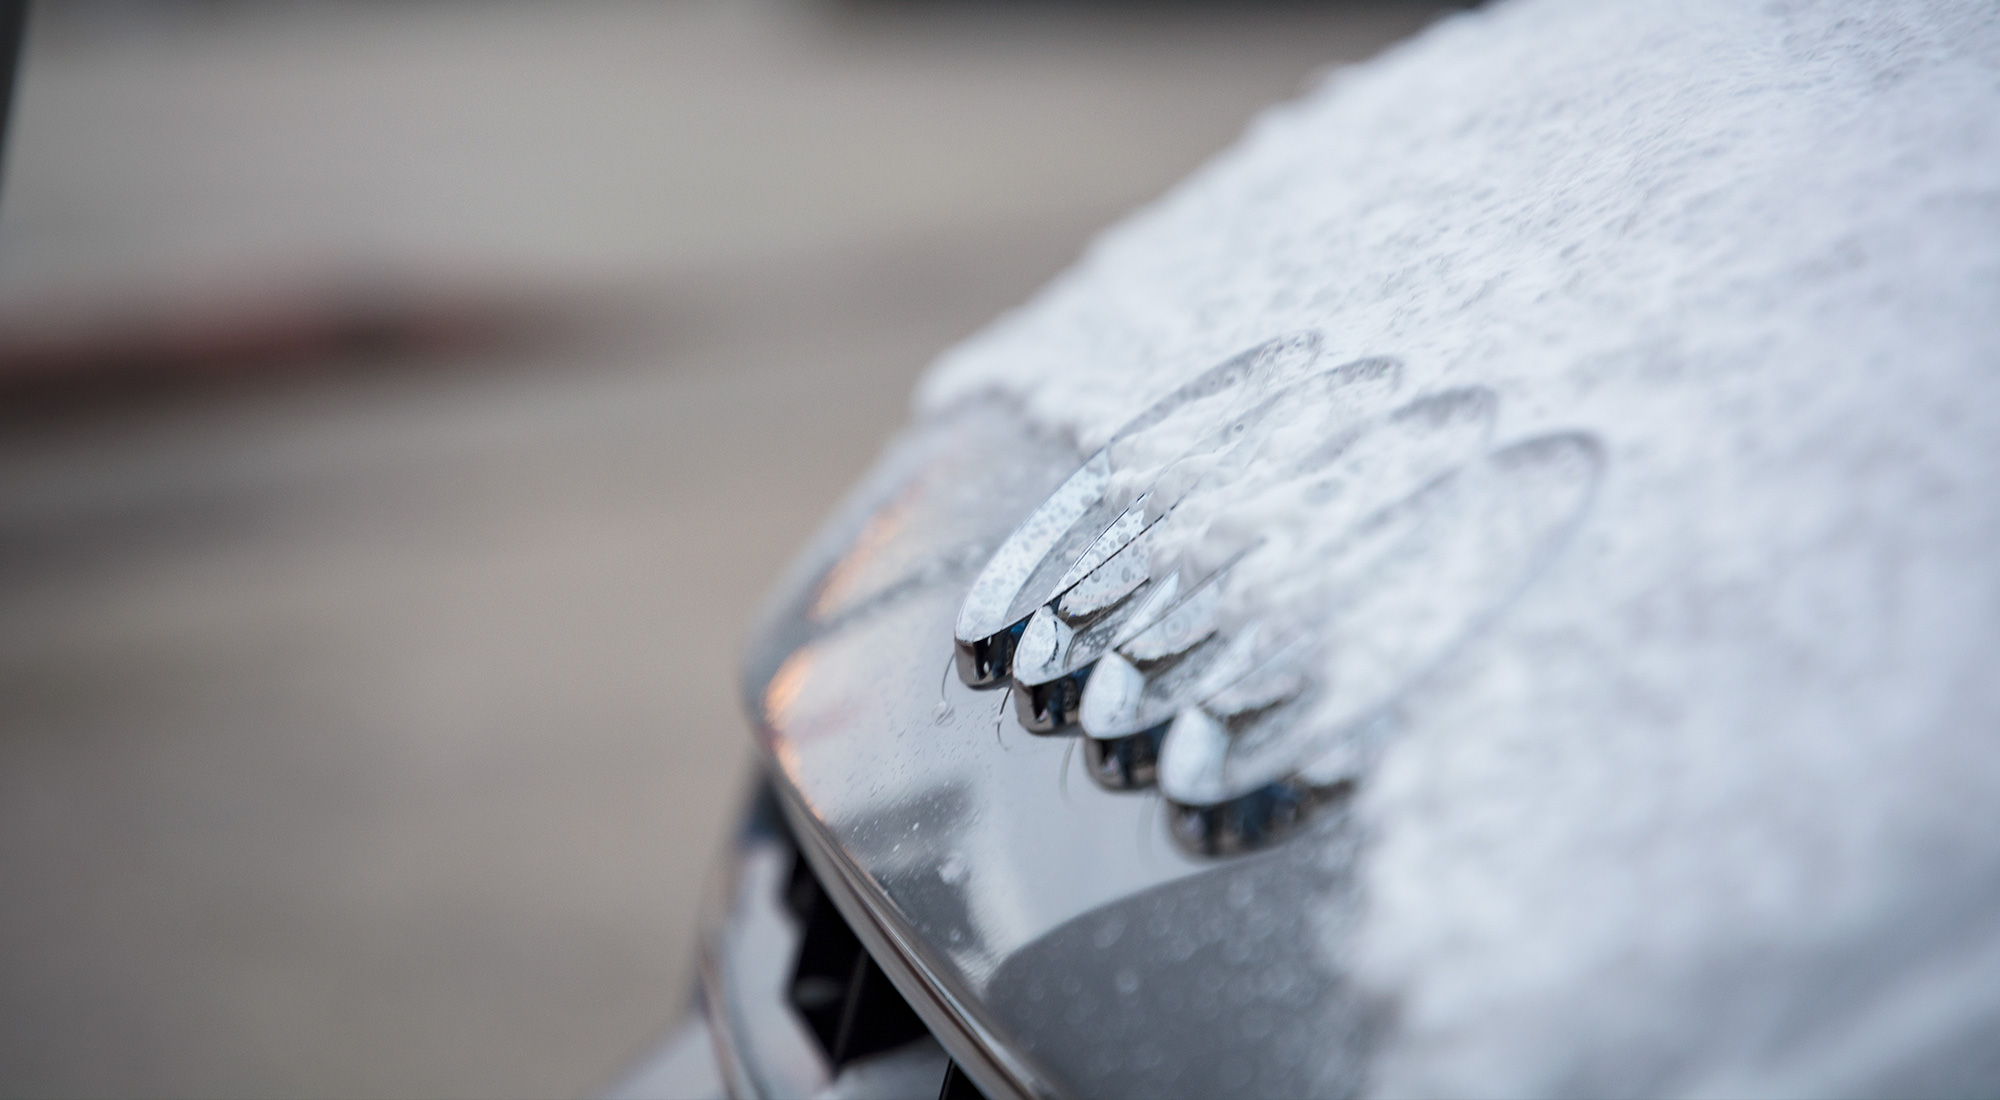
Something else to remember is that the car does NOT need to be spotless, as the camera lens is pretty forgiving from a distance. In fact, wiping away at the car with spray wax at this point could make it worse, as it can make the paint look like it has color blotches. Unless there is something totally obvious like bird poo, leave the car be. I suggest AMMO NYC and Larry Kosilla’s detailing routine to make sure the car is looking its best.
Once the car is in place, make sure to walk around and check for any loose garbage or dirt – anything distracting that you can remove now will make your post-production life easier.
The original BMW shot didn’t involve a sunset, but when scouting, I found that the setting sun provided really nice lighting against the city, and made the car pop.
Framing the image for an automotive poster
The car should be about dead center here, with enough space around it to make the viewer aware of the environment it’s in.
Once you’re happy with how it looks, it’s important to separate the image with a “grid” in your mind. Look at the entire car, then see the details, the wheels, the hood, and then focus on the background. Break the image down in your mind as much as you can. Any sharp hits of light or bad reflections will distract from the final product. For this profile, I also like to turn the wheel in towards the car. This shows off a better, more aggressive stance.
Setting up your camera for an automotive poster
- Mount it on the tripod
- Aperture: F/11
- Exposure: 0.7 seconds
- Focal length: 35mm (DX)
- ISO: 100
- Format: RAW
- White Balance: Auto
Attach your polarizer and set your camera up to use a remote trigger. This will avoid any camera shake as you take different exposures, because each one must line up perfectly. Have the camera autofocus on the image, then turn the focus to manual so that you’re locked into that lens position.
We’ll be shooting 3 shots, which will all get combined into one image during post-production.
Shot 1 – Using the above settings
2 – Rotate the polarizer so that it cleans the reflections of a difference area of the car, keep your camera settings the same, and fire away.
3 – We’ve got to get the background, which is being blown out at the current exposure. Change exposure to 1/4, and shoot to bring out the details of the background.
At this point, you’ve taken all the shots you need to. Step back for a minute and review what you’ve done. DON’T move the camera position until you are sure you have every part of the image covered. I find that a little patience now can help provide a better image when finished. If you need to, take a few more exposures, because we can combine as many as we need to produce the final shot.
Post production
Pop the memory card into your machine and download all the images you’ll need. I always have a backup on a hard drive in case anything gets lost or damaged.
Select your 3 images and open them in Photoshop (PS). Since they are RAW files, it will open the Camera RAW section of PS.
You’ll see all your images on the “film strip” on the left hand side. Select them all, then go up to “sync settings”, select everything, and accept.
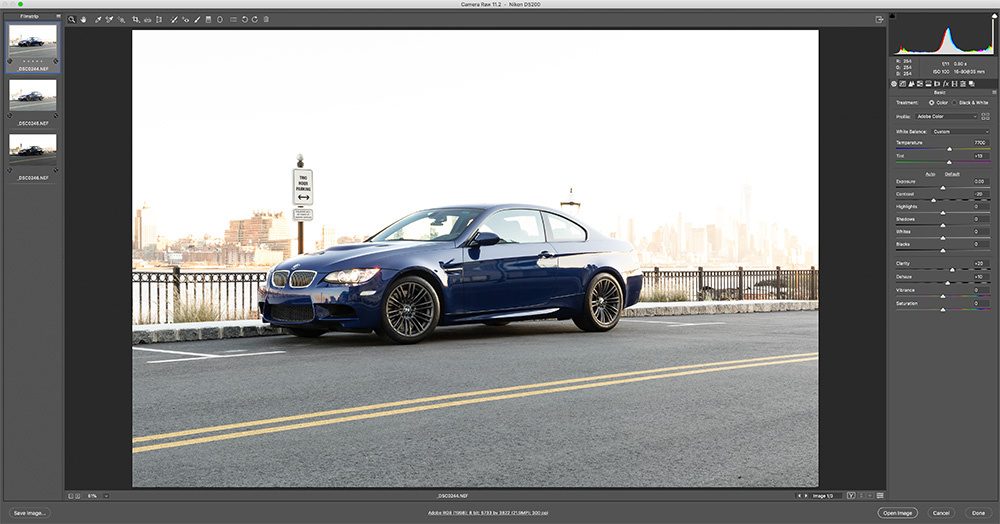
Settings for all images
- Clarity: +20
- Dehaze: +10
- Contrast: -20
- Sharpen: +70
- Enable lens profile correction
That’s all for now, just a few basic adjustments. Hold SHIFT and select OPEN OBJECTS – this will open all images in different tabs, and make each a smart object. Smart objects are non-destructive, and will allow you to go back into camera raw should you ever need to adjust anything additional.
Bring all your images into one file holding SHIFT so that each lands in the same spot; each becomes a layer. Turn them all off except for the base image. Then, turn the one on above it, and add a layer mask. Making sure your background is BLACK, hit COMMAND + DELETE to black out the entire mask, then select your paint brush tool and paint back in the areas of the image you want. Remember that polarizer? This is how we’ll clean up the entire surface of the car, and provide a background that isn’t washed out. Repeat the process for each layer, painting in the parts of each image you want to use.
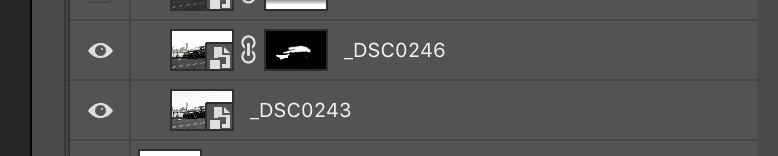
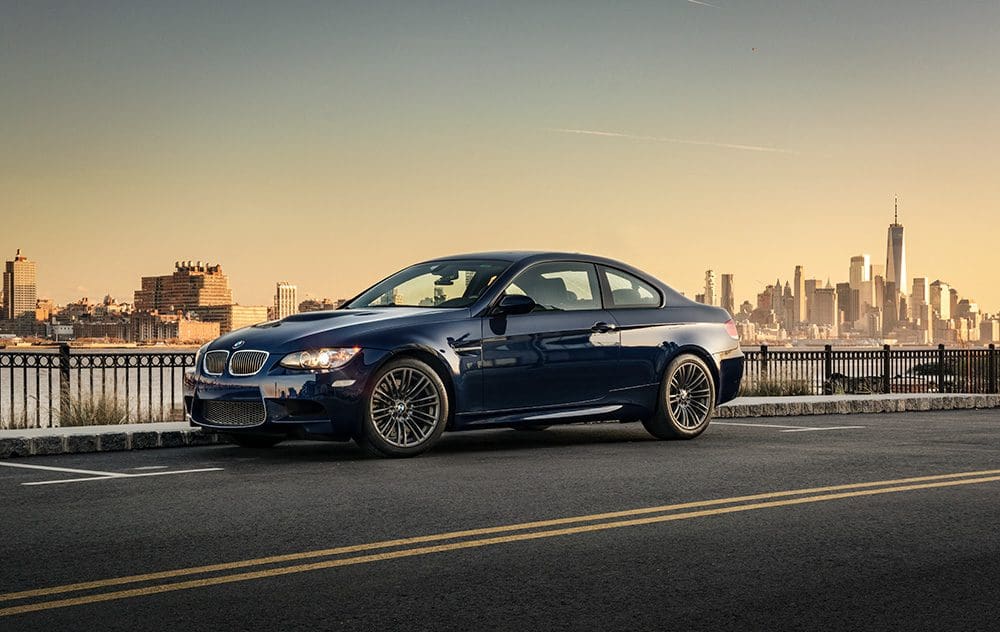
You’ll end up with this:
When complete, GROUP the images together, then duplicate the group, and flatten it. Flattening it allows us to use tools like the healing brush for retouching, but because we still have the original group of images below, we can always go back and edit something if needed.
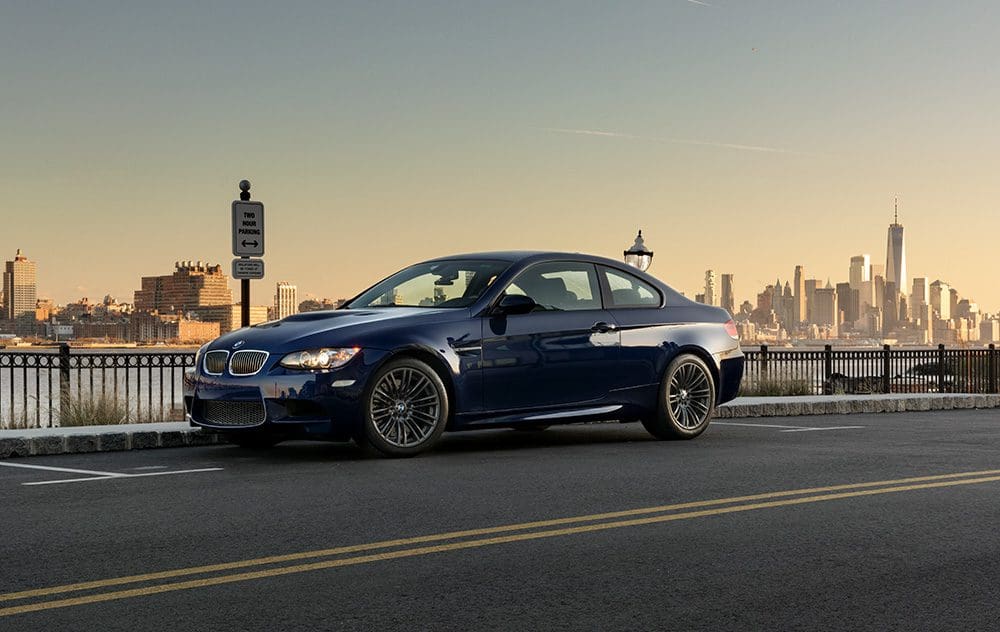
Remember that lamp post? It’s going away. Select the PATCH tool, and draw an area around it, then drag it over. You’ll see it gets erased and replaced with an area of sky. There are many ways to do this, and it isn’t always as easy, but with a clear sky it’s simple. While we’re at it, we’ll go in and erase that sign too, since it distracts from the overall image.
I’ll then go in and add a new layer and DARKEN the foreground to help draw your eye up into the car itself. GROUP these layers, select BOTH groups, duplicate them, and then flatten.
You’ll now have this:
Now comes the fun part – LUT filters. Make your flattened image a SMART OBJECT, then use these settings:
Duplicate and flatten the image, then convert it to a SMART OBJECT. Add a VIVID LUT filter to it. Repeat this process 3 more times and use:
- CROSS PROCESS – 15% layer opacity
- WARM CONTRAST – 25% layer opacity
- RED LIFT MATTE – 20% layer opacity
Group them all together, then select ALL groups, duplicate and then flatten and make a SMART OBJECT. You’ll have this:
Use these settings to touch up.
Duplicate and merge, then make a smart object and use the MATTE LUT filter set to 80%.
Finally, using the FIREBORN lens flair downloaded from the WARM LENS FLAIR KIT, drag that file into your PS composition and set the blend mode to SCREEN. Mask out those parts which you don’t need. We just want a soft glow from the light coming from the right spot. In this case the right side of the image where the light is naturally coming from.
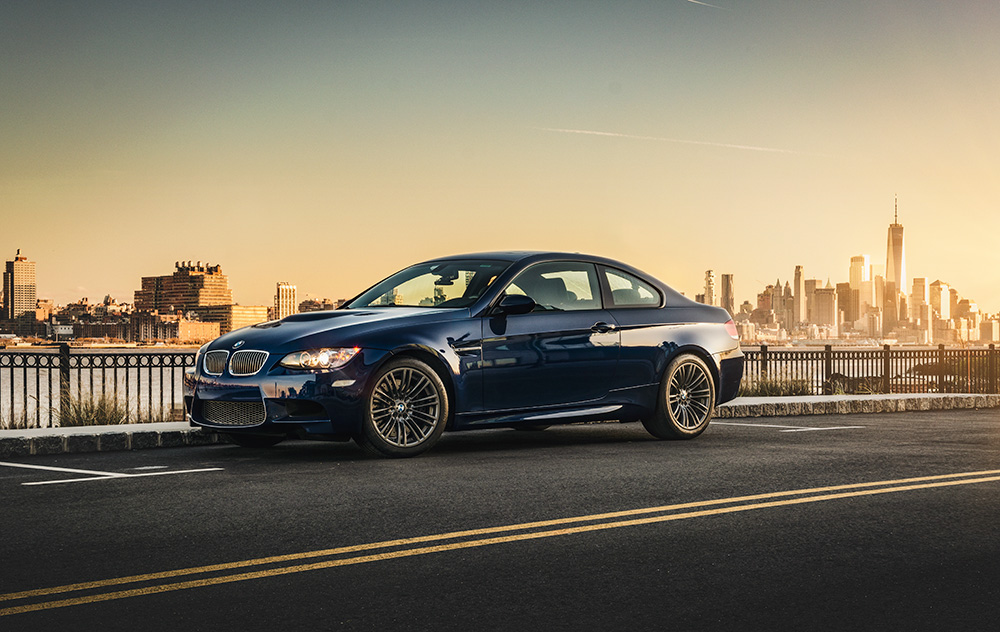
Annnd that’s it! Remember that the post-production process is simply my own, and you can edit these images in any number of ways. The most important part is to shoot your layers and combine them into one balanced image.
Commissions may be received for product links on this site, so help out if you can. I only write about products I use and believe in.
I use Nikon camera bodies and lenses, a Westcott Ice Light 2, Manfrotto tripod, B + W filters and an iMac Pro to make the art you see here.
Email me at mike@machineswithsouls.com with any questions.
Follow along on Instagram @machineswithsouls
One thought on “How to Make the Perfect Automotive Poster Image”
Comments are closed.